This guide offers valuable insights on playing as a survivor, controlling the monster, and strategies for facing off against monsters. Additionally, it provides detailed information on the various monsters in the game and the perks available to enhance gameplay.
Gameplay Basics (Survivor)
As a survivor, your objective is to gather and deposit six toy parts into stations scattered throughout the map.
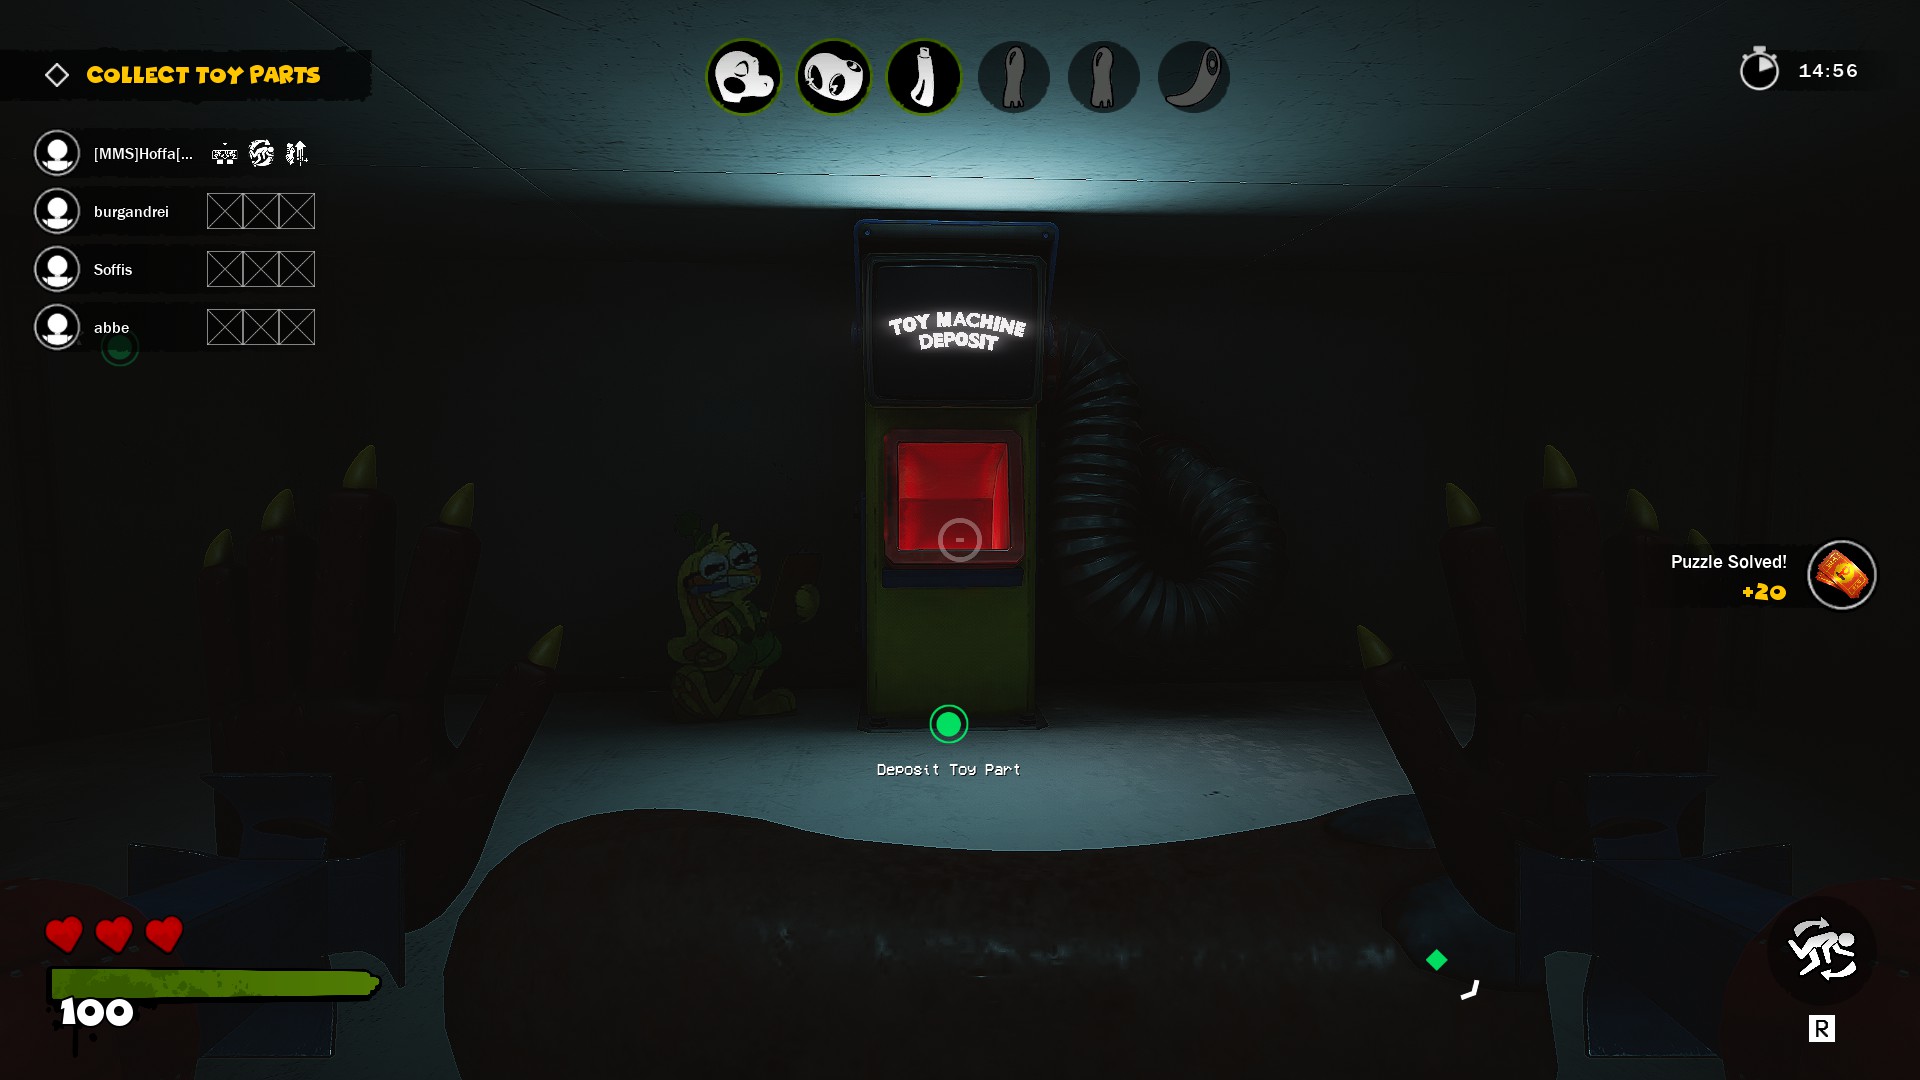
To acquire the toy parts, you must successfully solve a series of puzzles located in the Puzzle Pillars. Currently, there are a total of five distinct puzzles available. Once you have collected and deposited all six toy parts, the final step is to pull down a specific mechanism.
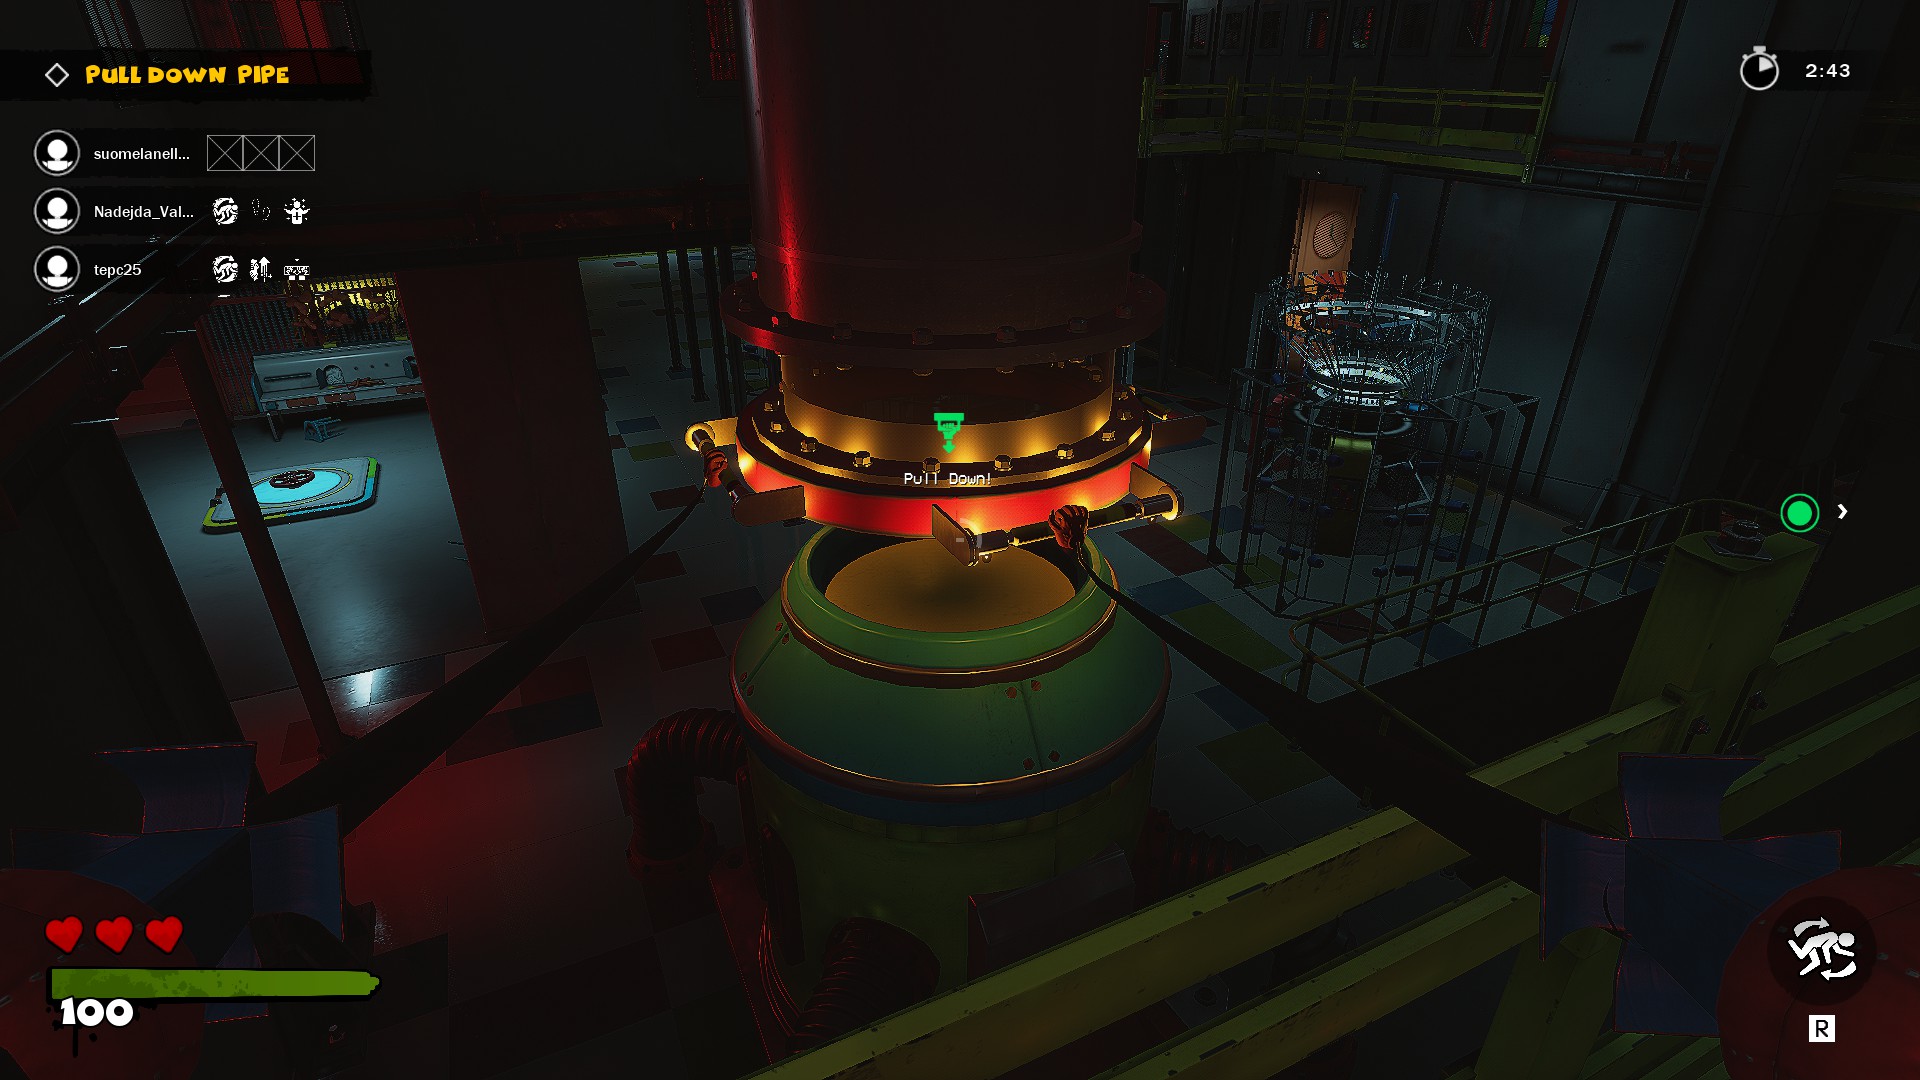
Once the mechanism is activated, the train becomes accessible, marking your triumphant escape!
Here are the details of each puzzle found in the game:
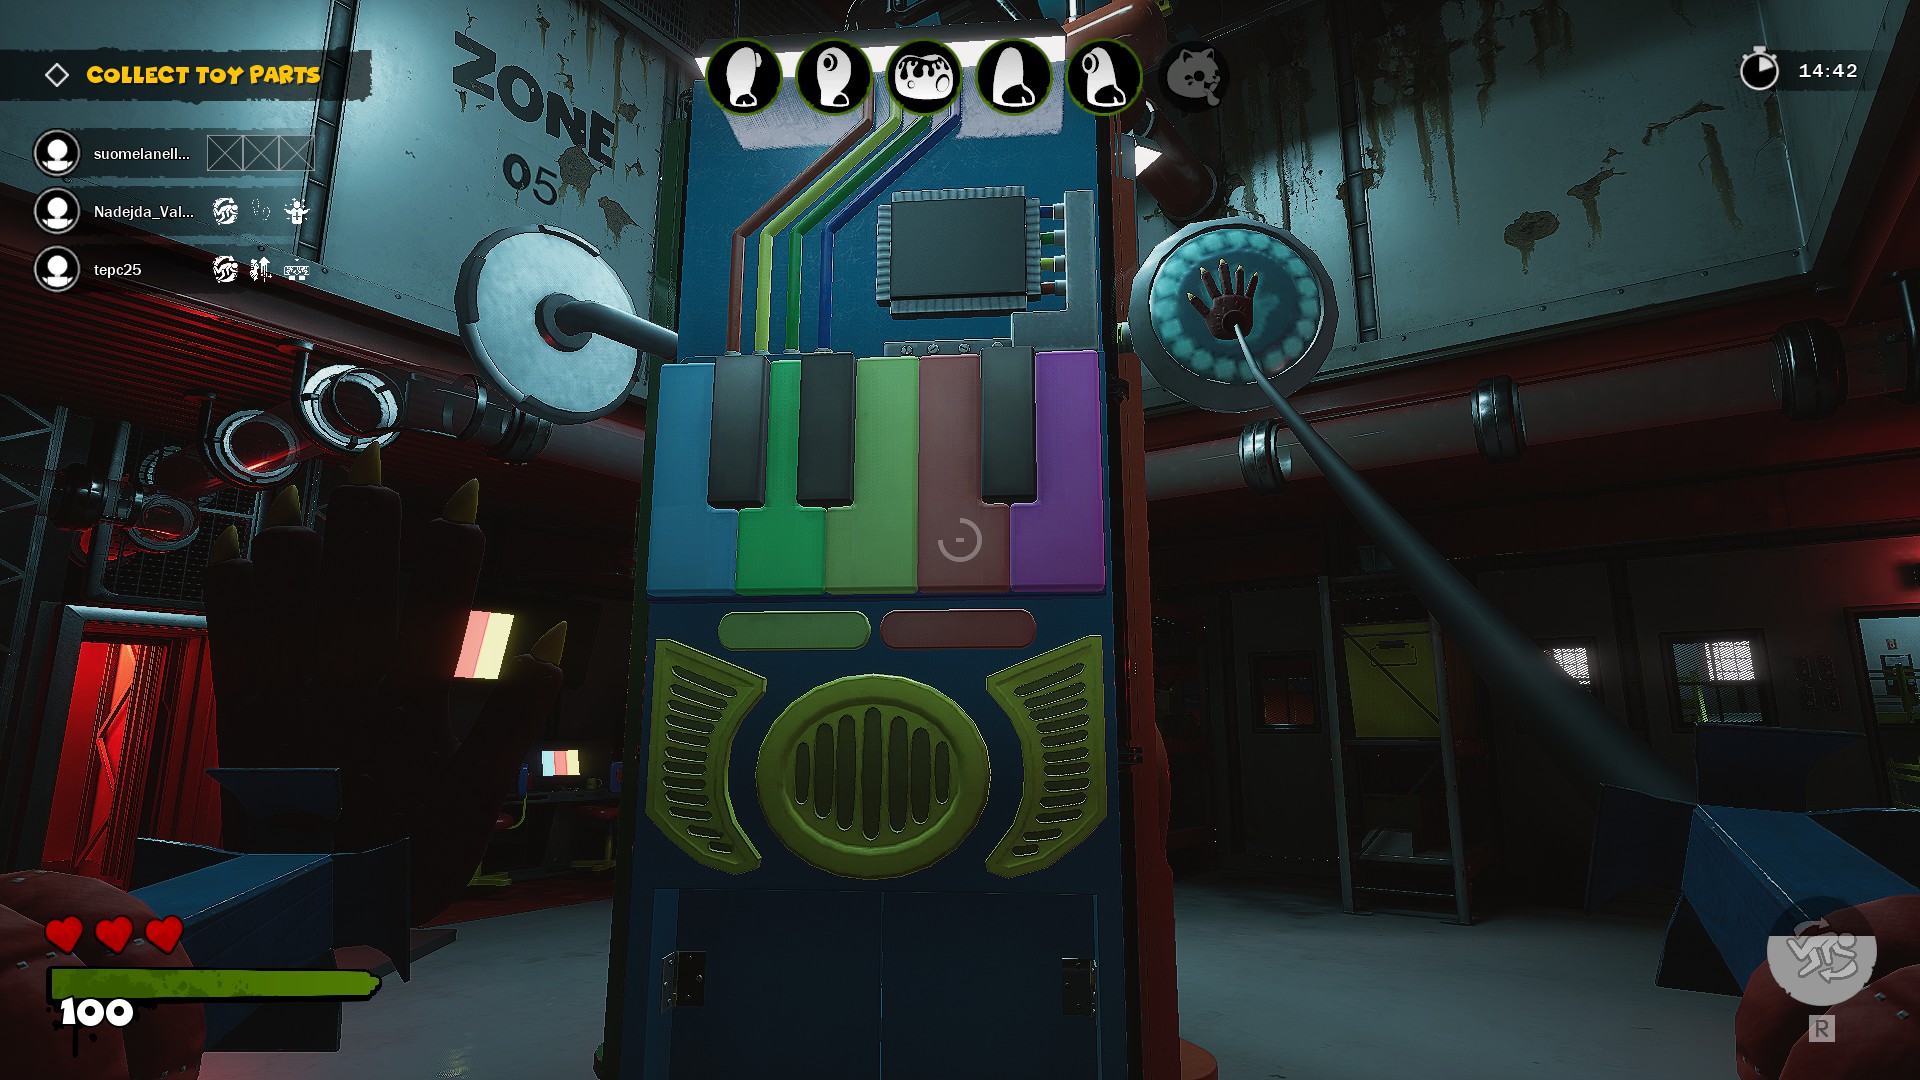
Piano Puzzle: In this puzzle, you need to press the notes in the order they are played. With each completed round, an extra note is added. To finish this puzzle, you must complete six rounds. The Master Pianist perk can reduce the number of notes you need to hit by 1/2/3.
Reflex Puzzle: In this puzzle, you must quickly press the glowing icon that appears for 1-2 seconds. Failing to hit the icon in time alerts the monster of a failed puzzle attempt. To complete this puzzle, you need to hit 16 icons. The ThinkFast perk can decrease the required number of hits by 2/4/6.

Memory Puzzle: In this puzzle, a series of buttons will blink on the screen, occasionally repeating the same pattern. Your task is to memorize this pattern and press the buttons accordingly. To finish the puzzle, you need to successfully replicate the pattern twice. The Genius perk can increase the time provided to view the final pattern by 0.5s/0.75s/1s.

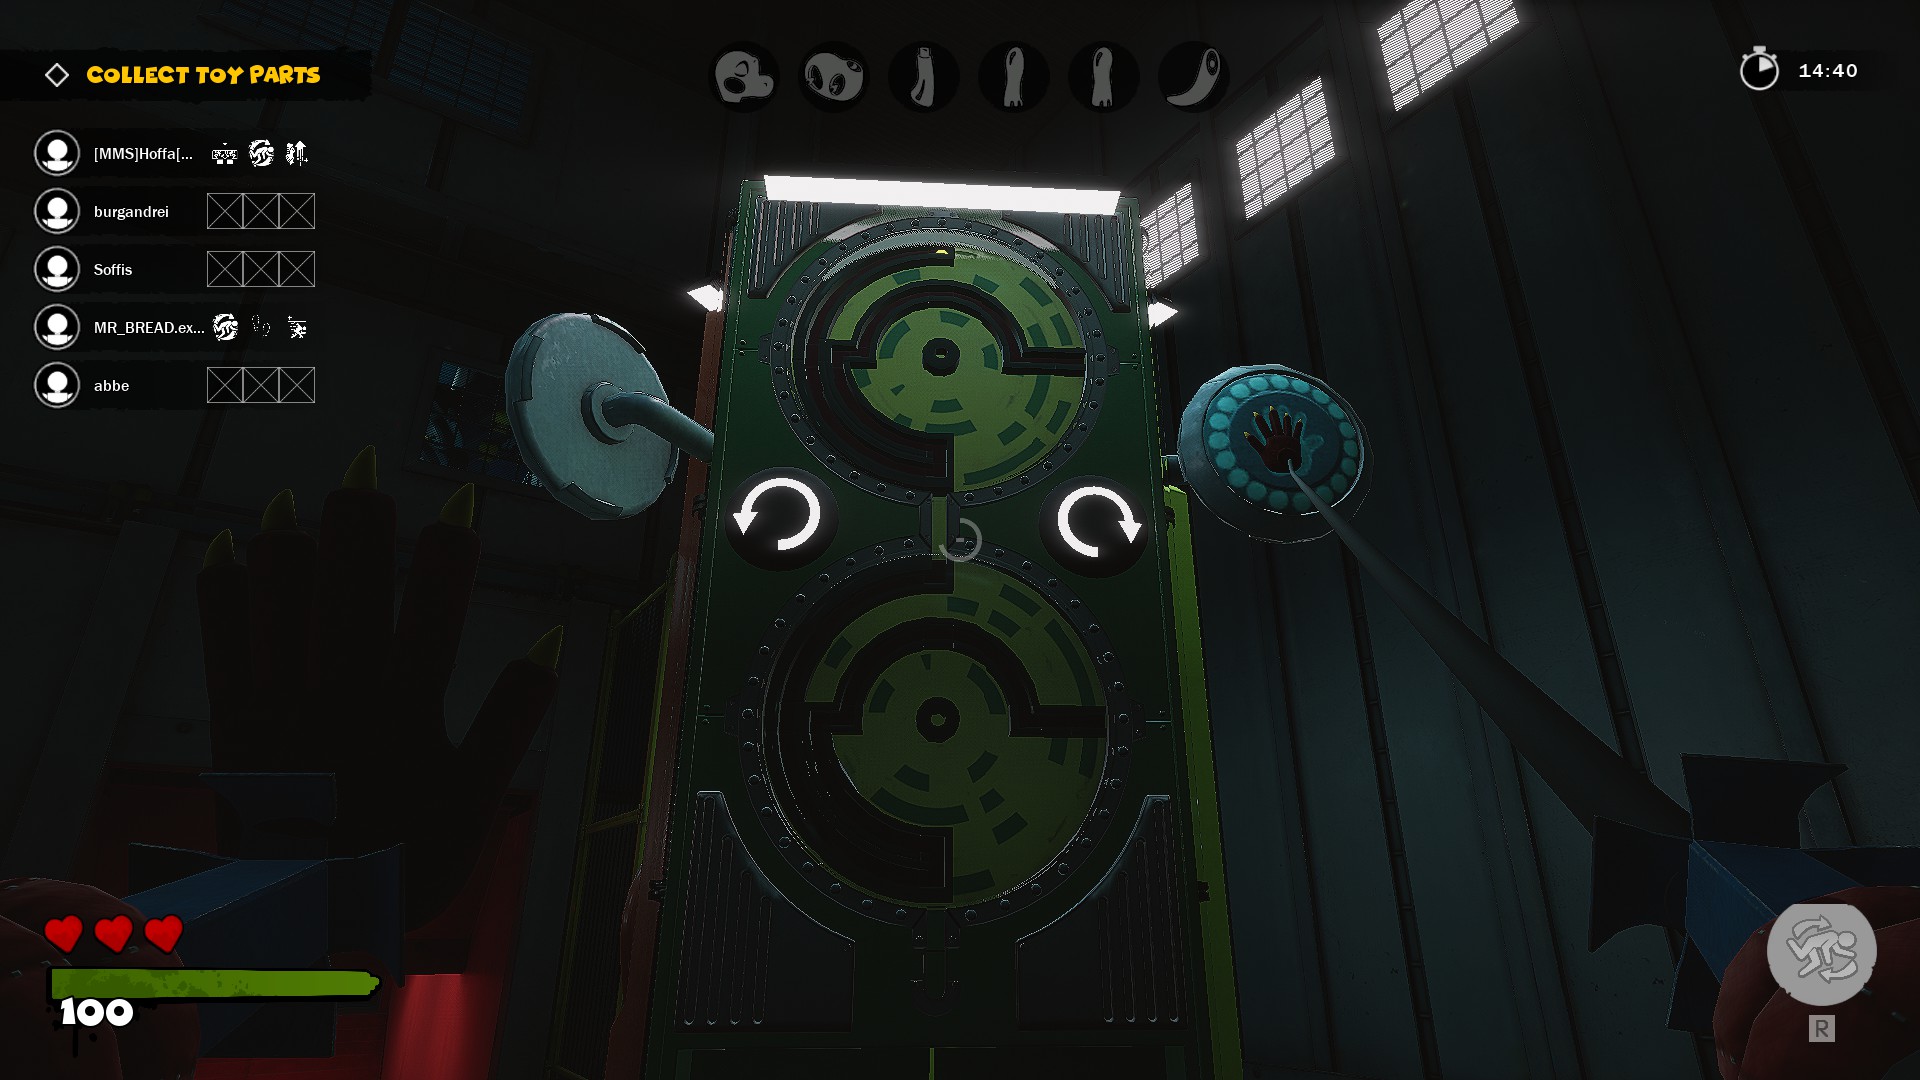
Maze Puzzle: In this puzzle, you navigate a yellow ball through a maze by activating switches located on the sides, which rotate the maze to the left or right. To complete the puzzle, the yellow ball must reach the bottom of the maze. Currently, there are no perks available to assist with this puzzle.
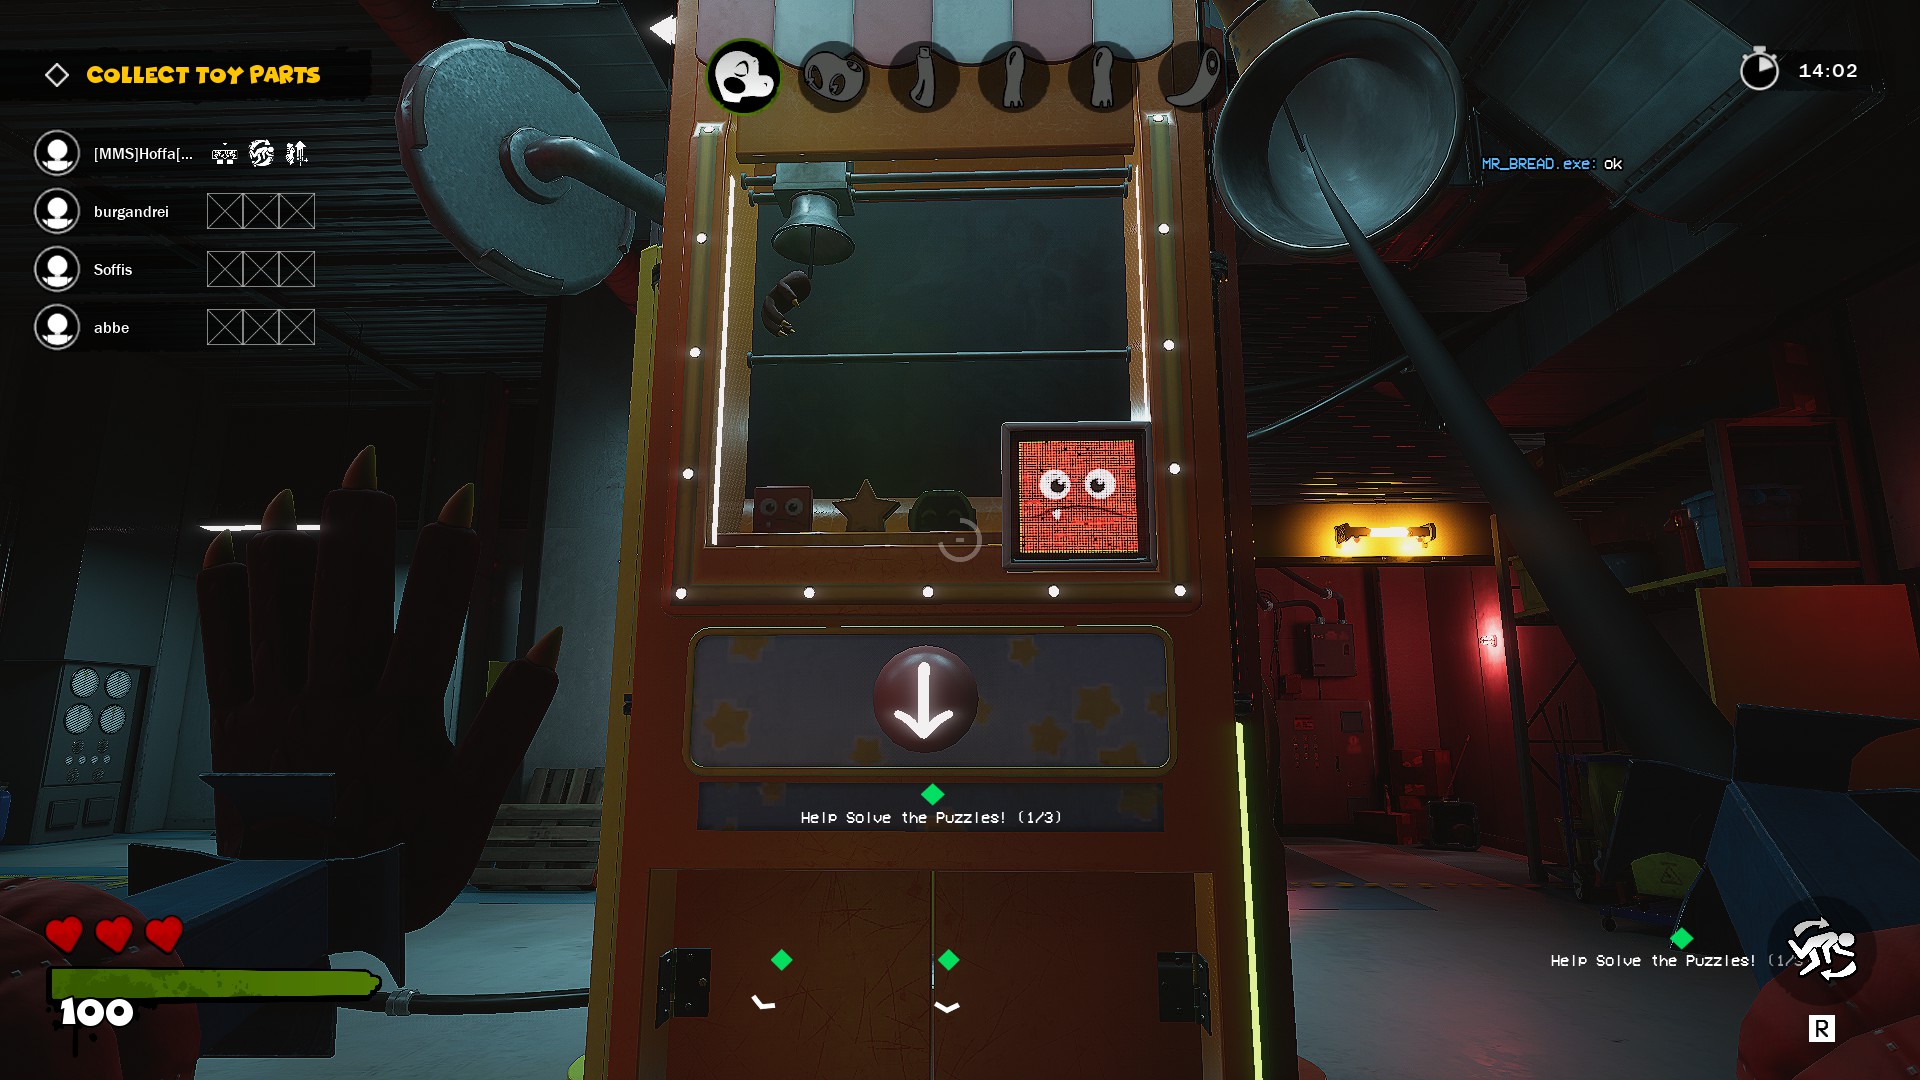
Claw Puzzle: In this puzzle, your goal is to time your claw correctly to grab the indicated prize displayed in the pillar. Selecting the wrong item alerts the monster of a failed puzzle attempt, while not collecting anything doesn’t trigger a notification. To complete this puzzle, you must collect three prizes, with each correct prize increasing the speed of the claw. At the time of writing this guide, there are no perks designed to aid in this puzzle.
Gameplay Basics (Monster)
As a monster, your objective is to incapacitate survivors and send them to the feeding pit. If all players are downed simultaneously, the game ends without requiring them to be placed in the feeding pit.
Each monster possesses unique abilities, with each monster having at least one tracking ability.
At the beginning of the game, you are provided with a 30-second window to choose your monster from three options: Boxy Boo, Huggy Wuggy, and Mommy Long Legs.
If you are new to the game, I recommend selecting either Boxy Boo or Huggy Wuggy as they are easier to grasp initially. Mommy Long Legs can be more challenging to master unless you are already familiar with its mechanics.
Boxy Boo

Essential details:
- Hold the Shift key to charge your jump; the longer you hold it, the higher your jump will be.
- Press the Right Mouse Button (RMB) to extend your arm forward and grab any survivor you hit, pulling them towards you.
- The music box lullaby will increase in volume as you approach a survivor, enabling you to track hidden survivors.
Strengths:
- Superior jumping ability compared to other monsters.
- Exceptional agility, allowing for easier and faster movement.
- Faster attack speed for quick engagements.
Weaknesses:
- Inflicts lower damage compared to other monsters.
Huggy Wuggy
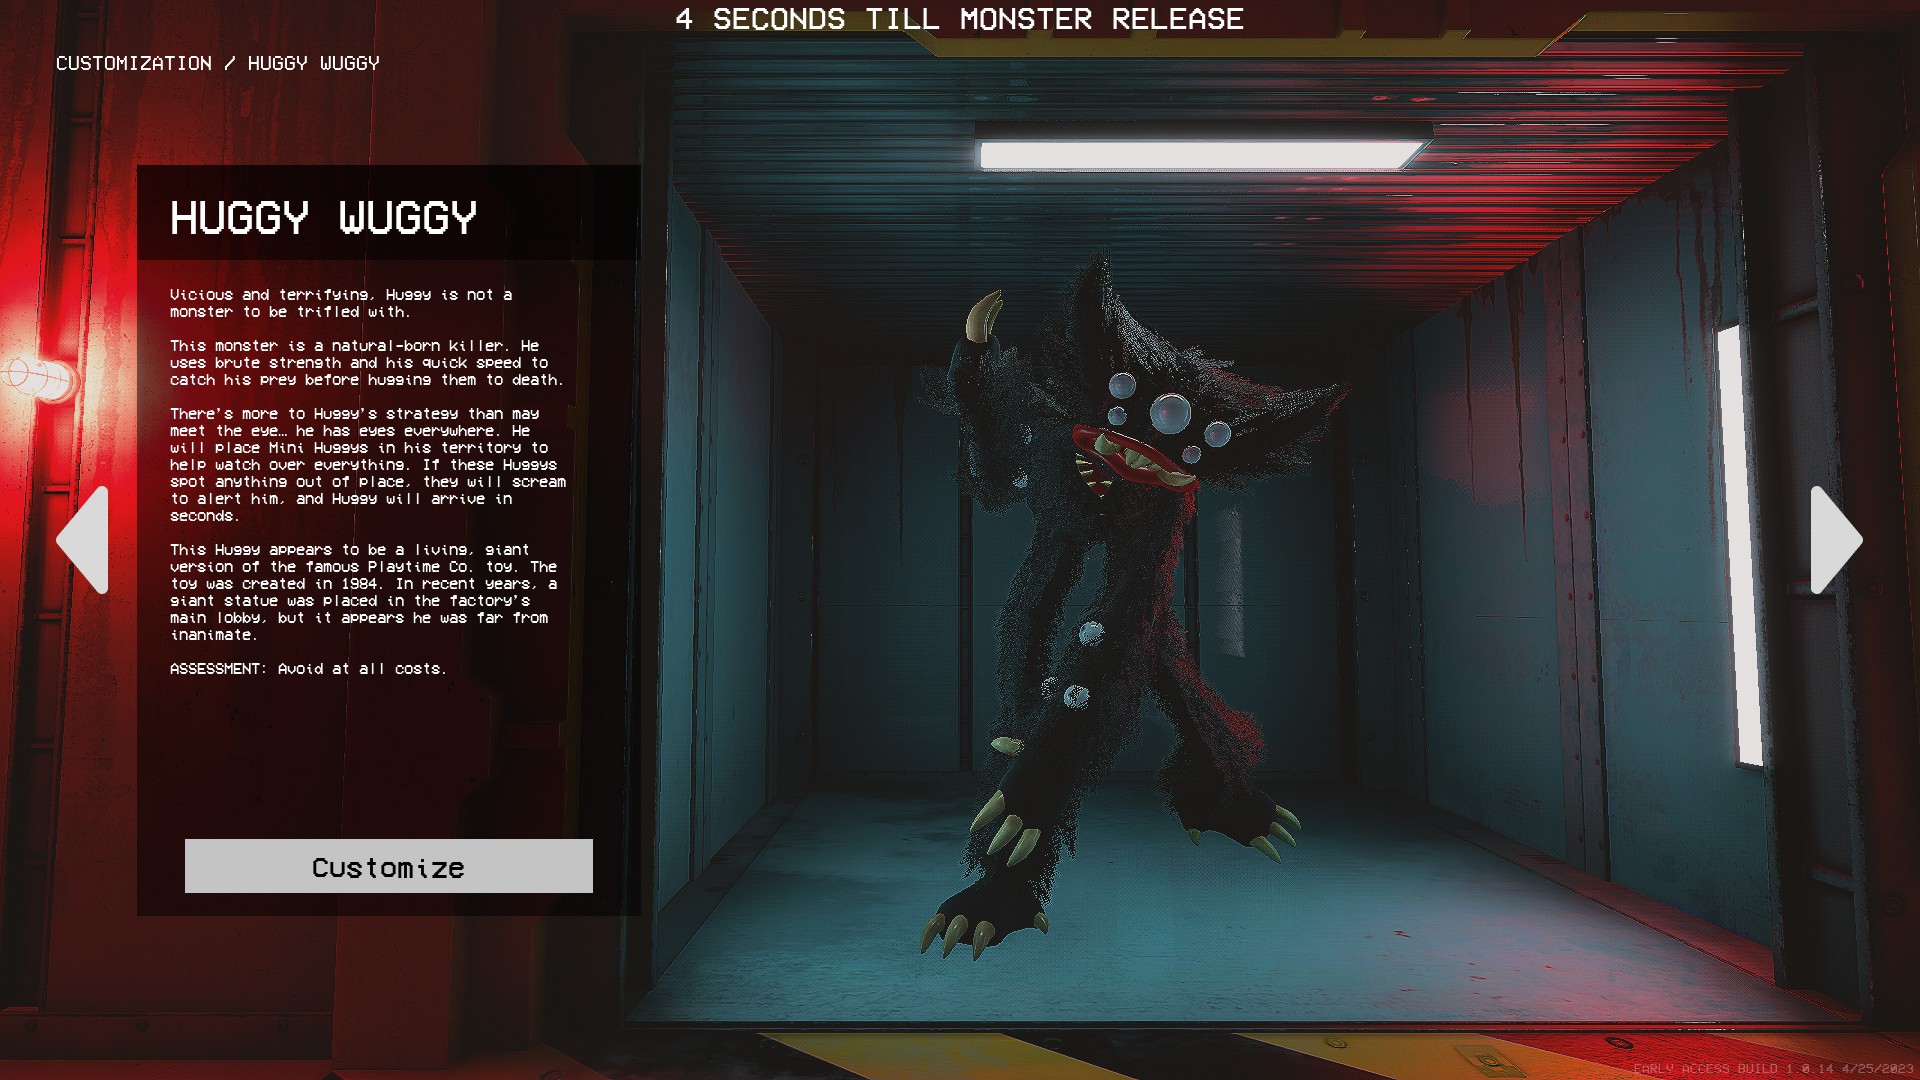
Essential details:
- Press the Shift key to initiate a forward sprint. Any survivor hit during the sprint will be instantly incapacitated. Cooldown: 30 seconds.
- Press the E key to deploy a mini huggie. If a survivor is spotted by the mini huggie, they will scream, revealing their location with a notification. Cooldown: 15 seconds.
Strengths:
- Ability to swiftly down survivors upon contact.
- Capable of performing jumps.
Weaknesses:
- Limited effectiveness in chasing survivors.
- Mini huggies have poor tracking capabilities.
Mommy Long Legs

Essential details:
- Press the Space key to extend one of your arms and grab onto walls or ceilings. Once you make contact, you will be pulled towards the surface. Press Space again to release your grip.
- Press the E key to briefly reveal the locations of all players.
- Press the Right Mouse Button (RMB) to shoot webs that will slow down survivors if they are hit. This does not cause damage.
Strengths:
- Excellent tracking abilities, making it easier to locate survivors.
- Convenient access to elevated positions.
Weaknesses:
- The slowest monster in terms of movement speed.
- Cannot perform jumps.
Survivor Tricks and Tips
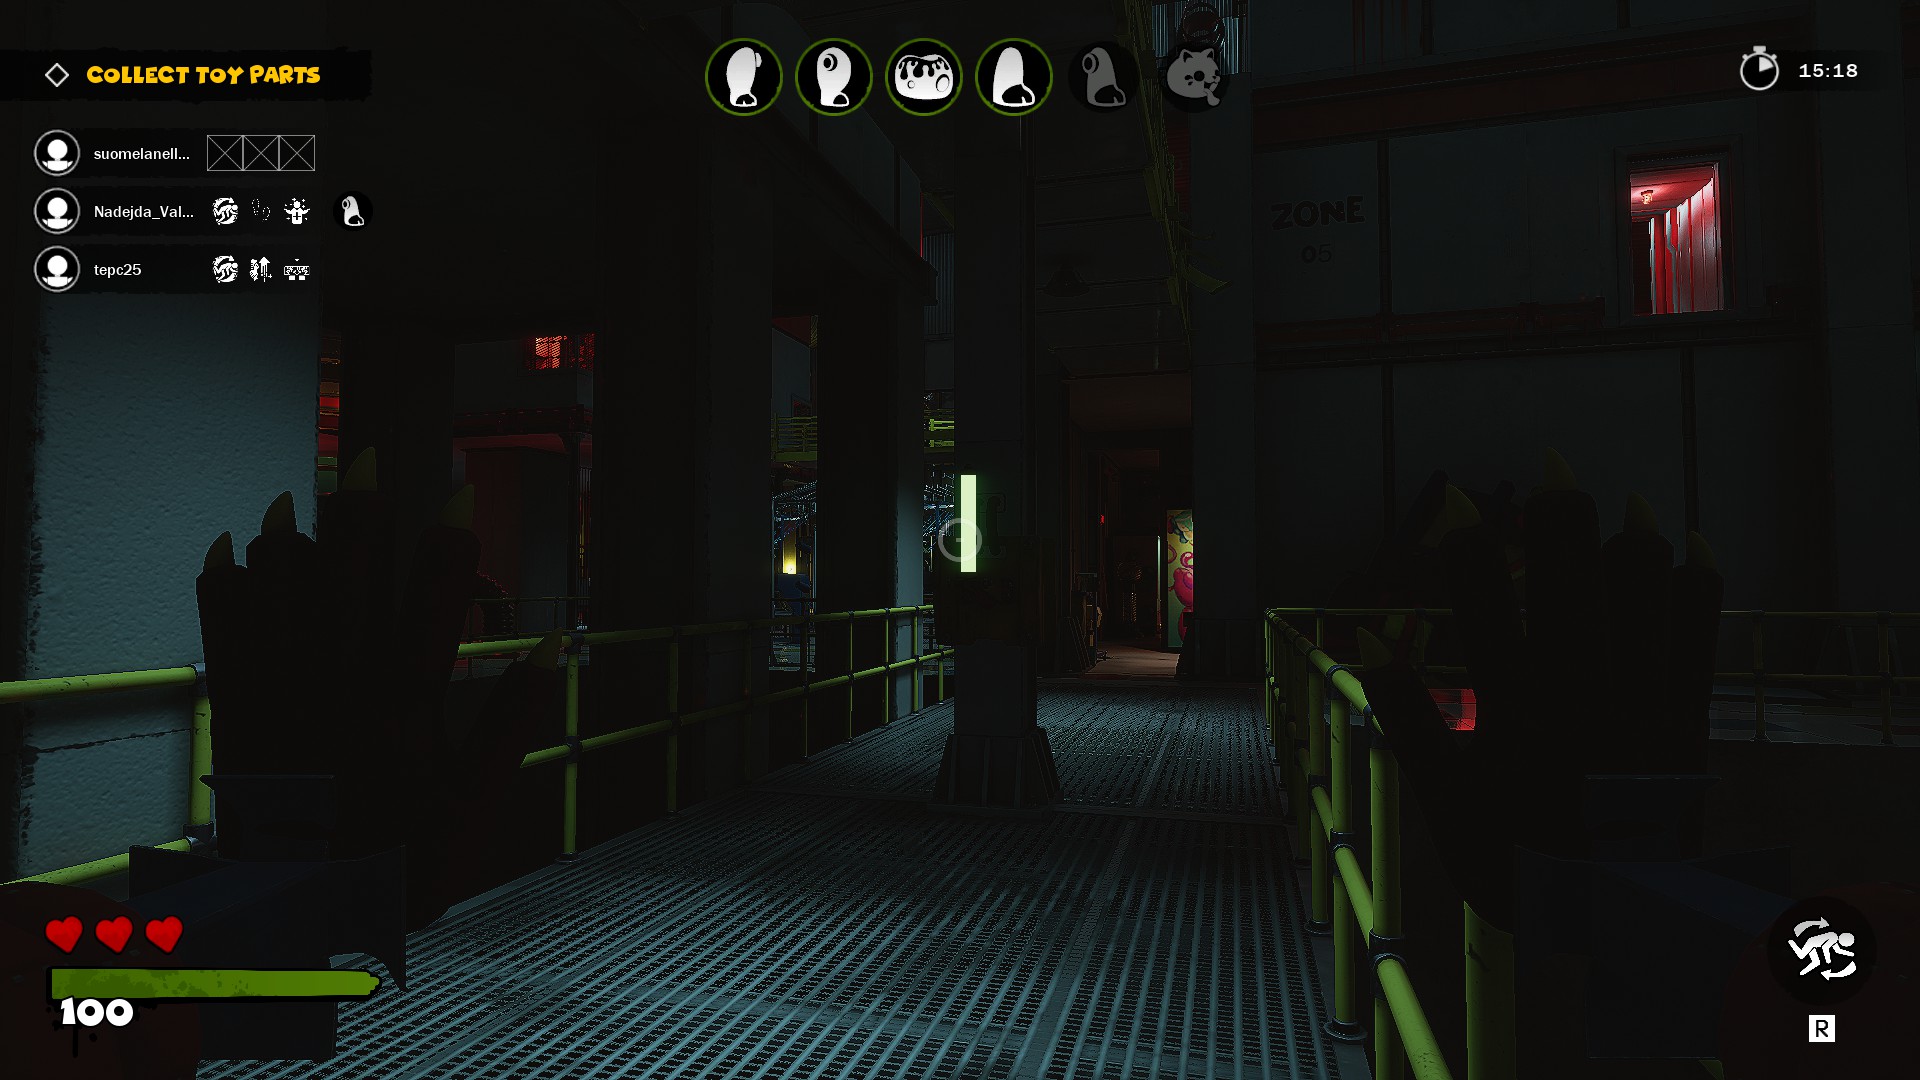
Utilize yellow handles on the ceiling: These handles allow you to traverse gaps effortlessly, potentially providing a means to escape from the pursuing monster.

Grab green handles for faster movement: Scattered throughout the map, green handles enable you to pull yourself towards them, granting you a slight speed advantage.
Call the train to a different location: If the monster is camping near the train, you can initiate a train relocation by holding a specific button for a short duration. After a brief period, the train will arrive at the new location, offering an alternative escape route.

Monster Tips and Tricks
If you are playing as Boxy Boo, utilize your Shift ability to perform surprise attacks by jumping towards survivors. Additionally, you can attempt to surprise someone by transforming into a box and hiding by holding the Ctrl key, although in my experience, this strategy is not particularly effective.
As Huggy Wuggy, make use of your Shift ability when survivors are running in a straight line or navigating tight corridors. This will increase your chances of successfully hitting them. Strategically place your mini huggies in areas where survivors are likely to pass by or near puzzle pillars.
Playing as Mommy Long Legs, leverage your Space ability to reach elevated positions and surprise survivors by dropping down on them. Rather than using all your webbing on a single target, consider shooting at them a few times to slow them down before giving chase.
Survivor Perks
Here is a list of survivor perks and my recommendations for which perks are worth using:
Roly Poly:
- Level 1: Increases roll time by 1.5x
- Level 2: Increases roll time by 2x
- Level 3: Increases roll time by 2.5x This perk is highly beneficial for beginners as it aids in escaping from the monster and reaching puzzle pillars faster. Overall, it is a very useful perk.
Shadow Walker:
- Level 1: Provides a 50% speed boost while crouching
- Level 2: Provides a 75% speed boost while crouching
- Level 3: Provides a 100% speed boost while crouching I do not find this perk particularly useful since crouching is typically only necessary when the monster is nearby and you want to remain hidden. Additionally, crouching still generates noise. This is one of the less effective perks available.
Leave No Trace:
- Level 1: No footprints when crouching (crouching removes existing footprints)
- Level 2: No footprints when walking (crouching removes existing footprints)
- Level 3: No footprints at all (crouching removes existing footprints) This perk is excellent against inexperienced players. However, more experienced players can still track you by sound or visual cues. It is a good choice if you prefer a stealthier playstyle.
Distant Savior:
- Level 1: 20% faster saving
- Level 2: 30% faster saving
- Level 3: 40% faster saving Note: Further testing is required to confirm if this perk affects reviving players from the ground as well. If you enjoy being altruistic and want to save teammates quickly, this perk is highly recommended. The 40% faster saving speed is advantageous, especially when the killer is camping, allowing you to save others without risking your own life for an extended period.
Leadership:
- Level 1: Heals people around you and yourself at a rate of 2% per second
- Level 2: Heals people around you and yourself at a rate of 4% per second
- Level 3: Heals people around you and yourself at a rate of 6% per second Note: Further testing is required to determine if the healing speed affects both teammates and yourself or only teammates. Personally, I have not found this perk to be particularly useful. However, if your teammates are capable of escaping from the monster, this perk can be a lifesaver. Being able to fully heal when you would otherwise be downed by the next hit is beneficial, although most skilled monsters will down you quickly, reducing the effectiveness of this perk.
Punching Bag:
- Level 1: Increases max health by 15% (max health becomes 115)
- Level 2: Increases max health by 30% (max health becomes 130)
- Level 3: Increases max health by 45% (max health becomes 145) The ability to withstand additional hits can make the difference between life and death. This is a great perk and highly recommended.
ThinkFast:
- Reduces the number of hits required to solve the Reflex puzzle
- Level 1: 2 fewer hits (14 hits required)
- Level 2: 4 fewer hits (12 hits required)
- Level 3: 6 fewer hits (10 hits required) If you want to complete the game quickly or earn more tickets, ThinkFast is a must-have perk as it significantly reduces puzzle completion time. I recommend purchasing Master Pianist first and then this perk to further expedite ticket grinding. (Completing a puzzle rewards you with 20 tickets.)
Genius:
- Allows the 8-button codes in the Memory puzzle to remain visible for a longer duration
- Level 1: Increases visibility time by 0.5 seconds
- Level 2: Increases visibility time by 0.75 seconds
- Level 3: Increases visibility time by 1 second This perk is not worth your time as it prolongs the puzzle duration, which is not desirable. It is best to avoid this perk as it is one of the least effective in the game.
Master Pianist:
- Reduces the number of patterns in the Piano puzzle
- Level 1: 1 pattern fewer (5 patterns required)
- Level 2: 2 patterns fewer (4 patterns required)
- Level 3: 3 patterns fewer (3 patterns required) If you want to win quickly or focus on ticket grinding, this is the go-to perk along with ThinkFast.
Remember to consider your playstyle and preferences when selecting perks. Experiment with different combinations to find the ones that work best for you.
Monster Perks
Monsters also possess perks known as Sabotages that significantly aid you in the hunt. Different characters benefit from various perks, so I recommend experimenting to find the ones that best suit your playstyle.
The costs for each perk are as follows: Level 1 – 600 tickets, Level 2 – 1200 tickets, Level 3 – 2400 tickets. To maximize your perks or sabotages, you will need a total of 4200 tickets.
Sabotages have cooldown periods, preventing spamming. I will update the list with the cooldown times once I have the information.
- Feeding Frenzy: This sabotage instantly sends any survivors you knock down (or those already downed) but not yet carried to the feeding pit. Level 1 has a 20-second duration, Level 2 lasts for 30 seconds, and Level 3 persists for 40 seconds.
Cooldown period: Unknown
This sabotage proves effective for aggressive gameplay. It particularly benefits Huggy Wuggy and Boxy Boo, enabling instant takedowns and swift pursuit of other survivors across the map.
- Boobytrap: When activated, this sabotage traps the puzzles closest to you. If a survivor attempts to use a sabotaged puzzle, it explodes, damaging them and revealing their location. The exact damage dealt requires testing. Level 1 traps 2 puzzle pillars, Level 2 traps 3 pillars, and Level 3 traps 4 pillars.
Cooldown period: 240 seconds
From my experience, this sabotage works well with mobile monsters like Boxy Boo and Mommy Long Legs. Activate it in the center of the map to quickly locate survivors. It is best used as soon as it is off cooldown while you are near the middle.
- Directionless: While active, this sabotage removes all indicators from the survivors’ screens, including the train location, toy parts, and active puzzles. Level 1 lasts for 30 seconds, Level 2 for 45 seconds, and Level 3 for 60 seconds.
Cooldown period: 120 seconds
I have not utilized this perk much as it seems relatively useless since survivors can still attempt puzzles without indicators. It may help in aggressive playstyles, preventing survivors from knowing where you drop downed survivors. However, its usefulness appears limited. It might be best suited for Huggy Wuggy and/or Boxy Boo when playing extremely aggressively.
- Living Nightmare: This sabotage plunges the environment into extreme darkness and fog, severely limiting survivors’ vision and sense of direction. Level 1 lasts for 20 seconds, Level 2 for 30 seconds, and Level 3 for 40 seconds.
Cooldown period: Unknown
This sabotage has moderate effectiveness. Experienced survivors familiar with the maps may rely on their hearing to detect your approach, gaining a slight advantage. However, you can utilize Boxy Boo’s high jump (Shift) or Mommy Long Legs’ arm (Space) to surprise survivors by closing in quickly.
- No Pack: When activated, this sabotage breaks down all survivors’ grab packs, requiring them to gather and repair them. Fixing the grab pack takes only around 1 second, making this sabotage relatively ineffective if survivors are aware they can repair them. Level 1 has a 5-second duration, Level 2 lasts for 10 seconds, and Level 3 persists for 15 seconds.
Cooldown period: Unknown
On paper, this sabotage may seem promising, preventing survivors from performing puzzles by disabling their grab packs. However, experienced survivors can promptly repair their grab packs if they are in close proximity to one another, rendering this perk ineffective early on but more useful in the endgame. If your intention is to slow down the part collection, consider using a different sabotage.
- No Escape: While active, survivors lose their defensive options. Grapple handles and crash doors become nonfunctional, and Port-A-Lounges reveal any survivors hiding within. Level 1 has a 15-second duration, Level 2 lasts for 30 seconds, and Level 3 persists for 45 seconds.
Cooldown period: Unknown
This sabotage proves highly effective when pursuing survivors but lacks versatility beyond that.
- Shutdown: When activated, all puzzles cease to function. Survivors must find one of the two breakers within the environment and manually reactivate all puzzles connected to it. It takes 10 seconds to repair the breaker at Level 1, 15 seconds at Level 2, and 20 seconds at Level 3.
Cooldown period: Unknown
This sabotage is excellent for slowing down survivors and potentially securing multiple downs. It is advisable to use it at the beginning of the game, rushing to one of the breakers, where you are likely to find someone. Attempt to utilize it as frequently as possible, as it also alerts you when someone repairs the breakers. Boxy Boo benefits from this sabotage due to their high agility.
- Total Lockdown: When activated, all crash doors seal shut, blocking several access points across the map. Level 1 keeps doors closed for 30 seconds, Level 2 for 45 seconds, and Level 3 for 60 seconds.
Cooldown period: Unknown
I have achieved great success with this sabotage while playing as Huggy Wuggy. By closing doors after getting close to survivors, panic ensues as they have limited escape routes. This forces them into narrow corridors or predetermined areas, allowing you to easily utilize your Shift ability to swiftly down them