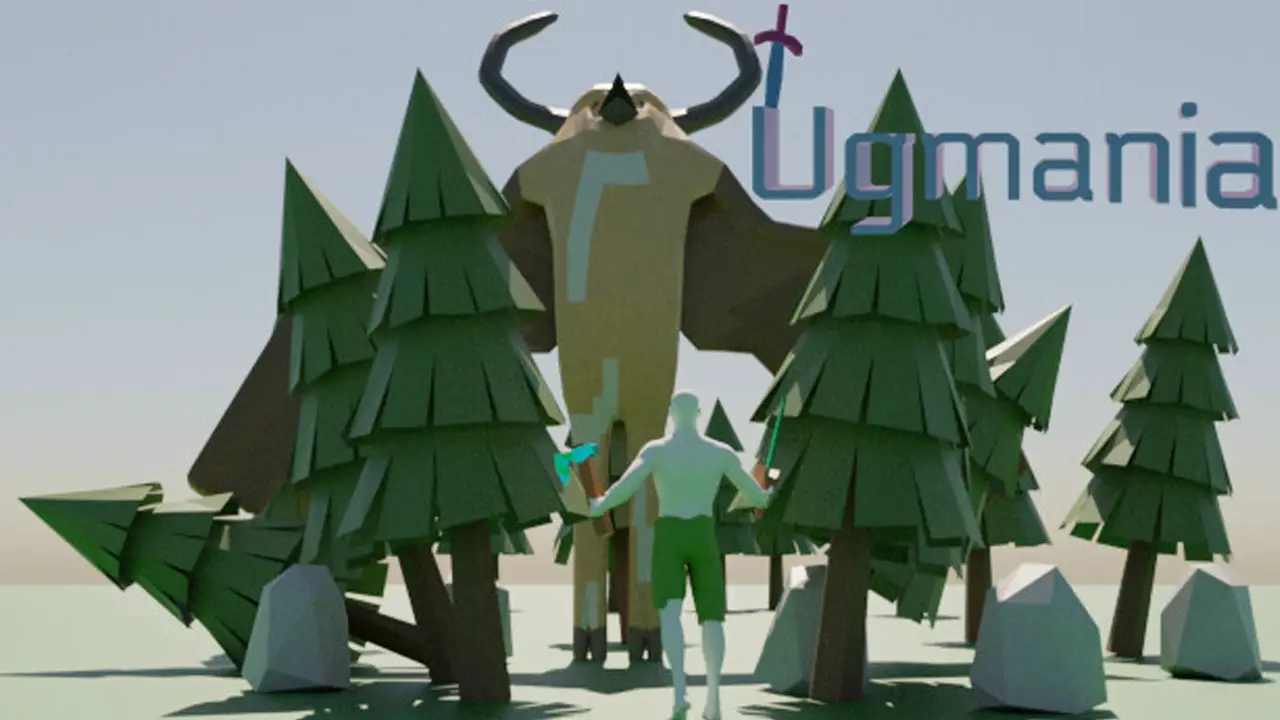
This guide will show you how to easily beat Ugmania.
Starting Out
This guide details how to beat the game as intended without using any cheesy strategies. However, cheesy strategies do exist, and you can find them in other guides. As you start the game, you will be greeted with a starting cutscene. Run downstairs, avoid the fires, and grab the thingamabob. Craft it into a fixed thingamabob, and complete the starting cutscene. Then, run back upstairs and fly to a lush planet. Land on it after it loads. This is the core gameplay loop.
After landing on the lush planet, look around. Your ship destroys trees and other things that it lands on, so you will easily get some wood, biomass, and berries. Get 10 wood to craft a workbench and a wooden pickaxe. Mine some rocks (4) to get enough for a stone pickaxe, and craft it at the workbench. Now, you need to mine iron. You need 10 iron for an anvil, 4 for a sword, 10 for a foodery (optional), and 12 for armor. Note that Iron tier tools and armor are crafted at the anvil, so you will need that first. If you don’t want to get a foodery, you can make some basic foods at a campfire instead. Optionally, you can make a bow and arrows if you want to shoot stuff. Do note that lots of things are sold by villagers which can make your life easier.
With full iron armor, a sword, and some food, you can now fight the first boss, the Sacred Tree. You need the wood it drops to craft higher-tier tools and some other items. To find the Sacred Tree, look for the huge tree with golden leaves that don’t unload. Chop it down to begin the fight. A lot of its attacks come from the ground. At longer range, it makes cages, then makes the ground spiky, then cages, and then makes a line of spikes. In later phases, it will also make a circle of spikes around you so you have to stop moving. At melee range, it attacks a few times, smashes, and then teleports somewhere in the arena (when it rises from the ground, it will damage you). For more details on its attacks, visit the wiki page. Hit it, shoot it, and heal yourself when you get low, and eventually, you can kill it!
It drops 7-8 sacred wood, which you should keep for use in tools and other items. It also drops tons of normal wood, money, and sacred acorns, so you can grow more sacred wood.
Mid-game
Congrats, you killed your first boss! Now you can progress up smoothly. The next pickaxe you need to mine titanium is steel. You can either get the steel yourself, or buy it at the astronaut villagers on rocky planets. After getting titanium tier gear, you may notice that the next tier is locked. You need to fight another boss!

After trading with villagers, you might have noticed a torn keycard trade. That is critical to progression. With the torn keycard and 2 titanium, you can repair it into a full keycard. If you haven’t already been, go to a Glacial planet to explore. You will find a huge base, locked with that keycard. Opening it up, a strange voice will tell you to press the button. Prepare your armour and healing, and press the button. Run! A huge combat UFO called Project Obex will drop from the sky, seemingly hacked by something judging by the monitor from the base. It has two main range attacks, a gun which is easily dodged and missiles, which will rapidly kill you. Dodge one of its attacks, and run under it, and slap it with a sword, dodging its electrical melee attack. Alternatively, shoot it from a large distance away with speed boosts to dodge the missiles. Once it dies, you should quickly grab its drops and lore, because whatever made you push that button isn’t playing any tricks…
Out of the ground will burst Wyrm, a huge worm wearing glowing armour. After he trash talks you a bit, he will begin attacking. Many of his attacks can be dodged by standing close to him, but when he jumps into the air you need to get out of the way. Note that his entire body has damage reduction, except his head. Slap him when he does his laser sweep attack. The best time to hit him is when you stun him, so if you can get your hands on a meat club you can stun more effectively. After hitting him enough, he will lose his armour, transitioning to his second major phase. In this phase he will not shoot any more lasers, instead breathing fire everywhere. He also has no damage reduction in this phase. In this phase, stand near him, because lots of his attacks are dodged by that. Avoid getting caught in his fire breath, as it ignores armour and does tons of healing-cancelling damage. Eventually, you can kill him, and he falls, dropping 1-2 of his horns, tough meat, and huh?! An NPC?! Thats right! The Professor has just moved into your ship, and she needs a bit of help!
Getting the Compoundry
The Professor has just moved to your ship, and she needs some assistance. The items she needs to complete her quests are as follows:
- 10 Iron
- 8 Bits
- 8 Bobs
- 10 Exosilicon
- 10 Gold
- 1 Pellucid Energy*
- 5 Screws
*You need to craft and use the Tempest Recontainer while near the Pellucid Tempest, a boss found on Bizarre planets, and take the glowing blue pellucid energy drop from the item.
After doing these quests, she will leave your ship, and give the blueprints to the Compoundry, the endgame crafting station. Congratulations! You can now grind the endgame best items in the game!
Theres still other things to do, of course.
Caving and the Forgotten Remnants
Deep underground, in some caves, you can find the Forgotten Remnants, the ancient remains of a long-gone civilisation. Heres a quick guide on how to plunder the loot from it and get some cool items. NOTE: BRING A TORCH AND MINER HAT, ITS SO DARK.

The entrance to the Forgotten Remnants, found in some caves.
The entrance level of the ruins contains some houses and lore (and a rare chance at a toilet) but thats mostly it. There is a large rocky blockage however, requiring steel tier to mine, which lets you into the second level of the ruins.
This level is much more dangerous, and easy to get lost in. There are many looping rooms, and similar looking places, however there are some rules:
- The rooms with pillars and chests, or farms, or houses, are end rooms. They don’t lead anywhere else
- Some non-end rooms have ‘dark torches’ in them. They will spawn enemies.
- The room with the red chandelier and grave is always in the same spot. It is important, we will get back to it later.
- Many rooms, even end rooms, have small houses with crossed swords above them. These are armouries, and their chests contain good loot.
The end rooms contain the loot you want. The ‘Farm Room’ with dark mushrooms and farm plots are very important, as the farms contain a special soil where you can grow sacred acorns, star fruit and meat (yes, meat), but you need a shovel to get this soil so do bring one along. Always check the short pillars in end-rooms, they can sometimes have a magic staff on them. But wait, where can we craft the magic staffs and items….
The red chandelier room contains the first and (currently) only boss in the Forgotten Remnants: the Time Honoured Champion. This boss is fast moving, and hard hitting, so have armour and healing, and be good at dodging. Also, the lighting in its arena is pretty bad, so maybe bring your own, or if you have found it, use the staff that shoots lights. Note that the Champ can disarm you, so be ready to go fumbling for your weapon. Killing the time honoured champion will drop one of 3 of his loot items, and a crafting station, the Forge of the Forgotten. With this, you can craft every magic item! Some of them need ingredients to be brought down from the surface, but some you can find everything in the ruins. Also, from the armoury chests, you can get Ancient Aurum armour and tools. The armour is indestructible (and gives magic weapon buffs), and the tools charge up. The Ancient Aurum Tiara makes your armour indestructible. The other weapons are pretty self explanatory.
With your new magic items, you can now parade around on the surface and look sick!!