This guide will be showing you some of the best tips and tricks that you can use when playing as a victim in The Texas Chain Saw Massacre.
Loadout: Perks
Using an optimal loadout is key to victory. It’s also better to start leveling up the right perks so you don’t waste time. In this section of the guide, I will justify all of the perks and attributes used in my builds for each victim.
Choose Flight (S Tier)
Once depleted, your stamina bar will instantly refill. Has 3 charges.
- The primary way family kills victims is by chasing them until they run out of stamina.
- The best way to escape is to quickly complete objectives and run towards the exits.
- This perk solves both of these issues by granting you 3 instant stamina refills whenever you desire.
- Use charges when…
- You know you won’t make it to a gap, crawl space, or barricade in time before being hit by a family member. Especially a charging Leatherface.
- Dashing towards a fuse exit in order to beat body blockers
- Dashing towards an open contested pressure gate exit
- Dashing towards the Family House main road exit after turning off the generator
- Dashing towards objectives such as locked doors/gates, car batteries, etc while family is distracted (especially Tier 2/3 critical doors).
- Do not use the charges unless it is a critical situation…
- Always leave 1 stamina bar left so you don’t accidentally consume a charge.
- You can crouch in the middle of dashing to to ensure you don’t consume a charge.
- Keep an eye on your stamina bar so you don’t accidentally waste a charge.
- Eventually you will get a natural feeling of it and won’t have to check your stamina bar that often.
No Sell (S Tier)
Getting hit by a Family member results in 80% less damage. Has 3 charges.
- This perk is Leatherface’s kryptonite.
- Leatherface is the strongest killer in the game, he can move faster than dashing victims and can either one shot or one-two combo victims to death.
- Being able to receive only 20% dmg from 3 charged attacks nullifies leatherface’s combat style where he delivers infrequent but heavy damaging attacks.
- Leatherface will often land a charged attack on a victim in the middle of going through a gap, crawl space, barricade, or ladder where he cannot follow up with a light attack. By utilizing this mechanic, you can effectively conserve your 3 charges by preventing follow up light attacks.
Scenarios
- Running towards the pressure valve gate exit being guarded by charging Leatherface? You already won already if you have 1 charge of no sell, he cannot kill you with his combo as his main damage, his charge attack will only do 20% damage and his light attack does little damage to you. Same applies to any other exit where you can be 100% confident Leatherface can’t kill you right before an exit.
- In the basement and didn’t reach a gap, crawl space, or barricade in time? No worries! You just consume 2 charges from the combo and get to resist death. You still can survive another combo as you have 1 charge remaining for the next charge attack. Remember to go through gaps/cracks to conserve your charges (try to prevent combos).
- Obviously, all of the above is mute if your charges get wasted. This is why you need to effectively use the Choose Flight perk in order to give you that extra edge in avoiding hits.
- If you are going to close encounter a family member or barge them, always do it around a blind spot (corner) so they don’t waste your No Sell charges. You can also try to bait out attacks and then close encounter/barge if there are no blind spots you can use.
- Early basement deaths of any victim spells disaster for the rest of the game. This perk, if used correctly should prevent any basement deaths from ever happening again and deeply weaken Leatherface’s threat level towards you later in the game.
Bomb Squad (A Tier)
You are able to dismantle a trap without the use of a bone scrap. Dismantling traps is also 80% faster.
- Victims should ALWAYS be carrying a bone shard in order to defend themselves from solo attackers. Bomb Squad is very powerful as Hitchhiker’s traps normally requires you to consume a bone shard to remove 1 of his traps leaving you defenseless. This perk also allows you to defuse his traps extremely quickly which is very important for high traffic areas such as the stairs in family house.
Scenarios
Unequipped Bomb Squad
- You are at Gas Station, and you’ve successfully lockpicked the 1st battery gate. You have a lockpick for objectives, and a bone shard for defense. You see a hitchhiker trap on the battery, and decide defuse the trap, consuming your bone shard because you don’t want to alert him and his team early. You defused the trap, turned off the car battery, and are lockpicking the last gate to escape! You finished 2 segments of the lockpick, but then you get whacked by Cook in the back right before you finish lock picking. He then laughs at you, camps the final gate, and then calls over his friend Leatherface who kills you with a charging attack.
Equipped Bomb Squad
- Same as the scenario above, but this time you remove the trap without consuming your bone shard. You are lockpicking the final gate with 2 segments done, but then… Cook whacks you in the back right before you finish. WHAT THE DEVIL! In fury, you left click Cook to initiate a close encounter struggle. You punch Cook in the balls, then instantly get back to lock picking the door where you finish the final segment quickly while stunned Cook is cupping his balls and throwing up his arms. You see Leatherface approaching but you are safe and just slam past the final gate.
- This scenario applies to everything, doors/gates, batteries, generators, fuse boxes, valves. Bone shard are infinitely more useful for punching family members in the nose or balls than wasting it on Hitchhiker traps who can infinitely reset them and place multiple of them in a path where you have to constantly restock your limited bone shards.
Choose Fight (A Tier)
Sneak attacks and close encounters stun Family members for 5 seconds longer.
- Close encounters are highly undervalued in it’s ability to simultaneously ward off an attacker, and distract multiple family members.
- You are essentially invulnerable from any solo family member if you are carrying a bone shard and are somewhat close to a basement door or well.
- This perk will guarantee that any solo family member chasing you will be unable to kill you after being stunned for a long period of time.
- An important thing to know is that all of the increased stun durations perks do not affect the motion capture animations (Hard stuns), they instead make the attackers unable to sprint or attack, which heavily impacts their ability to chase and kill.
- Without this perk, family members such as Johnny can instantly start sprinting and doing his lunge spam move to catch up to you quickly.
Efficient Locksmith (A Tier)
When unlocking doors, there is a 40% chance the unlock tool won’t be consumed.
- As I stated before, best way to escape is to quickly complete objectives and run towards the exits. Instead of wasting very precious seconds scavenging for extra lockpicks, you can speed past the map without stopping.
- Considering that you need to unlock 4 doors to escape maps like Slaughterhouse, you can see how this perk can be very effective at rushing.
Stunt Double (B Tier)
Receive less damage when jumping out of windows or climbing down wells, and get back on your feet faster after doing so. Damage received is 70% less.
- Family House exclusive perk, useful for jumping out the window AFTER you activate the fuse. I will explain more later on in the guide.
- Never use this perk if Hitchhiker is in the match during Family House unless you are Sonny, Bomb Squad is WAY more important than Stunt Double.
- Also counters the Family Windoom perk which increases window damage to victims.
What Doesn’t Kill You (B Tier)
After being injured by a melee attack, avoiding additional damage for 15 seconds will reward you with 100% of the health you just lost.
- Kinda good perk, but this perk is very inaccessible for many victim paths, going for this perk will disable more important perks like Choose Flight, and Bomb Squad for many victims.
- We will only be using this perk for Sonny who has no access to the No Sell, Choose Fight, and Bomb Squad.
Lucky Lockpicker (B Tier)
The very first time you use an unlock tool to open a door, it has a 50% chance not to be consumed.
- Same concept as the Efficient Locksmith perk, but less powerful. We will be using it on Connie who has no better perk alternatives.
- Connie’s build in this guide will use both perks leading to a 90% chance to not consume a lockpick on your first door.
Loadout: Attributes

Proficiency (1st Priority)
Proficiency determines how quickly Victims can complete skilled environmental interactions such as lock picking, item gathering, fuse box and pressure valve repair, along with car battery disabling.
- Proficiency is the most important attribute in the game.
- This attribute governs the speed you use to perform every single important action in the game.
- Consider that most families run the Grandpa perk that increases lock difficulty by 40%, and remember that you have to unlock around 4 doors to escape Slaughterhouse.
- High Proficiency heavily speeds up how fast victims can come online and start working on objectives. You would be a fool to not max this attribute out.
- It also affects car battery, fuse box, and pressure valve, and it really really speed it up at max level. Family members will be surprised to see you working on the final gate after you quickly escape the basement and they’re distracted by Leland.
- It gives me great pain when I see people who did not invest into proficiency take ages to lockpick doors and do objectives. I’ve seen countless people lockpicking the final gate only to get killed right before they finish it.

Stealth (2nd Priority)
Stealth influences the Victim’s ability to perform various actions silently, as determined by the noise meter.
- Good for gathering lockpicks on the surface and past Tier 1/2 doors quickly without making noise.
Endurance (3rd Priority)
Endurance determines the Victim’s total stamina capacity, along with stamina drain and regeneration rate.
- Stamina is more important than toughness, especially considering the presence of the No Sell perk.


Toughness and Strength (4th and 5th Priority)
- Do not spec into these attributes, not as important as the others.
Loadout: Builds
How to get these builds?
- Go to a victim, and fully reveal their skill tree.
- You see all of the perks that are currently shown on the tree? Those perks already there can never be random perks on that victim’s tree.
- Click a perk to see all the possible perks that victim can have.
- The perks that are not already on the tree, but are on the possible perks menu are the perks they can randomly roll.
- Take the proper path to get all of the perks I mention in the builds and pick the best path to get the most attribute points too.
- Connie will require no random perk rolls.
- All other victims except for Leland will require 2 random perk rolls.
- Leland will require 3 random perk rolls, will take hours to get.
- Use the loadouts feature to quickly switch perks depending on the situation.
- The ability builds are for level 3 abilities. If you have a lower ranked ability, adjust according to what you think is best.
- I will update this guide with pictures of the skill paths when I can.
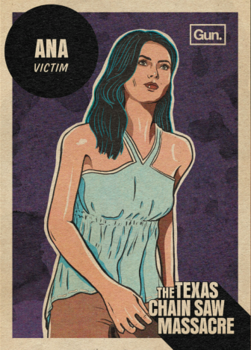
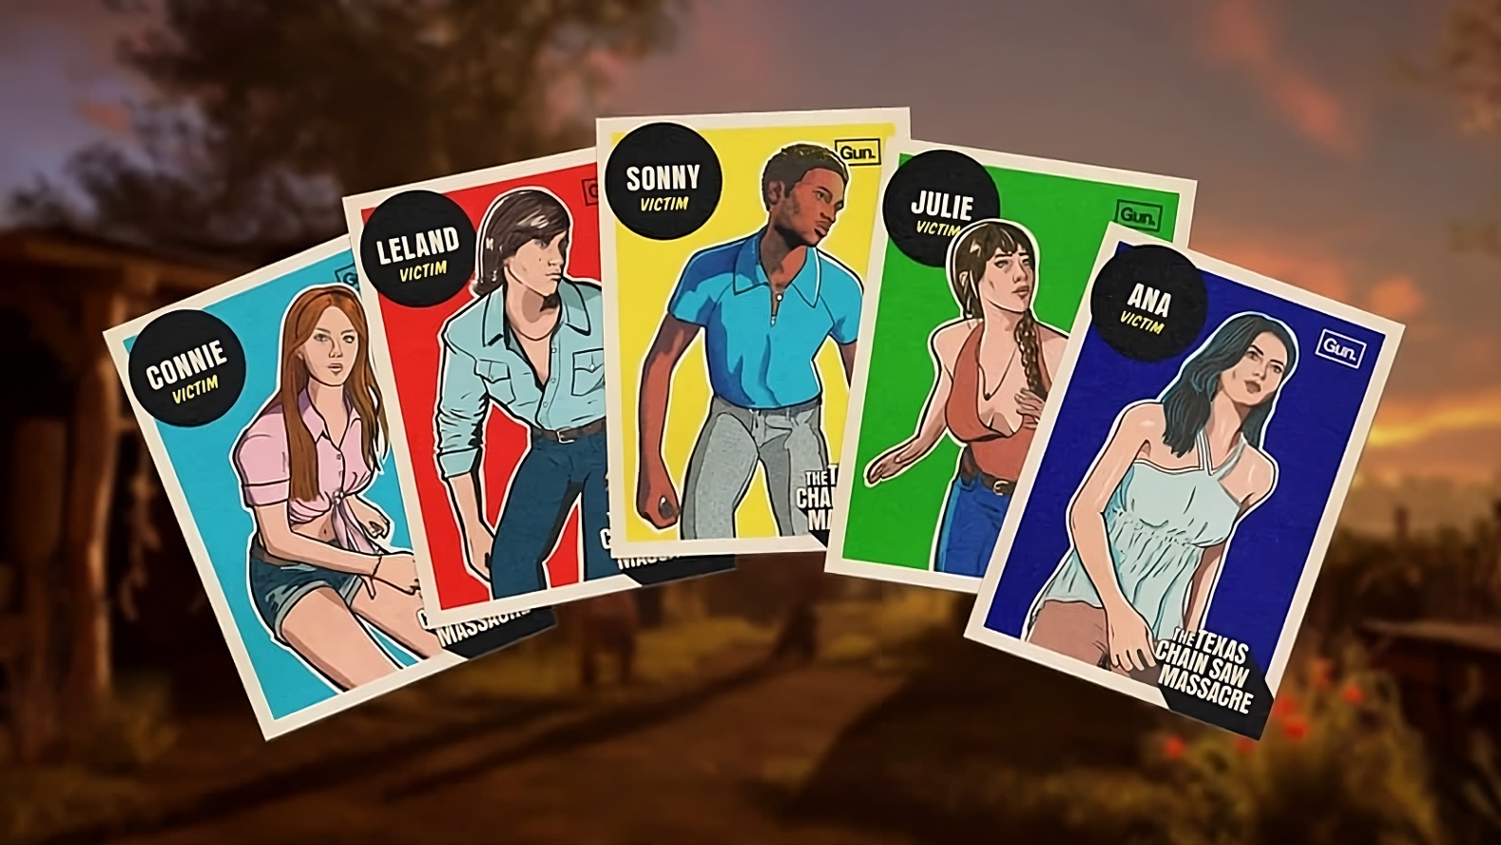
Ana
- +30 Proficiency (50/50)
- +2 Stealth (22/50)
- Pain Is Nothing (Increased Duration 1, Stamina Hit Recovery 2, Reduced Damage 3)
- Hitchhiker isn’t in lobby/game
- Choose Flight, No Sell, Choose Fight
- Hitchhiker is in lobby/game
- Choose Flight, No Sell, Bomb Squad

Connie
- +15 Proficiency (50/50)
- +10 Stealth (40/50)
- +3 Endurance (28/50)
- Focused (Quicker Recharge 1, Quicker Recharge 2, No Stamina Cost 3)
- Hitchhiker isn’t in lobby/game
- Choose Flight, Efficient Locksmith, Lucky Lockpicker
- Hitchhiker is in lobby/game
- Choose Flight, Efficient Locksmith, Bomb Squad
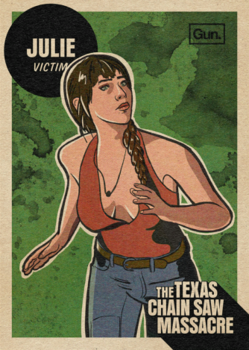
Julie
- +29 Proficiency (49/50)
- Ultimate Escape (Increased Duration 1, Increased Duration 2, Decreased Sprint Stamina 3)
- Hitchhiker isn’t in lobby/game
- Choose Flight, No Sell, Choose Fight
- Hitchhiker is in lobby/game (Includes Family House map)
- Choose Flight, No Sell, Bomb Squad
- Map is Family House and Hitchhiker isn’t in lobby/game
- Choose Flight, No Sell, Stunt Double
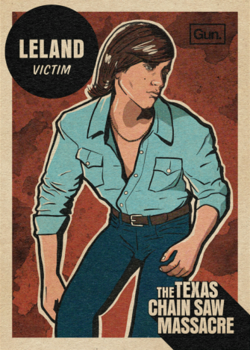
Leland
- +25 Proficiency (50/50)
- +2 Stealth (12/50)
- Life Saver (Increased Stun Duration 1, Restore Stamina 2, Quicker Recharge 3)
- Hitchhiker isn’t in lobby/game
- Choose Flight, No Sell, Choose Fight
- Hitchhiker is in lobby/game (Includes Family House map)
- Choose Flight, No Sell, Bomb Squad
- Map is Family House and Hitchhiker isn’t in lobby/game
- Choose Flight, No Sell, Stunt Double
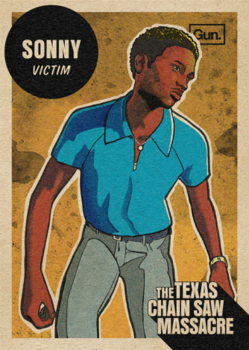
Sonny
- +25 Proficiency (50/50)
- +4 Stealth (19/50)
- Heightened Senses (Shorter Cooldown 1, Ability Drain Reduction 2, All Knowing 3)
- Map isn’t Family House
- Choose Flight, Efficient Locksmith, What Doesn’t Kill You
- Map is Family House
- Choose Flight, Efficient Locksmith, Stunt Double
Gameplay: Pregame and Early Game
Pregame
- Check out this Interactive Map here if you aren’t familiar with the maps.
- Use these fixed reference maps on a second monitor during gameplay to see where the objectives can spawn.
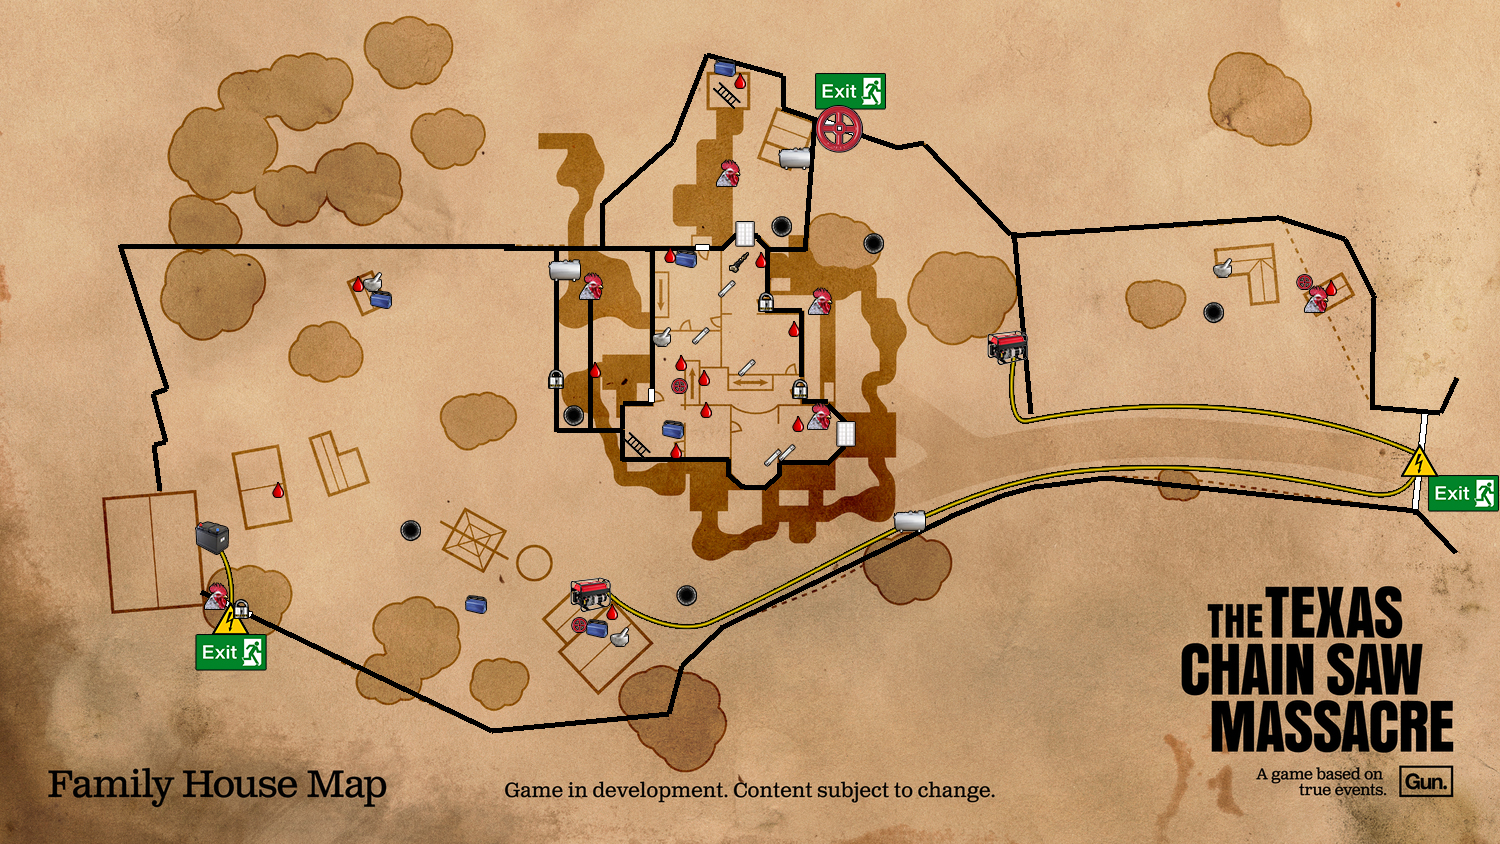
Family House
Gas Station

Slaughterhouse (2 valve and bottom left fuse box locations have been changed. Bottom left fuse box has been replaced with a possible fuse location).

Early Game

- Restraints Minigame
- Ignore avoiding noise for the restraints game, you need to get out as quickly as possible.
- Leatherface is still in his cutscene and won’t be able to see you making noise.
- Searching for supplies
- Search for a lockpick and a bone shard. Order does not matter, pick up these supplies as soon as you see them.
- Do not go double lockpick or double bone shard. You need to be able to defend yourself while being able to complete objectives at all stages of the game and vice versa.
- Never carry health items, make sure not to accidentally pickup a health item too as they disappear or become very hard to find afterwards for those that need it immediately. You should only be picking up health items if you are going to immediately use them.
- Defending yourself
- Grandpa has probably woken up by now, and it’s possible that there is one extra family member in the basement
- If spotted, use the bone shard to close encounter the family member, preferably away from Leatherface past gaps and barricades.
- Unlocking Doors
- Now that you possess a lockpick and a bone shard, head over and preferably unlock a STAIRS basement exit, doubly so if a Hitchhiker is on the Family side.
- After unlocking the basement door, you want to walk outside to get the “Player has escaped basement” notification in order to give you points on the scoreboard and make the family team think you’ve escaped.
- As a matter of fact, never leave the basement after unlocking a door unless you’ve restocked your lockpick or it wasn’t consumed by using the perks.
- After having a lockpick and bone shard, then you can leave the basement.
Why should I not care about waking up Grandpa in the basement? Because…
- The two other family members will wake up Grandpa in around 1 mins with blood anyways, causing all the lost time victims spent avoiding waking up Grandpa to be completely worthless.
- A untargeted victim would’ve have already unlocked a basement door (waking up Grandpa) within 45 seconds to start pressuring the surface level (good). This means that the victims who were taking it slow will be underequipped in supplies and the amount of doors they’ve unlocked.
- The only benefits the family receives from Grandpa waking up early is that the basement doors may be unlocked by them and Grandpa does a singular sonar scream.
- Victims severely limiting the speed they gather supplies and unlock the basement doors in the early game is never worth the sacrifice.
- Victims should always strive to quickly apply pressure on the surface of the map in order to goad Leatherface to leave the basement and for the other family members to stop feeding Grandpa. If you do not quickly open doors and pressure the surface, Leatherface will remain in the basement with all four victims, satisfied that everyone is still in the basement.
But if I wake up Grandpa early, all of the family members will rush the basement and kill us! Explain why it’s still worth it? Because…
- Family members that come down into the basement are running a fools errand, as I said before, every victim should always be carrying a bone shard. Family members just cannot kill victims in the victim sanctuary (basement), equipped with bone shards.
- There is too many gaps, crawl spaces, bone shards, doors, barricades, and line of sight breakers for the family.
- However, it is still possible to die if you don’t have a bone shard and are fighting fast family members, which is why I emphasis that you always be carry a bone shard and restock ASAP.
- There is too many gaps, crawl spaces, bone shards, doors, barricades, and line of sight breakers for the family.
- Family members that come down into the basement greatly endanger the surface, meaning that the untargeted victims that the Family are not currently chasing, would have opened a basement door already and have started working on the critical doors, fuse, and/or valve above.
- Family members chasing victims in the basement essentially creates lots of space in the area that matters (surface) and the chased victims in the basement will even be rewarded by a fuse door opening or a completely unlocked escape path on the surface.
Gameplay: Mid Game and Late Game
Mid Game
Opening 1st basement door and restocking lockpick in basement
- As I’ve stated before, you should heavily prioritize opening basement doors that lead to stairs and not ladders in order to easily retreat from family members and not get hit by unavoidable Hitchhiker traps.
- Unlock a stair basement door, then run out just enough to get the “Victim has left the basement” notification in order to increase your scoreboard points then run back in to get another unlock tool in the basement. (Family checks scoreboard to see if someone left).
- DO NOT LEAVE THE BASEMENT WITHOUT HAVING ANOTHER UNLOCK TOOL
- This is to get Leatherface out of the basement and patrol outer exits where no one even is at because no one actually “left the basement yet”.
- You want to minimize the possibility of a basement kill by getting Leatherface to leave as soon as he sees that a victim has too many points (left the basement).
- Another benefit of tricking the family members on the surface who believe you have escaped already and start searching is to stop them from feeding blood to Grandpa and prepare traps/restock poison.
What should I do next?
- After you’ve restocked your lockpick and have a bone shard, you need to make your way up the basement safely.
- To do so, you must ensure that Leatherface or another family member in the basement doesn’t see you going up the stairs.
- This is to prevent “Sandwiching” where you get double teamed from the surface and the basement at the same time.
- A victim who is sandwiched as no way of defending themselves as they cannot close encounter a family member who is supported by another one.
Ok, what if a family member from the surface sees me and starts rushing me?
- This is a pretty common scenario, and exactly while you have a bone shard.
- You want to run back down into the basement exit you opened and close encounter the family member when they follow you down
- Try to break line of sight/lose them after close encountering them so they waste time in the basement and you can escape elsewhere.
- This is immensely helpful to your victim teammates as you buy them tons of space and time to do objectives on the surface.
- After you close encountered the family member, run away and gather up another bone scrap.
- Repeatedly close encounter the family member if he/she is still chasing you, it is easy to infinitely stun them if you are good at navigation.
- Return to doing the objectives after you lose them with another spare bone shard at the ready.
Disclaimer on close encounters
- Connie and Julie have only 15 strength.
- You need to be very careful and not get hit right before initiating a close encounter.
- If these two victims have around 80% health, they will probably lose the close encounter and die.
Head towards battery or generator doors
- Stealthily make your way towards either the battery or generator escape, while eyeing for any possible fuse or valve locations in the 1st main area.
- I believe 3 fuses and 3 valves spawn on every map, the value of these special escapes vary depending on whether they spawn in the 1st critical door area or the 2nd critical door area
- Prioritize the normal escapes first, too many people overvalue valve and fuse as they may spawn past the 1st critical door, they are harder to find, you need to go backwards into the level to use them, they take longer to do, and you can’t expand the “Victim Play Area” as quickly as unlocking a normal critical door.