
This guide describes how to obtain most (more under Info) badges for Dread Vine’s Cove. Please comment if something isn’t understandable or if anything is missing.
Island Badges
Hey, We Can See Each Other!
Stand on 3 Inquisition Towers at the same time
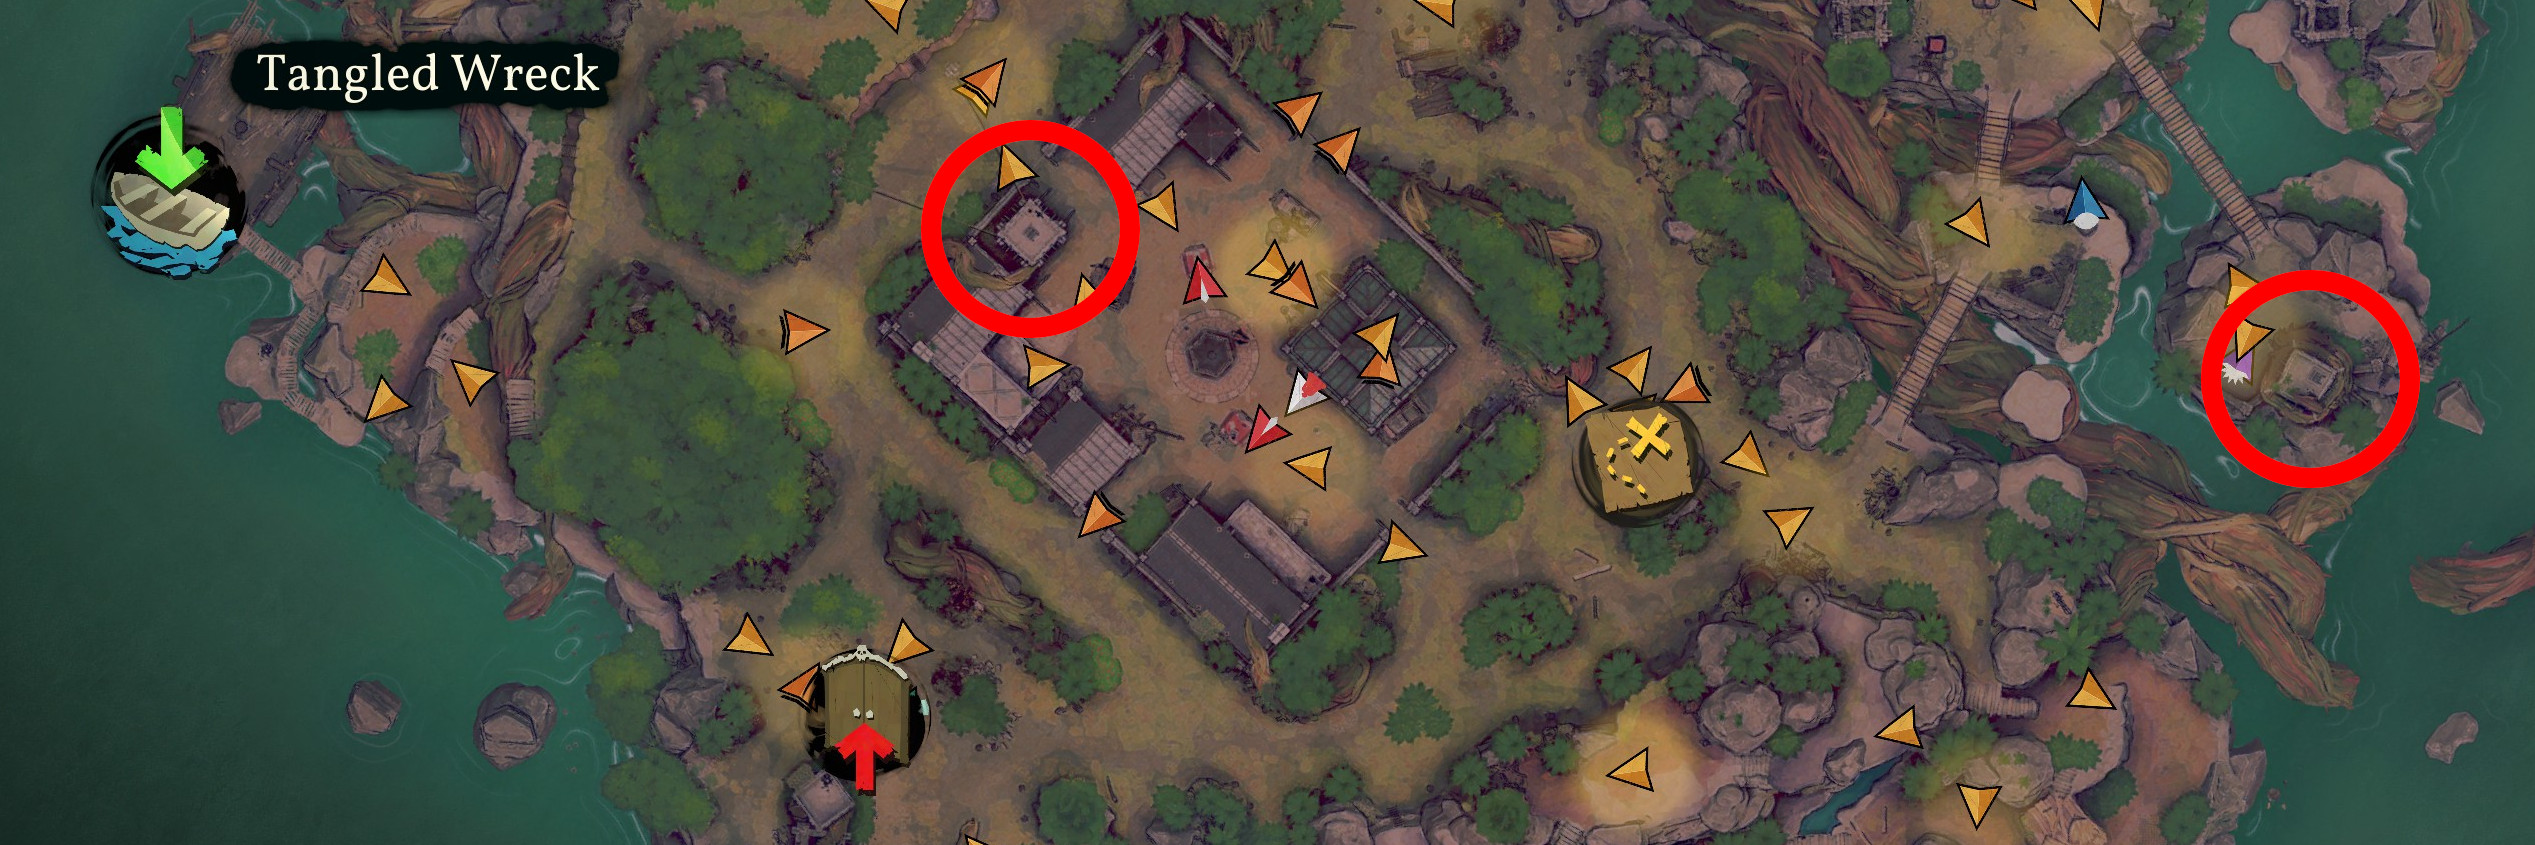
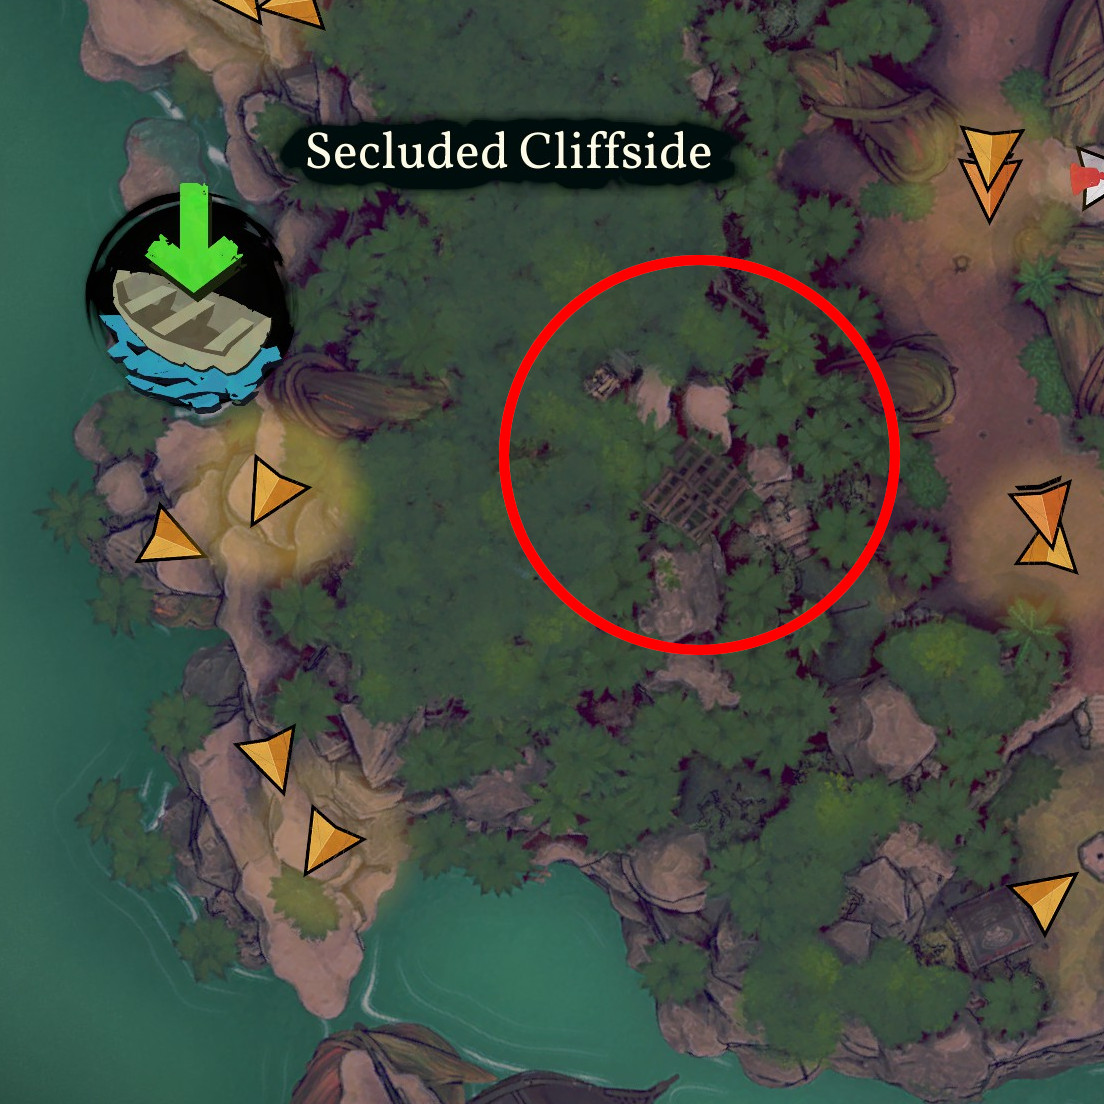
Alcoba Azul
Dive into this hidden grotto with a crewmate who can swim

It’s not easy making a screenshot where you clearly see the grotto, but if you look around in the area with the red circle, you will quickly spot it.
Highly Volatile
Kill 10 or more guards with Fear Fruit environment kills in one mission
The easiest should be to do this on the mission Suleidy’s Cure because there are 7 Fear Fruits on the map, 5 as mission objectives and 2 that are permanently on the map (near the Dreadvine in the center).
Silence the Custodes!
Kill 7 Custodes in one mission
In some missions (for example Fruits Of Her Labor), right in front of the Dreadvine (The big wooden Skull in the center of the Island) are 3 more Custodes in addition to the 4 that are guarding the tears.
Feeding the Dread
Throw 20 Bodies into the gulch around the Dreadvine
For this, you need to throw the bodies somewhere in the chasm surrounding the Dreadvine (The big wooden Skull in the center of the Island). I recommend using Gaëlle for this mission, just in case you’re not able to kill and not hide enough bodies in the proximate area, so you can quickly carry more bodies there.
Cliff Racer
Reach the highest point on the island
Gaëlle is neccessary for this. I recommend doing this with Teresa to progress her badge The Crow Flies (Visit all highest points of all Islands).
Fruits of Her Labor
Sinister Thought’s
Collect all memory fragments
You can collect all of them in one go, they do not dissapear after you completed your objective.
No More Experiments
Kill all the guards inside the research outpost
Straight forward. Do not knock them out, kill everyone. I recommend killing the ones guarding the entries as well, just to be sure.
Firekeeper
Don’t extinguish any lights
Remember, guards carrying lamps also count here. So if you kill one of them, do not walk over/near their bodies or might extinguish the light by accident.
Pickpocket
Steal the key without attacking any Kindred
This one is quite easy, since you’re allowed to kill all the other guards and then simply distract the Kindreds.
Bark and Bramble
Trouble At the Beach
Don’t take Afia, Suleidy, John or Pinkus on this mission
Without Suleidy’s Cover Seeds, it’s quite hard doing this with only a few kills, so my recommendation would be to build a team without the specified characters and go ham and kill as many guards as needed.
Beach Safety
Don’t attack any guard on the beach
For this, Suleidy and her Cover Seeds might be the best choice here. Other than that, distractions is what you need. So Gaëlle’s Firecracker or Afia’s Time Freeze are also good options here. John’s Anchor Down is also always a good option if you leave tracks in sand. With his upgraded skill Pull Down you can also hide your whole team in the Below.
I’m Going In Alone
Only one crewmate is allowed to set foot on the beach
While it might be the obvious choice to take Suleidy for this, I would recommend using either Toya with his upgraded skill Shadow Swap or John, so you can quickly hide when guards are spotting your tracks in the sand.
Also helpful for this is, that you can still place your other teammates on the walls at the beach, meaning you can still take Suleidy with you and throw Cover Seeds right where you need them or distract guards with Gaëlle’s Firecracker. Alternatively you can simply take Pinkus with do everything on the beach and Quentin to get quickly get him out with Treasure Rod.
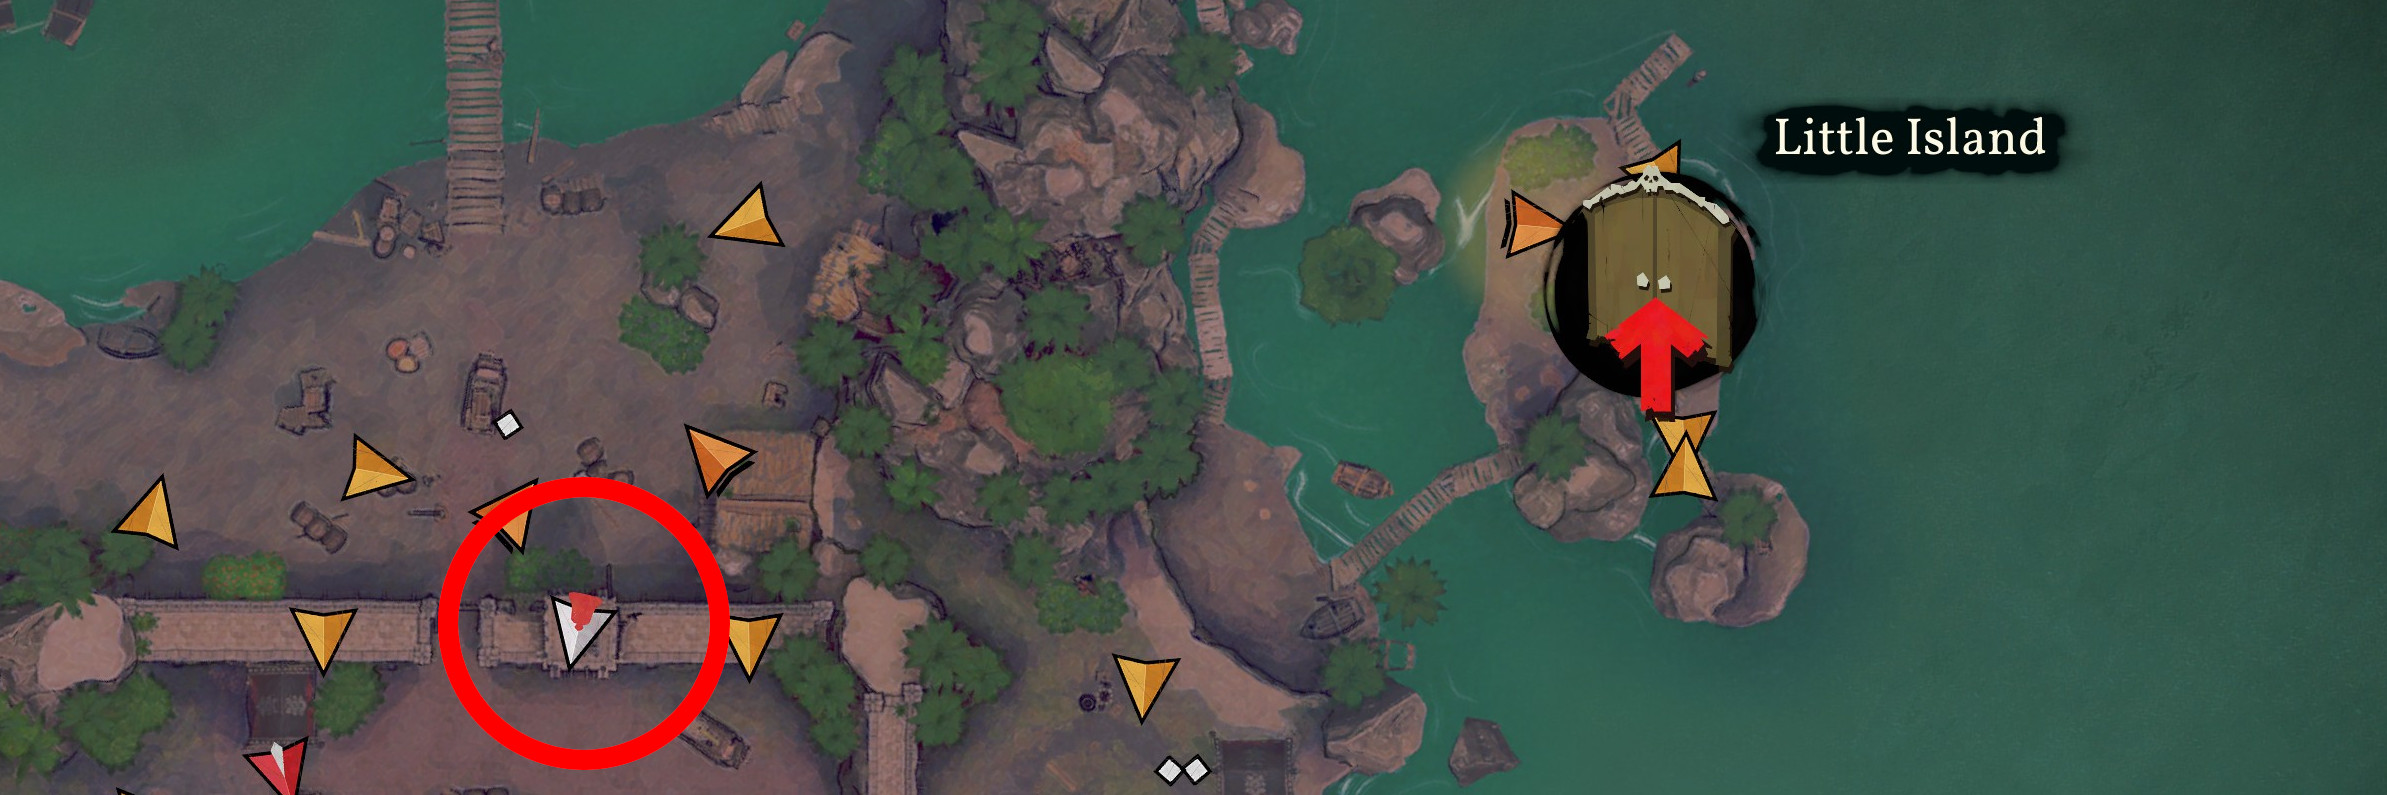
3-2-1 Relic!
Grab all 3 relic pieces at the same time
The easy way here is to simply kill every guard surrounding the relics. Than you can place your team in front of every relic and use shadow mode to interact with them at the same time.
Haggling With a Plant
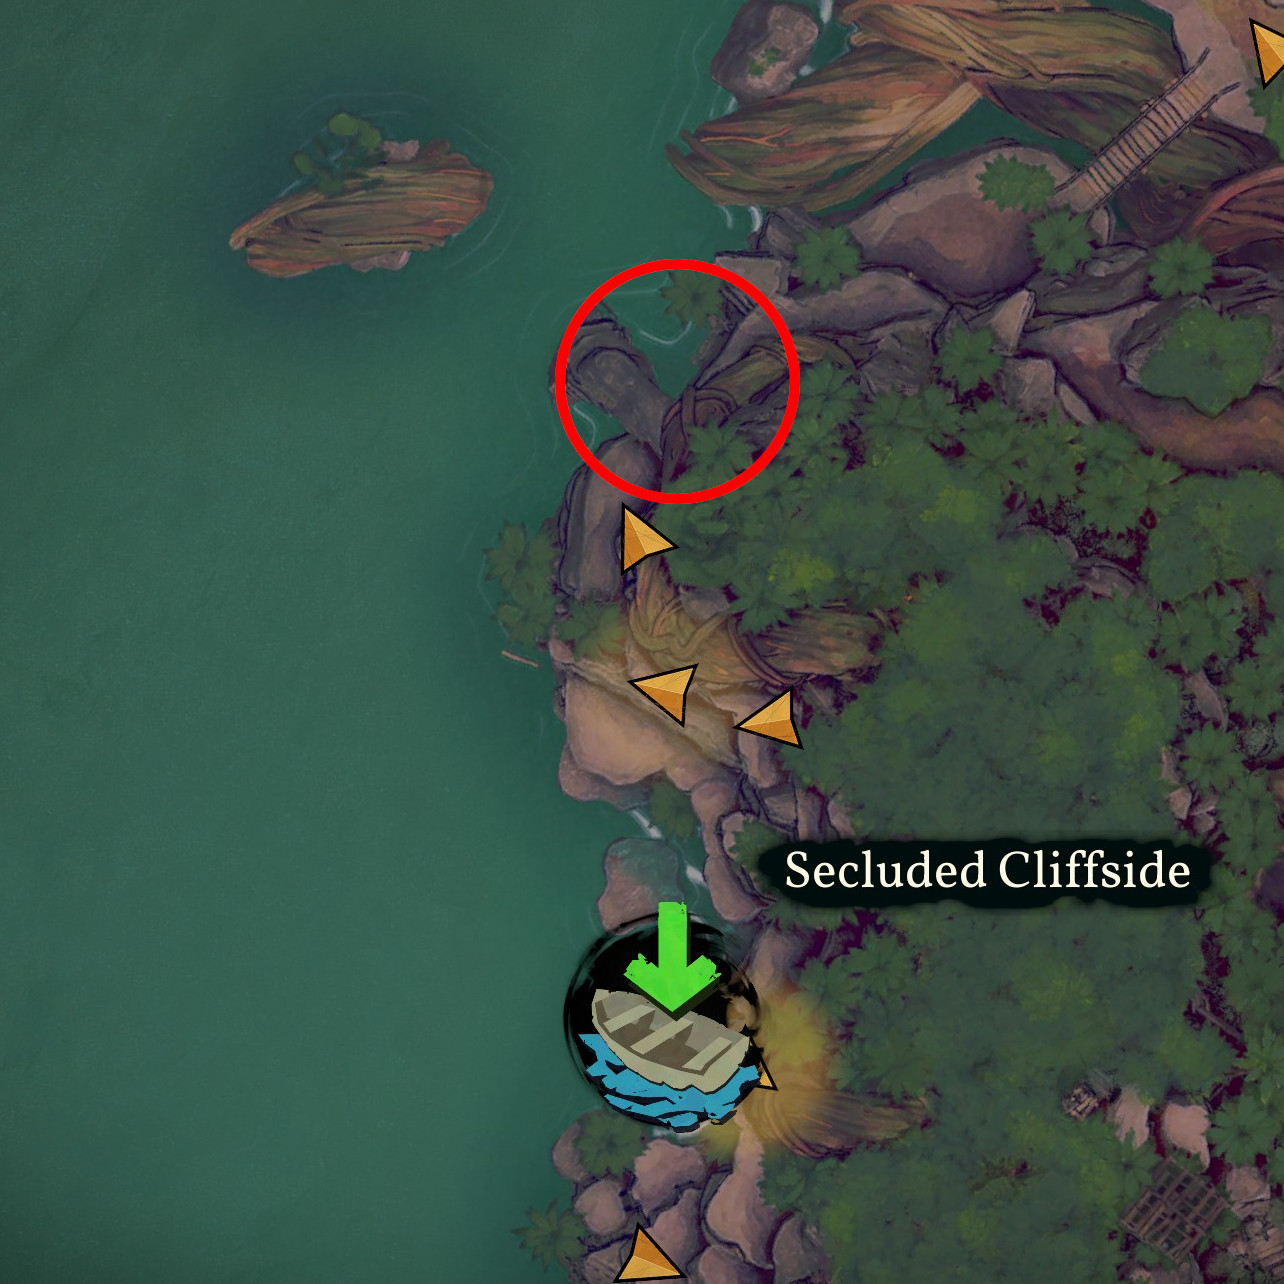
Cliff Jumpers
Don’t use any Bridges
The intended way to do this is to use the lower cliffs that are on each of the islets. They have a lot of bushes and you can jump to the next one up until the one with the pearl on it.
Alternatively you could use the Wombo Combo which is shooting teammates with Gaëlle’s Kanol and then reeling her in with Quentin’s Treasure Rod. But honestly, it’s a lot more work to do it this way.
Prognosticar From Afar
Only one crewmate is allowed to enter the islet with the Black Pearl
I recommend doing this with either Afia or John, since they basically use their skills to move without being seen, which would make it quite easy to get past the Prognosticar.
Alternatively, if you want to kill him, simply take Teresa with you and provoke him from afar.
Three Against One
Defeat the Magistratus and his 2 lackeys using only a single crewmate and without raising alarm
The description here is a little misleading. You are allowed to distract any of those guards with any character, but you have to kill everyone of them with a single character. For the killing I recommend either Suleidy, Toya or Gaëlle with her upgraded skill, because those are the fastest melee kills. John is also a viable option, since his Anchor Up kill immediatly hides bodies. But alternatively, I recommend taking Suleidy in your team for 2 reasons: She can quickly hide bodies with Cover Seeds and she can send single guards away with Wander Dust. To complement this, I also recommend Afia and her Time Freeze to distract the other guard.
Quick Summary: A good setup is Toya for the kills, Suleidy for sending guards away and hiding bodies and Afia to distract one of the guards.
Suleidy’s Cure
Comfort Food
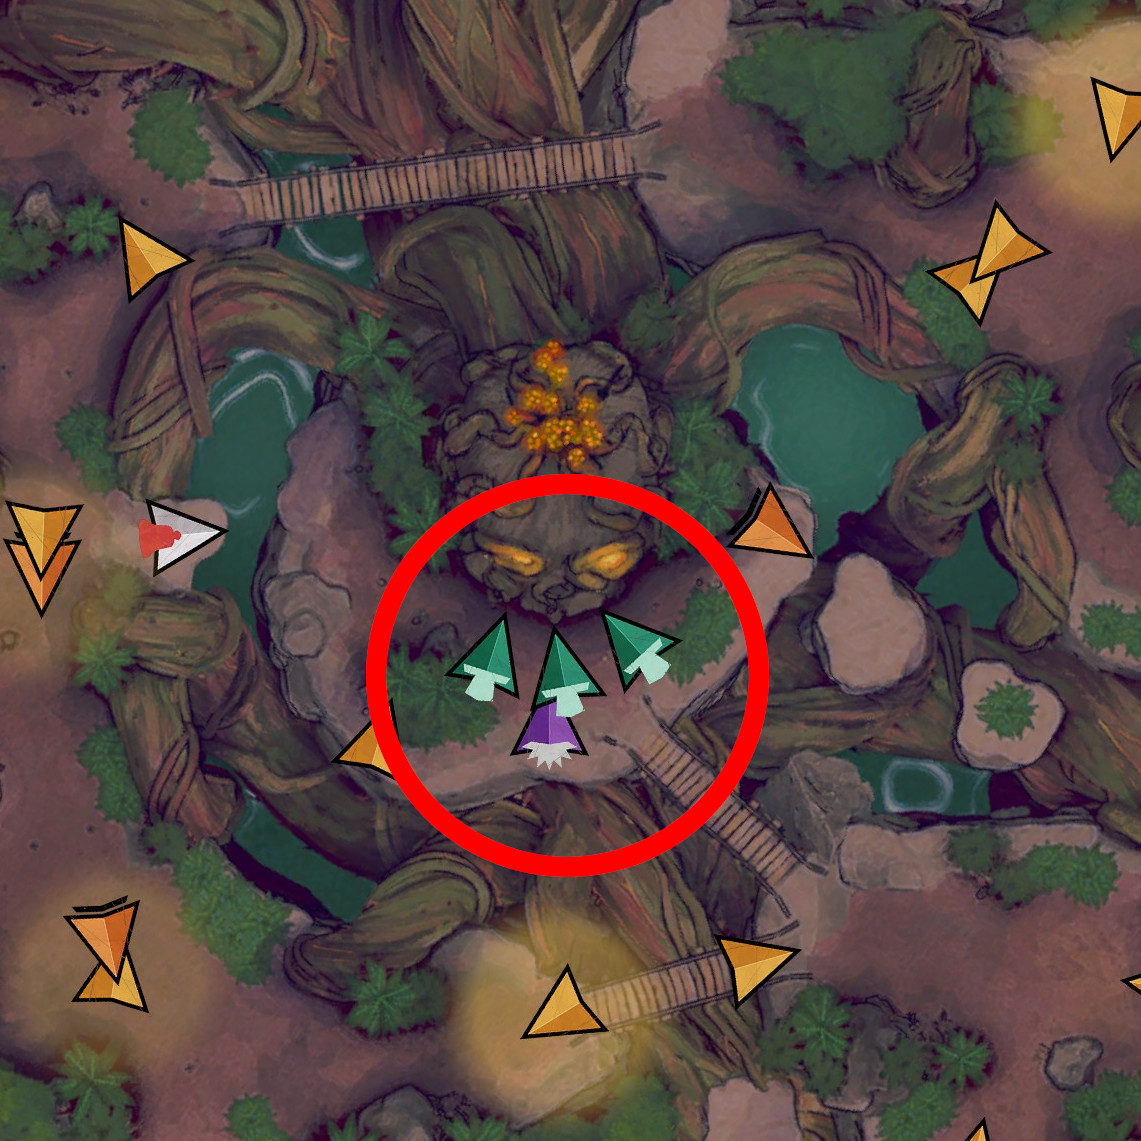
Feed the Dread Vine 8 bodies
For this, you have to place 8 living guards inside the angry bushes. You don’t have to lure them there, you can simply knock them out (and optionally tie them up).
I’m not a 100% certain if you can place the bodies in them after you “finished the bush”, so I recommend carrying at least 2 bodies and dropping them in bushes at the same time. This would be just to be safe, if you have tried something different, let me know!
Oh No You Don’t
Kill the Grand Rectificator with Suleidy
This is the last Prognosticar that is doing the ritual right at the end of the mission. Provoke him with anyone and kill him with Suleidy.
Double Operation
Kill both Kindred with Suleidy
This is easier than it might sound. Simply safe one pistol shot for this. Kill one of them with your melee which only takes 2 seconds, the immediatly kill the other one with the pistol. I recommend killing the other guards beforehand to make it a little more chill.
Clean Hands
Don’t kill anyone until Suleidy has examined the root
This also isn’t as hard as it sounds. Place a bush with Cover Seeds right on the interactable objective, sneak in and you’re done.