This guide includes what I think is the most important specifically for the Honour mode to make it easier and boost chances of surviving a run (to get achievement or whatever). There are general tips, party tips (builds) and playthrough tips.
Introduction
I’ve decided to write this because all Honour mode guides that I know are lacking some important stuff, some are overflowed with secondary details and some are just wrong. So for me, it was rather problematic to figure out what is really important before starting my Honour mode run. I’ve indicated here only what I think is the most important specifically for the Honour mode to make it easier and boost chances of surviving a run, assuming that you’re already know the basics and completed the game on lower difficulty. Following these tips is never mandatory of course, one can complete it without all of these, but it will make your playthrough safer and easier (if that’s what you want, let’s say to get an achievement).
General tips

1. Don’t play the Honour mode if you haven’t completed the whole game on lower difficulty. Unless you can enjoy failing multiple long runs. You can’t load saves, so it’s nearly impossible to avoid lethal mistakes without knowing the game (or cheating). Also, I would not recommend the Honour mode at all if the tactician mode was not easy for you.
2. Every one of the 4 party members should always have at least one invisibility potion in their inventory. To use if you will have to retreat from a battle. In such a case, one surviving hero can go to Withers and resurrect the whole party (with their inventory secured in camp). It’s a basic precaution from the party being wiped out in combat.
3. Use consumables and buffs heavily in all boss fights and any fights before the party is level 5. Potions, elixirs, coatings, prebuffs, buffs, scrolls and arrows. Stuff that boosts attack rolls is specifically good for Honour mode, like Oil of Accuracy and Elixir of Battlemage’s Power. Try to use Bless just before every significant fight, if not it’s a good option for cleric or paladin first turn, especially early game. Of course, normally you should use it all on the lower difficulties as well, but most people are lazy to get into this, except for the most obvious stuff. In Honour mode, it’s much more important, so you should study everything you have, use alchemy, buy from vendors, distribute consumables among the companions.
4. Carefully read the description of every boss’ legendary actions (specific to Honour mode) before fighting them (by “examine”, or better google it before starting a fight). As well as you should always check the boss’ regular resistances and immunities.
5. Use a charismatic leading character with persuasion skills to avoid the boss fights when possible. Don’t underestimate persuasion because of the dices, it’s totally achievable to overcome random in Honour mode without any exploits. Crucial things here are the management of inspiration points that you should save for the important dialogues and a Friends cantrip (but only use it if you’re not going to be around this NPC after the effect is gone, they turn hostile afterwards in Honour mode, use Enhance Ability when you can’t use Friends), as well as bonuses from Guidance and Bardic Inspiration. Avoiding difficult fights gives you better chances of surviving your honour run.
6. If you want it easier, play an evil Dark Urge. Some fights are easier in the evil path, some fights can be avoided, there are some bonuses from origin and you don’t have to worry about saving anyone, you can just murder all of them in praise of Bhaal!!! Well… except Volo, better to save him both in act 1 and act 3, he gives a decent buff in the final fights. Well… and you should also think about tieflings if you’re using a cantrip sorlock and want the Potent Robe…
7. Some dice checks, including in dialogues, are repeatable for every party member. If you failed some important check by all 4 party members you can construct a specific mercenary to maximize chances, as well as to add a bard for Bardic Inspiration, also use Enhance Ability. But you don’t need this to dig chests, you can just use a shovel without a successful survival check if you can guess where it is dug.
8. Start battles from stealth when possible, with a stealth expert, to potentially “surprise” your foes, so they will miss a turn. After the first companion starts a battle, other 3 can join it from stealth as well, you can position them as you like before they entered a battle.
9. Use an Alert feat for all offensive builds, except ranger-stalker who has a similar bonus from subclass. It’s crucial when your party is acting before the enemies, with good offensive builds you can kill or disable most of the dangerous foes before they can act, preventing difficult fights. It should be combined with good mobility of melee carriers, the best option here is Misty Step that you can get by various means, including items.
10. Use a balanced party of OP builds with respecs and substitutes. Let’s look into it in more detail.
Party tips (builds)
You can beat the Honour mode with any balanced party, you don’t have to be restricted and there are no mandatory builds or even classes. You can even beat it solo with Tav alone. But if you want to do it in the safest and easiest way I would recommend the following balanced party as very efficient and that also fun to play and involves most of the best companion-related content (so it would also be enjoyable). I’ve used it as an evil Dark Urge in my Honour mode playthrough.
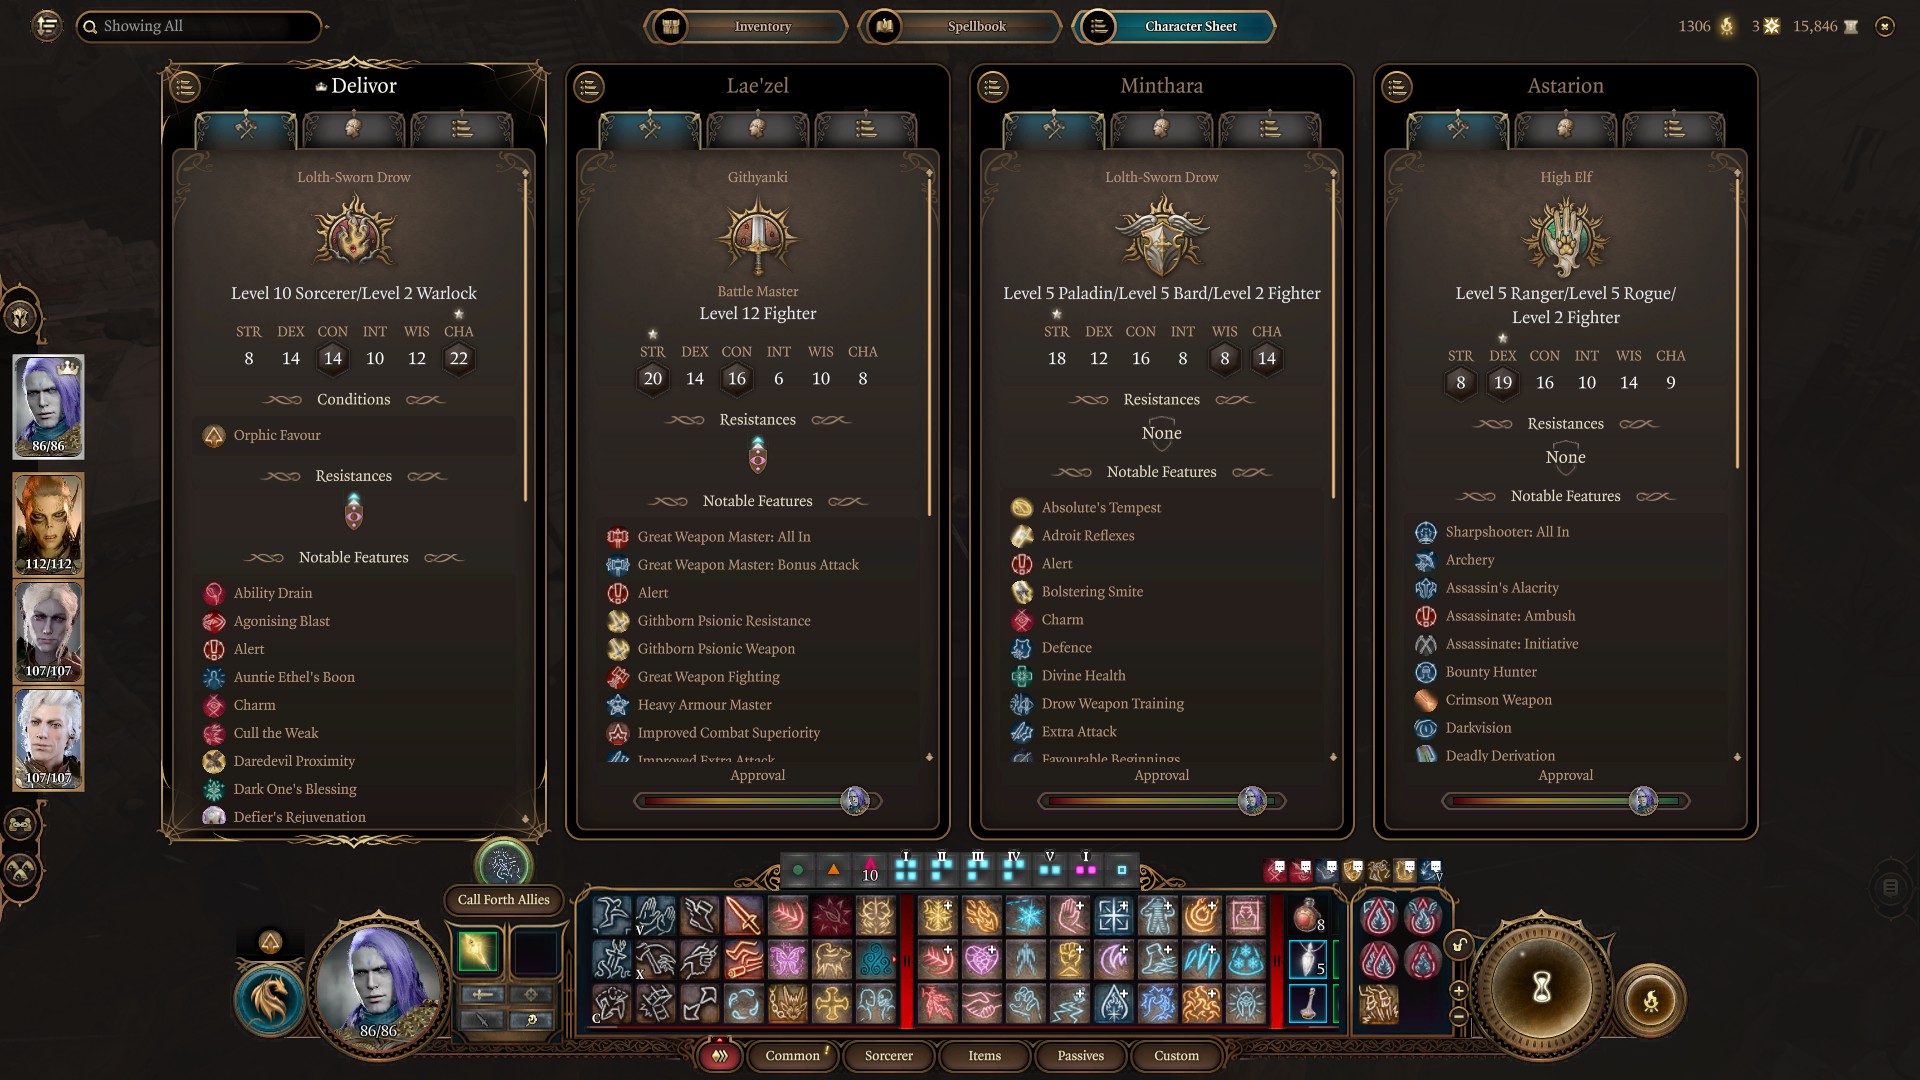
Main (durge/tav) – Sorlock – Sorcerer 1 / Warlock 2 / Sorcerer 9
8/14/14/10/12/17 (better for non-combat and roleplay) or 8/14/16/8/10/17 (max survivability)
17 implies that you MUST get +1 charisma from a hag.
This build is focused on dealing tons of damage with warlock’s cantrip (Eldritch Blast) adjoined with sorcerer’s metamagics and passives, while also being a good caster overall, as well as a skilled persuader.
Start as a sorcerer with a Draconic Bloodline subclass (AC and HP). Ancestry is not important for this build, White could be good to get Armor of Agathys and for damage from Ice Storm later, or Red for damage from Fireball and Fire Wall. The must-haves are cantrips Friends and Fire Bolt, as well as Magic Missile. Proficiencies in Persuasion, Deception and Intimidation are also must. Perception and Insight are good options (but Medicine for durge). Race doesn’t really matter, default durge reptiloid is ok, or anything you like. I prefer drow, it gives Perception, most impactful for dialogues and looks cool.
Second and third levels are multiclass into warlock: fiend, Eldritch Blast (core of this build!), Hex (core), Agonising Blast (core) and Repelling Blast. Starting from level 4 everything goes into the sorcerer. First metamagics are Distant, Twinned (tactical) and Quickened (core). Feats – Alert and charisma +2 (to 20). Use Enhance Ability.
The best item for this build is Potent Robe, but you will only get it in Act 2 in the Last Light Inn if you’ve rescued the tieflings in Act 1 AND if Alfira is still alive, which is complicated for durge (but achievable if to knock her out preventively, after talking with her). Daredevil Gloves are also good for this build, can be bought in Creche in Act 1. In Act 3 you should buy a +2 charisma hat (Birthright) in Sorcerous Sundries.
There are other variations of this build, like 6/6, 8/4, 8/2/2fighter, 5/5/2fighter, etc, but I don’t recommend any of those over 10/2, because there is a passive bonus to damage for cantrips at sorcerer lvl 10 and sorcery points are given with every sorcerer level, they are really useful, as well as level 5 spells are nice. Though in terms of pure damage first turn 8/2/2fighter is better, 3 spells first turn.
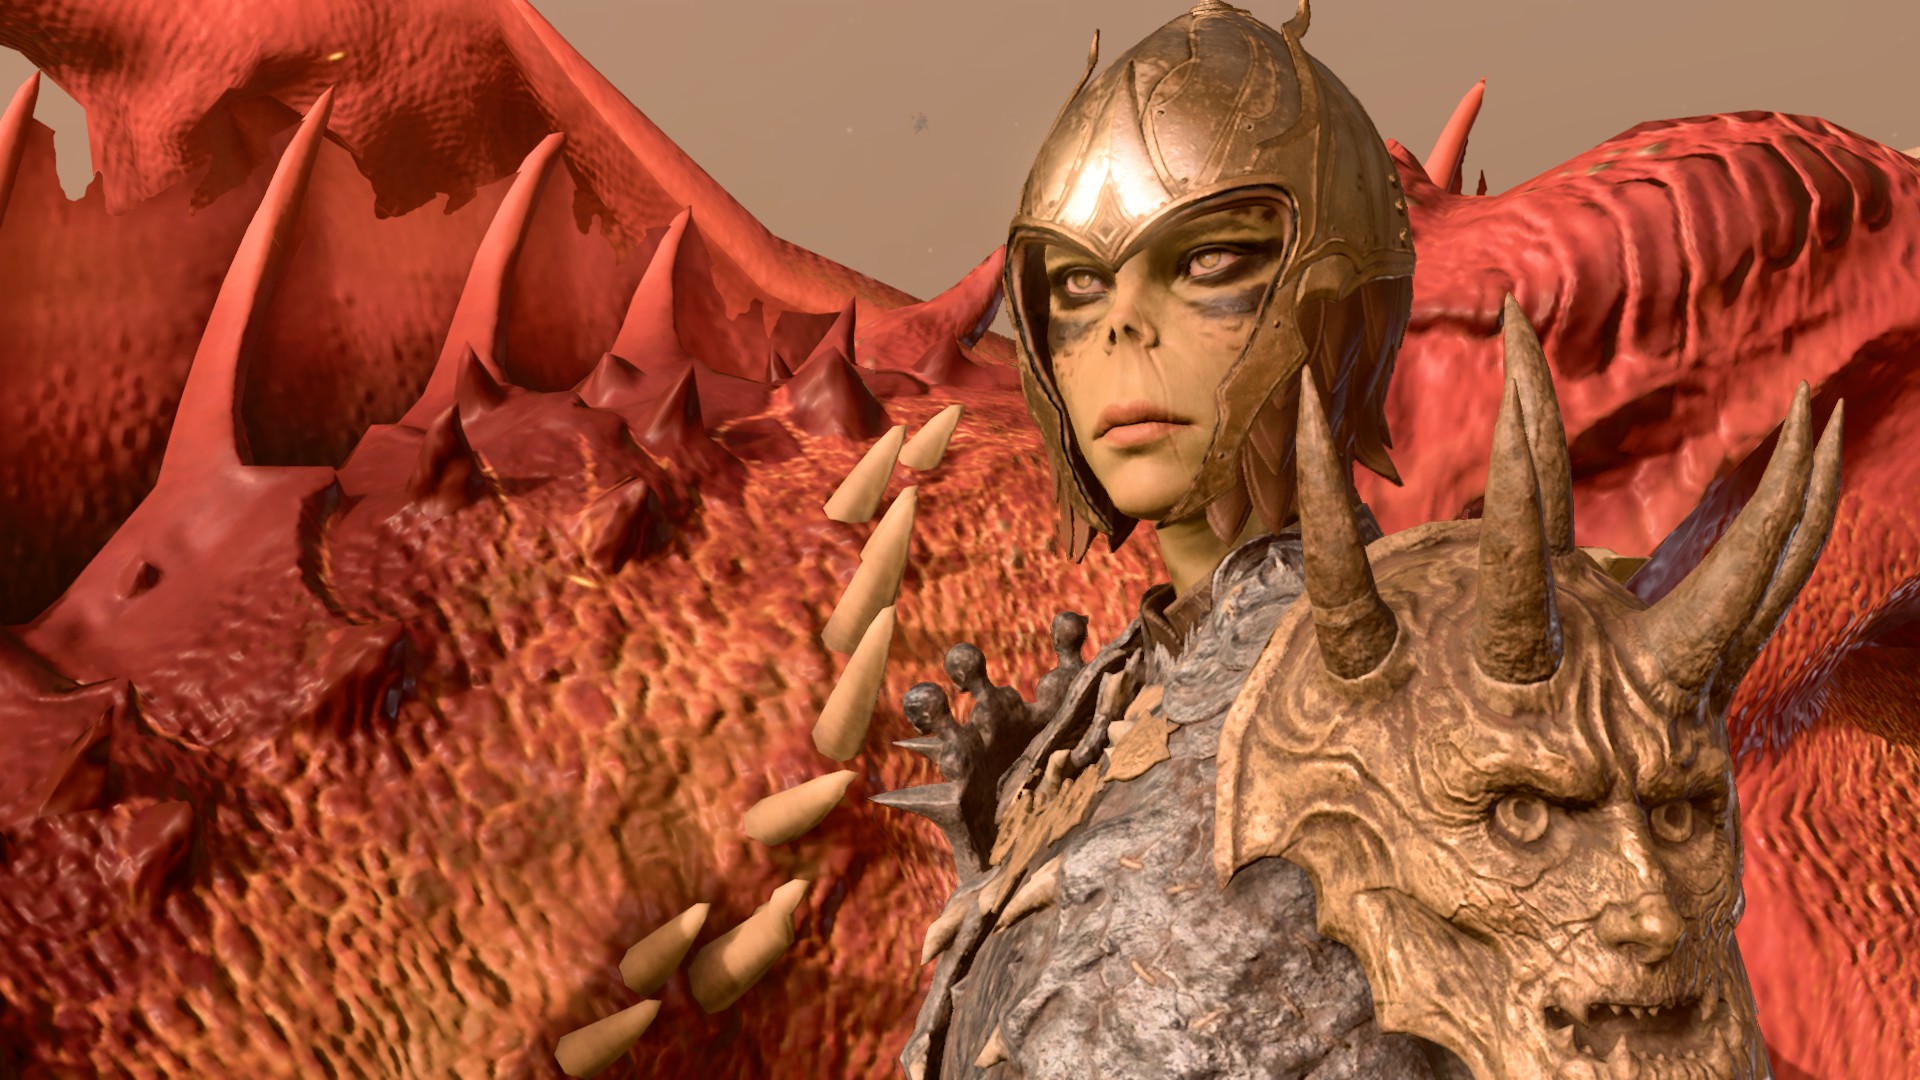
Lae’zel – Fighter Battle Master 12
17/14/16/8/10/8 or about this
Great Weapon style. Best feats – Great Weapon Master & Alert. 17 strength implies that you should take a feat with +1 strength, like Heavy Armor Master or Athlete, and later just another +2 strength (but you can respec with lower strength if you will have bonus from items or want to run on elixirs). Alternative order for feats is +1 strength first for attack rolls, then Alert and GWM. Best manoeuvres – Precision Attack, Riposte, Trip Attack, Disarming Attack, Menacing Attack.
Astarion – Ranger Stalker 5 / Rouge Assasin 3 / Fighter 2 / Rouge 2
8/16/16/8/14/8 or about this
First turn ranged kill, especially casters before they can act, pre-fight stealth with a chance to make enemies “surprised” first turn, various other stealth stuff optionally. It’s a popular build, so I will not stop on the details. Variants, like 8/4 or 6/6, will also work well, but this one is max damage first turn. Feats – Sharpshooter and +2 dexterity. Sleight of Hand is a must-have, this one responsible for the locks and traps in our party, so choose Urban Tracker at level 1 and later get an expertise from a rouge when multiclassing at lvl 6 (same for Stealth). Worth trying to get +2 dexterity from Shar’s mirror in Act 3 here.
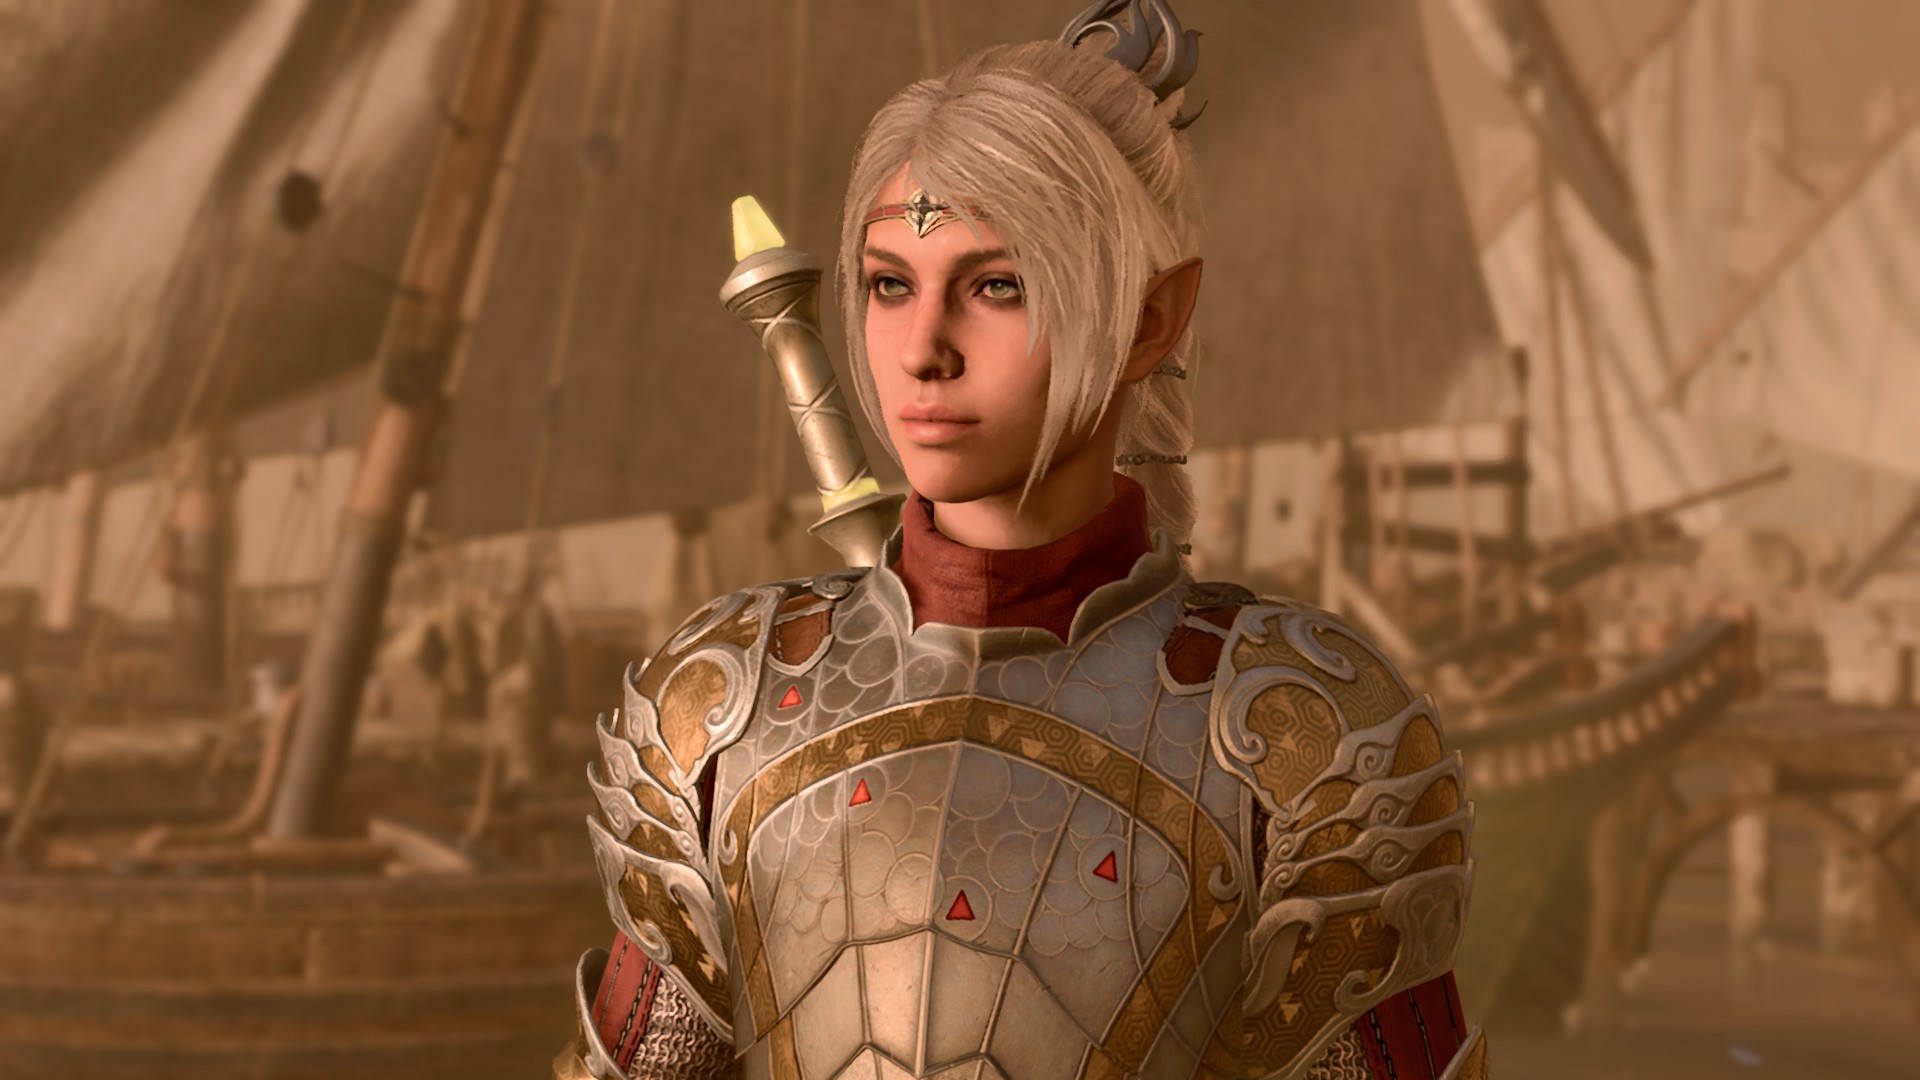
Shadowheart – Cleric Life Domain 12
10/14/16/8/16/8 or about it
You can barely spoil anything here after respeccing a subclass (the best healer + heavy armor). Feats – War Caster and +4 wisdom.
Starting from Act 2 it’s better to have another offensive build that can substitute cleric or stalker-assassin depending on the fight you’re going to face. Great options here are a pure vengeance paladin or, for more versatility and fun, a bardadin, both fit Minthara (if alive), or you can respec someone else, or use a mercenary. Substitute cleric if you’re going to neutralize combat fast or stalker-assassin if it’s going to be a long battle without much use of stealth.
Minthara – Bardadin – Paladin Vengeance 5 / Bard Sword 5 / Fighter 2
16/14/14/8/8/14 or 16/12/16/8/8/14
This build is focused on tanking and dealing good melee damage from using both paladin’s smites and bard’s flourishes (especially defensive one), while also providing combat and non-combat buffs (Bless, Aid, Enhance Ability, Bardic Inspiration, etc), as well as some healing if things go wrong. So it’s like a mini-cleric, but with damage output and also tanky. Savage Attacker feat could be used nicely in this build, or just use Large Weapon Master (helbards are nice). Variants of this build would also work eventually, 8/4, 4/8, 7/5, 5/7, 6/6, 2/10, 2/8/2, etc. But if you’re not respeccing it in the late game, notice that priority is to get an extra attack (at paladin 5 or bard 6).
For important dialogues you will want both cleric and bardadin in the party for the bonus from both Bardic Inspiration and Guidance (or Enhance Ability), for example with bosses in Act 2.
You will still want a cleric in combat if you’re not planning to neutralise some battle in a couple of turns (so likely will need a lot of healing) or if you want top AoE from Spirit Guardian.
For some rare occasions substitution of stalker-assassin with a second offensive caster (better if pure sorcerer or 10/2fighter) could be useful for AoE and summons (for example if you’re going to fight Viconia with all her acolytes). In some battles offensive casters and/or ranged damage dealers will be not very effective, so it could be useful to replace/respec them with tanky melee damage dealers (includes bardadin) supported by a cleric (most obvious example is Grym).
Other OP offensive builds that are not covered above, but would work great in Honour mode, are berserker-thief-fighter 6/4/2 (thrower), monk-thief 9/3 or 6/4/2fighter (open hand, brawler), and pure paladin vengeance 12. Padlock/lockadin is nerfed in Honour mode, no synergy with second extra action, so not top.
There is no single best party composition, because it’s different for every fight and non-combat is also an important thing, so feel free to be creative.
Prologue and Act 1 tips
In the final battle of the prologue, you can use Shadowheart’s Command spell on cambion to drop a fire sword (50% chance, 2 attempts). It could be even worth starting an honour run over if you’ve failed the checks (but not mandatory of course).
After gathering the party and recruiting Withers, your main goal is to level up to 5, every listed build is almost twice stronger after this. Before reaching lvl 5 you should avoid fighting hag, spider matriarch, githyanki, beholder, don’t go to Mountain Pass, don’t fight Nere and Grym. You can complete Grove-Minthara fight, it’s not hard, especially if evil path (but notice that you will not get the Potent Robe if tieflings are dead, you want it if using a cantrip sorlock, as well as durge should earlier keep Alfira alive by knocking her out to get the robe in act 2). Second gnoll fight is much easier if to start it from inside the cave (second entrance with traps). Buy Gloves of Thievery (and Titanstring Bow) in Zhentarim hideout after returning their shipment, very useful for Honour mode to overcome random. You should start carefully clearing Underdark to reach level 5, first go to myconids, accept quest and recruit large myconid (Glut), but be careful not to run into a beholder early (if you see anyone stoned, go in the opposite direction).

With a level 5 party, it’s safe enough to fight a hag and almost everything else in act 1. Free Nere only if you’ve managed to persuade part of duergars to join you, otherwise just leave it be, it’s risky and gives nearly nothing. Grym’s fight is even more risky and problematic to retreat, so I would rather recommend dropping the forge unless you’re really sure what you’re doing. In my honour playthrough, this battle was the closest one to failing a run. Better use a lvl 6 party of 3 battle masters with mauls/warhammers and 1 life cleric, make sure you understand the mechanics of his legendary action, don’t gather everyone around him immediately
Better go to Moonlight from Mountain Pass.

Act 2 tips
Kar’niss (drider) should be killed before getting to the tower, even in an evil path, side with harpers, or do it by yourself, otherwise he’ll join the roof fight later.

Four bosses in Act 2 can be easily killed in dialogues if you will use inspiration points carefully, as well as one stage of the act’s final fight can be skipped with persuasion. You will have a lot of inspiration points after these kills in dialogues, so it’s nearly each time back to 4. Killing Thisobald (pub) in dialogue is much easier for a bard (respec is an option), with sorlock you can use Gloves of Thievery and pick a Sleight of Hand check for the first two times, but the third check will be difficult, drinking is safer.
In the good path, the Haslin portal fight with shadows could be not easy, better start it with a lvl 8+ party, include a cleric for Spirit Guardian.
In the battle on the roof, kill the mage first and disable part of small mobs, Ketheric is too tanky and too far to end him fast, don’t rush on him, the cleric is very useful here with turn undead and other stuff, stalker-assassin is less useful, so better to substitute him with a bardadin or other melee.
A similar situation in the act’s final fight, which can be not easy. The core of this battle is to keep the apostle blinded with darkness or fog all the time (he still can attack, but far less dangerous, and can’t eat necromites). Use bludgeoning weapons. Smite, radiant damage, heals and summons are good. Kill the mind flayer first turn. It’s also an option to kill the first 4 necromites with a fireball first turn, but you can largely ignore all of them, just distract them with summons, Us can be good for this (recruit Us btw). The first successful attack on the apostle each turn should be with a summon, someone immune to fear or the least useful companion.

Act 3 tips
You don’t have to clear everything, focus on reaching level 12 and afterwards you can just complete the game, so there would be a lower risk of failing a run because of a random mistake or a bug.
Siding with Gortash is a much easier path unless you want to use Karlach (she’ll leave), so no factory, no water prison, no fight with him (even if you’re on a good path better to play along with Gortash until you destroy the factory).
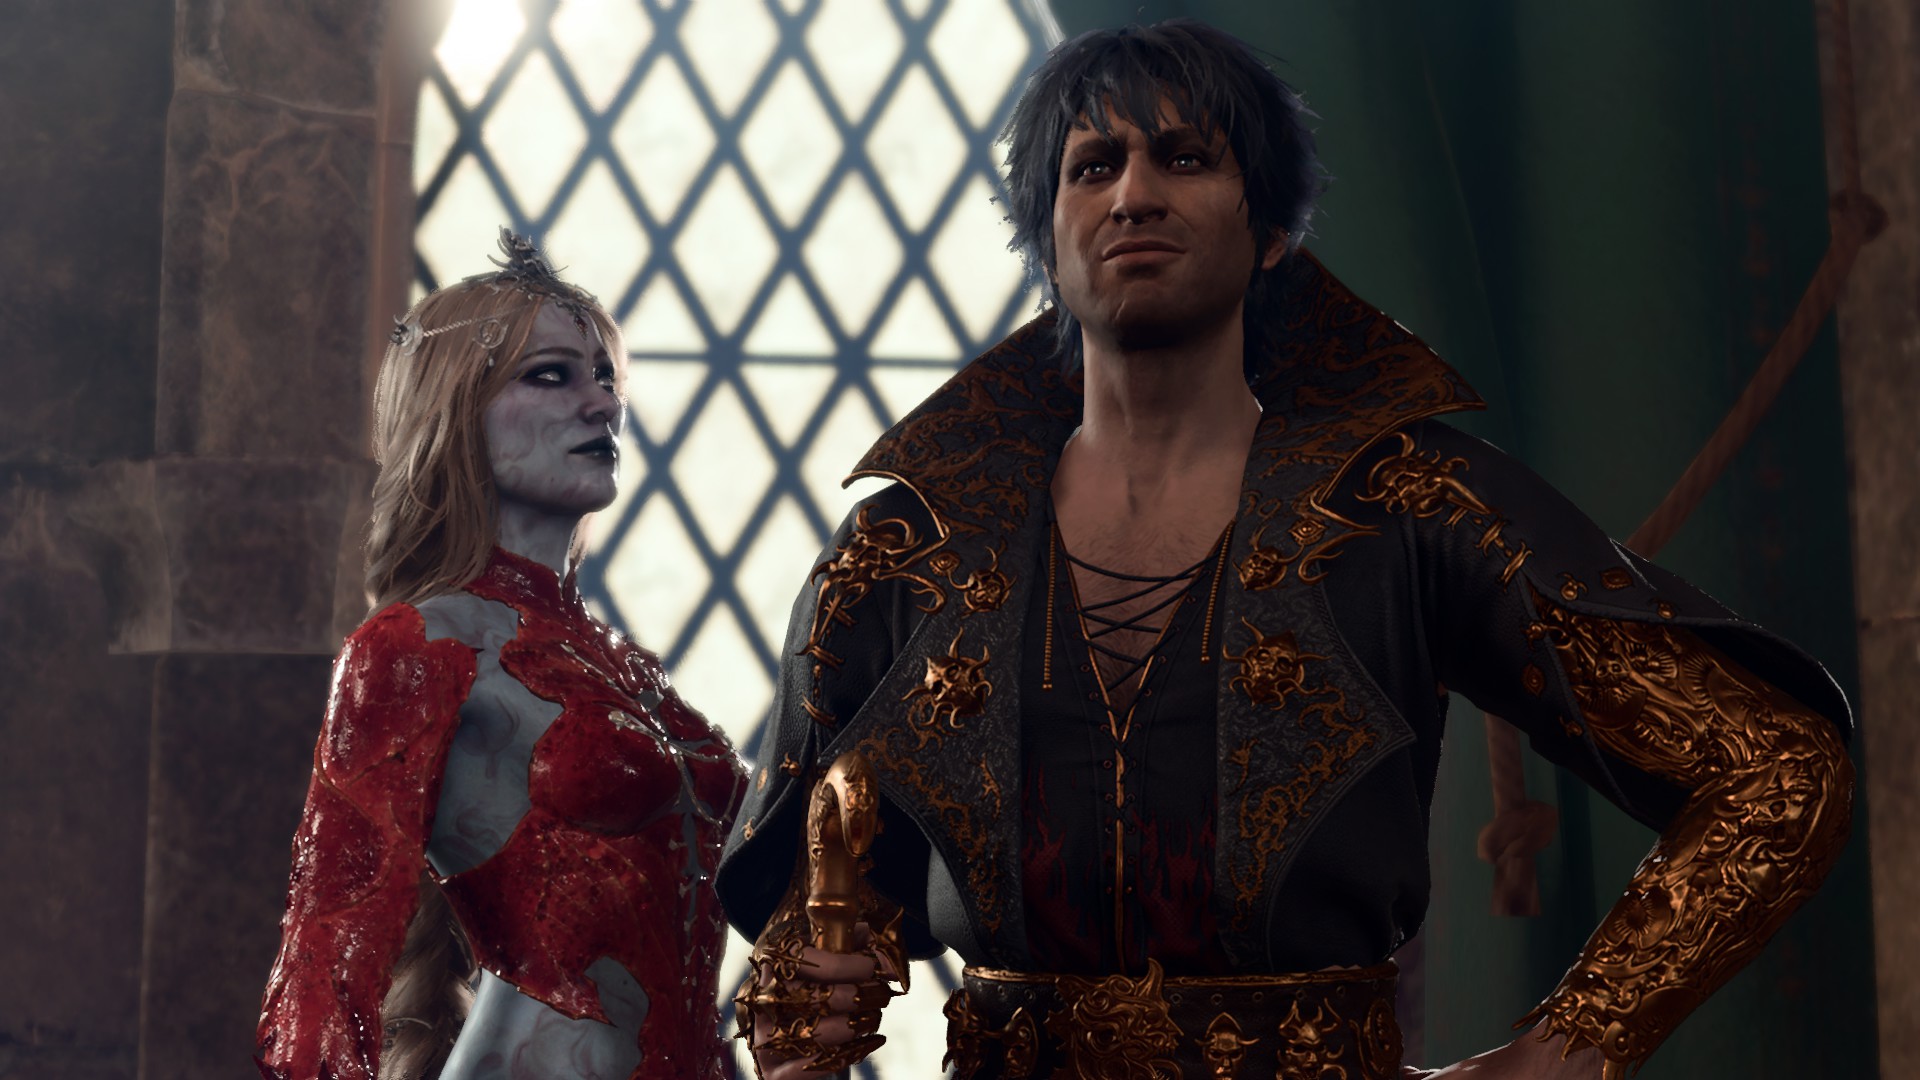
Complete Shadowheart and Astarion quests, especially in an evil path, and try to gather everyone who is still alive for the final battles (there will be some deficit of allies in an evil path, but you don’t really need too many, useful options include Florrick and Nine-Fingers to spam summons, Volo for buff, and the hag for invisibility). Astarion will be more useful if to complete his quest in an evil way with a ritual, as you can guess, including massive summon for final fights.
Cazador fight is easy, you can complete him early, use the scroll of Otto’s Dance and Day Light, don’t bring Astarion there at first, finish the fight without him, but before interacting with the sarcophagus go out and bring Astarion for this interaction.
Shadowheart’s quest can be very easy in an evil path, if she hasn’t flipped, you only have to succeed with persuasion first and then suggest her saying that Shar granted her power, not about Absolute, and it will be an easy fight for any level. But a full-scale fight with Viconia in a good path is for the later game if even worth it.
I would not recommend fighting Ansur unless you’re sure what you’re doing, it’s rather risky, at least not before lvl 12.
Same with Raphael, of course you would get great rewards, but it’s risky and if you just want to complete the Honour mode safe then better to skip it, make a deal or side with the emperor. If you’re doing it, clear all regular mobs in the House of Hope, spheres, etc, without any invisibility nonsense, and restore from a fountain, save 4 inspiration points to persuade Yurgir, scrolls of Otto’s Dance can help briefly.
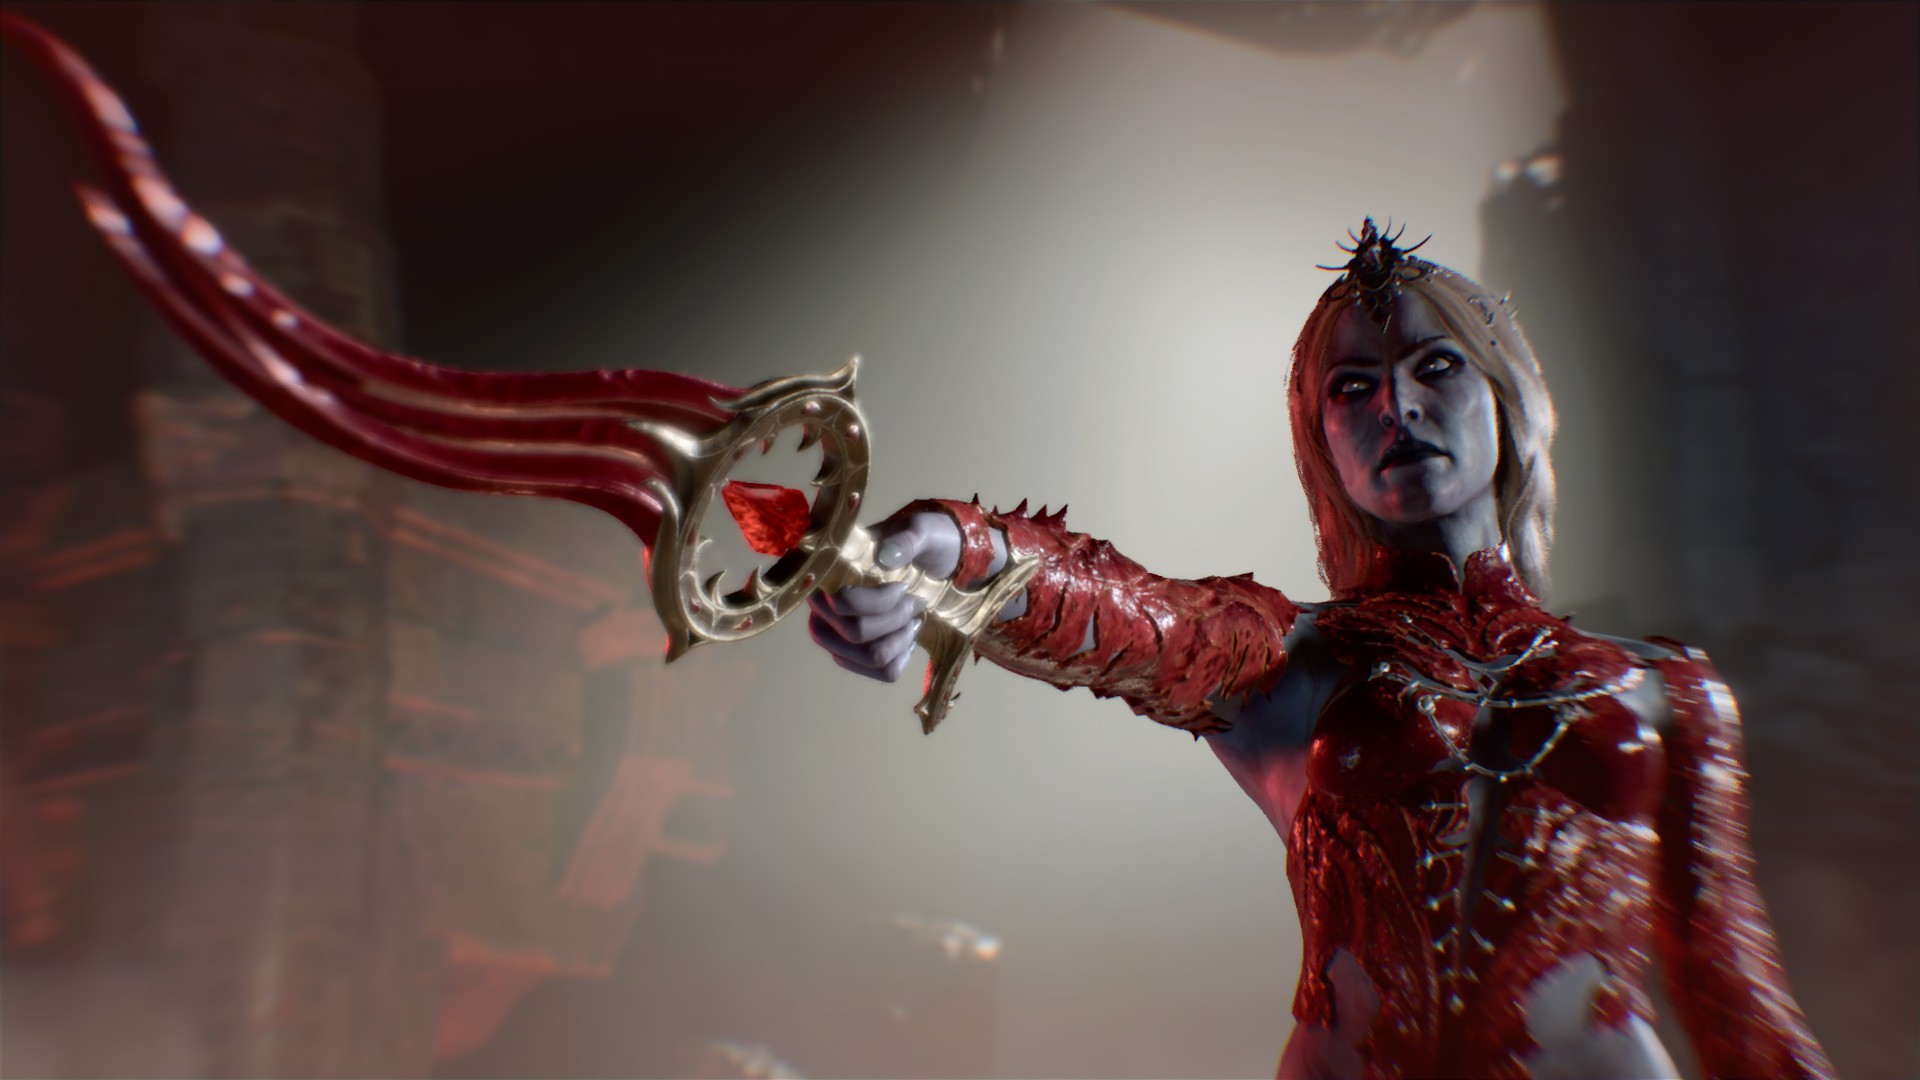
If you’re fighting Orin as Dark Urge, don’t duel her (common place to fail an honour run lately), just enter the battle with others when the duel starts. In this battle you should manage your sorlock (or other caster) to act not after other damage dealers, and remove her defense with two magic missiles, others should be able to kill her in one turn after this (even if not, you’ll probably survive to repeat). If your sorlock doesn’t have Alert (which would be a mistake), use Elixir of Vigilance, or other companions can join battle after the defense is removed, but it’s riskier and not an option for durge.
In the final part, it works in any way, fighting one additional mind flayer is easier, because instead of his 4 dream-mobs there will be 4 more dangerous Slow-casting mobs and there will be two difficult persuasion checks, to keep Lae’zel in party and to avoid one more battle. Don’t fight the dragon, too tanky, distract him with summons, kill all 4 or 5 mind flayers only (do it very fast, better if by the end of turn 2). Ignore everything else before the portal (hag’s cast very helpful here, 5 x improved invisibility). Gather everyone close enough before activating the portal. Don’t mess up with the platforms in the final, be sure which ones are falling next turn, everyone should have Misty Step or something similar. And that’s it.

I was worrying that some bug or repeatable crash could end my run, but I’ve completed it all with one save as it should be, no exploits. There were some unpleasant bugs and crashes (mostly starting from the Lower City), but nothing that would be repeatable or damage the save (played in February 2024, act 1 in patch 5, acts 2-3 in patch 6).
Feel free to ask questions in the comments or to disagree/correct.
