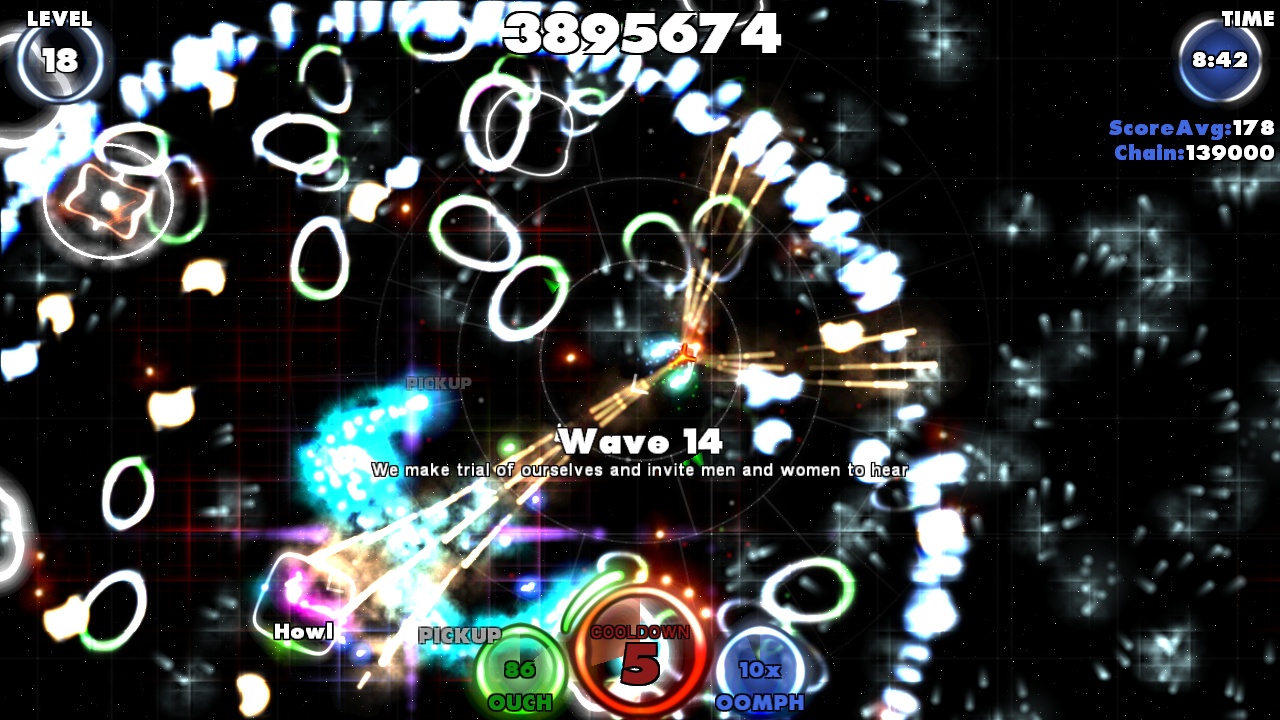
This guide will show you how to unlock all achievements in Bezier.
Player Levels
Achieve Player Level 3, 5, 8, 10, 12, 15, 16, 17, 18.
You gain levels by killing things. So just play. Endurance mode for endless enemies is quickest.
E-N-Rage!!!
Destroy a shield while enraged.
Follow the green arrow on the minimap (overlayed over the map) to either a health boost (green) or a orange boost (enrage). Pick it up and you will get 10 seconds of ‘Enrage’ (faster fire, invulernable, infinite auto aim). Kill a Shield during this time.
Due to the time constraint of the enrage, finding an enrage and then waiting for a shield to spawn and dealing with its mechanic first, then going for enrage is best.
The Swinger
Destroy a shield using the Guardian
Quite simple. When a Shield dies, it drops a Weapon Pickup. Look for one called ‘Guardian’, and don’t pick up another weapon until you kill a Shield with it.
Note that the Guardian is a circle that swing around you on a ‘chain’. only the circle does damage. You’ll have to position yourself so the circle hits the shield.
I recommend going for this in Endurance or attempting this on an earlier level in the campaign.
Expert Chainsmith
Create a chain over 10000m in length
‘Chains’ are what the game calls killstreaks; essentially when you kill things in a short amount of time, the place of their death is ‘chained’ with others you kill in that short time.
I do not know the exact number, but this requires a good amount of enemies killed very quickly.
I recommend utilising an enrage / x10 Oomph and auto-aiming during a section of an Endurance run with lots of enemies that actively come at you.
Alternatively, lvl 6, 8 or 9 of the campaign and random Shields in endurance mode will have a mechanic where 4 groups of coloured balls must be killed in a specific order, denoted by the arcs of electricity going from one pair of balls to the Shield. If you find one of these, you can cheese this achievement somewhat by positioning yourself diagonally so that 2 groups that are not arcing with electricity are in your line of fire, and constantly fire on these balls, as they infinitely respawn. With a little luck, this will be enough to unlock the achievement.
The Collector
Collect 400 gems in a single zone
Gems are the little blue and green gems that drop from enemies / asteroids when they are destroyed. Simply kill lots of enemies and actively search out asteroids, then pick up their gems. Not difficult.
We’ve Only Just Begun
Defeat Magus Domus
Magus Domus is the Boss that constantly harasses you throughout the campaign. In Level 15, you kill him. Nothing special here, even the boss fight has no extra mechanics.
Weapons? Meh!
Complete a zone collecting no weapons
Play a campaign level and finish it without touching a weapon pickup. since they only drop from Shields, simply blowing them up from a distance works best.
Easiest to achieve on the first level.
Trouble In The Bubble
Slay 25 enemies whilst inside a bubble
One of the weapon pickups is a Bubble, a protective circle that does not allow projectiles or enemies to enter it for a short time. This can be somewhat difficult as the Bubble is justbig enough where your Blaster will not reach the opposite side if you aren’t in or near the center.
Best done in Endurance due to higher enemy counts.
All The Way
Complete game without continue
Beat the game without ever running out of Ouch. In other words, don’t die.
Ouch Too Tight To Mention
Complete a zone with 10 or less ouch
Difficult due to how close you have to be to death, and the fact that the boss appears at the end of every level and can reverse your controls as one of his attacks, not to mention the other enemies or missiles he throws at you.
I recommend attempting this on the first level by purposefully running into enemies at ~35 seconds left on the clock, then staying away from the boss and NOT shooting or running into enemies, as they drop health when defeated.
A Bait Ball Weapon Pickup will distract all enemies (INCLUDING THE BOSS) for a few seconds across the entire map, so use it wisely.
Endurance Mode
Survive until the 10th, 25th, 50th, 100th endurance wave
Endurance mode is exactly what it says on the tin. constant enemies, new Shields popping up, etc.
The amount of enemies, type, and health of enemies increases with each wave.
A new wave starts every 40 seconds, meaning for 100 waves you need to play (and survive) for ~67 minutes straight.
The only tips I can give here is to make sure you know how to efficiently kill each type of shield, that you can dodge well, and avoid the purple Mine enemies (they look like a top down view of a sea mine) like the plague.
Good luck.
Swinging In The Chain
Acquire over 250000m of endurance chain
‘Chain’ kills (get lots of kills in a short timeframe, essentially) and do it often. Note that this is not one chain that needs to be this long; this is cumulative. Any ‘Chain’ kills inside of Endurance mode will count towards this.
I am my Brother’s Keeper
Refuse to kill your possessed brother
In Level 10 of the campaign, you must fight another Salvator craft (your ship) after it has helped you. Do not attack it, let it hit you. Eventually it will go away (assuming you aren’t low enough health where it kills you). Starting the next zone will unlock this achievement.
Artful Dodger
Survive a zone without being hit
Your Ouch cannot go below its maximum. if you hear the sound that plays when your ship gets hurt, the achievement is null.
I recommend doing this on level 1, and abusing the ♥♥♥♥ out of auto aim.
Do note that auto aim CANNOT aim to shoot down missiles or shots from enemies or the boss. You will have to manually target them. Auto aim CAN destroy them, but will not actively do so.
Jesse the Bethlehemite
Complete game only using the blaster
Just don’t pick up / use any Weapon Pickup from Shields for an entire play-through of the game. Not difficult at all.
Don’t Stand So Close To Me
Complete a zone without collecting a gem
This is by far the worst achievement, as it requires you to play a level flawlessly and very nearly as a pacifist.
Here’s why:
- You cannot pick up blue or green gems.
- Enemies and Health / Enrage pickups drop blue / green gems.
- Running into an enemy (especially low health ones) can kill it, instantly giving you the gems.
- Gems are magnetised to you; the closer they are, the faster they come to you.
- They take some time to disappear, meaning you are going to have to dodge them.
- You MUST destroy Shields, putting you at risk of picking up gems from them.
- The boss (and some enemies) have an attack that reverses your controls, making you pick up gems if you are not careful.
Any level is theoretically possible, but I prefer Level 1, 3, 4, 10, and 14. They have low amounts of enemies, or enemies that are easy to dodge around while you kill Shields / dodge the boss. I suggest only going for shields during lulls in the battle, like when enemies run away to make way for the next type of enemy. Also use the BaitBall Weapon pickup (if you can grab one) to make your life slightly easier during the boss.
Will Of The Cautious & Unbound Pugnacity
Complete game with full defence upgrades
Complete game with full attack upgrades
You must be at minimum Level 15 to be able to do these. Reset your skills, and buy all of one side, then complete the game with it. Then rinse and repeat for the other side.
Note that you must start the game from Zone 1 and finish Zone 15. Swapping anything or starting a zone with below 100% upgrades means you have failed and need to restart. This means that you need to swap all your upgrades BEFORE entering the first Zone. You can do this in the bottom left of the main menu.
If you struggle with one or the other in a boss portion of a zone, this can be trivialised somewhat by opening Enrage Pickups, but not actually picking up the Enrage. So long as you don’t die or quit, the powerups will follow you through to any future stages.
The Laurel Crown
Complete over 90% of achievements
Self explanatory.
And on that note, Congrats on 90% (and hopefully 100%) completion!
I hope that my guide was useful and informative.
Thank you for reading!


