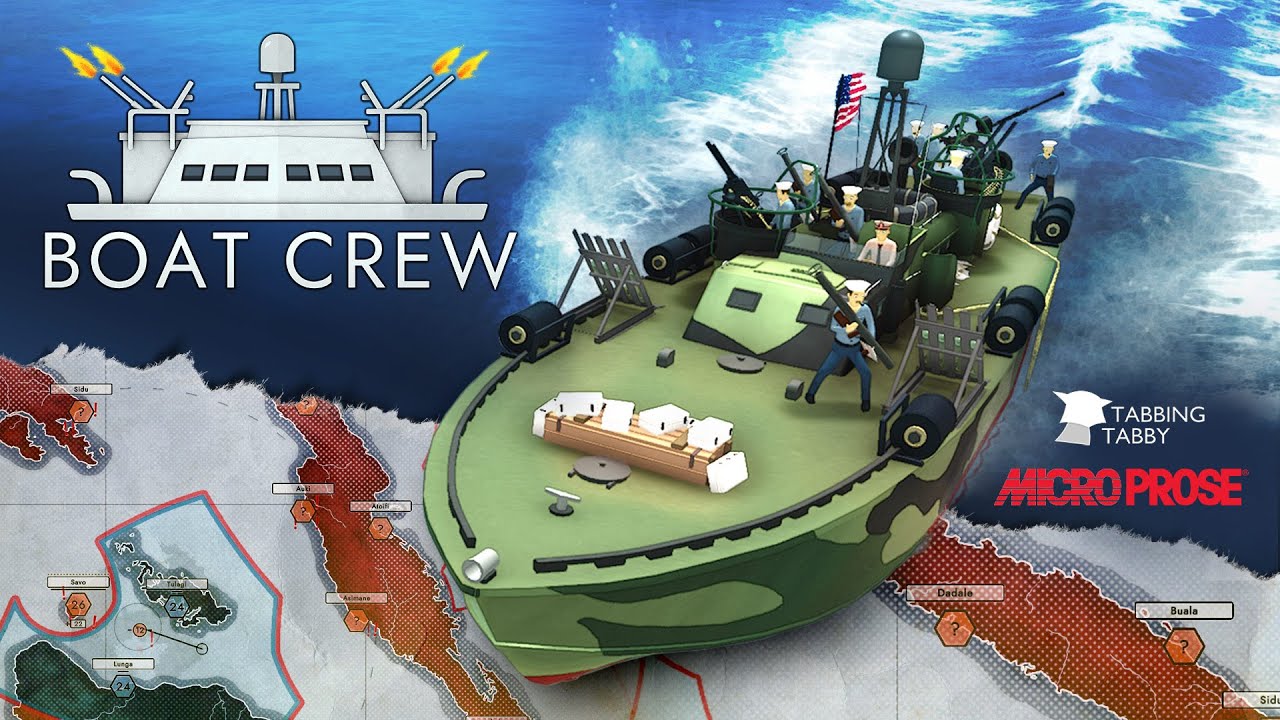
This guide covers Resource Points and weapons. I’ll add enemies and tips later.
Weapons, Equipment, and Support
Supplies are boring, but also make all the fun things work. In order of importance, they are: ammunition, repair kits, and medkits. Ammunition makes your guns go pew. You’ll always wish you had more, so pack up on it and place it near the guns for optimal reloading. Repair kits keep your boat from sinking, and thus prevent your precious RP from being lost. Medkits keep your crew alive. I’m not a heartless ♥♥♥♥♥- medkits come last because your crew are absolute tanks when given a helmet and armour vest, and you’ll find your ship sinking or your guns dry far more often than a crew member dying on the ground. Always pack some, though. With all the money I need I bring 40 cans of ammo, 24 repair kits, and 8 medkits. That should give you some idea of what your priorities will be.
Everyone loves a nice gun, and Boat Crew has those and more. There are _ main subtypes of weapon: Machine guns, main guns, utility weapons, torpedoes, depth charges, and rockets. Between them you’ll find a solution for all your problems, and you can have one of each type on every ship but the first (which is why you never pick it). These cost RP, but not permanently- you can freely swap weapons, with RP serving as a budget rather than consumable currency.
Machine Guns:
Machine guns are the first you’ll probably use. These light weapons are suitable for cutting down the small enemies you’ll face throughout the game and shooting down aircraft, but are outclassed by most other options against larger enemies. There are three: the Lewis Gun, the M1919, and the M2.
The Lewis Gun is cheap and doesn’t seem to be that distinct from the M1919, having a slightly lower muzzle velocity and not much else. It’s also 1k less RP to use, so you might as well use it.
The M2, however, is a different beast. Its rounds go faster, hit harder, and are fired at a faster rate than either of the two other options, with the sole drawback being a slightly lower ammo (but not magazine) capacity. Once you have the RP to spare, an M2 will represent a serious upgrade. However, you might want to hold off on any of these options. There’s a better choice just around the corner.
Main Guns:
Main guns are the first thing you want to get for surface combat. Got machine guns? Sell them. That’s how much better these are.
The first you’ll get is the Oerlikon. Compared to the machine guns this hits 2-3x harder and travels faster, but has a lower capacity, fire rate, and is more expensive. Regardless, it is well worth the cost- even this basic autocannon shreds smaller craft in a way machine guns can only dream of. The dual Oerlikon is even better, boasting a higher capacity and fire rate. I use this one personally because it only requires a single operator. However, many swear by the next option: the Bofors.
The Bofors hits very hard, shredding small craft in just a few hits and even challenging larger craft. It has a low capacity though, albeit with a rapid reload, and chews through ammo cans very quickly. It also requires two operators to function, potentially taking away a machinegunner. You may find it worth the cost, though this may bite you if your second gunner dies or, more likely, gets thrown off the ship by a cannon shot. Keep an unused MG for those occasions. The dual version is just more goodness; consider it a direct upgrade (and an ammo-hungry bastard).
The final main gun, the M45 Meatchopper, is just four M2 machine guns strapped together. I’ve not used it myself since it seems like an ammo hog, so a commenter may be able to speak about its effectiveness. Only requires one operator, and is pretty expensive.
Utility Weapons:
These vary wildly. Presently there are just three: the mortar, the tank gun, and the autocannon.
The mortar has reasonable damage behind it, and can be used to hammer larger ships that aren’t on the level of destroyers, but its real use is with smoke rounds. With them it can create a screen to prevent you from taking fire. This will save your life early on.
The tank gun is the closest you’ll get to a sniper. It is serviceable in combat, but its main two uses are killing supply ships and shore bombardment, where it shines once you’ve expended your torps. Hits really hard, and if you’re careful you can put down some serious hurt with this thing.
The autocannon is like a main gun, but slower firing and harder hitting. It’s powerful, but will cost you a supply slot.
When using the anti-tank gun, zoom in with shift and the middle mouse button to use binoculars. For ease of aiming, only zoom into the second to last zoom level and aim out of the corner of the binocs to see where the firing arc terminates. Don’t trust your mini-map to aim with; the circle is a good guide, but isn’t pinpoint due to waves.
Torpedoes:
Torps are the God and the Navy’s gift to you. With them you can get rich, killing the mightiest of foes. Without them you might as well roll over and die when you see a destroyer, and run when you see a supply ship (unless you have the Bofors, anti-tank gun, or autocannon, in which case go nuts). There are five of these, three of which are guided: the Mk.8, Mk. 13, Mk. 21, Mk. 24 and Mk. 27.
The Mk. 8 is powerful, slow, and dumb-fired. It will kill what it hits almost all of the time, and the second one always will. You’ll need some amount of skill to use this, unless of course the target is in port (docked), in which case you can just fire, wait for it to get close, and then go in guns blazing to clean up the small fry. The Mk. 13 is dumb and hits less hard, but moves faster and is still powerful enough to kill supply ships in 1-2 hits. If you’re good and lucky enough, you can put down a Fubuki destroyer, the smallest one.
The acoustics are guided, but markedly weaker. They also track targets using sound, and as such will respond to any large ship- including minesweepers, which will eat torps you meant to put into the destroyer bearing down on you way faster than you like. Kill large escorts before going for main targets such as destroyers or supply ships. The Mk. 21 is expensive, costing 30k RP, but sporting the damage of a dumb torp with the guidance of a smart one. This is the best one, even if it is a bit slow; lead your targets. The Mk. 24 is tiny, going fast and hitting with a small amount of damage- enough to kill a minesweeper or maybe a coastal tanker, but you’ll need multiple for anything else. It’s also the cheapest acoustic torp, and is well worth using. It’s not smart enough to fire and forget, though. You’ll want to lead like with any torp. The Mk. 27 is markedly more expensive than the Mk. 24 for only a small damage boost. I’m not sure why you’d use this one unless you’re rolling in money. It may be faster?
Torpedoes are your main weapon against large ships, but they aren’t your only one.
Rockets:
Rockets are inaccurate, slow, and exceedingly noticeable- you’ll be made the second you fire it. They’re also excellent for killing large ships after you’ve spent all your torps, and you can reload them. Think of them as the PT captain’s shotgun. Get close, spray, and run away. They can also do for shore bombardment in a pinch, but it isn’t recommended due to their inaccuracy. Strongly recommend you get these, but not over machineguns unless you’ve got something in mind. There are the Mousetraps, and there are the main rockets. The main rocket options differ only in amount; the more the better. Dakka dakka.
Support abilities:
Support abilities charge when you get kills, the charge being the numbers you see when you get a kill, and expend limited uses depending on the slot you have them in. You have five slots, with each getting progressively more powerful but also more expendable. The first slot expends one bar of charge and one use of the ability you put into it. If it’s a plane, you send out one plane. If it’s an artillery barrage, it fires one barrage. If you put it into
Resource Points
Resource Points are the lifeblood of your ship. Without them you are nothing, and with an abundance of them you are the terror of even the most powerful destroyers or the greatest swarms of river boats. You’ll also lose some every time you sink. So how do you get it?
There are three ways: supply raids, destroyer takedowns, and holdings
Holdings are simple: you just need to hold territory and you’ll regularly get resource points. This is reliable, safe, and boring. Blow up the defenses on the bases, let your allies grab it up for you, and you’ve got more income. You don’t get much, though, so you’ll want to move onto the next method if you want the fun toys.
Supply raids will be your main method throughout the campaign. Here you get some options: you can play it safe with depth charges and hunt down subs for a modest sum. Each sub will take 2-3 charges if you want to be safe, or you can use the Mk. 20 Mousetrap rockets to force them to surface. Staying behind them will prevent their big ‘n scary cannon from blowing your rickety little boat to bits, so if you want to be cheap with the charges or use the Mousetrap, you can go behind and shove rounds up their tail. Torpedoes will just go right over them, even the fancy acoustic ones, so don’t waste your shots- you’ll need them for the next type: supply ships.
These big boys fight a bit like destroyers: they have cannons, albeit smaller ones, and a large amount of MGs to keep you at a distance. For these you’ll either want to use torpedoes or support in the form of artillery. They tend to move linearly when in a passive state, so you can try to predict their path with the cheap, dumb torps or you can kill their escorts and move in close for a more predictable, if dangerous, kill. Coastal tankers are the smaller ones, and net over 1k RP. Merchant ships are the biggest (for now) and hold a lot more, but are tankier and better armed. In either case you should be fine with either of the dumb torps, but the small acoustics lack the firepower to kill a merchant in reasonable numbers.
The final method is destroyer hunting. For each targeted destroyer (which may or may not be all of them) you get 3k RP plus a small drop from Fubuki-class destroyers (the small ones). These are high risk, high reward- not only do you get sweet dosh, but you also get a small increase to Victory Point income. And a sense of accomplishment, since even with top tier equipment it’s a rush to put one of these behemoths to rest on the sea floor.
Resource Points let you get all the toys you so desperately desire, and you’ll need a lot of it- My fully decked out boat costs around 93k, and dying means a ~25% loss. So be safe- that kill isn’t worth your expensive boat. Also a reminder that the score under each kill is NOT resource points, but “heat” which lets you use support powers.
You don’t get resource points from killing small craft or planes. Do supply raids, kill destroyers, or wait for bases to drip feed you. The dev has no intention of changing this, and apparently it’s historically accurate too- resupply was done through raids by real PT boat captains. Carry on their proud tradition.


