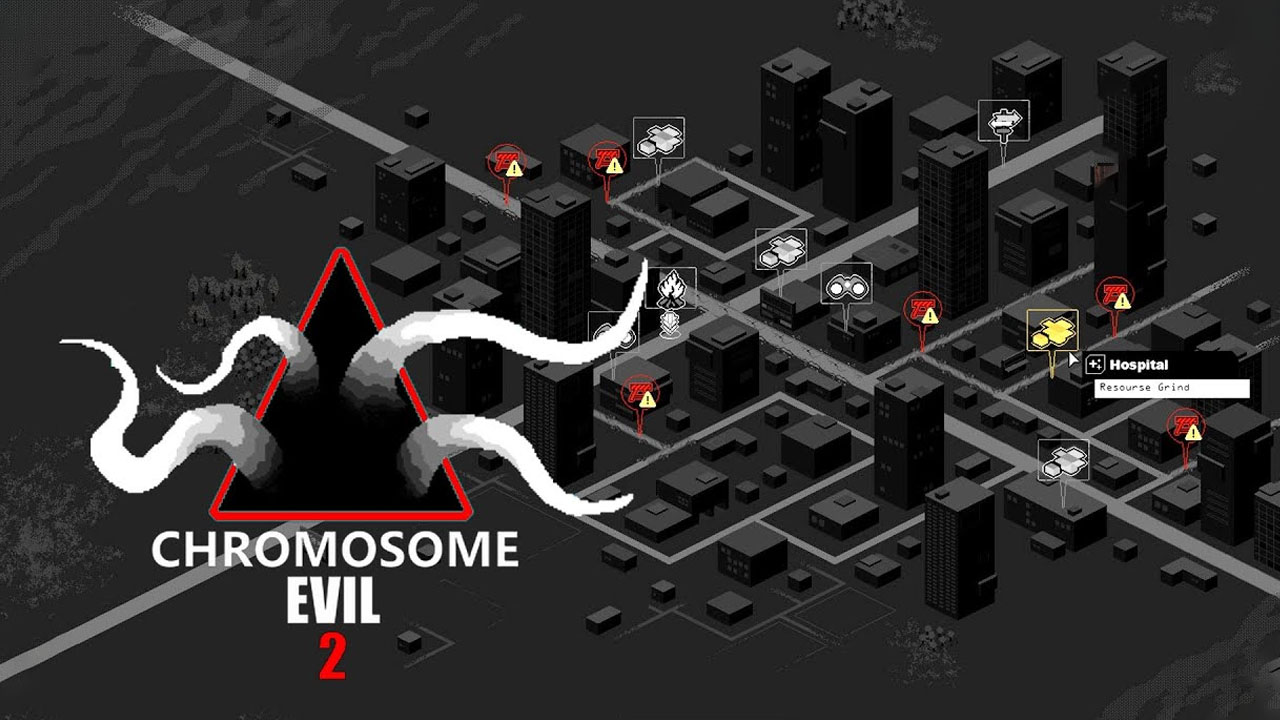
Hello all, I am once again back to write another Chromosome Evil guide, this time with a ‘2’ at the end of it. This is for the demo version of the game currently. I will add and change content as I play and find it in the main game.
Intro
This guide will contain everything I have found and figured out for the game. It kinda helps that some of the mechanics carry over from an idea I had for the first game. At this stage, it is incomplete as I am writing it after only playing the demo and waiting on the main game to download.
Chapters
Prologue, this is basically a tutorial and provides elements of lore relivant to the previous game. (spoiler, the brother referenced by the squad commander is you in the previous game). There is nothing here to game for resources to use later, but the lore is nice. Skip if you know the game mechanics already (if on a 2nd+ playthrough)
Ch 1, as with the first game, this one has a series of scripted missions to unlock the vehicles in your convoy. Going in order of unlock, the buss (housing), ambulance (healing), humvee (training), minifactory (not actual name, crafting), and research truck (research).
If there are more I do not know. The demo ends shortly after getting the research truck.
Main missions
I will write this part after I beat the game and playthrough it a few times
Secondary Missions
In addition to the main path there are also side paths/locations. Which require both time and fuel to enter. In the demo there were three kinds of areas. Scout, scavenge and SOS.
Scout- scout missions are simple missions where you need to go to towers and ‘scout’ the area. These locations are often hidden in trees or cornfields with a connecting path. Scout missions are easy enough during the demo and possible to be done with 1 or 2 people (a scout and a guard or just the scout)
I highly advice only using a knife and body armor for these missions, as you want as much move speed as possible for getting from one scouting tower to the next. In addition do these missions first. as they can get harder with increased enemy awareness.
Scavenge- scavenge missions or blitz missions are missions where you go into the map to loot everything not nailed down. Again in the demo I found the best strat is to bring 3 people and sort them into specialized roles. Tanks, looter and allrounder. (more on my defined roles later)
Unlike the first game many area, instead of being in a structure and having to move through several rooms, instead the maps are more open and loot is spread out. With loot being in one or two spots.
SOS- SOS missions are missions you want to go more ‘hot and heavy’ on. The point of these missions is to rescue a survivor. I recomend a tank, a shooter and an allrounder. (the scanner can help as well) It would be worth looking for the few resources on these maps if you feel comfortable fighting large numbers here. Take note there was only one of these missions and there was no chokepoint to defend from on it. so you can easily get overwhelmed.
BONUS- something often found in all areas is a ‘sublevel’ these sublevels ‘normally’ have fixed number of enemies and is where you find the best loot. Look for a trap door you can interact with and will give you an area marker where you can move to the sublevel. Take note when entering a sublevel, it will freeze all enemies on the ‘main level’ till you leave the sublevel. When entering/exiting a sublevel the mule will spawn beside your soldiers, so you can use that to your advantage if you want to move it across the map quickly.
Lootables
Now I described the missions, lets talk about loot.
Material- basic goods (such as wood or plastic) used in all kinds of crafting. From baracades in windows to crafting gear with the minifactory. The most common goods on the map.
Food- just dont question if it is still good or not. Food is used every day to feed your people, in addition you need food to use the humvee to train people and is used in a few other ways. Another common resource.
Ammo- well it is in ammo boxes. If you played the first game, you know what they look like. Unfortunately, unlike the last game, ammo is a LOT rarer. In the first game an ammo box may contain 100 9mm ammo, in this one it be lucky to have 40. Second, ammo boxes themselves are much more rare. Only appearing in general areas once on occasion and often require you to do some side task (like starting a generator) to get to them.
Safes- safes are a ‘special’ container that often contain something nice. Such as a new piece of armor or a weapon. They take longer to search and loot but often only have 1 item in them. One sweet sweet piece of loot.
Fuel- fuel barrels are rare, often found in garage type structures. (like barns) More often than not you are going to get gas from broken down vehicles. The scanner is helpful finding these places.
metal- I think this functions similar to mechanical parts of the last game. Used in some crafting and more importantly upgrading your vehicles (was not in the demo)
Electrical parts- parts needed for more advanged gear and upgrades. Fairly rare.
Research/tech points- perhaps the most important and rarest lootable. These are used in researching new gear. Where are they? no idea, I only saw one of them once, in a basement.
There might be more than this, but again I only played the demo.
Roles
Now onto what I call roles.
I split this up into two subcatagories.
Combat and non combat.
Combat: tank, shooter, allrounder, scout and looter.
Tank: The person with all the armor and a shield secondary. If done right they can hold a choke point indefinitely.
Shooter: a guy with a gun. Basically, you give this person a gun and a tank and he shall not fear a thousand battles… as long as he got bullets. Useful when the enemy is swarming in open areas or tougher enemies.
Allrounder: the person who can do it all, need them to protect the tanks back. Give them a knife or a gun and they will handle it. Everything peachy atm. Have them loot. I think you get the idea.
Scout: scouts are fast and quiet. melee weapons and high agility/move speed. They get to an area needing scouting, scout it quickly then leave. Rarely fights.
Looter: While the tank well tanks, the looter goes around and nabbing everything not nailed down… then takes the nails for good measure. Often they also search and break into doors while the others in the squad do their thing. I usually give him a gun, but they rarely use it.
Noncombat: driver, doctor, teacher, worker, and researcher (all there was in demo)
Driver: the driver is the MOST IMPORTANT noncombat role. These people provide the multiplyer to all your other noncoms. And they drive your vehicles too.
Doctor: well they heal people in the ambulance.
Teachers: they help level up your units in the humvee.
Worker: They make new gear
Researcher: they unlock new tech.
Tips n Tricks
Now, with all the basic information out of the way, time for the actual tips and tricks.
tips for military base section
At the start of the game, it will ask you to vacate a military base. In which case you are presented several options (sadly I only played through this once)
First you are given the option of three partner units.
Silent/tank
balanced/allrounder
gunner/shooter
Personally, I go for the tank. They can hold a choke point while your other character loots during these early areas. And I mean loot EVERYTHING!!!
Next you are to get your mule and then presented another choice, Armory or Messhall.
Your first instinct might say Armory but hear me out. I found that in the demo I rarely used ammo. However, I found myself going through hundreds of food leveling my people up.
After this split you are again given a choice to loot ‘some’ fuel or all of it. Looting some will net you much less than all of it but your people will not lose a portion of their hp when they do.
After this you are again offered choices.
Proceed through the vents- not done this one yet. Safest but longest route.
Proceed through the halls- more on this later. moderately dangerous and time consuming, but promises more loot.
Proceed outside- not done this one yet. Most dangerous, as well as fastest.
Naturally, ‘I’ go through the halls, as more loot!!!
After the last section you are again presented a choice.
Medical or more ammo. Again off the bat I would think ammo, but I have NOT seen medical supplies to be looted on ANY demo area I played. With that knowledge do what you will.
Tips for Post-Base
The first thing I would do is arrange and rename your people to be in certain roles. For example, the combat driver can be anyone, in fact I would put your most useless person here. When you unlock the bus, this one is useless as well.
Next to help you determine what role someone should be, check out their traits and stats. An engineer would be a better crafter than say a runner, who would be best as a scout. A car enthusiest will be better than a nerd as a driver. I will have a more in depth guide to traits later.
Closing
in general, I am looking forward to playing the main game and will likely take several days or weeks for me to come back to this guide (if ever, who knows the future)
In short I hope this guide helps you better understand and enjoy the game. leave a comment below if you like this guide or have any suggestions/ fixes