
I understand that there is a lack of English guidance for this game, and I’m here to provide a comprehensive guide to help you achieve 100% completion. Let’s get started.
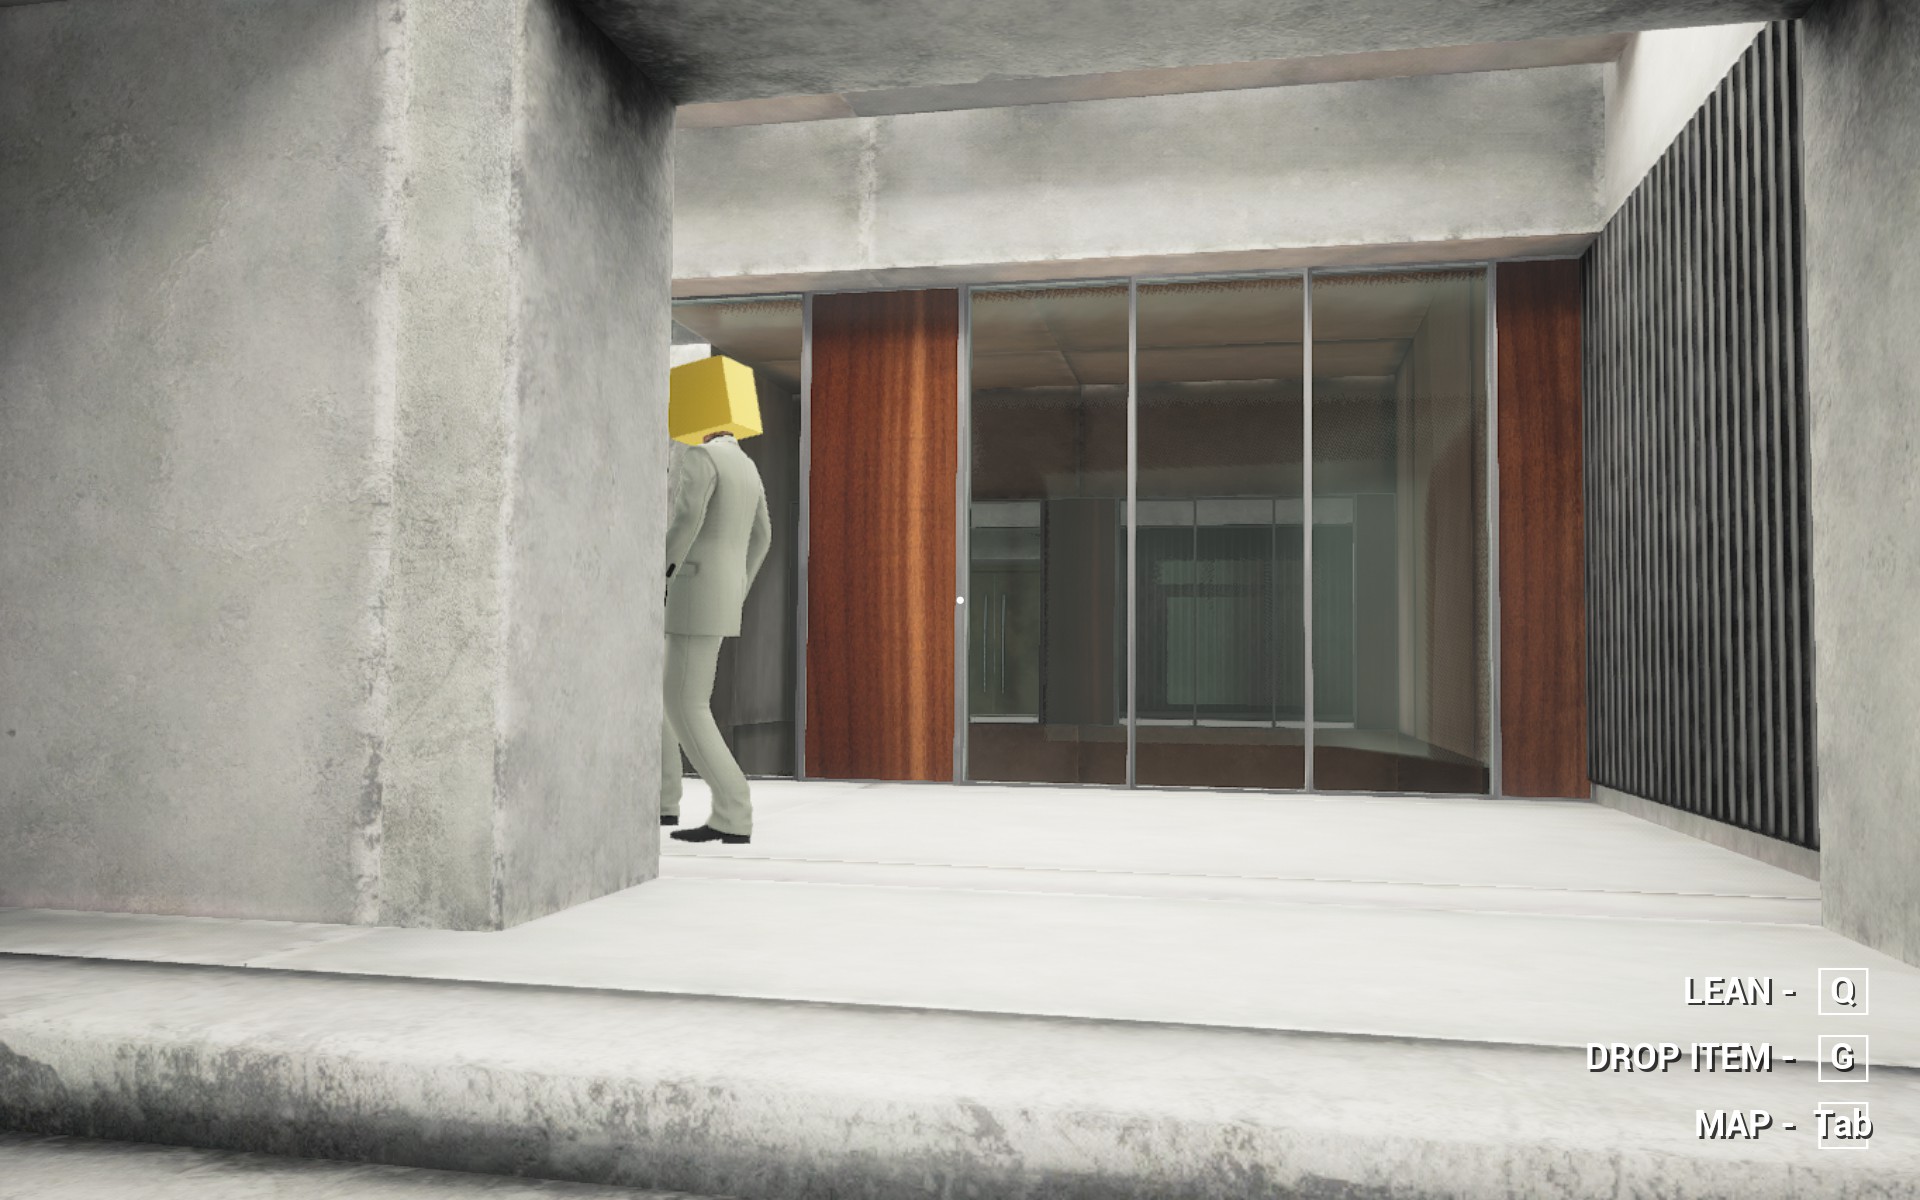
Getting Started
To ensure a smoother experience, we’ll be playing the game on Easy Mode. Click on the circle next to the “Easy Mode” option to enable it.
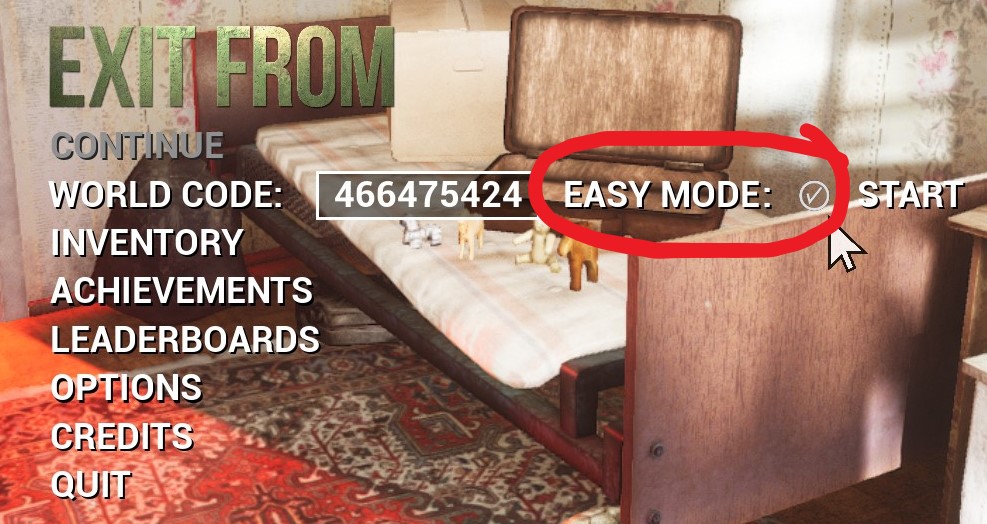
This will prevent The Killer from spawning, allowing you to focus on obtaining all the achievements without worrying about sudden attacks (recommended by doctors).
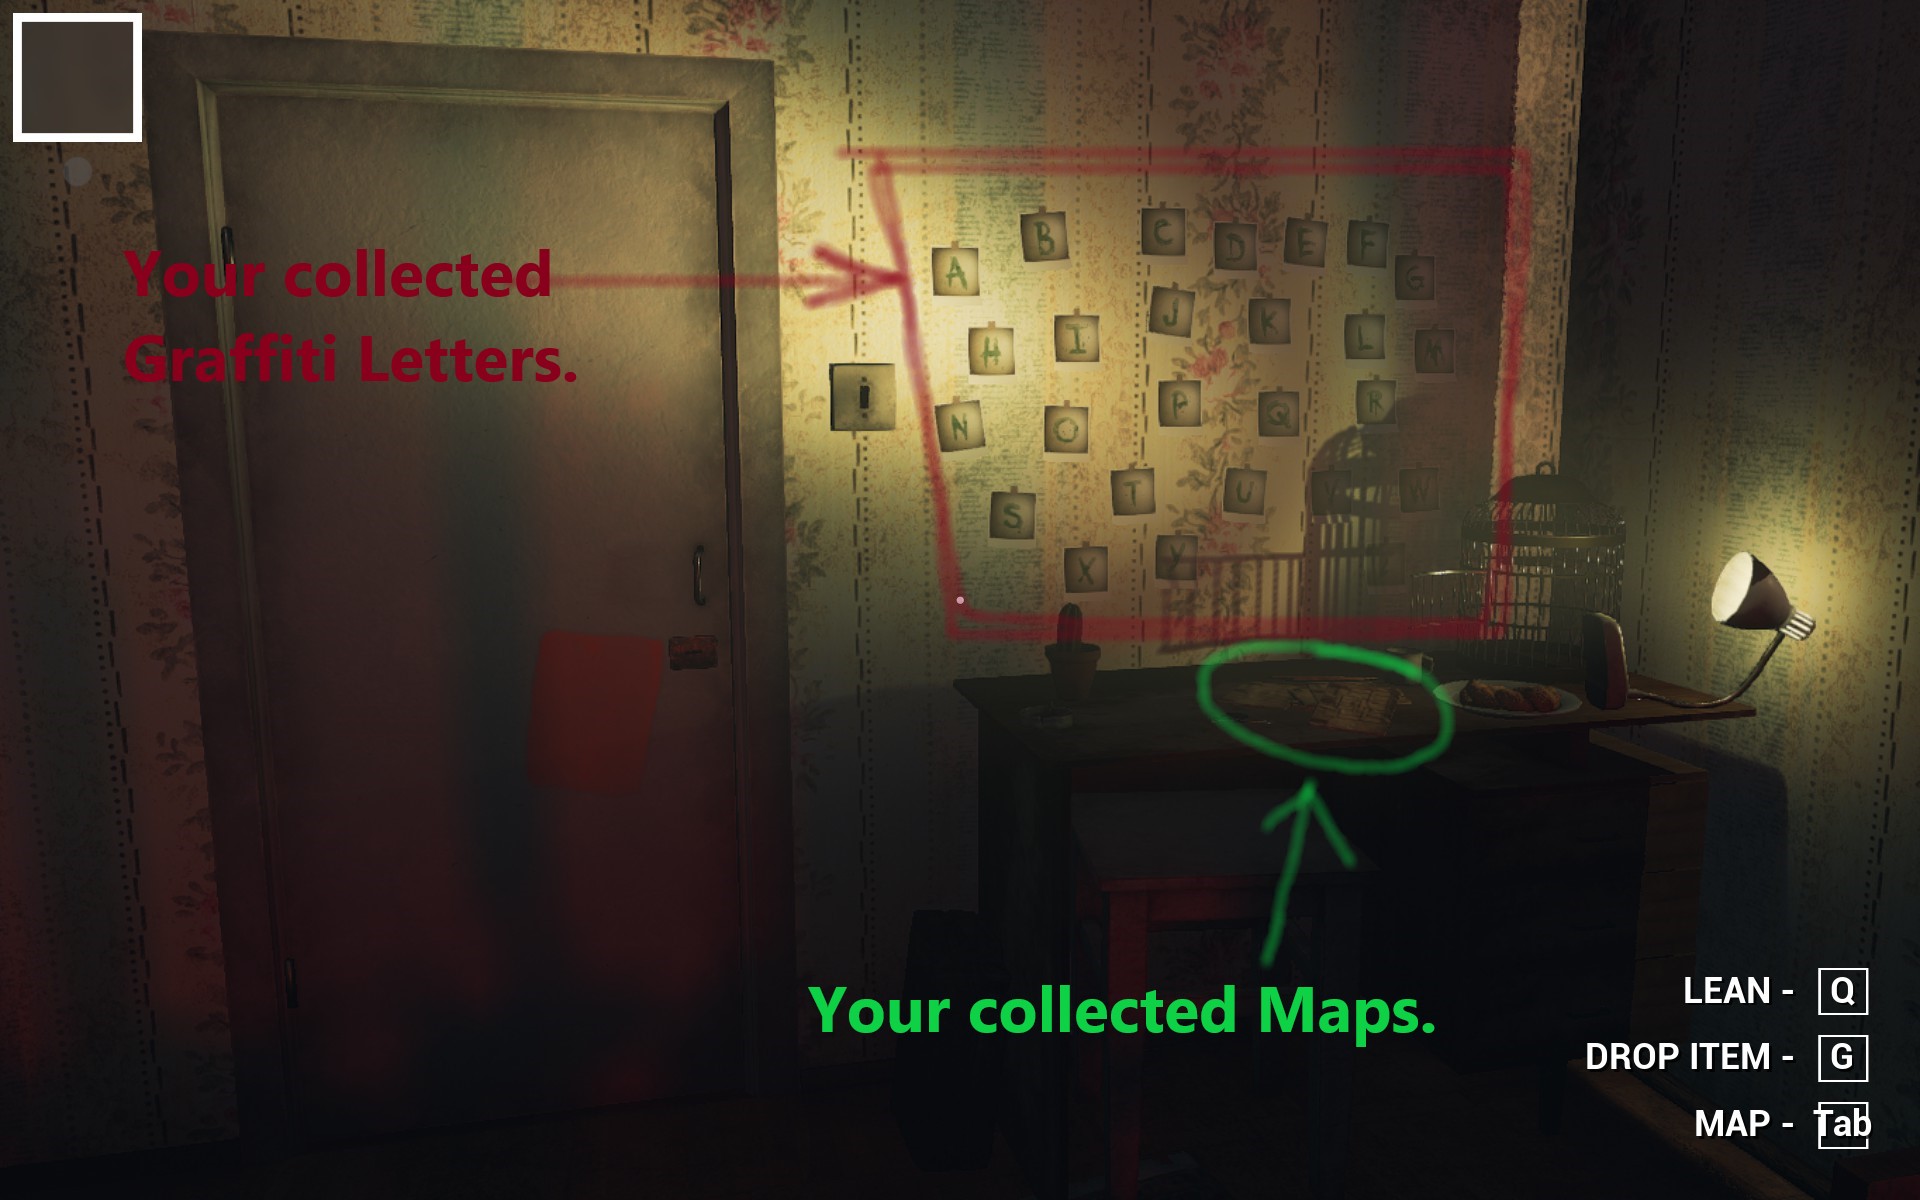
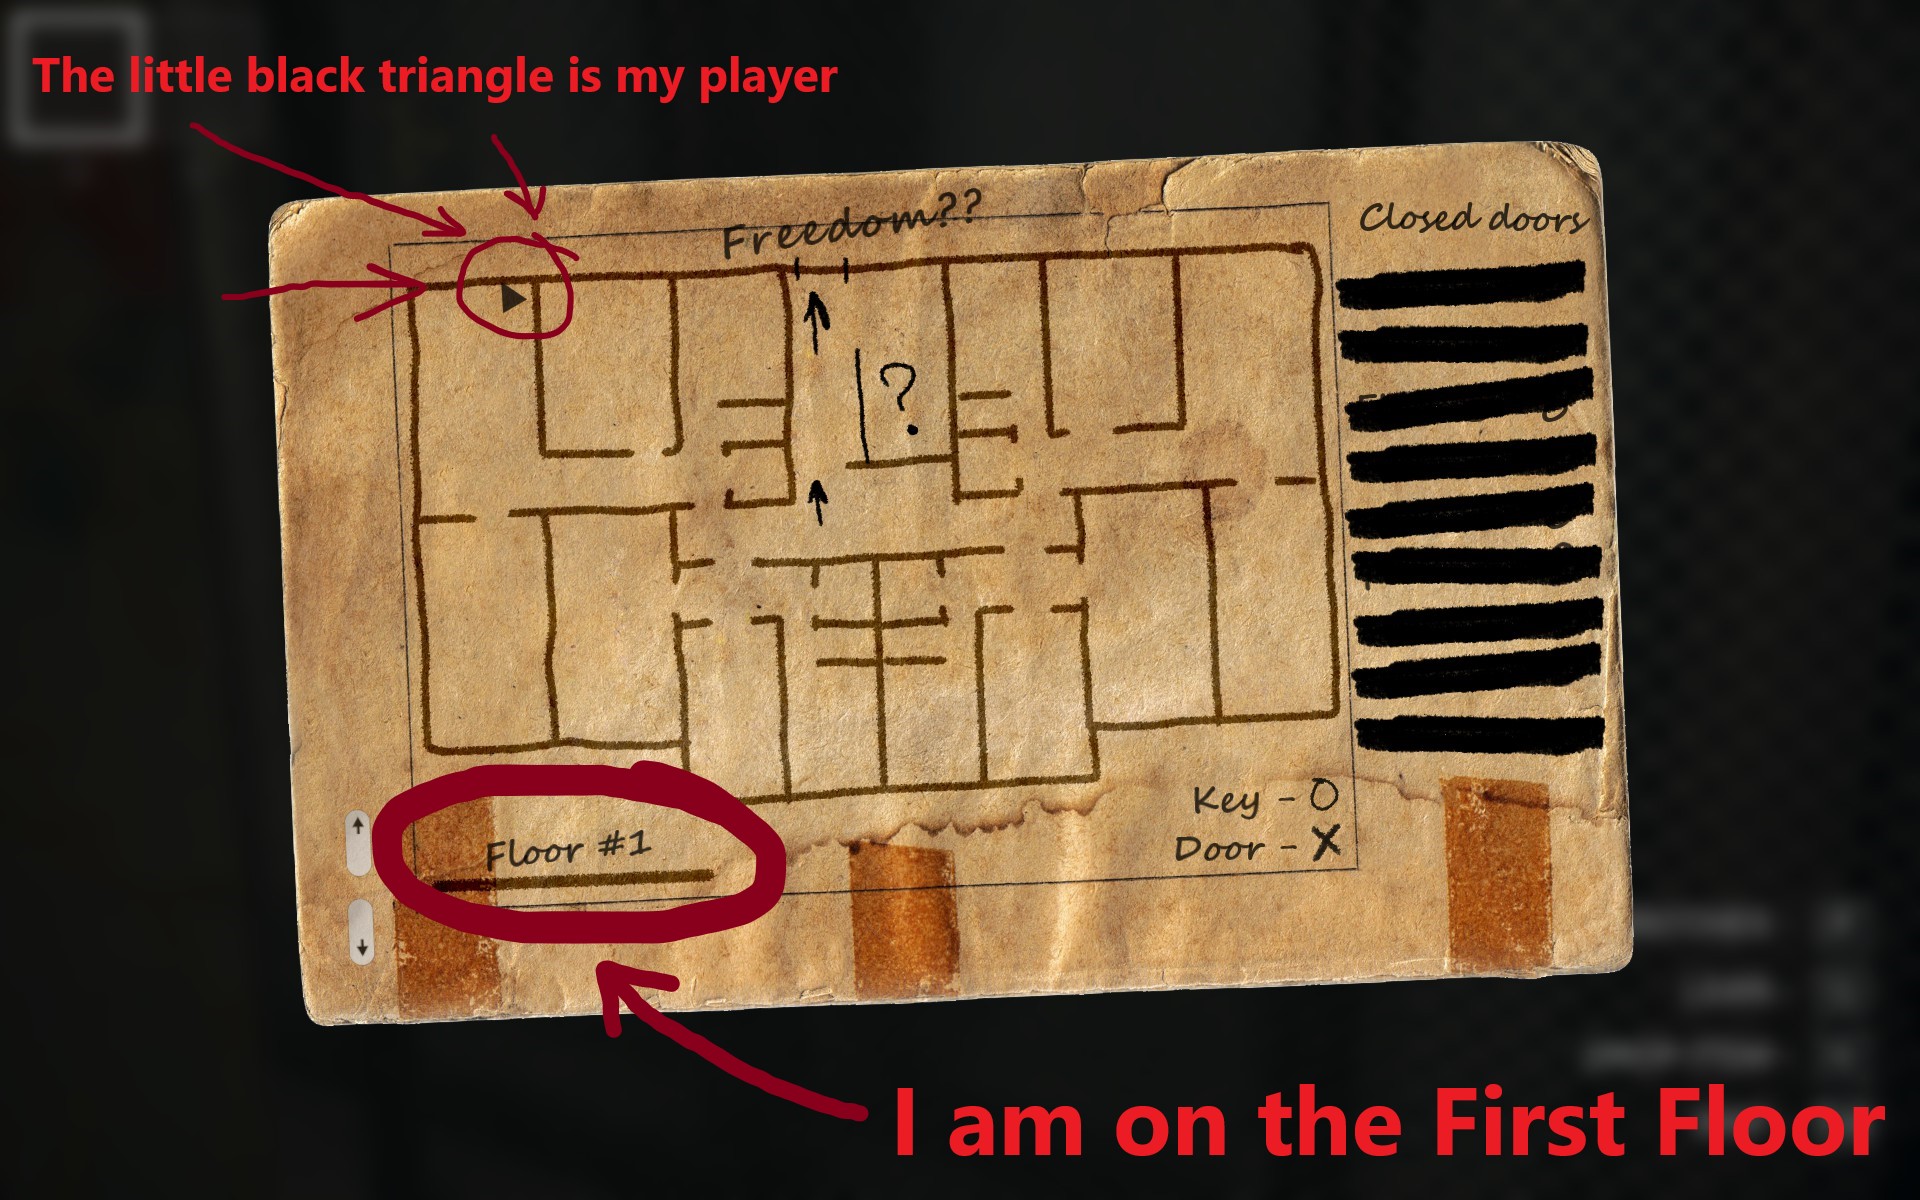
To make your journey easier, it’s crucial to locate and collect all the maps (1-9, one for each floor). Remember to pick up the maps before leaving a room, as exiting without them will cause the starting room to disappear, requiring you to start a new game. If this happens, remain calm and click on “New Game,” select “Easy Mode,” and then click on “Start.” You will begin in the initial room again, so be sure to grab the maps this time to save a significant amount of time.
Some Tips:
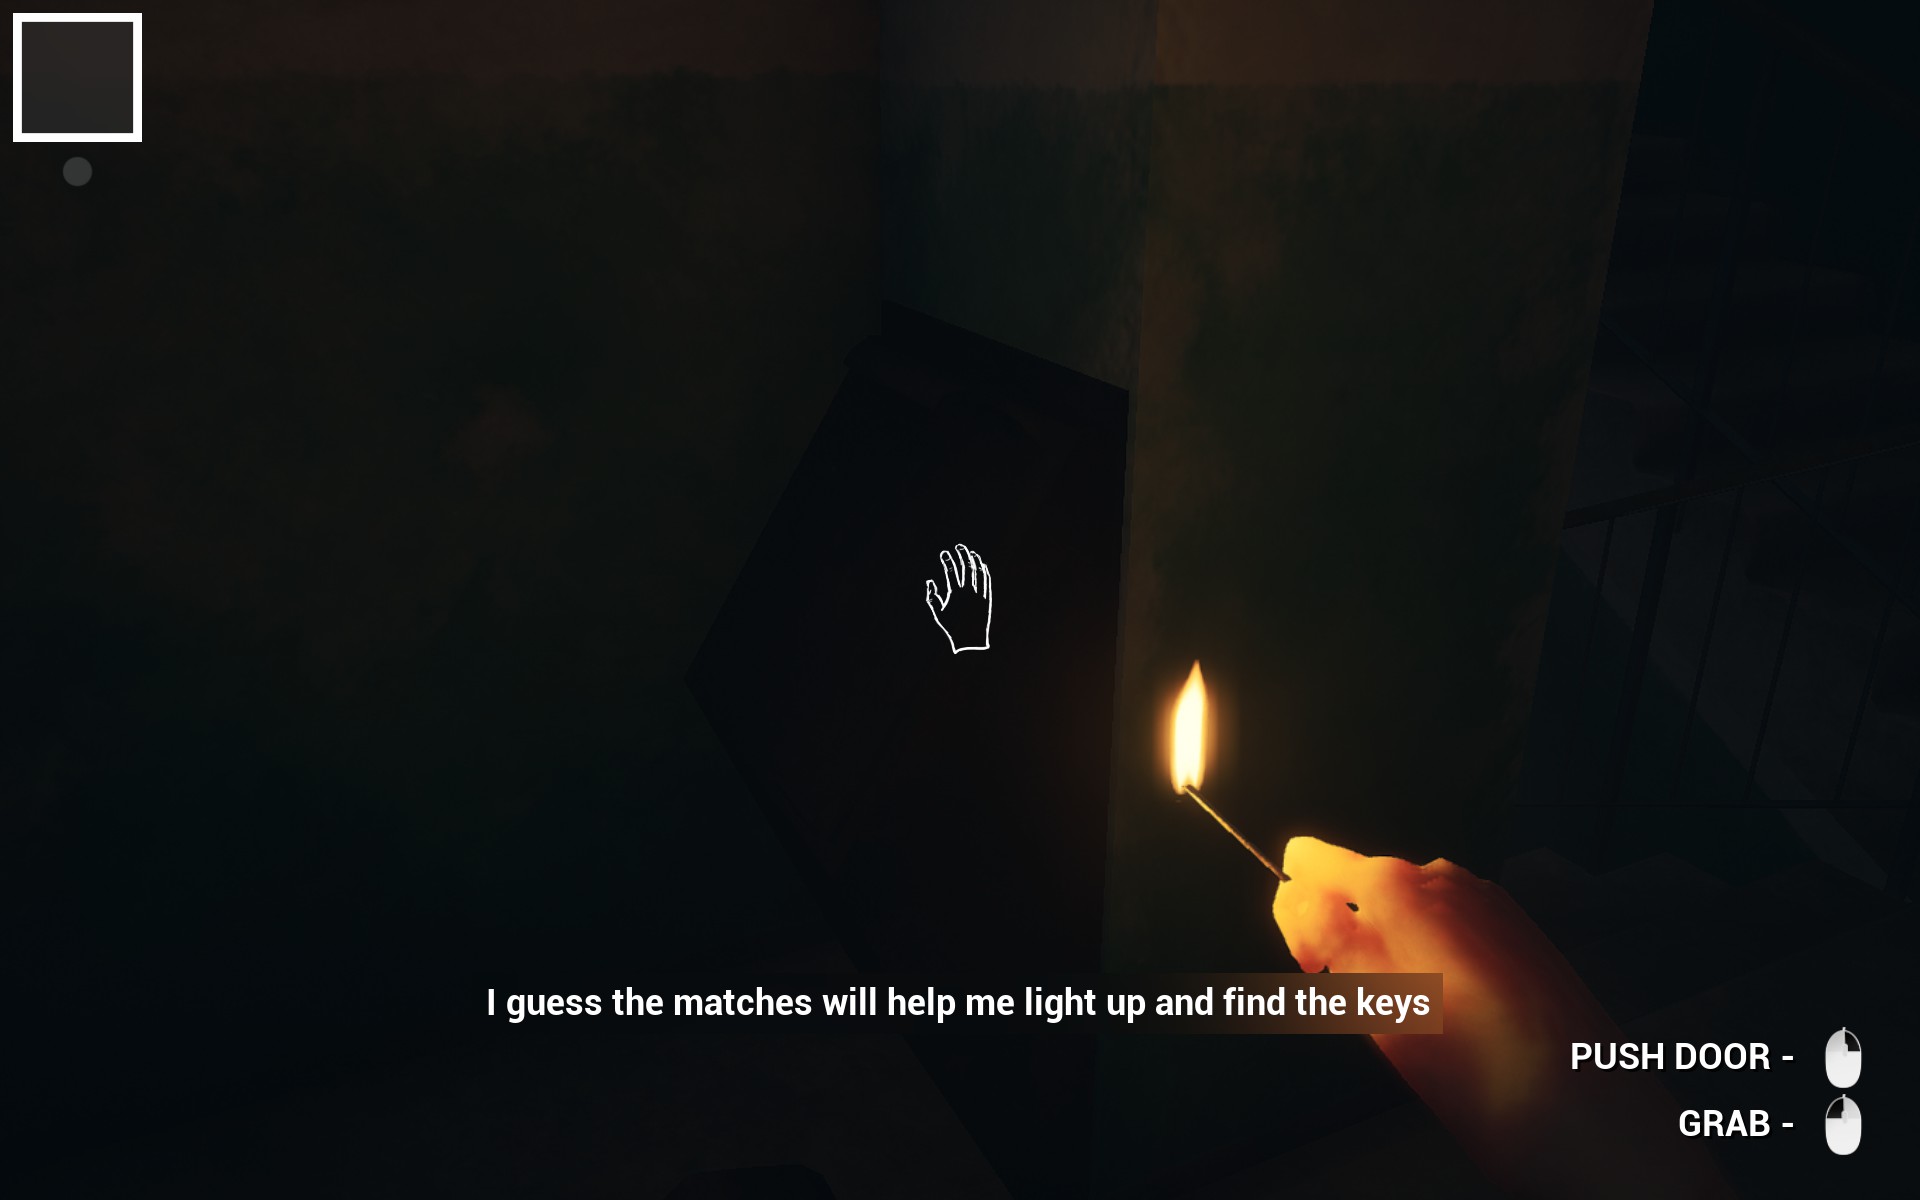
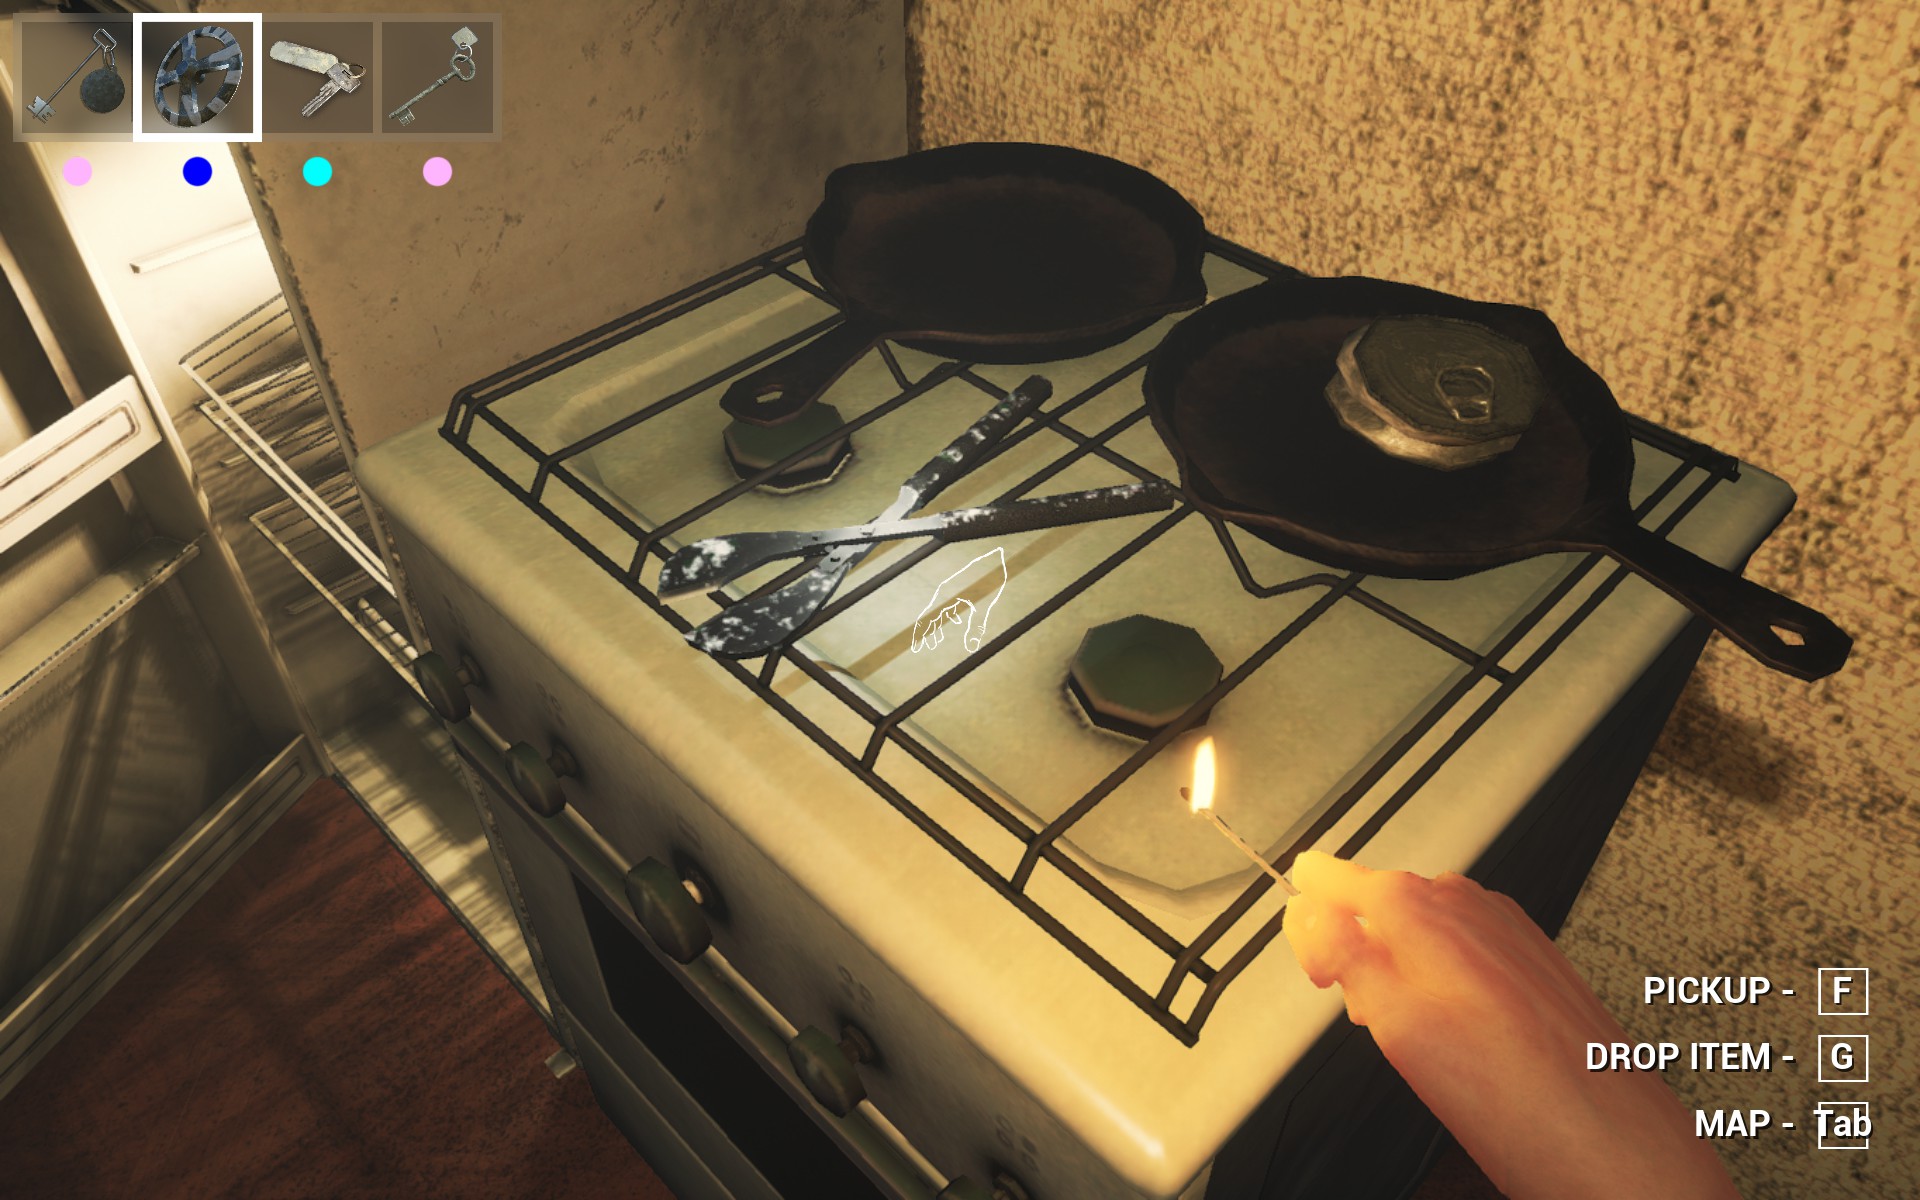
- Items will only emit a glow when you have a lit match. This feature helps you locate items more quickly.
- Throughout the game, you’ll come across randomly generated cases that contain Steam Inventory Items. Some of these items are marketable and can potentially earn you real money ($$$).
With these tips and strategies, you’ll be well-equipped to achieve 100% completion in the game. Good luck on your journey, and may you conquer every challenge!
Story-Related Achievements
These following achievements you get whether you like it or not. No effort needed:

Where Am I?
- As soon as the game starts, you’ll earn a free achievement.

Another Way
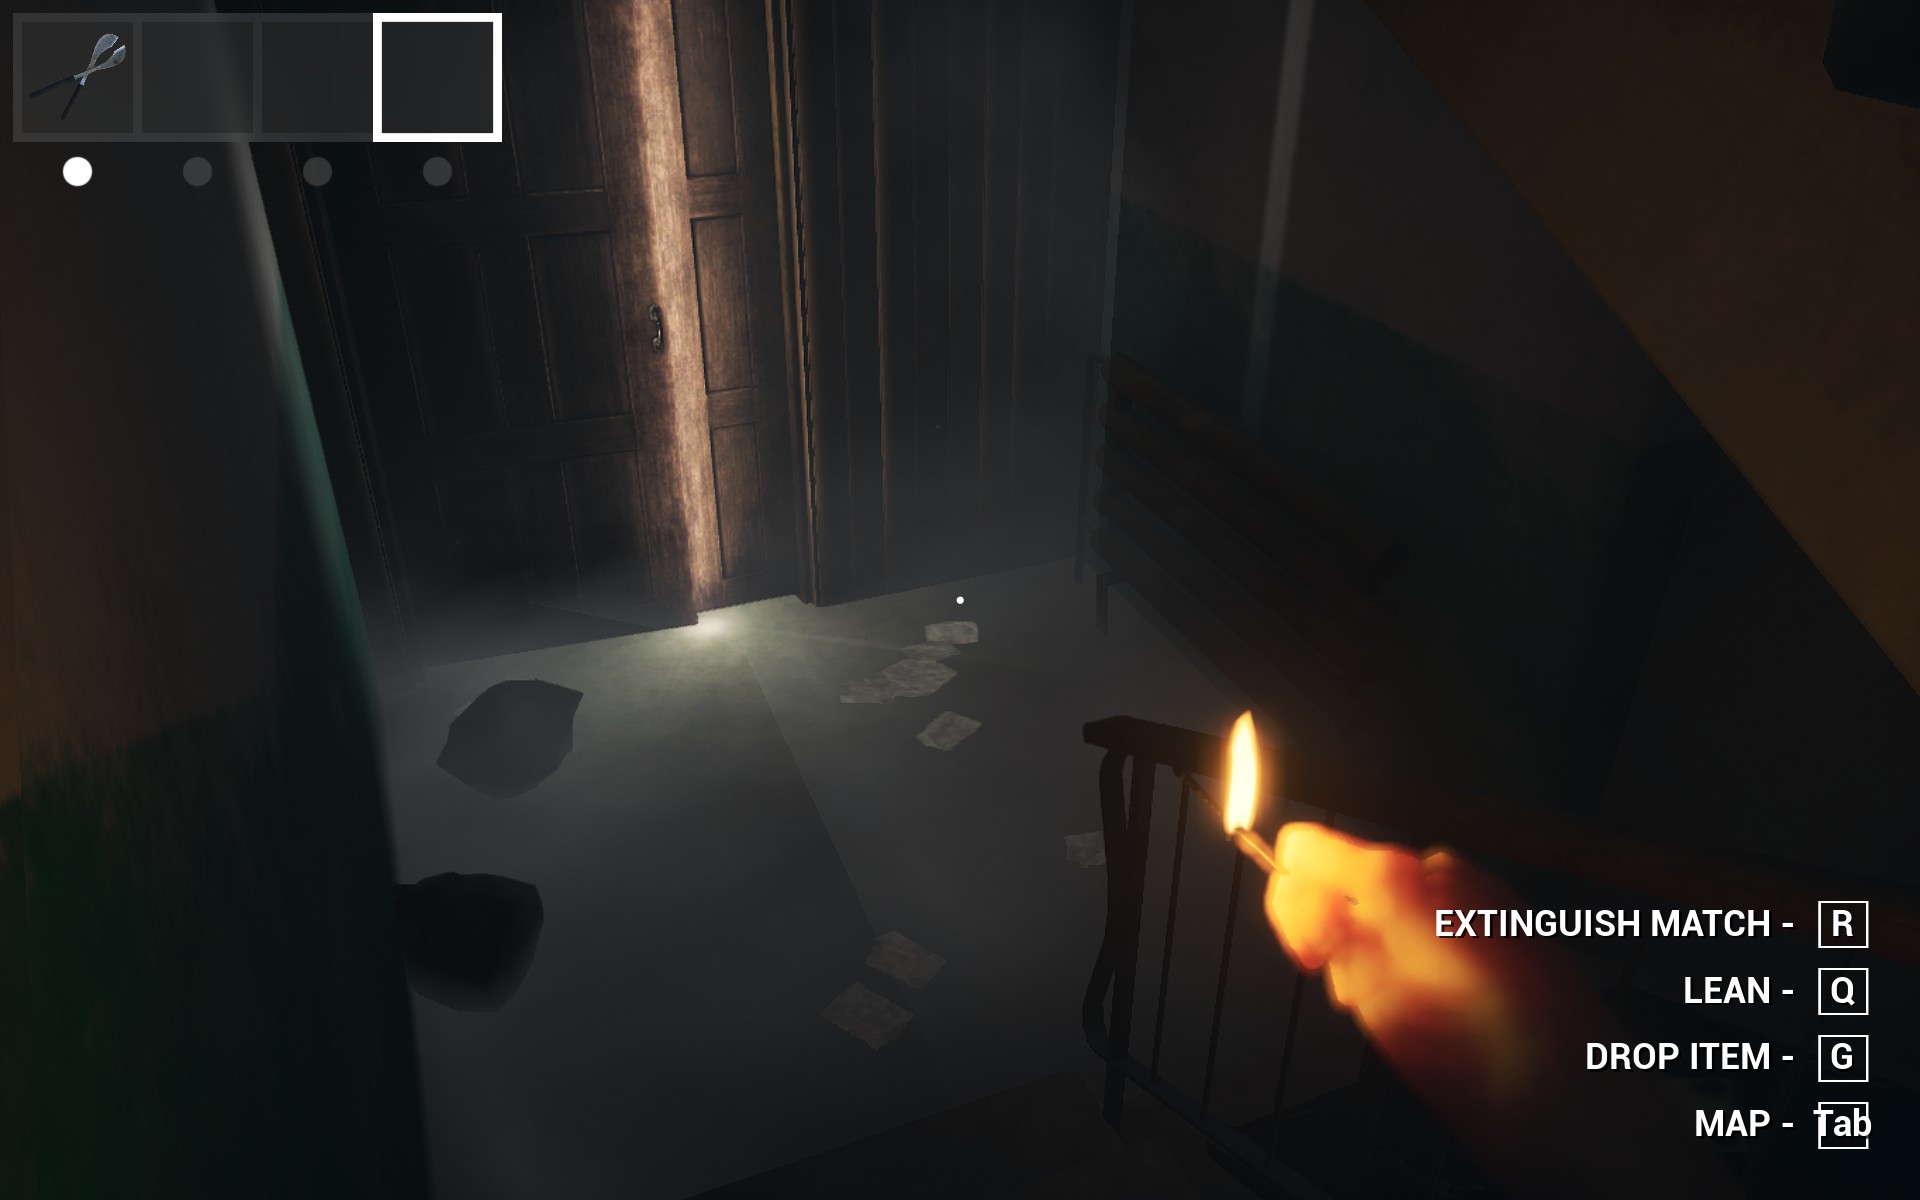
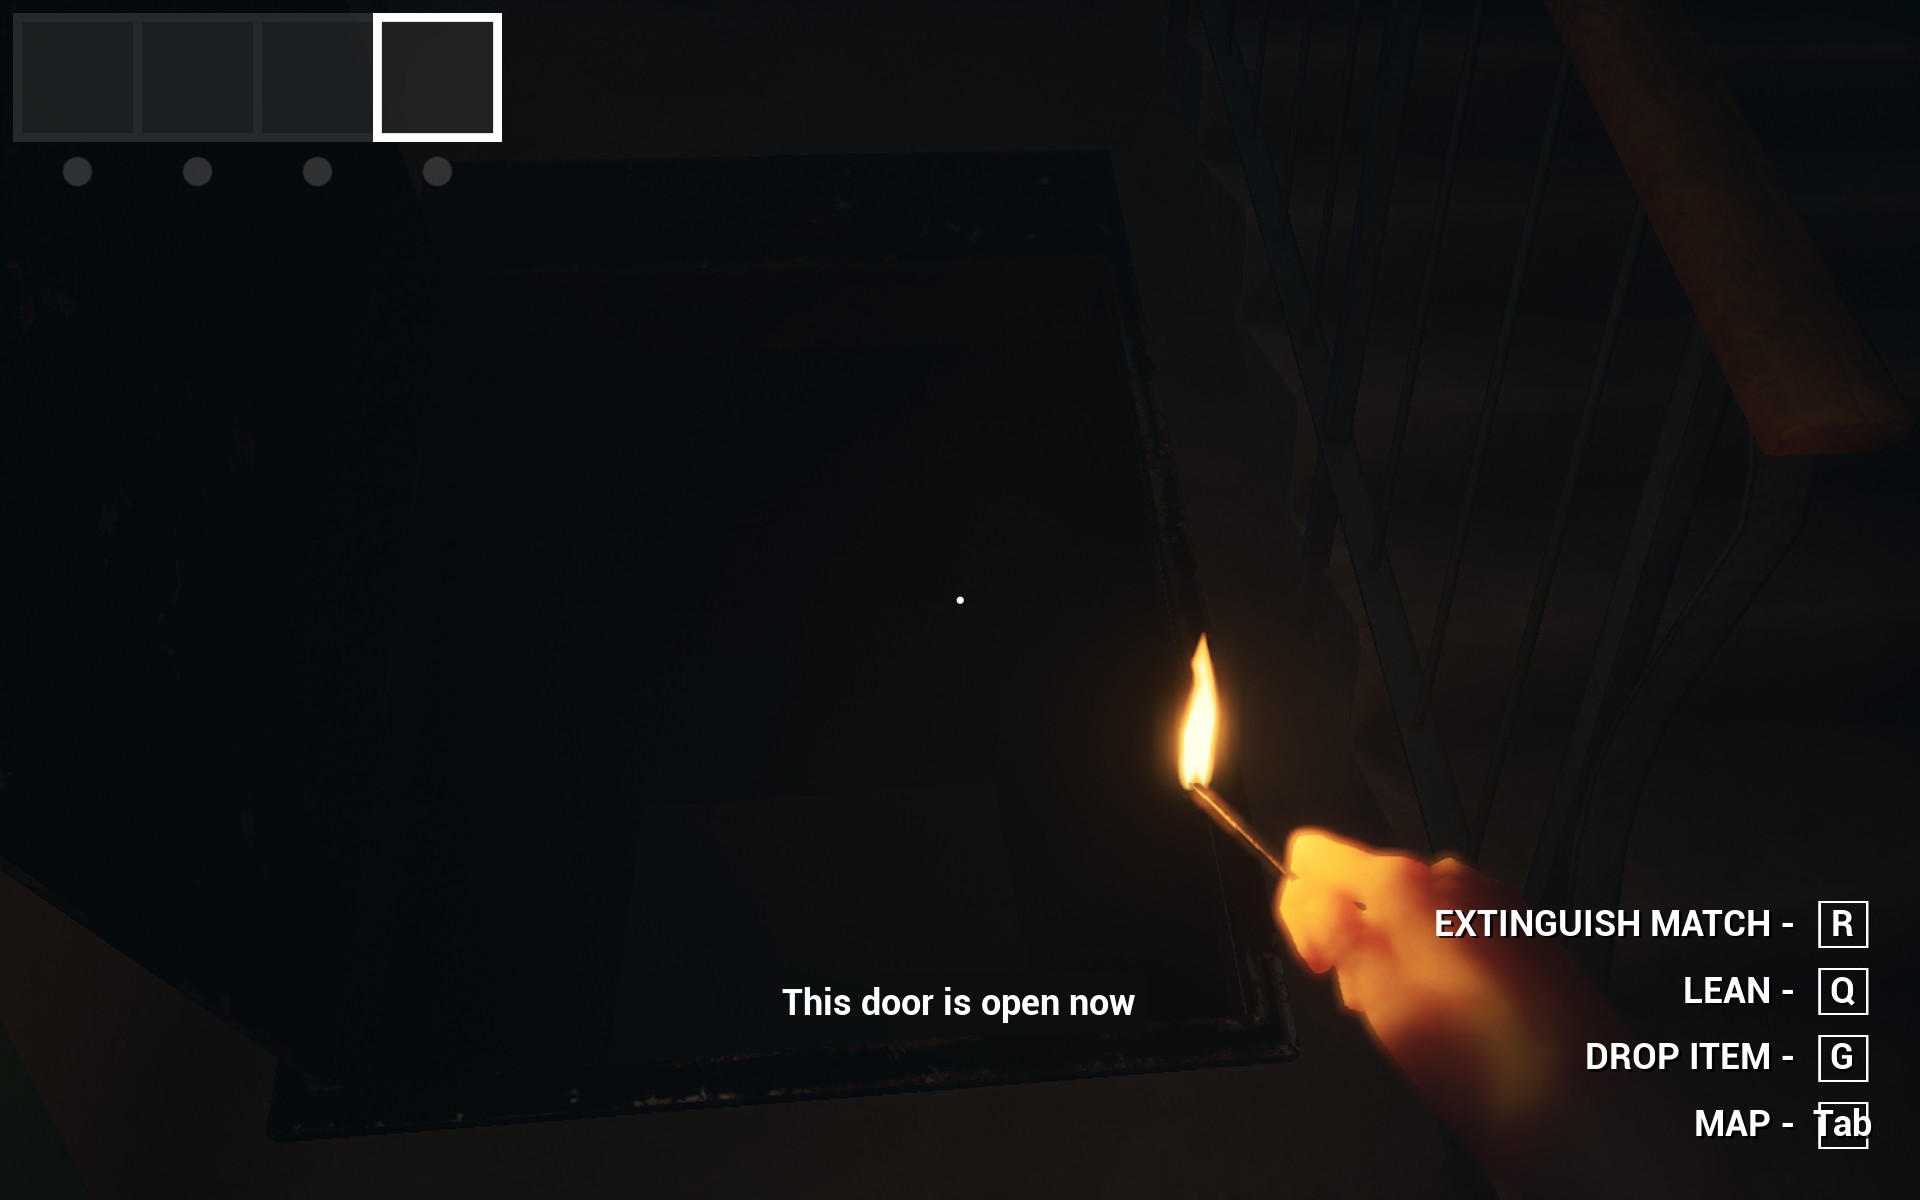
- Attempt to open a locked door without having any keys in your possession. If you’re having difficulty with this, ensure that you don’t have any keys and then try opening a locked door.

Rly?
- While not guaranteed, you will eventually come across an empty box of matches.

Overheat
- While not guaranteed, you will eventually experience a power outage. To trigger this, simply switch on every light you encounter.

Supporter
- There’s an achievement called “ThankYou” that you’ll earn just by playing the game.
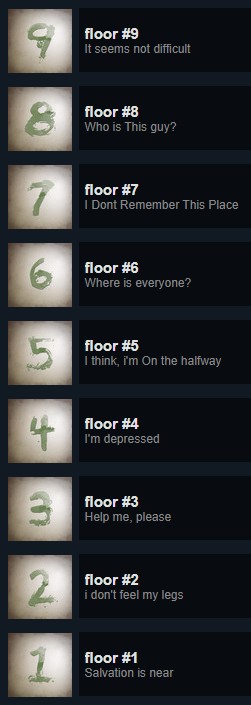
Floor #1 – Floor #9
- Unlocking each gate to a new floor (1-9) will reward you with the corresponding achievement in the series.

Ez
- Complete the game with fewer than 4 deaths. With my guide and Easy Mode enabled, you won’t experience any deaths from Mr. Stabby McTeary.
Missable Achievements
The following are missable but easy:

Amulet
- Found Amulet.
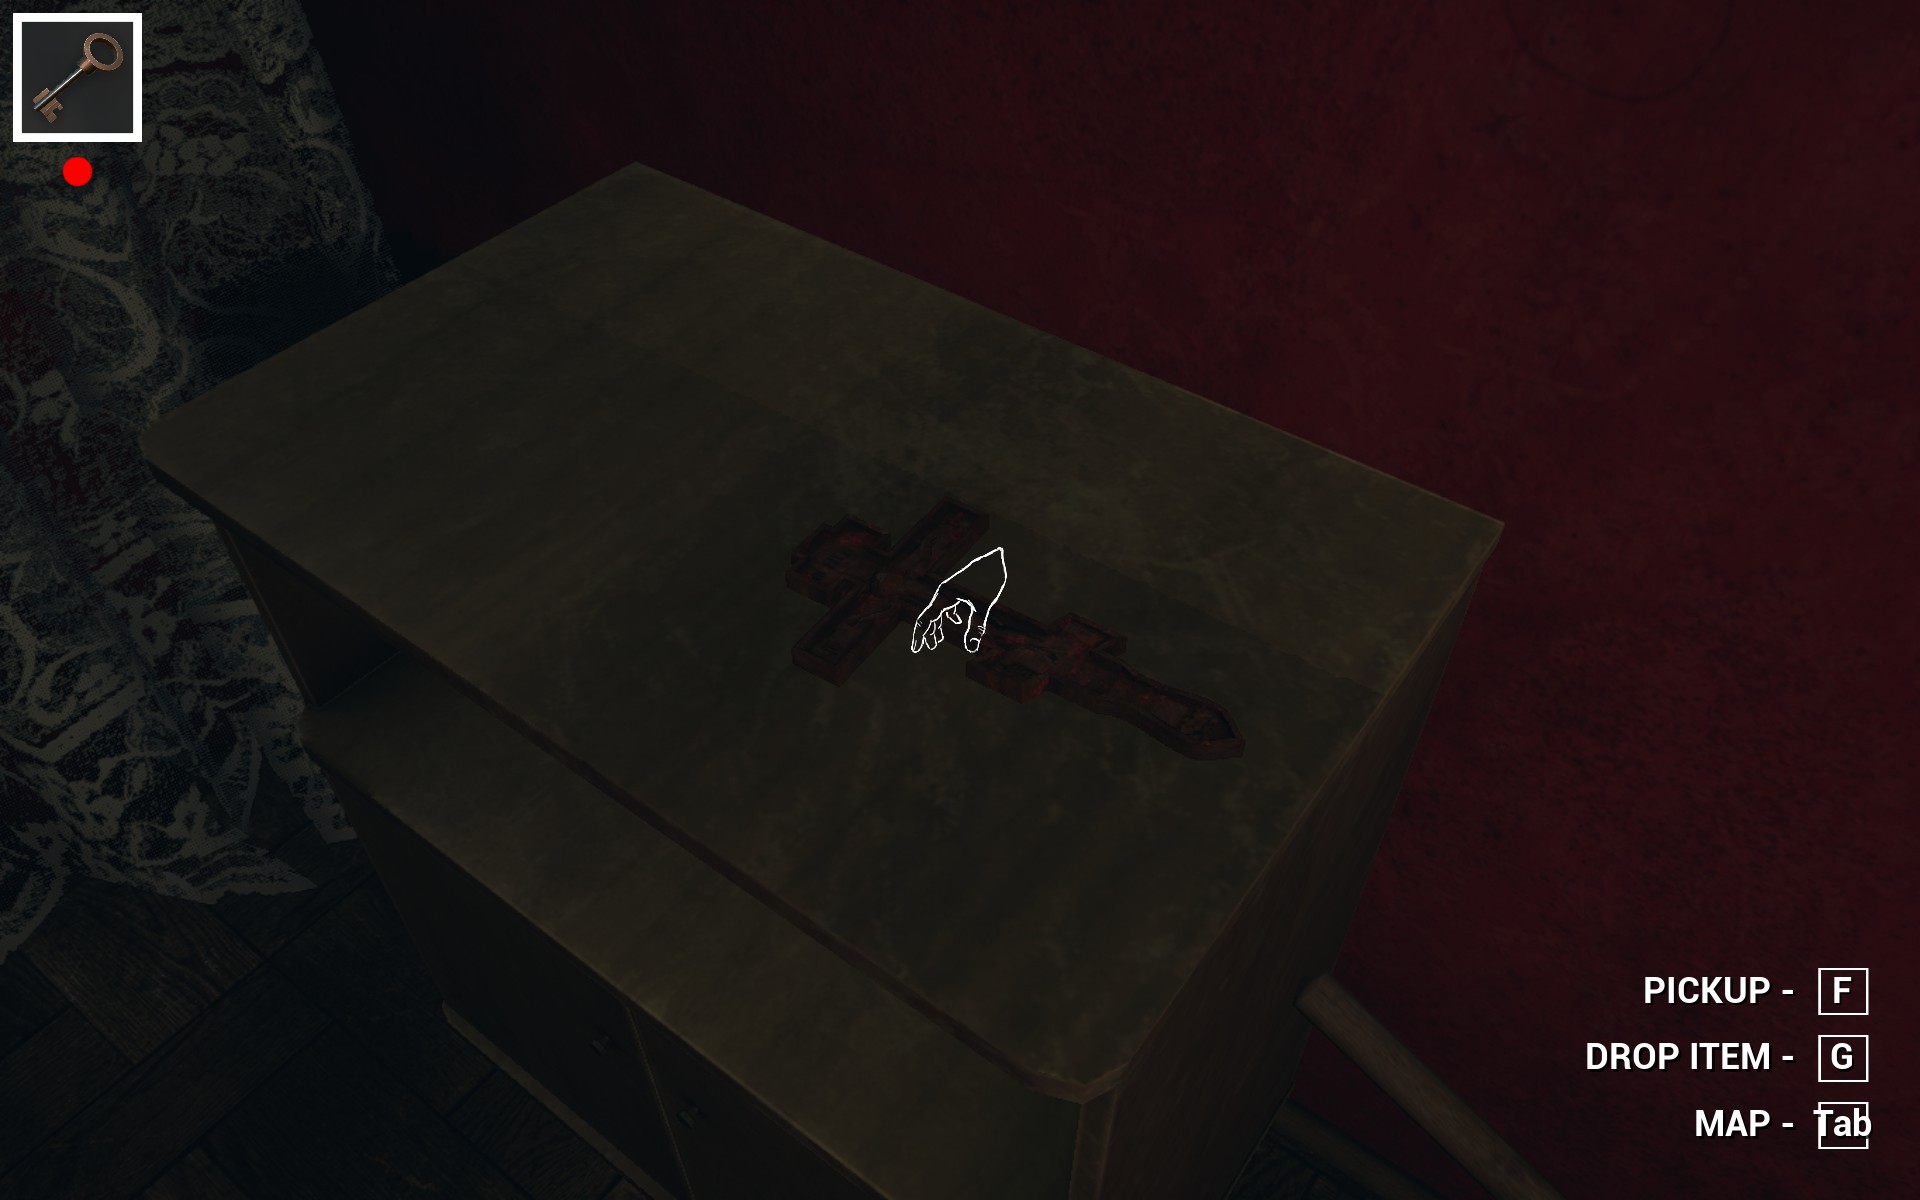
The items you’re looking for are easily identifiable. They resemble crucifixes and emit a distinct red glow. Make sure to locate and pick one up during your gameplay.
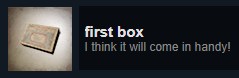

First Box & 100 Matches
- Collect as many matches as you can without using any of them. Accumulate a stock of 100 matches. Instead, rely on light switches to illuminate your surroundings.

I’m Not on Purpose.
- Experience a match breaking when you strike it. This achievement is missable if you don’t use matches. Keep striking them, and eventually, one will snap.

Supernatural
- Avoid picking up any matches throughout the game. Use light switches exclusively and refer to your map for navigation if you become disoriented.
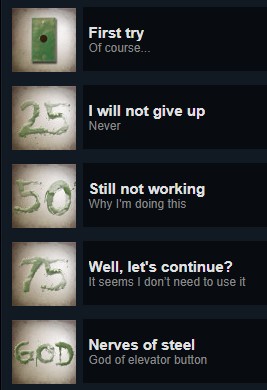
First Try – I Will Not Give Up – Still Not Working – Well, Let’s Continue? – Nerves of Steel
- Keep pressing the F key on elevator switches to activate them. Repeat this action up to 100 times.

Way Out?
- Before descending the stairs to Floor #8, as you leave the starting room, look for a closed-off section of stairs between the first locked stairwell door and the 9th-floor elevator.
Press the F key on the gate to unlock this achievement. It’s relatively straightforward.
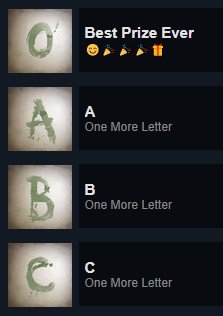
A to Z & Best Prize Ever
- Inside the apartments, you’ll come across graffiti letters. Approach each letter and press F to interact with it. Once you’ve interacted with a letter, it will disappear, and you won’t need to find it again. Find letters A through Z. When you discover letter O, you’ll earn two achievements simultaneously (“Best Prize Ever” achievement).

Spring Cleaning
- On certain floors, you’ll find hidden garbage chutes in the corner. Left-click, hold, and drag the chute lid open.
Obtain a trash bag and drop it into the chute.

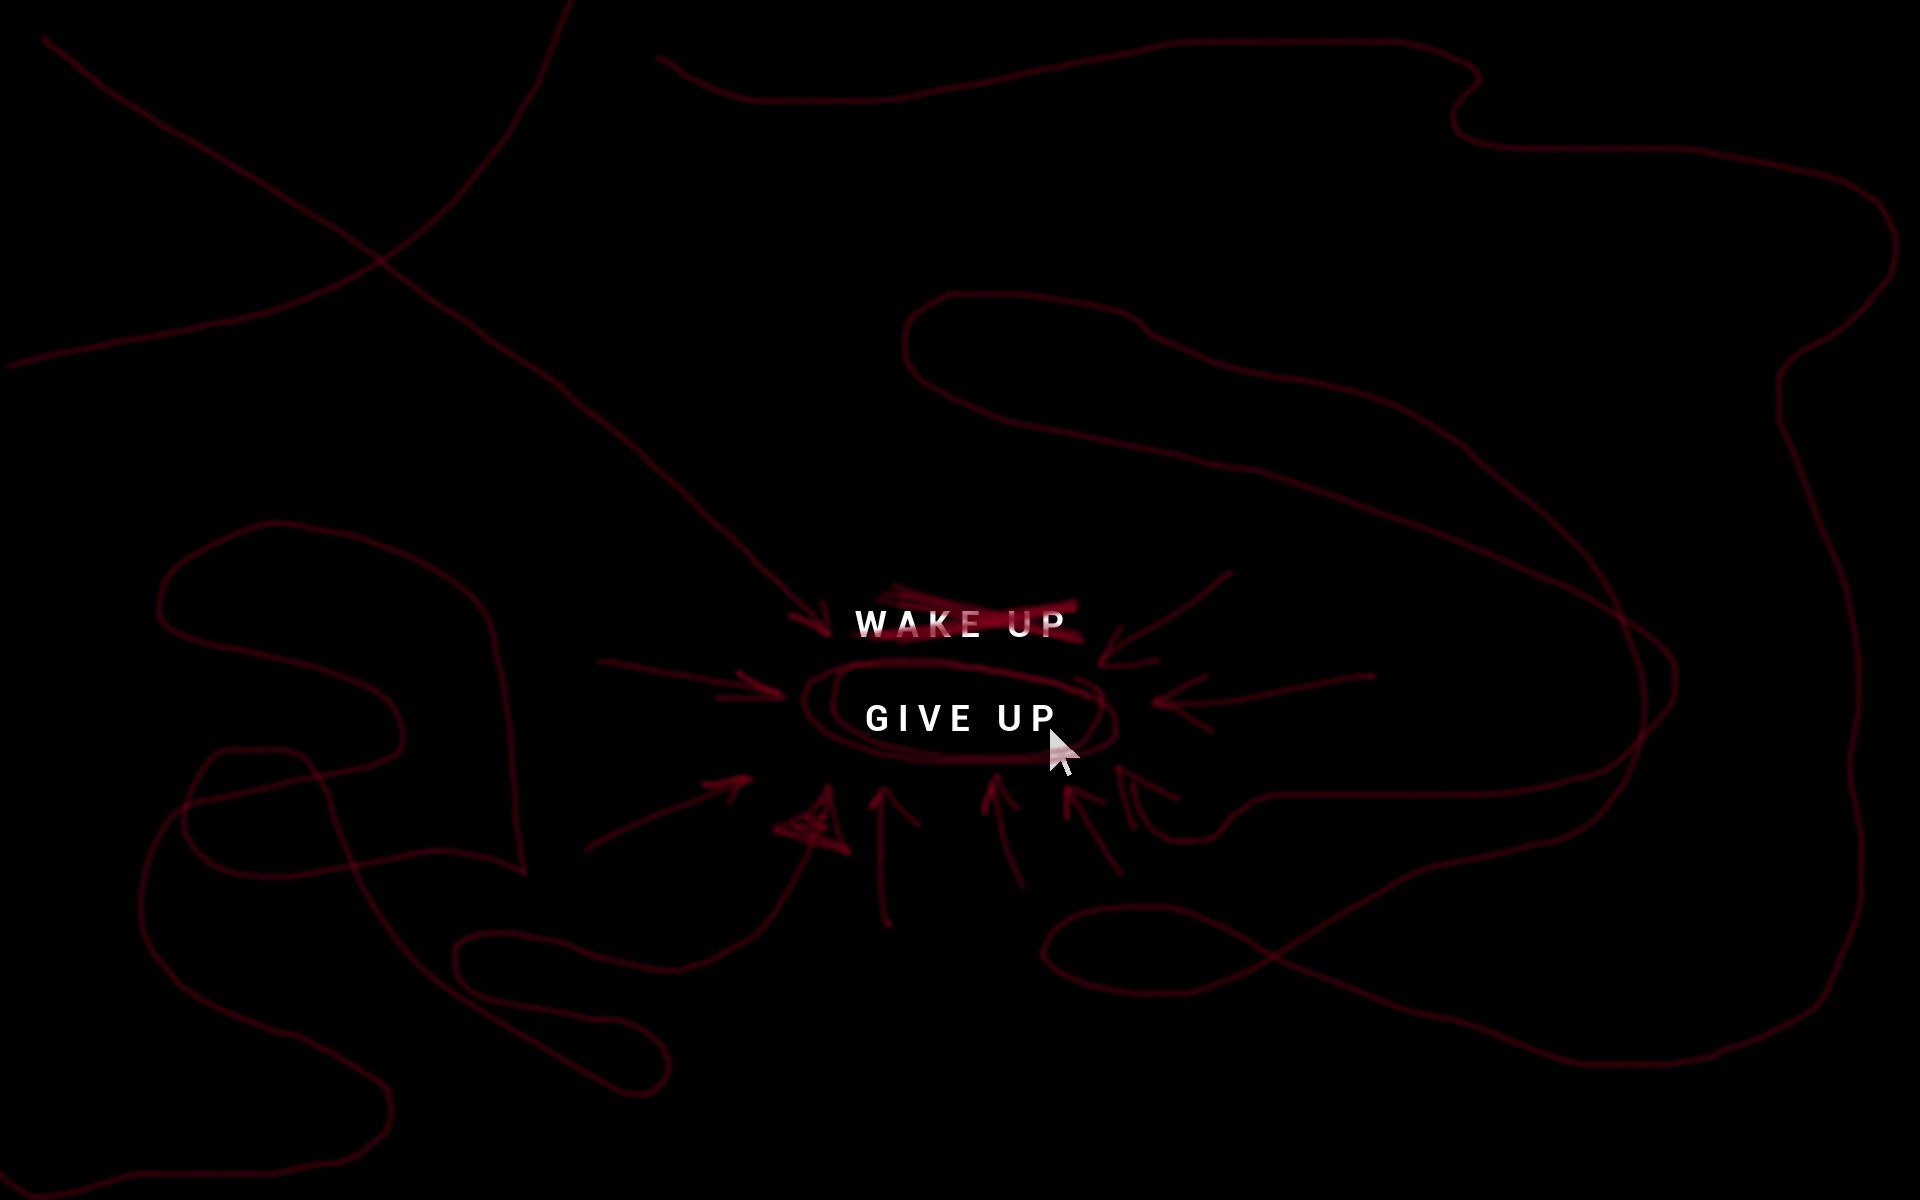
Maybe Next Time
- When starting a new game, choose the “Give up” option. It is highlighted on the screen with red arrows for clear visibility.

Speedrun
- Complete the game in under 30 minutes. Follow these tips: 1. Ensure Easy Mode is enabled. 2. Have all nine maps. 3. Sprint by holding the Left Shift key. 4. Keep your map open as you run around. Prioritize using keys on corresponding doors and grabbing the next key.

High Score
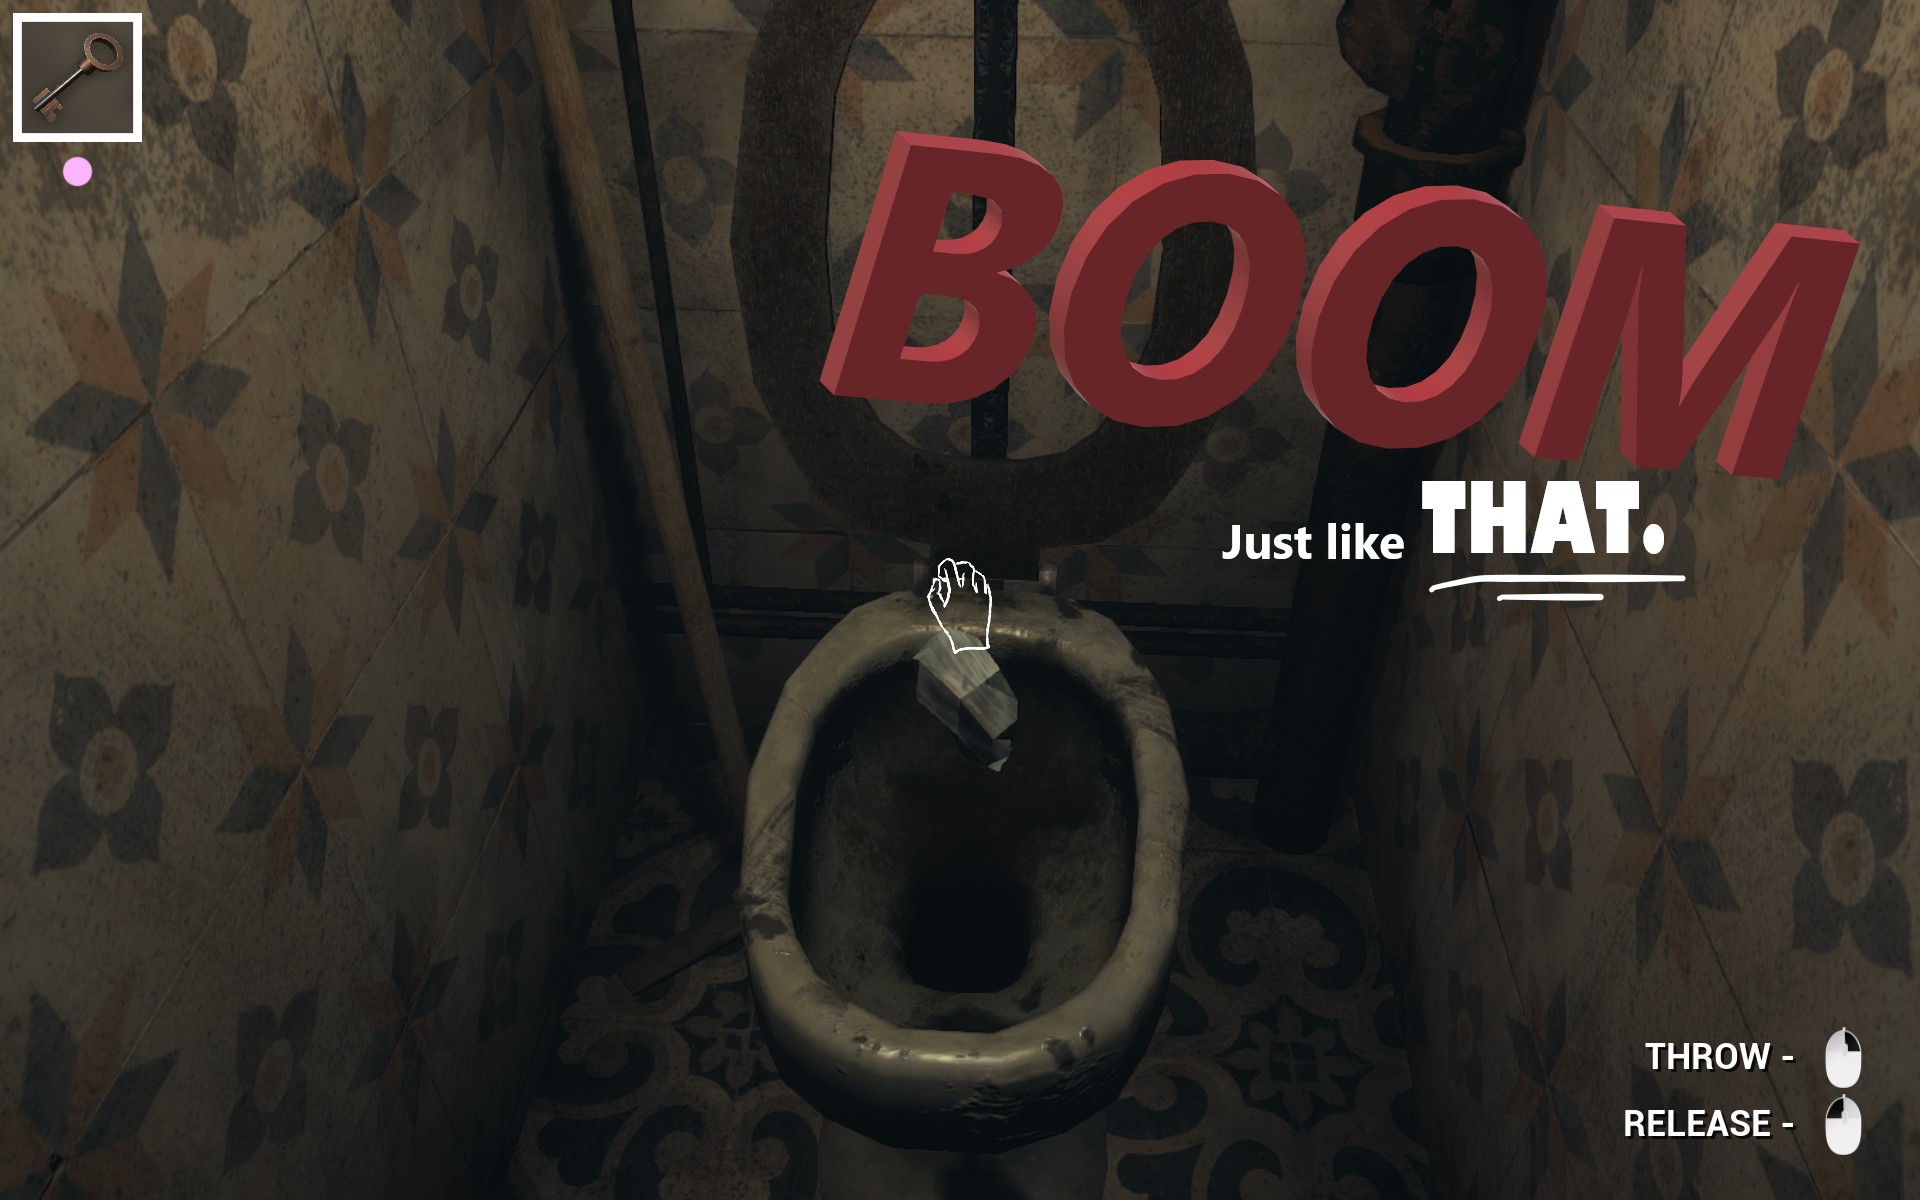
- Locate a scrunched-up ball of paper.
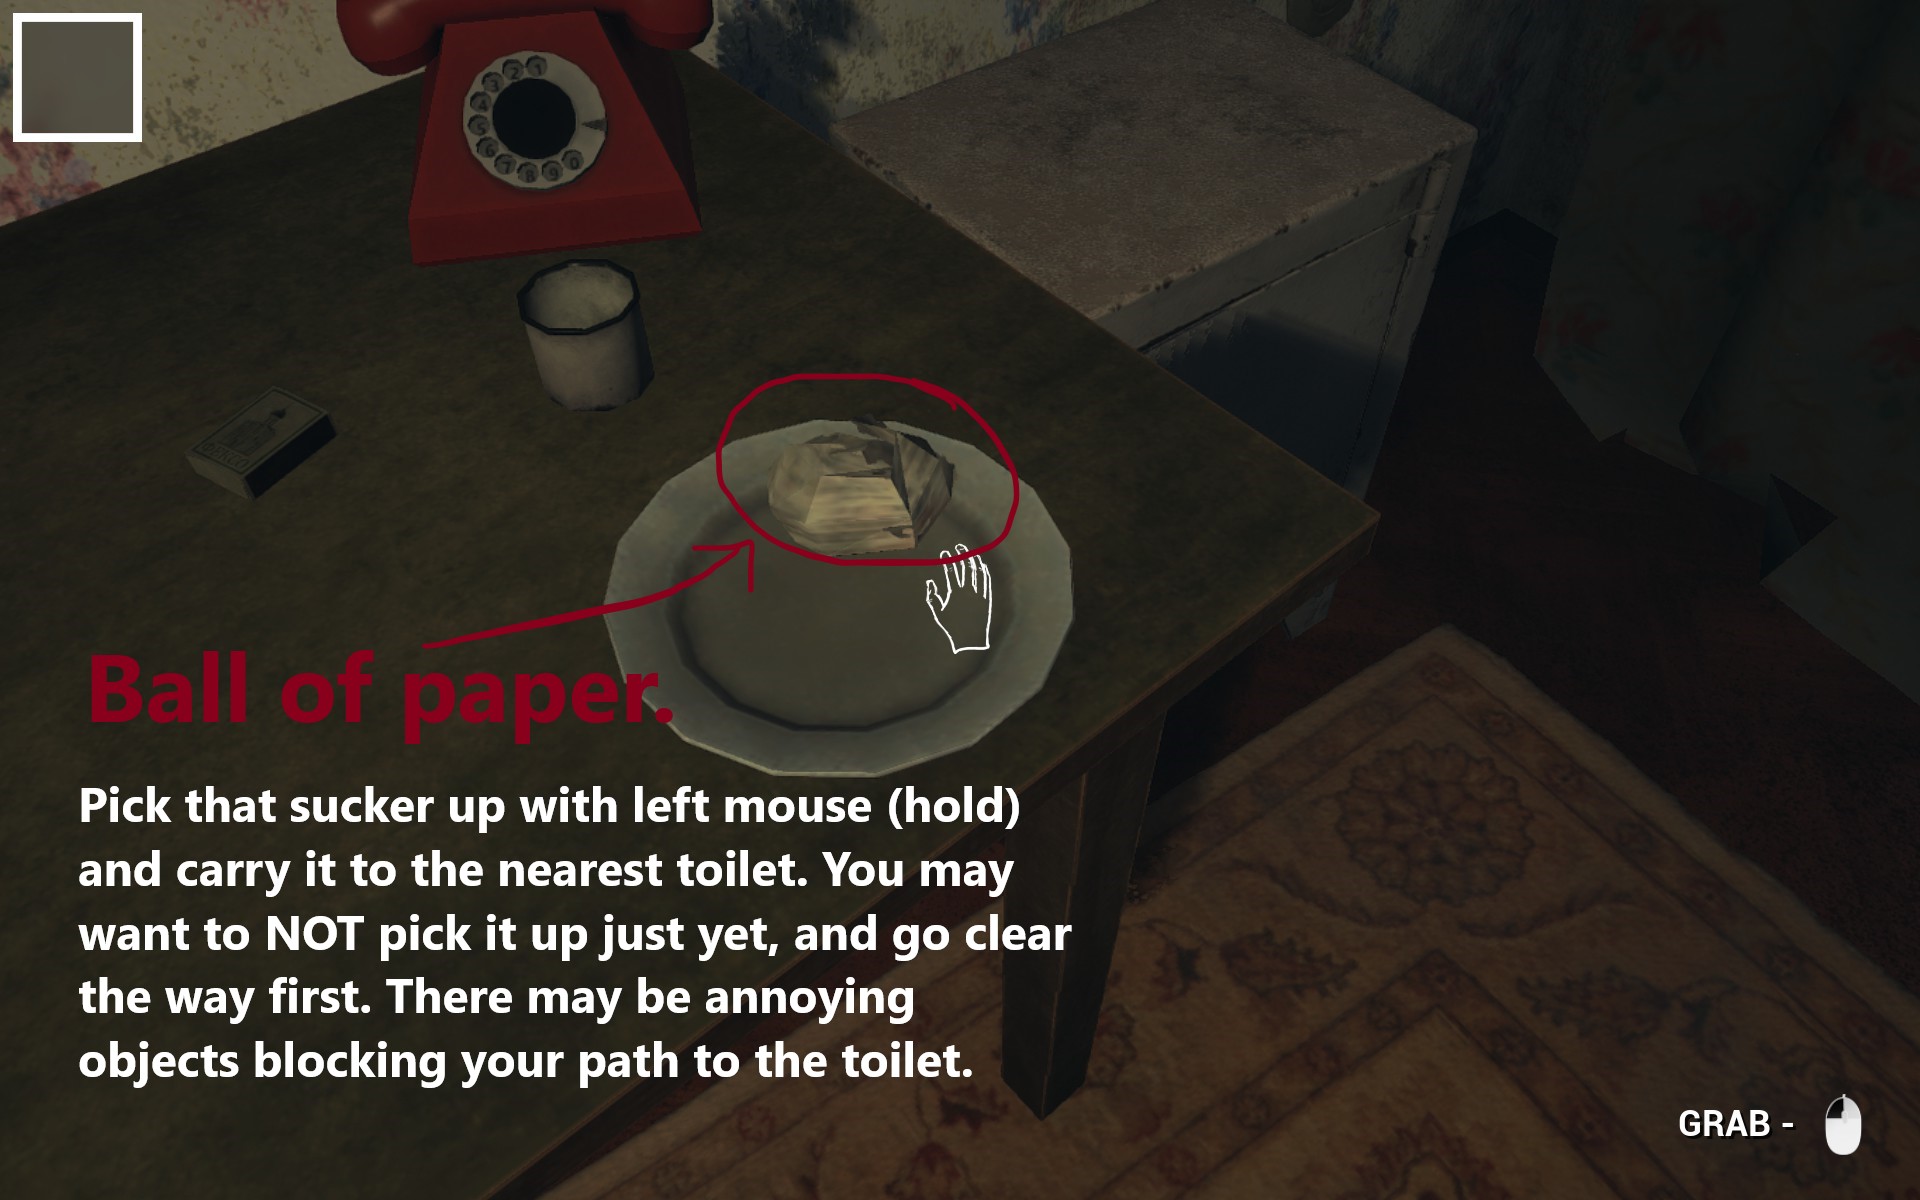
Throw the ball of paper into the toilet.

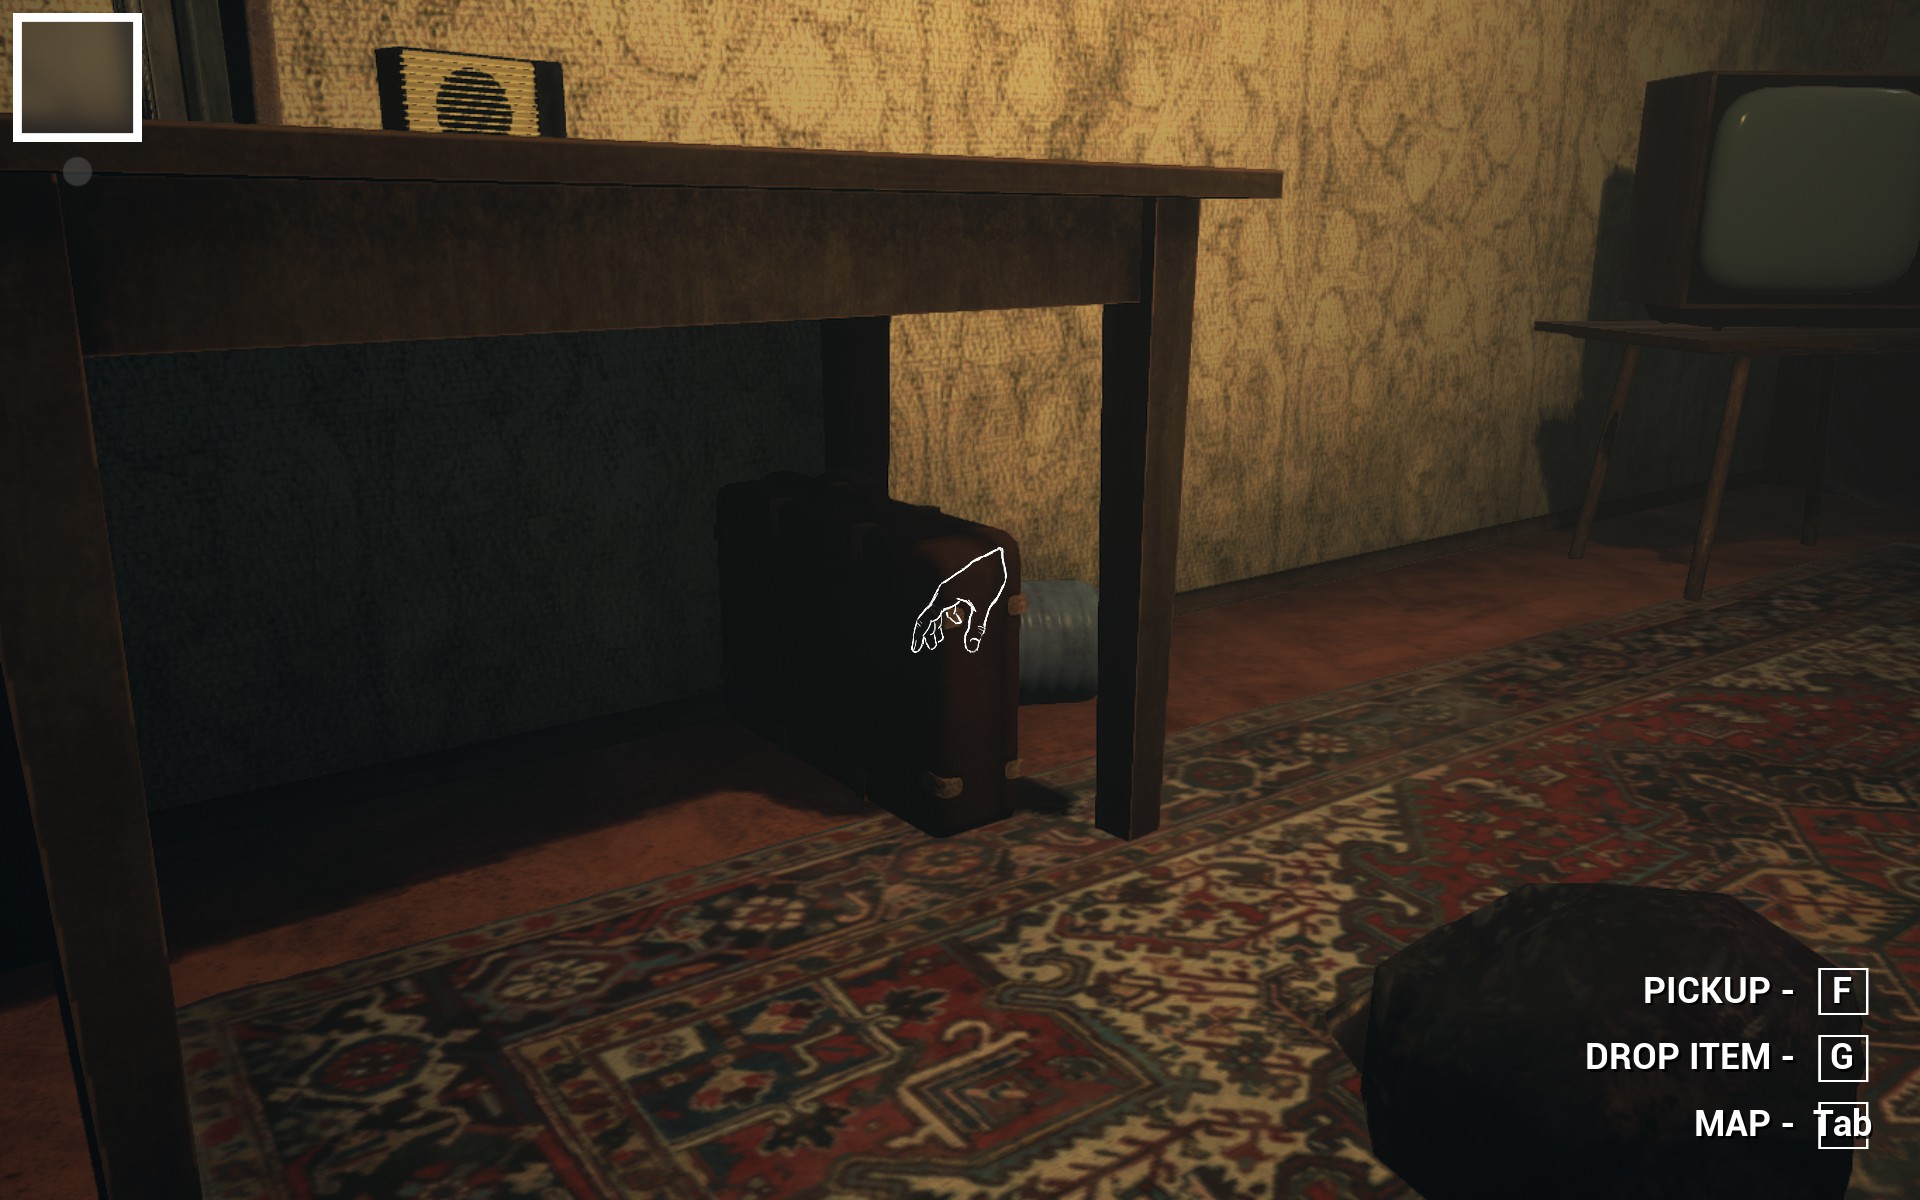
Case Found
- Find a luggage case and collect it.
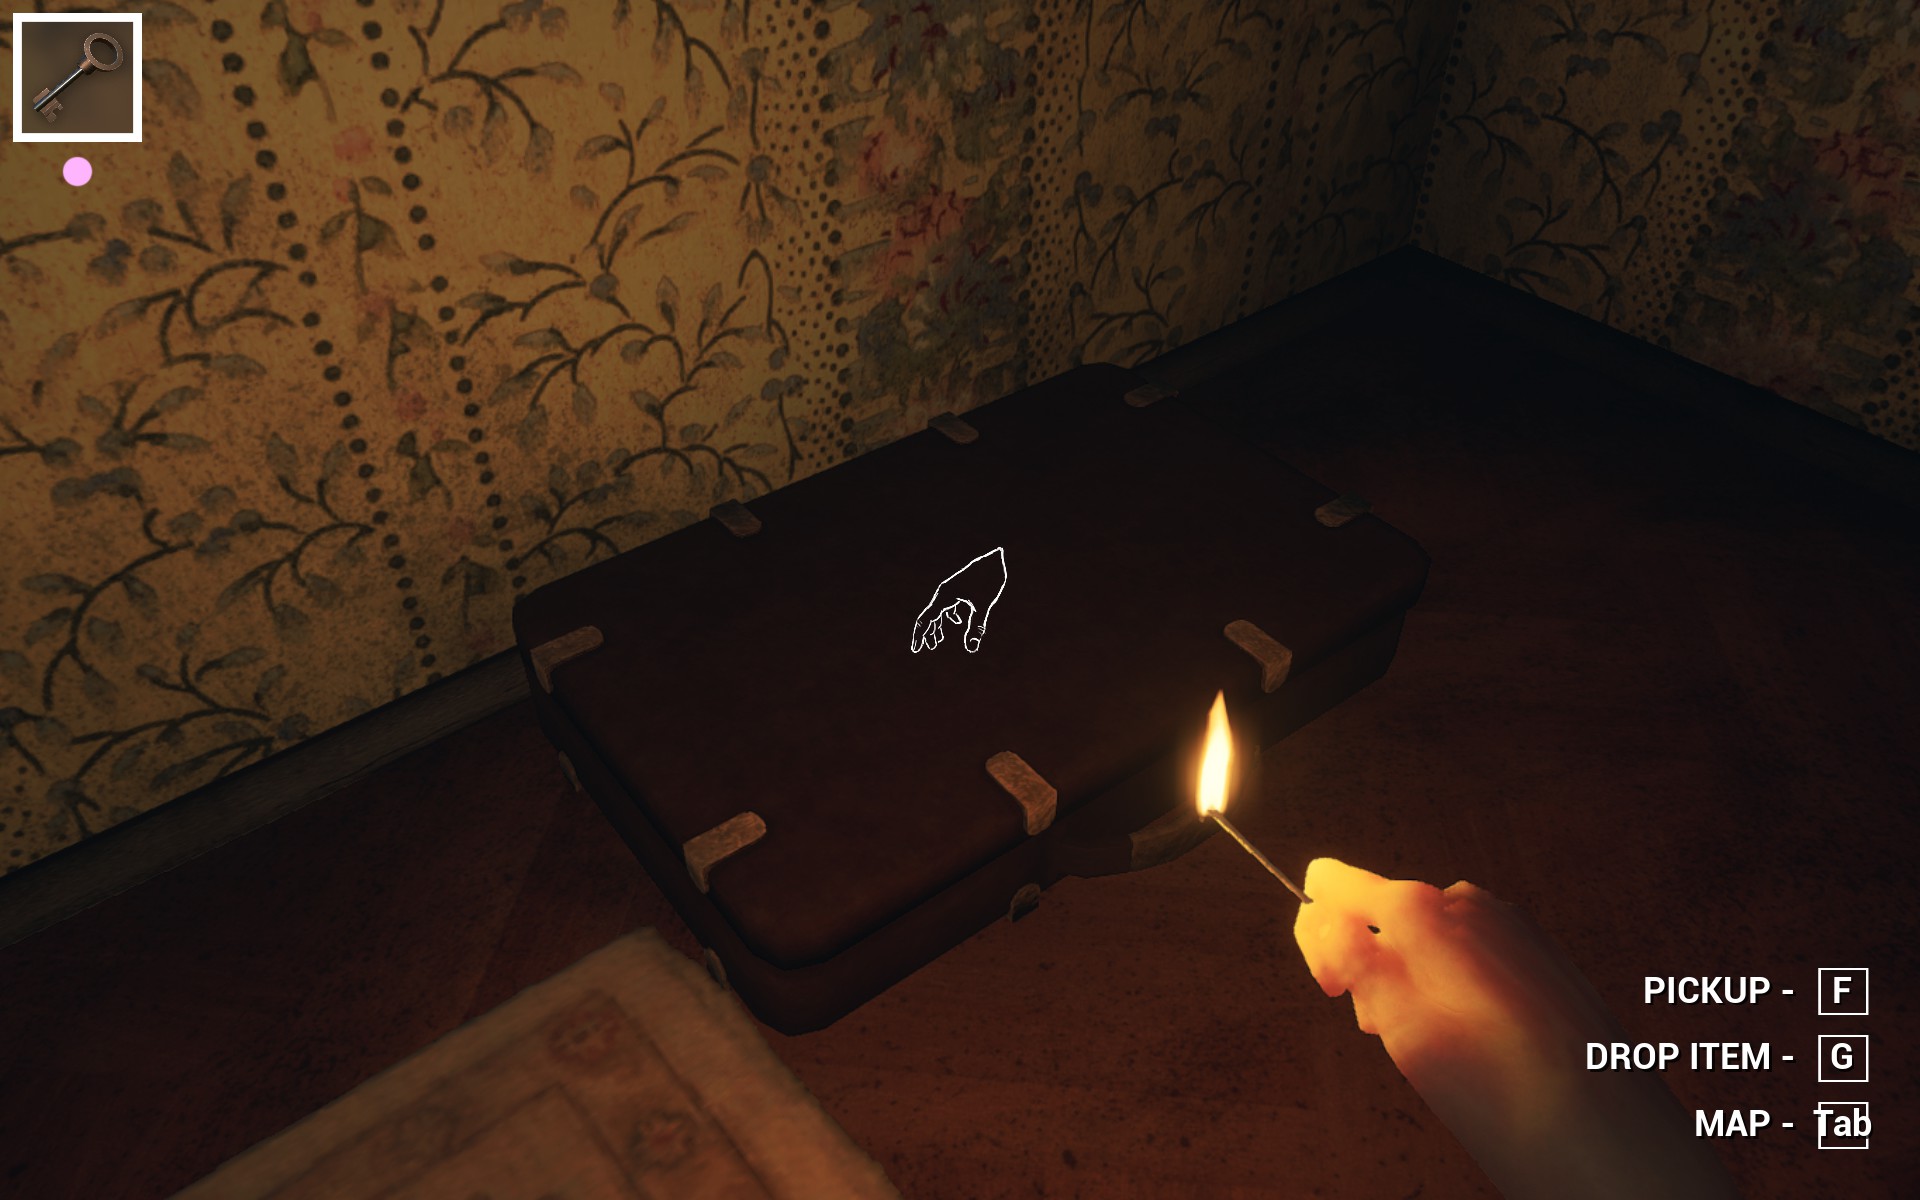
Simple. You’ll find a lot of them. Collect one.

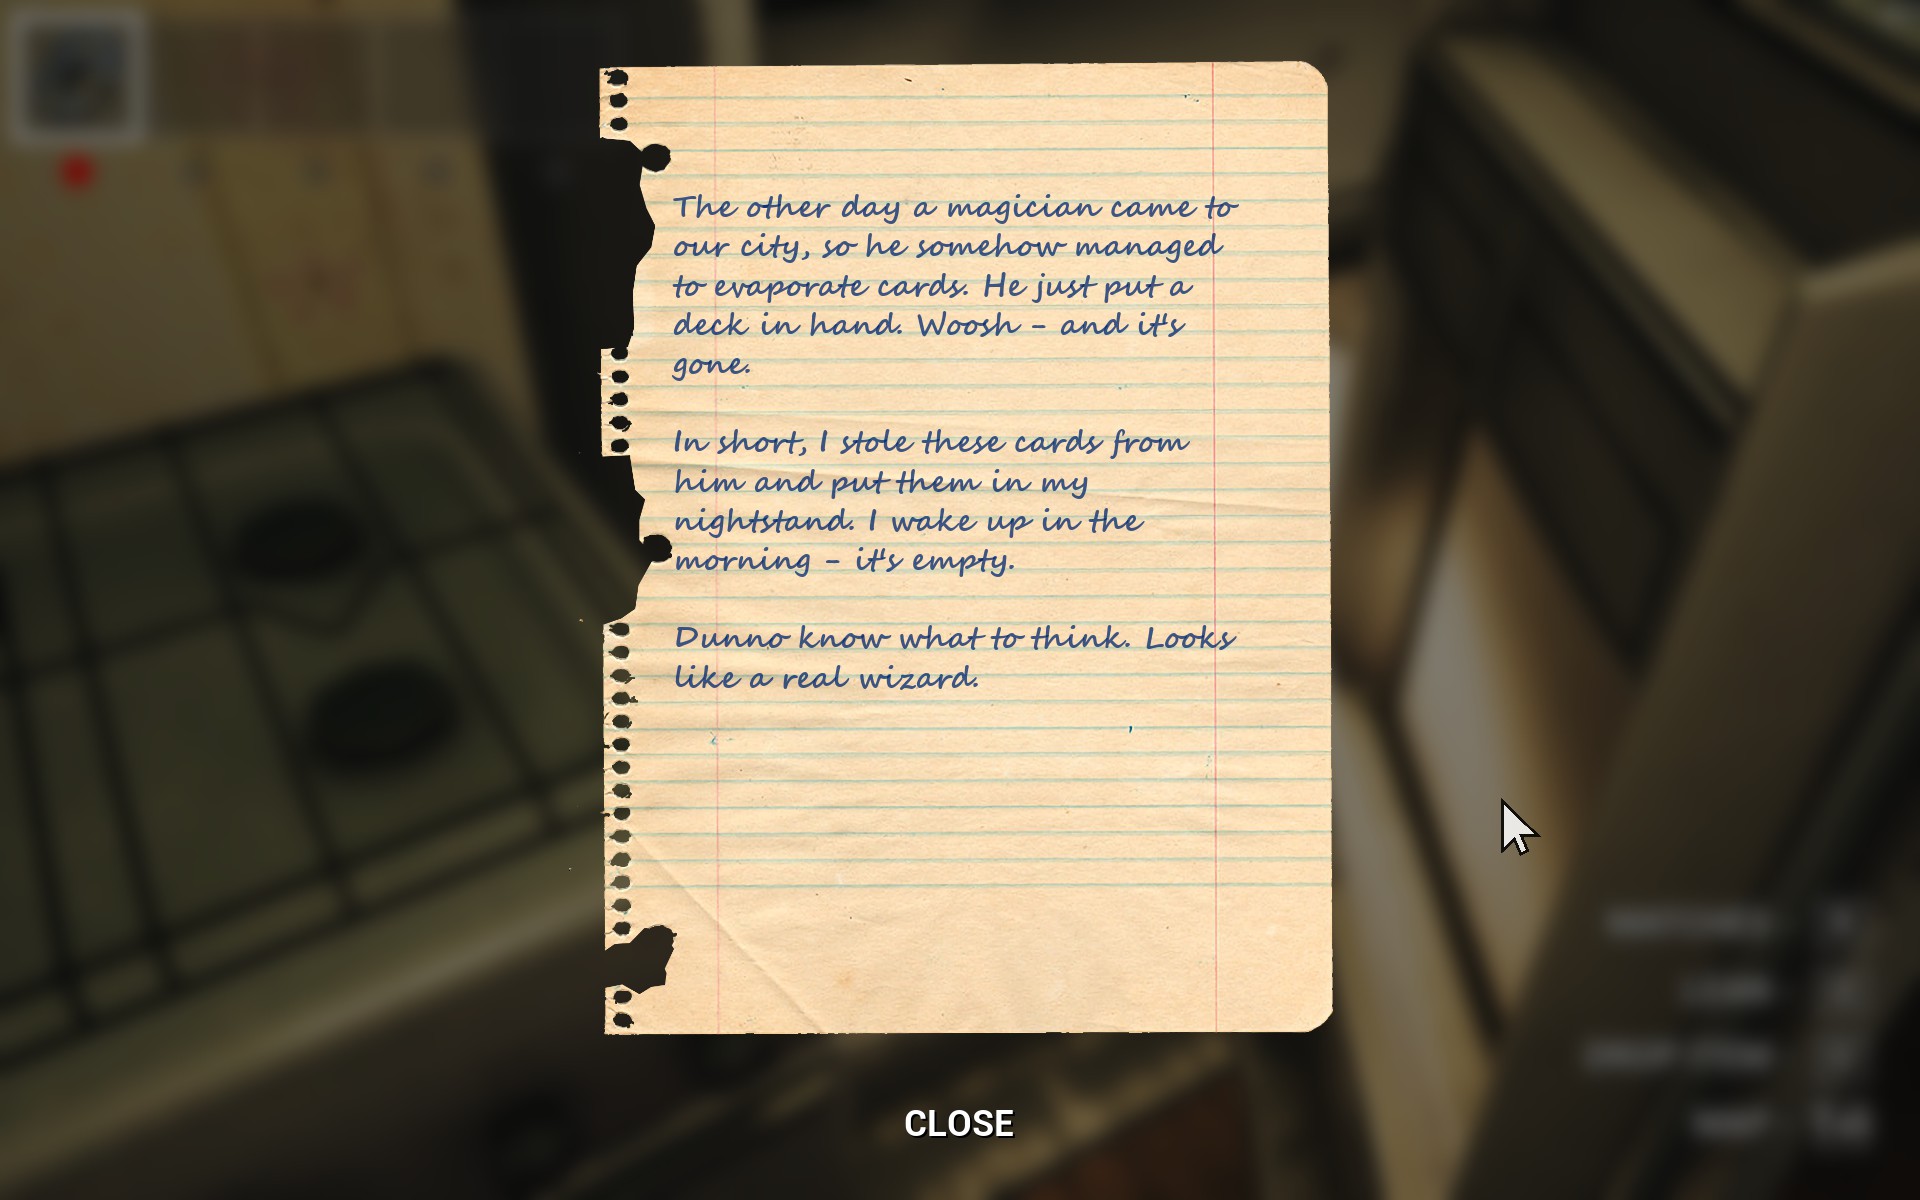
Few Words
- Discover a journal entry.

Jackpot
- Come across a box containing a substantial amount of matches. Keep picking up match boxes, and eventually, this achievement will unlock.

Ahhh…
- Experience your first death. Note: This achievement might be awarded unintentionally, as the exact cause of death is uncertain.
(Not) The End.
- Unlock the Bad ending. Find the Bolt Cutter item on one of the floors, and before exiting the apartment through the front door for the Good Ending, use the Bolt Cutter on the chained basement door located to your immediate right at the bottom of the stairs. Press F to activate the Bolt Cutter and open the basement door, then jump down the hatch for the Bad Ending.


First Bag
- Find an inventory bag. These small brown bags resemble coin pouches and increase your inventory capacity by one slot each.
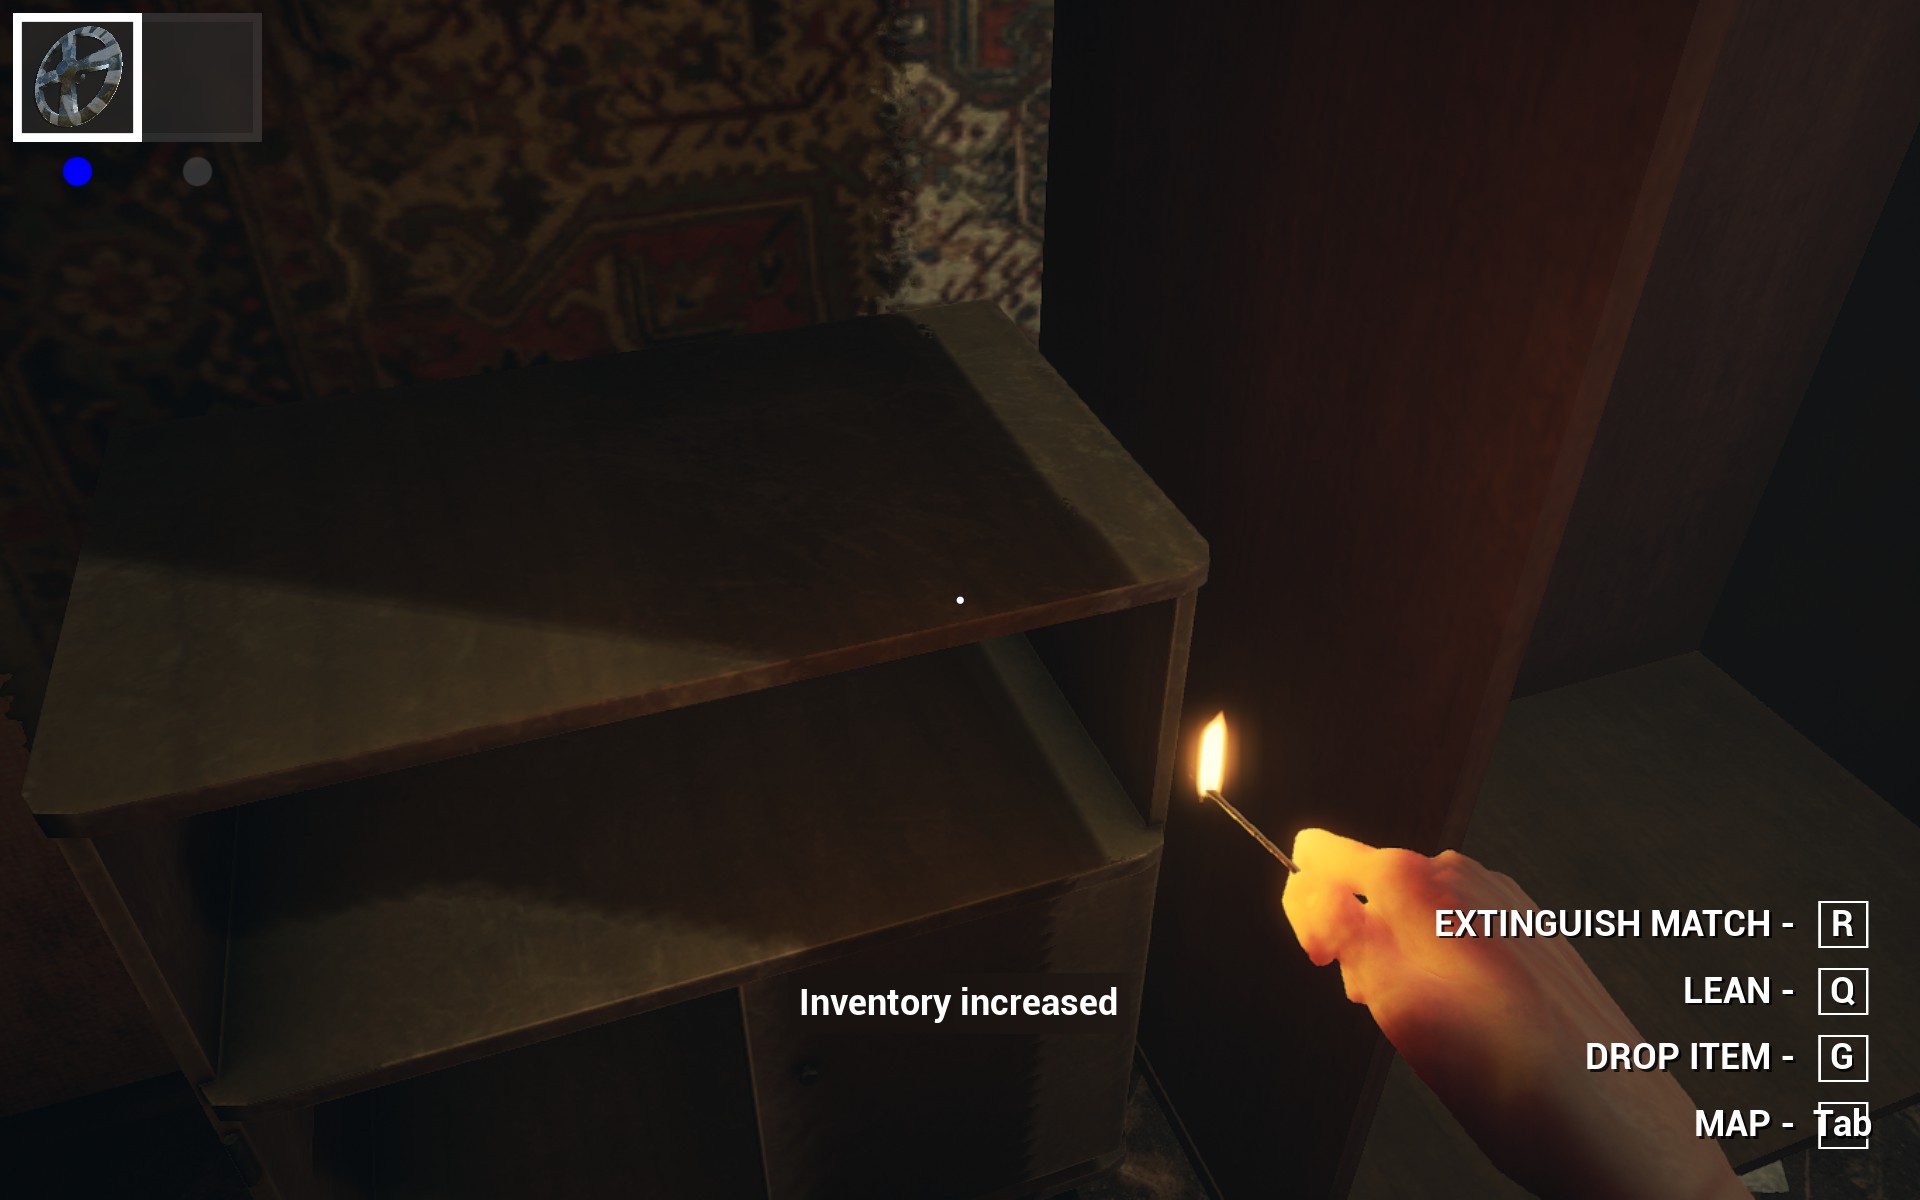

Ready for School
- Locate all inventory bags. Scattered around, you’ll find around 4 or 5 bags. Keep an eye out for them.

Overmind
- Finish the game without collecting any inventory bags. Avoid picking up the small brown pouches and complete the game with only one inventory slot. This might slow you down as you’ll need to drop items frequently. Consider dropping all your items near the locked door on the staircase and moving them one-by-one downstairs as you descend to lower floors.

It Is Fortunately
- Break 10 plates instead of just one as stated in the description. Simply throwing them won’t break them; you need to swing the plates against a wall. Repeat this action with 10 plates.

Difficult Achievements

Diary
- Find all Journal entries.

Route
- Find all Maps.

I hear something
- To obtain this achievement, position yourself near a window on one of the lower floors and patiently wait for a car’s headlights to pass by. It can be quite frustrating, but keep trying. After numerous attempts, I managed to unlock this achievement by standing near the window located in the North Western most corner. It may take some time and patience, but you’ll eventually succeed.
Here’s a screenshot of exactly where I was when I saw the car go past:
Take caution, as I remained in that spot for approximately half an hour before the vehicle passed by, but for you, it could be a different level or window. Simply persevere and keep trying. That’s all you can do.
Now, there is one accomplishment that I haven’t disclosed yet, and it is.

The End.
Make sure to experience the (Not) The End achievement PRIOR to reading this.
Once you utilize the Bolt Cutter to open the basement door and descend by jumping down, you will find yourself waking up in an elevator. Proceed ahead from there. You won’t get lost.
Sooner or later, you will encounter a peculiar individual with a head resembling an orange box, dressed in a suit.
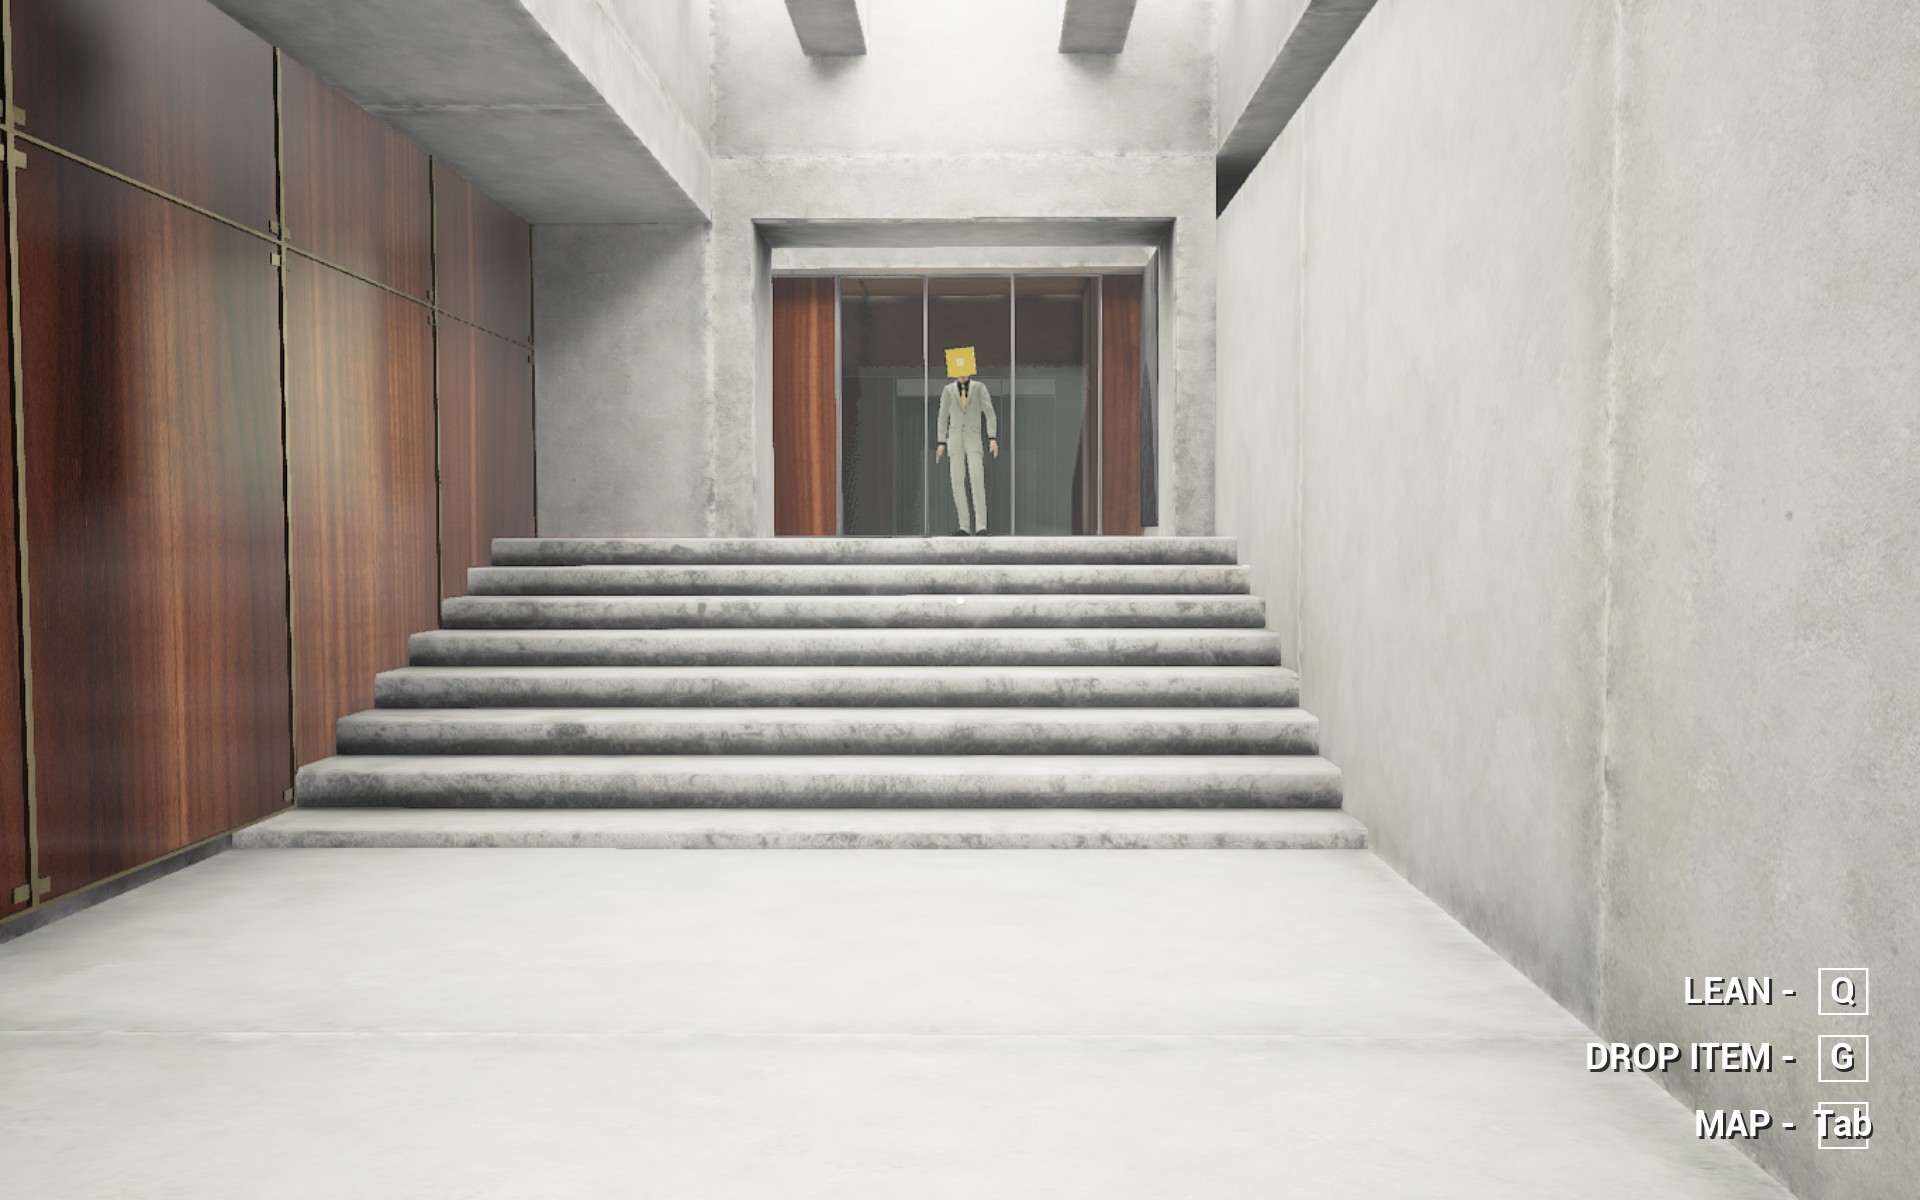
Currently, he may not be inclined to engage in conversation with you, but proceed to follow him regardless.
After a while, you will arrive at an enormous room. Proceed to greet your newfound companion there.
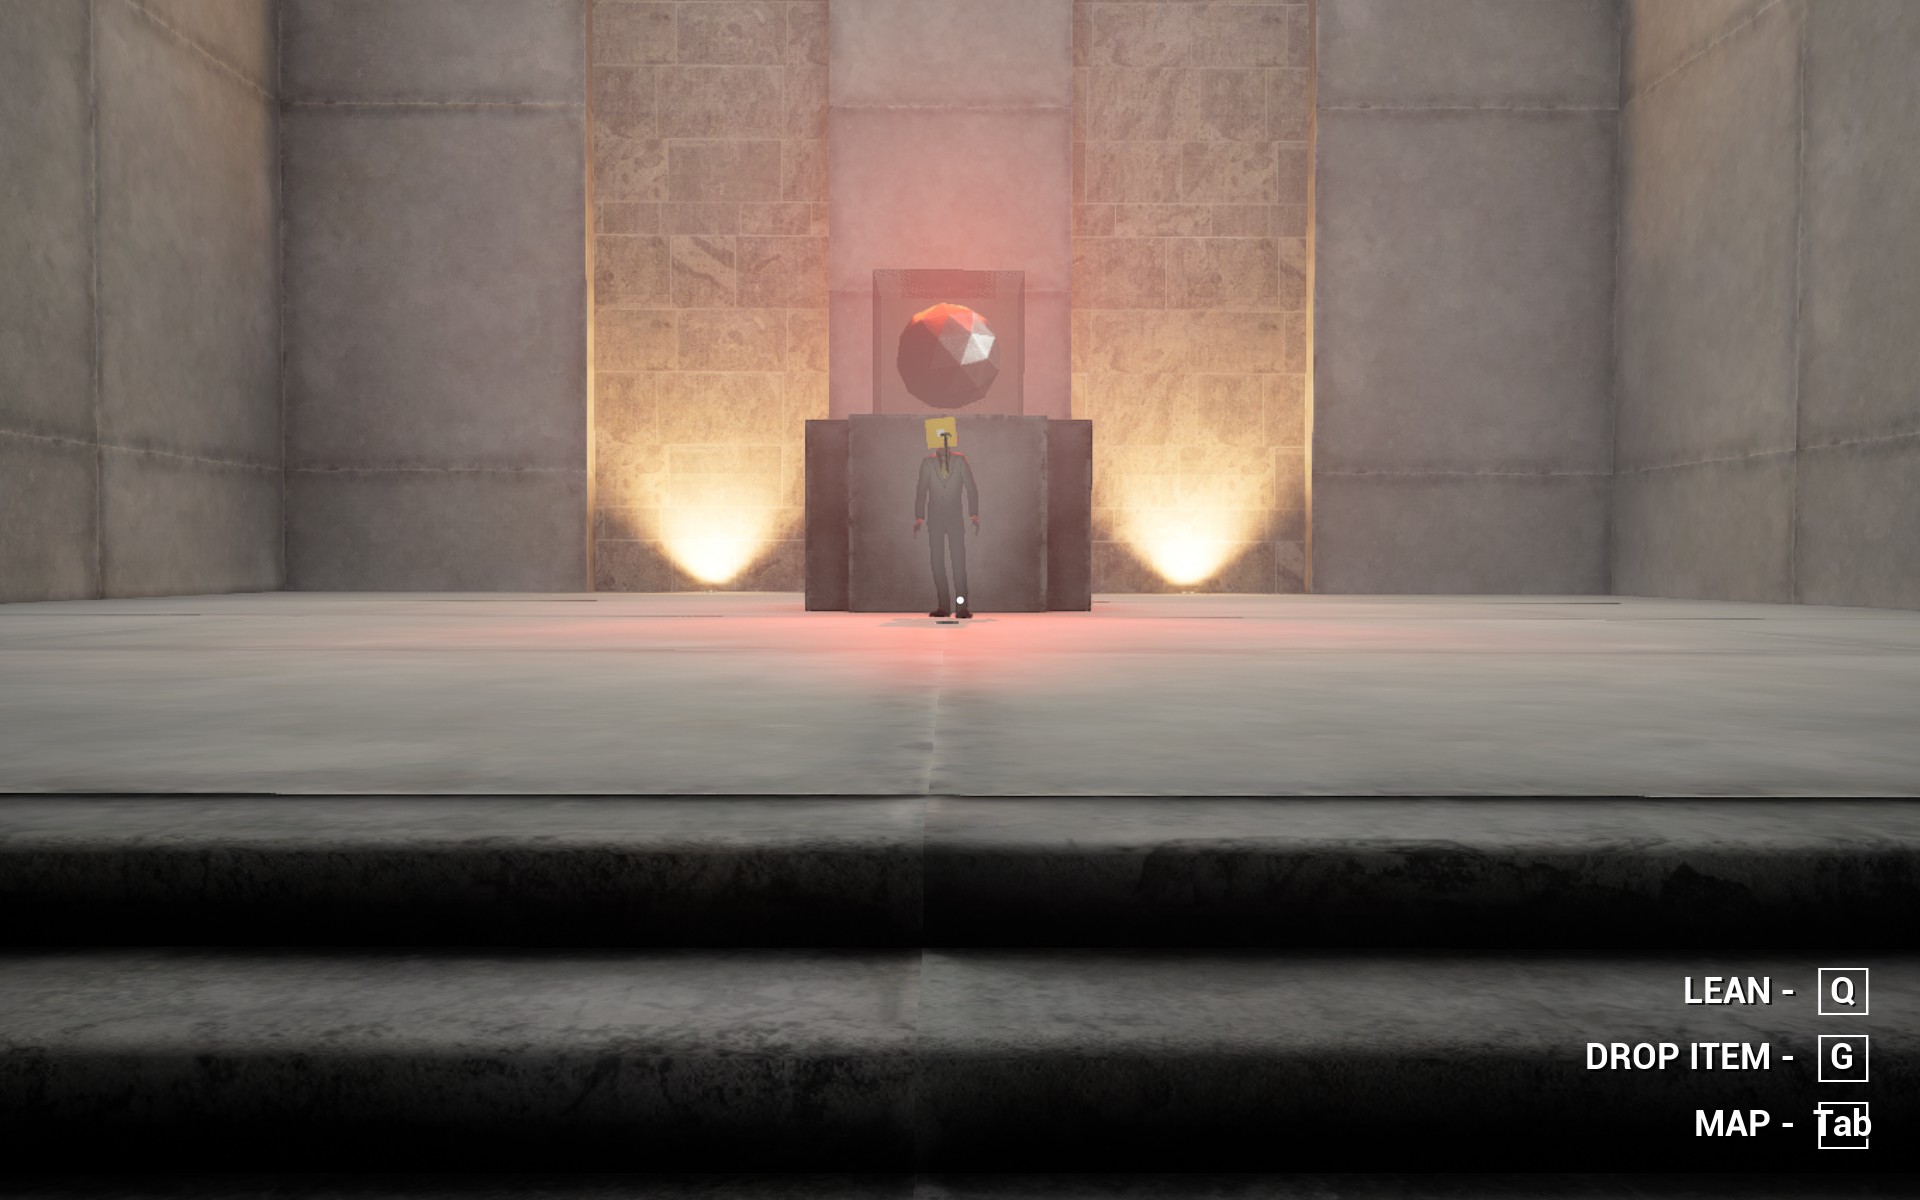
Take hold of the hammer. It practically beckons to be grasped, simply press the F key to do so. Go ahead and grab it.
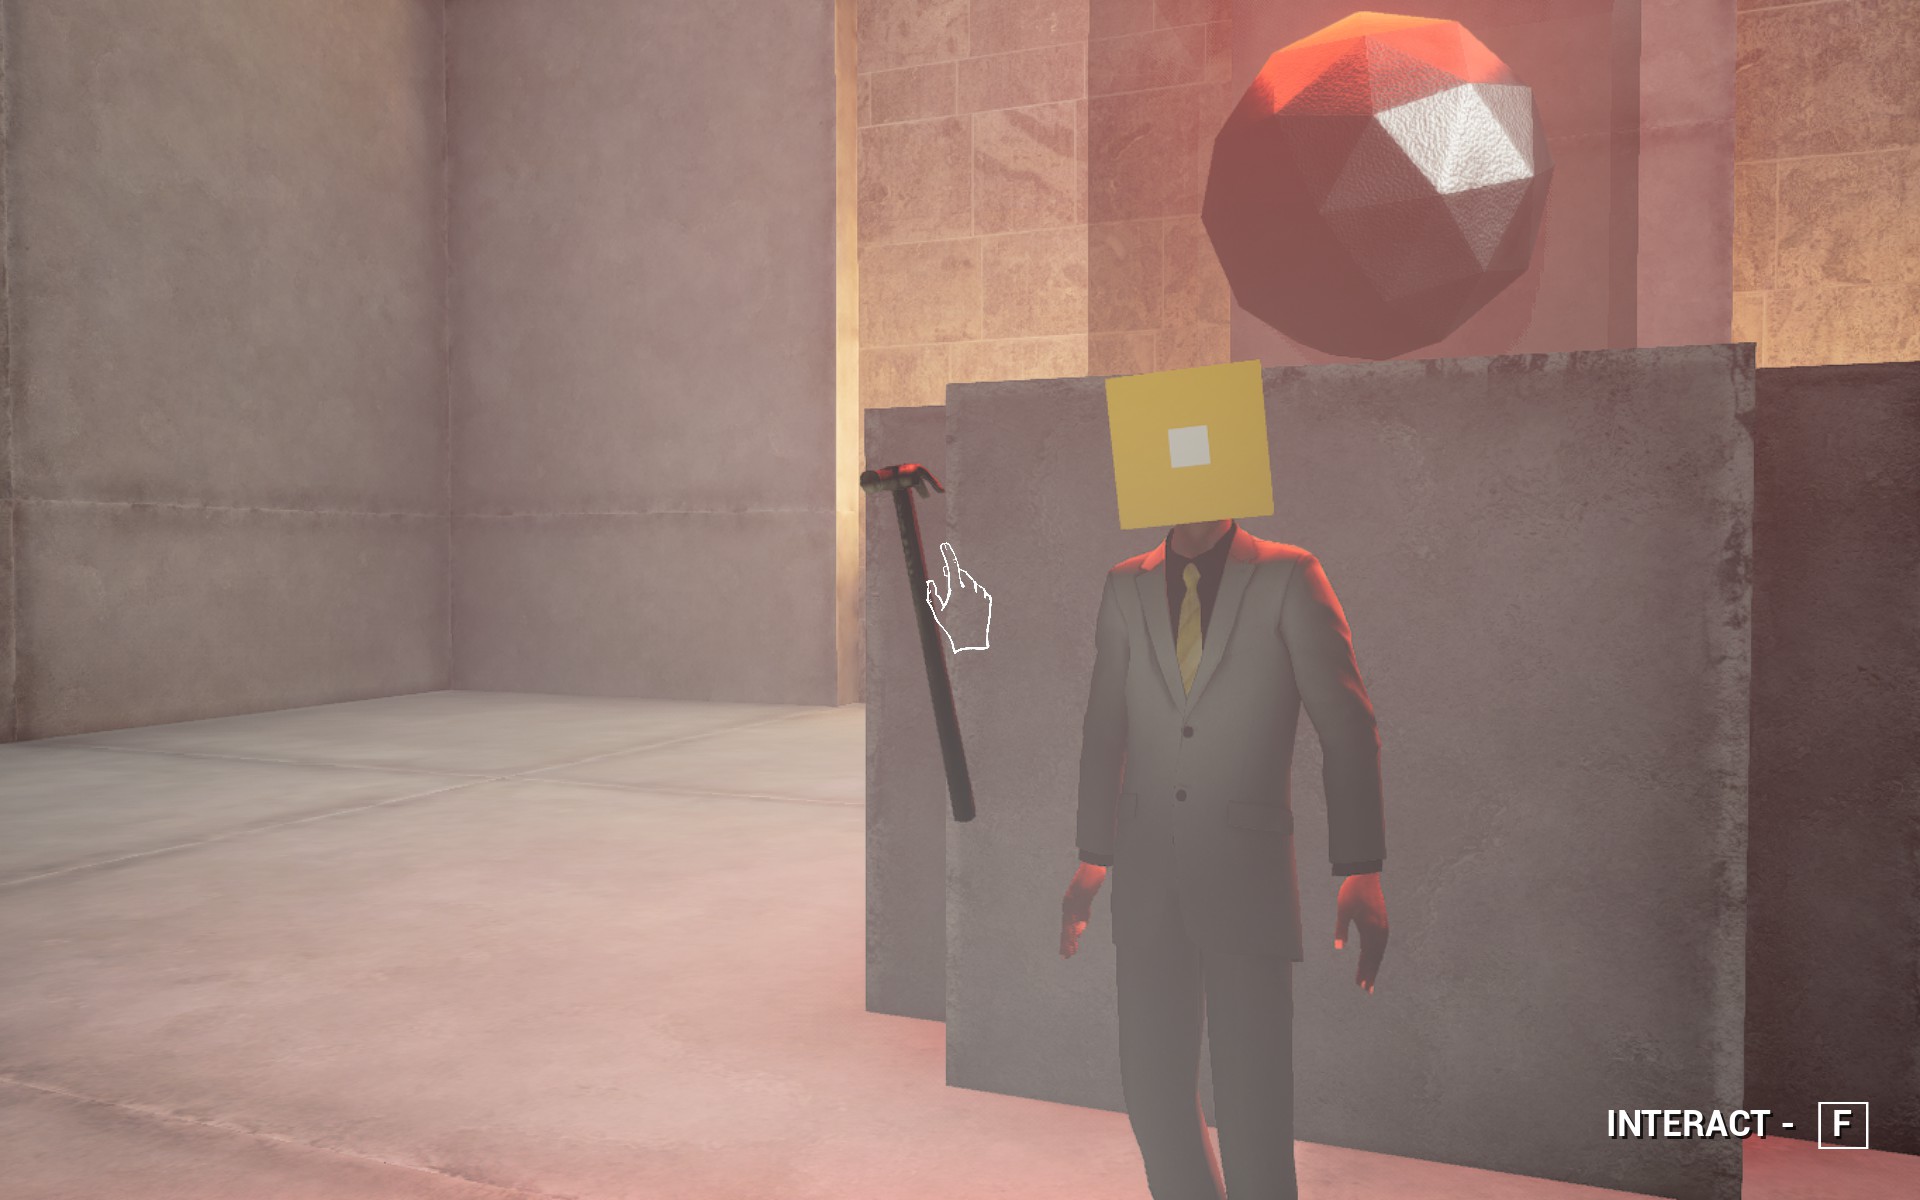
Voila! That’s the end.
If there is anything I may have overlooked, please feel free to leave a comment below. I sincerely hope that I have provided you with complete assistance in this game.
How to Farm Cases
I appreciate your willingness to share a method for quickly farming Cases. It sounds intriguing. These Cases can contain various interesting items such as room decorations, enemy clothing options, wall posters, different matches, and more. Additionally, the items obtained from these Cases can be found in your Steam Inventory, providing the opportunity to sell some of them on the Marketplace. Thank you for sharing this valuable information.
I would like to point out something important: Each time you initiate a New Game, you will notice a number displayed inside a white box (usually in the format of 98300120, for instance). You have the ability to copy and paste this number. This number is referred to as a World Code or a Seed, which serves to maintain specific aspects of the game’s random number generation (RNG) consistency. Essentially, preserving the seed number prevents things from being as random as they typically are. Can you see where I’m going with this?
After conducting approximately 20 tests, I have made the following discoveries:
Things that remain constant:
- The key to Floor #8 will consistently (or at least should) be found in the same location every time you load your Seed.
Things that vary:
- Other keys.
- Case locations (they are more likely to appear on Floor #9 or Floor #8, but they may be in different rooms or different spots within a room).
Now, you may be wondering, “How does this information benefit me?” Well, let me explain. While pasting your seed into the designated box and starting the game won’t guarantee that you’ll find a case in the exact same spot each time, it does ensure that every time you load up the seed, the first key to Floor #8 will consistently be found in the exact same spot.
Farming is all about maximizing the speed of repetition, and trust me, knowing the exact location of that key for Floor #8 allows you to quickly sprint and retrieve it, significantly reducing the time spent.
Here’s what you can do:
- Press New Game.
- Double-click on the Seed Number you have received, and press CTL+C to copy it.
- Click on Start.
- Immediately head to the desk in front of you and grab your maps (if you have found them all) and the key to unlock the bedroom door.
- Now you’re on Floor #9. Hastily search and locate the key that grants access to Floor #8.
- Rush through each room on Floor #9 and swiftly search for cases.
- Enter a room, switch on the light, and thoroughly scan the area. Look behind beds, and wardrobes, but avoid wasting time looking inside objects as cases are unlikely to be found there.
- After a few attempts, you’ll become familiar with the rooms that are more likely to contain cases.
- Found nothing on Floor #9? Don’t worry. Proceed to Floor #8 without delay and continue scanning rooms for cases.
- If you find nothing, exit to the Main Menu.
- Press New Game.
- Double-click on the Seed Number again, but this time, press CTL+V to paste the number.
- Upon starting again, you will notice that the key to unlock the stairs is in the same location.
- Commence your search for cases.
If you don’t find a case on either Floor #9 or Floor #8, simply quit the Main Menu and try again.
In my experience, about three out of five attempts would yield at least one case, and sometimes even two cases in a single run.