Don’t want to make a mistake when building your character in Hogwarts Legacy and want “Unlimited Powah”? I got ya covered.
Talent Point Distribution
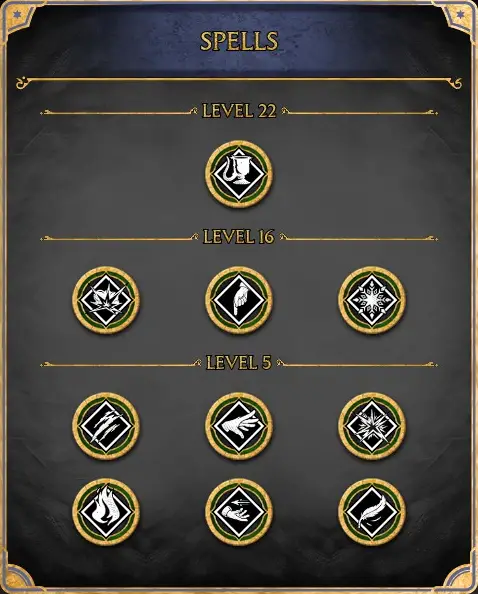
- 10 Spells
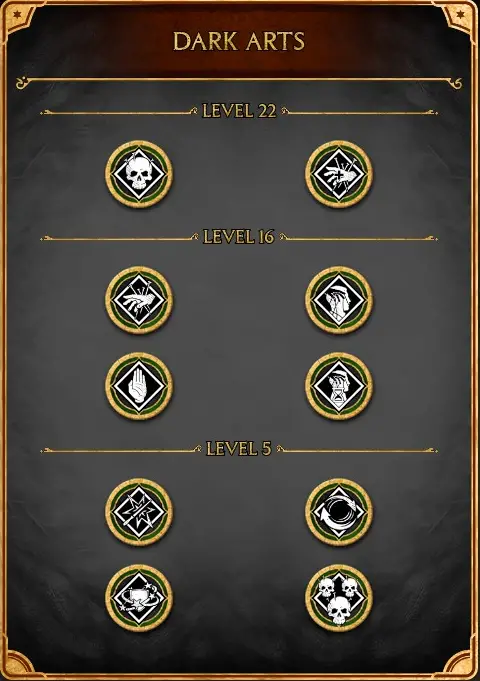
- 10 Dark Arts
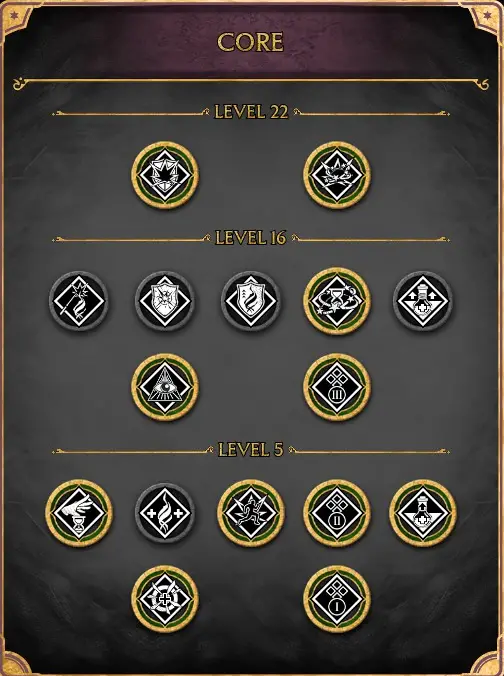
- 11 Core
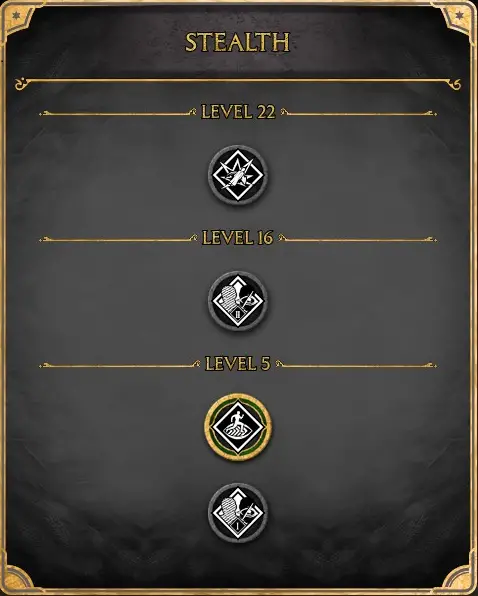
- 1 Stealth
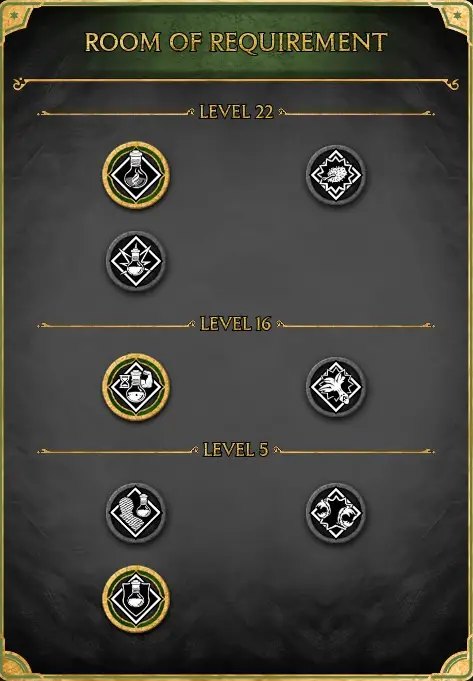
- 3 Room of Requirement
- 1 Preference Point
Chosen Talents
The common theme you should be looking for in talents for a pure offensive caster build is anything that essentially alters or changes a spells functionality and quite drastically or simply boosts your damage output.
You can take these in any order you like according to your level, it will not matter overall how you do it. Just do what you feel you need more at the time. Keep in mind the last 3 levels are very difficult to achieve and it is likely that most players will never see lvl 40.
- Incendio Mastery
- Accio Mastery
- Levioso Mastery
- Confringo Mastery
- Depulso Mastery
- Diffindo Mastery
- Glacius Mastery
- Descendo Mastery
- Bombarda Mastery
- Transformation Mastery
- Stunning Curse
- Blood Curse
- Knockback Curse
- Disarming Curse
- Slowing Curse
- Enduring Curse
- Crucio Mastery
- Imperio Mastery
- Avada Kedavra Mastery
- Curse Sapper
- Basic Cast Mastery
- Ancient Magic Throw Expertise
- Swift
- Spell Knowledge I
- Spell Knowledge II
- Wiggenweld Potency I
- Spell Knowledge III
- Stupefy Mastery
- Revelio Mastery
- Stupefy Expertise
- Protego Mastery
- Human Demiguise
- Edurus Potion Potency
- Maxima Potion Potency
- Focus Potion Potency
1 Preference Point – Spend this point at your leisure.
The preference points I would either put into Thunderbrew Potency or use the point for a defensive-ancient magic build-up in the core. Do not take ancient magic build-up on basic attacks against an airborne enemy. You will not be using basic attacks much if at all when you’ve gained most of your spells and you will want to hit them with a spell rather than a basic attack when they are vulnerable unless you’re just buying time on cooldowns which is rare when using all spells.
Note on the Unforgivable combo: You will use basic attacks when using Crucio and attempting to chain an Avada Kedavra to multiple targets if you read in the game how the talent Crucio Mastery works. You will not be doing this to airborne enemies though since you will usually want them to be grounded to take less damage before popping Avada Kedavra. However, you will not obtain Avada Kedavra till near the end of the game and through companion/relationship side quests.
How do I use this build and how do I get better as a player? (Basic Combat Advice)
I’ve given you the information to bring your numbers up as high as possible through level talents and to ensure you do not make a mistake in becoming as powerful as you can possibly be through magic and magic buffs alone. How you use this build or use your equipment talents is entirely up to you.
I can tell you though if you are struggling with cooldown management and how to set your spell slots this build has the necessary tools to overcome that. Use Edurus potions while in combat and you are setting your spell slots to get a feel for what is most comfortable for you. As for cooldown management use Focus potions and try not to spam spells, instead using them in solid and fluid combos. You’ll find standard cooldown management much easier after a while of practising Focus cooldown management without spamming randomly.
I’m going to show you how I set my spell slots down here. Typically you’ll want one of each colour in each additional spell slot so you’re prepared for anything in each slot while others are on cooldown with the exception of unforgivables. Of course you’ll typically want the spells to combo well together too.
The format is as follows for buttons:
- 1 Xbox Controller
- 2 Playstations Controller
- 3 Keyboard
- Glacius (X) (Square) (4)
- Diffindo (Y) (Triangle) (1)
- Accio (A) (X) (3)
- Incedio (B) (Circle) (2)
- Arresto Momentum (X) (Square) (4)
- Confringo (Y) (Triangle) (1)
- Descendo (A) (X) (3)
- Bombarda (B) (Circle) (2)
- Transformation (X) (Square) (4)
- Expelliarmus (Y) (Triangle) (1)
- Levio (A) (X) (3)
- Depulso (B) (Circle) (2)
- Crucio (X) (Square) (4)
- Avada Kedavra (Y) (Triangle) (1)
- Flipendo (A) (X) (3)
- Imperio (B) (Circle) (2)
This is completely subjective and is comfortable for me to use while using an Xbox controller. I highly encourage you all to find your own layouts for spell slots that work for you as some of my slots may not feel intuitive to many of you.
You will notice no utility spell is set at all in my bars since they are easy to switch in and out when needed 1 by 1, just a small problem we have to contend with mastering and wanting to use every single offensive spell.
Congratulations
Congratulations if you have achieved all the points required for this build. You are likely a walking magical nuke at this point even on the hardest difficulty. Well done.

