A guide toward clearing Gear Grinder’s Coal Town Cataclysm. If you are having trouble in Expert Mann Up, give this guide a read.
Introduction

Cataclysm is Gear Grinder’s Coal Town mission.
Often regarded as the easiest of the three official Expert missions due to the large amount of credits granted throughout and less-complex waves, it can and will still trip up players who are unfamiliar with the basics of MVM. An experienced team will easily sweep all seven waves with no issue, while a team that has zero idea of what they are doing will end up walled from the very start. However, it doesn’t take much effort to learn what to do and how to handle this mission. After personally doing over 100 Expert tours, I feel comfortable writing this, and hope that this guide will be an excellent starting point for any new Expert player trying to learn the mission.
This guide will be primarily focused on wave-specific strategies – there are plenty of guides out there that will teach you how to play individual classes, and as such, I will not be spending time going over class-specific strategies. If you are playing Expert, you should already know the basic roles in MVM – Crowd Control, Tank-Busting, Giant-Slaying, Support, etc. – as well as each class’s strengths, weaknesses, and niches – Scout can gather cash, Heavy slays giants, Soldier and Pyro can shred tanks, etc. If you understand each class role and are comfortable with your class choices, but have trouble with the missions themselves, then this guide will hopefully rectify any shortcomings you might feel.
Before The Mission Starts: What To Expect
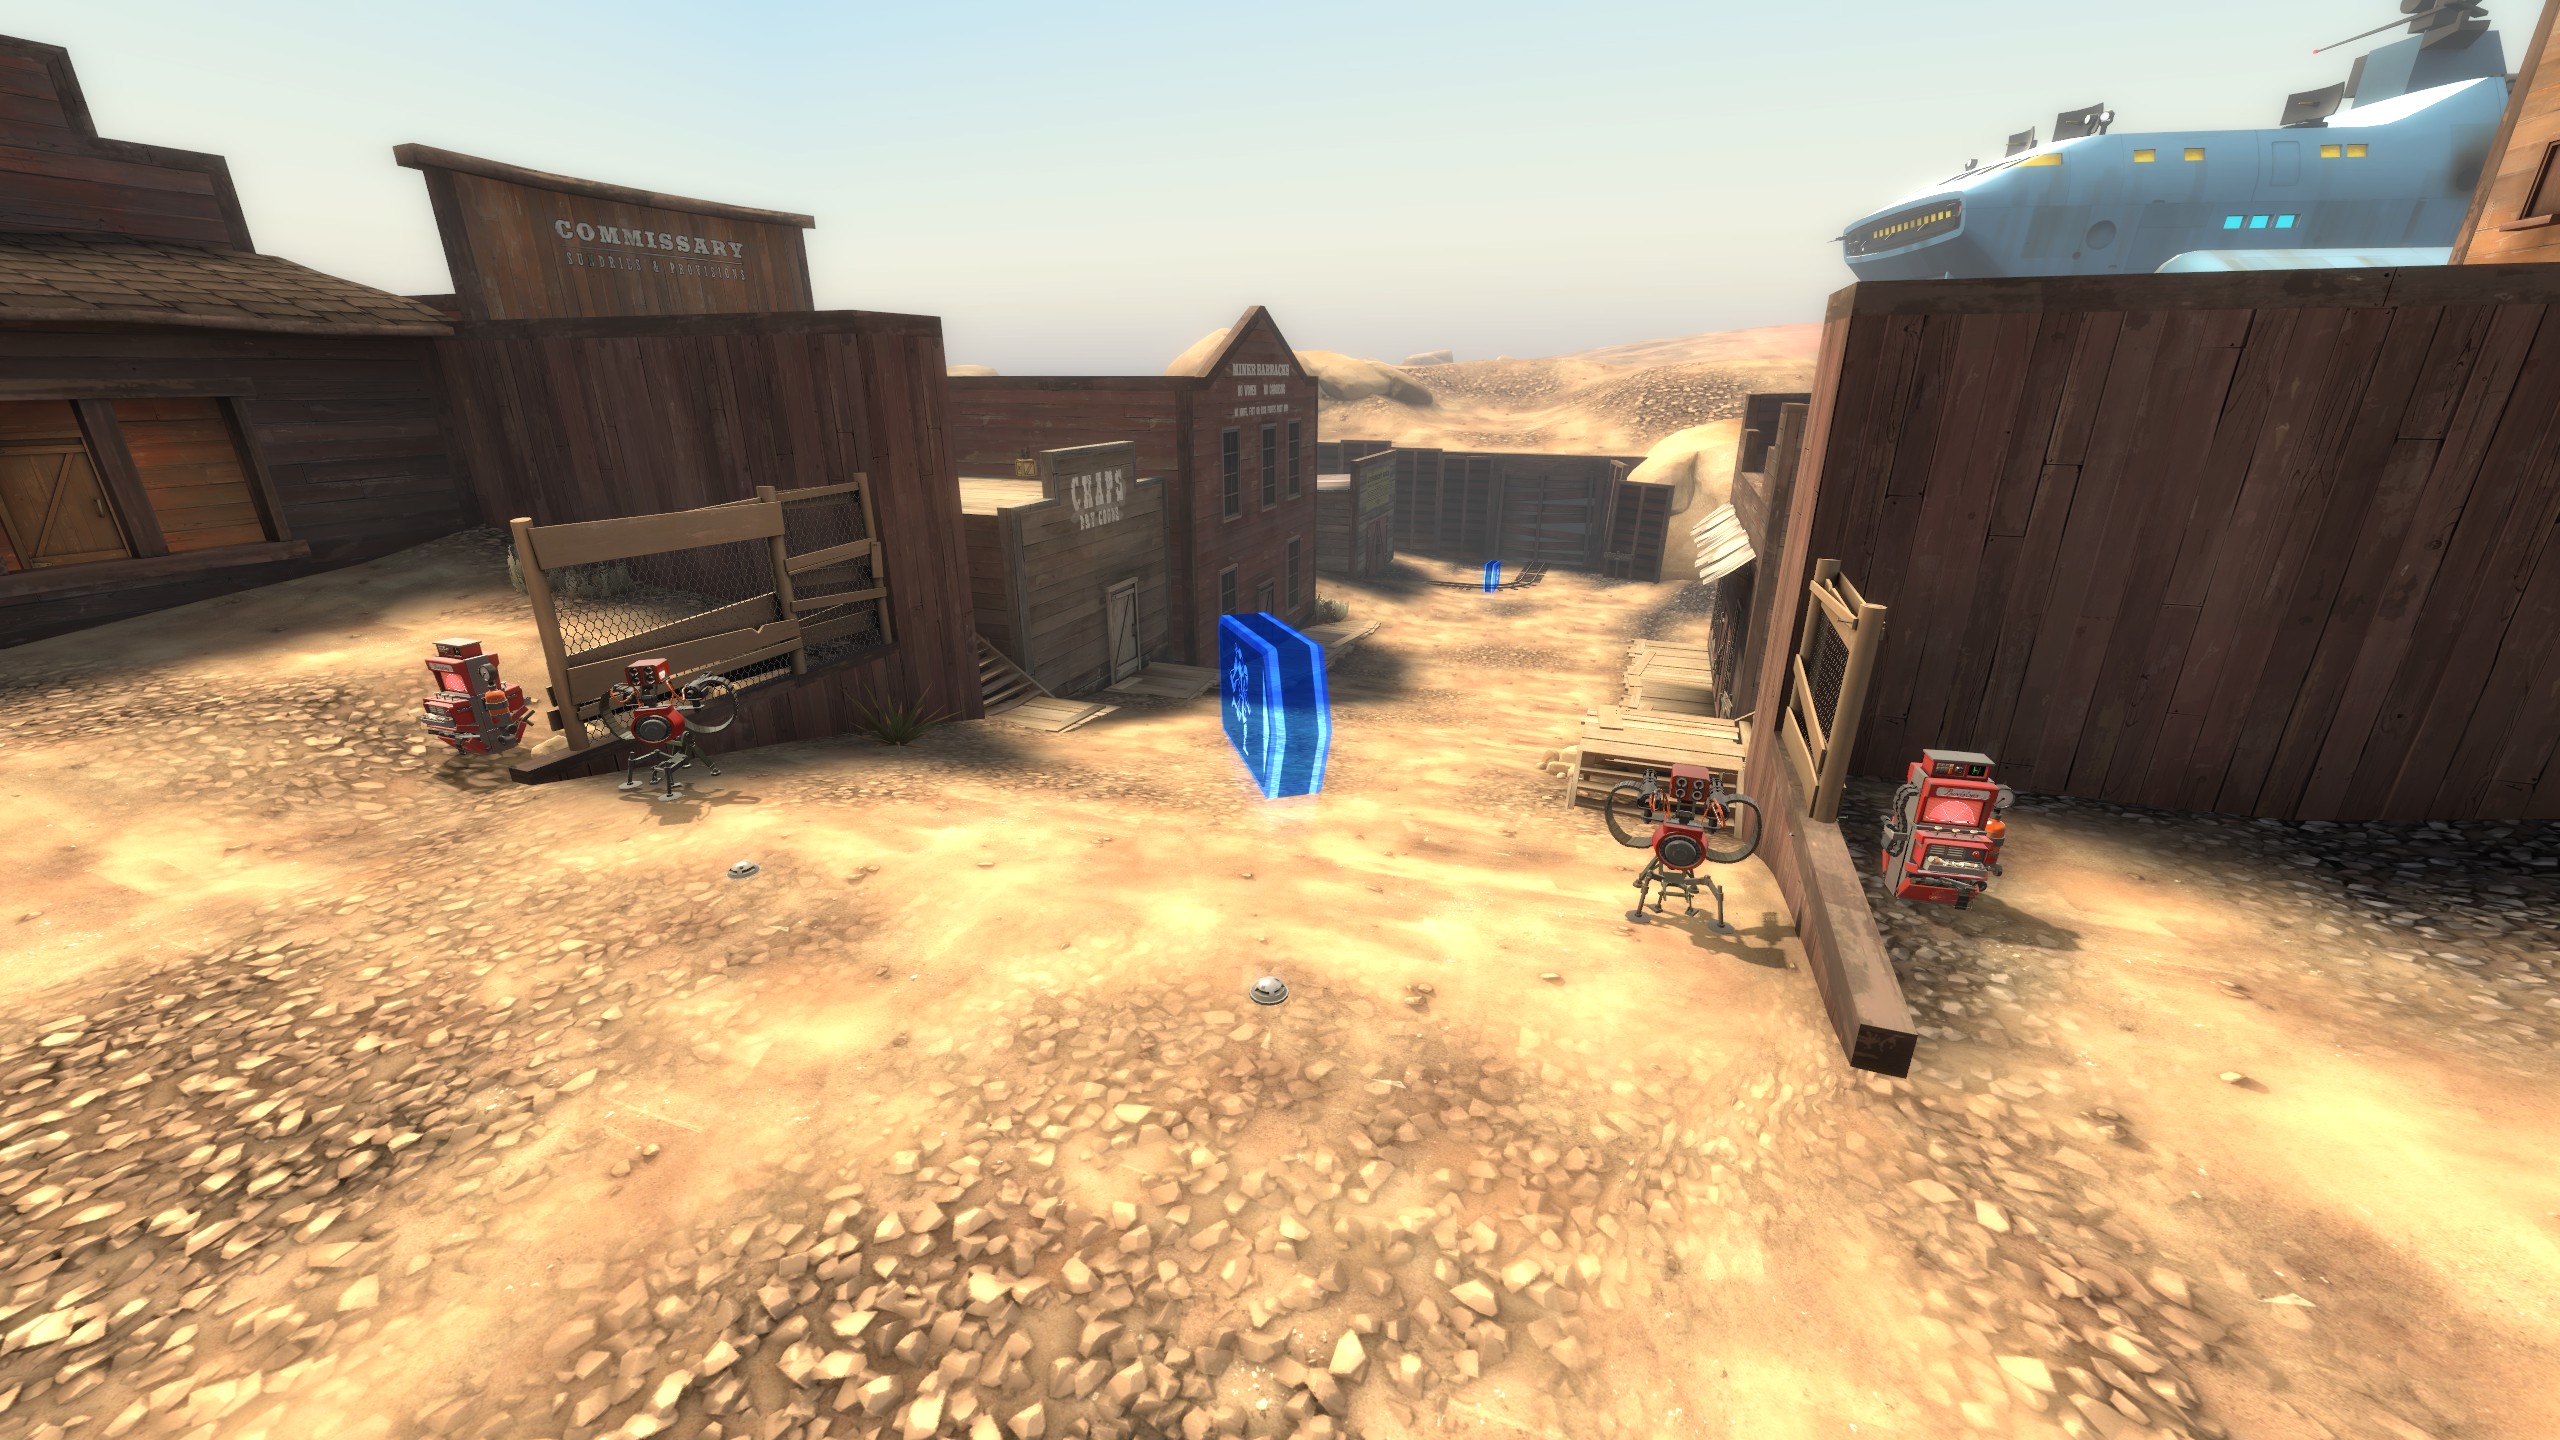
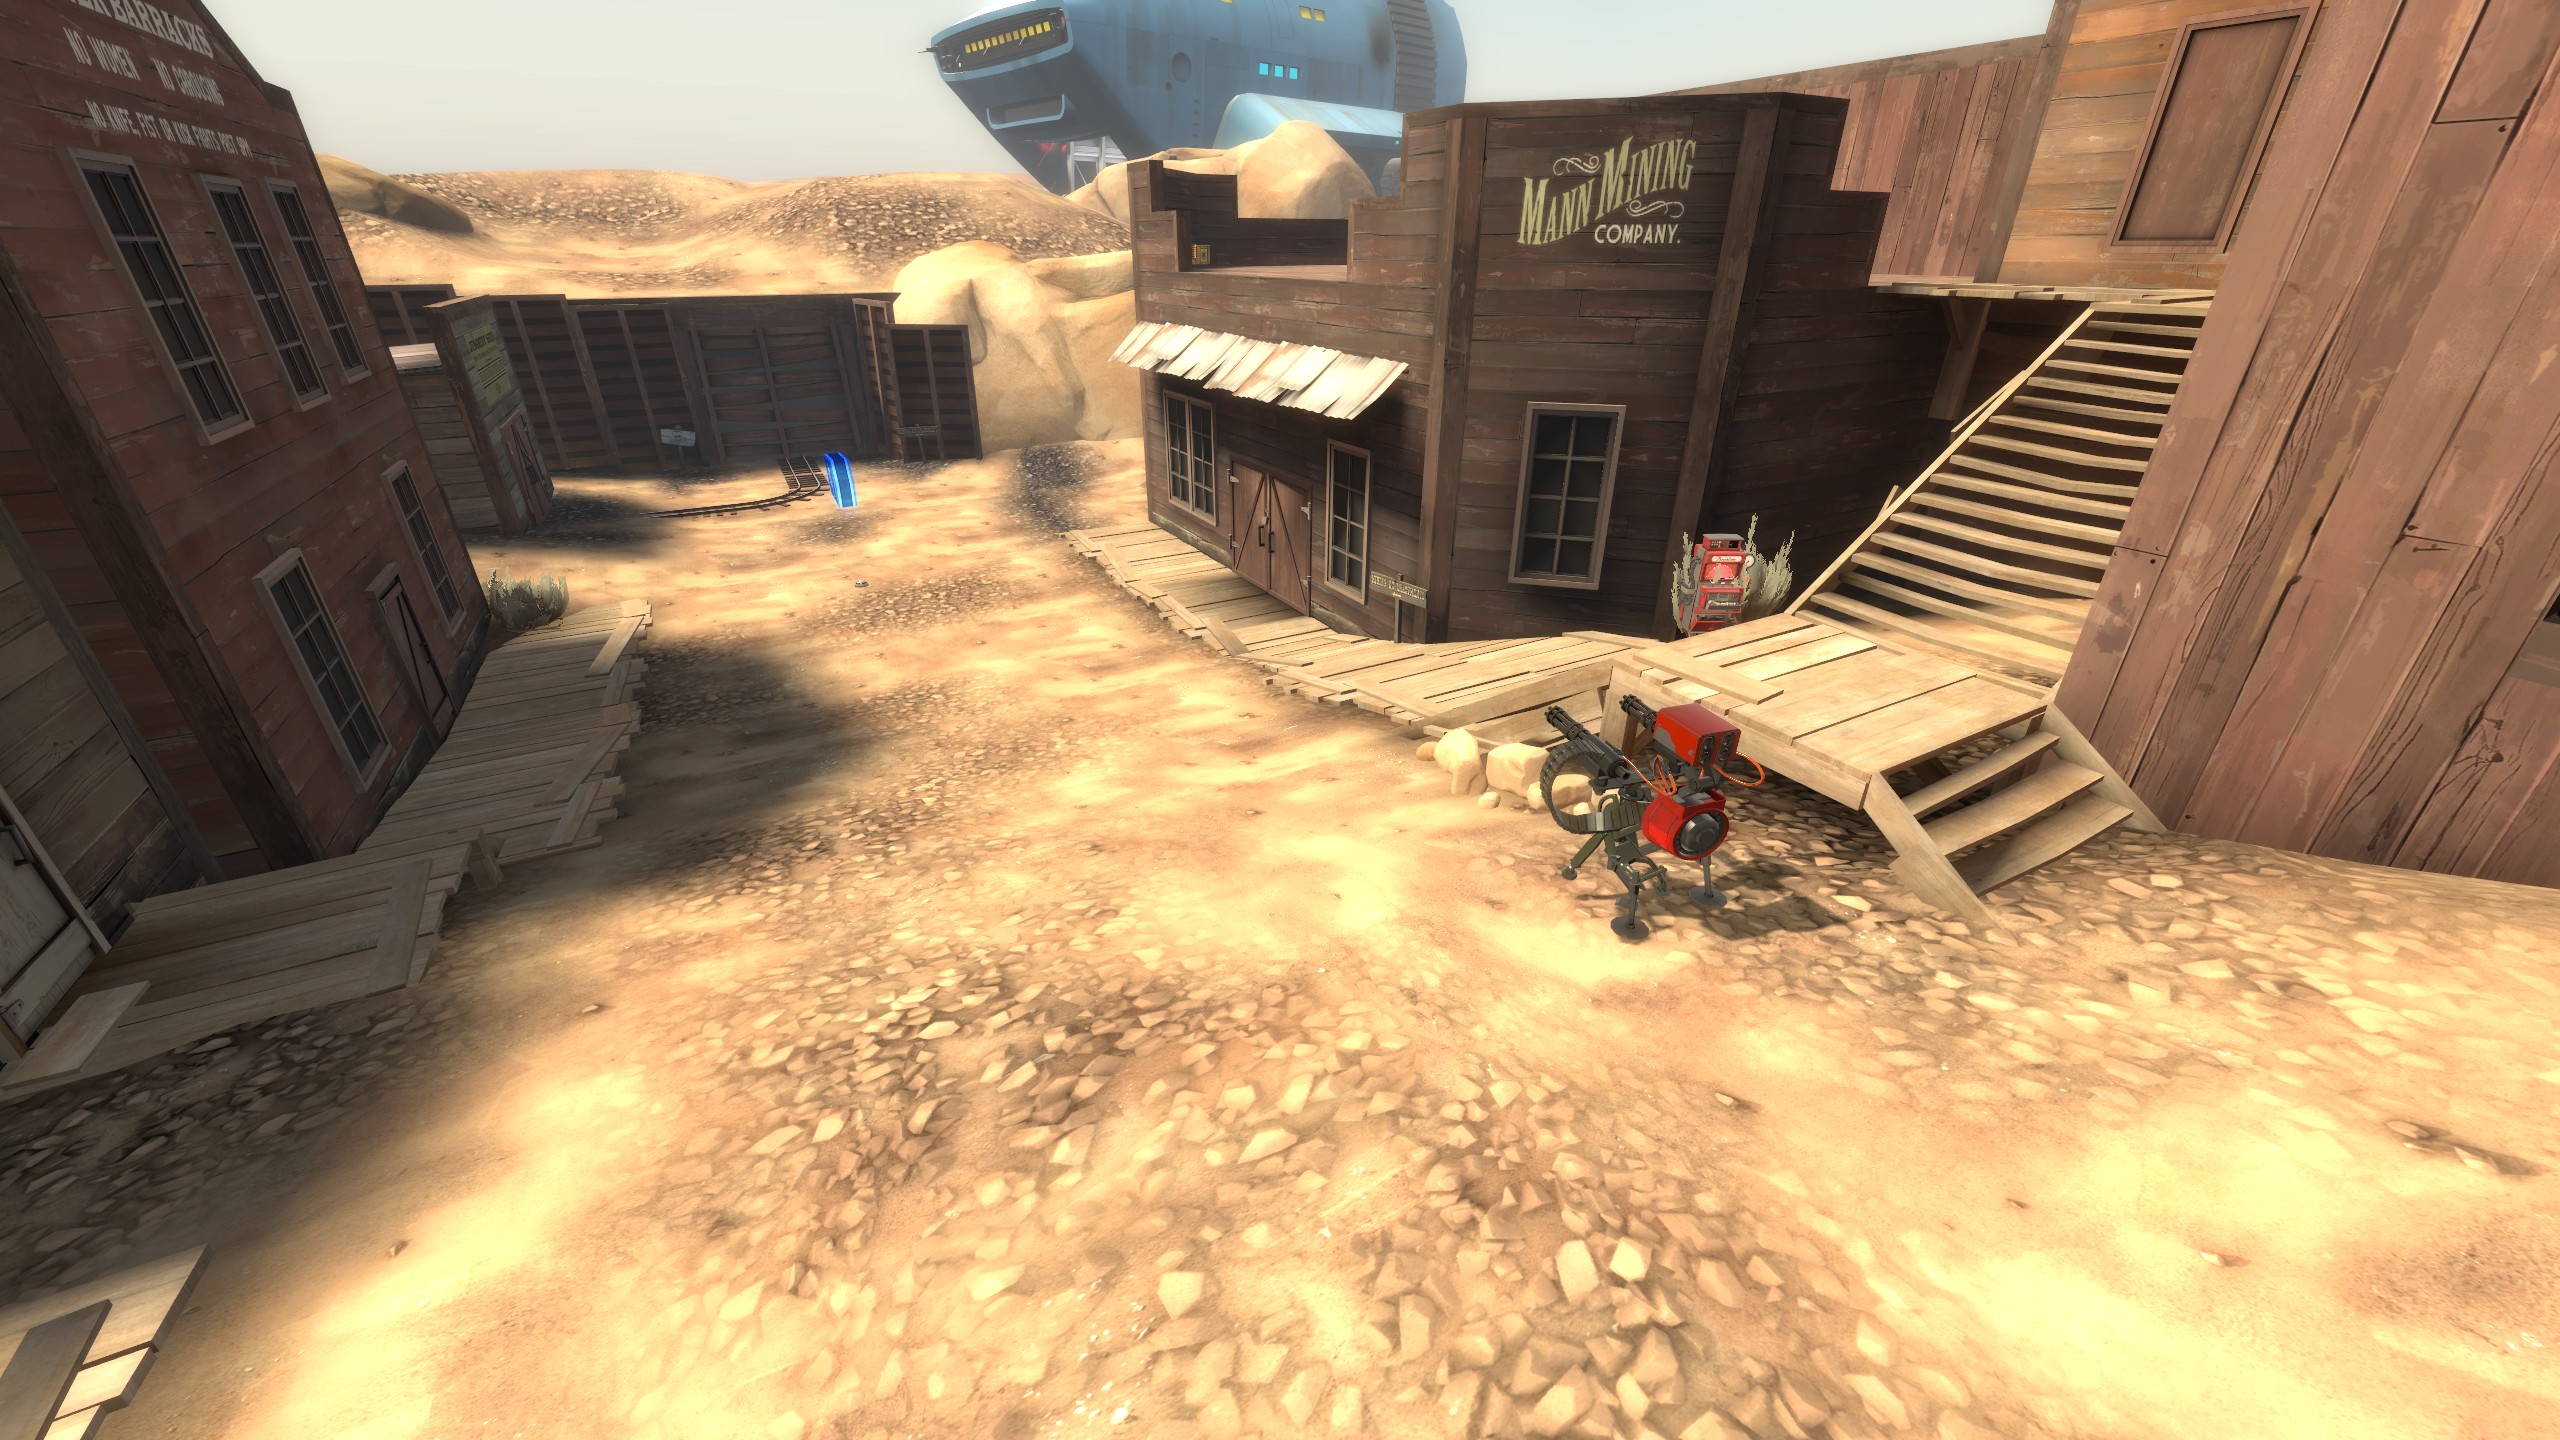
Coal Town is a medium-sized map that, despite its size, doesn’t have too many places to stand your ground. When setting up for each wave, like with most MVM missions, you will be starting at the front of the map, close to the robot spawn. From there, you will have two choices – you can either take a more aggressive, frontal position, with your Engineer’s gear being set up next to one of the two staircases, or you can take a more defensive position at the top of the hill. Both positions are viable, but the more-aggressive position allows you to deal more damage, more quickly. If your team is comfortable, I strongly recommend the forward position in all but a few parts of each wave (these exceptions will be touched on in each wave’s section). In the end, however, it will be your team’s Engineer that decides where you will be standing your ground through the placement of his Dispenser. See the images below as a guide as to the optimal starting positions for this mission (and this map in general).
Should you be pushed back past the hill, or should the bomb slip past your defenses, there is a good chance that the robots will push you all the way back to the hatch, forcing you to set up there. You may be able to re-position yourself at one of the choke-points if you can stop them and re-organize before they get too far along the path, and if you do, it does make it easier to deal A.O.E. damage due to how tight those paths are, but in most situations, if you do get knocked back, you will be forced to defend at the hatch. In the event you are stuck defending at the hatch, ensure that you watch both the main routes as well as the robot flank routes directly above the left and right sides of the spawn, as they can and will drop down on top of you before you can react.
An optimal team composition for most waves will end up being an Engineer to provide ammo and to help defend the bomb, a Sniper for Med-dropping and A.O.E. damage, a Scout to gather cash and draw aggro, and as many Heavies as you can fit with your remaining team slots. On waves with tanks, a Heavy may elect to switch to Pyro to deal with it easier, and later on in the mission, Soldier becomes quite powerful due to having a large number of credits to play with, but otherwise, this is a quite solid way to deal with the mission. There are a few waves where other classes can shine, and I will mention those in each section.
Wave 1
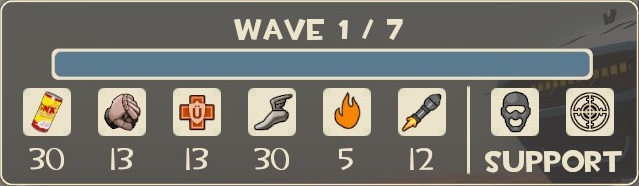
Wave 1 is divided into three parts.
The first part has groups of Melee-only Bonk Scouts, which drop down in groups of ten alongside eight Steel Gauntlet-Uber Medic pairs. Support Spies will also occasionally spawn to disrupt and distract. This part of the wave is the easiest, as no ranged Robots will spawn at all. Even the fact that they are Bonk Scouts doesn’t matter, as it’s highly likely that each Scout’s invincibility will wear off by the time they reach the map. However, this first group is made to basically just gain as much ground as possible, which the Gauntlet-Uber pairs can do easily if they are handled improperly. A common mistake that new groups make is just attacking the Gauntlets, letting the Uber pop, and waiting for it to run out before finally finishing off the pair. However, this allows the Gauntlet to encroach on you and your teammates’ positions, forcing them to back up and giving up ground, in addition to the distance the Scouts can travel with the bomb if they stay alive long enough to re-activate their Bonk.
The second part is where it begins to ramp up, and where any mistakes you make during the first part begin to be harshly punished. The Bonk Scouts are replaced with Scattergun Scouts that appear in groups of five, the remaining five Uber-Gauntlet pairs are joined by a Pyro, and you begin to be attacked by support Snipers, in addition to the Spies. You are now forced to tank large amounts of bullet damage while still being forced to deal with Ubered Gauntlets. This is the point in the wave where everything starts to fall apart, and a disorganized team can easily be pushed back to the hatch, if they don’t just outright fail the wave.
The final part is the twelve Soldiers, which begin to spawn after the last of the Scouts have been swept up, in addition to the support Snipers and Spies. If you’ve been able to hold your ground this long and maintained a steady foothold, it’s unlikely that you will lose the wave to these guys, but the barrage of rockets can be enough to push a struggling team over the edge if the bomb is already at the hatch and they’re allowed to get within line of sight of your spawn without a fight.
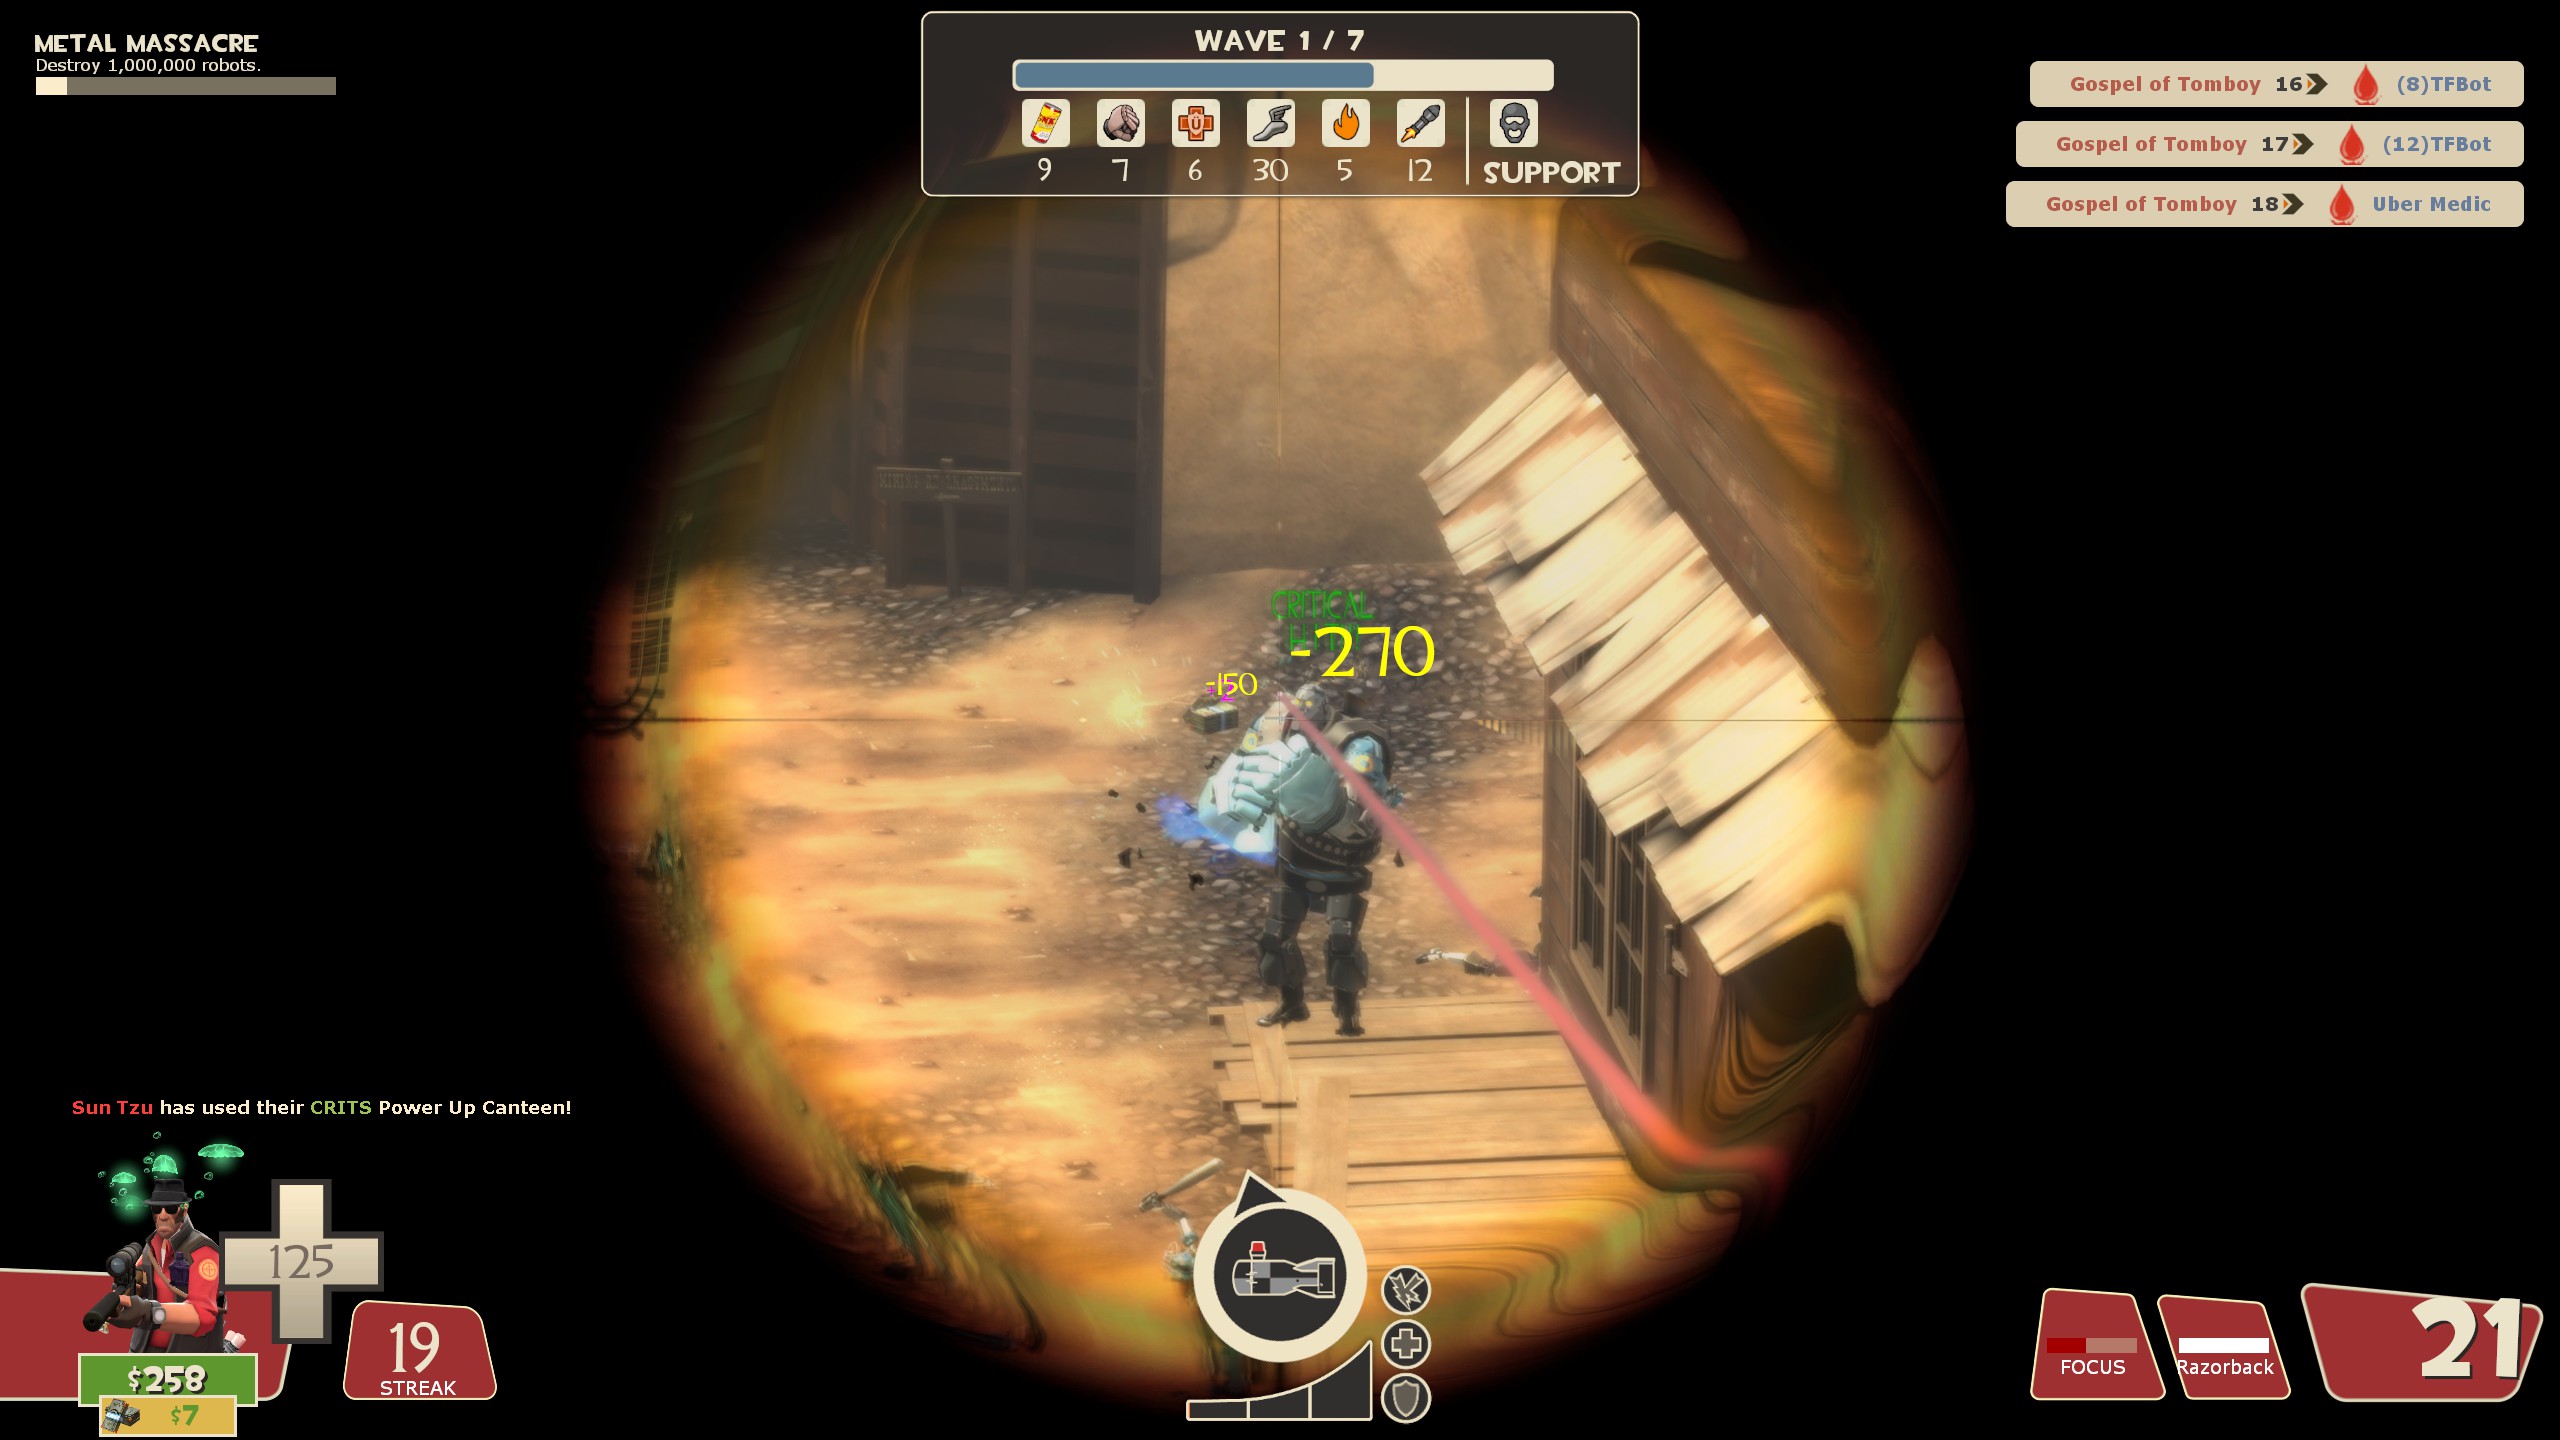
Because you only have 400 credits to open this wave, it might feel like you’re extremely fragile and unable to deal with the barrage that the second and third parts throw at you, nor do you feel like you’re strong enough to deal with any of the threats in a reasonable amount of time. However, 400 credits is enough to unlock Sniper’s Explosive Headshot, which costs only 350 credits for the first upgrade. If you are confident enough in your ability to play Sniper, you can kill each Uber Medic by headshotting the Gauntlet as long as you have at least one tick of Explosive Headshot. This allows your team to kill each Gauntlet, in addition to any un-Bonked scouts that happen to find themselves unfortunately close to the Gauntlet. This works for both the first and second parts of this wave. In order to avoid being peppered by the Scattergun Scouts or targeted by the support Snipers, have your own Sniper stand on top of the large sign on the front of the center building. This spot not only renders you invisible due to how bot path-finding and sight works, but also prevents Spies from backstabbing you most of the time, as you are just high enough to avoid their knives. The Soldiers in the final part of the wave are also cleanly taken care of by a Sniper, but they are a bit harder to headshot due to their smaller size, slightly faster speed than the Gauntlets, and more erratic movements. Still, landing an Explosive Headshot on just one of them will cripple a large group, as they spawn all at once and don’t tend to split apart from each other while they’re still on the hill.
Alternatively, should you not trust your ability to hit a moving target, Spy is just as capable of dealing with the Medics and Gauntlets, as he can one-shot both members of each pair. A common mistake I see for Spies on this wave is upgrading Sapper Strength, which doesn’t really help you kill them and get away alive. So with your 400 credits, upgrade a combination of Movement Speed and Knife Attack Speed – it will allow you to kill both members of each pairing fast and allow you to actually get away and get ready for the next set. Spy is certainly not the easiest class to attempt this with, and he does struggle against the Soldiers at the end, but he is one of the easiest ways to clean this wave out if you have no qualms against refunding upgrades.
The rest of the team will have to clean up the small bots that don’t get taken out by the Explosive Headshot. If you are not playing as Sniper, you should avoid shooting the Gauntlets until Sniper or Spy kills the Medic, and you should avoid attacking the Uber medic at all. If a Gauntlet-Uber pair makes it to the top of the hill and the Sniper has not killed it yet or is focused on another pair, you may pop the Medic yourself to ensure that it doesn’t get too far and still have an Ubercharge that can be popped at a much more dangerous point. Engineers may need to alternate between a Wrangled and a non-Wrangled Sentry depending on the situation. A non-Wrangled Sentry will take out the Scouts much easier than when you are Wrangling it, but if a Gauntlet-Uber pair gets close enough that your Sentry begins to shoot at them, you should Wrangle it to prevent it from dealing enough damage to trigger the Medic’s Uber, and instead focus on a more appropriate target, like a Sniper or a Gauntlet that doesn’t have a Medic attached to it.
Wave 2
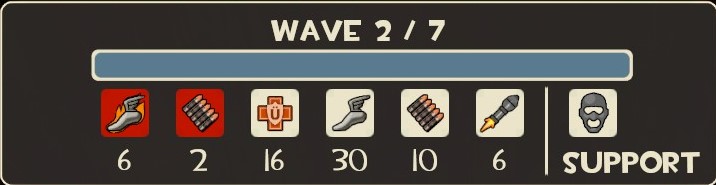
Most of the issues with Wave 2 come from this beginning section.
You will be greeted with six Super Scouts that will spawn from the main route, along with two Giant Heavies, each pocketed by eight Uber Medics, that will appear from the side. Support Spies will also appear, but they are more of a nuisance than an actual threat. This opening section holds no punches, as one Super Scout will spawn approximately every eight seconds, regardless of whether you’ve killed any previously-living ones. All the while, the Giant Heavy will be tearing you apart with its Minigun as it slowly gets closer. This can end up much worse if even one of the Uber Medics is triggered, as even one Medic popping its Ubercharge can be enough to punch your entire team a ticket back to the Resupply Room. And if everyone is dead, nobody will be around to stop the Super Scouts from capping the bomb without burning a large chunk of your credits on Buybacks.

To clear this portion, repeat what you did in Wave 1 and have your Explosive Headshot Sniper deal with the Uber Medics. For this wave in particular, I recommend maxing out Explosive Headshot instead of Reload Speed, as that will cover most situations where an Uber Medic may have accidentally healed another Medic, ensuring that you actually kill each Medic rather than leaving it alive and allowing it to Uber the Giant Heavy. This will allow the rest of your team to focus down and finish off the Heavy before it can get too far without worrying about it becoming completely invincible for five seconds. If an Uber Medic does survive and end up popping their Ubercharge, do not panic – as long as you triggered it quickly, the Ubercharge will end before it can get too far, allowing your team to continue to hold their positions.
As for the rest of the team, do not forget about the Super Scouts.They may be fragile and deal very little damage, but if they slip past with the bomb, the chance of failing this wave skyrockets. The easiest way to stop them is to stand right in the robot’s path and bodyblock them from getting past you. Before the wave begins, look at the blue signs scattered across the map – they will tell you which way the robots will be taking the bomb. You can set up your gear there and hold your ground, and the robots will not deviate from their pre-programmed path. The best classes to bodyblock with are Heavy and Engineer – specifically, his Sentry Gun. If the bomb lands in front of your feet, that is all the better, because the Super Scouts will just run straight into the loving arms of your Minigun and Sentry Gun fire in order to get it back. Sometimes, a Super Scout may figure out that it can side-step to get around you and start getting past. To that end, your Heavy may elect to equip Natascha this wave. You sacrifice damage, but in exchange, the Super Scouts have a much lower chance of slipping past if you can keep hitting them. Note that, if you are running multiple Heavies (which is the norm within Expert), only one Heavy should use Natascha – the rest should run Brass Beast or Stock to avoid missing out on even more damage. Also, if you’ve determined that the Super Scouts are not the issue, and you are struggling with the Giant Heavies, then you are better off using the Stock or Brass Beast to ensure that you can pump out enough damage.
If you have a Scout, the Mad Milk is a lifesaver both for its health-on-hit and the cheap slowing effect it provides. I’m in the camp that Scout has so many useful lunchbox item secondaries and that a good Scout should never feel pigeonholed into only using Milk – I’m quite partial to the Crit-a-Cola to maximize my damage – but for this wave in particular, the Milk will provide so much utility for your team. Believe it or not, you should prioritize milking the Giant Heavies rather than the Super Scouts, as your teammates will love having the ability to heal off any damage they take, allowing them to stay standing to block the Super Scouts themselves. If you can hit both a Super Scout and a Giant Heavy at the same time, that’s all the better, but make sure your Milk is online when a Giant Heavy hits the field. And whatever you do, don’t throw the Milk at the Heavy until all the Uber Meds are dead – it will cut the time that the enemy is Milked to a fraction of what it could be, and you further lose its utility since your teammates will want to avoid shooting the Giant Heavy until the Uber Medics have died anyway.
Once the Super Scouts and the Giant Heavies are out of commission, the rest of the wave is much easier. You will end up fighting thirty Scattergun Scouts which drop down in groups of ten, and ten Heavies. Alongside them, you’ll have to deal with three pairs of Direct Hit Soldiers that serve as a very obnoxious annoyance due to their heightened AI. The Scouts and Heavies are of no concern, even if you were pushed back to the hatch – as long as your Sentry Gun is active and your Heavy is firing, they just get picked off as they get close, and that’s provided your Sniper doesn’t immediately kill them as they spawn. The Soldiers are a little more cumbersome due to their incredible accuracy with the Direct Hit, but a Wrangled Sentry can tank their damage while you shoot them from a safe distance. There really isn’t much concern once you’ve reached this point in the wave – just keep an eye on the bomb and let the small bots come to you.
Wave 3
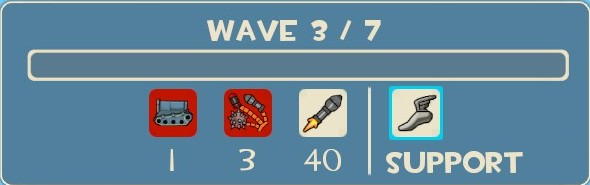
A Tank will spawn immediately at the start of the wave, and from that point, you won’t have very much breathing room. Around 15 seconds after the tank spawns, you begin to deal with four groups of ten Soldiers, with each new wave appearing around 7 seconds after the previous one. After around a minute, two Giant Deflector Heavies will appear at the side entrances. All the while, Melee-only Crit-Boosted Scouts will periodically appear on the field as support bots.
This is a very quick wave if performed properly. To begin, at least one tank-buster class should be on the Tank at all times. This can be a Pyro, a Damage Scout, or an Engineer with the Widowmaker – either way, the Tank is usually the cause if this wave ends in failure, because of how much it is underestimated. As long as you’ve got at least one person on it at all times (and that player is properly upgraded to tank-bust), you should be able to tear it down quickly enough.

As for the rest of the team, they will be forced to deal with the Soldiers and the Giant Deflector Heavies. Starting with the Soldiers, if you’ve still got a Sniper, two Explosive Headshots will quickly dispatch each Soldier squad, but if you’ve elected not to run him for this wave, two ticks of Reflect Projectiles for each Heavy can help soften the impact.
The first Giant Deflector Heavy will appear alongside the last group of Soldiers, meaning you will have to deal with both threats at once. Fortunately, this Heavy is a lot easier to handle, largely in part due to the fact that it has no Uber Medics attached to it, allowing you to begin shooting at it from the moment it pokes its head out of the robot spawn.
As soon as the final non-support robots are finished off, if it is not already killed, all classes should immediately make their way to the tank to finish it off. By this point, it will likely be passing by the death pit directly across from the hatch, and, if your tank-buster has been doing their job properly, it will be on the verge of death. Engineer should keep his Sentry Gun on top of the bomb to ensure that a Support Scout doesn’t cap while everyone else is distracted with the Tank, but for the most part, this wave is not very difficult.
Wave 4
Like Wave 3, this wave opens with a Tank. Unlike Wave 3, however, a new Tank spawns every 30 seconds, until four Tanks have spawned. Furthermore, these tanks are much more fragile, and can be torn apart before it even leaves the hill if everyone is focused on it. Starting with the second tank, four groups of twelve Melee-only Crit-Boosted Scouts will begin dropping and swarming anyone who is attacking the Tank at the front of the map. These Scouts groups will alternate with groups of Bowmen Snipers that drop alongside Heavy-Uber Medic pairs, forcing the group to have a bit of finesse when dealing with the small bots at the front. After the final Heavy-Medic pair has dropped onto the field, two sets of one Giant Heavy and four Uber Medics will appear, one from the left robot spawn and one from the right. All this time, Support Spies will be attempting to take down anyone who is not paying attention.
The first Tank should be focused on by everyone, since the rest of the robots do not spawn until the second Tank spawns. If everyone picks at the first tank, it should be defeated before the second one appears. Once the second Tank drops, keep your distance as it emerges from the hole – the Crit Scouts will swarm everyone that is near the tank as it emerges, and if you have no Crit Resistance, you will die basically instantly. Once the first group of Scouts lands, the next group will not appear for another 20 seconds. This is when your group will likely need to split up – your team’s tank-buster should focus all of its efforts on whichever tank is closest to the hatch, while the remainder of your team will take apart the small bots as they spawn.
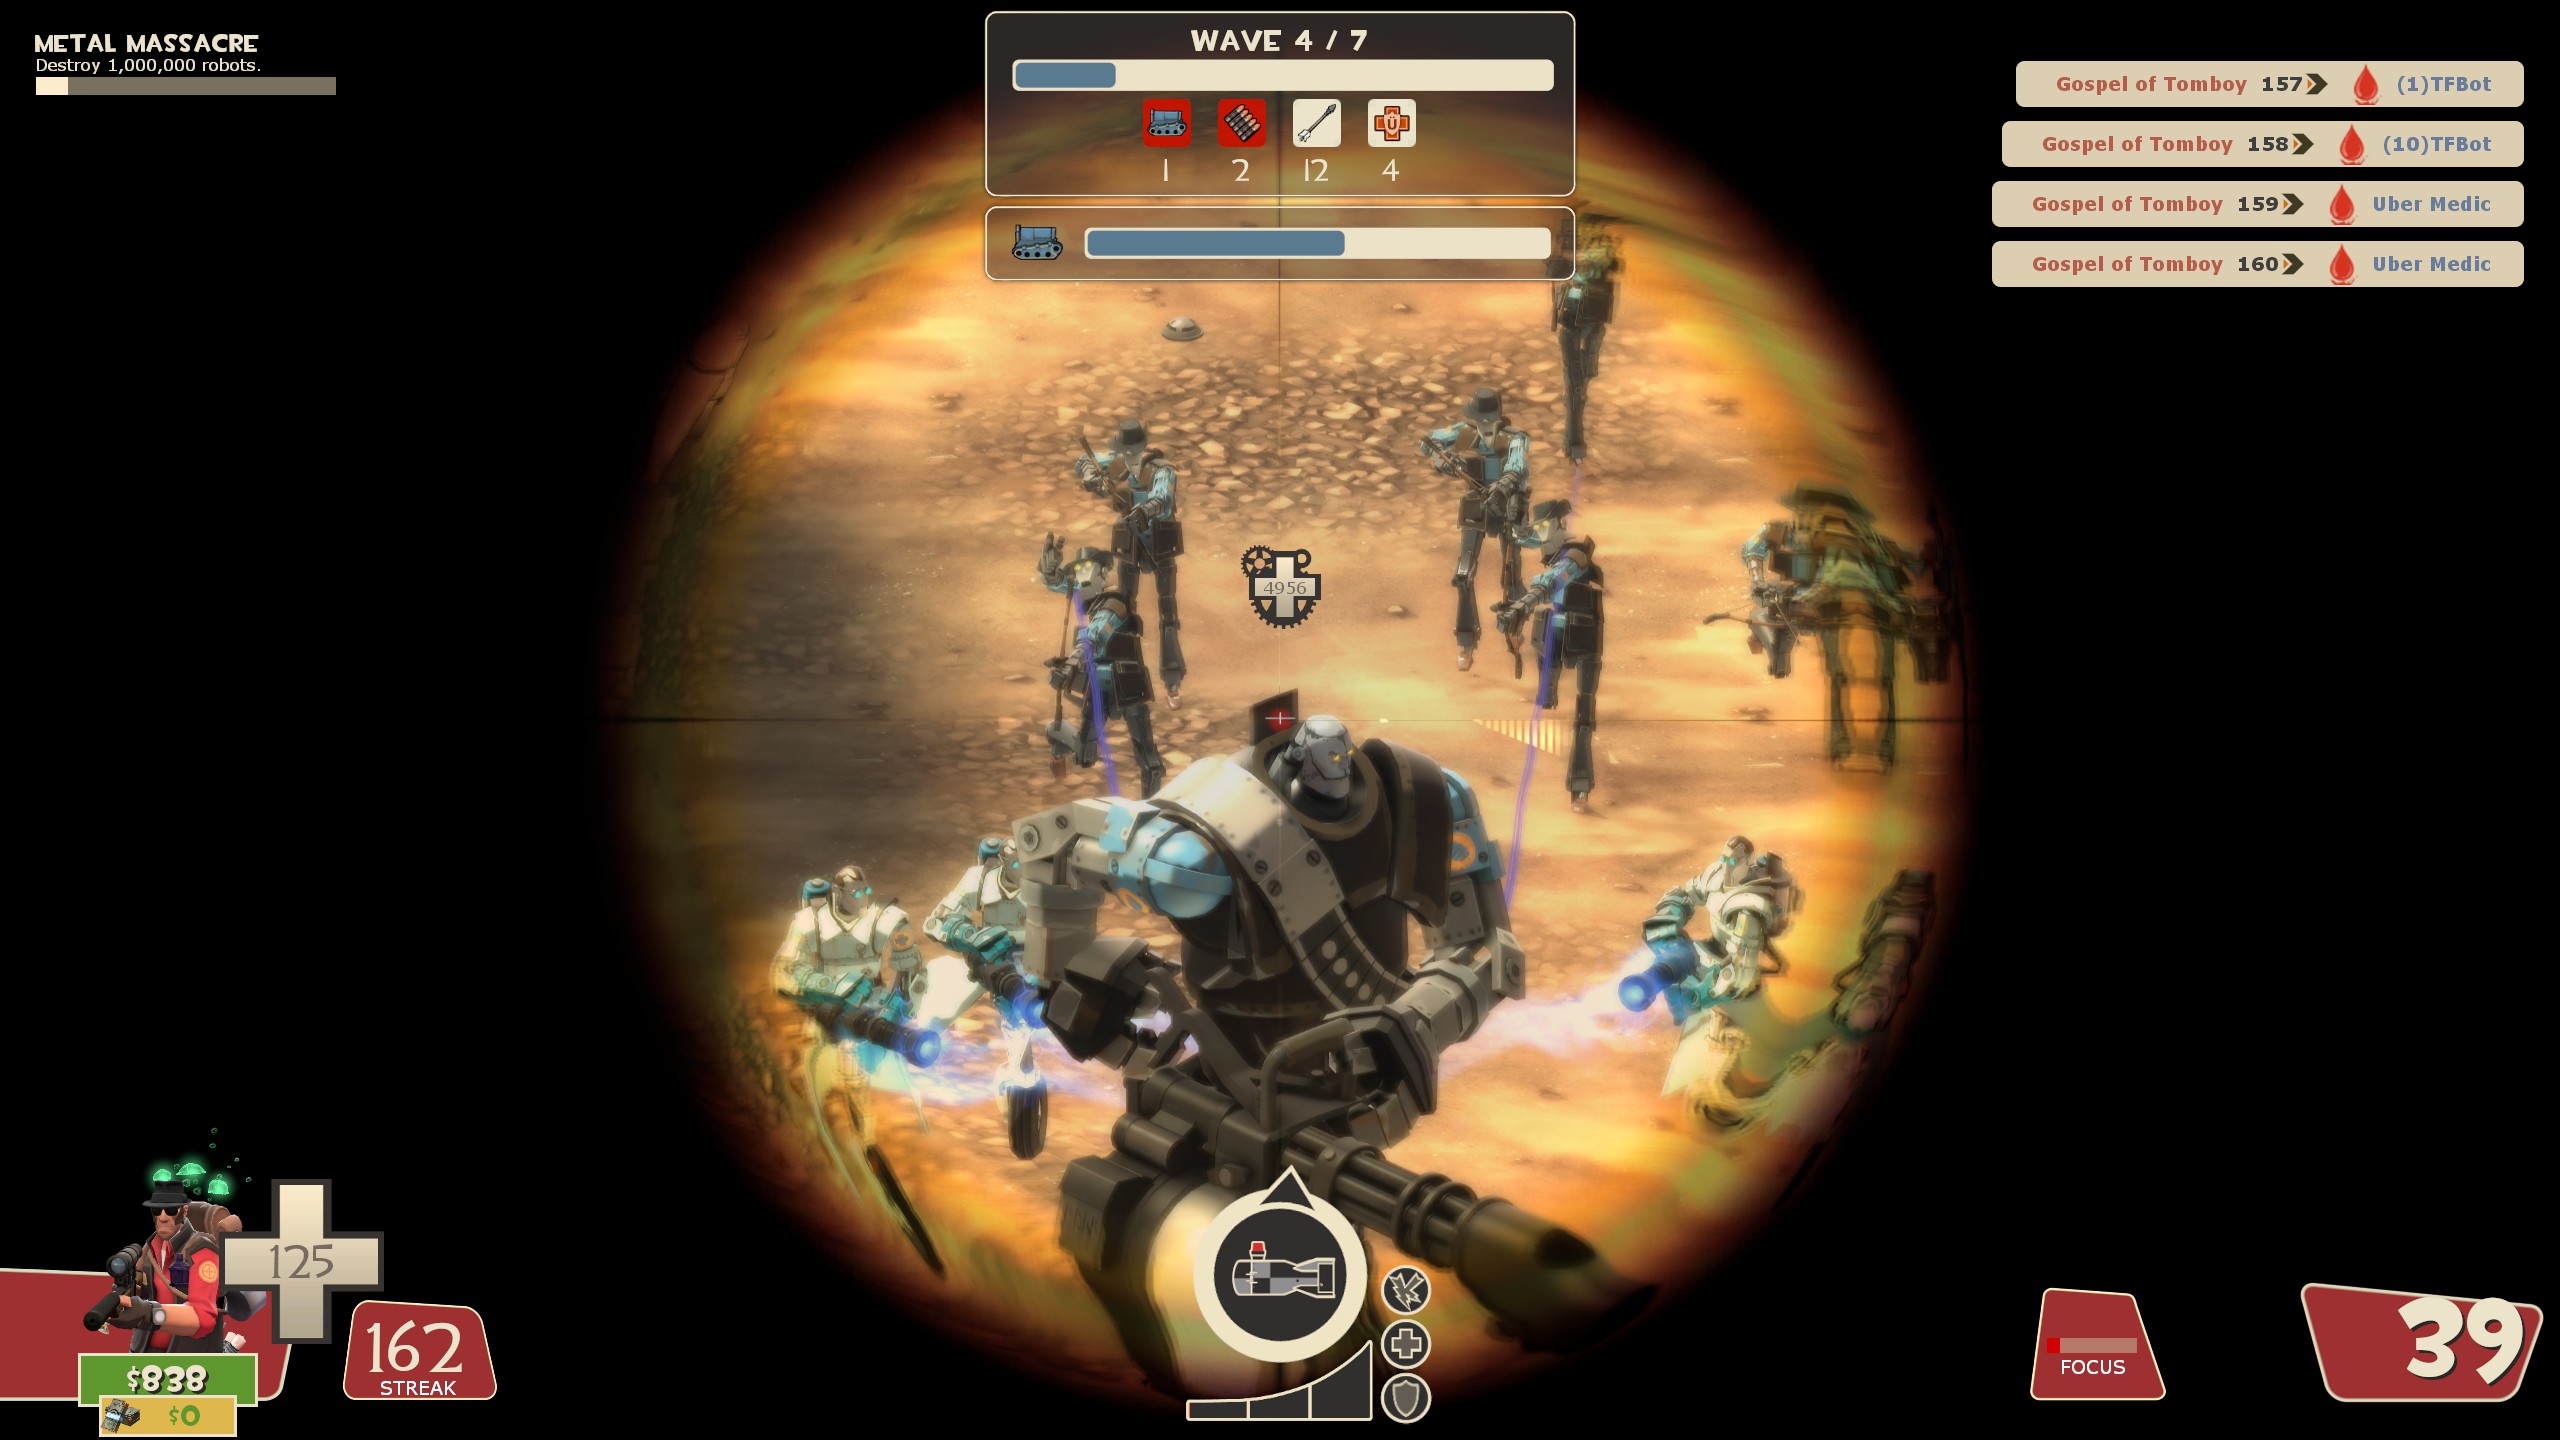
If you have a Sniper, they can easily clear out the Heavy-Medic pairs with a single Explosive Headshot against the slow-moving Heavy (along with any Bowmen that are nearby). Without a Sniper, however, these groups aren’t too bad either. By this point, you will have enough credits to afford some extra firepower and resistance, and you should be able to handle a bit of the onslaught of arrows and bullets. The same cannot be said for the two Giant Heavies, however, and are the main reason you will want to bring Sniper to this wave yet again. Five seconds of invincibility is more than enough time for the Giant Heavy to tear apart whatever frontline defense you have. Having the ability to just instantly delete the Uber Medics with Sniper just makes things so much easier.
Regardless, once the small bots and Tanks are gone, the Giant Heavies likely won’t be able to capture the bomb, regardless of whether or not the Uber Medics were dropped.
Wave 5
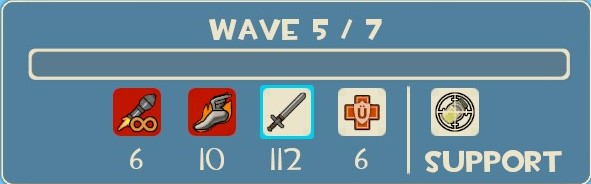
A majority of the wave will consist of dealing with the massive swarm of Crit Demoknights, but those aren’t the real issue. Alongside the Demoknights, you have six Giant Rapid-Fire Soldier and Uber Medic pairs, mixed together with four Super Scouts, along with continually-respawning Sydney Sleeper Snipers as support. And after all of that is done, six more Super Scouts will come out all at once in a last-ditch effort to deliver the bomb.
First off, buying three ticks of Crit Resistance will be a good bit of insurance – 450 credits to prevent being one or two-shot by a Demoknight that just got too close is worth it. Engineer’s Sentry will be able to handle most of them at this point in the game, to be perfectly honest. The real issue comes when you have to handle them in addition to the giant spawns. Sniper will, once again, help a lot – a single click to the Giant Soldier’s head kills its only medic. However, this is about the point in the mission where Soldier comes alive. A direct hit from any Rocket Launcher without a damage penalty with three ticks of Damage Up (although four is always nice) and a tick in Rocket Specialist will instantly delete the Uber Medic, no chance to pop. You can then use your firepower to delete the Giant Soldier that was hiding behind it.
As for the Super Scouts, the same strategies that you used in Wave 2 will come up again here – bodyblock and just don’t let them physically get around you. It also ends up becoming easier if you have a Rocket Specialist Soldier, as a direct hit will stop the Super Scouts in their tracks for a second, allowing you to shoot another rocket and continually stun them until they die.
After this first part of the wave is said and done, you have about a minute or less before the final Super Scouts jump down. As an Engineer, if you’re annoyed by the Sentry Buster continually respawning to attack your Sentry during this time, set it up front, let it destroy it, then take the opportunity to rebuild your Sentry – you will have plenty of time to get it back in action before the Super Scouts show up. Once the Super Scouts appear, ensure that you are all huddled by the bomb and let them come to you. They don’t have very good damage output, and as soon as they get close to you, they’ll be shredded by maximum damage ramp-up.
Finally, the Sydney Sleeper Snipers are an annoyance throughout this entire wave. Take a bit of extra time to clear them out as they spawn, as even with Crit Resistance, applying Jarate will still cause you to take base damage from any attack at minimum, which is a hassle when the Rapid-Fire Soldiers are constantly shooting at you.
Wave 6
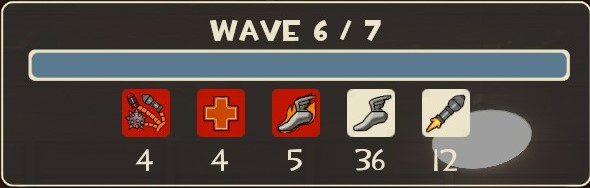
The wave starts with two large hordes of eighteen Scattergun Scouts, flanked by four Giant Deflector Heavy plus Giant Quick-Fix Medic pairs. After the Scattergun Scouts go down, twelve Soldiers drop, and shortly after them, two pairs of Super Scouts, plus one extra Super Scout will appear.
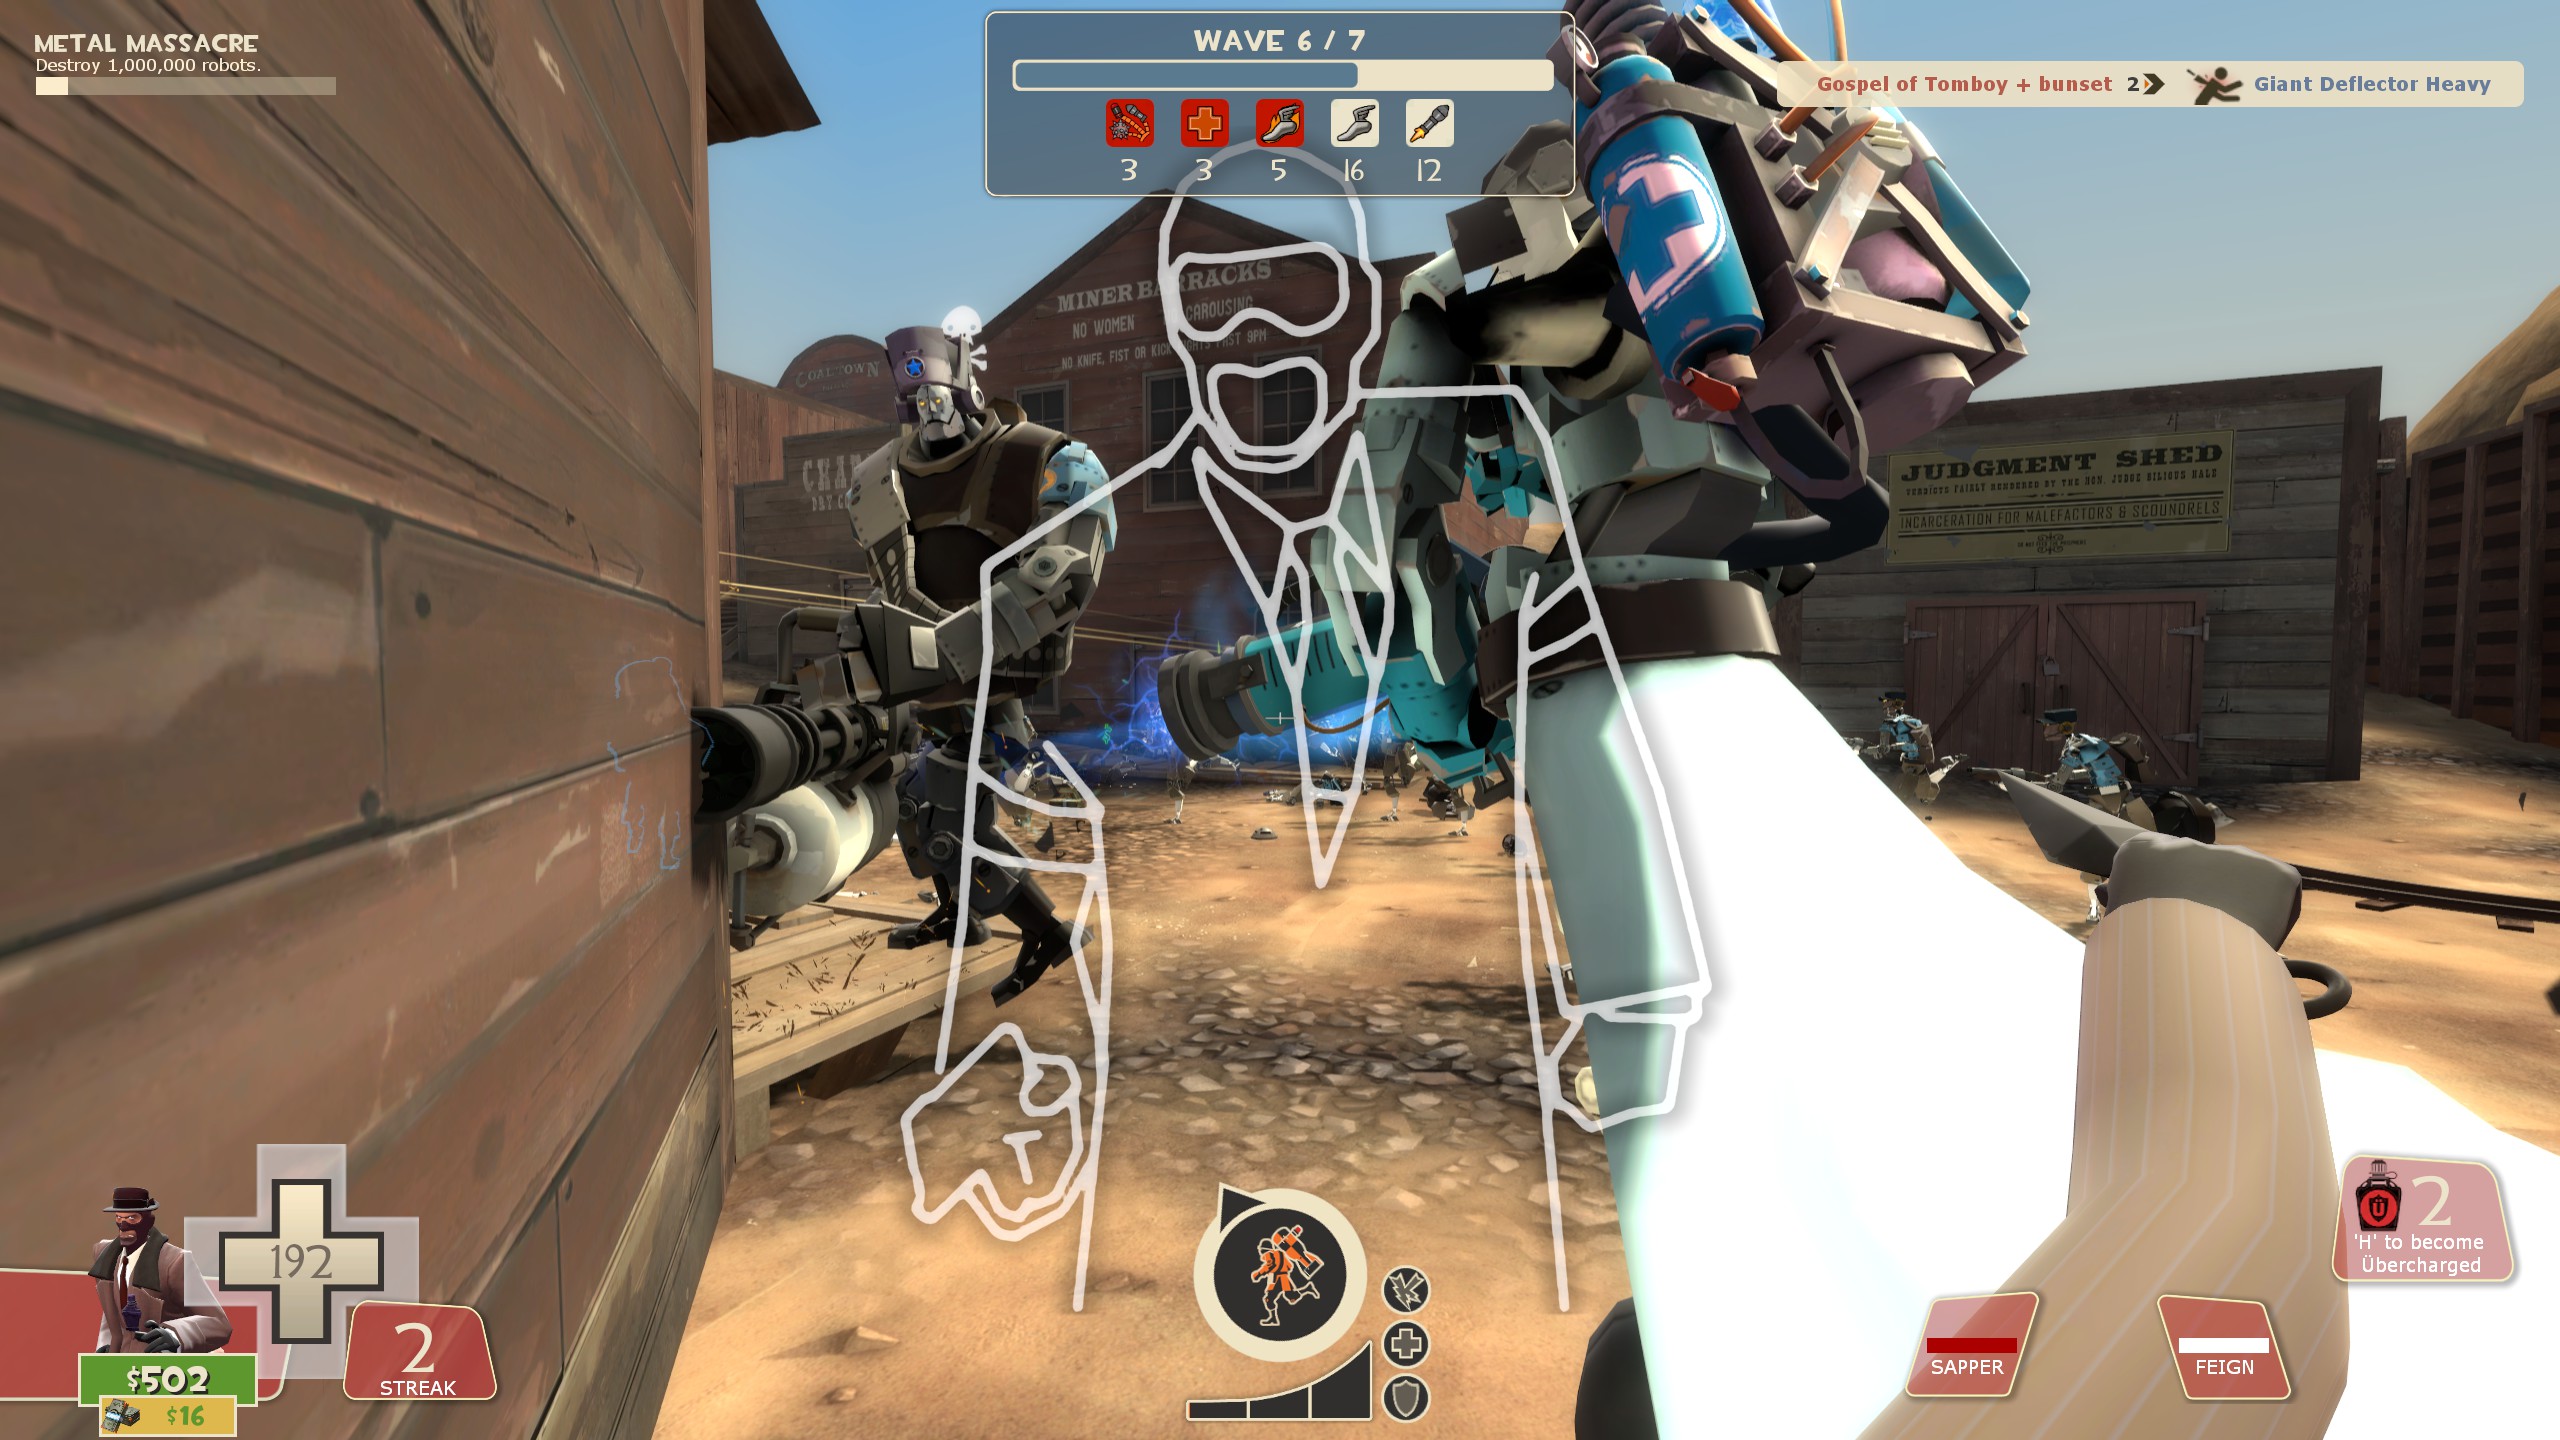
The biggest issue in this wave are the Giant Heavy-Giant Medic pairs. If you attack the Giant Medic incorrectly, it will pop its Quick-Fix Uber, bringing itself and the Giant Heavy back to full health, and granting it functional invincibility to boot. To deal with this, there are two easy methods. The first option is to have a Spy. Maxing out Armor Penetration and Knife Swing Speed will allow you to defeat the Giant Medic in five backstabs before the Giant Heavy can turn around and delete you, which allows the rest of your teammates to focus on the surviving Heavy while you get in position for the next pair. I would be remiss to not mention Scottish Resistance Demoman as a good choice for the wave, although the fact that the Giant Pairs have a 50/50 shot at spawning from either side makes it a lot harder to set up a proper sticky trap for this mission, as you will want a full crit Scottish trap to ensure the one-shot, meaning you can’t just set up two separate half-traps on each side at the start of the wave.
As for the small bots, the Scouts are deceptively accurate, and can deal a surprising amount of damage from a distance once they drop down. Classes on the hill can take shelter behind Engineer’s Wrangled Sentry to allow it to take the bulk of the damage as you open fire on them. The Soldiers can be handled in the same way.
Finally, the Super Scouts aren’t as big of a threat, provided whichever teammate is on Giant Medic-killing duty is doing their job correctly – at this point, you should have enough credits invested to deal with a non-paired Giant Heavy and an encroaching Super Scout. If the Giant Medics aren’t dying, or if a Super Scout breaks past, that is when most of the problems begin to happen. If you are pushed back to the hatch, you have to kill the Giant Medic before it reaches the ramp leading down to the hatch while still keeping an eye on the bomb. If you don’t, and it has another Ubercharge ready, the wave is no longer winnable, as both the Giant Heavy and Giant Medic will be unkillable and cannot be pushed away while they make their way to the hatch.
If the Giant Medic pops, but you’re still on the hill, you still have a chance to recover. Make your way to a safe spot out of the Giant Heavy’s line of sight, and wait for the Medic’s Uber to run out. Once it does, focus all of your fire on the Medic until it dies, then kill the Heavy. You will lose some ground, especially since another Heavy-Medic pair will have spawned in the meantime, but you will have at least put the first Giant Heavy into a more manageable position.
All in all, this wave is either one of the easiest, or one of the hardest, depending on how capable you are at taking down the Giant Medics without them popping.
Wave 7
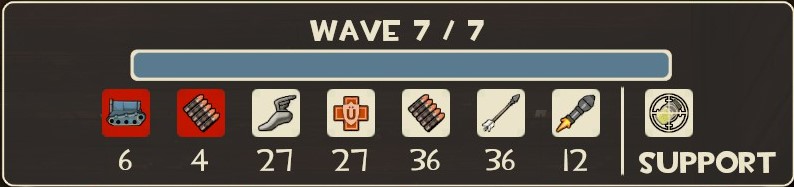
The wave opens with five Tanks, with one spawning immediately upon the wave’s start and a new one appearing every 30 seconds. Like the Wave 4 tanks, these ones are easier to deal with, as they have reduced health. During the tank spawns, twenty-six Scout-Uber Medic pairs will trickle down onto the field, taking the bomb as far as they each can while occasionally becoming invincible. A short time after the third Tank spawns, you will face crowds of Heavies and Bowmen Snipers, who drop in five separate groups of twelve. Alongside and after the final Heavy-Bowmen group, you will face two groups of six Direct Hit Buff Banner Soldiers. As the final Soldiers drop down, the last Tank, alongside four Giant Heavies, will hit the battlefield. Throughout the entire wave, Sydney Sleeper Snipers will continuously spawn as support bots.
By this point in the mission, you have essentially won – this wave is not very difficult provided you’ve been gathering credits. The main issue in this wave is the Scout-Medic pairs. If improperly handled, they can travel fairly far with the bomb, as they can still carry it while under the effects of the Medic’s Ubercharge. Letting the Scouts get too far and forgetting about them can cause the bomb to travel quite far back, and can result in a failure for more-ignorant groups. If the bomb makes it to the top of the hill, the Engineer should place their Sentry Gun physically on top of it to make the Scout have to work much harder to grab it. Of course, the best way to deal with the problem is at its source, and an Explosive Headshot Sniper or a max-damage Soldier can just one-shot the Uber Medics before they even get the chance to pop.
The crowds of Heavies and Bowmen are not a threat, although they are obnoxious if you don’t kill them. Your team’s Soldier or Heavy can handle them as they spawn while your main Tank-buster tears apart each tank as they spawn. The Soldiers are more annoying, but because of their lack of quantity, they usually get taken down pretty quickly. That said, they will quickly dispatch anyone without Crit Resistance, and with the Sydney Snipers, I would recommend dropping 450 credits on all three ticks of Crit Res, just for that added survivability.
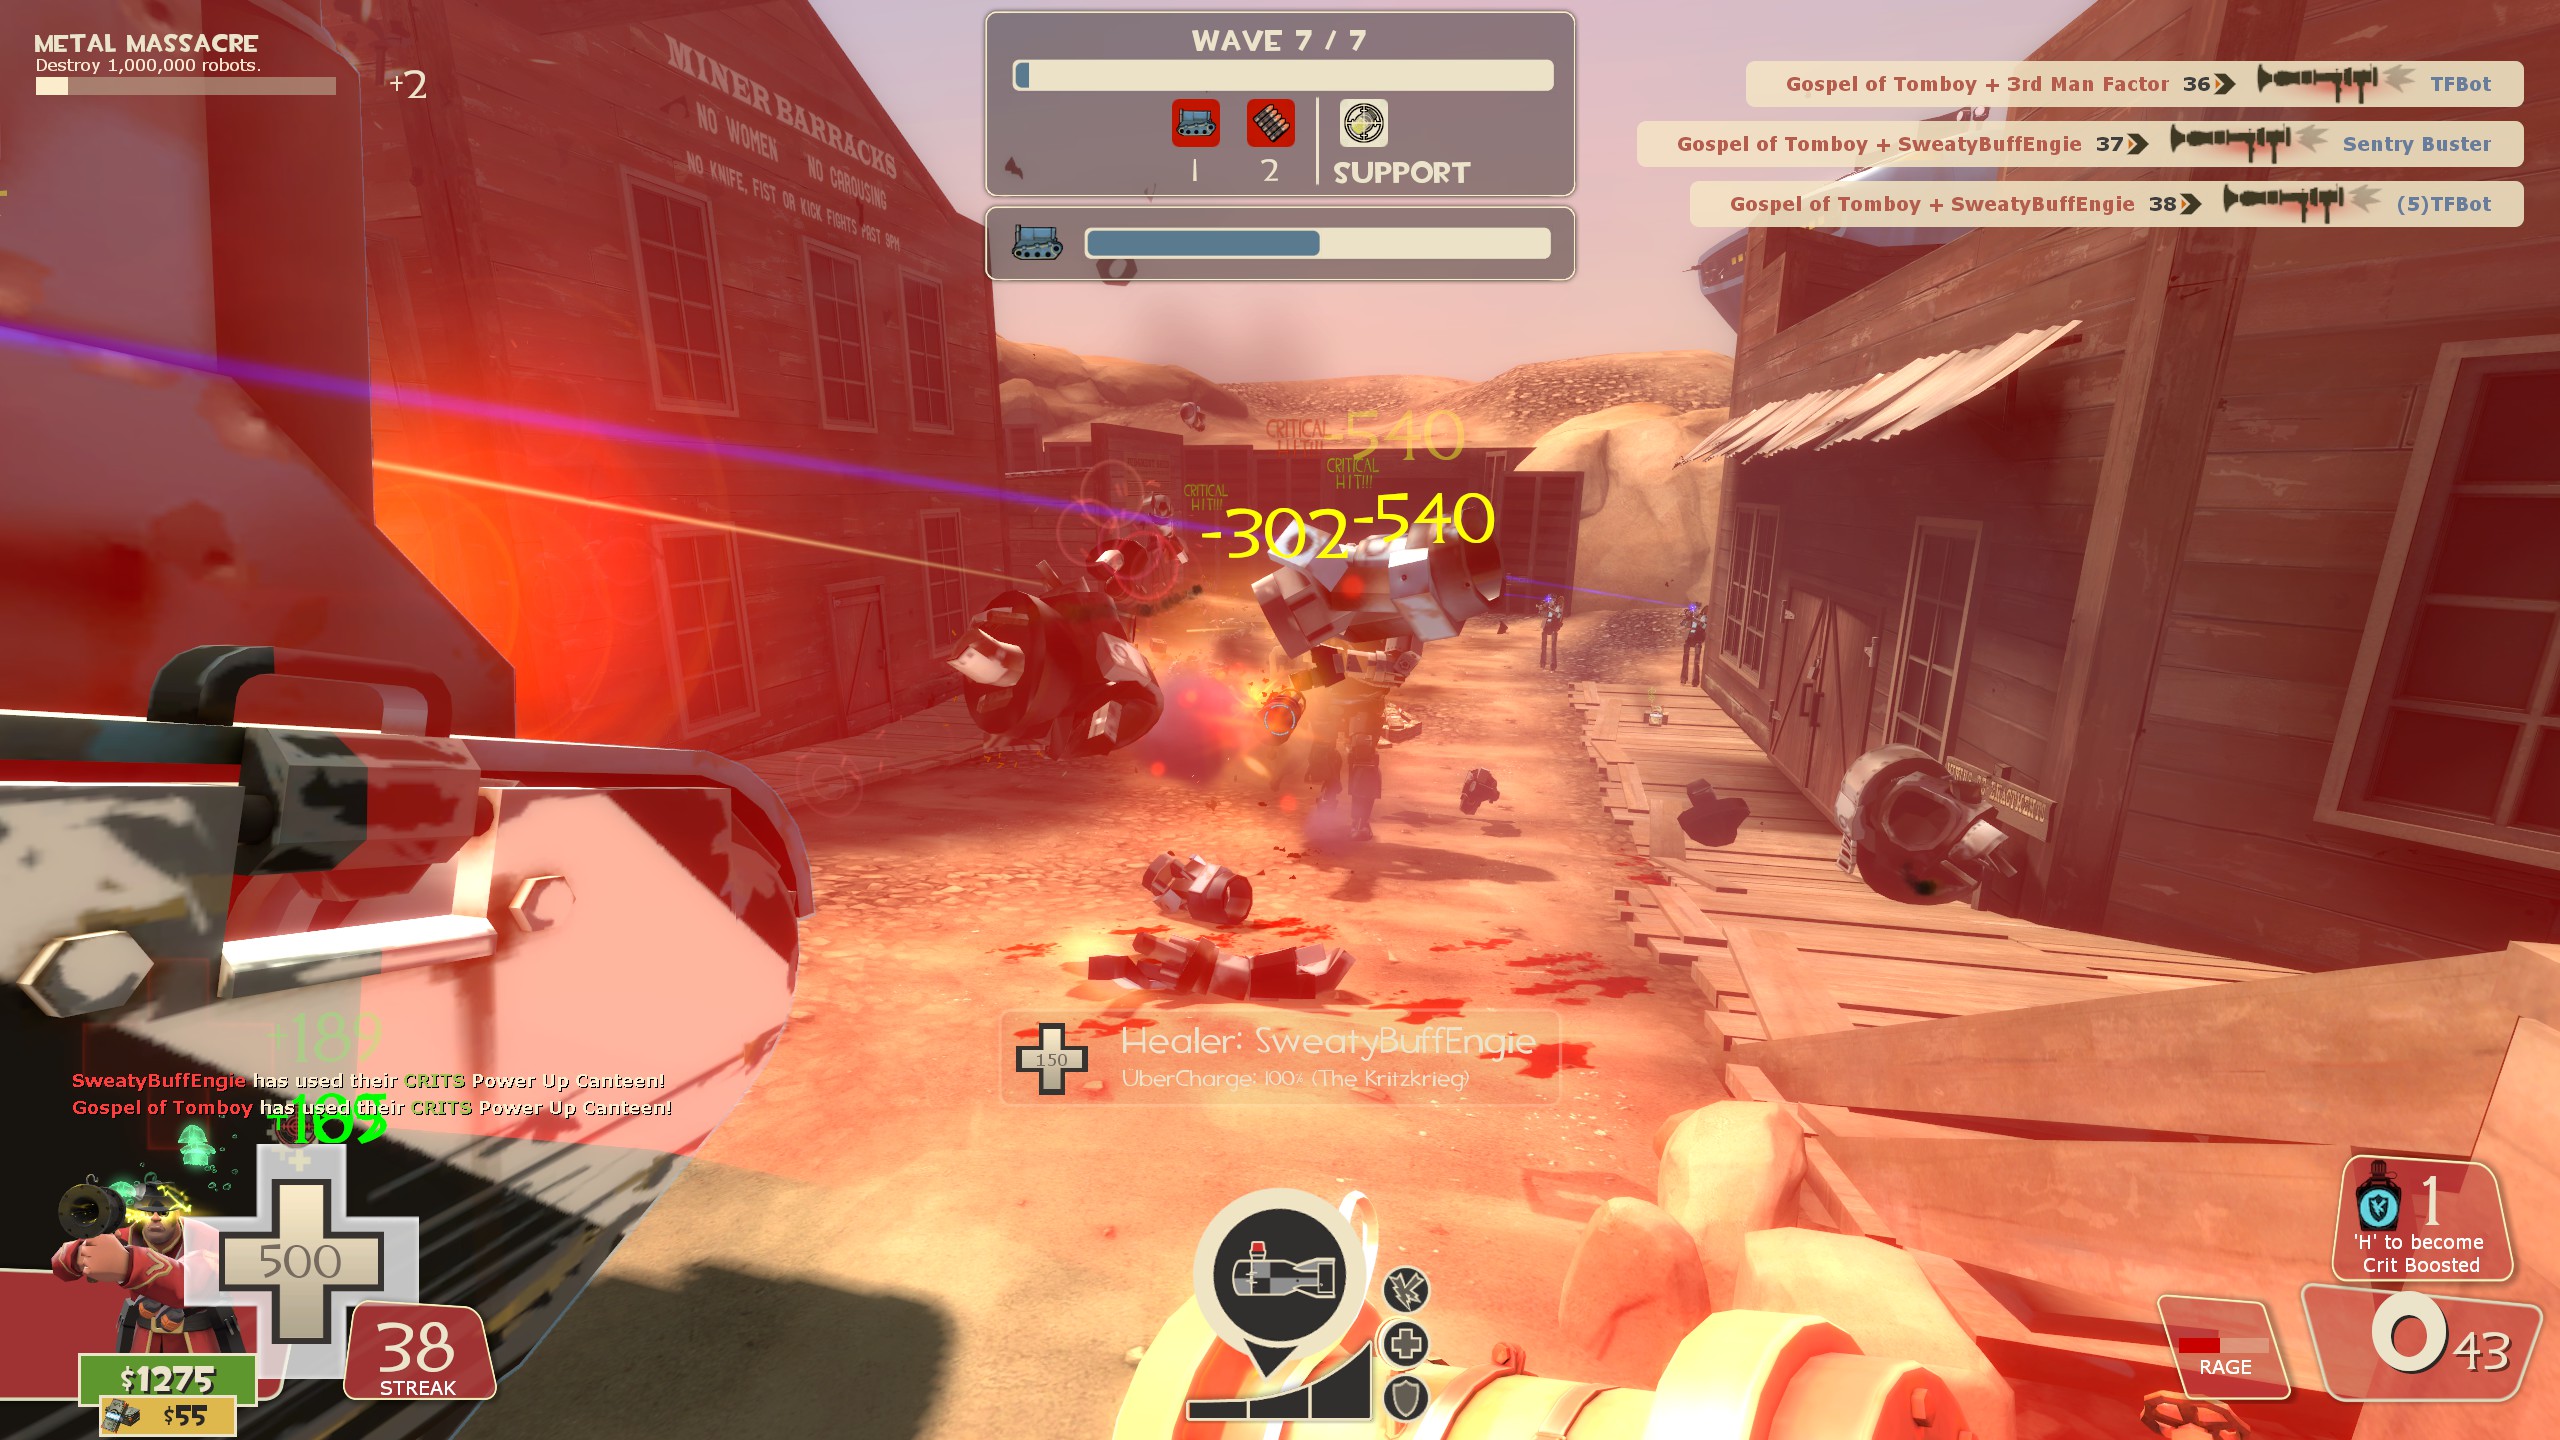
Finally, there’s the Tank plus the four Giant Heavies. Kill the Giants as they drop, then once the last one is killed, everyone can make their way to the Tank to destroy it and successfully finish – even though it has the most HP out of any Tank in this mission, it won’t be able to handle six players with max upgrades going ham on it.
Conclusion
Thank you for taking the time to read this guide. I hope that it was helpful and will allow you to clear this mission much more efficiently. I do plan on making guides for the other two Gear Grinder missions, so keep an eye out for them. Feel free to leave a comment below if there’s anything I missed – I can just edit this thing if there’s any good points I forgot to add.