This guide should also prove useful for beating a good chunk of the ingame objectives
Disclaimer
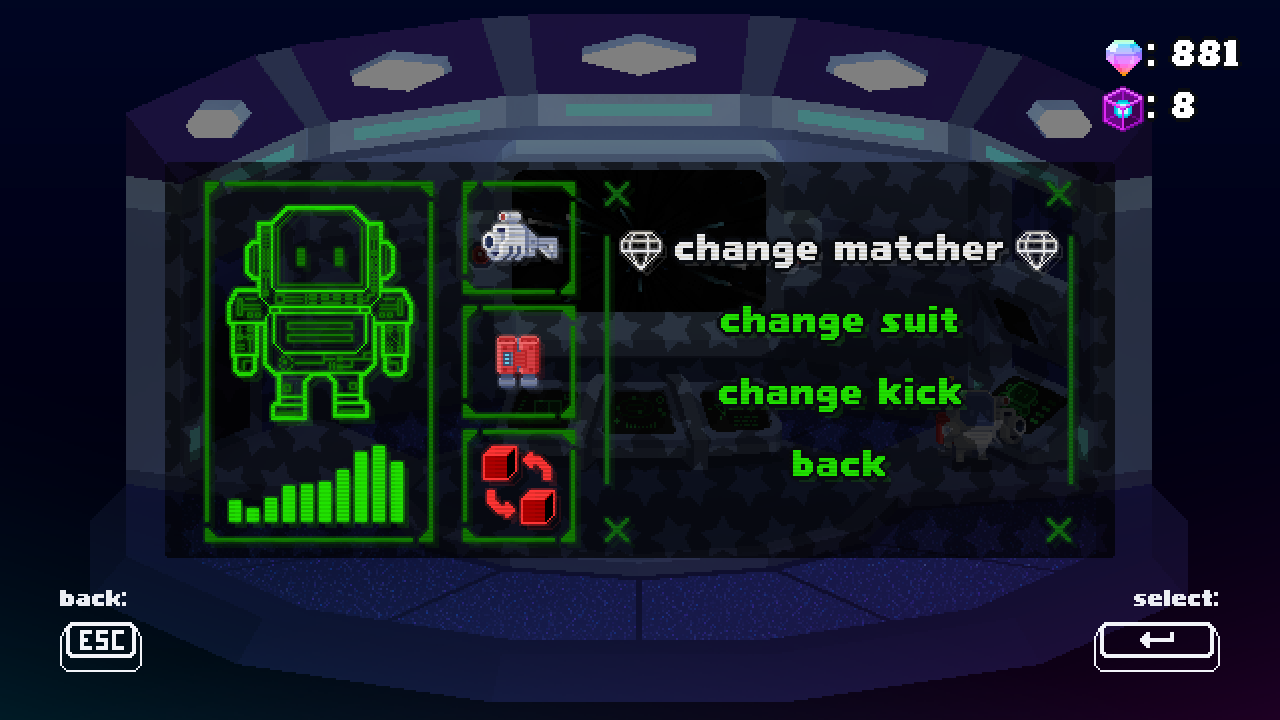
This guide is written with the loadout shown below. While you’re free to choose whatever matcher and suit you’d like, most of the strategies described in here will be far more difficult, if not impossible without lift and throw as the kick option. I would highly recommend making use of it, as it gives you the greatest control over the playing field, despite being unable to kick obstacles with it equipped.

Before starting a run
This section is only relevant if you’ve already unlocked the bonus shop for the world you’re about to play. If you haven’t yet, feel free to skip to the next section.
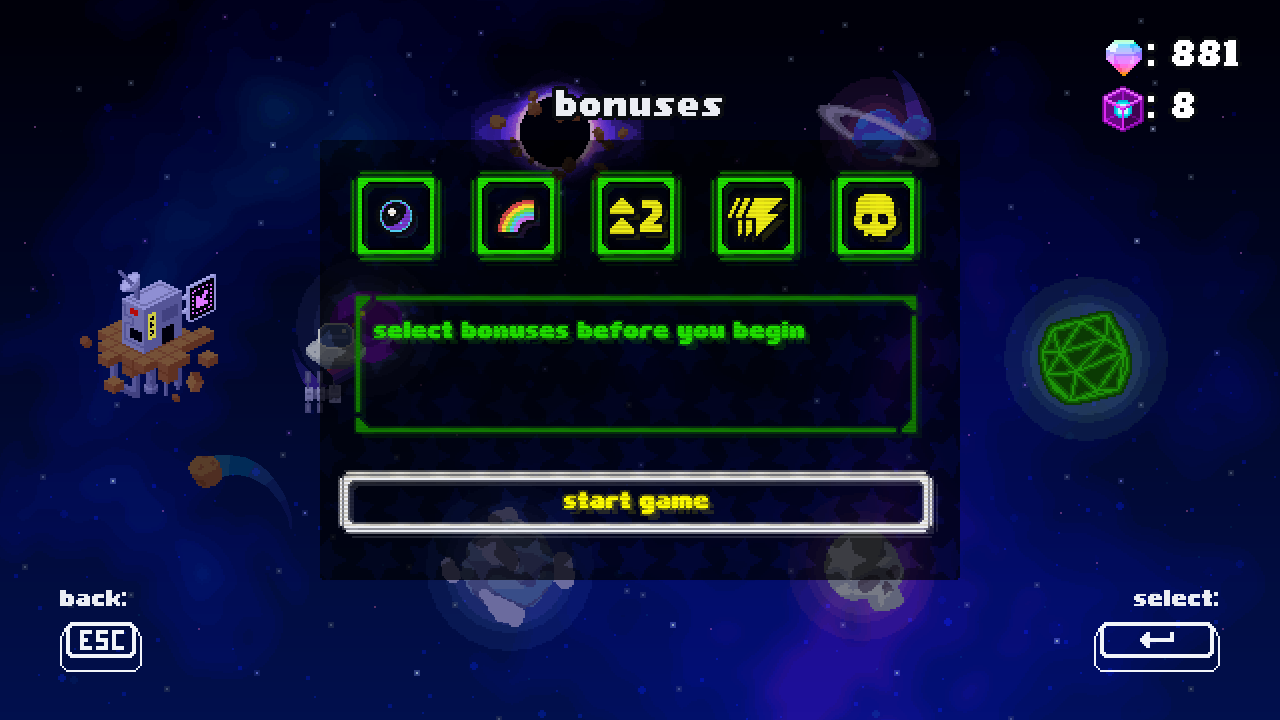
Before you begin playing, you will get the option to pick between these 5 bonuses. If you’re able to handle it, you can choose to start on level 2 instead of 1, and even pick the rainbow powerup to get more blocks quickly in the beginning to build up faster.
The shield powerup isn’t recommended, as it’ll only last as long as a regular powerup anyways, and the last 2 you should never pick if you want to go for a high score. The permanent drop speed increase will overwhelm you at higher levels, and while the 1.2x score multiplier from hard mode may seem tempting, it will also cause you to get far more obstacles per cycle, making it a lot harder to survive, even with proper preparation.
Getting started
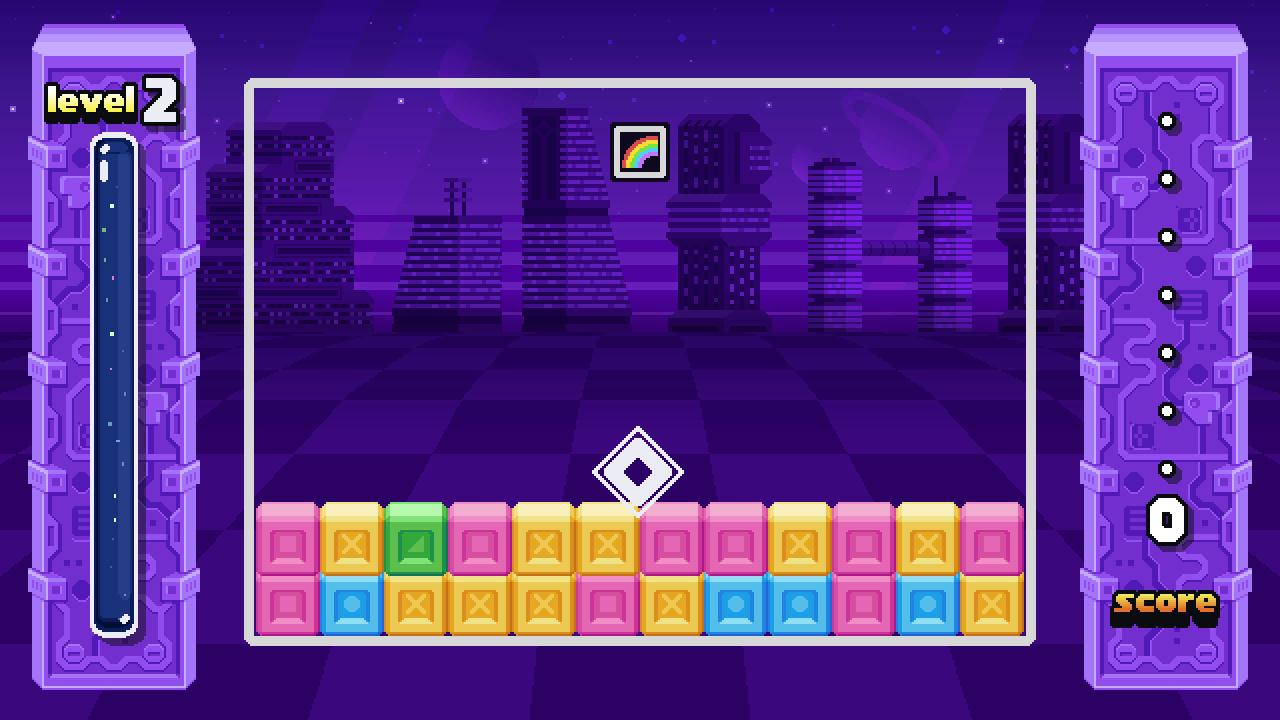
You will want to focus on a specific color, gathering up a lot of them while getting rid of the rest. 60-70 blocks will do for most ingame objectives (5 full rows makes 60 blocks, 6 rows has 72), and the more you’re able to stack up the better. While spawning in, look at the blocks already present at the start. The smartest choice is usually to pick the color that has the most blocks on the bottom row.
Once that’s figured out, look where it’s easy to dig down into the stack. If you’re using the drill, just break the blocks there. Otherwise, wait for some blocks to start falling down, until you can move a block of the same color into position, or be lucky enough to have it fall there on its own. Then simply break the group of blocks to be able to go down a row. Make sure no new blocks are about to fall in the hole you’re making.

Do the same thing with the blocks on the bottom row that aren’t the main color you’re saving up, moving around blocks as needed. Make sure to fill up any holes you make on this layer with the main color as you go, until you reach one side. You can now use this side to start storing excess blocks of the chosen color while you do the same thing on the other side, until the entire bottom layer is filled with just this single color.
Building up
Once the bottom layer is complete, it’s time to start going up. Simply filling the rows one at a time is the easiest way to handle this. Keep this up till you have 5 or 6 rows completed.

At this point, if you still want to go further, you’ll want to switch from filling rows (horizontal) to columns (vertical). This still follows the same idea, just pick one side to start from, and fill up each column to the top of the playing field you can reach. There’s one more row above the playing field, which you should just let the falling blocks fill up. Make sure no obstacles end up on this row, as it’s quite difficult to destroy them there.
When the remaining area gets too small for comfort it’s time to break the big cluster. The amount of points you’ll get is calculated as follows: (amount of blocks in the cluster ^ 2) x level. While doing this you’ll want to have the double stars powerup active, if you have it available, in order to maximize the gains. You’ll also get a gem for every 10 blocks in the cluster, so if there were 60 blocks for example, you’ll have 6 gems you can pick up. Make sure you know where to land after the cluster breaks if there’s no safe block right below you.
General tips and tricks
This section contains the more basic knowledge you should have to increase your survivability.
Stay in motion
This is a mistake I see people make often. They’ll just stand still for multiple seconds at a time, not doing anything. This results in the blocks just piling up, making it harder to clear them all away. If you’ve got time to stand still, you’ve got time to shoot blocks.
Keep an eye on the falling blocks
This goes hand in hand with the previous one. A lot of times people just get crushed because they don’t realize a block is about to fall where they’re standing. You have over a second of reaction time before the block actually starts to fall, so make use of it to get out of the way.
Don’t be afraid to destroy blocks of the color you’re saving up
There’s going to be moments where you’ll need to make use of some of these blocks to clear away obstacles, and at those times it’s better to do that than to risk dying.
Leave some blocks around to deal with the obstacles
Right before the obstacles start dropping, there’s always a wave of blocks that drop down across the whole field. Use these to break the obstacles as they fall down, making it far easier to deal with them.
Know which projectiles you can shoot down
There are several projectiles you can actually deal with directly. These include both types of rockets (though be mindful the bigger version spits out bullets in an X formation), cannonballs, and even the icicles in world 3. This is generally easier to do with a faster firing gun. It’s also worth noting that, if you miss an icicle, you can unfreeze a block by shooting at it as well. Furthermore, while you can’t directly shoot down fireballs, you can throw blocks at them to break them. This works with icicles as well.
Know what obstacles you’re dealing with
This may sound a bit obvious, but knowing how the obstacles work in the world you’re playing helps a lot in dealing with them. Some only do their thing when you jump onto them, like spikes and tnt, some shoot projectiles, bullets or lasers at regular intervals, and a couple have sources of damage chained to them, like the spiked ice ball in world 3 and a similar one in world 5 which has two balls on opposite sides of it. These balls can also damage you while they’re falling down so make sure you’re not in their path. The obstacles that spawn enemies are especially important to learn, as they can deal damage in a variety of ways.
Deal damage to your stack while building up

The blocks have 3 main damage states: no damage (top left), slightly damaged (top right/bottom left), and very damaged (bottom right). A big cluster of blocks will take longer to break, so doing some damage to it beforehand will make it easier to clear it when the time comes. As long as there’s blocks left in the cluster that aren’t on the final damage state it won’t break, so shooting until blocks start getting that damaged is a good way to deal some damage ahead of time.
This is less relevant in world 4, where the giant drills periodically fall down and deal less damage than a full step at a time, and not needed at all if you’re using the instant matcher.
Know how much damage your weapon does
Another thing that may seem obvious, but not every weapon deals the same amount of damage per shot. Knowing how many shots you need to break a block, or a small group of blocks, lets you know if it’s possible to clear things in time to move away from/towards something, and generally just helps you go faster. The same thing applies to the suits that actually let you damage blocks.
Pick the powerups that suit you
There’s a total of 12 powerups, and while not every one of them may be equally useful or useful in every situation, don’t be afraid to experiment and figure out which ones you want to use. You can even select multiple of a specific powerup if that’s what you want to do. Whenever a powerup box spawns, make sure to shoot the box itself to cycle to the powerup you actually want at that moment before breaking it with a normal block.
Don’t panic
If you do get hit/crushed once, that’s fine. If needed, just look at where you can move to that isn’t in immediate danger and go there. Focus on staying alive, and collecting stars where possible until you level up and regain your armor. Also don’t feel forced to collect every single star, especially on higher levels where you’re pretty much guaranteed to miss at least some of the stars that appear.
Advanced tricks
This section contains the tricks that will be a lot more difficult to master, but will increase your survivability even further.
Instant obstacle clearing
Sometimes an obstacle (or group of obstacles) spawns in such a way that it’ll be difficult to get a block next to it to clear it away. There’s 2 ways to deal with such situations, depending on the direction you need to connect to. Both of these involve throwing blocks that are one hit away from being cleared.
The first way is making the block and the obstacle touch horizonally. Doing this with a single block of space inbetween is the easiest, but depending on the weapon you use it can be from further away as well. The goal here is to shoot the block before it falls down. If successful you’ll clear away the block, as well as the obstacle next to it.
The second way is making them touch vertically. You’ll usually want to use this one if an obstacle you don’t want to keep in your stack (more on this right below this paragraph) is stuck in a row where the rest of the blocks are already the color you’re saving up. In this situation you’ll want to shoot first, then time your throw so the bullet and block connect with eachother right above the obstacle. If you have a laser weapon it’s the other way around, throw first and time the shot.
Catching falling blocks in midair

Blocks don’t actually have to be on the ground to be picked up, so if you see a block about to fall somewhere you don’t want it to be, and time it right, you can prevent it from ever landing there. Works with the other kicks as well, but immediately kicks them away of course.
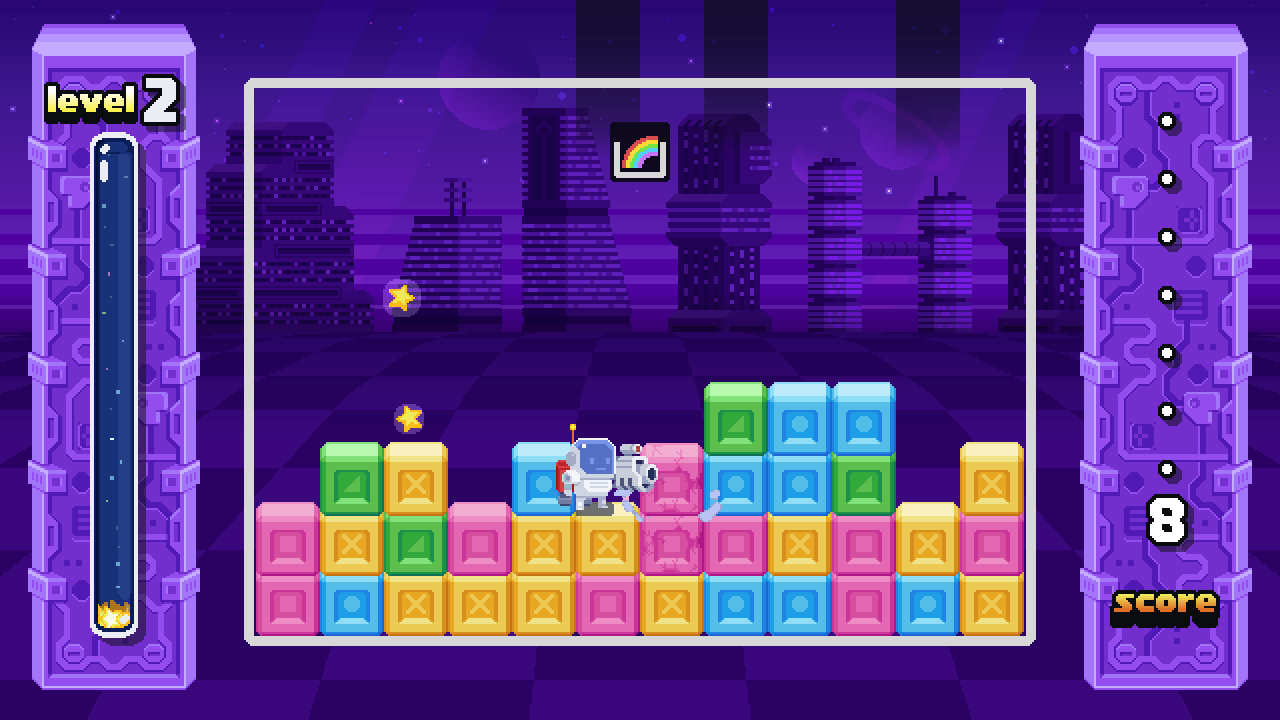
Keeping obstacles in your stack
As the screenshot in the section Building up showed earlier, it’s possible to just leave certain obstacles in your stack instead of clearing them away. Anything that can be blocked off on the sides or top works well for this, such as spikes, tnt (make sure to drop the block that’s going to be on it directly on it, if it falls any distance the tnt will trigger), all fireball shooting obstacles, and even the sideways lasers in world 5. Some sideways shooting obstacles, such as the bullet shooter in the screenshot can be managed without too much trouble as well, and the moving block obstacles can be lured into 1 wide gaps in your stack and sealed off easily after.
Powerup invincibility

Powerups actually give a small amount of invincibility when picked up. If you time picking them up correctly when in danger, it’s possible to avoid an otherwise run ending situation. Note that shooting directly at a floating powerup will stall it, allowing you to keep it floating around for longer if needed.
Closing thoughts
If you made it this far, that’s great! Have a little secret as a reward: there’s actually a hidden hard mode objective in each world, which is the same for all. (get 40000 points) If this guide has helped you improve, this should be possible for you to do now. This will also upgrade the stars in your trophy case, but you’ll have to find out for yourself in what way.