A guide outlining the sequential process of initiating the construction of a fresh Asteroid Base while avoiding obstacles and complications.
Mission Selection Tips
Verify the intended location
Examine the designated location specified in the mission description to determine where the Asteroid Base is to be constructed. It is important to note that as a player, you do not have the ability to alter the destination. If the chosen sector is known to be occupied by hostile factions, it will significantly increase the difficulty of the mission, as you may experience constant harassment from their ships while being confined to the sector. Therefore, especially for your initial base, opt for a sector that is as friendly and secure as possible.
Assess your time availability
Constructing an Asteroid Base is a time-intensive endeavor, requiring a substantial amount of in-game time (approximately 10 or more days). Throughout this period, you will have limited time to engage in other activities, starting from the moment you accept the mission until its completion.
Prior to accepting the mission, ensure that you possess an ample supply of Power resources, such as Energium or Power Rods, to sustain you throughout the entire mission duration. This precautionary measure is necessary as you will not have the luxury of time to scavenge for additional resources.
Evaluate your building resources
To commence the construction process, you will need a specific quantity of building resources, particularly Hull Blocks, although other resources may also be required. Further details regarding this aspect will be discussed below.
Pick up the Cargo for the Mission
Gather the necessary resources
In this particular mission, your ships do not require a Cargo Bay since the ship you encounter will become part of your fleet and handle all the Cargo Shuttles.
Navigate to the sector specified in the mission where you are supposed to rendezvous with another ship to acquire the Cargo Shuttle(s).
Establish communication with the ship and grant them permission to join your fleet. Instruct them to accept the Cargo Shuttle(s). Subsequently, jump to the designated destination sector.
Keep in mind that time is of the essence, and you are already operating under a time constraint.
Claim the Asteroid
Upon reaching the destination, the initial task is to assert ownership over the base, which is essentially an empty asteroid.
Click on the “base” icon located in the upper right corner, similar to how you would interact with a derelict object, and proceed to Claim it, following the same procedure as claiming other derelict items.
Get Access to Cargo Shuttle Resources
To prevent potential issues caused by unconfirmed bugs and ensure a smooth progression, it is advisable to strictly adhere to the following steps:
Begin by constructing the first two structures of the base:
- Create a 6×6 room on the outermost edge, ensuring that there is sufficient space to accommodate an X1 Airlock within it. This room requires 3 Hull resources.
- Install an X1 Airlock within the room, utilizing 1 Hull resource and 2 Infra resources.
- Erect an Asteroid Cargo Port, which necessitates 2 Hull resources and 2 Infra resources.
Notes:
- The total resources required for this stage are 6 Hull and 4 Infra.
- The resources for building these structures should be sourced from the player’s ship, ensuring that they are readily available upon accepting the mission. Alternatively, the resources can be swiftly acquired through purchase or production.
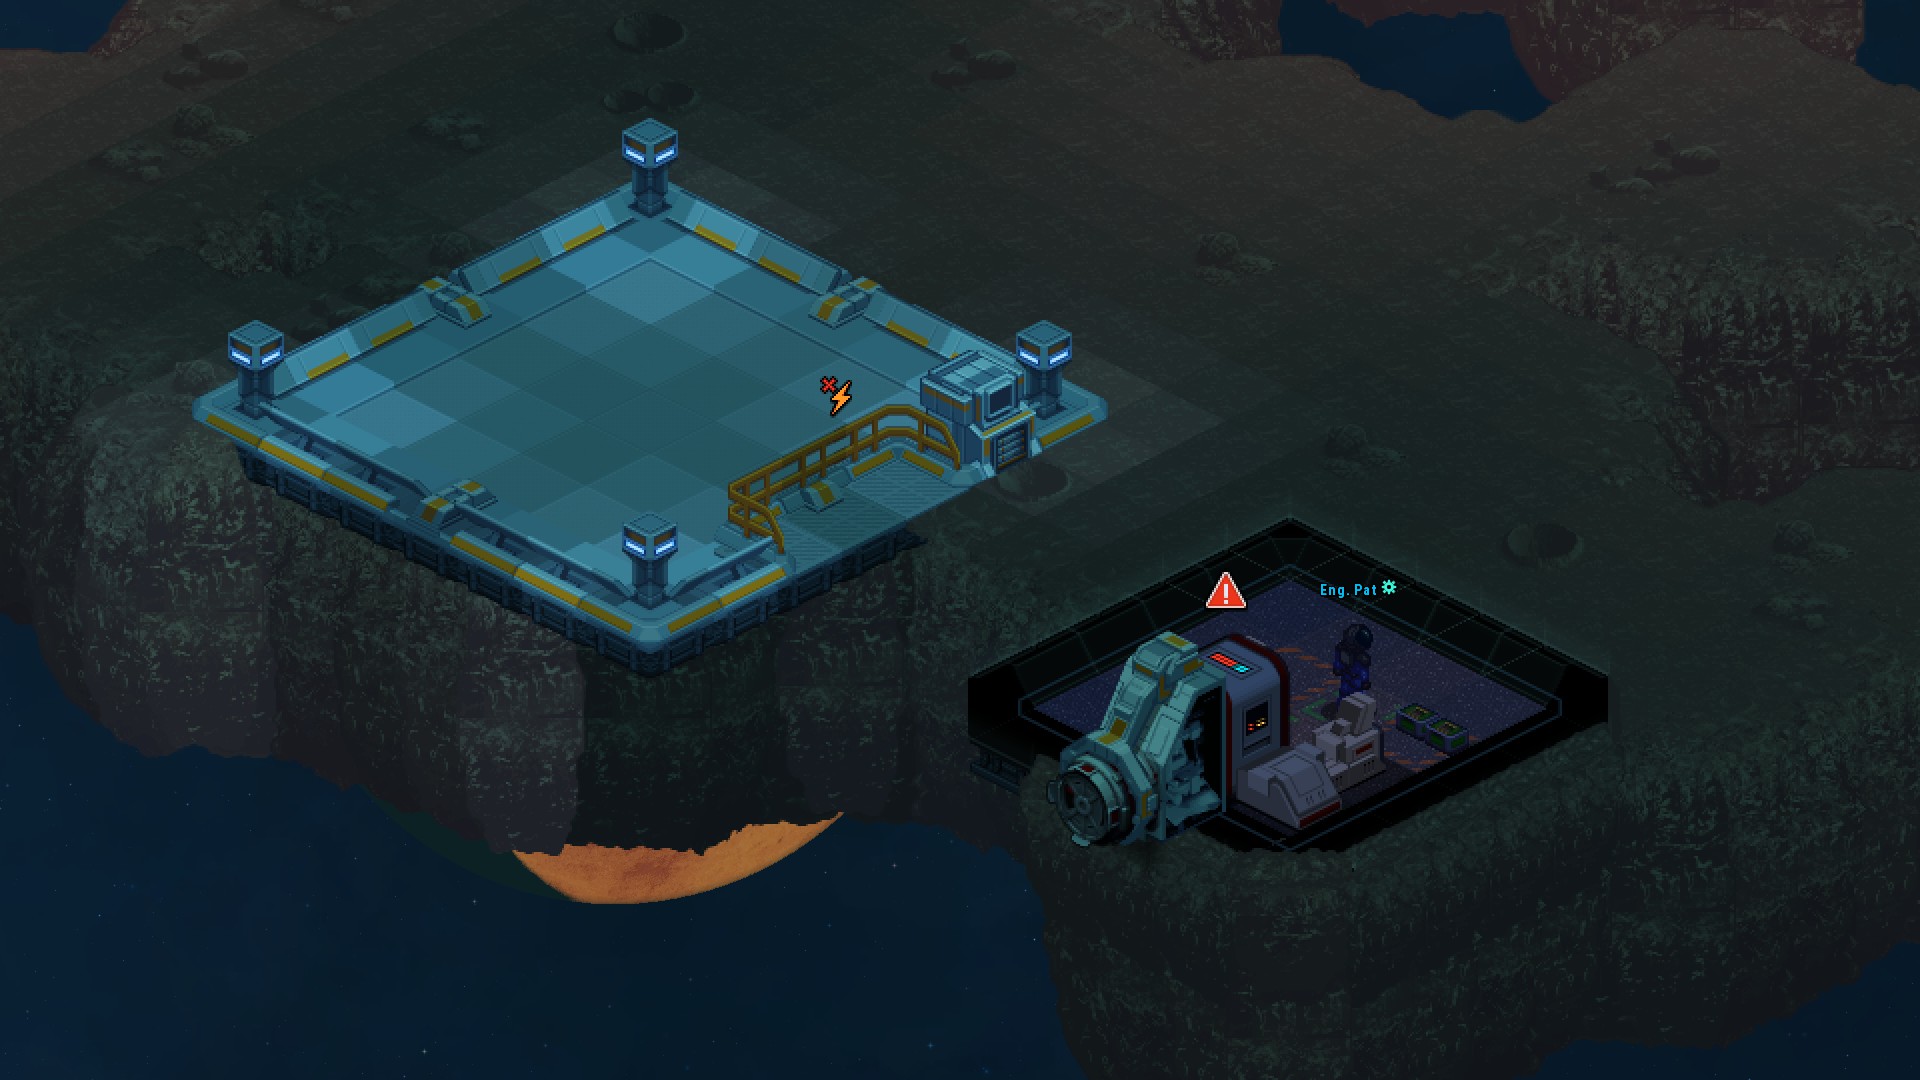
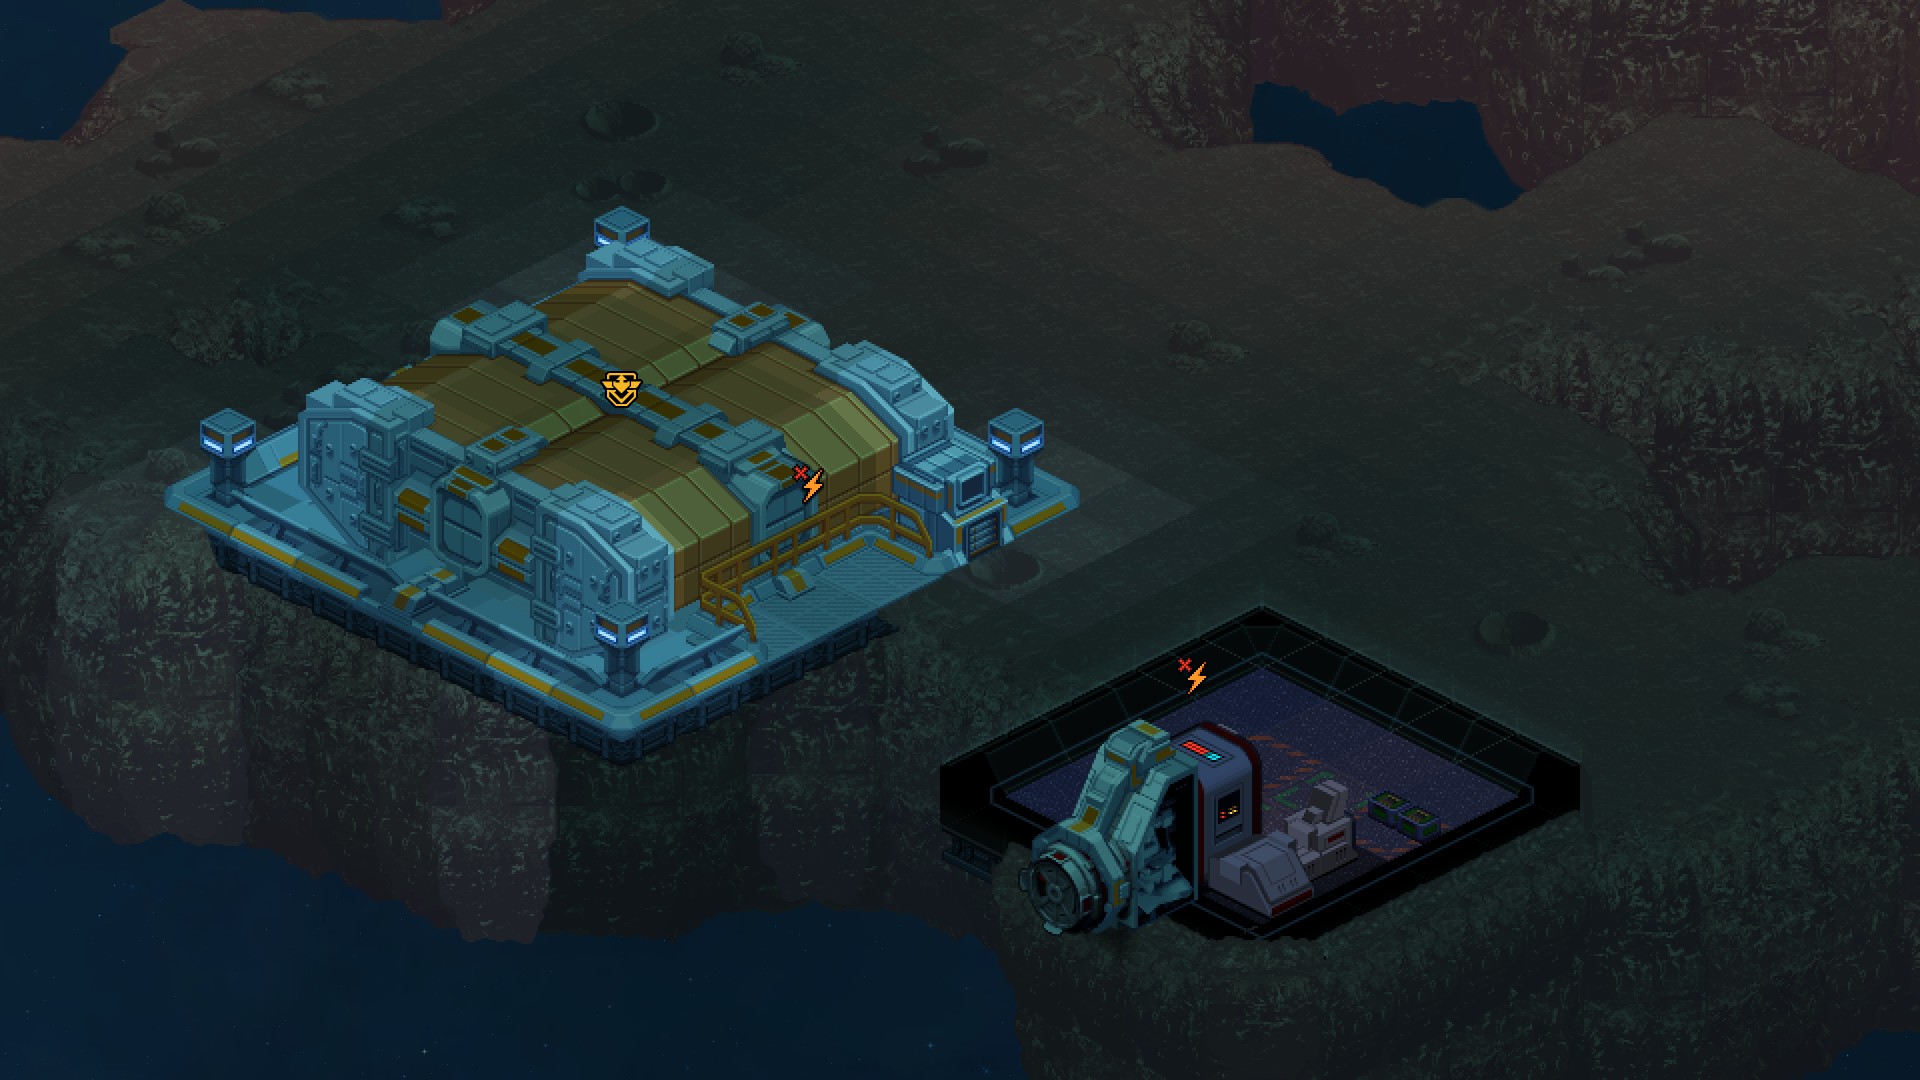
Once these structures are completed, the base will resemble the configurations depicted in the accompanying screenshots.

Transfer the Cargo Shuttle to the base by following these steps:
- Open the mission pop-up by clicking on the mission itself.
- Within the pop-up, locate and select the option to Release the resources.
- Wait for the Cargo Shuttle to successfully land on the designated Asteroid Cargo Port.
Upon the successful landing of the Cargo Shuttle, the appearance will resemble the depiction shown in the provided screenshot.

Retrieve the resources from the Cargo Shuttle by following these steps:
- Select the Cargo Shuttle and access its inventory.
- Release the necessary resources from the Cargo Shuttle.
Please exercise caution when releasing the resources from the Cargo Shuttle, as the loading bay of the Asteroid Cargo Port has a limited capacity. To ensure an efficient construction process, release the resources gradually, in small increments, as they are needed for the subsequent phases of construction.
It’s important to note that as the base facilities become operational, they will require their own resources to initiate and sustain their functioning. These additional resource requirements include:
- Water for the Oxygen Generator.
- Energy Rods (or Energium) for the power generator.
- Food for the Kitchen, and/or Water and Bio Matter for the Algae Dispenser.
It is crucial to understand that these resources are not provided by the Cargo Shuttle, and the resources from the player’s ship will be transferred over to fulfill these needs.
Use Resources from the Cargo Shuttle
From this stage onward, the process of constructing the base is similar to expanding a ship, and the Mission tracker will provide a comprehensive list of items that still need to be built. The specific methods and locations for construction are at your discretion, but you will require system points, power generators, tools, and other necessary resources.
At this point, anyone involved in the base construction can obtain resources from either the Cargo Shuttle or the Cargo Port.
Furthermore, it seems that to construct additional base hull structures, the Builder Pod will initially draw upon 1 Hull block from your ship’s storage, even if the Hull blocks are available at the Base. This may be the case until the Base has its own dedicated Builder Pod, which is not a requirement for completing the mission. To avoid depleting your own resources, you can transfer all of the Hull blocks to your ship’s storage and continue utilizing them from there.
Reward for Completing the Mission
One of the potential rewards for completing the mission is an increase in reputation, with the value ranging from 2 to 15.
Upon the successful completion of the mission, your reputation will be boosted by a specific amount within that range. For instance, in the case of constructing a single base, a reputation increase of +7 was received. It is worth noting that this occurred with 7.5 days remaining to complete the mission. This suggests that the primary determining factor for the reputation reward is the speed at which the mission is finished.
Please note that as I continue to gather more information about the mechanics involved, I will update this section accordingly.


