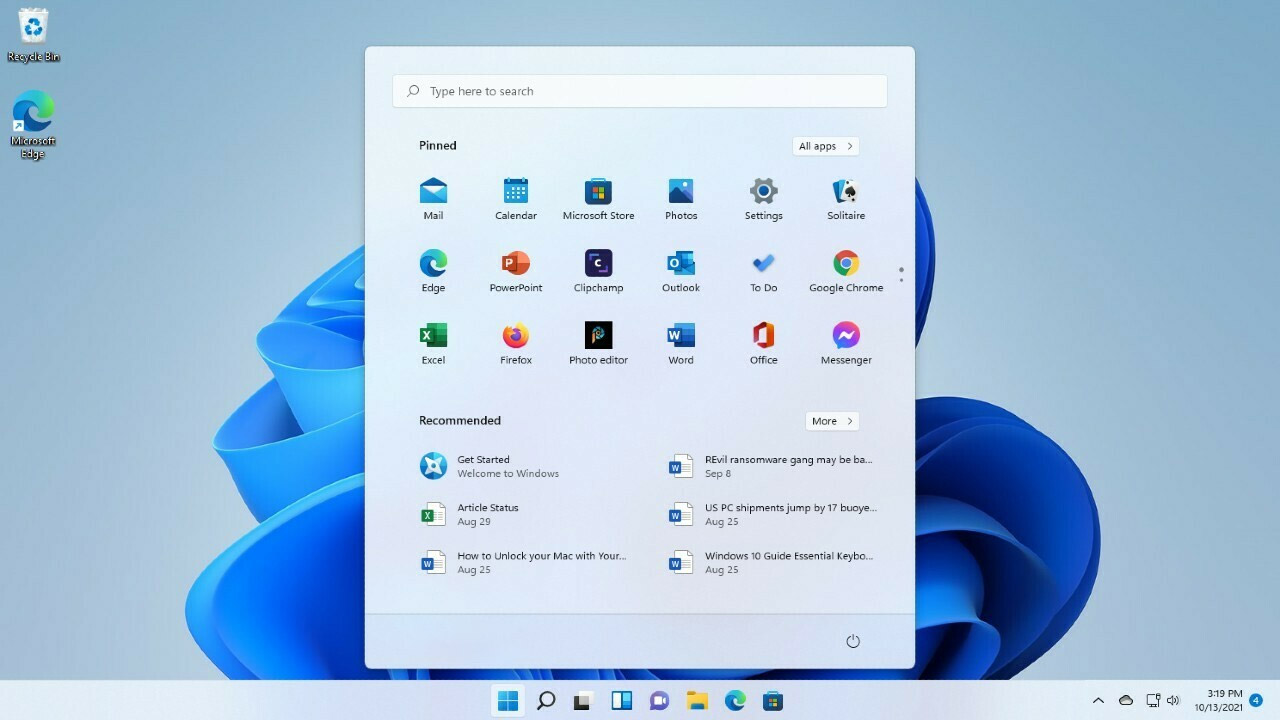
With the highly-anticipated release of Windows 11 Insider Preview Build 25905, the tech world is abuzz with excitement and curiosity. Packed with fresh features, optimized app compatibility, and enhanced recovery options, this update promises to revolutionize the Windows experience.
But amidst all the anticipation, one burning question lingers on the minds of users: how can we effectively tackle Windows 11 app compatibility issues? Fear not, for in this article, we will delve into the intricacies of this conundrum and present you with foolproof solutions to ensure a seamless transition to the future of operating systems.
So, join us as we unveil the secrets to fixing these compatibility woes and unlock the full potential of your Windows 11 journey.
Enable App Compatibility Mode
One of the key features of Windows 11 is its improved app compatibility. However, due to the architectural changes in the operating system, some older applications may experience compatibility issues.
To address these compatibility issues, Windows 11 provides an App Compatibility Mode that allows users to run applications in a backwards-compatible environment.
To enable App Compatibility Mode, you have two options:
Automatic Method:
1. Right-click on the application’s shortcut or executable file.
-
Select “Properties” from the context menu.
-
In the Properties window, navigate to the “Compatibility” tab.
-
Check the box that says “Run this program in compatibility mode for” and select the appropriate compatibility mode from the drop-down menu.
-
Click “Apply” and then “OK” to save the changes.
Manual Method:
1. Press the Windows key + R to open the Run dialog box.
-
Type “regedit” and hit Enter to open the Registry Editor.
-
Navigate to the following path: HKEY_CURRENT_USERSoftwareMicrosoftWindows NTCurrentVersionAppCompatFlagsLayers
4.
Right-click on an empty space in the right-hand pane and select “New” > “String Value”. 5.
Enter the full path of the application’s executable file as the name of the string value. 6.
Double-click on the newly created string value and enter the compatibility mode as the value data. 7.
Click “OK” to save the changes.
By enabling App Compatibility Mode, you can resolve many app compatibility issues and ensure a smoother experience on Windows 11.
Grant Administrative Privileges Or Change High DPI Settings
Another common cause of app compatibility issues in Windows 11 is insufficient administrative privileges or incorrect high DPI settings. Some older applications require administrative access to function correctly, while others may not display properly on high-resolution screens.
To grant administrative privileges to an application:
1. Right-click on the application’s shortcut or executable file.
-
Select “Run as administrator” from the context menu.
-
If prompted for confirmation, click “Yes” to proceed.
If the application still doesn’t work properly, you can try changing the high DPI settings:
1. Right-click on the application’s shortcut or executable file.
-
Select “Properties” from the context menu.
-
In the Properties window, navigate to the “Compatibility” tab.
-
Click on “Change high DPI settings”.
-
Check the box that says “Override high DPI scaling behavior” and select the appropriate option from the drop-down menu.
-
Click “Apply” and then “OK” to save the changes.
By granting administrative privileges or adjusting high DPI settings, you can often resolve compatibility issues with older applications on Windows 11.
Use Troubleshooter To Change App Compatibility Mode
If you’re still experiencing app compatibility issues on Windows 11, you can use the built-in Troubleshooter to identify and fix the problem automatically.
To use the Troubleshooter for app compatibility:
1. Press the Windows key + I to open the Settings app.
-
Click on “System” and then select “Troubleshoot” from the left-hand pane.
-
Scroll down and click on “Additional troubleshooters”.
-
Locate and select “Program Compatibility Troubleshooter” from the list of troubleshooters.
-
Click on “Run the troubleshooter” and follow the on-screen instructions to diagnose and fix the app compatibility issues.
The Troubleshooter will analyze your system and attempt to resolve any compatibility issues it finds. It may suggest running the application in a different mode or offer additional suggestions to ensure compatibility.
In conclusion, using the above troubleshooting methods can help you fix app compatibility issues on Windows 11. By enabling App Compatibility Mode, granting administrative privileges, adjusting high DPI settings, and utilizing the Troubleshooter, you can ensure a smooth and hassle-free experience with your favorite applications on the new operating system.

