Walkthrough for first half of campaign (work in progress).
Intro & Tips
I will not have access to a dedicated GPU for another week or two, so my screenshots will look like crap. I reset my save to avoid using anything not unlocked at that point.
This guide might become out of date in the future when the campaign is shortened due to criticisms that the “curve” is oversmoothed, taking too long to unlock all the endgame stuff.
- Check out my ESDF Keybinds guide for smoother Raise/Lower controls.
- Railgrade Production Chart[docs.google.com] by /u/gollet. Ratios help with utilization.
- Boilers are cheap. Workhorses were intended to be a balance between Boiler and Custom, but Boiler + Custom accidentally became meta for units of 6 wagons because of alignment with 6-tile stations, cheapness of boiler, and strength of Custom to power through small inclines.
- Space ramp tiles apart with Raise/Lower keys to reduce train slowdowns going uphill. Stations don’t need to be at ground level.
- Be sure to finish a chain and start delivering final products before the factory’s storage fills up; you want to be paid.
- The shortest shuttle is composed of 3 tiles: station-track-station used by an engine-2wagon. 2station-track-2station with engine-4wagon works better, and best when both buildings are within range of both stations. This is used as “direct insertion” since this game doesn’t have conveyor belts.
- A catalyst lasts 90s regardless of building level. This means a level 0 water pump can catalyze slightly over 5.5 buildings, less if a 2-way train travels too far to pick up all the water in time.
- Hold RMB to view names of all resources and buildings on map.
- Extractors e.g. mines and pumps do not care how many tiles of resources they’re sitting on.
- Clone Train also copies the train’s route so remember to fix the route if the new train belongs to a different station.
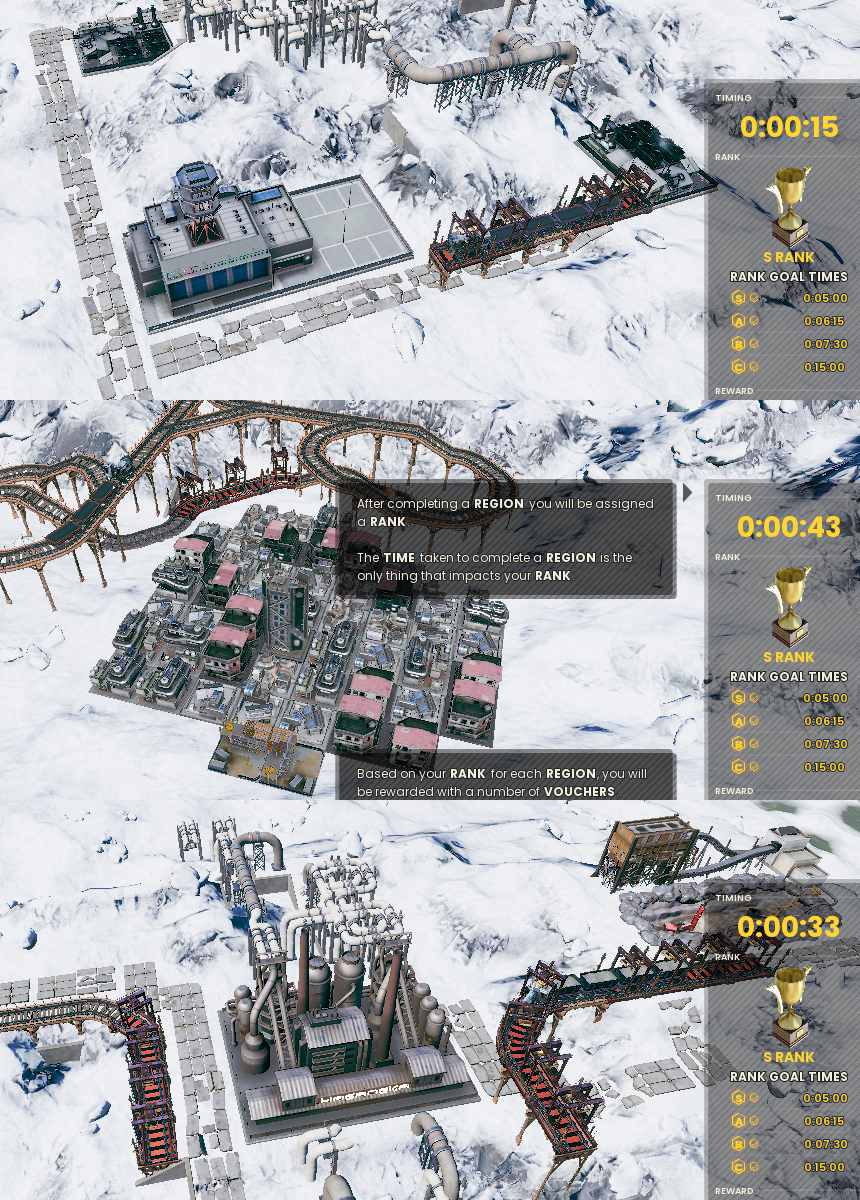
- As of writing, you do not need to pay attention to achievements, and S-Rank is not required. Just beat the campaign.
Personal opinion: Disable ghosting; this should be default.
T1-T3
Really?
- T1: Just connect it…
- T2: Click on the branches so the train reaches its destination…
- T3: You can press Raise to keep the tracks and stations level. Shuttles work perfectly fine here but in a real game with more than a level 0 building not immediately adjacent to another building, you definitely want RORO (roll-on/roll-off) stations for throughput.
Region #1: First Job
You have cash to form three mostly flat loops with 5-tile stations, two trains with 5 wagons each on each loop, and upgrade the water pumps.
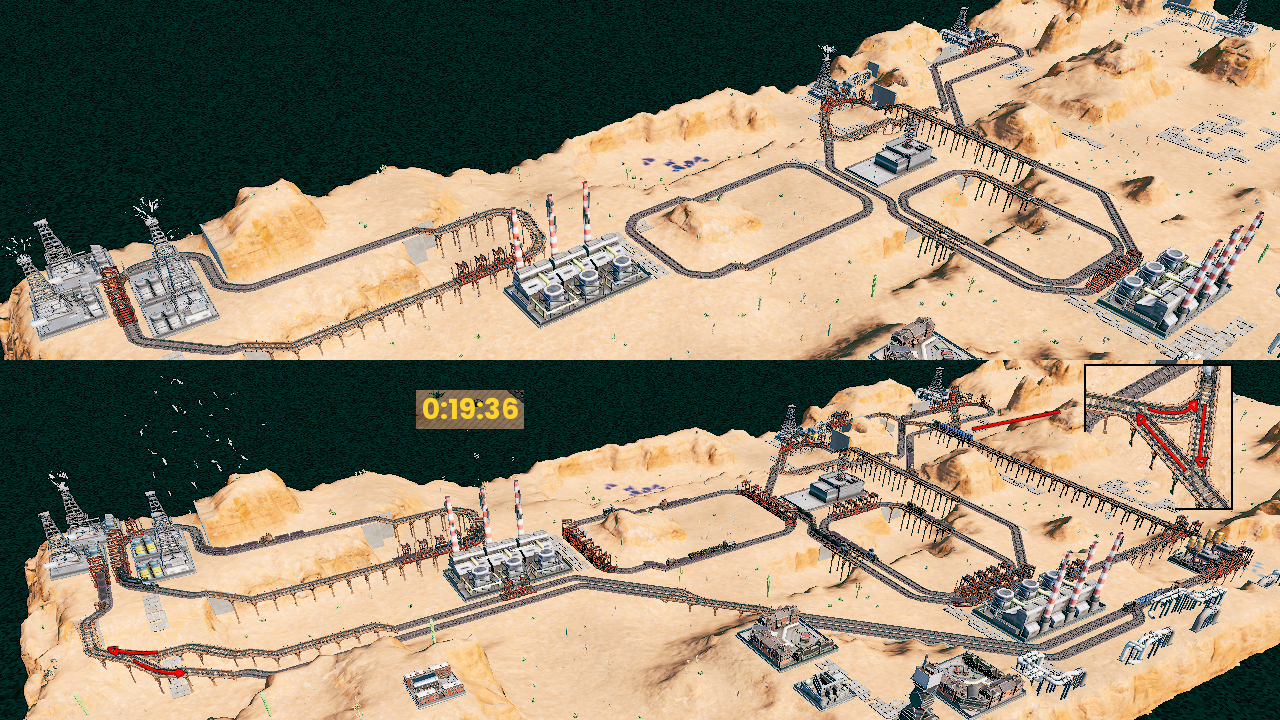
Region #2: Oil Overflow
The timer doesn’t start until you place a train, and you’re given plenty of cash to throw down a bunch of 6-tile stations and trains consisting of boiler + custom + 6 wagons (two trains per oil loop). You unlock Custom Engine immediately at the voucher shop.
An oil or coal powerplant is served by four oil wells or coal mines, respectively, at the same level. Alternating branch isn’t unlocked until Region #6, so I built two separate loops for delivery.
When it’s time to add a water pump, upgrade the oil wells as well by pulling a loan from the bank, and add a third train to the catalyzed oil wells.
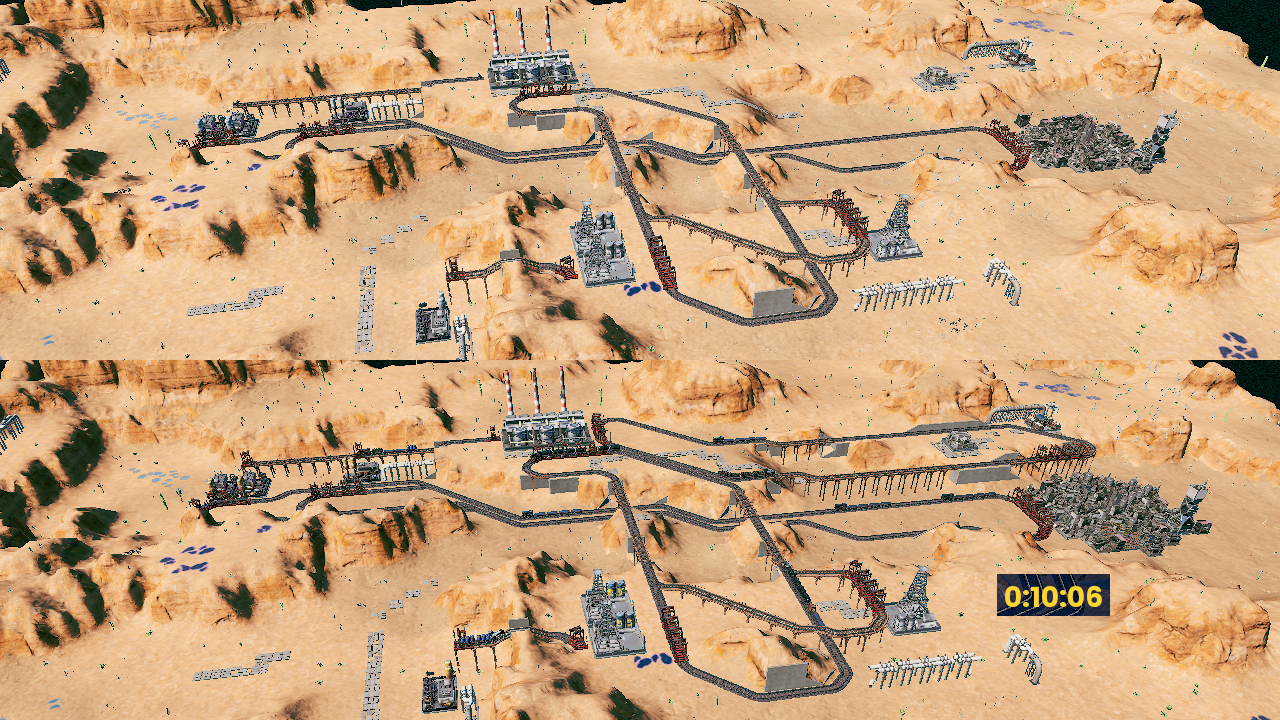
Region #2 Bonus: Oil Overflow Omega
This time you start with less cash. Begin with 4-tile stations and four boiler+4wagon trains. Wait a minute then withdraw $1k and place 2-tile stations to deliver energy to zeppelin. Bring your left powerplant to 100% uptime with a third train.
Next, do what you want. Catalyze with water and/or add oil wells, and eventually upgrade the lone oil wells to increase storage and trains to boiler+custom+6 wagons and stations to 6-tiles.
If you choose to keep ghosting enabled, then you may possibly use multiple trains on a single shuttle track, but this offends the train bros.
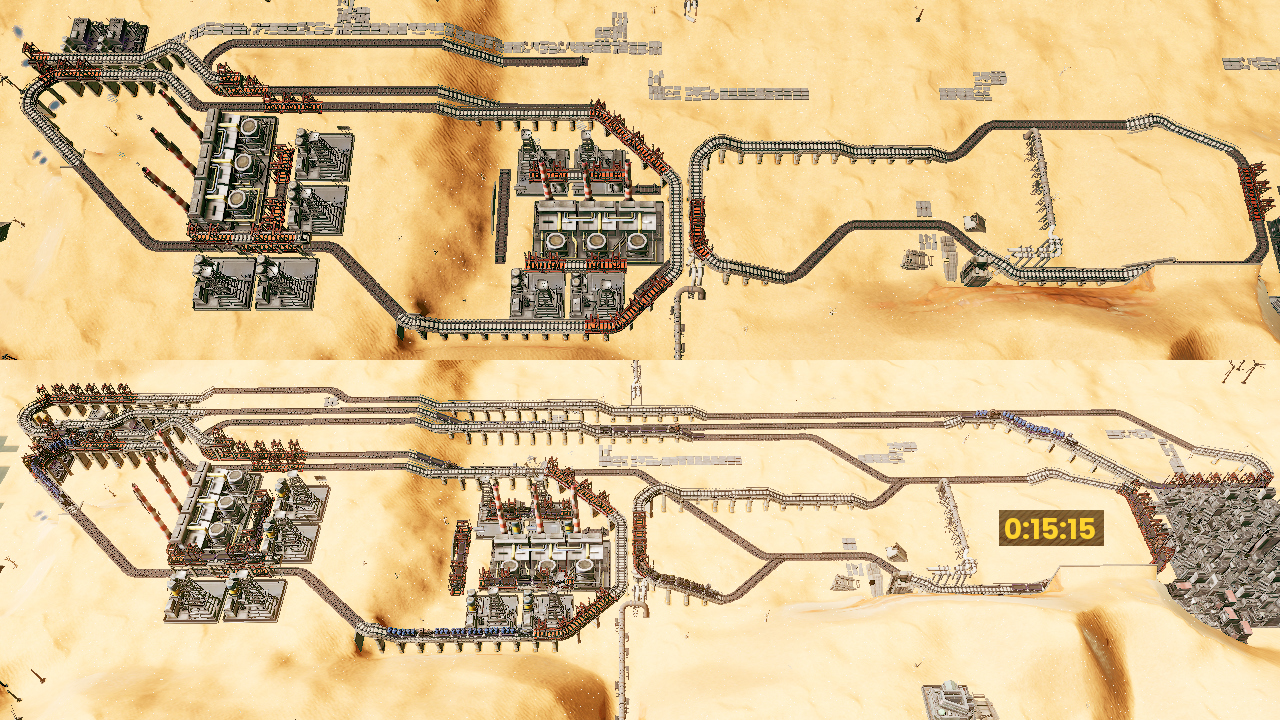
Region #3: Mix Oil and Water
Water and energy catalyze each other. My energy storage was full for a few minutes, which isn’t optimal. Save money but building only one oil well or none until later. Focus on delivering water to the city first since energy cannot be consumed quickly (is catalyst only) until city level 1.
Region #3 Bonus: Power Supply and Demand
Most players get C rank on first try, myself included. What we’ll do this time is to build a pair of optimized oil powerplant bad boys. Again, water and energy catalyze each other.
The key here is that you can still sell products when the city’s storage is full, but you’ll be paid half for each item over the cap. We are not worried about matching energy supply with water. Geothermal is quite convenient but is terrible here because you don’t get paid for precursor inputs like you do with oil powerplant, and most of our profit from energy is halved. A good chunk of our profit comes from delivering oil.
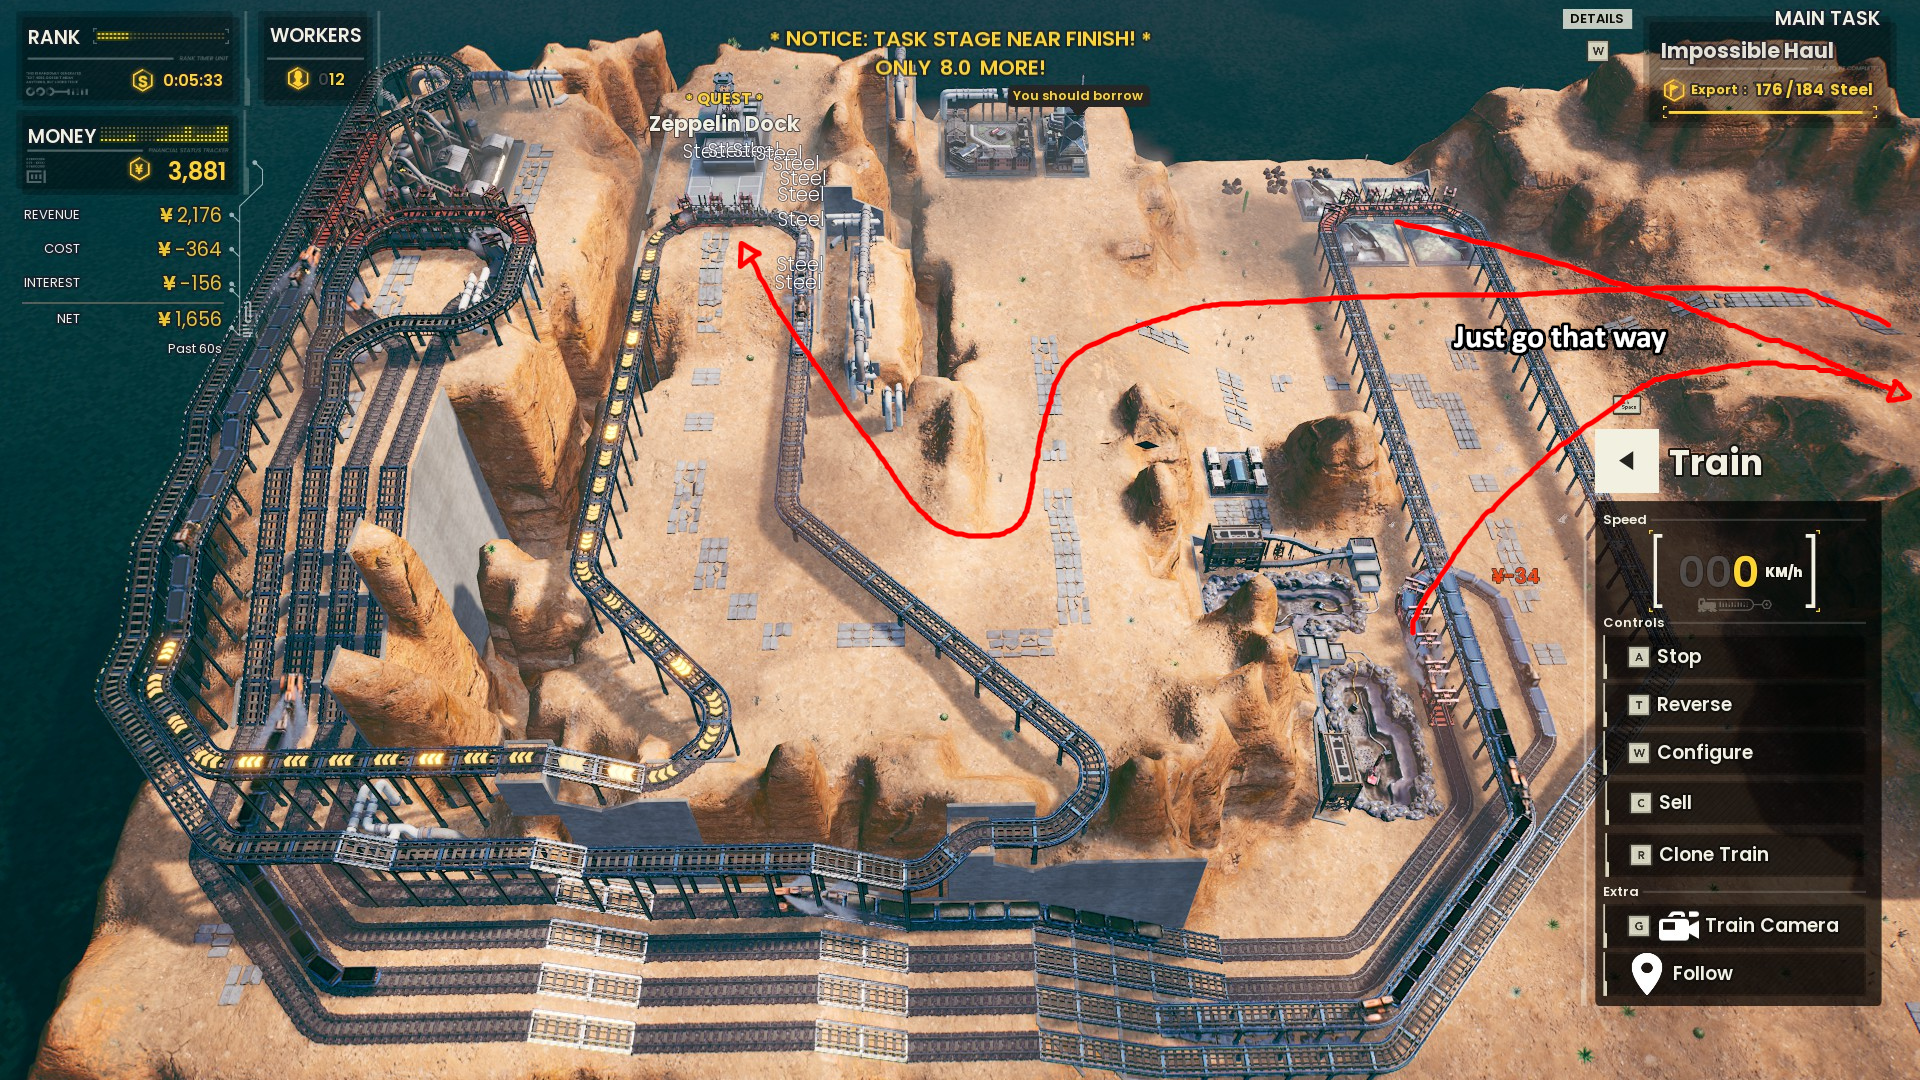
Region #9: Uphill Both Ways
This level is meant to introduce the Industrial Engine for uphill climbing, so I intentionally went this way. I haven’t replayed this level but you can forgo the Industrial engines and use the other steel mill to save on startup cost and finish faster.