This guide is a compilation of all the things I’ve learned from putting together splines and state regions in the development of Anbennar and Realms of Exether. Learn how to edit state regions, set up hub anchors, connect splines, and modify provinces, as well as avoiding the common pitfalls.
Intro to State Regions
Whether you’re making a total conversion mod, or just want to make your hometown appear on the correct side of the river, you’re going to need to understand how Victoria 3 handles state regions.
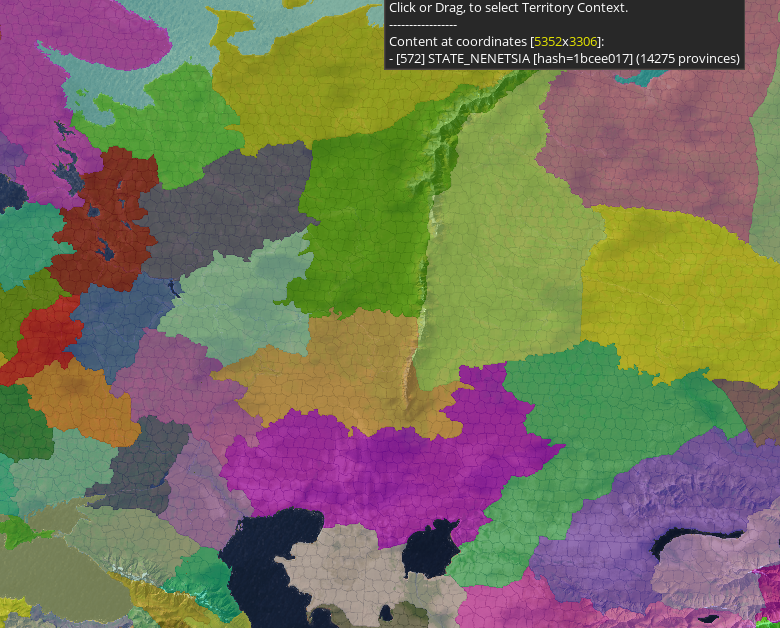
State regions are how Victoria 3 divides the landmasses into parcels that can be taken in wars, and that buildings can be built upon. All state regions have a numerical ID, and are comprised of provinces that have their own IDs. Province IDs are stored as the hexcode of the color of the province in the provinces.png, which can be found inside Victoria 3\game\map_data
All state regions have 4-5 cities; 4 for inland states(HUB_NAME_STATE_city, _farm, _,mine, _wood), with coastal states receiving a 5th for their port (HUB_NAME_STATE_port). The location of the settlements is decided by their locator, which can be found at Victoria 3\game\gfx\map\map_object_data in the generated map object locators. If you ever generate a new one, you can find it in Victoria 3’s section of your documents folder. While this is a generated file, you can make manual additions and deletions so long as you match the format.
The roads and connections for the cities are decided by their hubs (also referred to as anchors). Generally, you will want hubs to match up with their locators, but they don’t have to! See the picture, the mine locator is up in a remote spot in the mountains, but the road just passes it by! This creates a feeling of isolation for the city, but since the hub is properly connected, there are no market access or military access problems.
Mapping Hubs to their States
When you create a hub, it is assigned the first available hub ID in the list, (which should be 1. If it is higher, you have some stray hubs laying about). To associate a hub with a specific state, you add the state’s numerical ID to the front of the hub’s ID. Thus, a hub associated with state 1234 would have an ID starting with 1234. Further, they must be assigned to a specific locator. A hub’s locator association is determined by the last 2 digits of its ID, so state 1234’s port hub ID would be 123403 (00 for the _city, 03 for the _port)
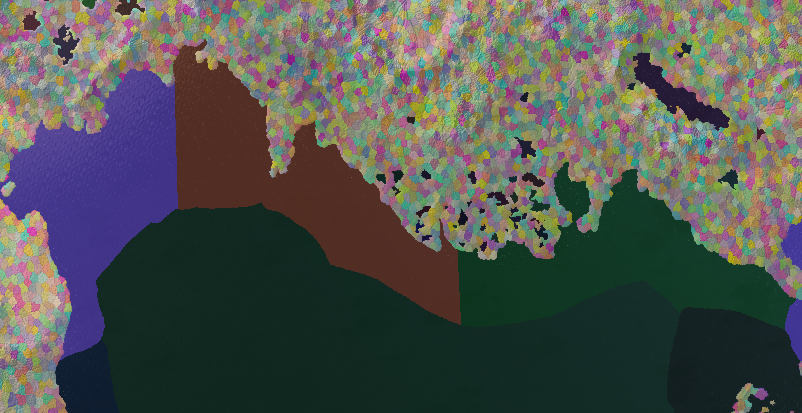
Since we know that an inland state needs at least four city locators, that means that the minimum size for an inland state is four provinces, and the minimum size for a naval province is five provinces. That’s not the full story, however. Areas with states that are too small will look “busy” once the states are fully populated and all of the roads and city localizations appear. This is okay for regions that you want to look urbanized, but for less developed or more remote regions? Compare the states in France and Germany to the states in Russia, across the Urals.
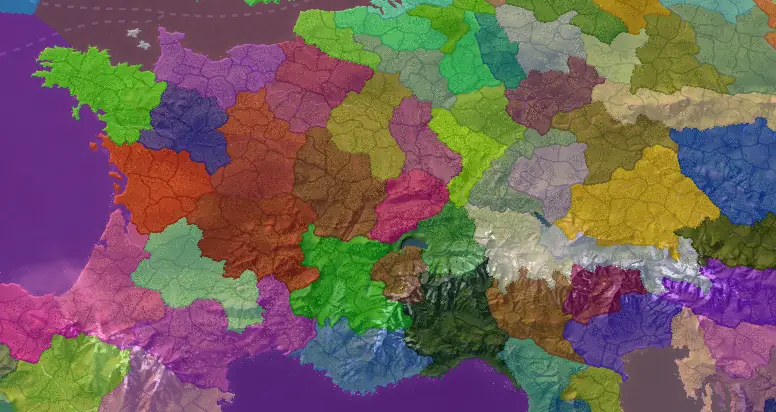
The Ural states are massive! Don’t be afraid to make massive states in regions that are remote and unpopulated at game start.
Naval States and Hub Types
If you’ve looked around, you’ve probably already noticed that ports have two hubs– one for land connections, and one for naval connections. If you have a particularly discerning eye, you may have noticed that one of the hubs (the land connection) has a hub type of 0, and the other (the naval connection) has a hub type of 1. Hub types are how Victoria 3 separates land traffic from sea traffic, and you will get weird errors and potentially crashes if they cross.
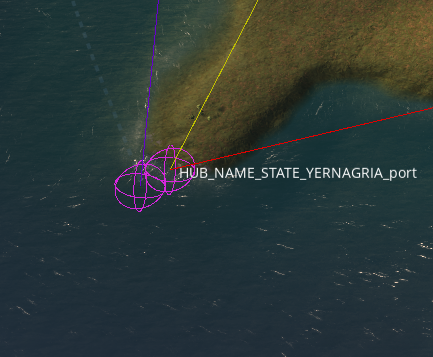
The one in the water, with the purple line coming out, is the naval hub. The one on the mainland, with the red and the yellow lines, is the land hub.
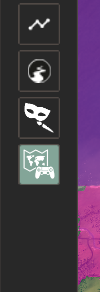
Naval states are differ from land states in 2 major ways; they consist of only a single naval province, and they have only 1 hub; a single naval hub. Since they only consist of a single province, that means the province should be massive. How big your naval states should be is a difficult question; as of writing (1.6) convoy raiders can cover far more sea states than a regular defending fleet, so you don’t necessarily want to use vanilla as a guide for naval state sizing. For coastal states, I typically make exceptions for naval areas that have a large amount coastline borders, so that you don’t have too many states plugging into the same regions. This is important because the coastline borders are one of the few ways the player will actually interface with the sea states, so you want to make the borders logical and intuitive. Since convoy cost is calculated not by distance, but by number-of-hops through different naval hubs, the most important thing is to make sure you’re fairly applying the same rules across all the sea zones in the map. It doesn’t really matter if your convoy cost doesn’t 100% match vanilla so long as the global convoy cost is consistent and certain continents aren’t more or less split up than others.
This is an example of some coastal states from Realms of Exether that is a good example of what coastal state sizing should look like. These sea states aren’t so small that convoy raiders will have an unfair advantage, but they are big enough that convoy raiding won’t be seriously nerfed if Paradox decides to go the other way with the convoy raiding changes in the future.
Starting up the Map Editor
Start off by adding “-map_editor” and “-filewatcher” to your launch options on steam, or to the options in launcher.json. If you edit the .json, make sure to add a comma between “-map_editor” and “-filewatcher”. I usually also boot in debug_mode. This boots the game directly into the map editor. You can technically turn the map_editor on after booting from debug mode, but this can cause a lot of weird terrain visibility issues that make it hard to actually to edit the map.
Editing Splines
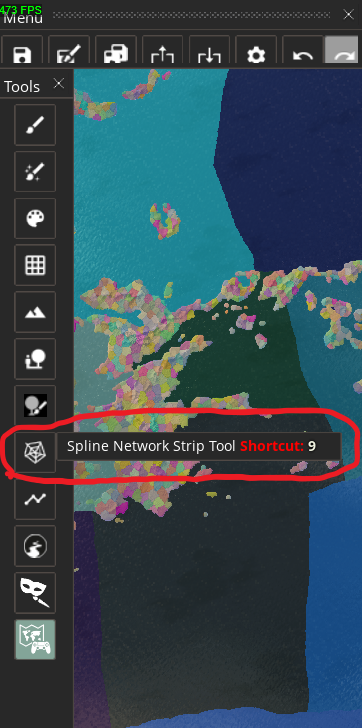
Once you’re in the map editor, start by clicking “0” and clicking the “auto-refresh” and “draw city spheres” options in the bottom right. This makes the city locators visible on the map, which is a necessity if you want to change the splines. After that, press “9” to enter the Spline Network Strip tool.
Now, how should you connect the splines? The *only* hard-and-fast rules you need to follow is that every hub inside a state should have a path to connect to the other hubs within the state, and that every state should have at least one hub connection to every other adjacent state . Otherwise, you can have weird military access problems (unless you’re intentionally trying to create an impassable zone, in which case that’s a feature, not a bug). Another rule that hubs between nonadjacent states should never connect even if it looks like they should. If you’re running into issues with this, you should either move your hubs/locators to different locations, or realign your state/province borders to make the states properly adjacent. “Invalid strip” errors are almost always from hubs connecting two nonadjacent states.
You’ll notice that there’s several different types of splines. To my knowledge, the only ones that are actually working and implemented are dirt roads, railroads, coastal naval, and naval (I think the undeveloped ones work if you do some magic with the province adjacencies file). This means that for land, you should be using only dirt road and railroads. This doesn’t mean that railroads will be present at these locations at game start, only that when railroads are built, this is where they will appear on the map. You can still build railroads in areas that don’t have rail splines, and you’ll still get most of the bonuses associated with them, but they will not affect troop movement through the area. This means that you should use dirt roads around mountains and jungles and other areas that you want to simulate as “difficult terrain” even though these are some of the regions that would benefit the most from them. Compare the rail splines in France to the ones in Greece.
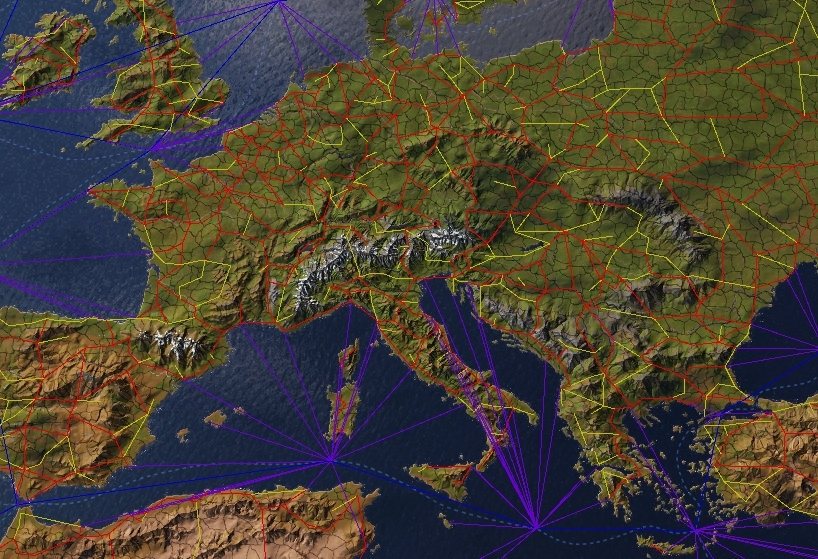
Red is railroads, yellow is dirtroads
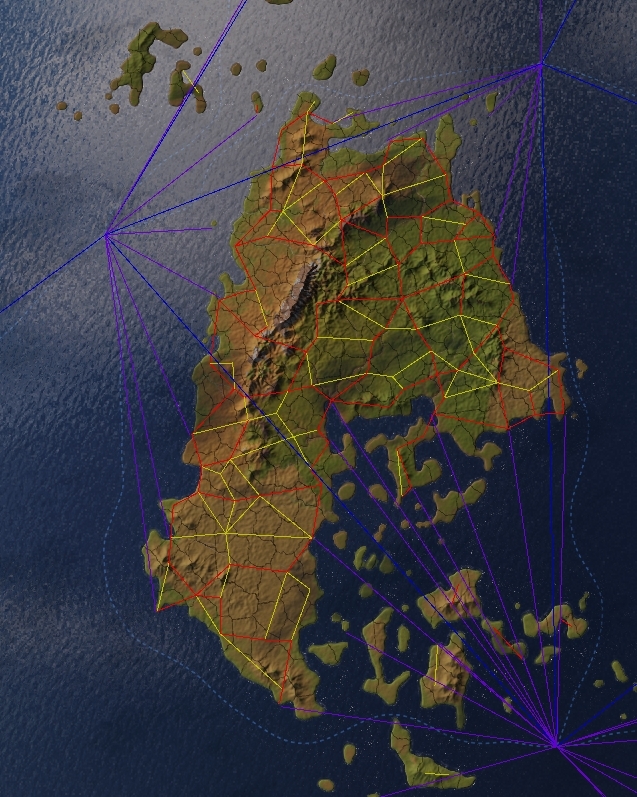
Here’s another example of a network I made for Exether. Think of the railroads as the spines of the country, and the dirtroads as the ribs.
When I’m drawing new splines, my recommendation is to create a sort of road hierarchy, where all the most important connections and nearly all land connections along the coast are railroads, and then I fill in dirtroads to all of the more remote cities the rails forgot. Most cities should have at least one rail connection, except in remote areas. As a general rule, give land belonging to colonizers at game start more rail connections than land belonging to countries you expect to be colonized.
Editing State Regions & Provinces
To edit states, scroll down to the bottom of the toolbar and select to bottom button, “Map Content Editor”.
Make sure to drag the left edge of the new tab that appears on the right, because there’s extra information that’s hidden if you don’t extend the tab a bit.
From here, you can not only transfer provinces between states, but also individual bits of land between provinces. You can do this to make cleaner borders, or to line states along rivers, etc.
When you edit the provinces, changes will be saved to the provinces.png. When you edit the states, the changes will be saved to the file in the state_regions folder. If you remove all of the provinces from a state, you must remove the state’s entry entire entry from the state_region file, or you will crash when you try to refresh the city locators! You will also want to remove the state’s entries from files found in Victoria 3/common/history/pops, common/history/buildings, and common/history/states and spread them across the consolidated states. The “states” history file is especially important, as it decides where to create split states. Split states are how the game handles a single state being controlled by more than one country. If you consolidated two states into a single one, you can just copy over the state history from the deleted state as a second argument underneath the first create state, but if you split up a state across multiple, you will have to keep close track of which province went to which state so you can correctly assign a split state.
Province Editing Step-by-Step
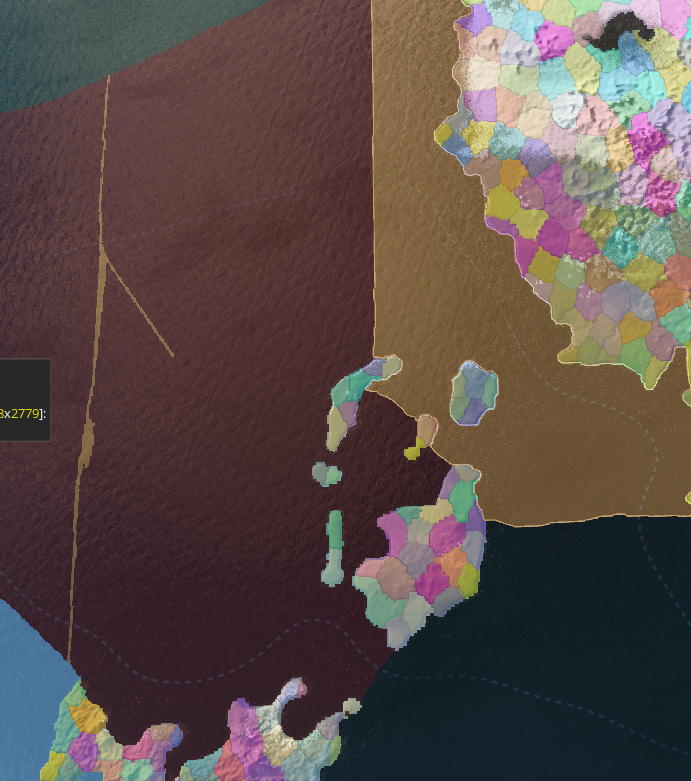
Now, I’m gonna do a step-by-step walkthrough of how we edit a naval province. Pictured is a massive sea province that I want to make smaller, in the middle and western parts. On the east we have a smaller sea province that I want to make bigger.
We start by hopping into the map content editor. We click “Q” to go into province selection mode, and select the province we want to make bigger. We then click “B” to go into pixel painting mode, and we draw in the space where we want the new border to be. Draw it thick enough that you can easily click on it later.
After that, we save and close Victoria 3. Open up the provinces.png in a separate image editor (gimp, paint, etc). I use paint because I’m kind of a pleb.

We go into paint and click the color selection tool (the eyedropper) and click the border we drew earlier. Then we switch to the paint bucket tool and fill in the space we wanted to extend the province border to. Then we save, and when you reopen Victoria 3, the sea province will have the new adjusted borders.
If you make an entire new sea province, make sure you add it to the sea_starts in the default.map file and define it as a state and give it an ID in its place in the state_regions folder. You’ll also want to give it a new naval hub anchor. This is done by selecting the create new anchor button in the spline network strip tool, and changing the spline type to “coastal naval route” or ‘naval route.” The sea state’s hub’s ID should be “00”.Naval hubs for ports are assigned in the same way. A port’s naval hub ID should be “00” You’ll notice that this is the same ID as the state’s city, but it doesn’t cause a mismatch error since the city hub has a type of 0.