
With the changes to the temperature system, cold storage has become a bit tricky. This guide will cover all the ways to best maximize your cold storage for optimum coolness. While your food may not last forever anymore, you can still preserve it longer with the right methods.
The Very Basics
If you are new to Going Medieval or to cold storage, hi! This section is for you. If you already have the basics down, feel free to jump to the next section.
Cold storage, in a nutshell, is basically a way to make a “freezer” in Going Medieval. The basic premise is to either dig down or into the side of a mountain, allowing layers of dirt to insulate your room, keeping it colder during the summer months, much like a real-life cellar would.
- Shelves are unlocked in the Research Panel under the section “Preserving Food” and can be found in the build catalogue in the furniture section [F3]. This is the best way to store food, as it helps decrease the amount of space you need for your food items.
- Needless to say, putting items that make the room warmer is a bad idea. Avoid placing any braziers, torches, or candles in your underground storage area.
- Structural integrity matters in Going Medieval! This means you will have to build beams and support posts for large rooms. At 7×7, the center tile will “cave in,” basically deleting all the layers of soil above it. Make sure to create support posts often in your rooms to keep the roof from falling in. For example, if you make a 7×7 room, the very center tile shouldn’t be dug out. Perafilozof on YouTube has a good guide to explain more about stability if you need.
With the very basics out of the way, let’s get into what makes a good cold storage!
How Many Levels?
Previously, the amount of dirt above your cellar mattered a lot. However, while extra layers of dirt can help, the effect is a lot less than it was previously. From left to right, we have one level (5.8°C), two levels (5.6°C), and three levels (still 5.5°C) of dirt above the room.

One Level of Dirt Above
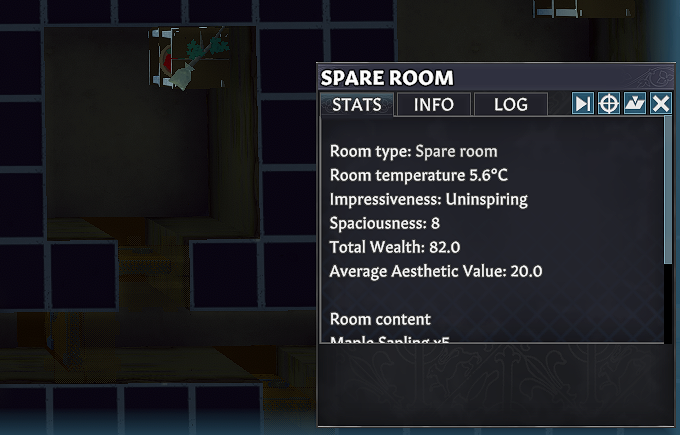
Two Levels of Dirt Above
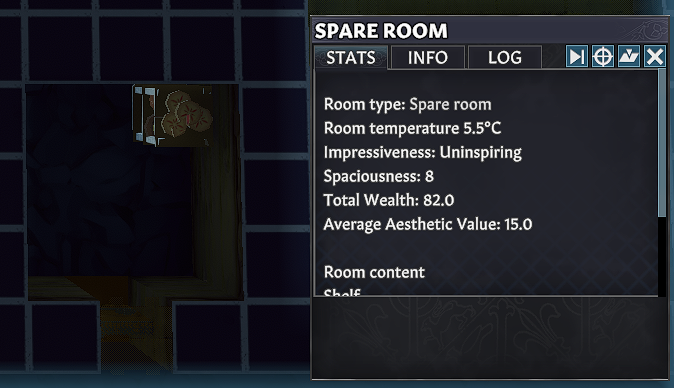
Three Levels of Dirt Above
So, continuing to dig down might not be the best use of your time on day one when you are hurrying to get your storage set up before your food disappears, but it can be slightly beneficial when setting up a proper storage slightly later in the game.
Flooring: Yes or No?
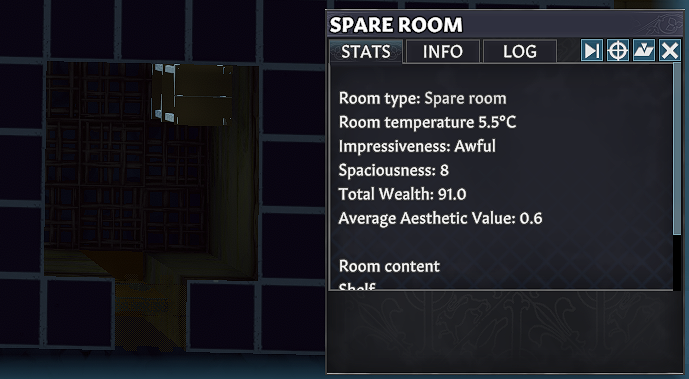
Flooring now acts properly as a thermal insulation rather than a heat source. This means you can safely put flooring in your storage rooms without heating them. In this comparison, I used the new wicker grated floor, which has 0.05 thermal insulation, and the wood flooring with 0.7 thermal insulation. Both have three levels of dirt above them.
Wicker Grated Floor
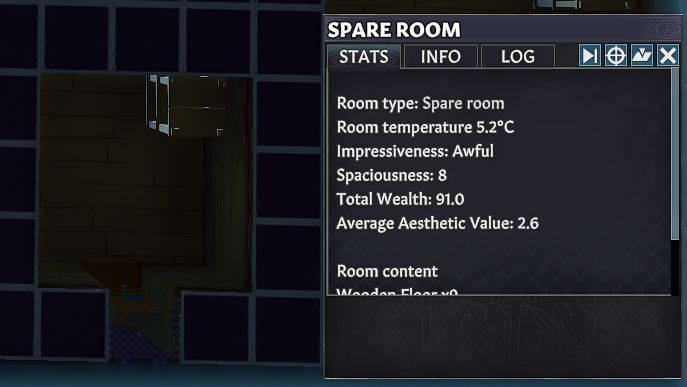
Wood Flooring
As shown, the grated flooring kept the room at the same default temperature for that level (5.5°C), while wood flooring lowered it very slightly (5.2°C). It’s a small difference but important.
What about walls?
Well, since thermal insulation works to trap temperatures, we might want as much of it as we can get. Let’s add some walls! Clay walls have a thermal insulation rating of 0.9, the highest in the game. Room with Clay Walls.
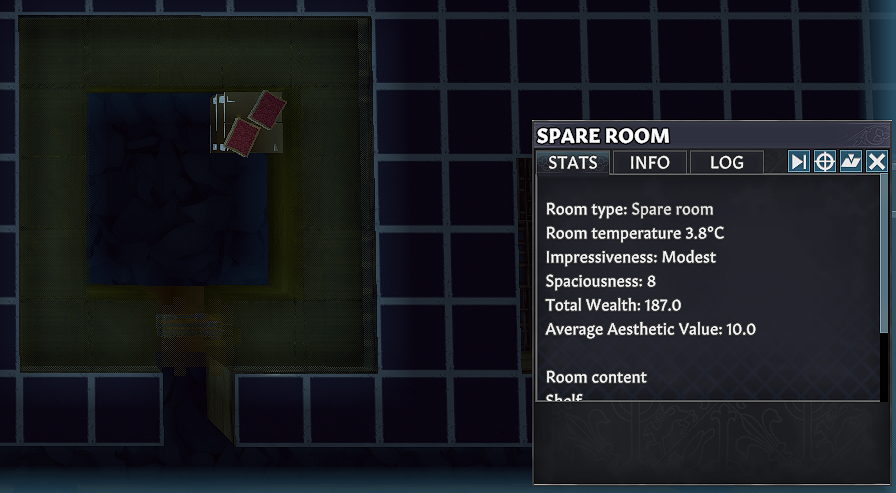
Putting them around a room, we find that a 3×3 space now has a temperature of 3.8°C! Fantastic, now we are really seeing a difference.
Size Matters!
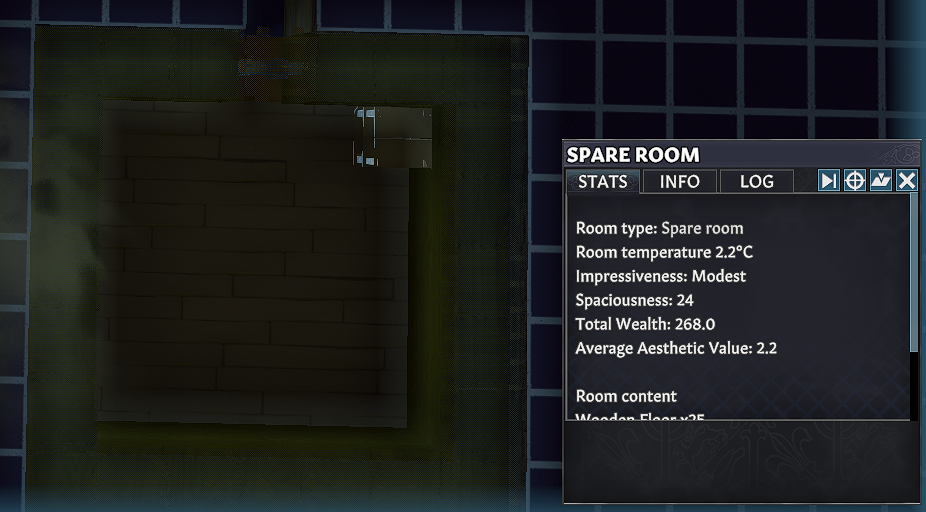
Alright, the final factor. Does size really matter? Well, in terms of storage cellar size, it sure does. The bigger, the better, in fact. Heat gets trapped in smaller rooms, causing the room to stay warmer. Here, we can see a room with 28 free squares of space and a temperature of 3.7°C.

28 Square Room
Tying it all Together
Combining all these features should give us the best storage room possible right?
Large Room with Clay Walls and Wood Floors
As you can see, the temperature dropped to 1.2°C. Hurray! While this doesn’t stop your food from slowly rotting or decaying, this will keep your food as well preserved as it possibly can be. And let’s be honest, food doesn’t like sitting in our real freezers for over a year as it is anyway.
Bonus Notes
Ice is also really helpful in keeping temperatures down during the summer months. With the underground no longer going below 0°C, ice making is a limited-time production. Ice needs to be made above ground during the winter months. Ice cannot lower a room’s temperature below 0°C but will help ensure temperatures stay as low as possible over warmer months.
In winter, you can also open doors to lower the temperature of your storage below freezing. If you use ladders, the only wild animal that will be able to access your storage is polecats. Alternatively, you can also place an outer wall to block off access to the stairs while leaving the area unroofed.
Also, keep in mind that most pets cannot use ladders. While it’s an easy way to save space by building down, you will need to set out food for your pets in alternative locations so they can eat.
Disclaimer
This testing was done on a valley map on normal difficulty settings. Screenshots were taken during the springtime. Temperatures during summer, at 32°C, saw the final storage room at 2°C. Sadly, I didn’t get to test a heatwave before I ran out of patience speed running while waiting for the event.