Hello there! If you are reading this guide, you are probably wondering about the multiplayer that I mentioned. I made a guide for Russians and decided to see if there are any English guides for RavenM (at least in the most popular section), but I didn’t find any! I will fix this horrible mistake, so please take a seat, grab a cup of your favorite drink, some snacks, and watch and learn!
Multiplayer Mode
First, let me tell you about the possible multiplayer options for this game: RFMP (which is dead and has a horrible hosting system that requires port forwarding and a white IP) and RavenM. RavenM is a mod that allows you to play multiplayer Ravenfield (obviously), but unlike RFMP, you can use mods (even mutators, although some of them are not working properly), easily host games with just the internet and the game, and it isn’t dead. The mod is regularly updated and the developers are quite active. Now you might be wondering how to install RavenM. All you need is a legal copy of Ravenfield and Discord because we are going to get the mod from the official RavenM server.
The Start of the Journey
As I mentioned before, you need Discord because you are going to get the mod file from here. Not right now, but I will leave the link here. Click here to join. If you think you don’t need a lengthy explanation, feel free to join the server right now and follow the instructions on it. Everyone else can continue reading this guide.
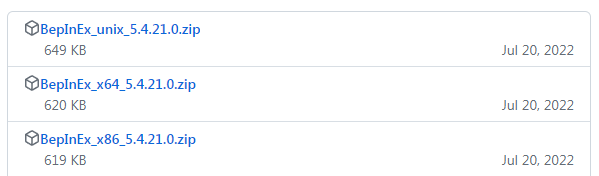
Now, we need BepInEx to make our mod work, so let’s get started. Here is the link for BepInEx, which contains three versions: Unix for macOS and Linux, x64 for 64-bit Windows, and x86 for 32-bit Windows. If you are a macOS or Linux user, please follow this link as I am a Windows user myself and have no idea how to install the mod on those systems.
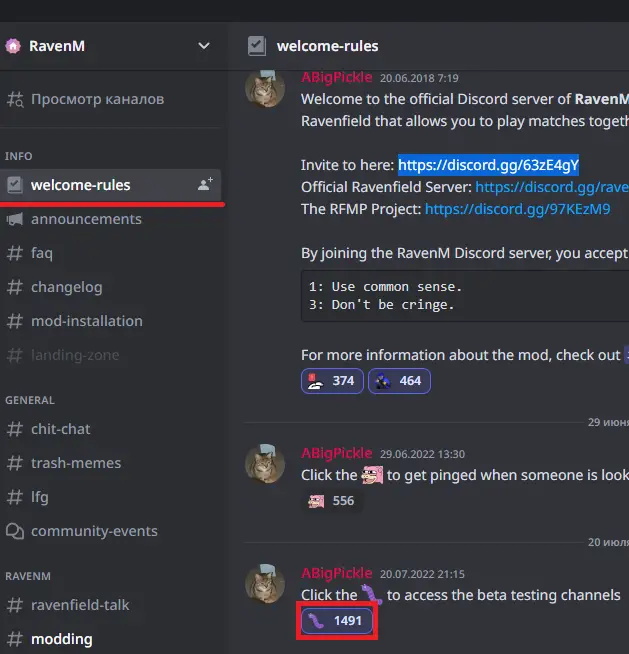
After downloading, you need to locate the Ravenfield folder. Right-click the game in the library, click on “Properties,” then click on “Local Files,” and finally click on “Browse.” Once you’ve found it, copy every single file from the downloaded archive (except for the changelogs, as you don’t really need them) into the Ravenfield folder. Now, you need to launch the game once so that BepInEx creates the necessary config files. After launching, you can close the game, and now we can return to our Discord server (the link is provided at the beginning of the guide if you’ve lost it). Go to the “welcome-rules” section and click on the bug reaction.
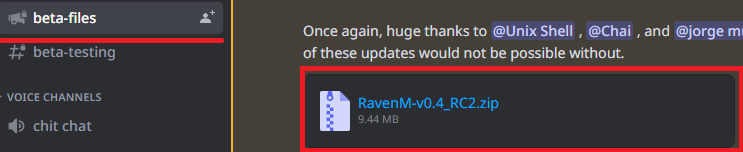
Great, you’ve done it! Now you have access to some new channels. Head over to the “beta-files” channel and obtain the 0.4_RC2 version, as it has the most features and almost everyone on the server plays on it.
After downloading the mod, place every file from the archive into the “Ravenfield/BepInEx/plugins” directory. Then, launch Ravenfield to activate the mod.
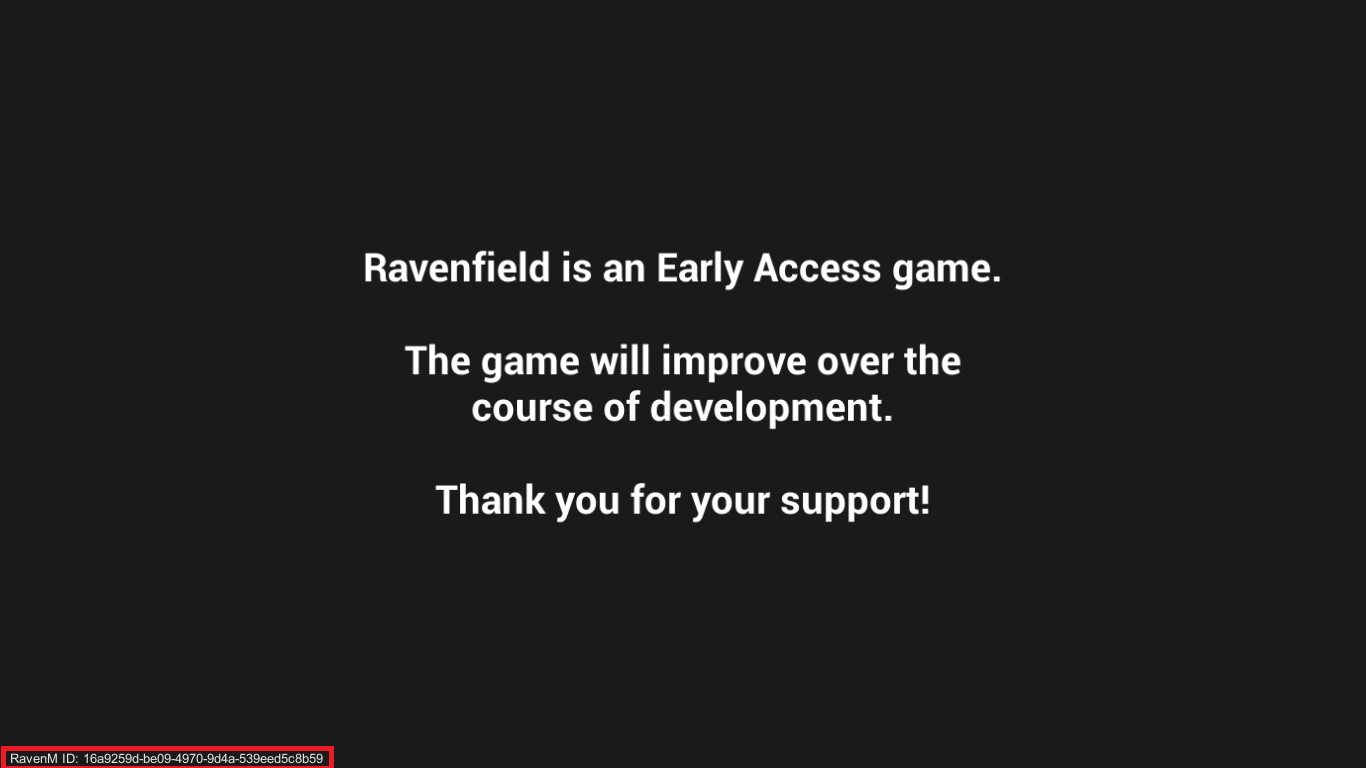
If you see the ID in the bottom left corner of the screen, then congratulations! You are now a cool RavenM user!
Everything About RavenM
Now that you have your cool mod installed, go to “Instant Action” and press “M.” You will see a menu with two options: “Host” and “Join.” “Joining” allows you to join servers either by direct connect (if you have the server ID) or by browsing the server list. “Host” allows you to set up your own server, and it provides some settings that you can change:
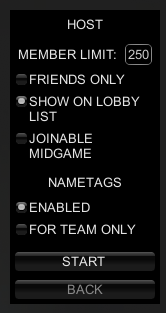
- Member count: This determines the maximum number of players that can be on the server, with a limit of 250.
- Friends only: When turned on, only friends from Steam can join your game.
- Joinable midgame: When turned on, allows anyone to join you while you are playing. If turned off, people can only join when you are in the lobby.
- Nametags enabled: When turned on, displays the names of players above their characters.
- For team only: When turned on, only teammates can see your nametag.
After hosting a game, you will appear in the lobby where you can chat by pressing “Y” and change any settings. However, please refrain from turning on the “Paint Explosions” option. If you are not the host, you can only change your team (unless in Spec Ops mode).
During the game, you can use the all chat feature by pressing “Y” or the team chat by pressing “U”. Pressing “” allows you to set a marker on the map (this works only on solid ground, objects, and vehicles). Pressing “” again while looking at the marker will delete it. Additionally, pressing “CapsLock” enables voice chat.
Before I go, I want to let you know that you can obtain a version of Ravenfield that is stable for RavenM. Simply go to the game’s properties, click on “Beta Versions,” and enter the code “ihatesingleplayer”. Activate it, and enjoy your game!