A guide all about how to spawn your Great One moose and many diamonds on your Medved Taiga map! Features tips and tricks from iBUYpremiums, the creator of the new diamond-spawning method known as stacking and herd management, and LadyLegendXO.
Introductions
In this guide, we’ll be talking about moose basics, herd management, stacking, and how to get them to work! All these things learned, practiced, and combined, help spawn your giant pile of diamonds. Reminder: all Great Ones spawns are purely RNG (random number generator!) That means that the spawns are random and cannot be spawned manually (with a certain high number of kills.)
Moose Basics
In case you know nothing about moose, but still love them anyway, here are the basics of moose. (You can skip this section if you already know everything about moose.)
TROPHY RATING AND LEVELS
All animals have trophy ratings that must be a certain level to reach a high score. The scores they have are none, silver, gold, diamond, and Great One. There are numbers indicating how high your animal’s rating is, and how high it needs to be to reach a good score. Here are the trophy ratings for moose.
- 86.2 – Silver
- 194 – Gold
- 274.9 – Diamond
(Great One trophy ratings actually are lower than diamond scores, because the trophy rating is measured in the antler’s palm size, in which case the Great Ones do not have large palms like other diamonds. The score, however, will always be Great One. Unless ya miss.)
Basically, in order to get the rating to be as high as possible, you have to first find a good looking moose and complete all trophy requirements. In this guide, we won’t be talking about those. But here are the levels/sizes for moose and pictures showing what you might expect to see according to those levels.
LEVEL- 1 TRIVIAL
LEVEL- 2 MINOR
LEVEL- 3 VERY EASY
LEVEL- 4 EASY
N/A
LEVEL- 5 MEDIUM
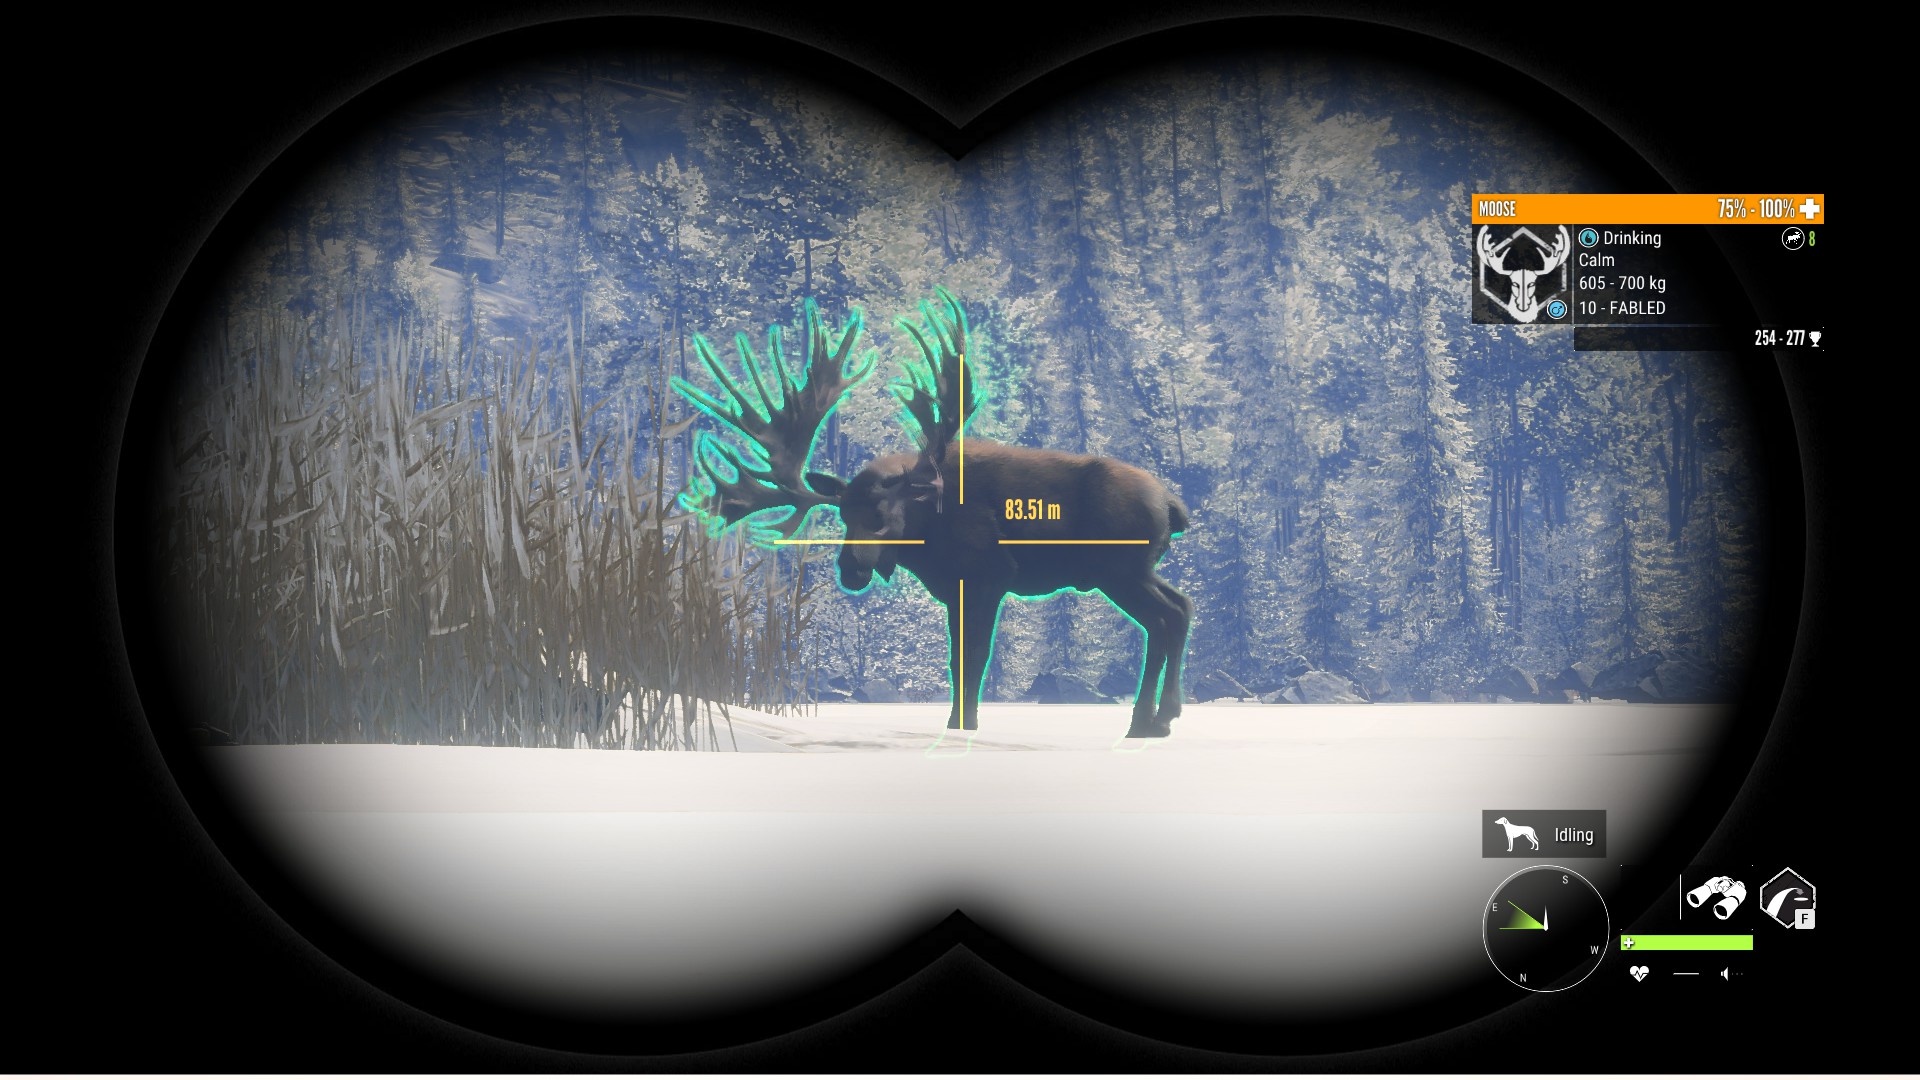
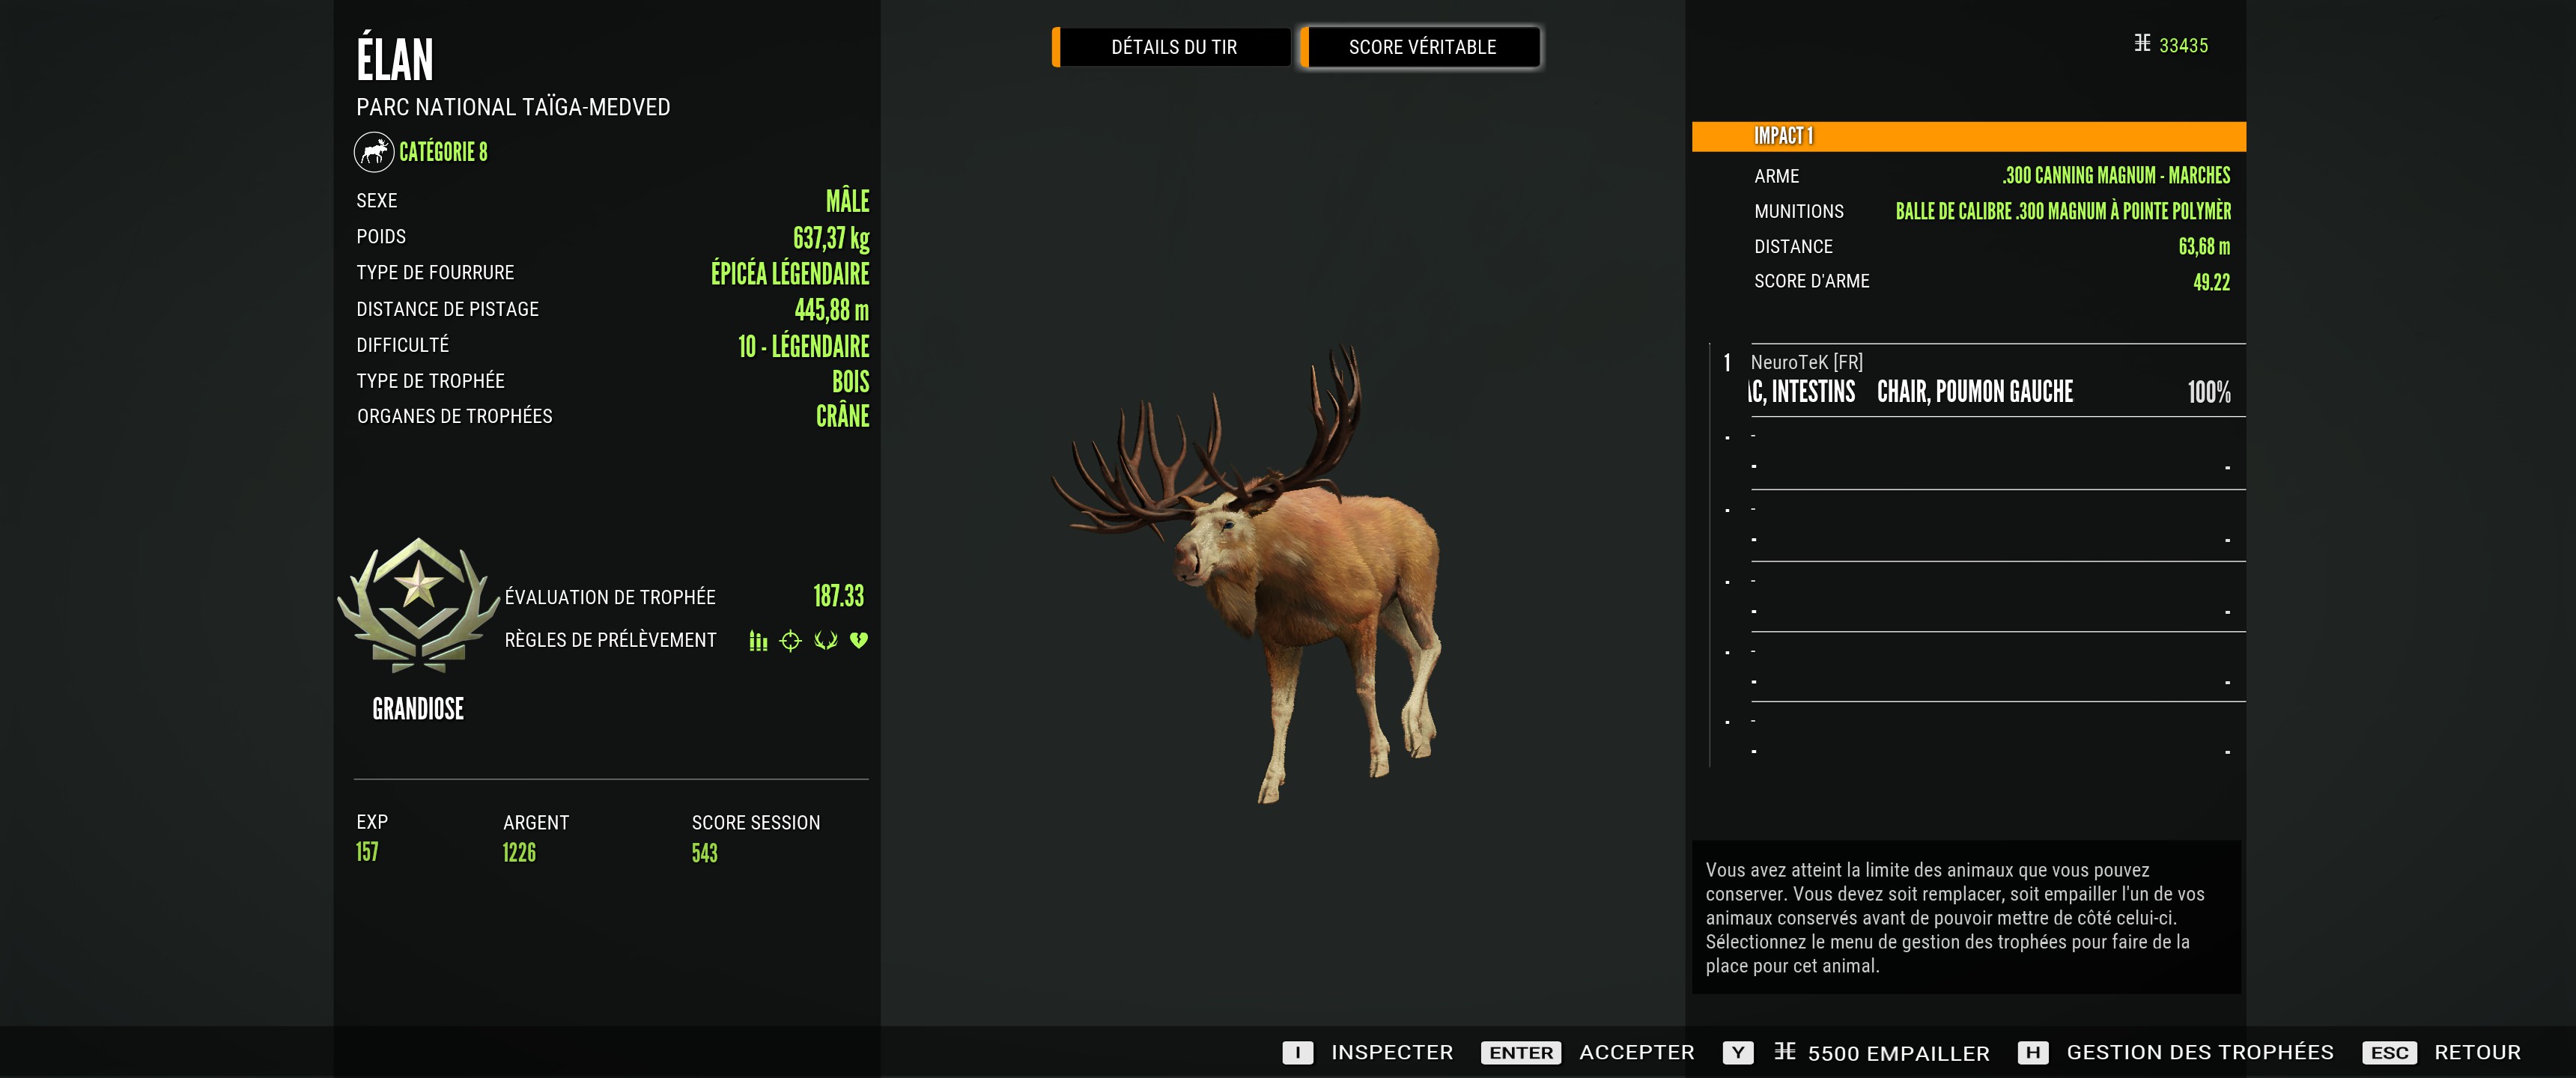
Notice how it skips all of 6-9 and goes straight to 10, indicating Great One score: (Commons cannot spawn on 10 FABLED moose; this is an old pic from before the common Great Ones were removed.
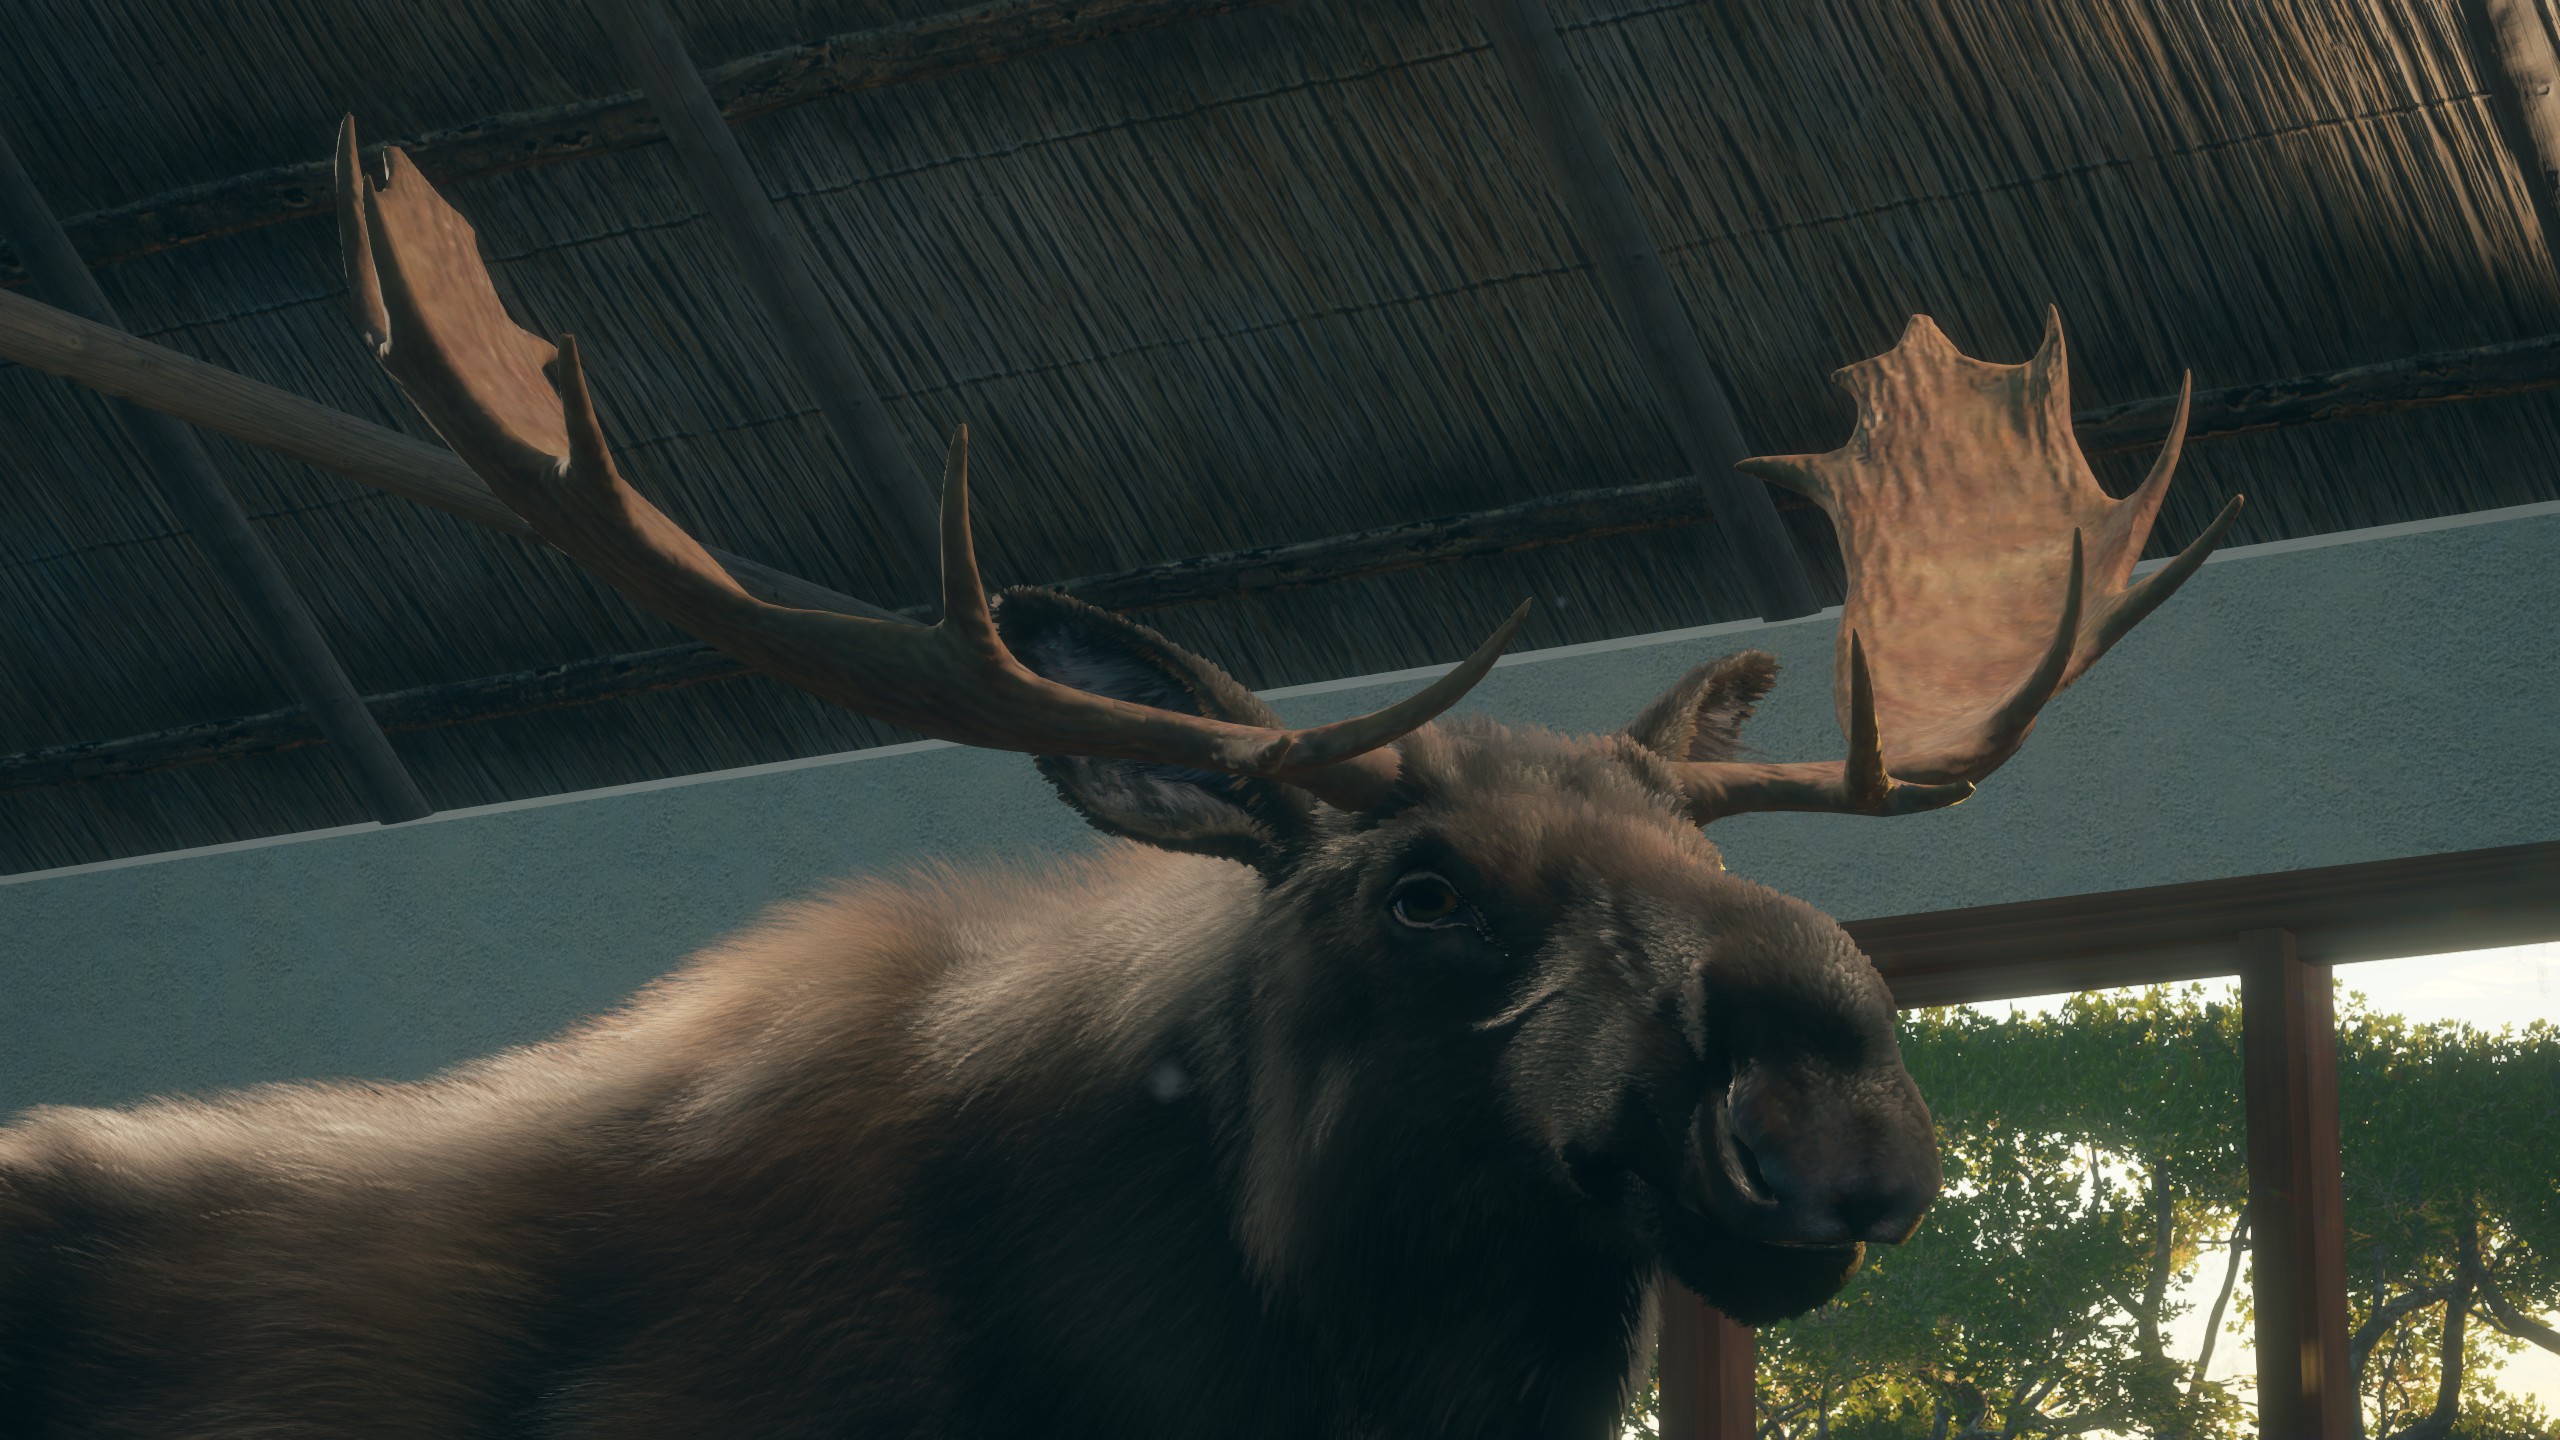
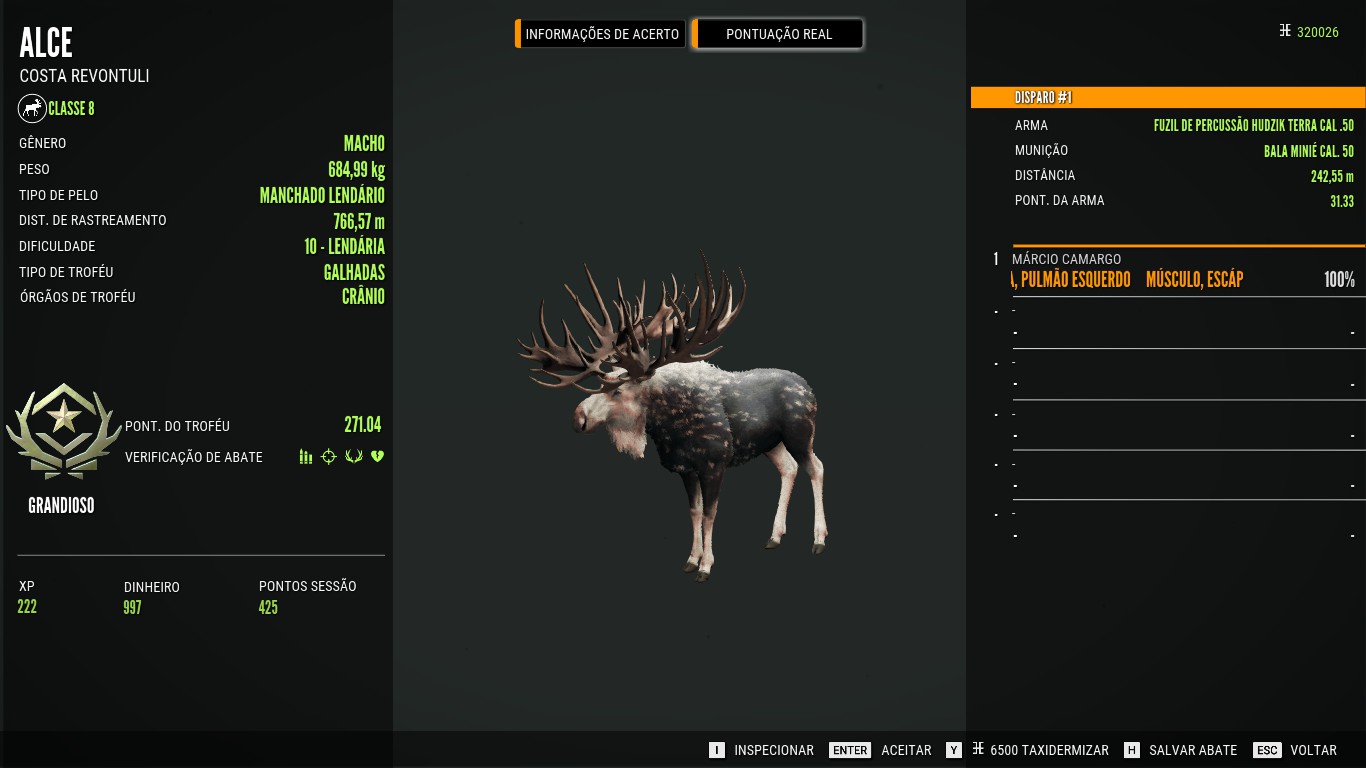
LEVEL- 10 FABLED
FUR TYPES
Now, moose also have different fur types. There’s quite a few common fur types but we won’t go them over much. Learn to recognize these so it’s easier to spot them in-game, especially the dark melanistic moose. Here is the rarity level of the fur types.
Common
- Brown
- Light Brown
- Dark Brown
- Tan
Rare
- Piebald
- Albino
Very Rare
- Melanistic
Missions Only (Te Awaroa)
- Mocha
Here are some pictures showing the differences between the fur types.
COMMON
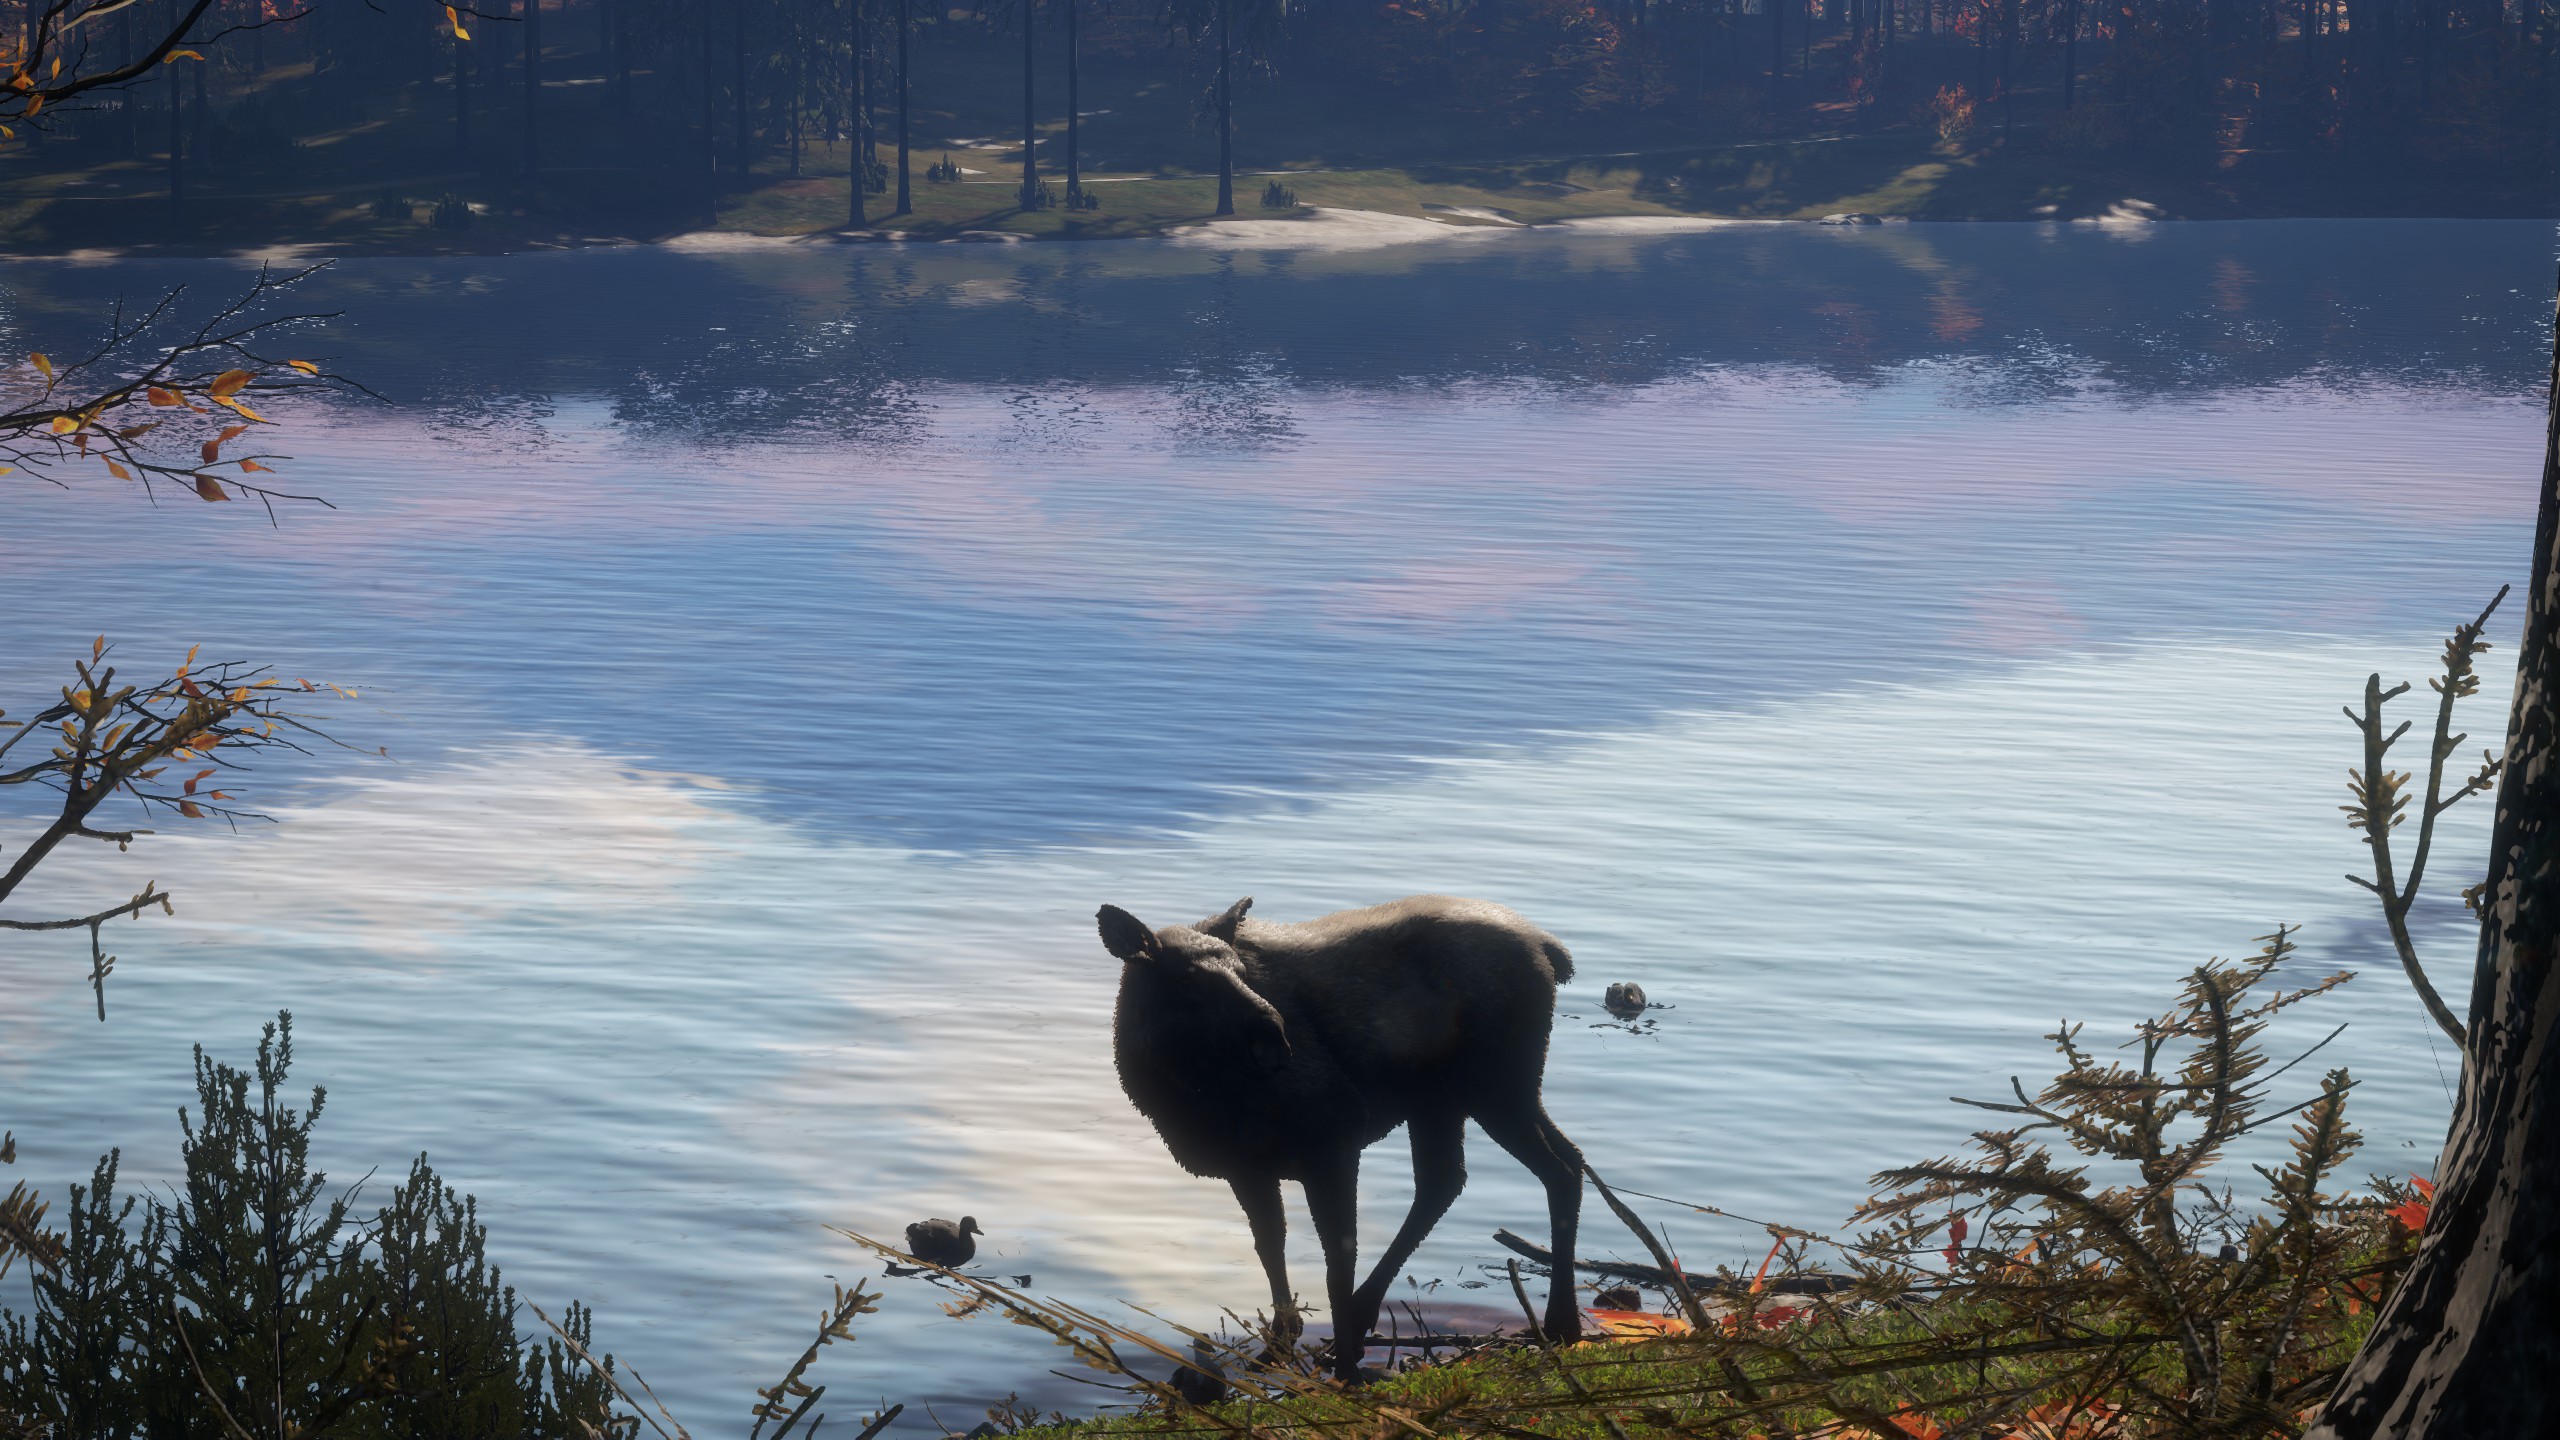
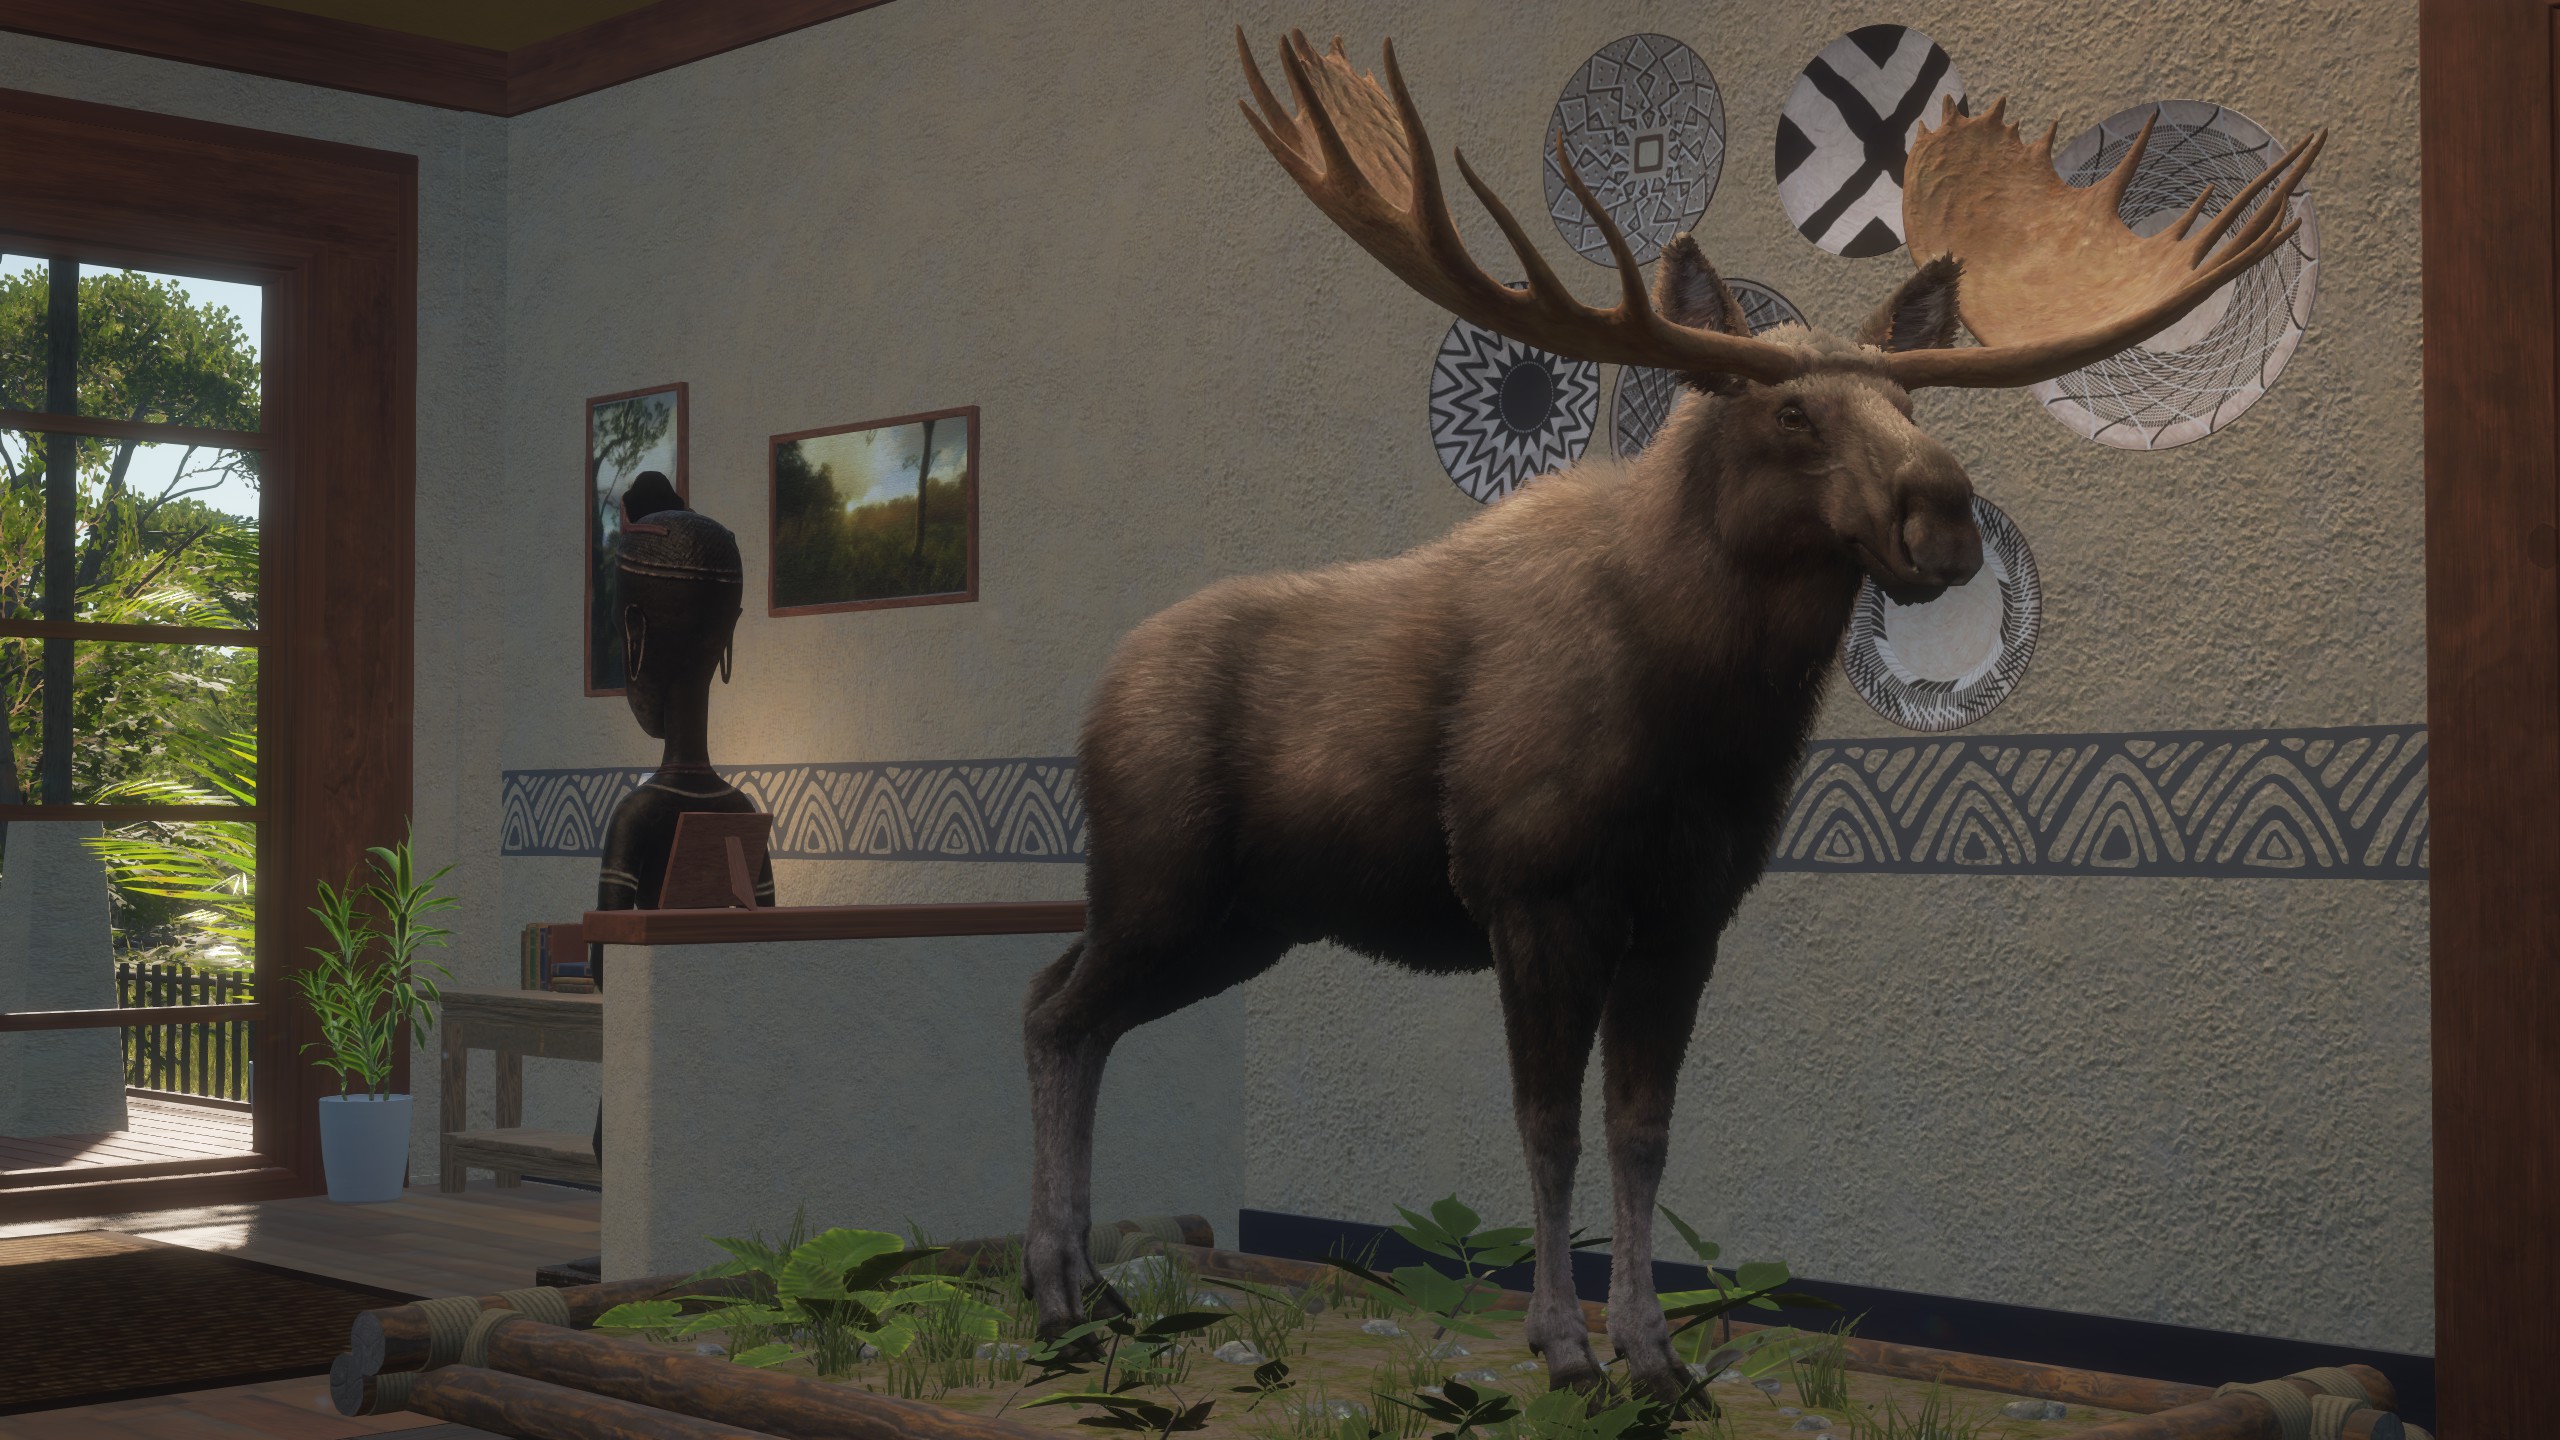
A large, level 4 common coat moose.
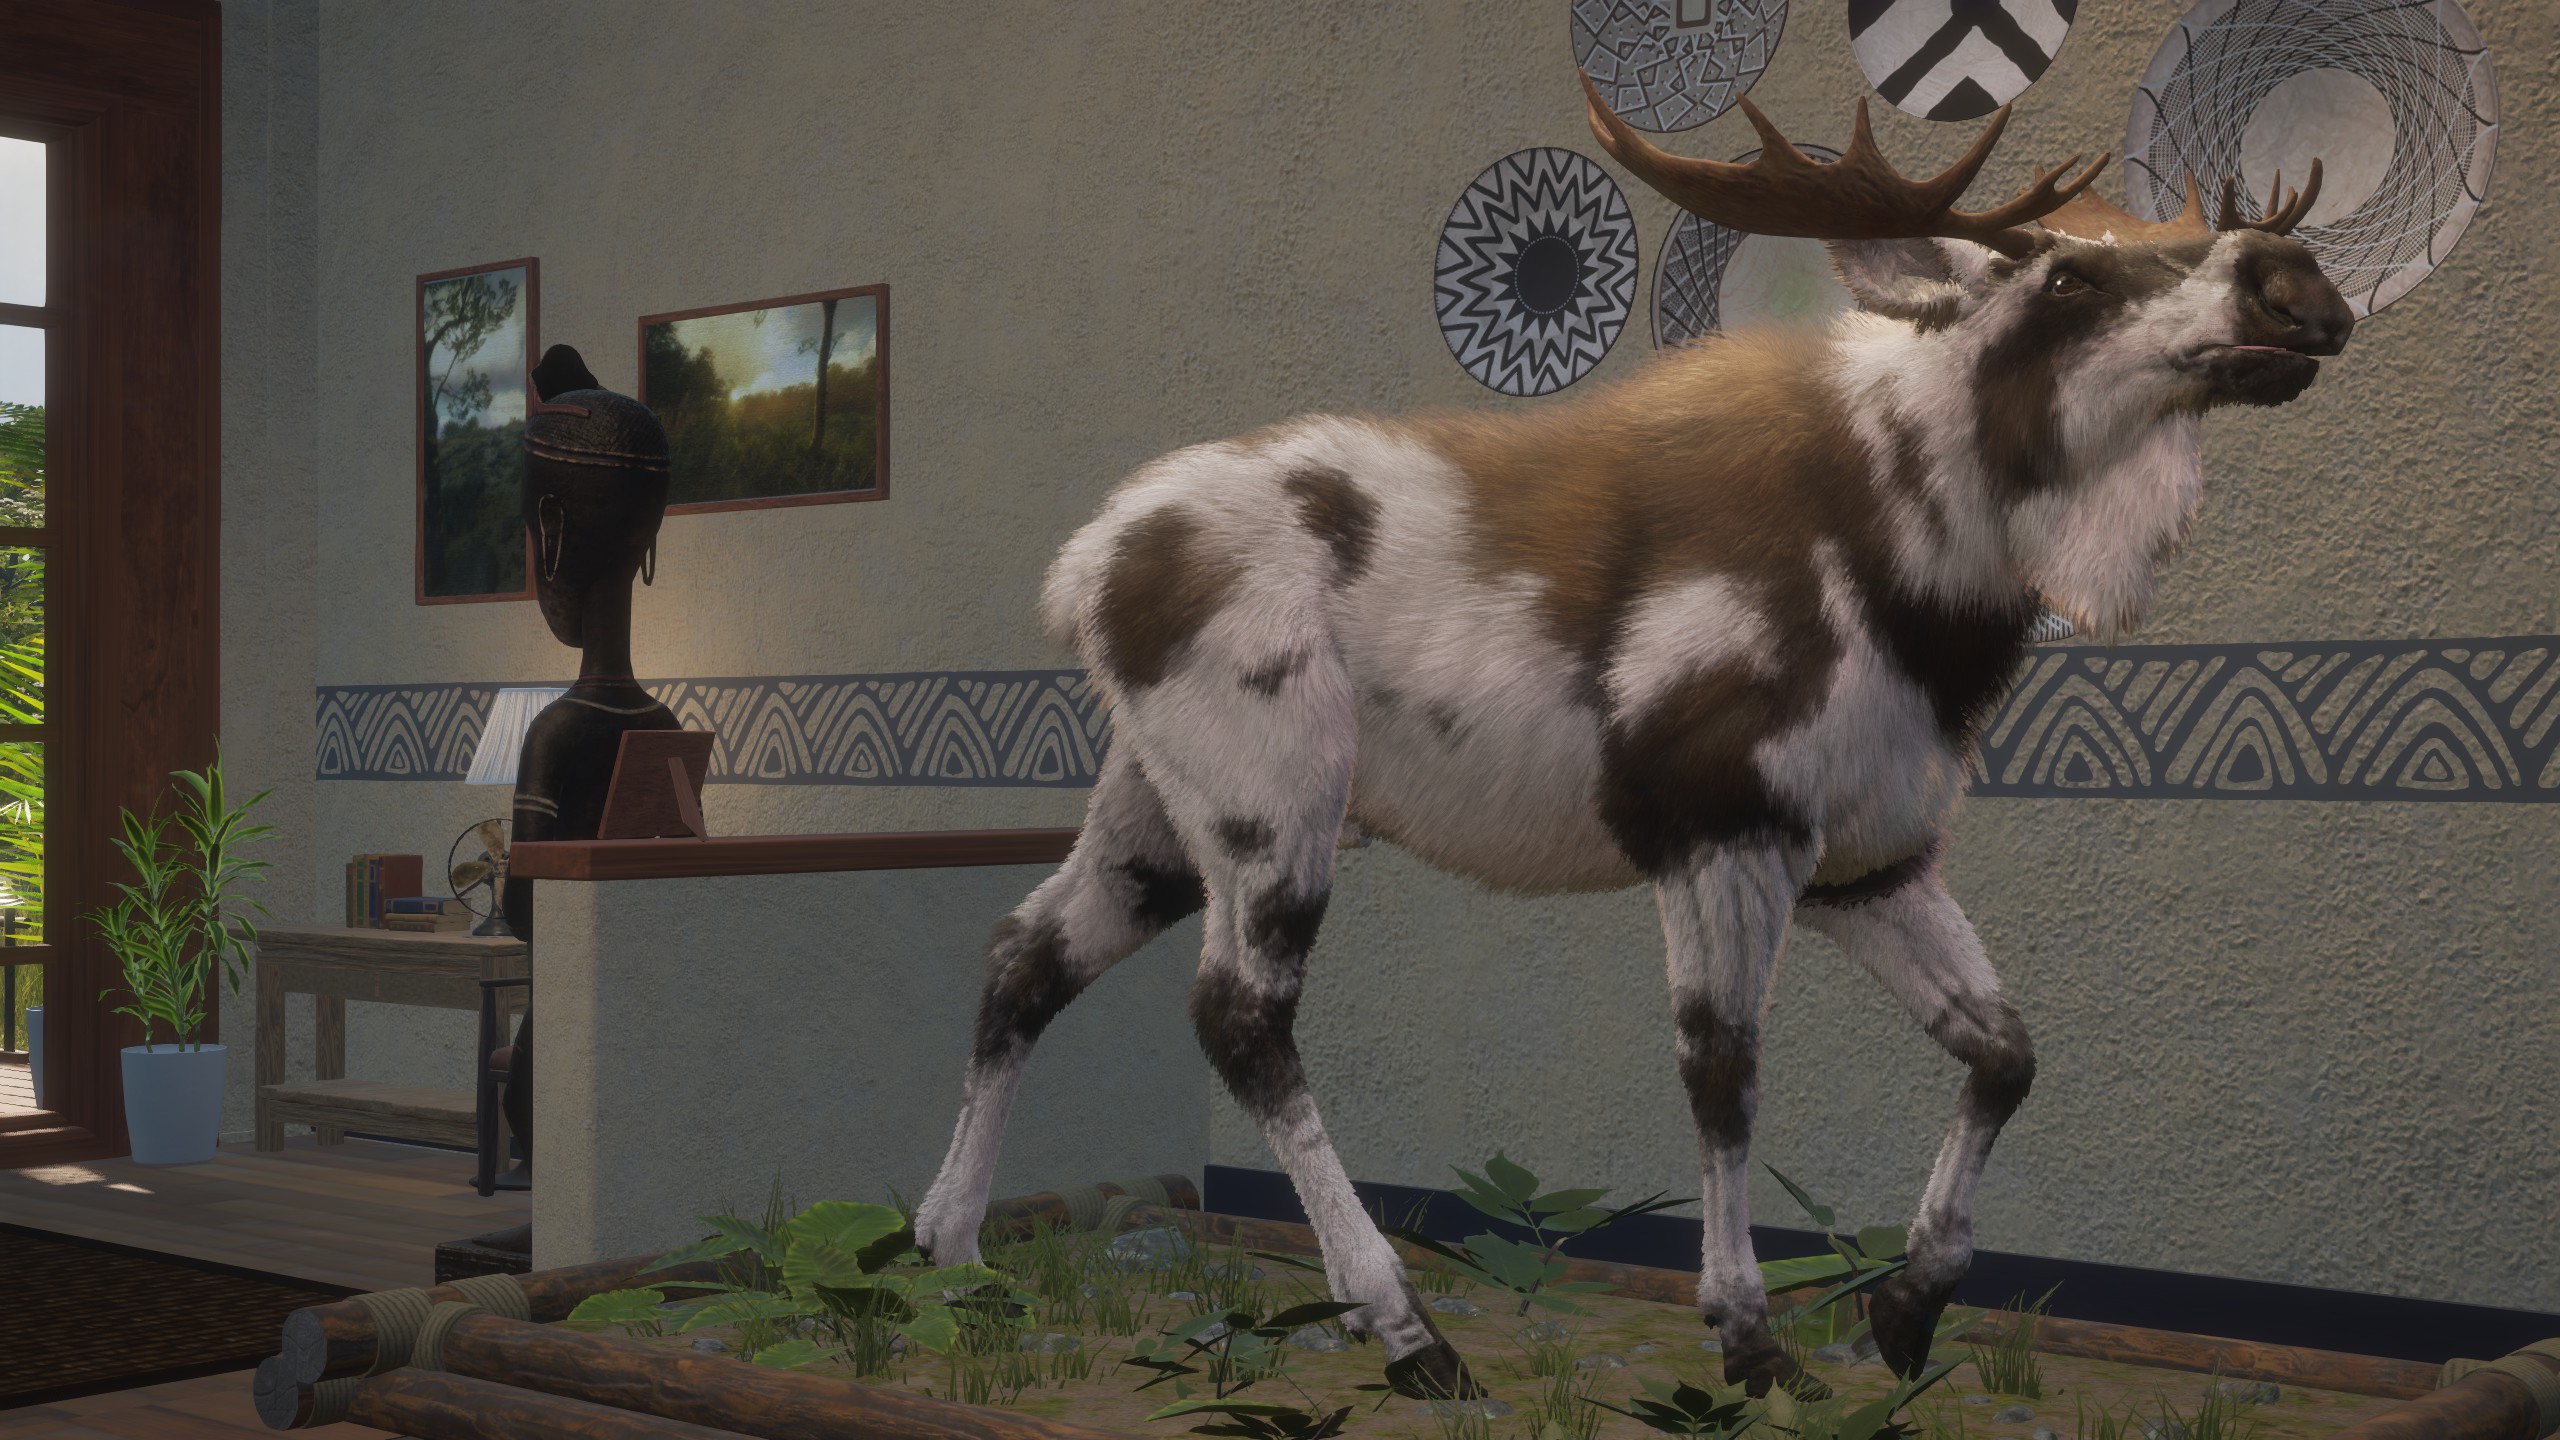
PIEBALD
An average-sized level 3 piebald bull.
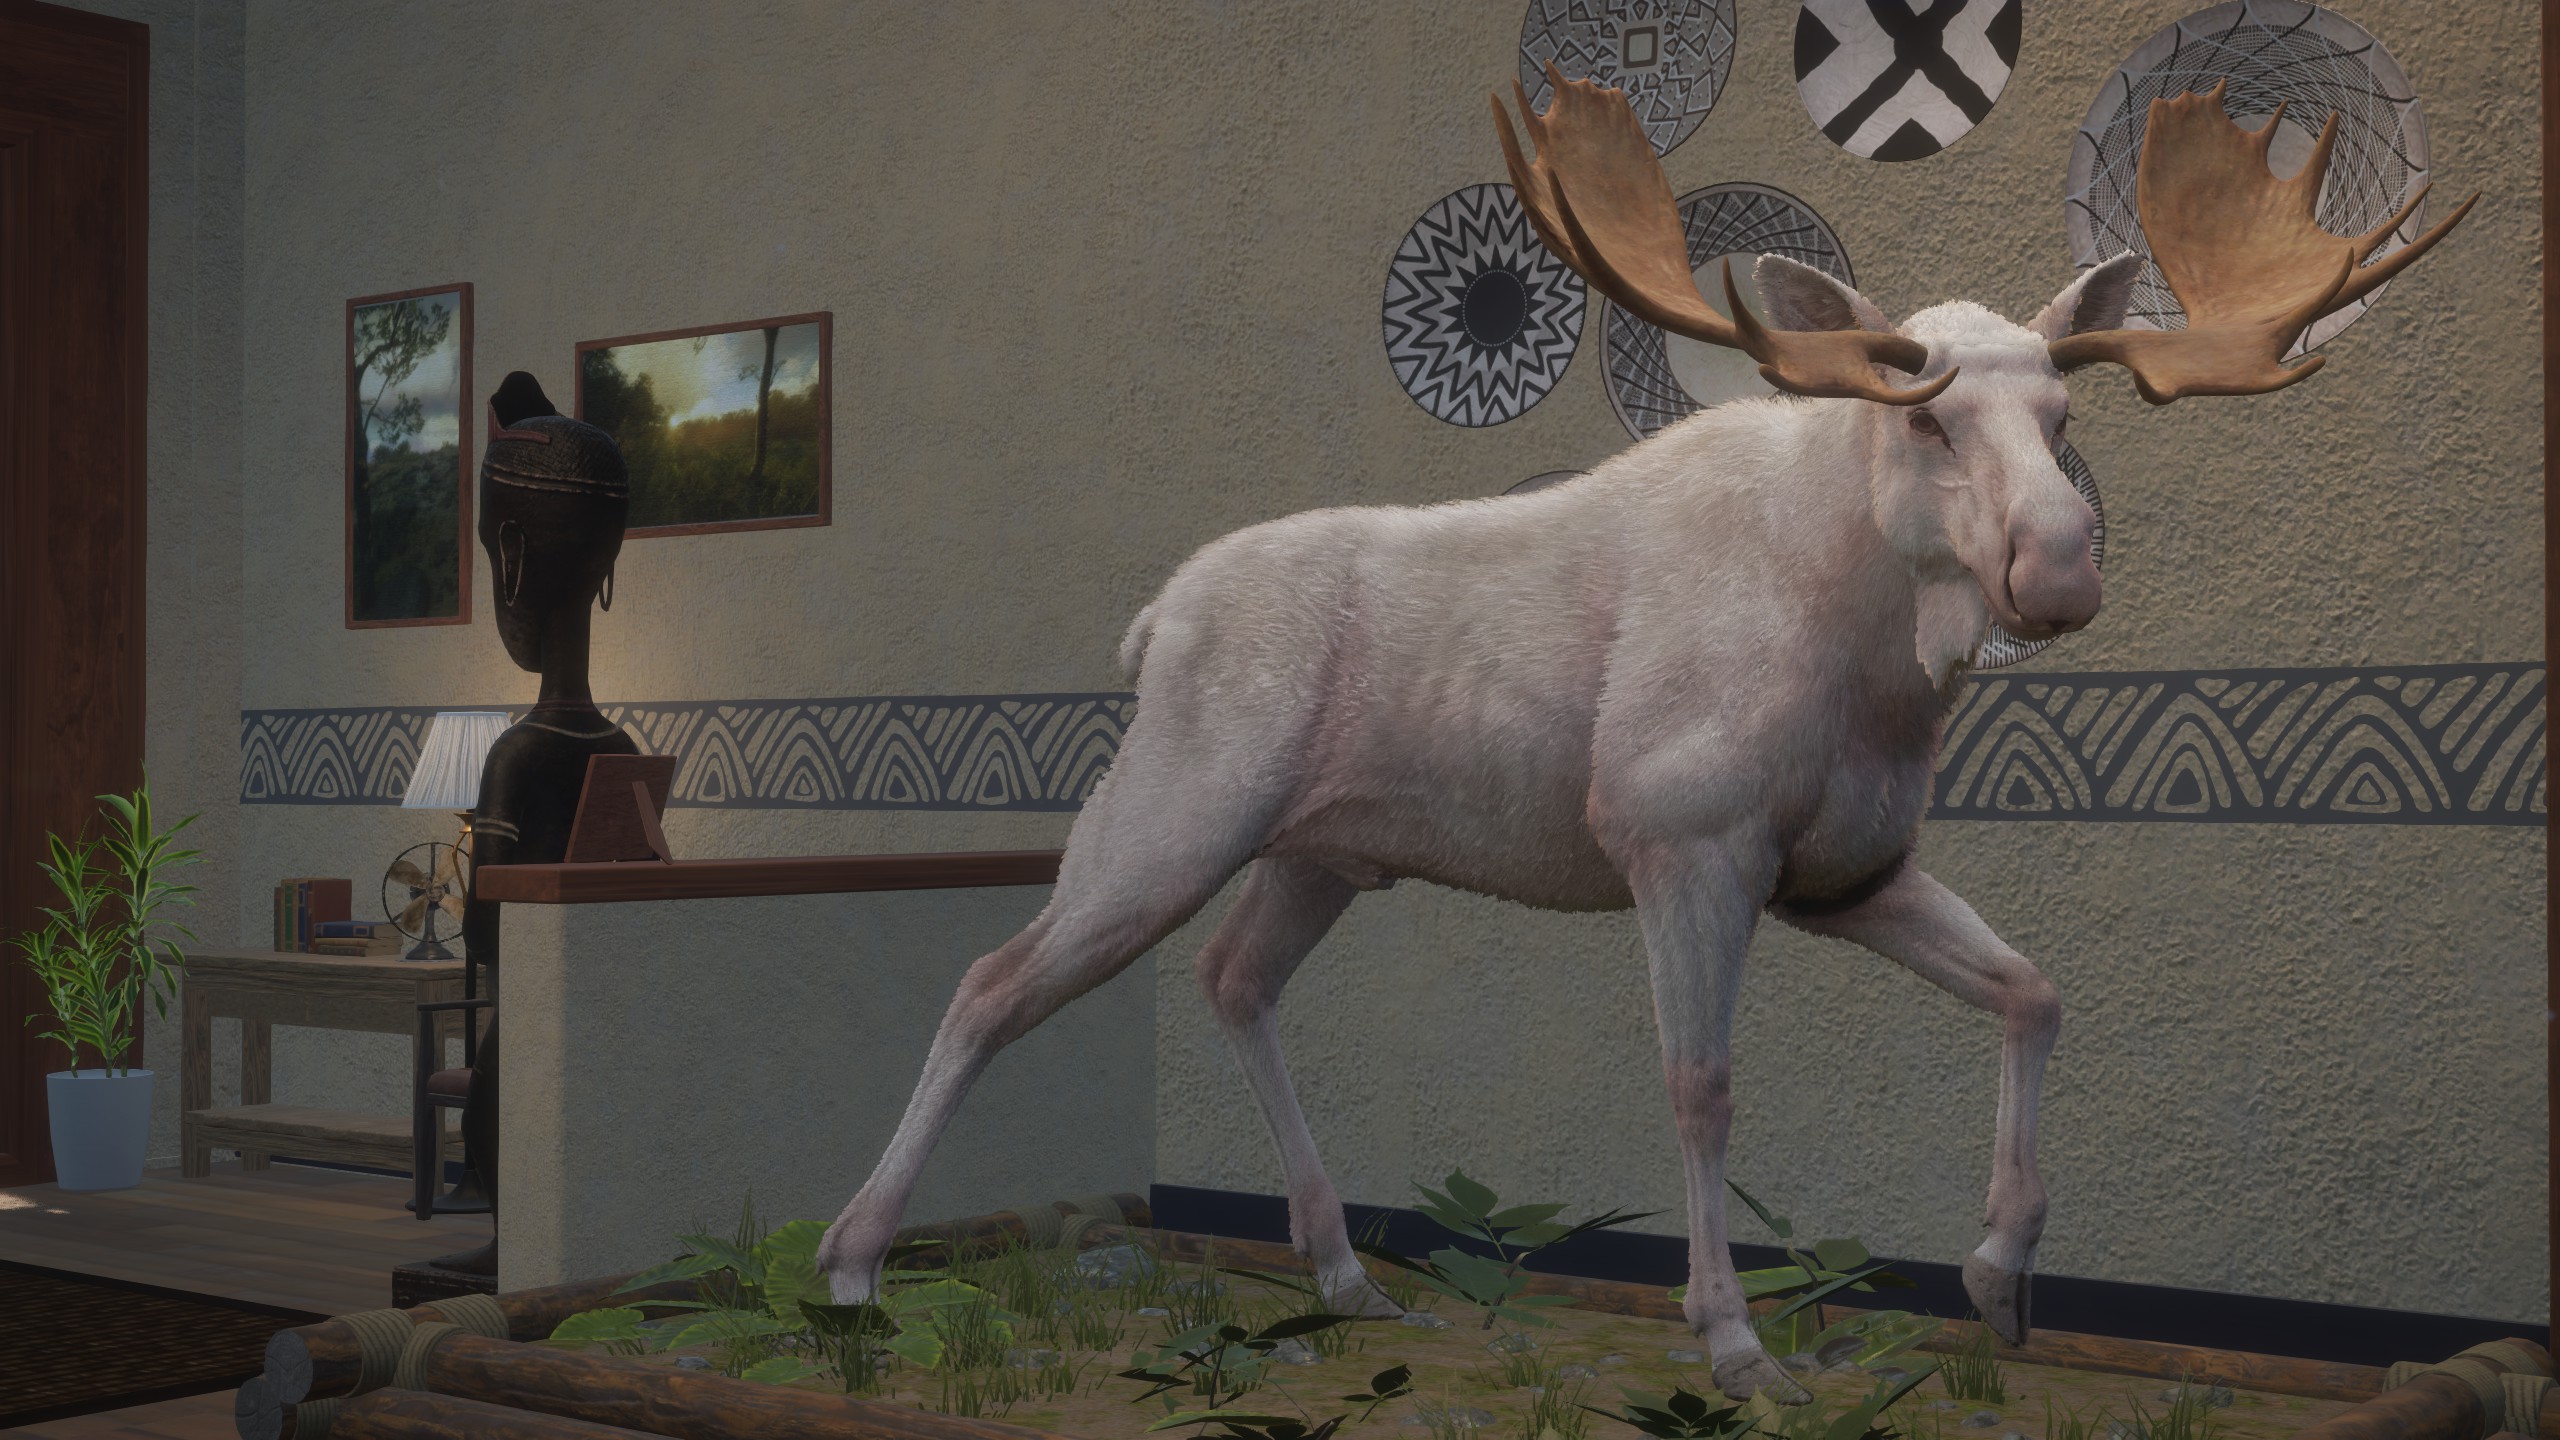
ALBINO
An average-sized level 4 albino moose.
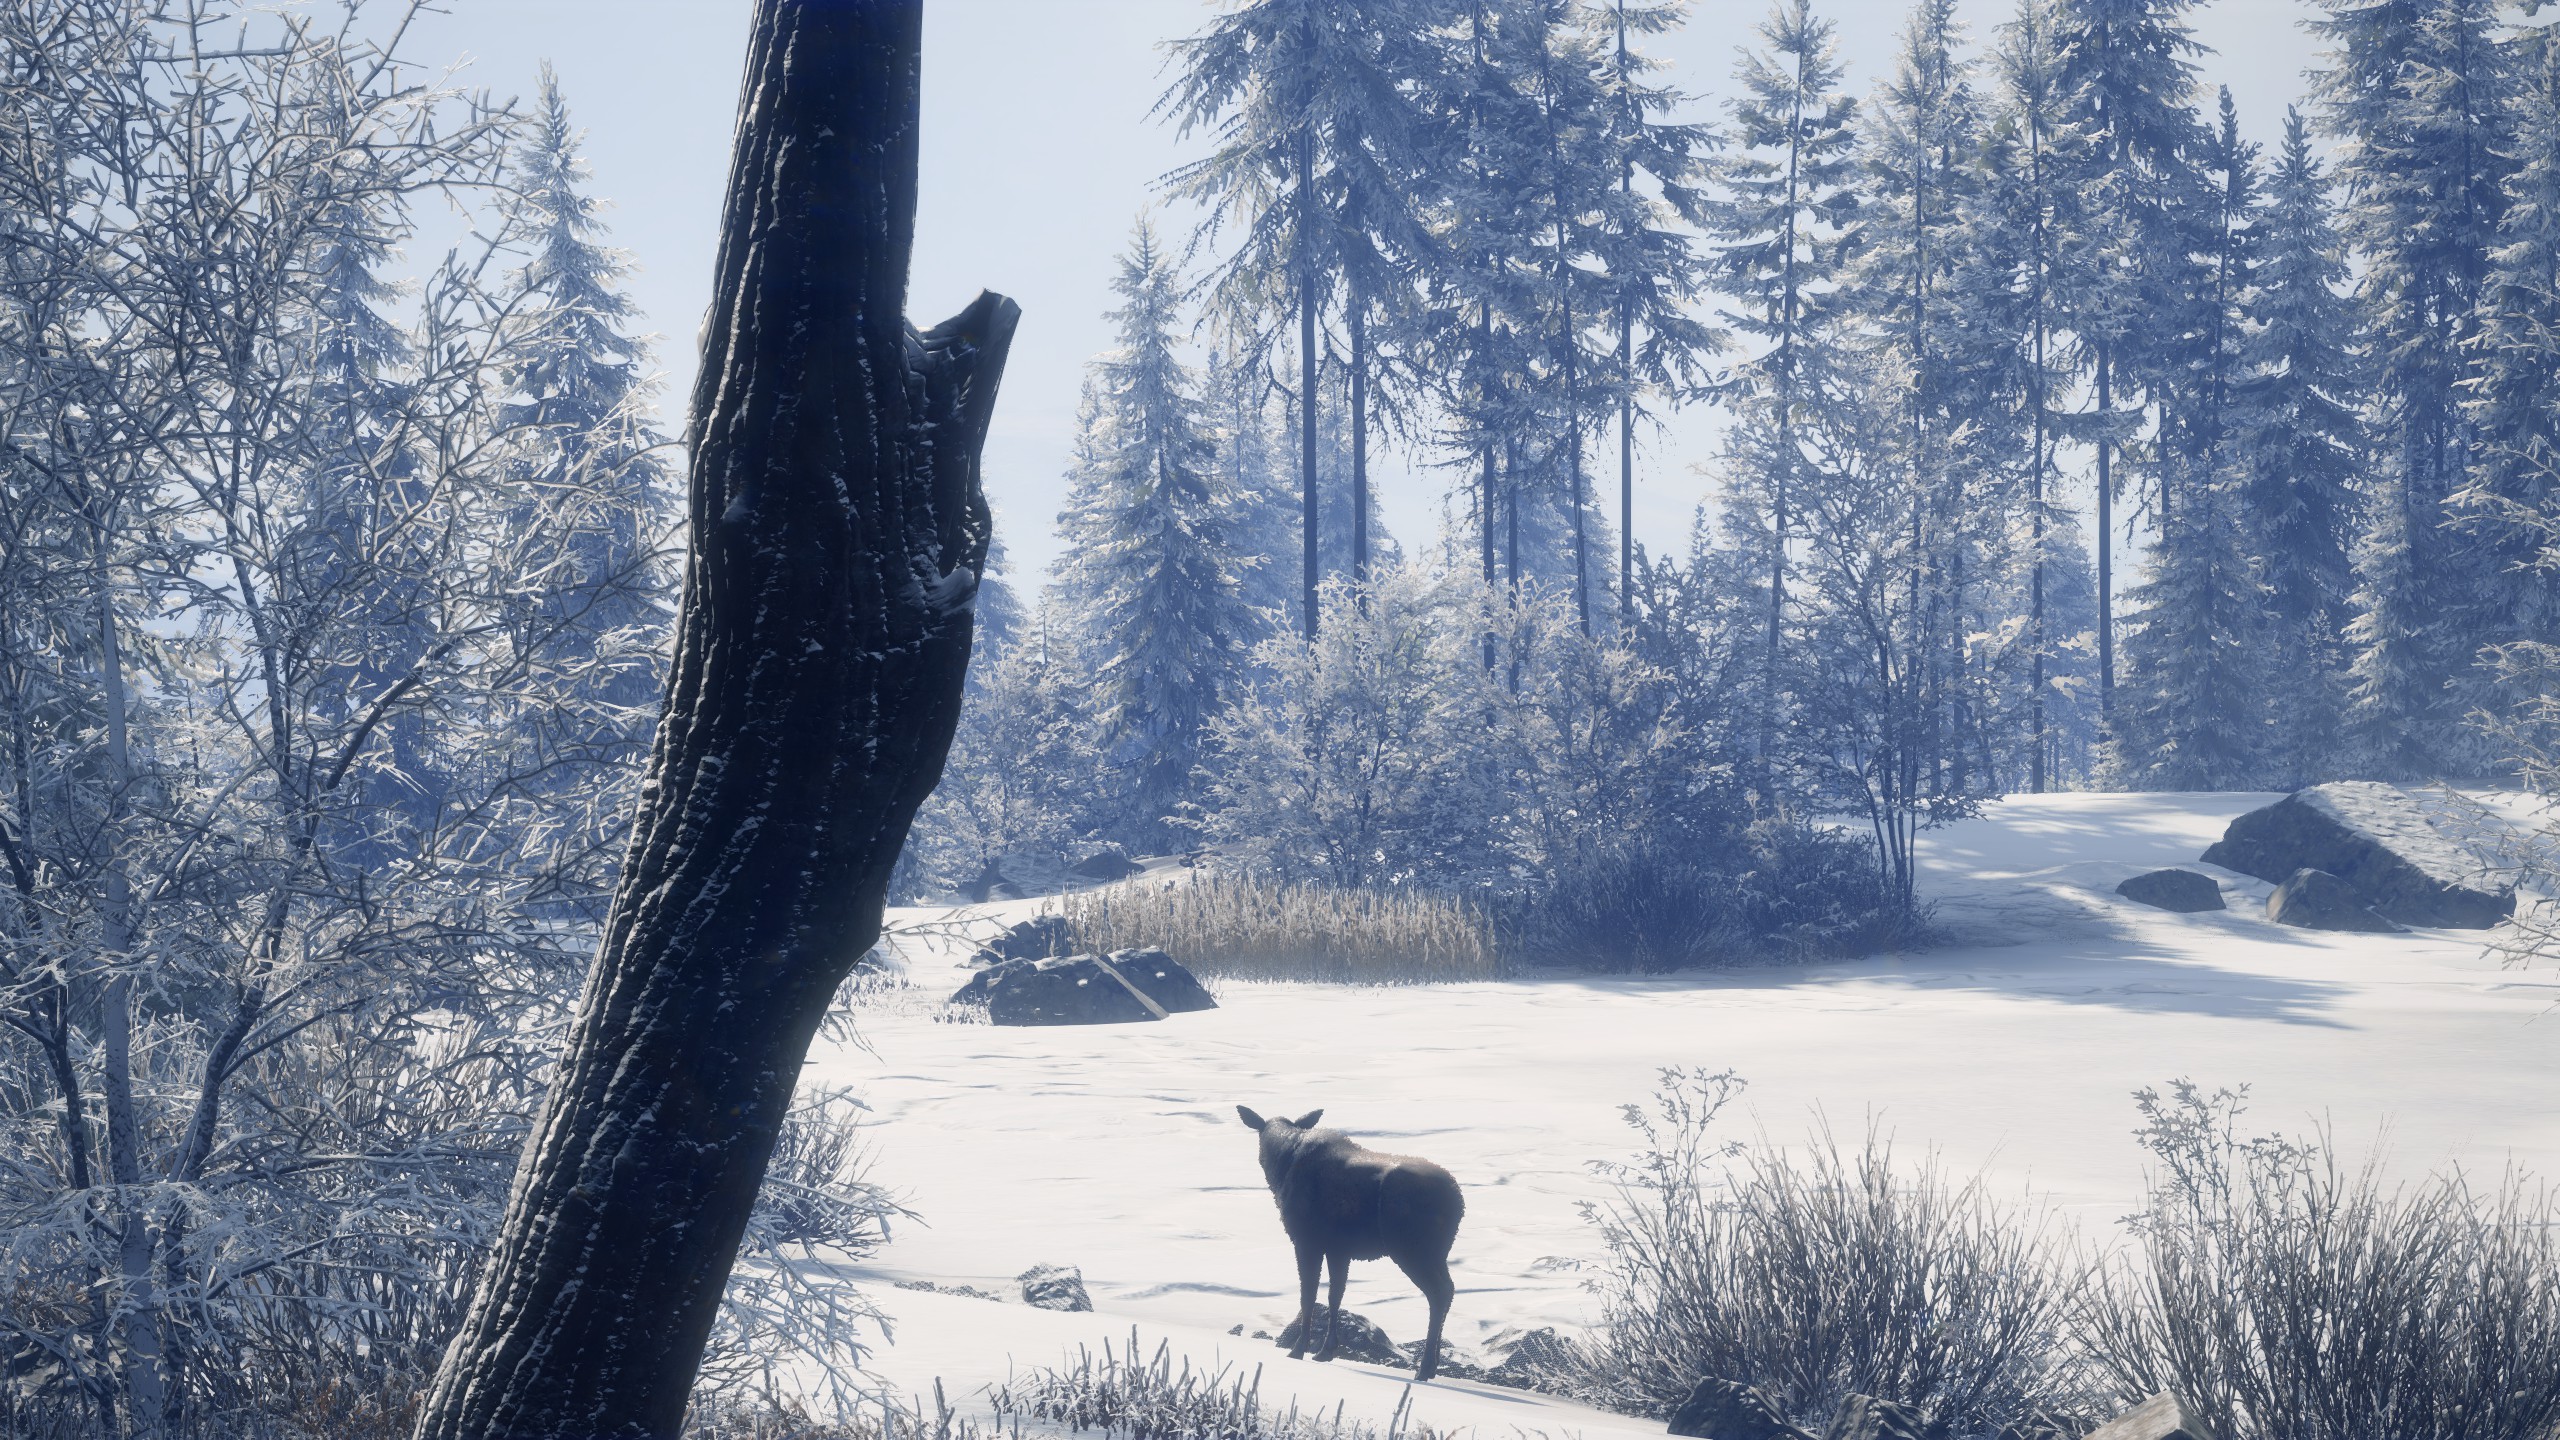
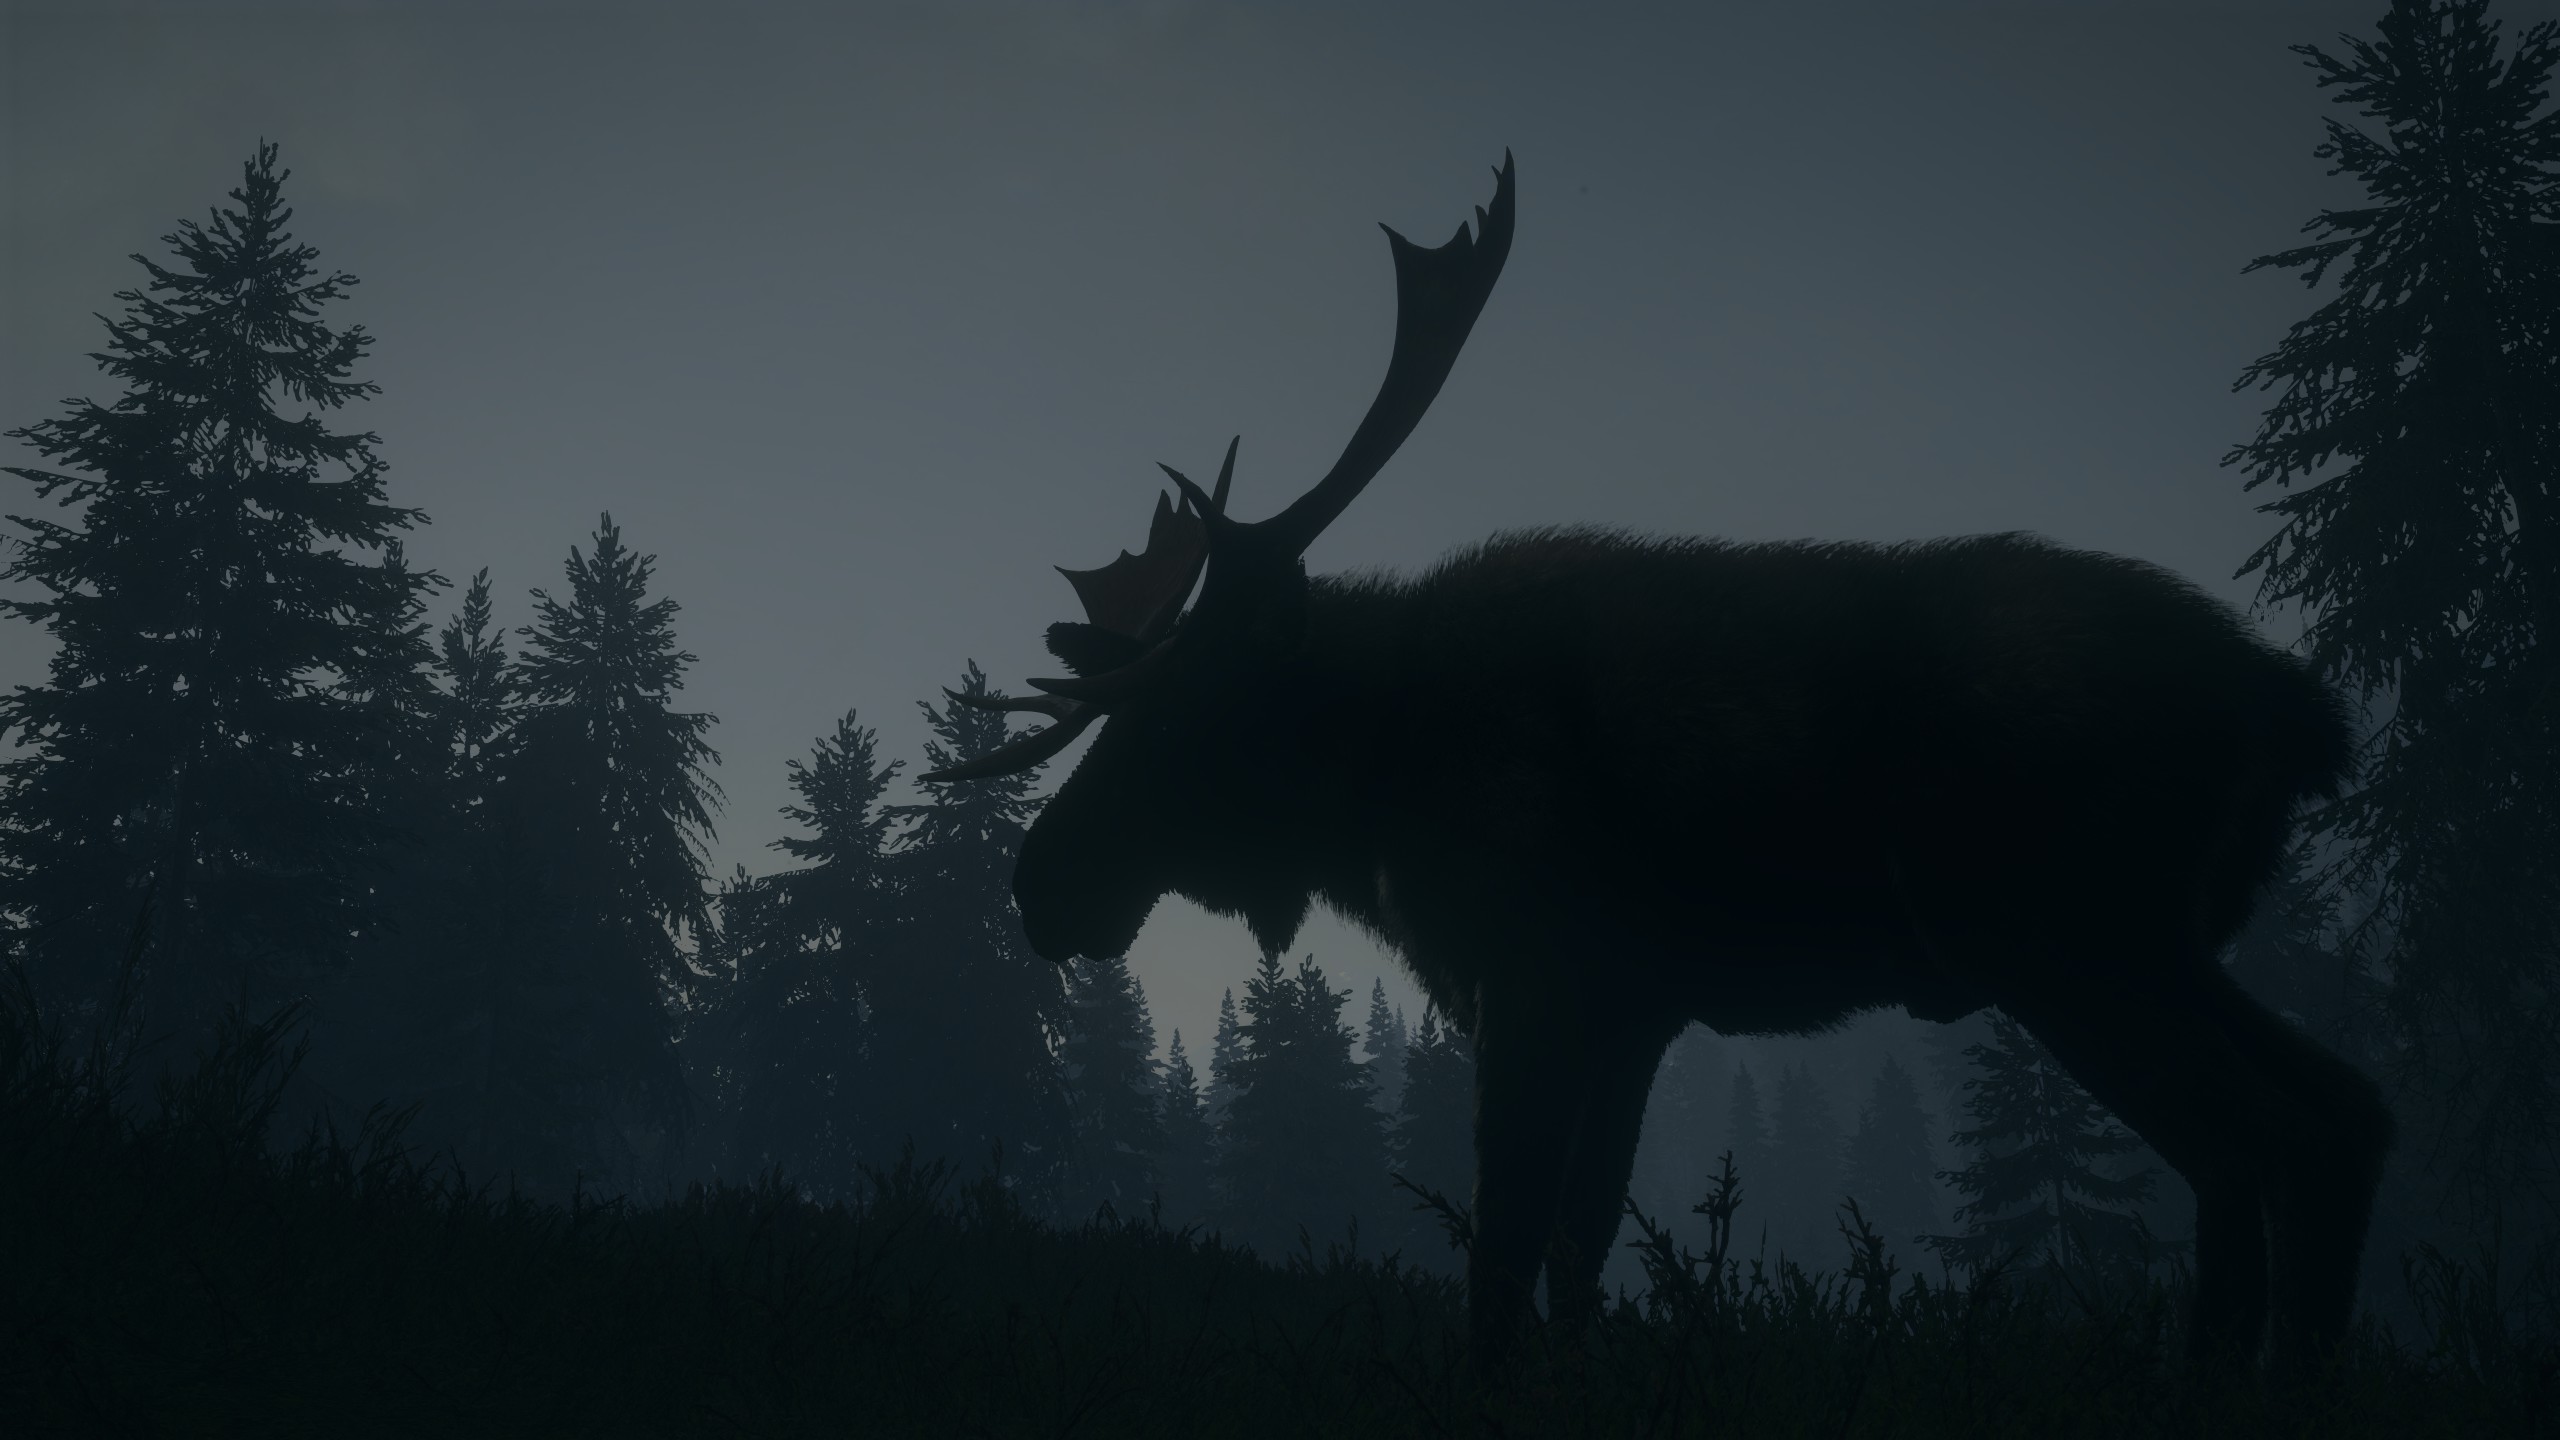
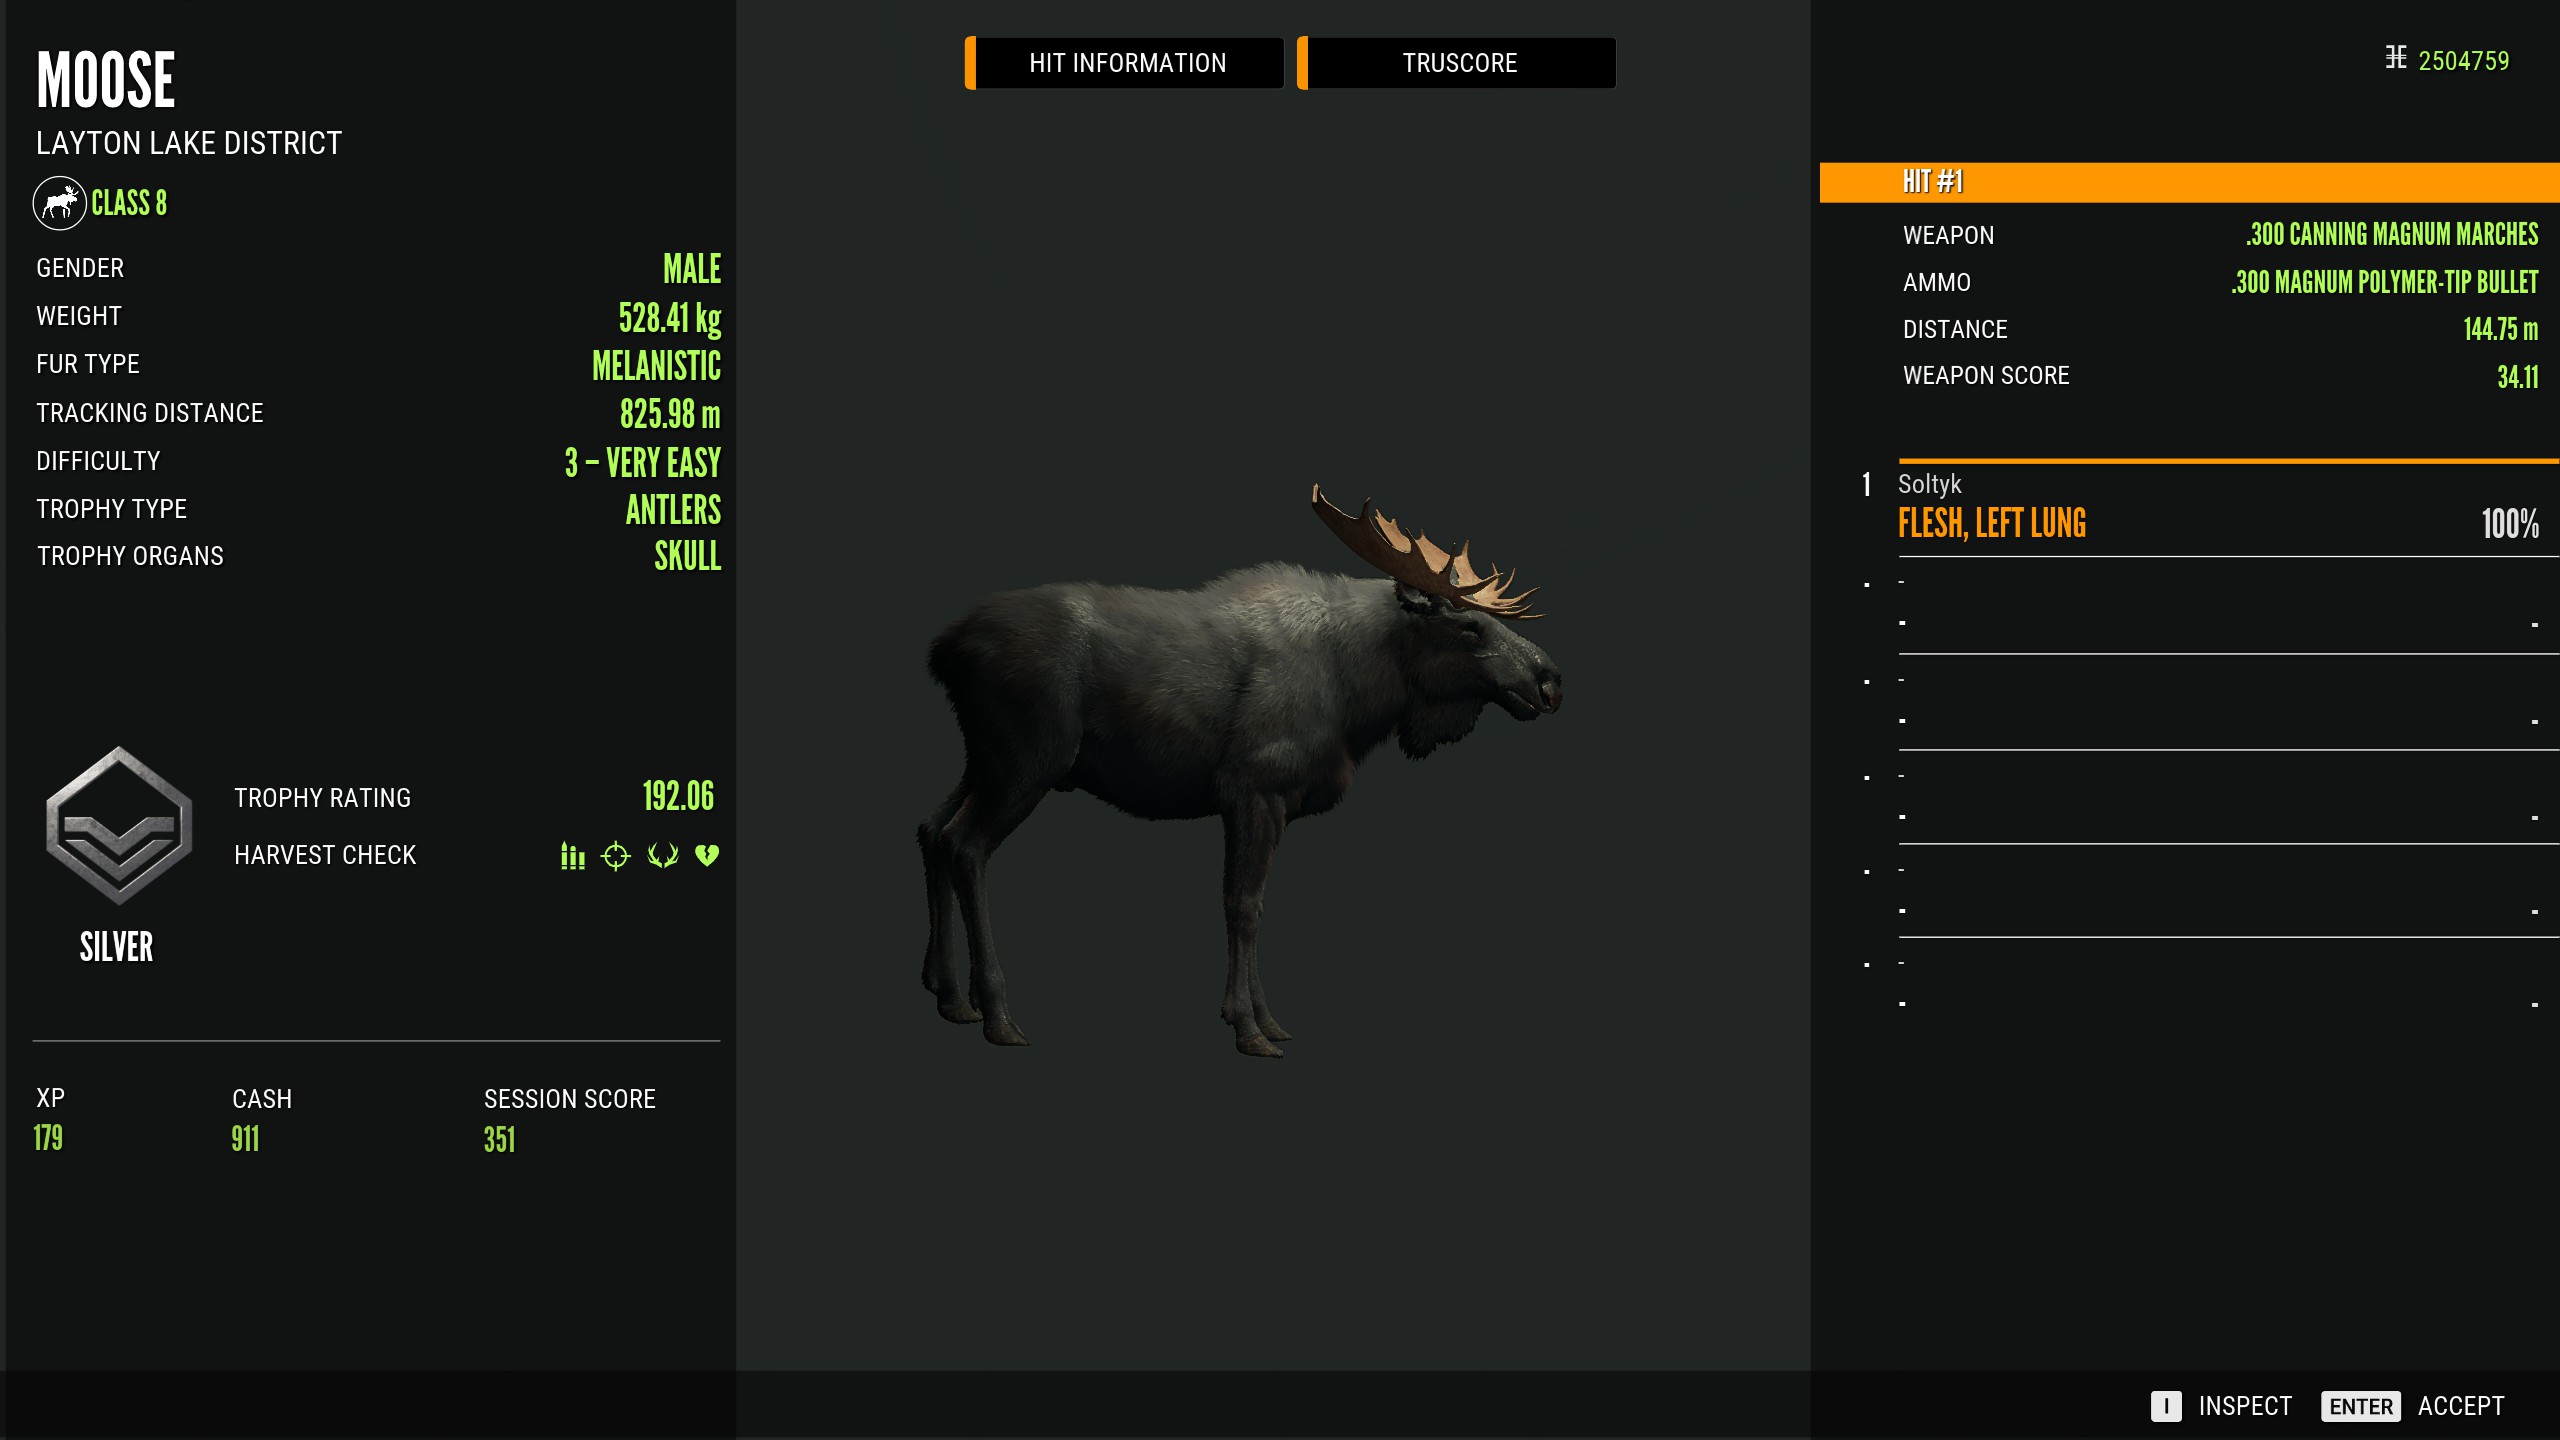
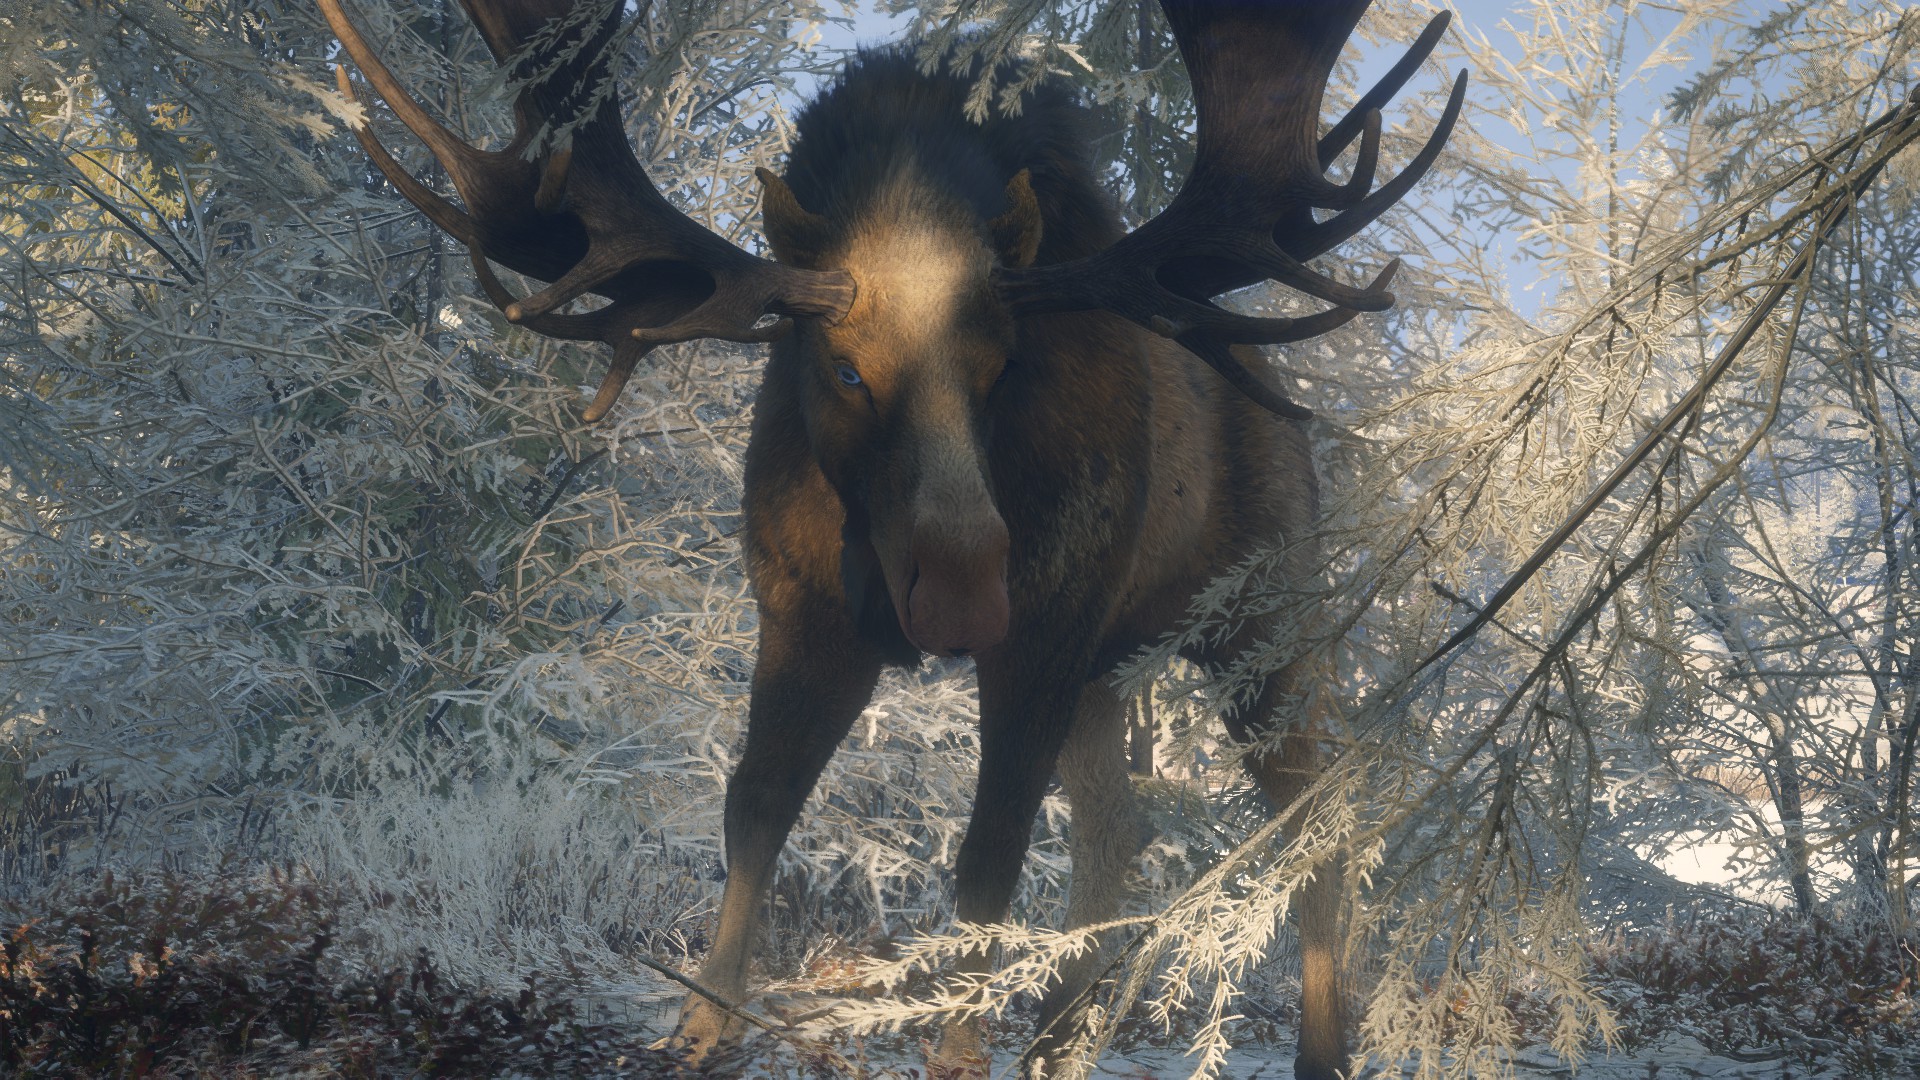
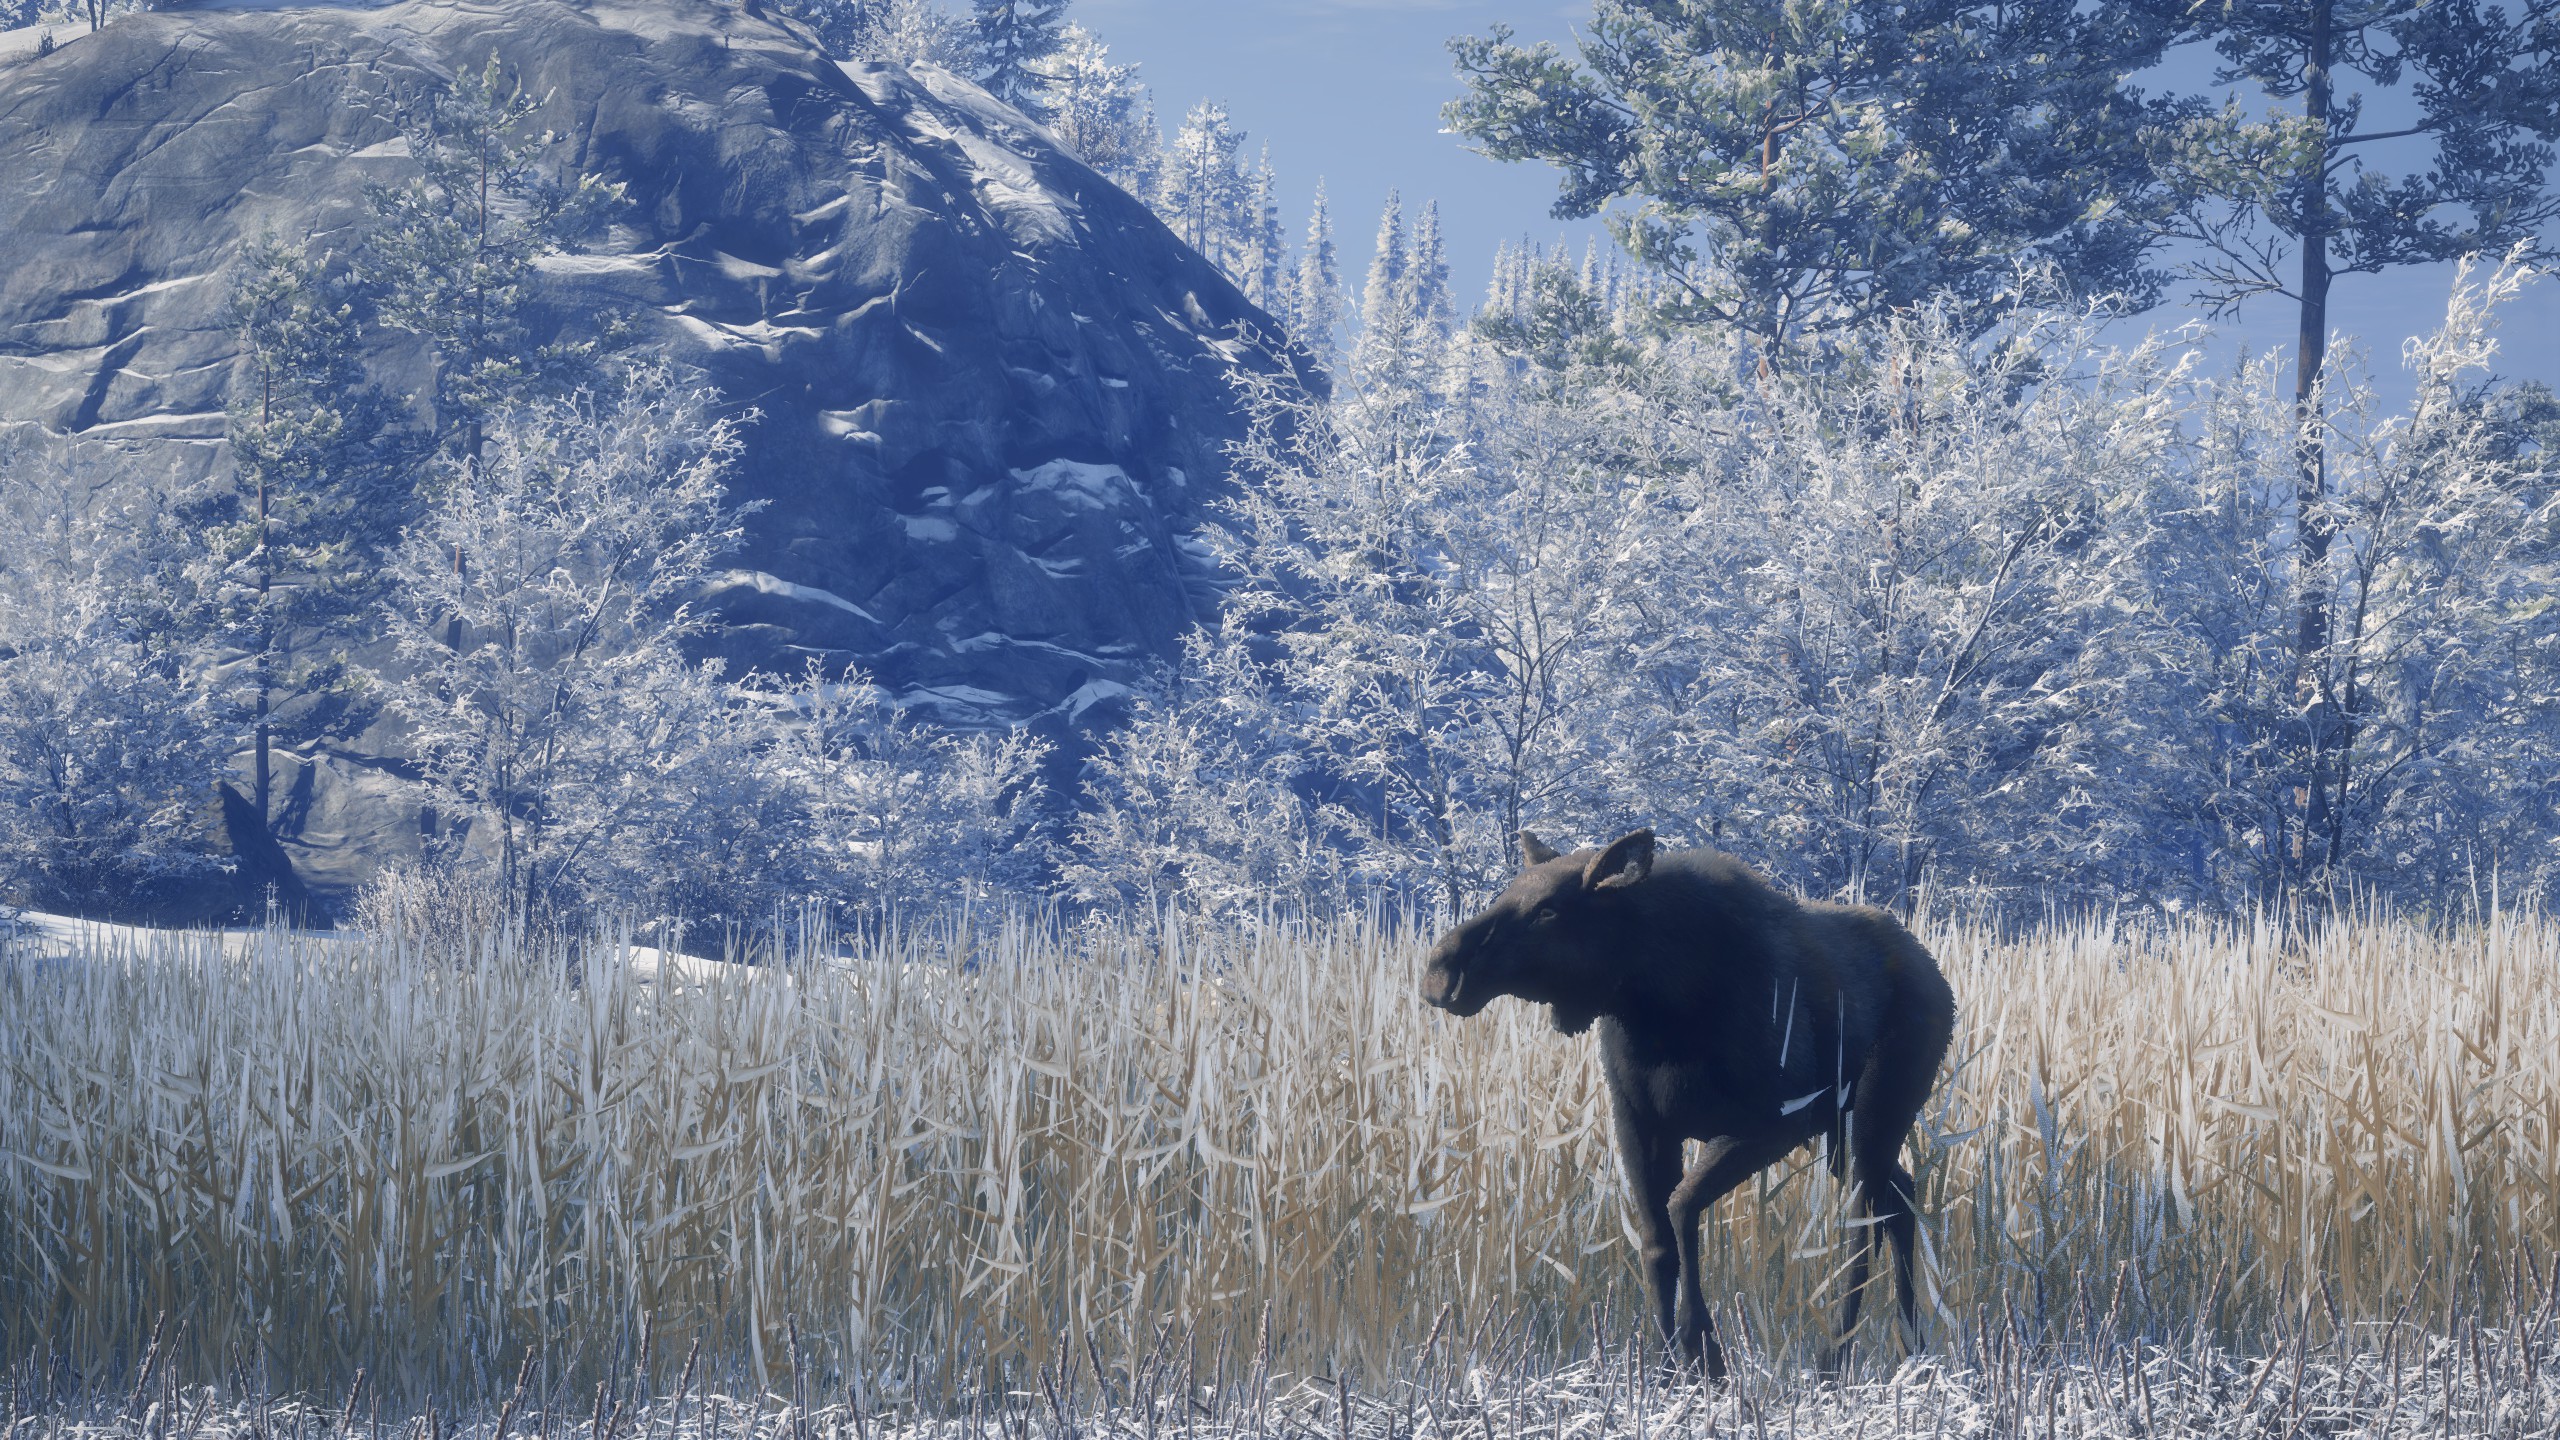
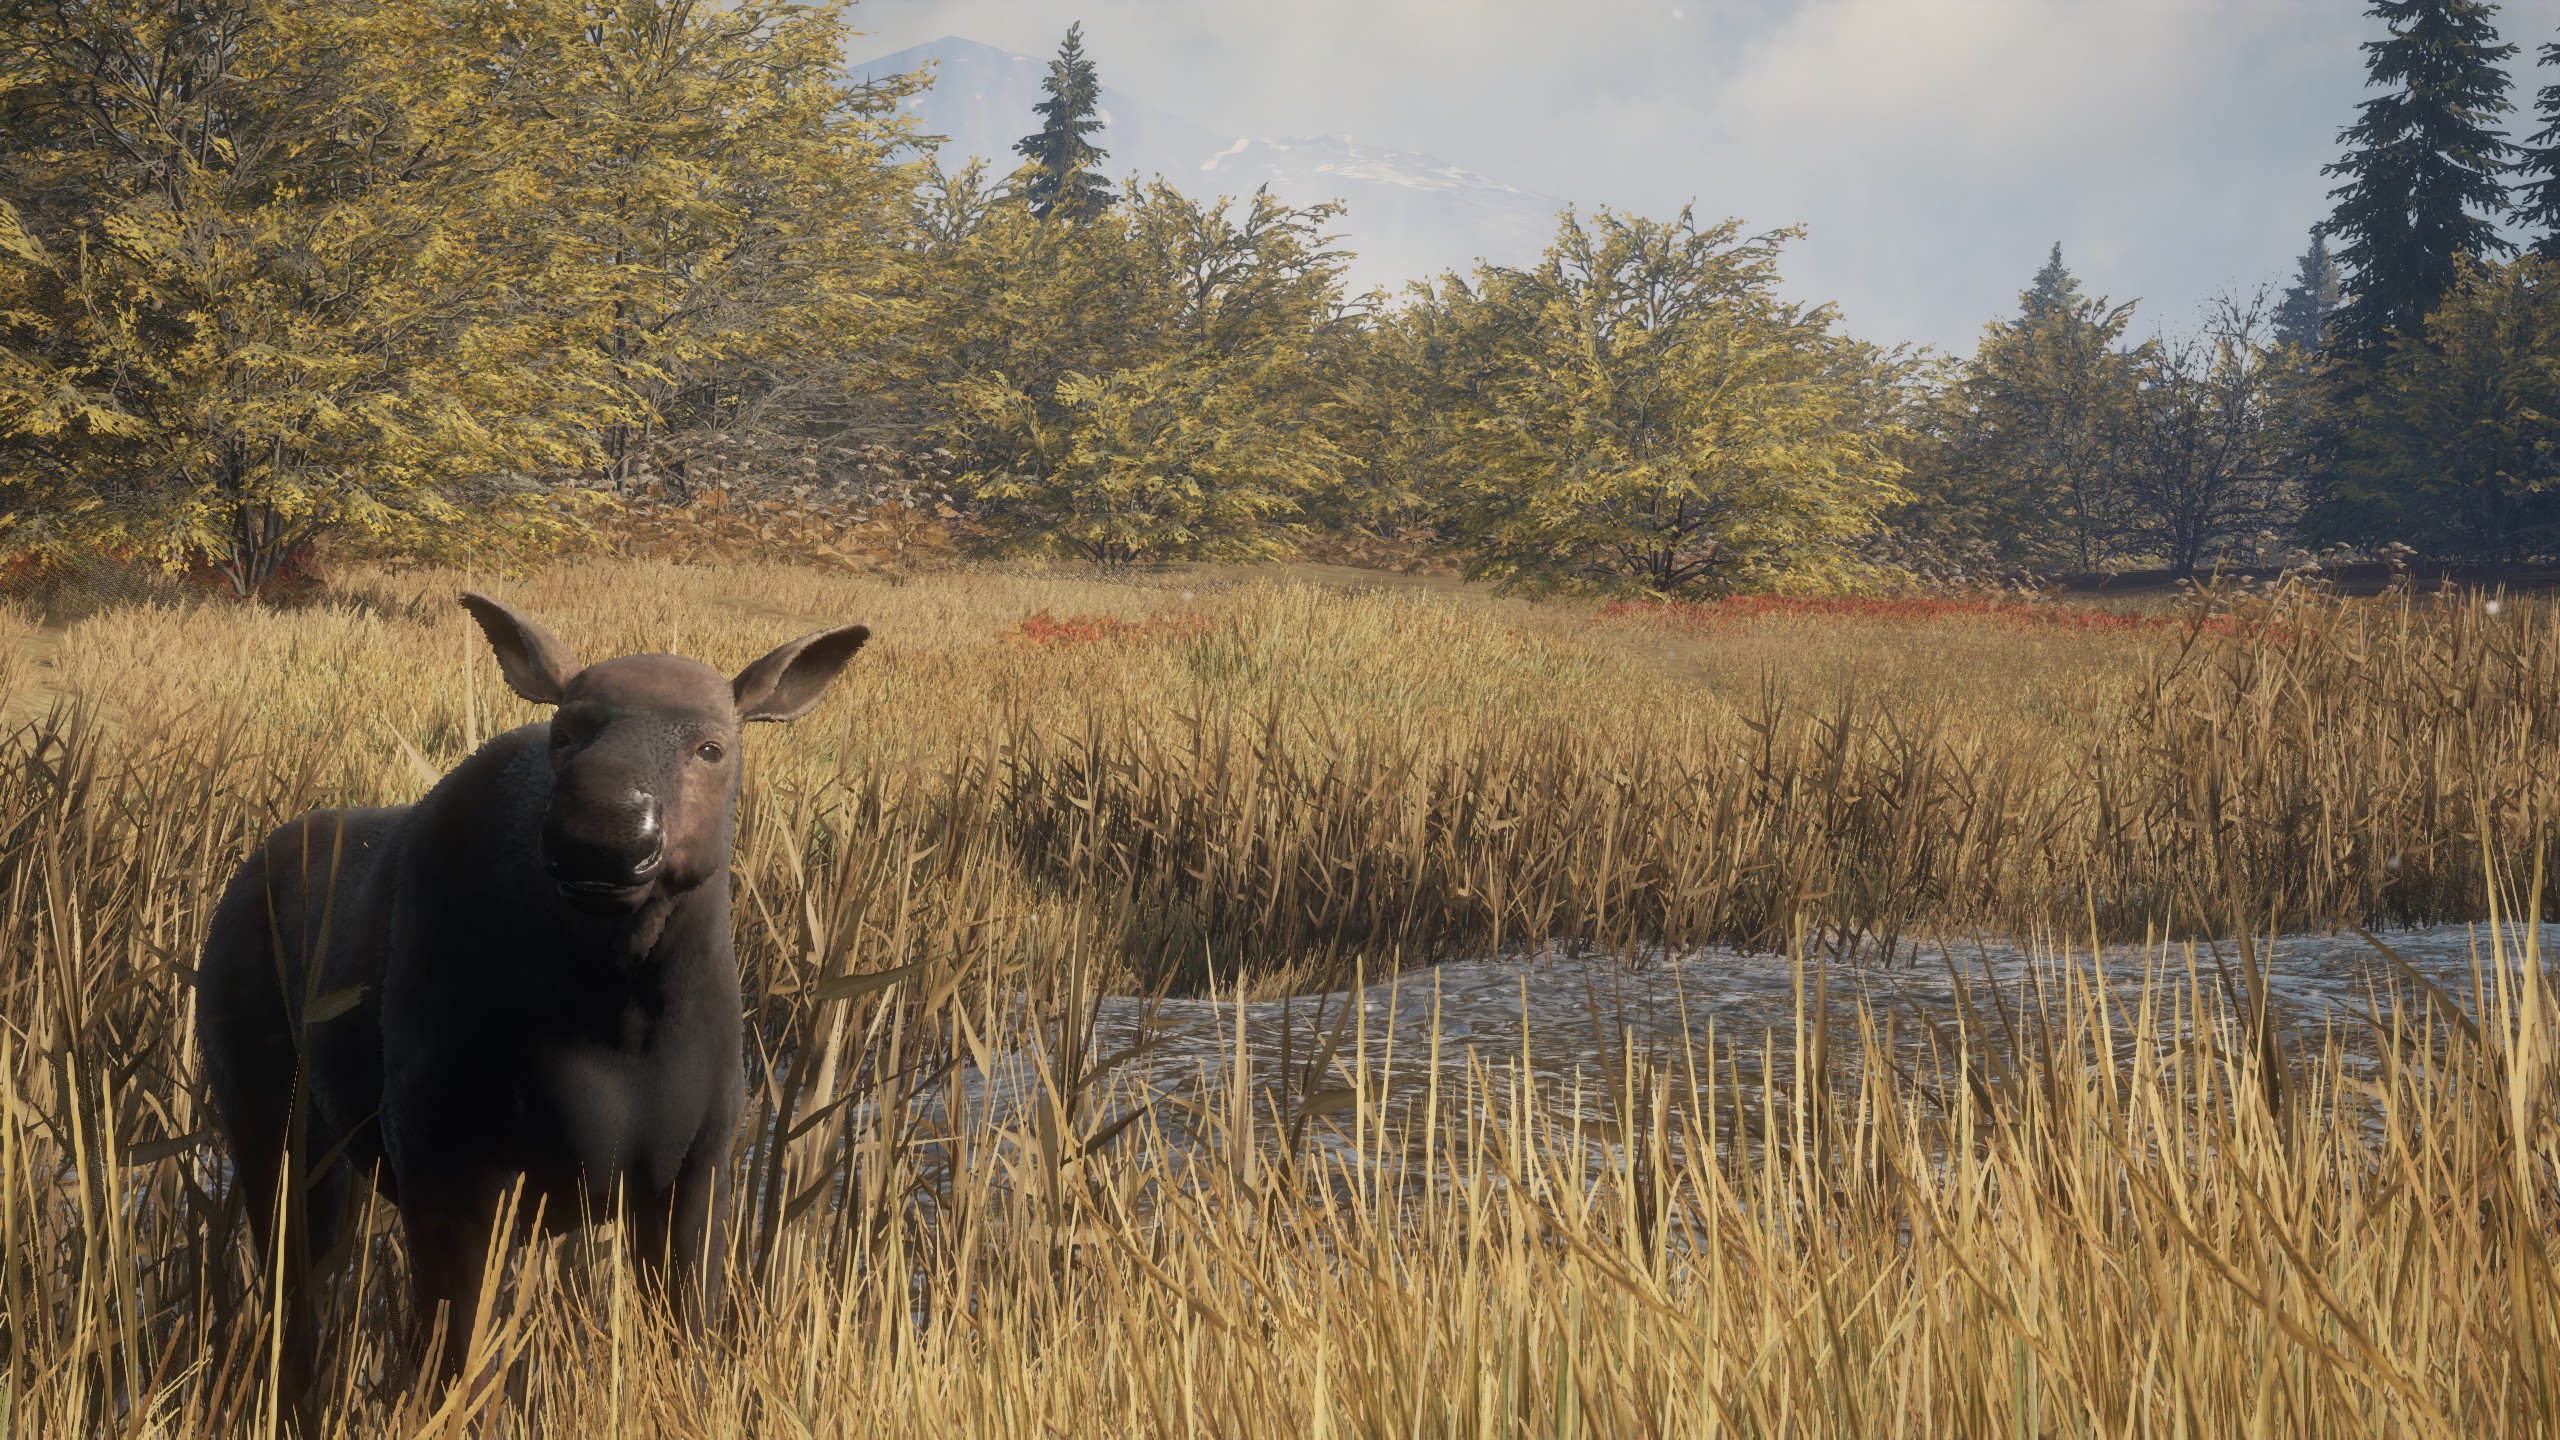
MELANISTIC
MOCHA (Found in the Te Awaroa missions)
A large and unique Mocha furred moose.

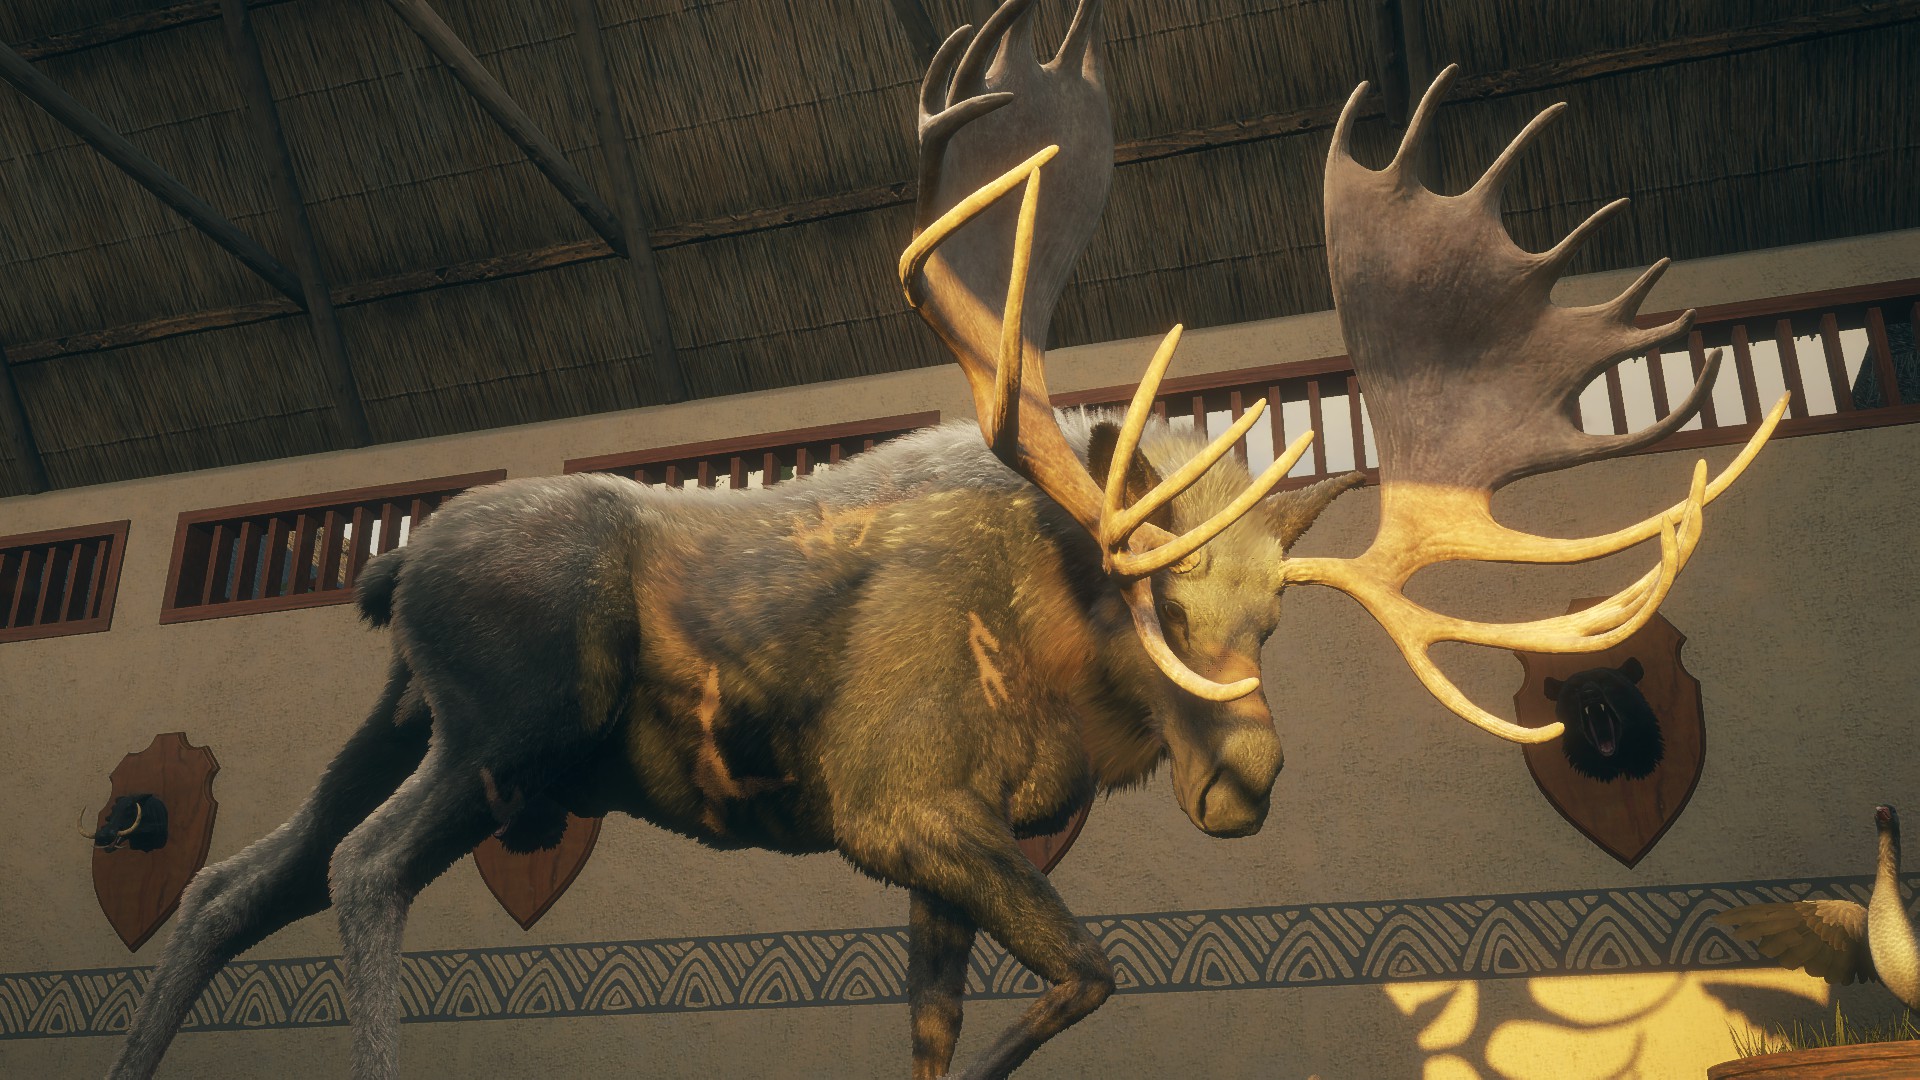
Great One moose have their own variety of fur types, which could also be piebald, albino, and melanistic. Here are all the variations besides the usual rares type:
- Fabled Ashen
- Fabled Spruce
- Fabled Oak
- Fabled Birch
- Fabled Two-Tone
- Fabled Speckled
All Great One fur types have an equal chance of spawning, none being rarer than another. Same goes for the rack combinations, too.
Here are some pictures showcasing the different Great One fur types:
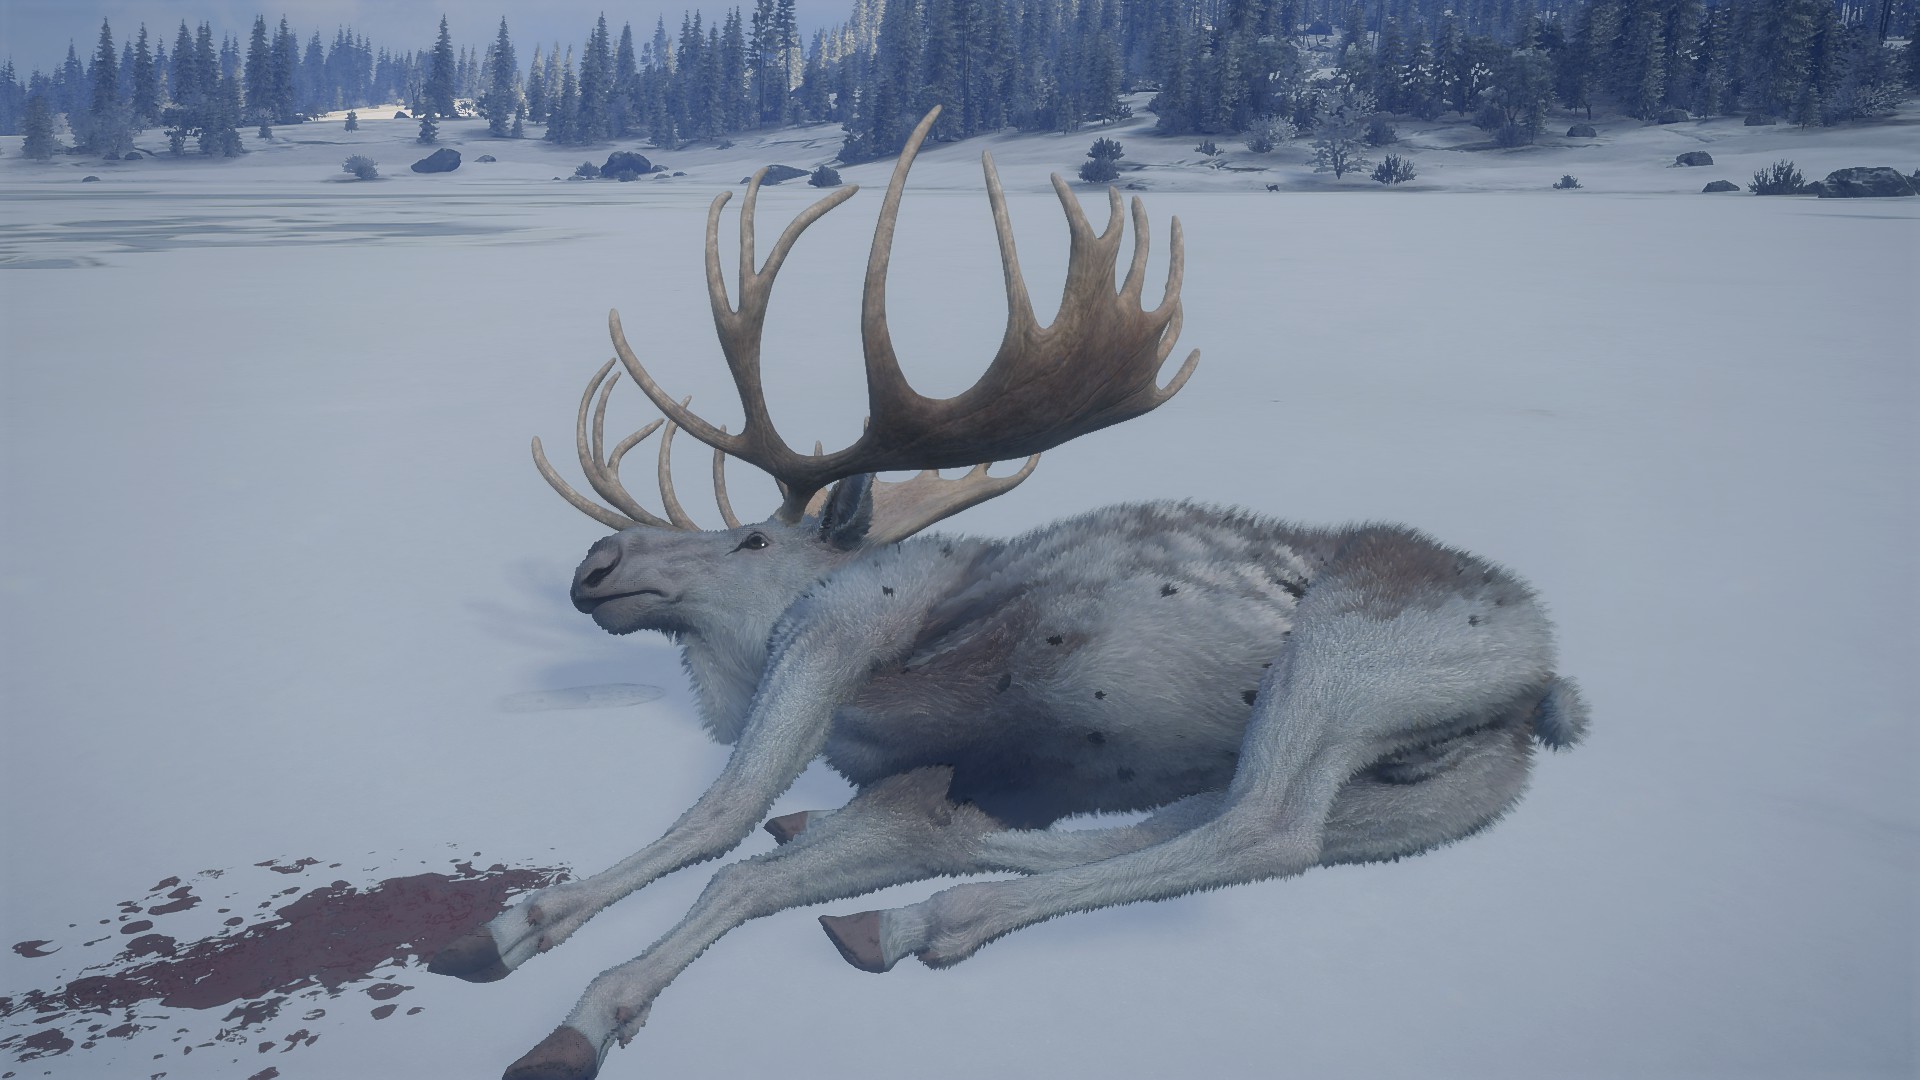
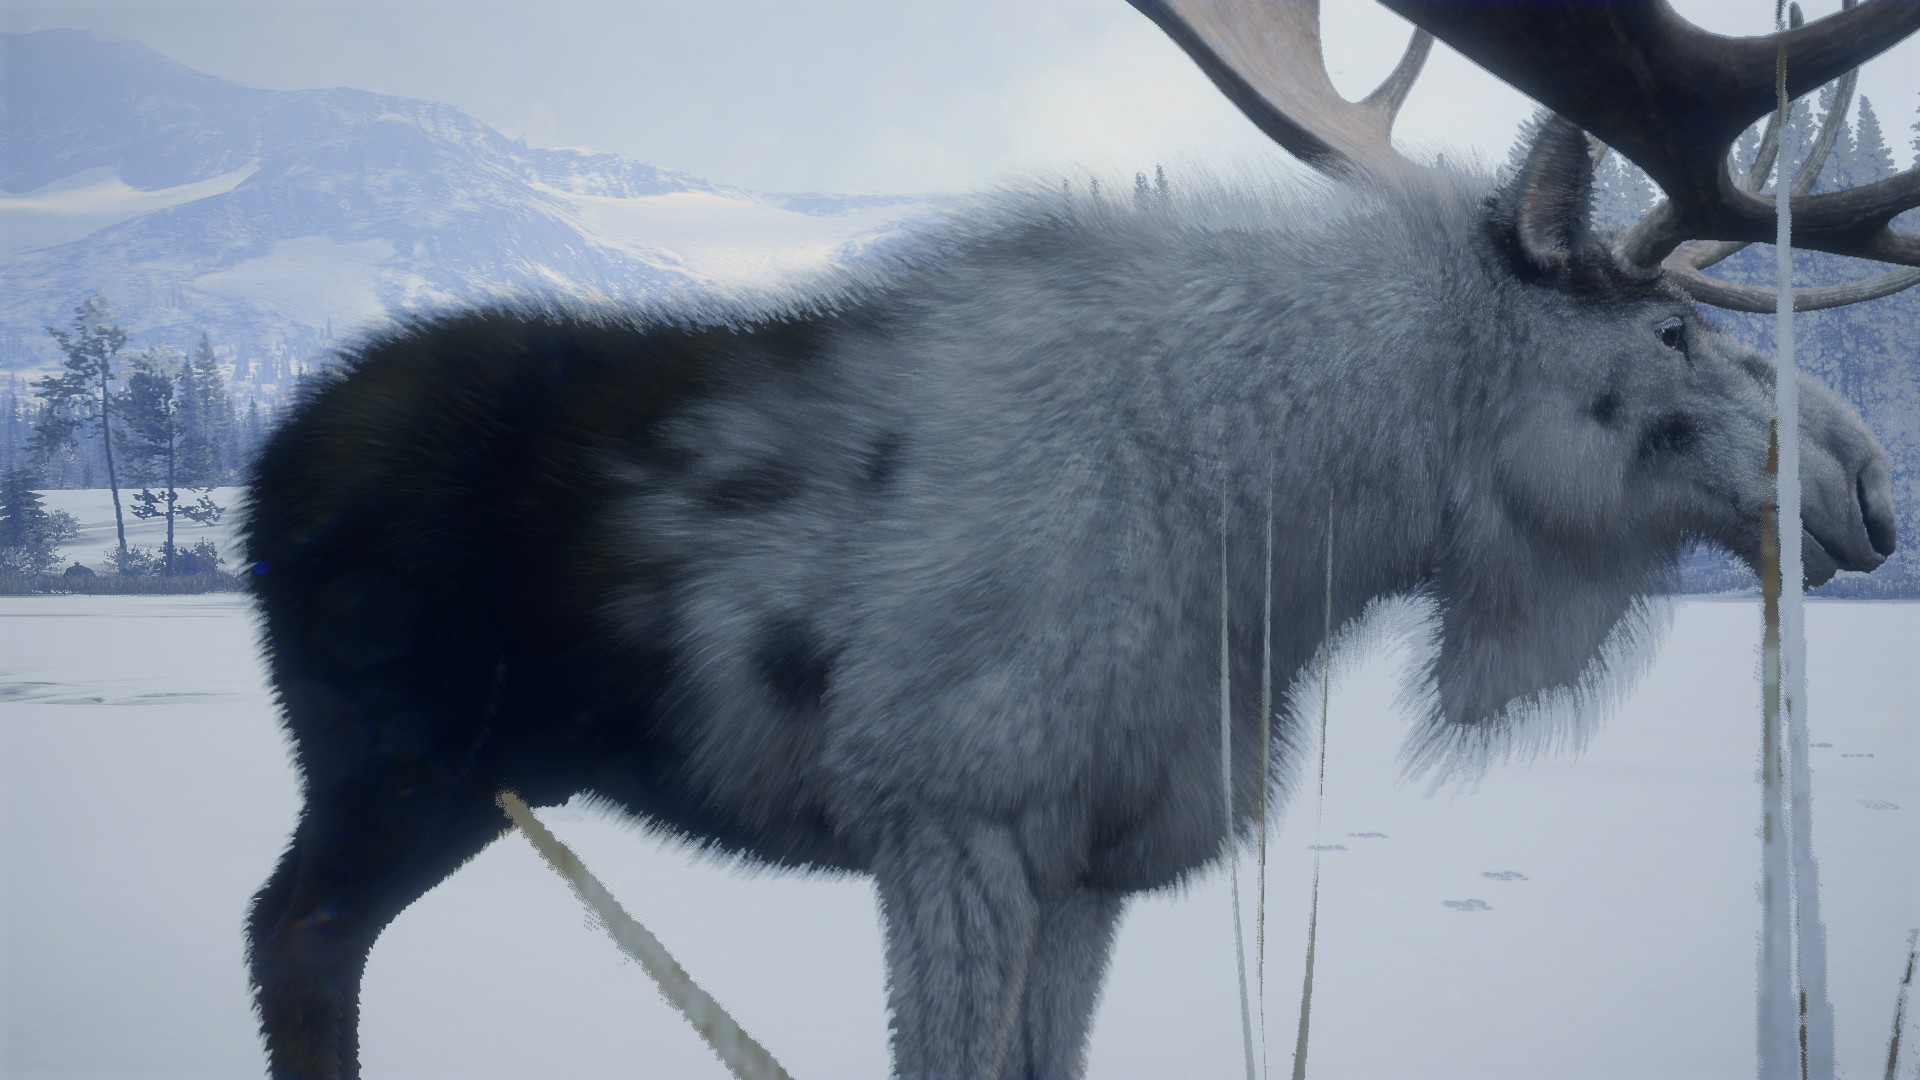
FABLED ASHEN
FABLED SPRUCE
FABLED OAK
FABLED BIRCH
FABLED TWO-TONE
FABLED SPECKLED
Great One moose also have a different variety of antlers that are found on one of these animals. They are exclusive only to the Great One moose, and there are four of these rack types in total. In this guide, we won’t be going over them.
WEIGHT ESTIMATE
Moose have different weights which indicate the level and size of the moose. If you come across a track, you should know what the approximate level of the animal would be based on the weight of the track. In order for the moose to be a potential diamond, the animal has to be at least 590 kg or 1300 lbs.
Moose that weight 545-620 kg or 1201-1366 lbs. are either large levels 4’s which score gold, or level 5 moose that score diamond (or gold if they troll you.)
Moose that are guaranteed to be Great Ones weigh 605-700 kg or 1333-1543 lbs. If you spot one of these moose, they are definitely going to be a Great One score.
Herd Mangement
Herd management is when you shoot only the level 3’s and 4’s or 1’s and 2’s depending on which lakes you’ve chosen to destroy or grow. Let me explain.
In Medved Taiga, you need to select around 10 main lakes to grow and spawn your diamonds into, and around 5 or 6 lakes to destroy. When some lakes only have small moose, such as level 1’s and 2’s, that will force your other lakes to only spawn large 4’s and 5’s, which is what you will want to happen. The 10 shooting lakes you choose are the ones you feel comfortable going to very often and should be easy to reach and move around on. And your 5 exterior lakes probably shouldn’t be as large as your shooting lakes and should be more along the outskirts of the map. Here is my shooting and exterior lake setup:
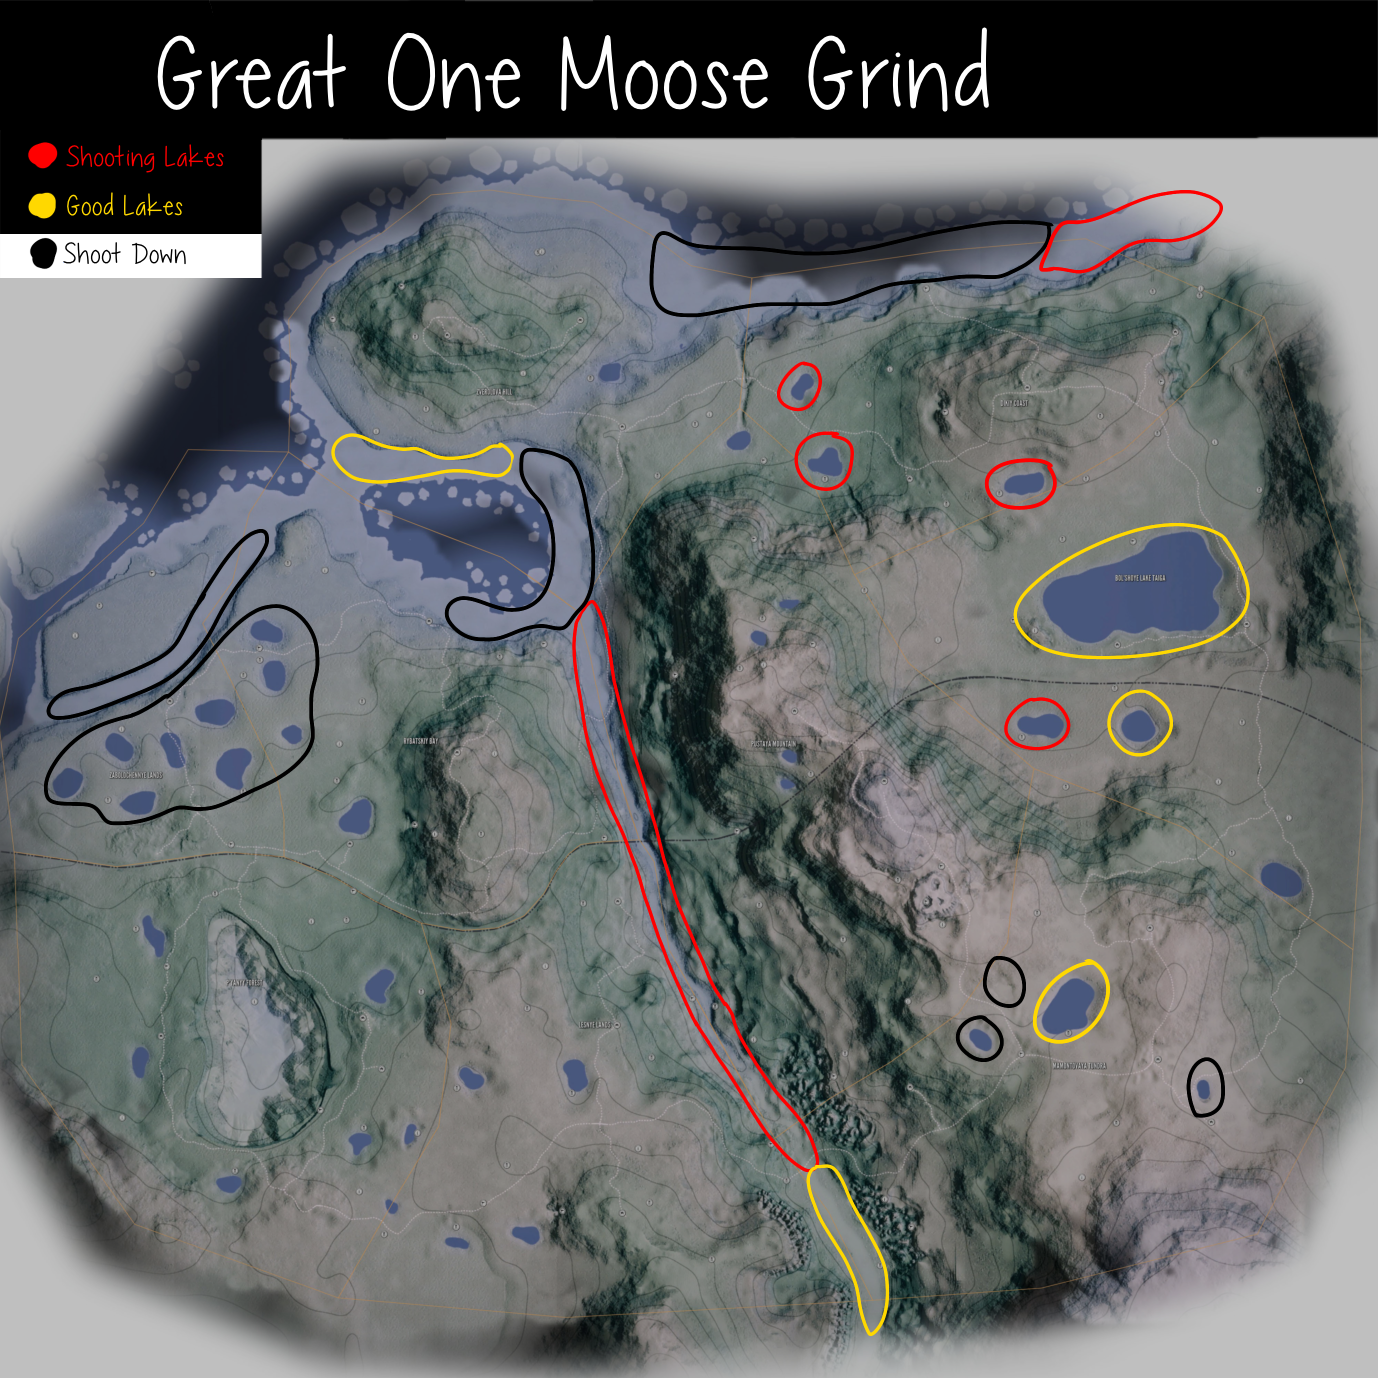
The ones marked in yellow are my best shooting lakes. Next, find ALL of your moose drink zones in those areas. Now, how do you get your shooting lakes to spawn diamonds and your exterior lakes to spawn small moose?
In your shooting lakes, ONLY shoot male moose that are levels 1 and 2, in order for the opposite 4’s and 5’s to spawn. And in your “shoot down” lakes, ONLY shoot male moose levels 3 and 4 and troll 5’s, so that only 1’s and 2’s can spawn.
So basically, smaller = bigger / bigger = smaller.
In my lakes surround by red and yellow, I will only shoot male 1’s and 2’s. In my lakes surrounded by black, I will destroy those lakes by only shooting male 3’s and 4’s.
After you’ve shot the required moose for each lake, you should have only 1’s and 2’s in your exterior lakes, and so there’s no point at going back to those lakes! And DO NOT shoot the wrong moose at either of your lakes, because this will setback your system by a little.
(Of course, if a rare female or male spawns, you can may shoot it if you want, despite the fact that it might not be the right shooting level for your certain lake. You can make an exception by one or two moose if you make a mistake 🙂
By killing the opposite of what you want in those lakes, you will force the system to spawn big moose in your shooting lakes and very small moose in your exterior lakes. This method of shooting is called herd management and it is the fastest way to spawn diamond and large 4’s at your favorite lakes. Medved is one of the easiest, if not the easiest, map to use this method on.
Great Ones will not spawn more often using this method, because they are RNG spawns (random number generator: they spawn by rare chance). But you will get a LOT more diamonds and super rares in the meantime as you look for your Great One! The Great One may spawn at any of your lakes, including your small exterior lakes.
After you have used this method for a while, you should have a pile of diamonds at your shooting lakes and very small moose at your exterior lakes. You can shoot your diamond(s) whenever you want, but I recommend another method called stacking which we’ll go over in the next section.
REVIEW:
1) Choose your 10 shooting lakes and your 5-6 exterior lakes.
2) Find all of your drink zones.
3) Shoot the required male moose for certain lakes.
Let the diamonds pour in!
(Herd management is not considered cheating, for anyone wondering.)
Stacking
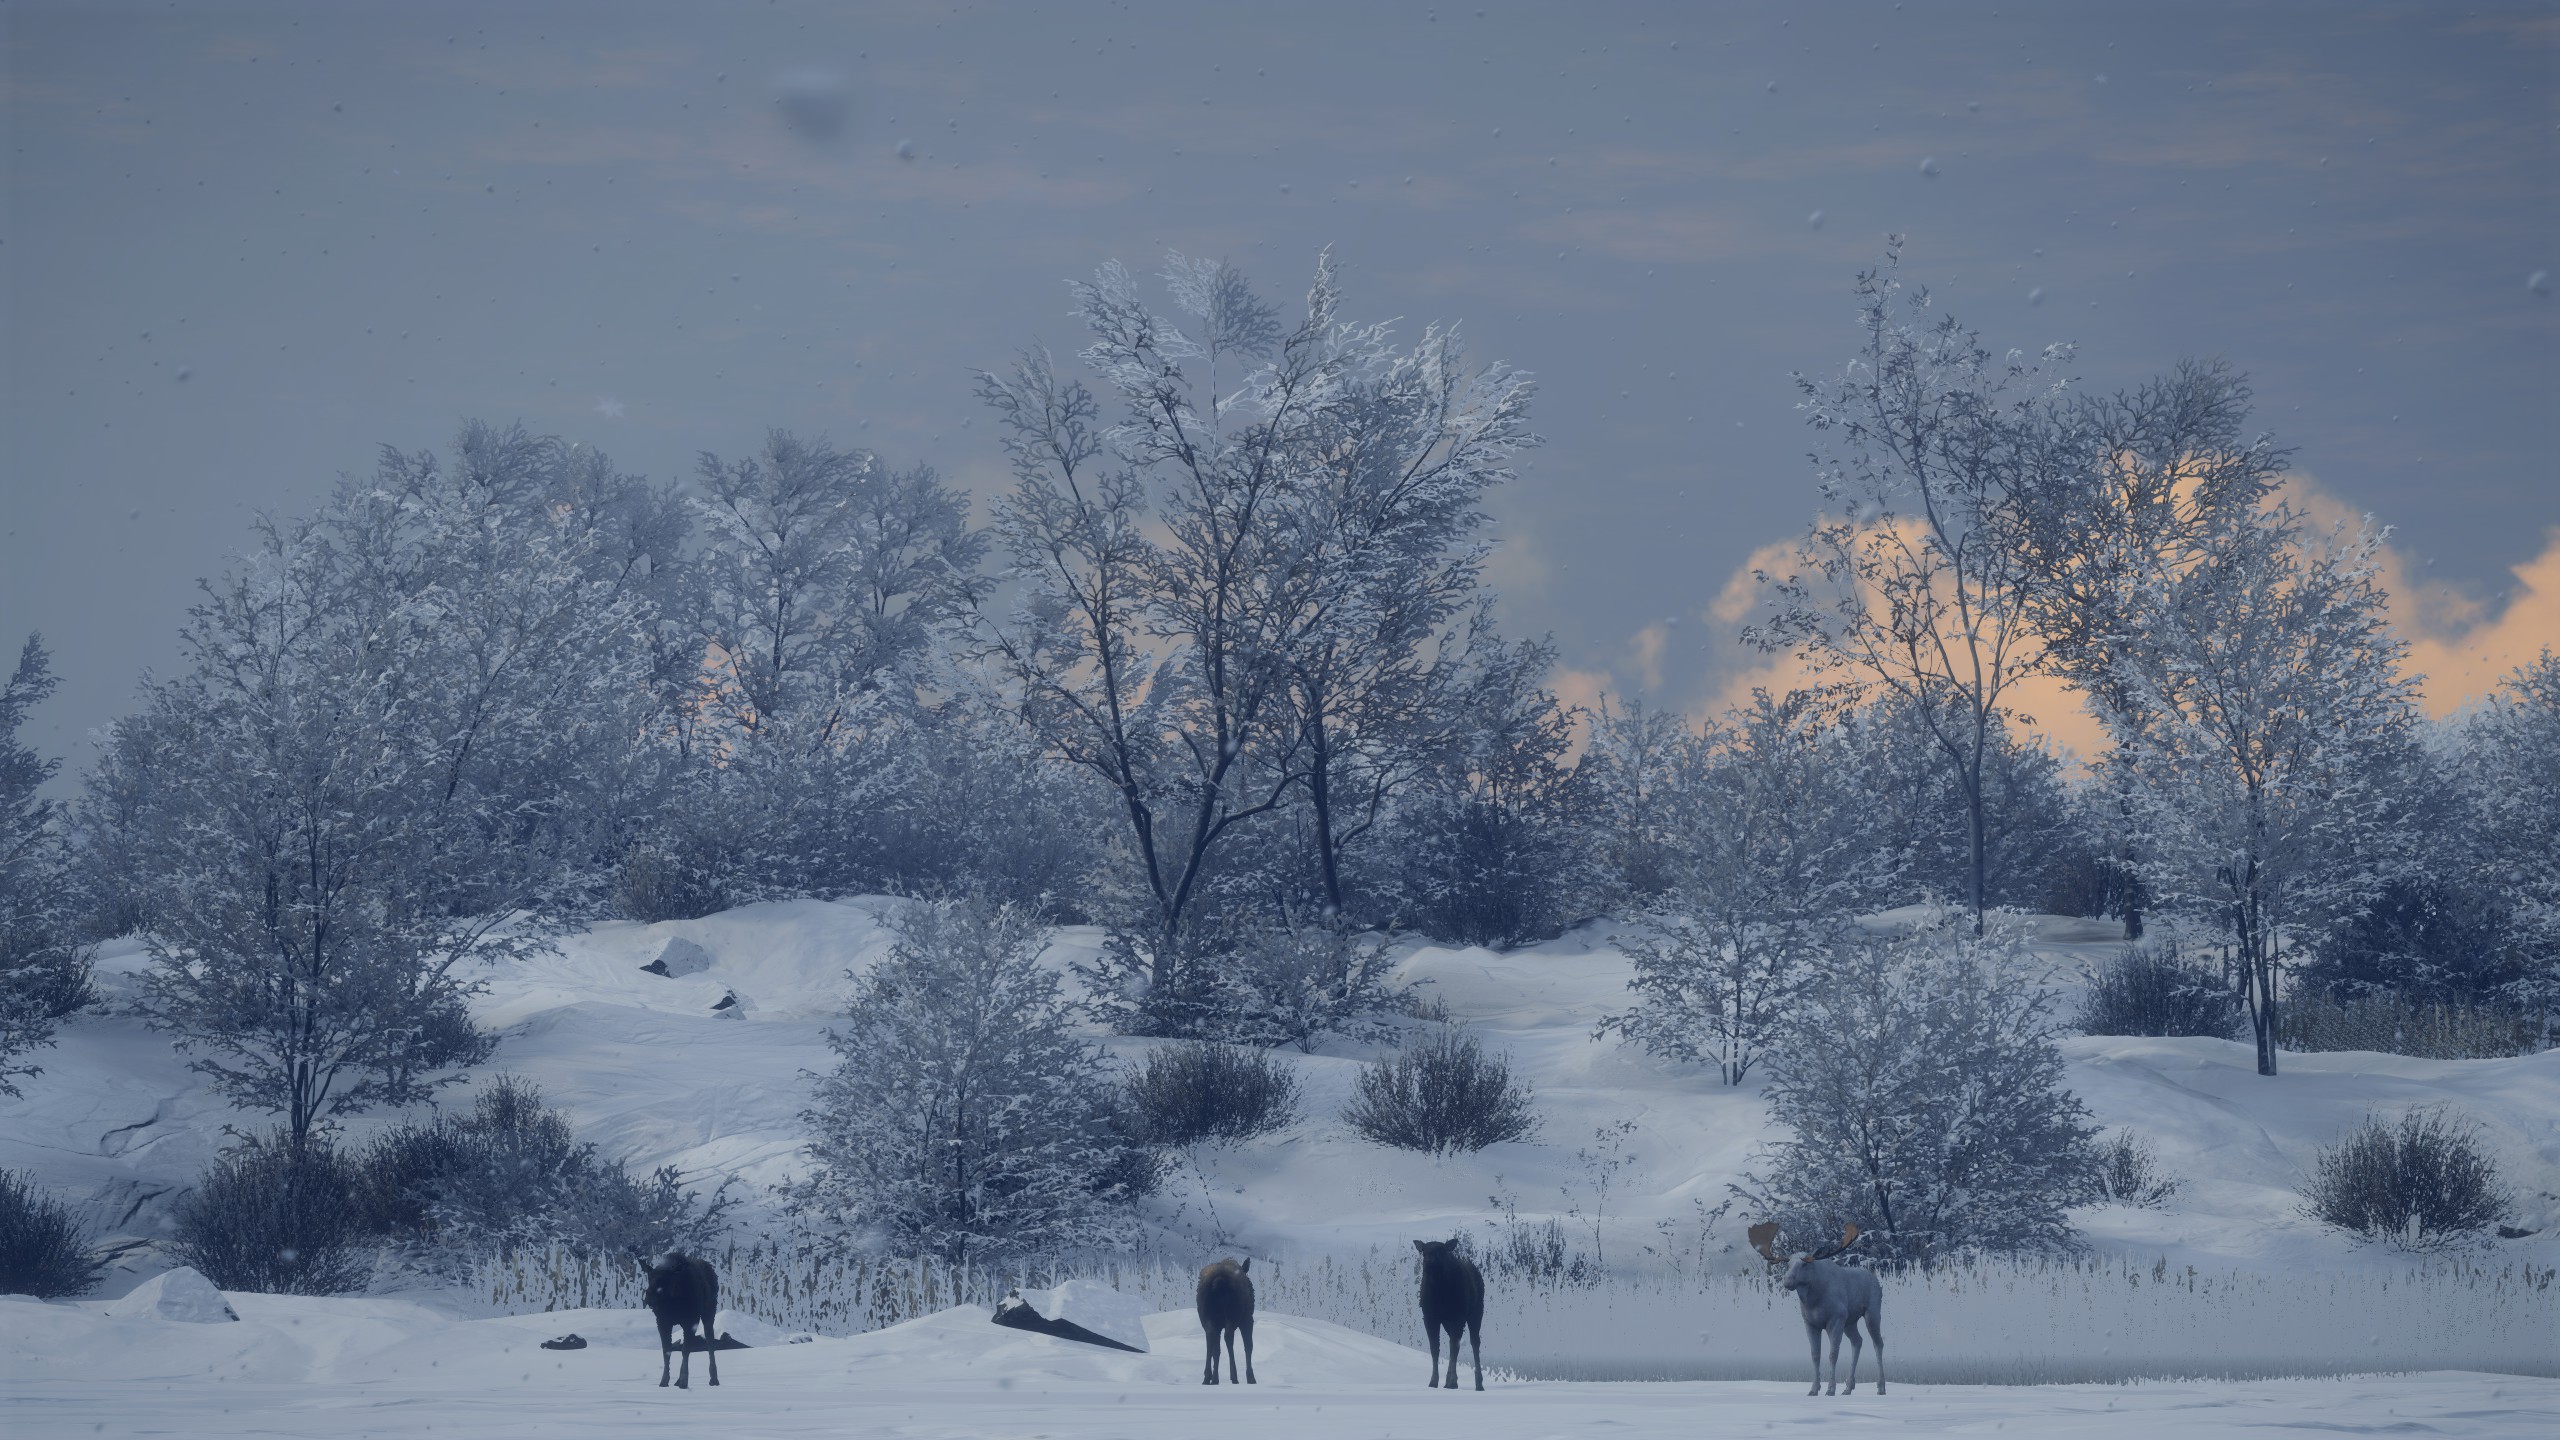
Stacking is basically when you leave your diamond OR Great One animals on the map and not shooting them so more and more can spawn. I recommend using this method along with herd management at the same time to get as many high level animals to spawn.
When you manage to get a diamond to spawn, by using herd management or any other method, if you leave the diamond on the map and don’t shoot it, it let’s other diamonds and Great Ones spawn without a setback to your system. When you claim a diamond, your grinding system gets a little refreshed and a setback will occur that will make it harder for more diamonds to spawn. But, by not shooting your diamonds, that allows more and more to spawn all the time. Same works for Great Ones.
Then, when you can’t find any more moose to shoot for your lakes (if you’re using herd management), you can finish your grind by shooting all of your stacked diamonds and giant 4’s and Great Ones. Personally, I might not stack my Great Ones (only if they’re ugly and just shoot them when they spawn, but if you want them to spawn faster, don’t shoot!)