This guide will provide you with some tips and tricks on how to survive, loot more samples and generally be a better Helldiver.
Introduction
Welcome to my guide, I hope you find it helpful. There is also a fully animated and voiced video below if you prefer to watch rather than read:
Stealth
Utilising stealth as you navigate around the area can help you completely avoid fights. Being a sneaky Helldiver might not be the most glamorous, but a Helldiver with no ammo, won’t survive long.
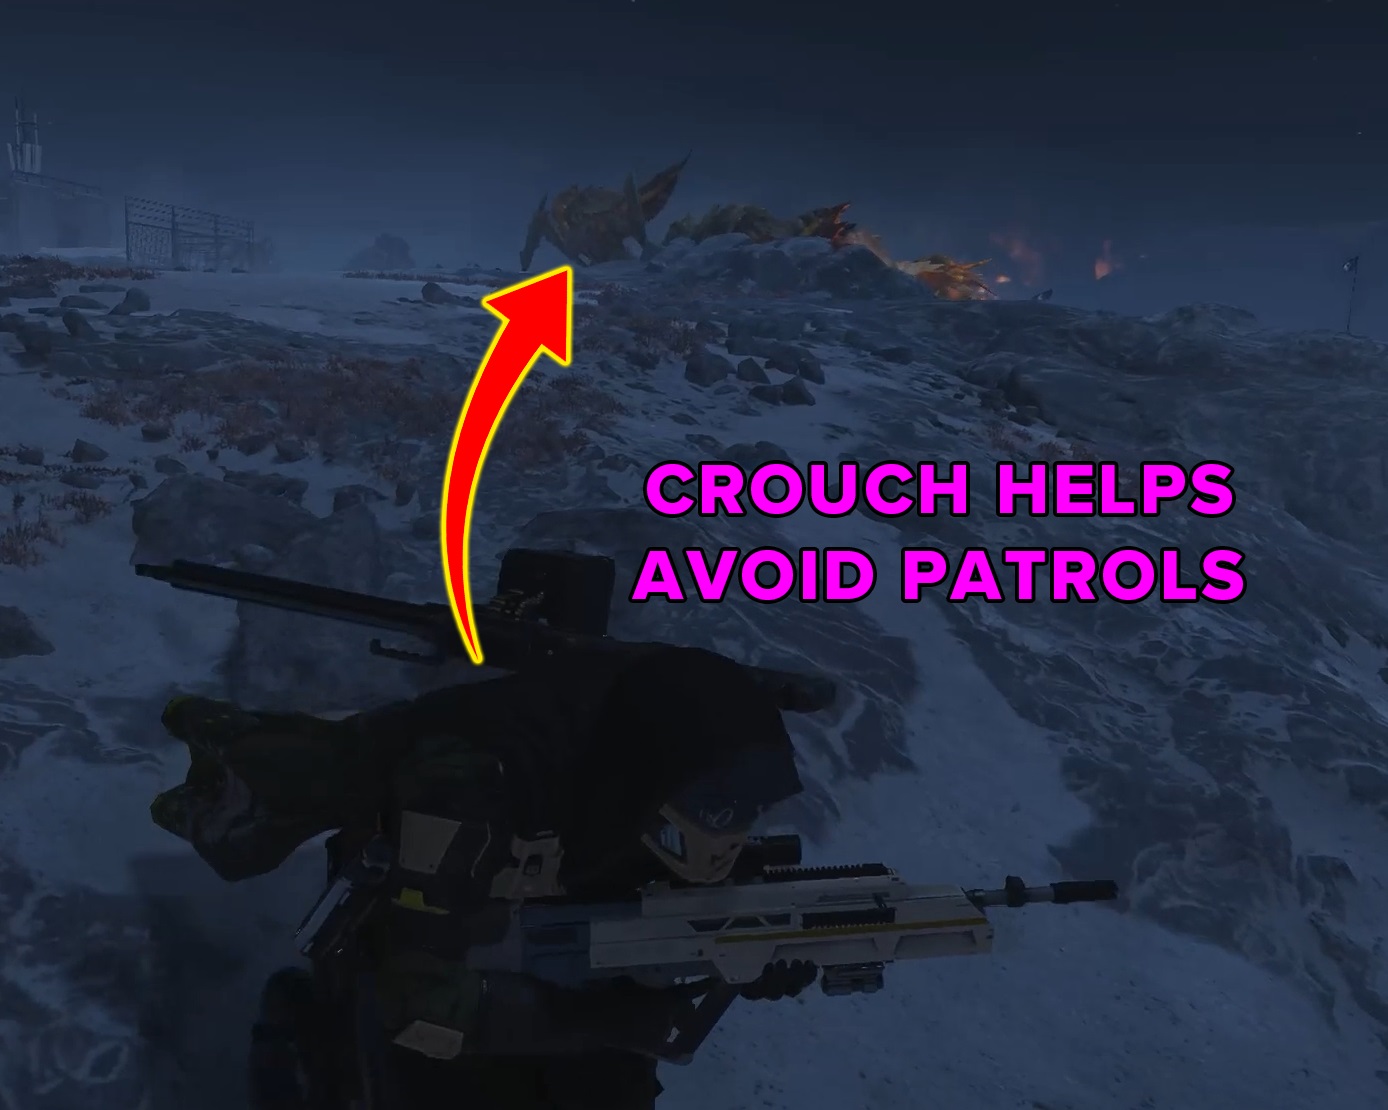
This is a very powerful tool that you should definitely keep in mind. And there are some armour options to help assist with you being sneaky, you can still do this with any armour type have, but certain ones will definitely give you a boost.

Using stealth will allow you to completely avoid heavy enemies saving you ammo and wasting your precious time.
Bug Breeches
When encountering enemies, especially patrols, there is a chance they will spray pheromones into the air.
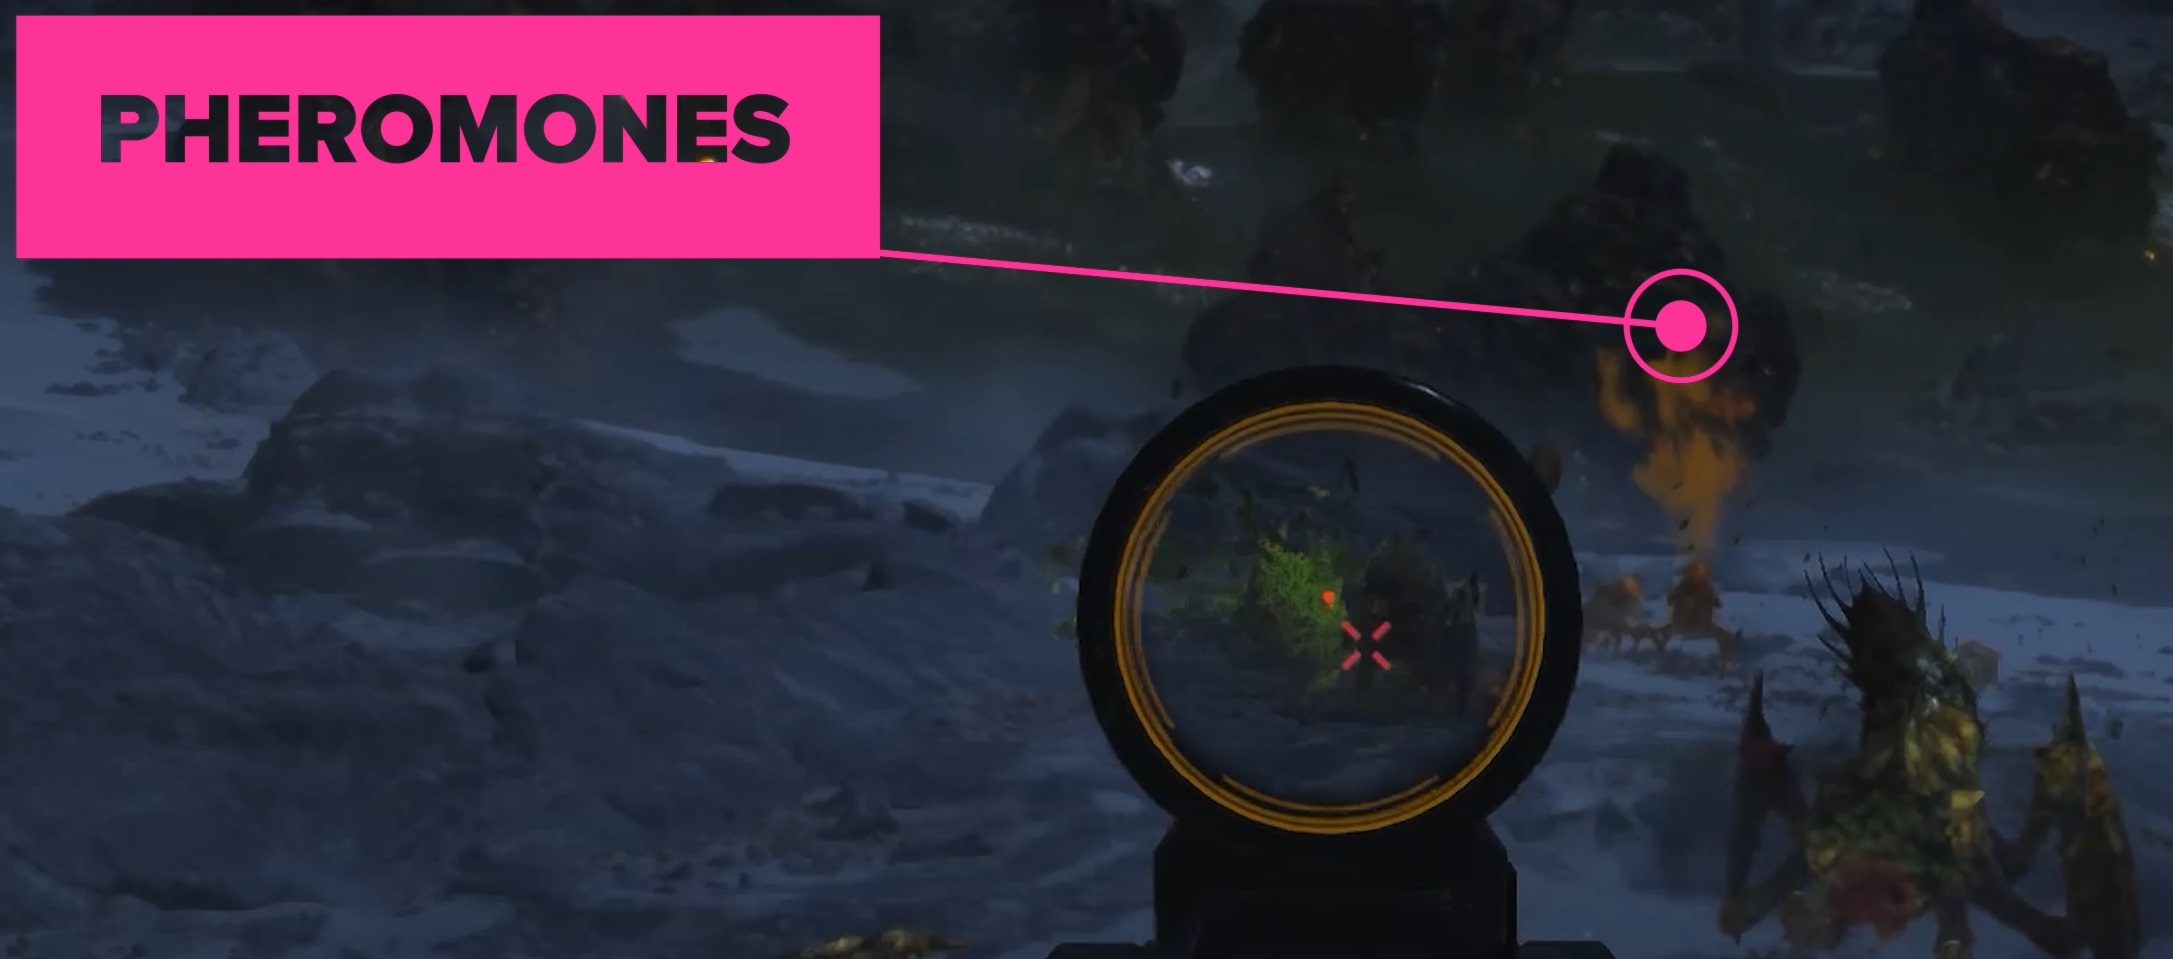
This will then cause a bug breech near that location.
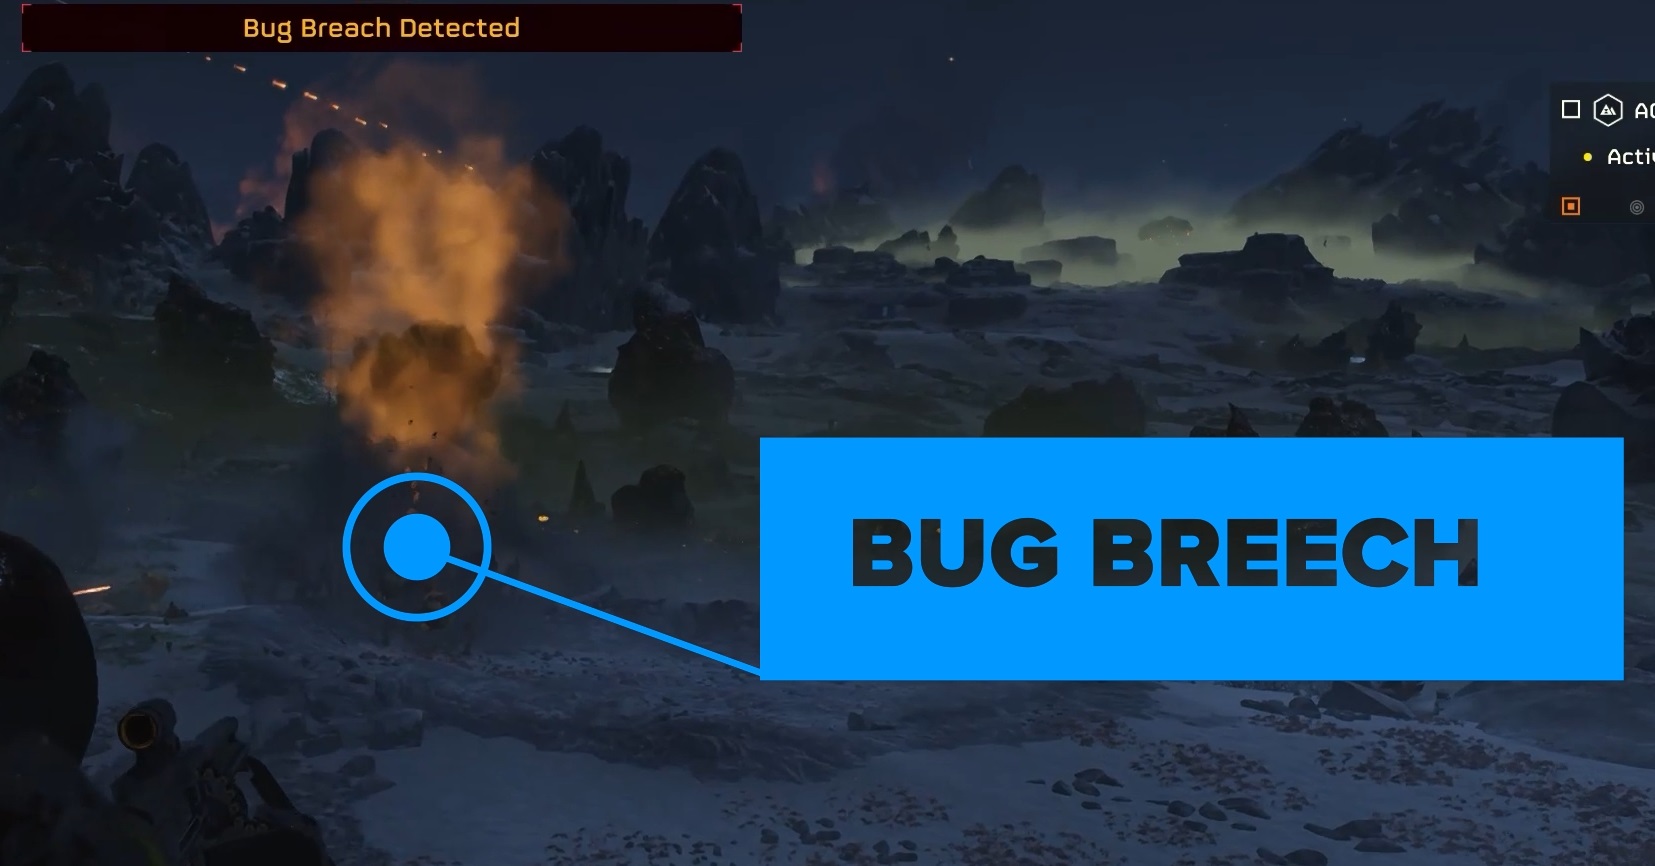
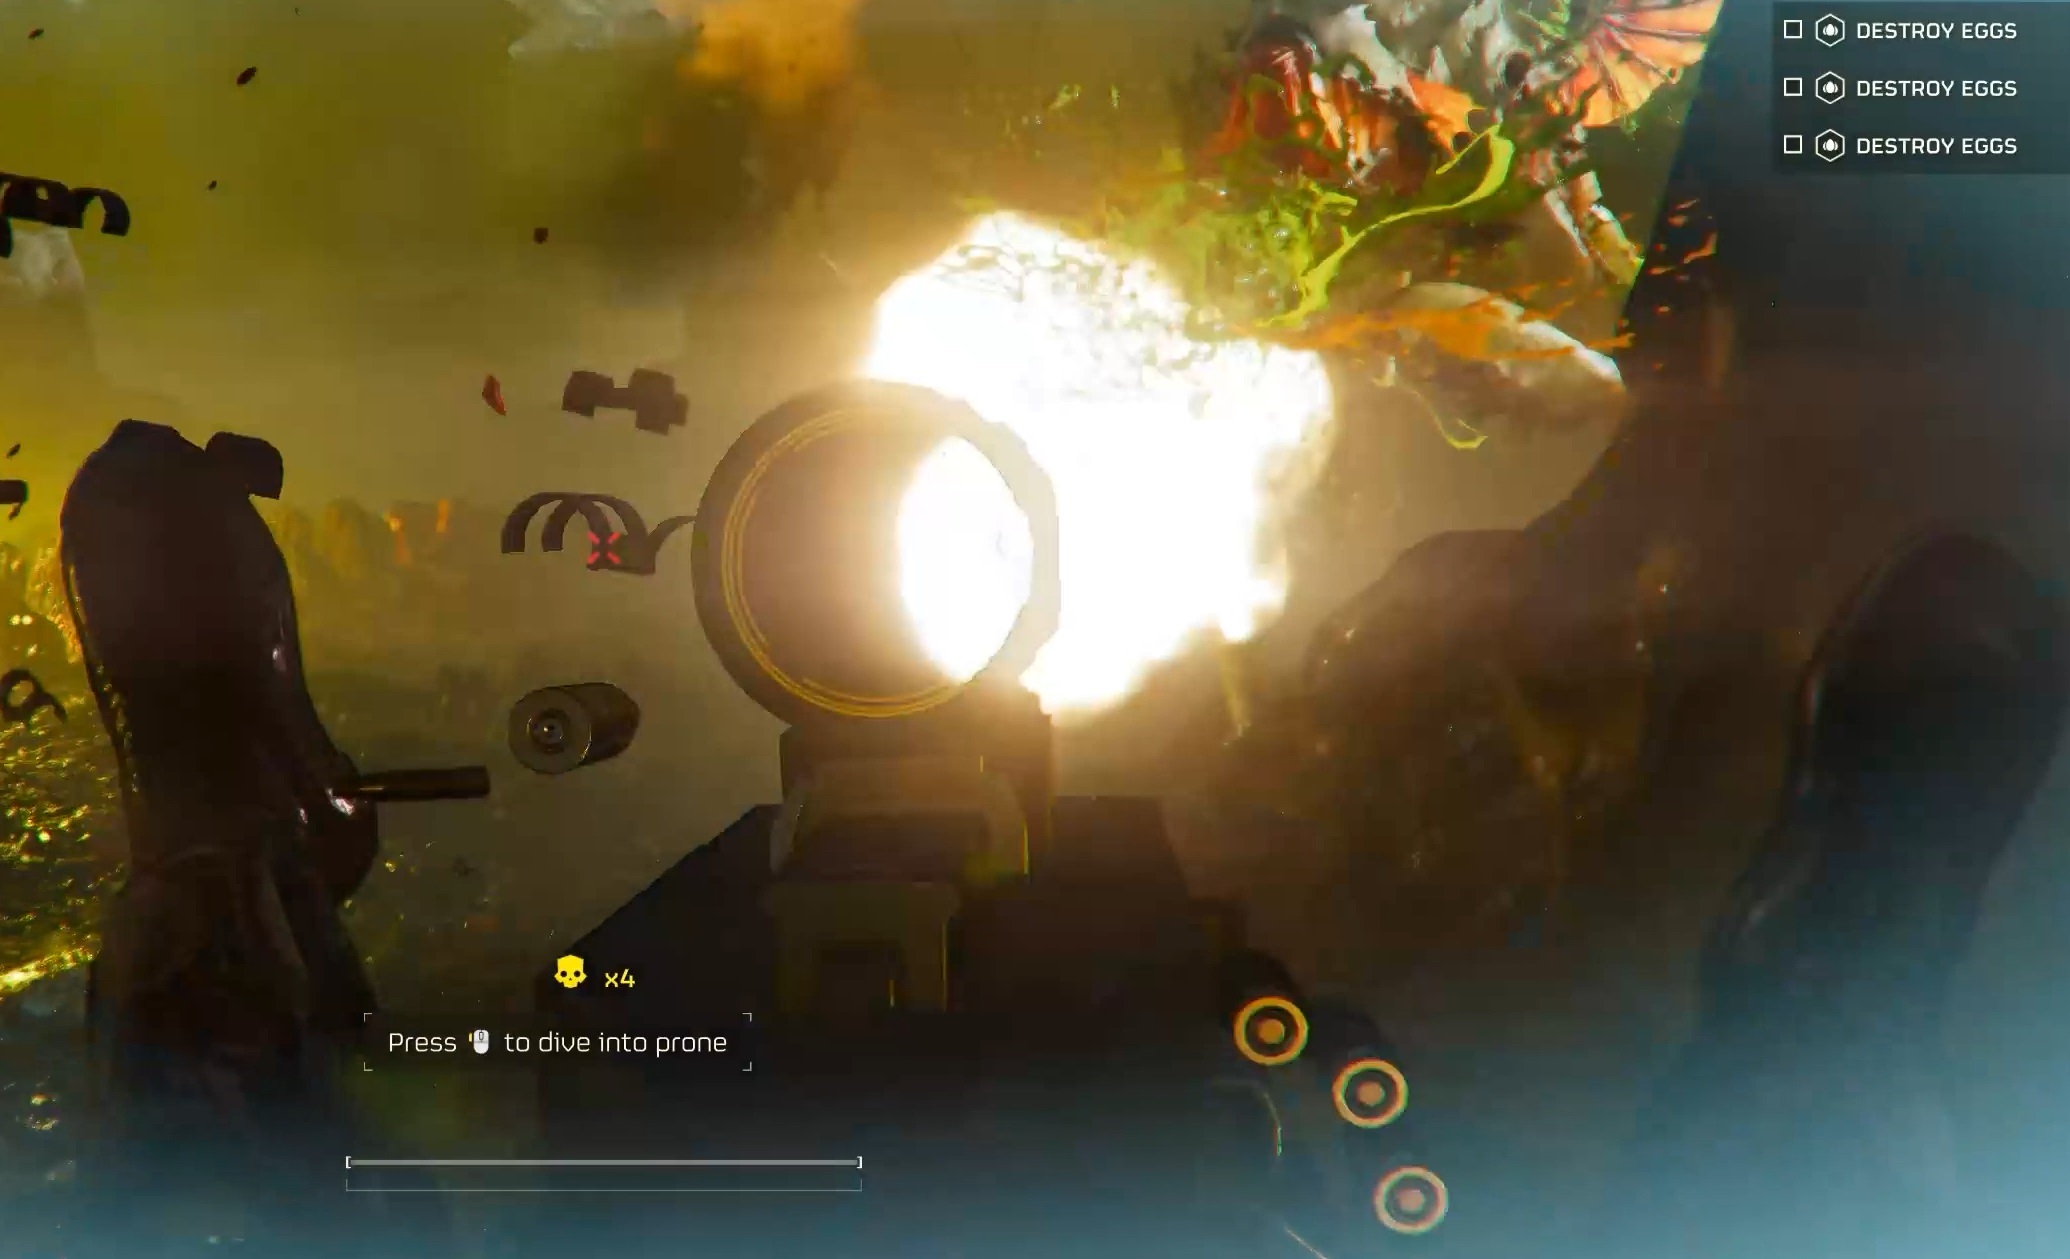
This breech can’t be closed like normal bug holes with a grenade or an airstrike. Instead waves of enemies will keep coming out the breech over time. You can either stand and fight all of these waves until the breech collapse by itself, or run away saving your ammo.
If there is no objective or loot around, fleeing to save time and that ammo may well be the wise if not heroic option.
The longer you take fighting bug breeches the less time you have searching the area for samples, or getting your objectives completed.
Super Samples (pink samples)
Pink Super Samples are the rarest you can acquire. You will need these for more powerful ship upgrades. They are only found in assignments with a difficulty level of 7 or higher.
They are always found around this rock. It appears to not matter planet you are on or what Biome you are on. Somehow this rock will be on it and the samples will be near it.
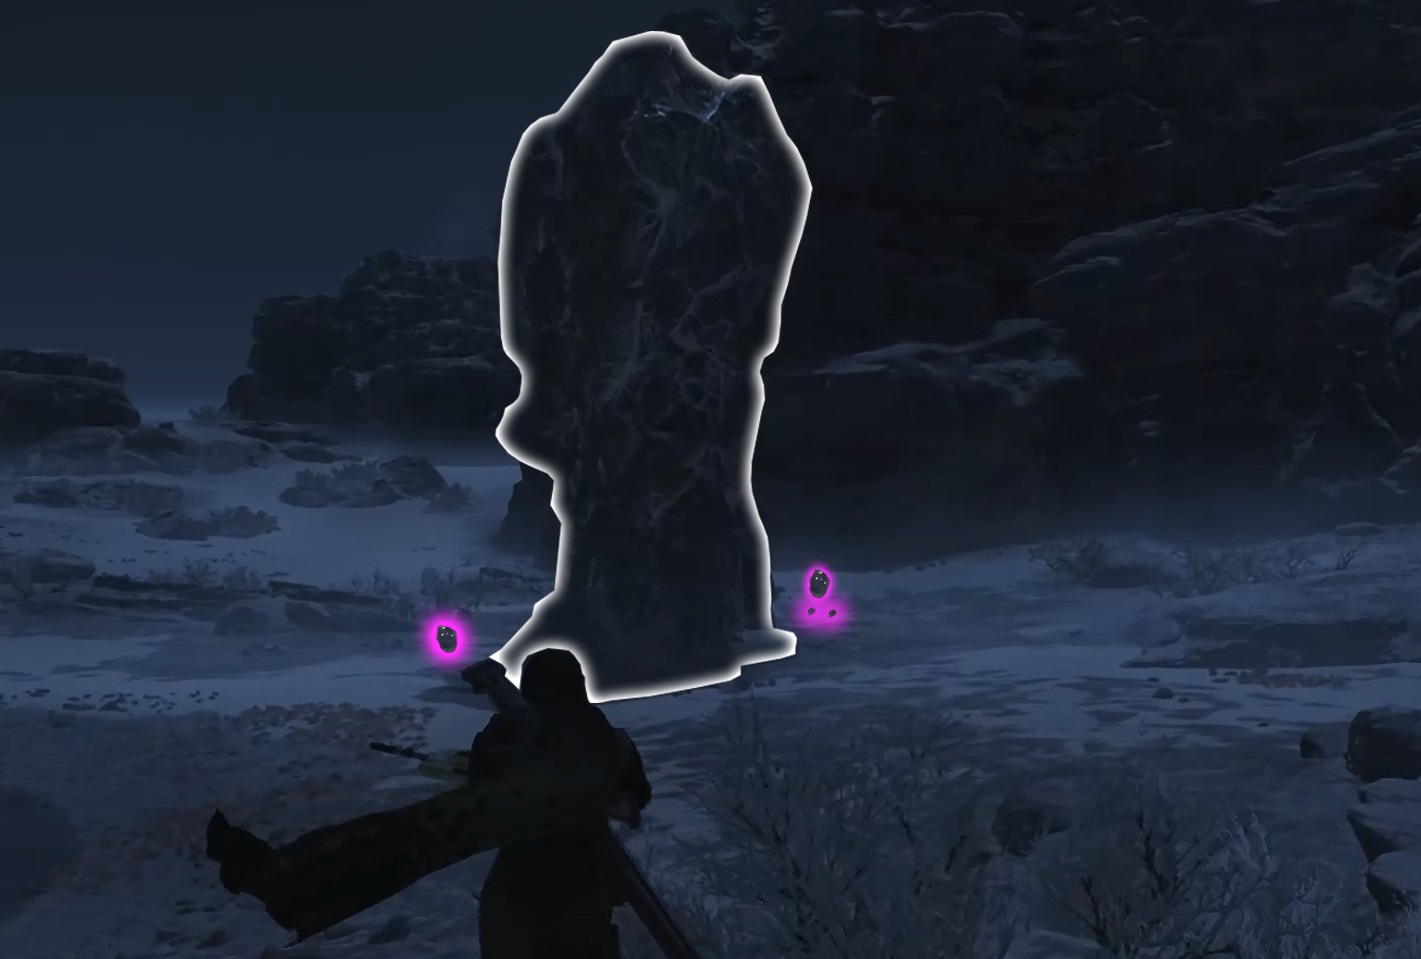
It can be especially helpful to get up high and then scan around the map to try and identify this rock. This will really help you in not leaving any Super Samples behind.
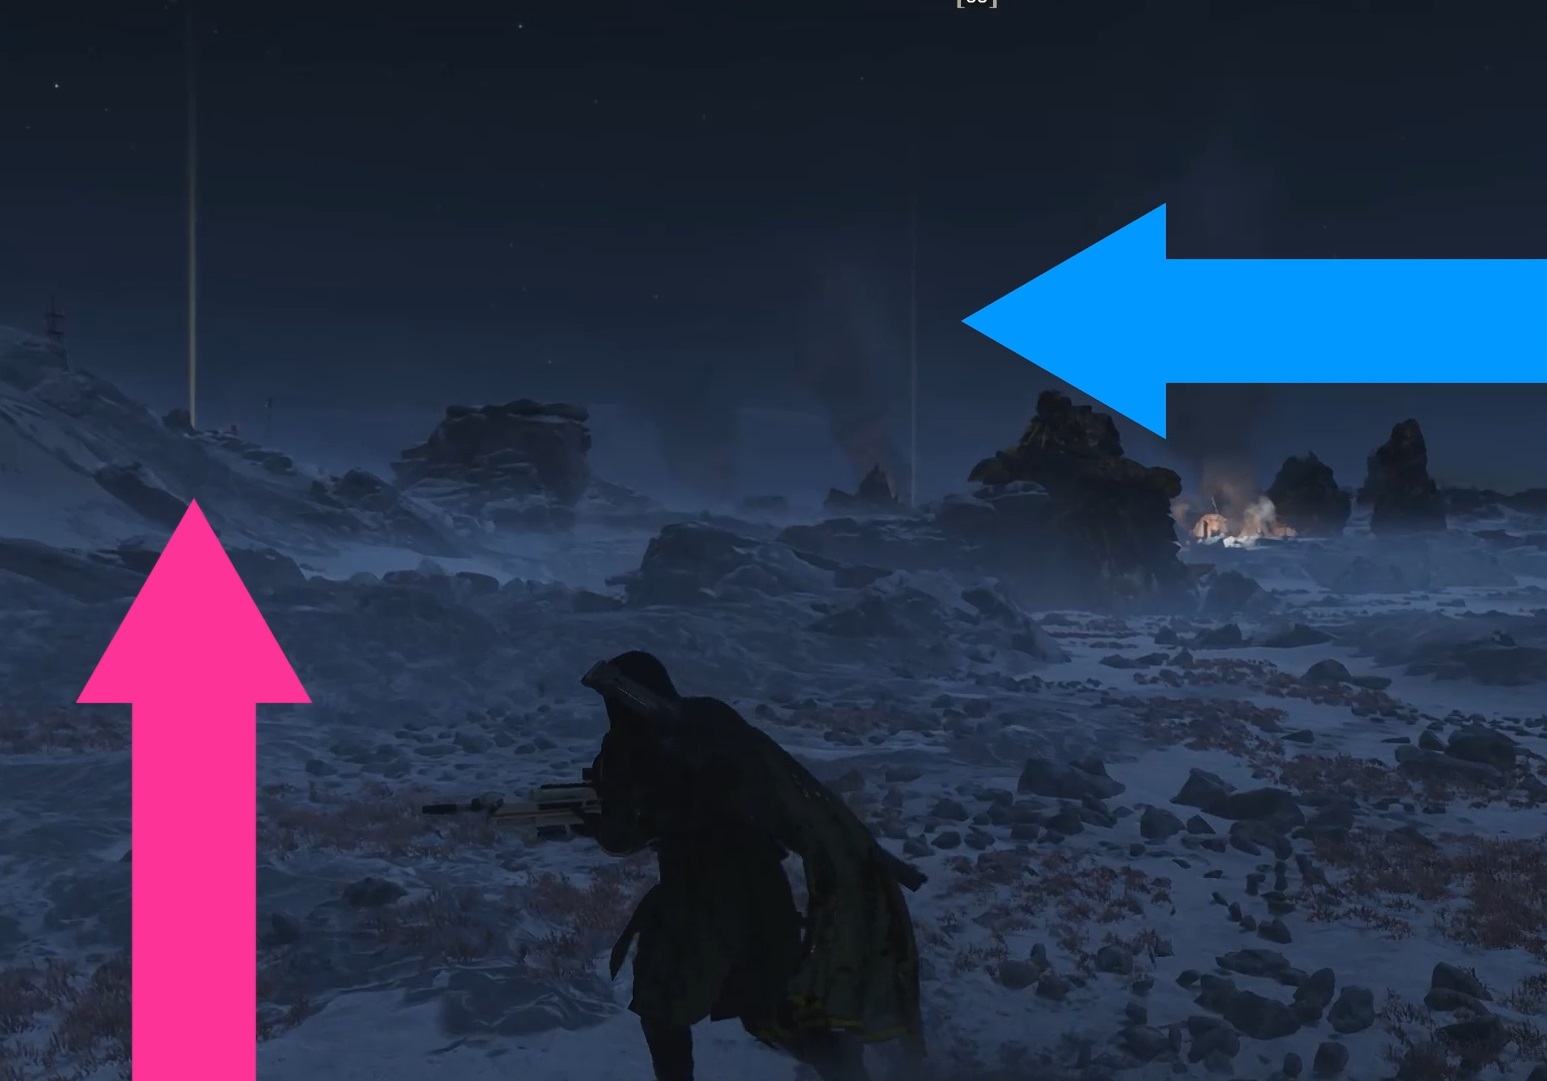
Movement and running away
A high movement speed can put more distance between you and the bugs especially when needing to reload.
When running away remember to look backwards and keep an eye on the enemies or the field of combat.
You can also fire your one-handed weapons backwards whilst fleeing, keeping the bugs off you, and providing some breathing room to reload primary or support weapon.
A high movement speed can allow you to cover more ground at a faster pace. This can be beneficial if you are trying to find as many samples as you can.
Points of interest
In your mission area you will discover flashing beacons. If you have time to spare, you really want to investigate these locations. You can acquire medals to help you get through your Warbonds, they can also have samples but most importantly, Super Credits.
These Super Credits are the premium Helldiver currency and can help assist you towards getting the improved Season Pass, and buying items from the Superstore. All without paying any real-world cash out of your own pocket.
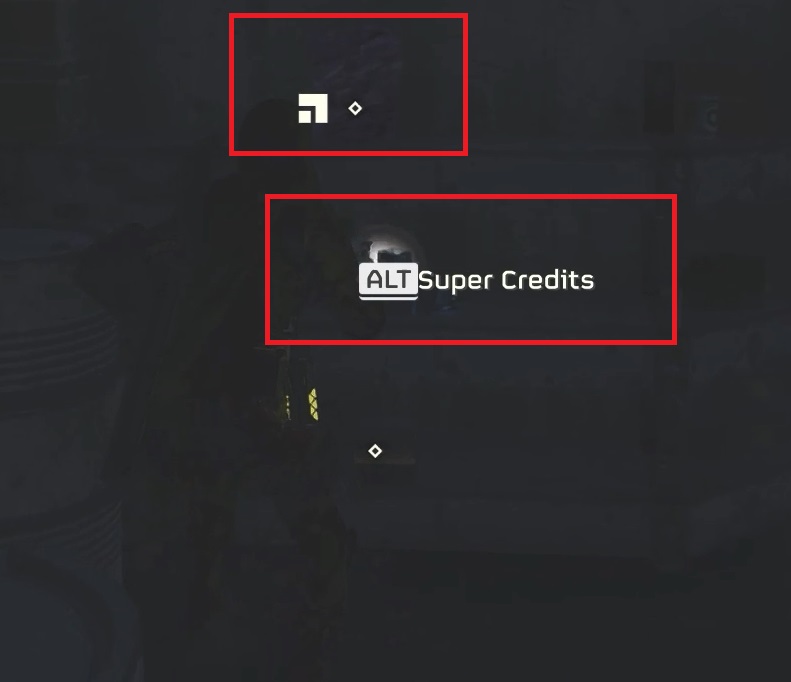
Super Credits can also be found behind doors that require 2 people to open. If you see them always try and tag them and tell your team it’s a 2 people door, there might just be Super Credits behind it.
Underground support caches that need a grenade or some kind of explosive to open them, can also hold Super Credits.
In addition, all these locations including the outposts with buildings scattered around, will often have resupplies for your ammo, grenades and Stims. They are a great place to stock up and perhaps find some valuables at the same time.
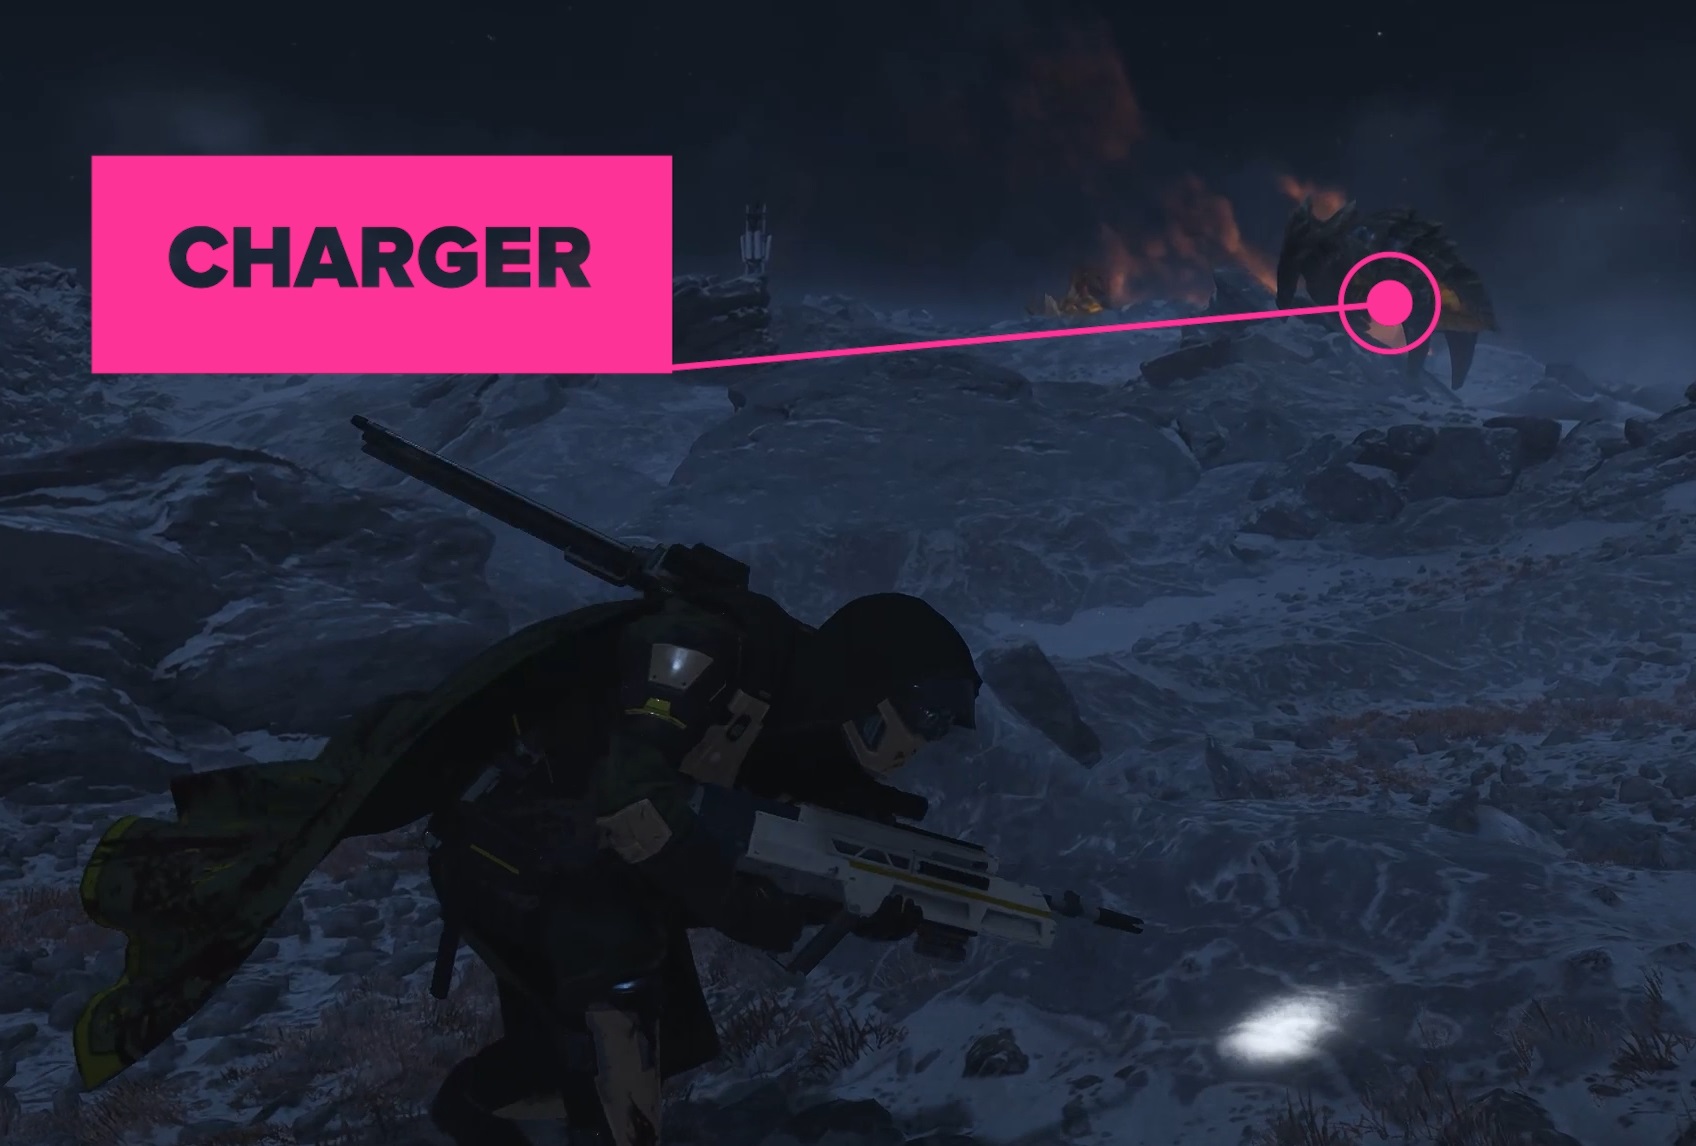
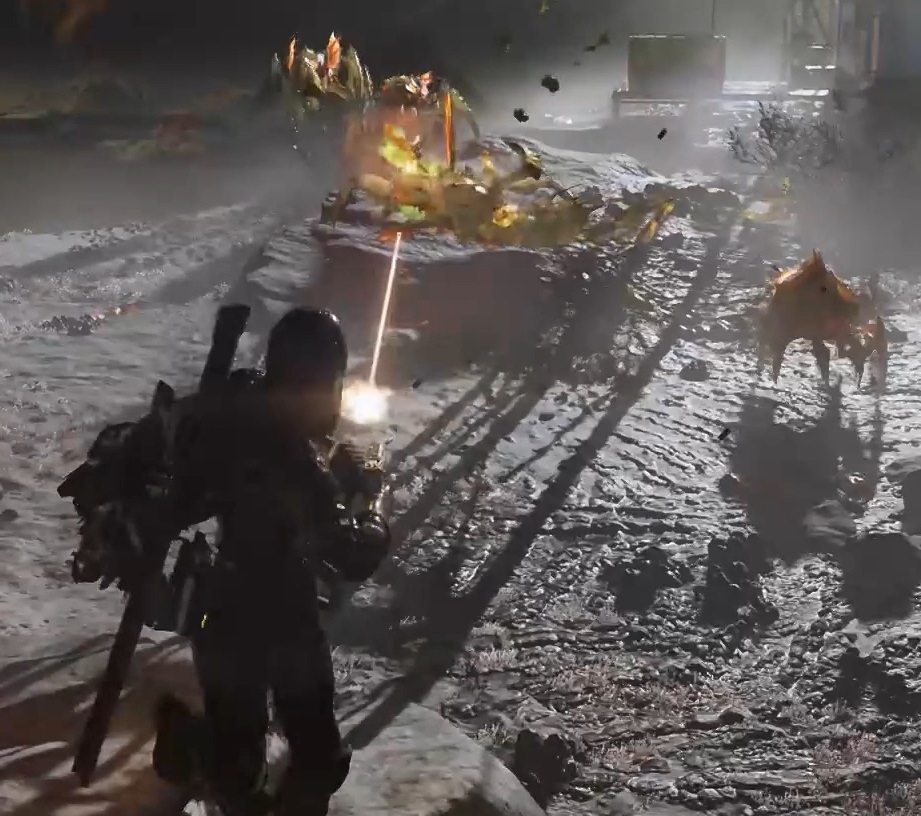
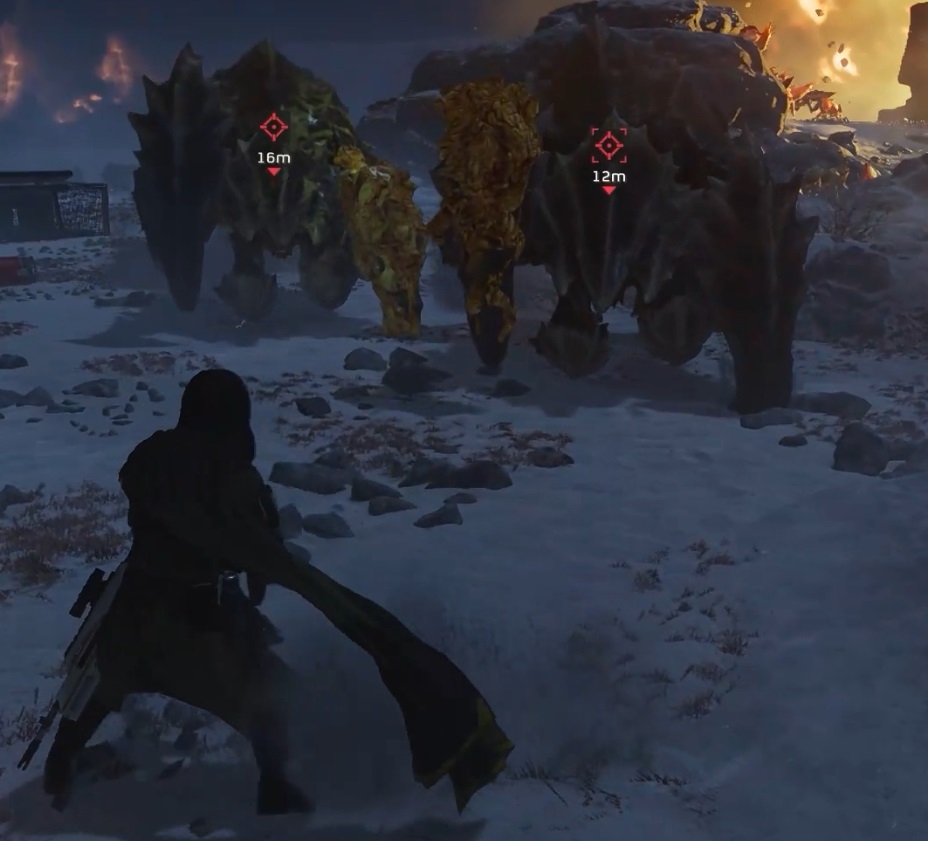
Armoured enemies
As you take on more challenging assignments and aim towards acquiring those Super Samples, the enemies with armour will grow more numerous.
If you or your team can’t deal with these enemies at objectives or when evacuating, they will start to build up and take you down.
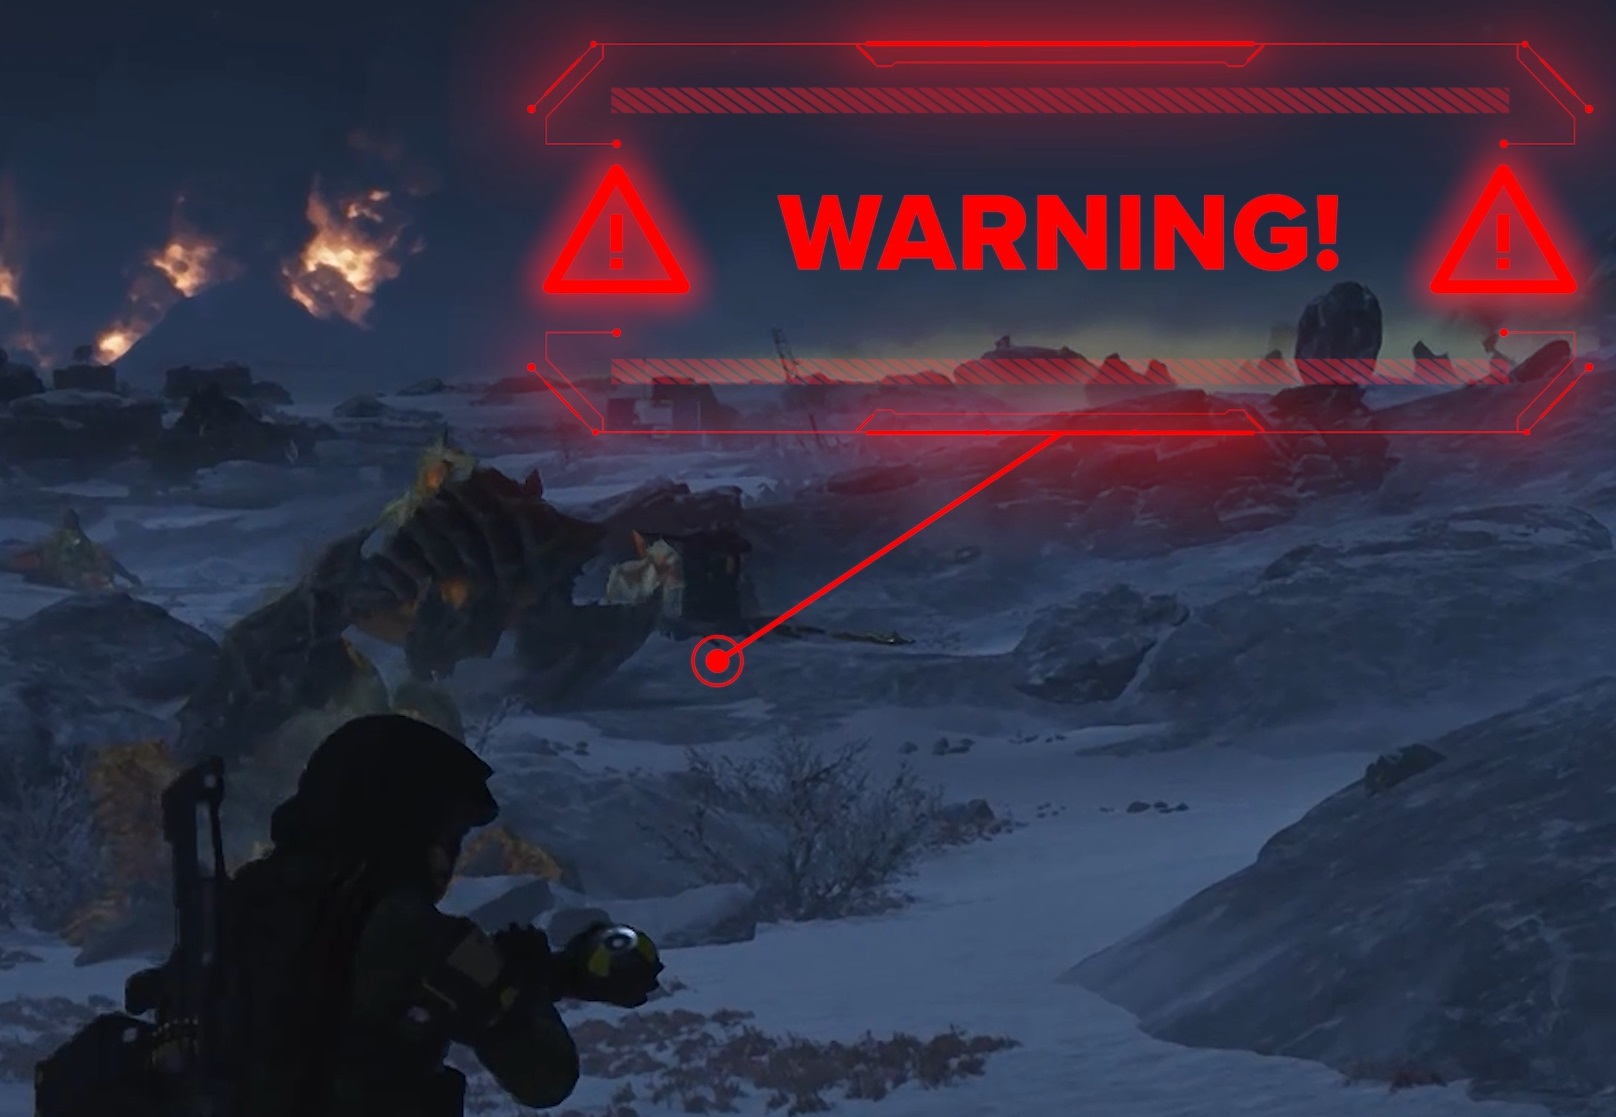
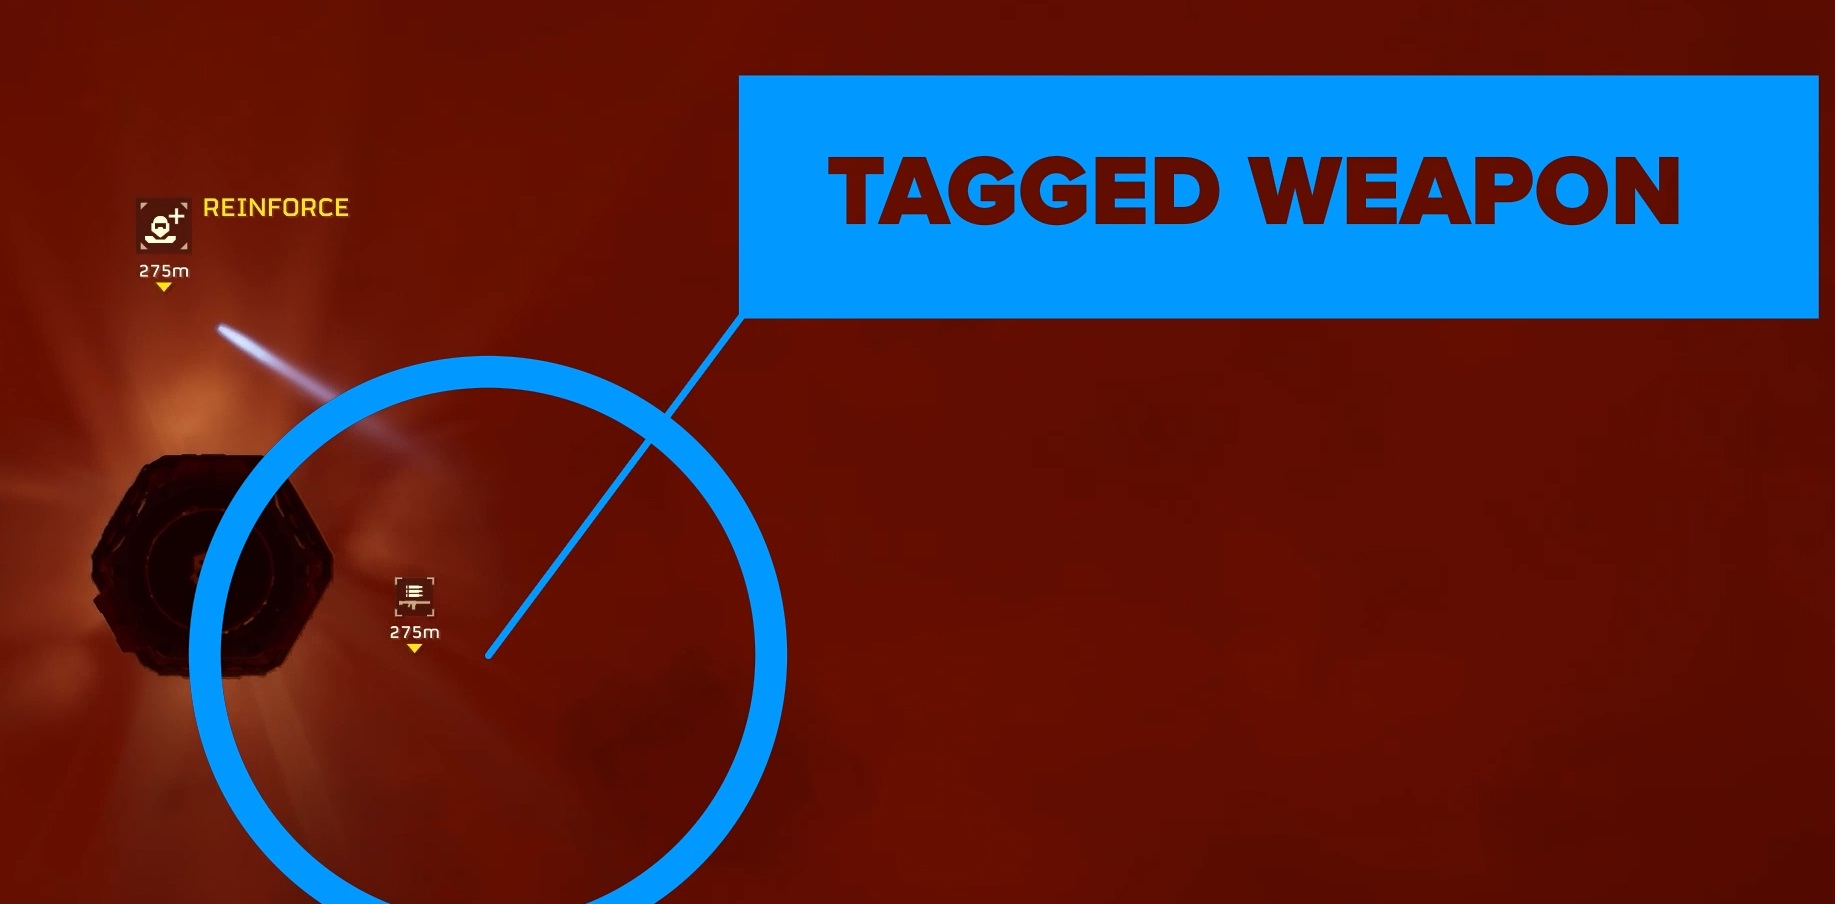
Always try and tag a heavily armoured enemies. This is to either alert fellow Helldivers to avoid them, or help you in killing the target.
Leaving a teammate to try and deal with a Charger solo, can waste not just their time, but it can make them attract more enemies. This can end bringing them down, costing you reinforcements but also making them lose their support weapon.
You can also run away from a Chargers just like other bugs. This can be really difficult to achieve, but if you try and lure them to then run into solid walls, they hit it and then slow down. You can even get them to charge into other and providing you time to shoot them or run away.
Early in your Helldiver career, the Expendable Anti-Tank support weapon can be an extremely powerful asset. It’s short cooldown allows you to bring it down as and when you need it in the moment.
Just remember If you have another support weapon to pick it back up, after firing both single shot rockets!
Turrets
When starting your Helldiver career, turrets can be fun and really satisfying to use. As the missions get harder, they can make or break certain encounters.
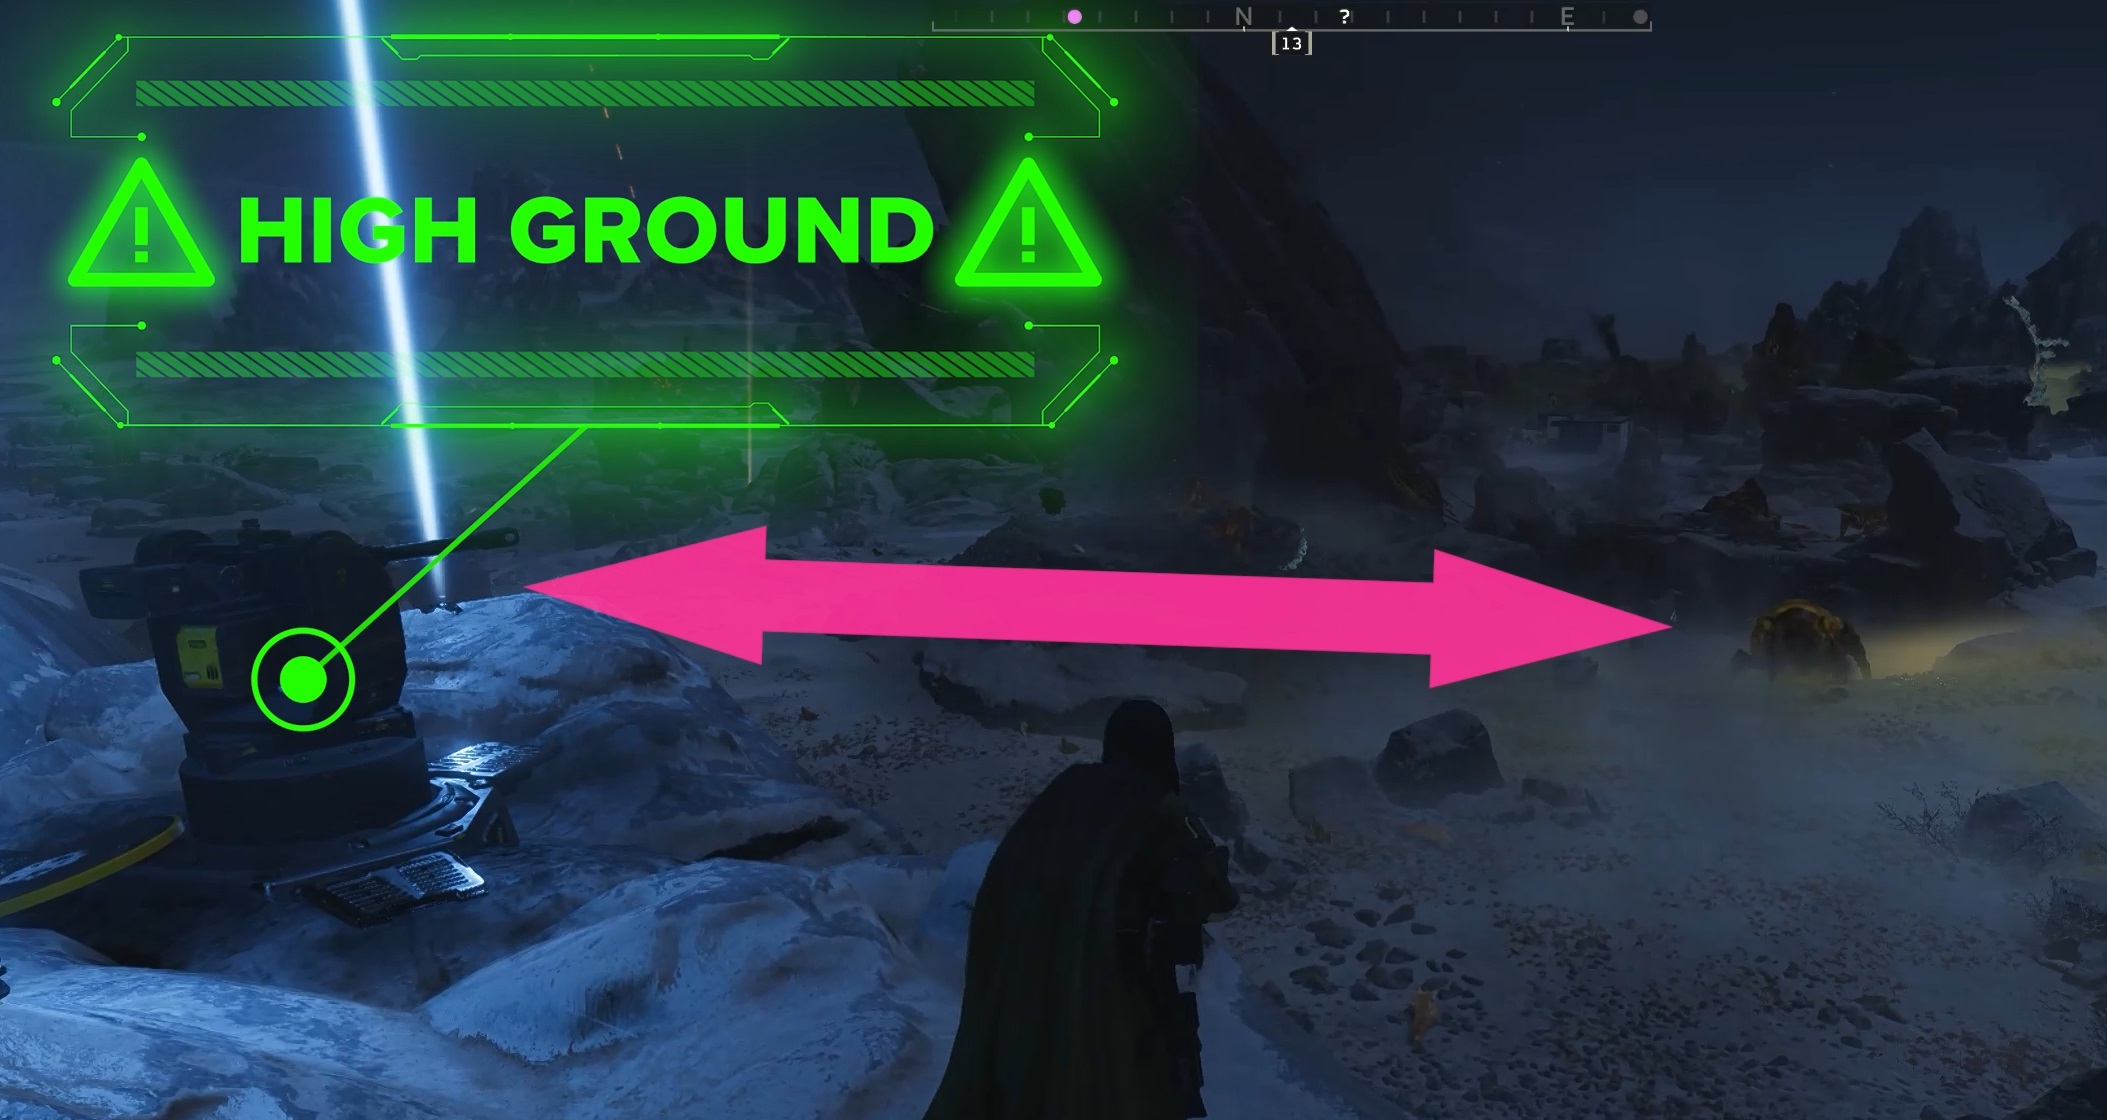
The machine gun and gatling turret can handle themselves quite well, they can be positioned closer to the enemy compared to say the Auto-Cannon or rocket turret for example. These turrets are very easily killed by the enemies if placed badly.
Try and get them up high and with some distance between the enemy. This increases not just their chances of survival, but provides much better firing angles. And it is going to massively reduce the chance of friendly fire instances, for yourself and teammates!
If you hold your turret stratagem and then throw it down, it seems like there is more chance for it to stick to the surface you are on. But not all surfaces seem to enjoy having a turret land on them, sometimes luck just won’t be with you!
In some situations you might actually need to help in protecting your turret to keep it alive longer. If you are defending your turret, remember to go prone when near it, once again lowering the chances of your turret killing you.
Diving
Diving will keep you alive and is an essential Helldiver skill to master. You can dive out the way of bile attacks whilst still shooting at the enemies. And you can even just keep on diving backwards whilst shooting if the bugs just keep coming at you.
And keep in mind that diving will make you go prone. If you are getting swarmed by smaller enemies, sprinting away might be a wiser option instead.
And don’t forget you can also five whilst throwing a grenade or calling in a Stratagem. This might just keep you alive a little bit longer, and give you that time to then call in reinforcements.
Impact grenade
Many Helldivers myself included have a lot of love for the Impact Grenade. Forget worrying about fuse timings and simply throw and forget!
It’s especially effective on the spitting bugs as it can kill them or multiples of them in one throw.
You will need to aim a bit more carefully when closing bug holes though, ensuring that you aim for the centre of the hole, otherwise you can end up wasting multiple grenades.
When getting swarmed the Impact Grenade can be a real life saver for that instant support. Especially when you have say a Stalker charging at you and your mag is empty you will be glad you have an Impact Grenade.
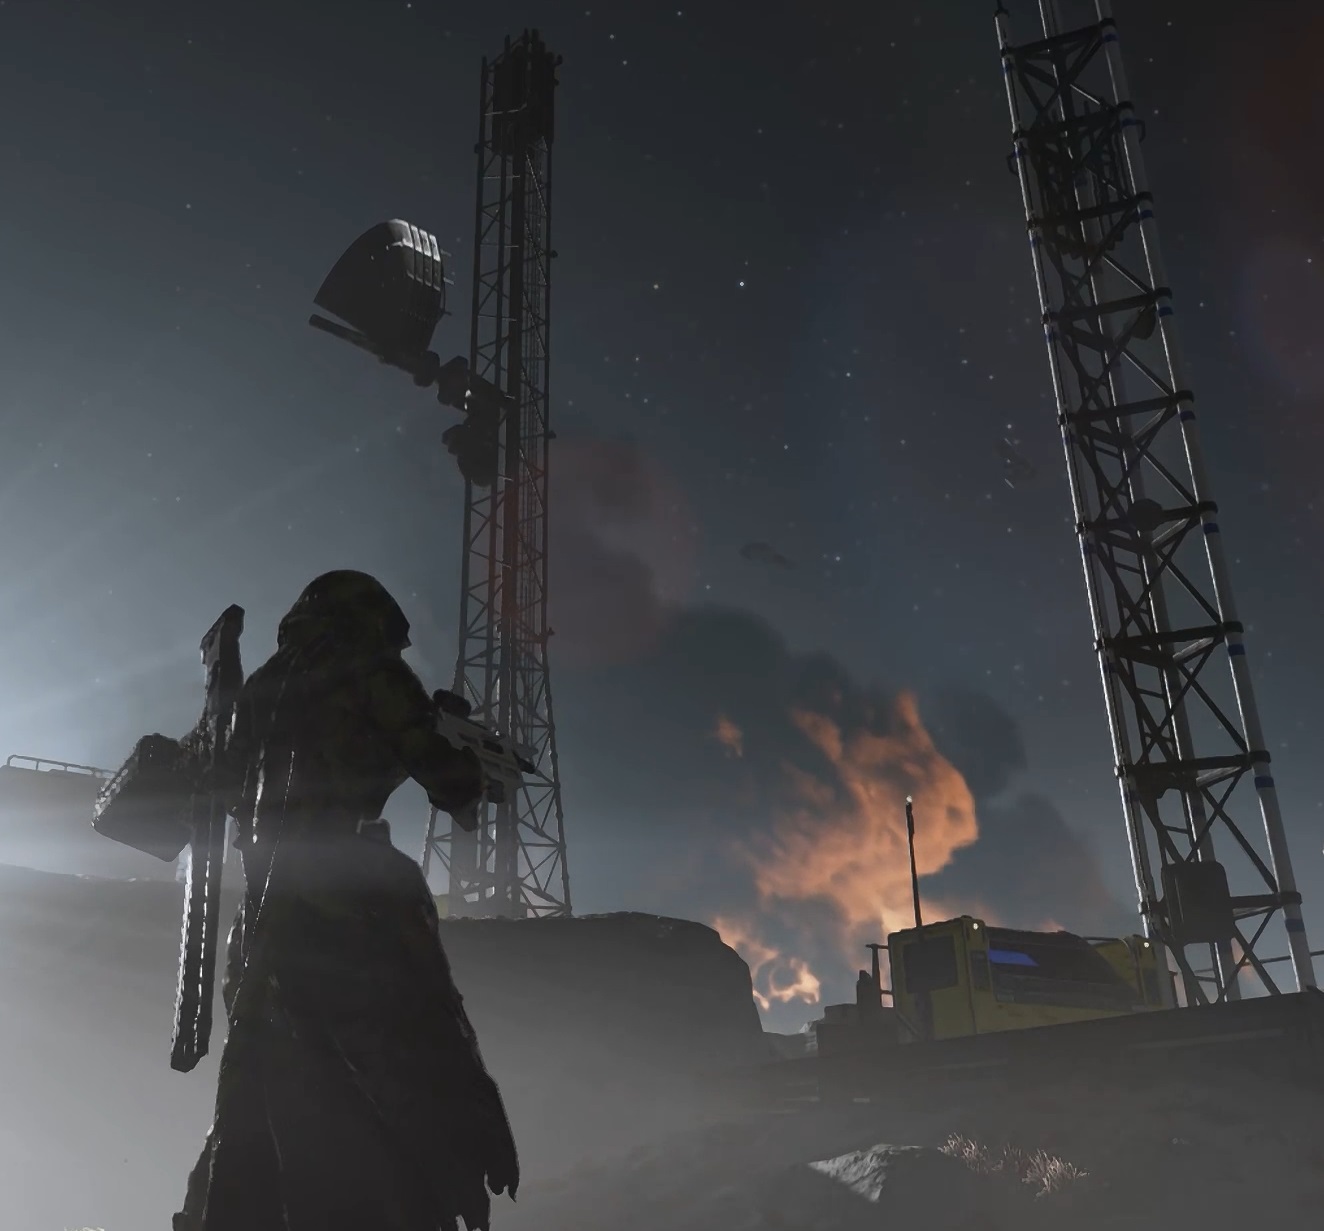
Stalkers
Stalkers will absolutely ruin your day very quickly if not dealt with. They are one of the deadliest creatures you will encounter. When you see them try and mark the area and bring down fire on them as quickly as possible.
If you are in a Stalker area, you really need to start protecting your fellow Helldivers backs even more than normal. If there are no objectives around, running as fast as possible away from the area is an absolutely valid option.
For the brave Helldiver though, I recommend finding the Stalker Lair and putting an end to the issue entirely. This is especially important if there is an objective nearby that needs to be completed.
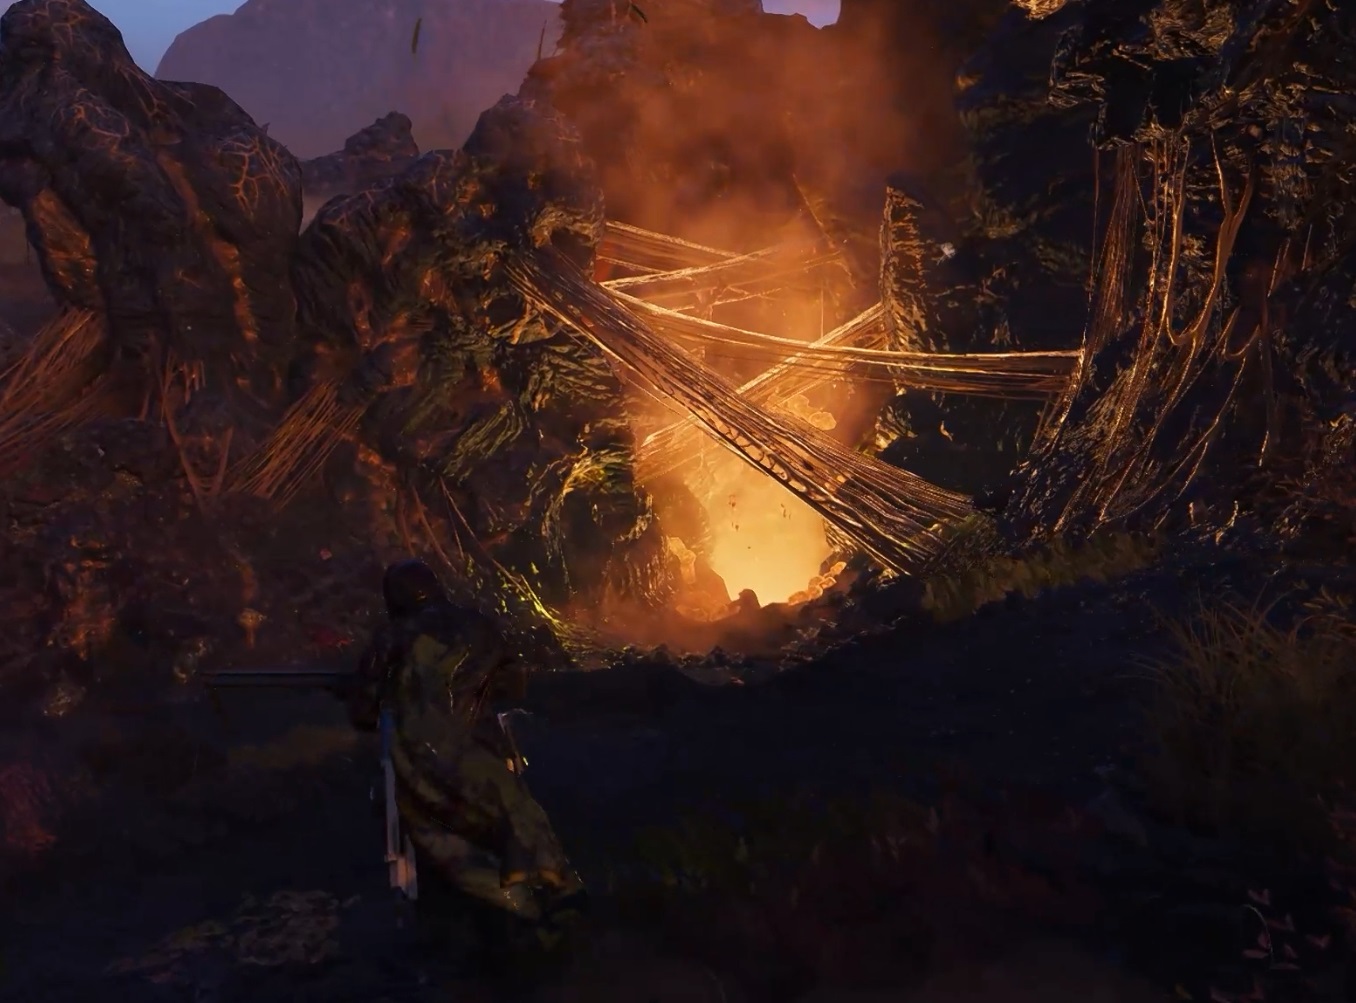
Taking out the Stalker Lair will make life so much easier. Because when Stalkers get in amongst your team, and you all start running in different directions away from each other. Helldivers will start to go down very quickly and your reinforcement supplies will dramatically reduce.
Reinforcements
When you see a Helldiver perish, It can be very tempting to immediately call in a reinforcement stratagem. But this can be a massive detriment to your team.
Keep an eye on the map and see where your teammates are. If you have broken off into two groups and someone on the other side of the map dies. Calling a reinforcement in will take them away from their support weapon, and leave the other Helldiver solo.
A Helldiver without their support weapon is massively less effective, and a situation you want to avoid as much as possible.
If someone has died near you and it’s relatively clear, try and reinforce them near where they died this is so they can get their support weapon quickly.
Tagging the weapon is even better as this makes it much easier to pick up and start fighting straight away. This can make a big difference especially in active combat with hot landing zones.
And If you are the one who is being reinforced in, you can zoom in on the map to find exactly where your weapon is, or any dropped samples.
When you do reinforce into those active combat zones, remember to try and hit the enemies. This is particularly effective on Chargers.
Perhaps try and avoid using this tactic on Bile Titans. They take a huge amount of damage to bring down and the life expectancy of a Helldiver dropped on top of a Bile Titan is not going to be very high!
Extraction
Clearing bug nests that are near the extraction site can make it much easier and less tense to escape. If you have time, I highly recommend you clear them.
This can make the extraction extremely easy with little if nothing to do, putting absolutely no pressure on you to lose those collected samples.
Always check the map before calling in an extraction, this is to ensure everyone has time to get there and again not leave those samples behind.
And the same goes for getting in the dropship. The first Helldiver who enters starts a countdown, and the dropship will leave at the end of that countdown whether the others are not in it.
Have a quick check to see if everyone is nearby, otherwise it might just be the person holding the majority of the samples, is left behind.
Hit markers
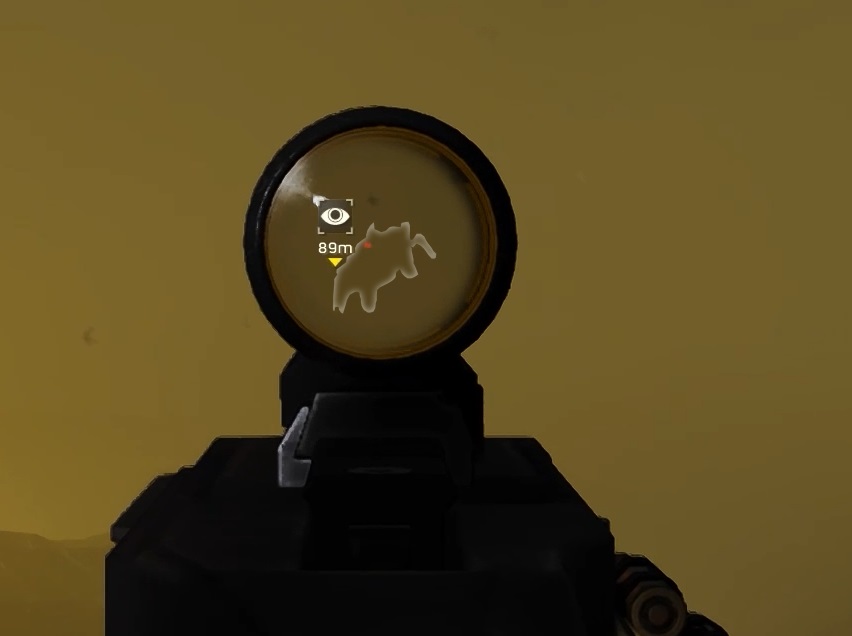
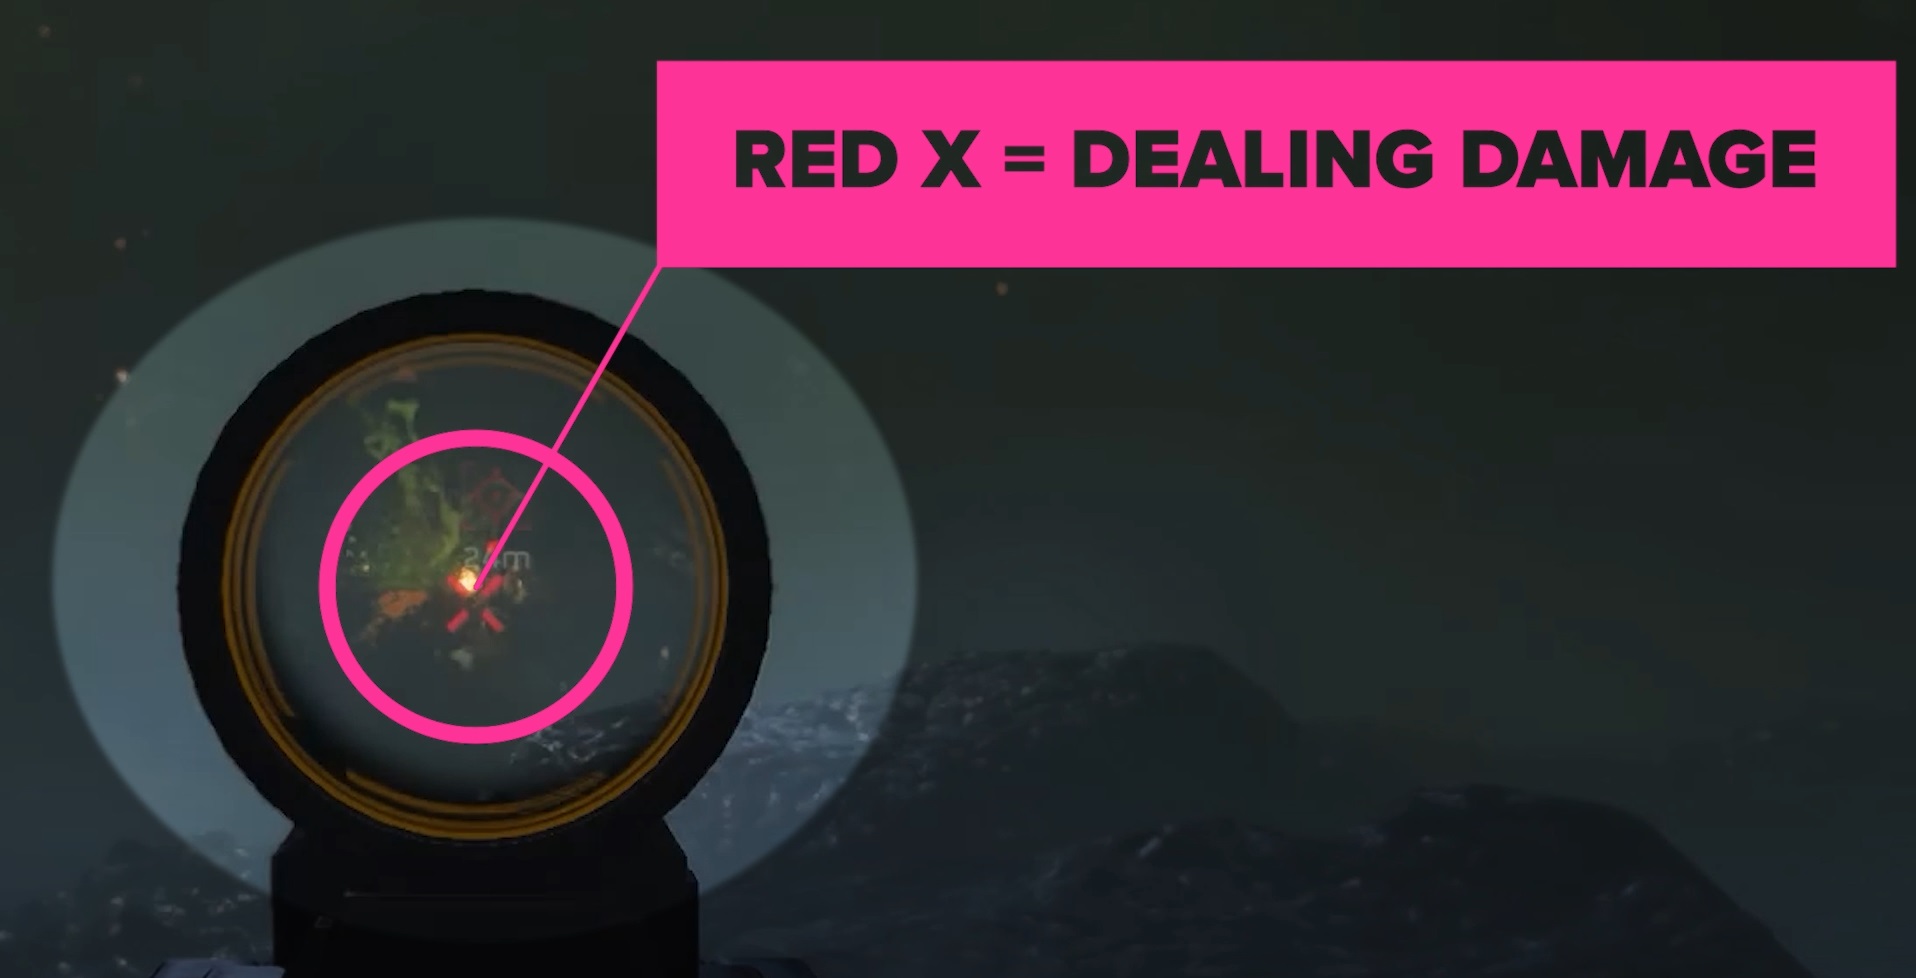
On your cross-hair when firing, if you see a red X or cross, this means you are hitting the enemy and dealing damage. This is really handy for when your firing blind, if you are seeing the X then just keep on firing.
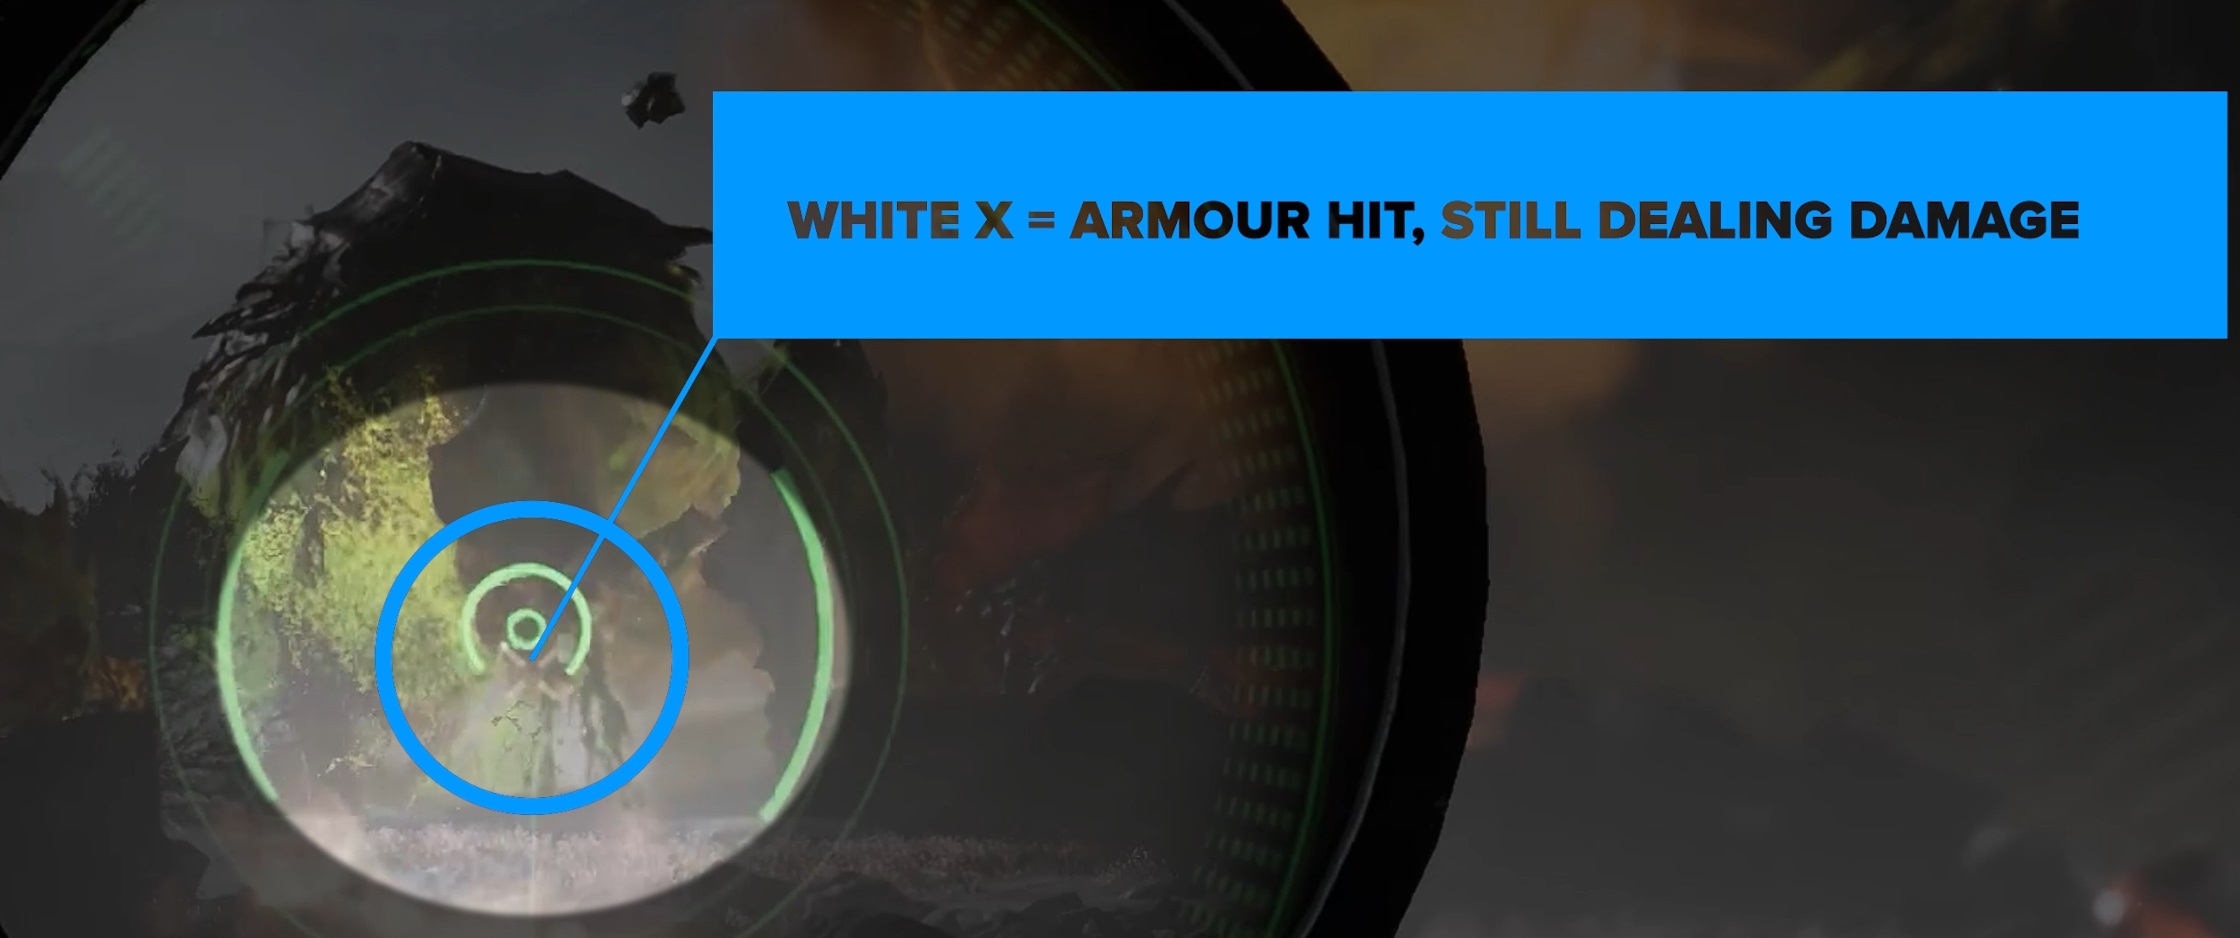
A white X means you are hitting the armour of the enemy but still dealing damage. Weapons with armour penetration above light, will see this white X more often.
This icon shows that your shots are hitting the armour of the enemy and dealing no damage or deflecting off of it. This means you need to adjust your aim to weaker part of the enemy.
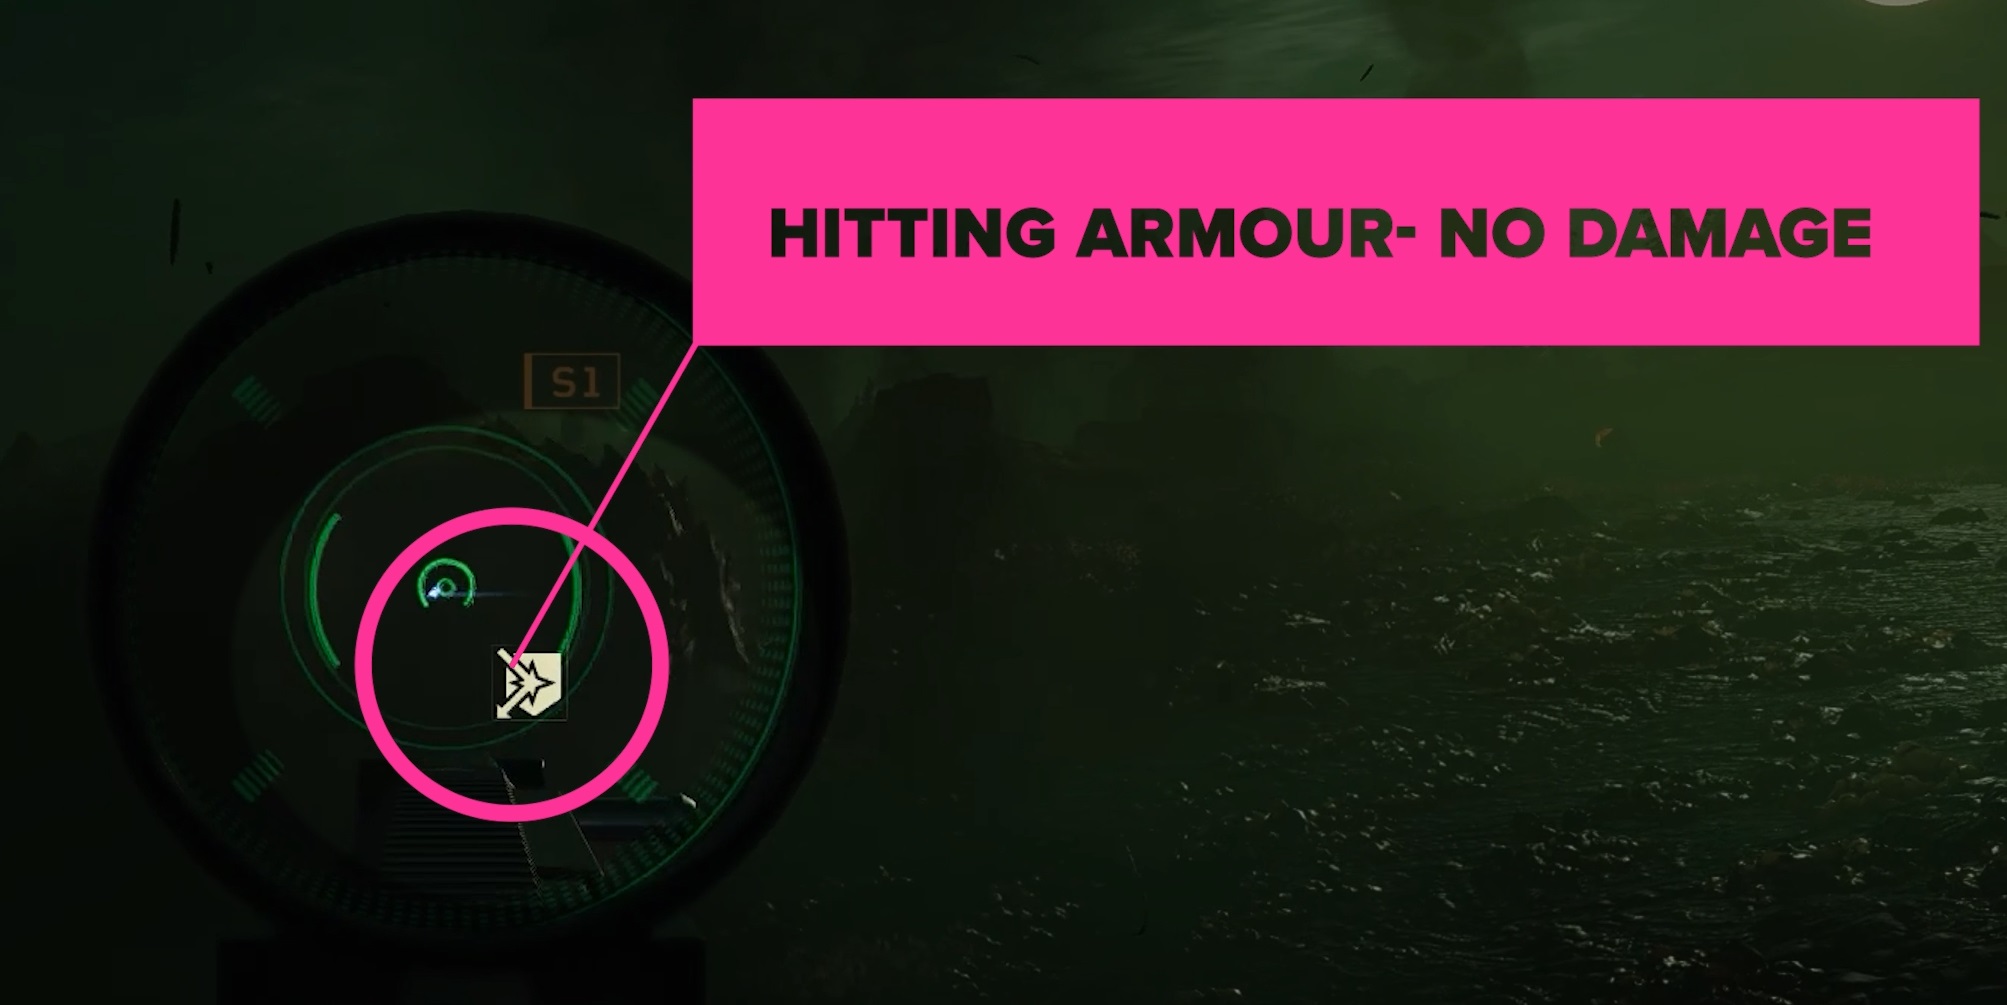
This is going to be a lot more common on weapons with only light armour penetration, or when shooting enemies that are well armoured.
Other tips
Fighting in choke points is going to be very effective, even at close range. Whether you are using a rock formation, or funnelling enemies between buildings, it will assist in mowing them down.
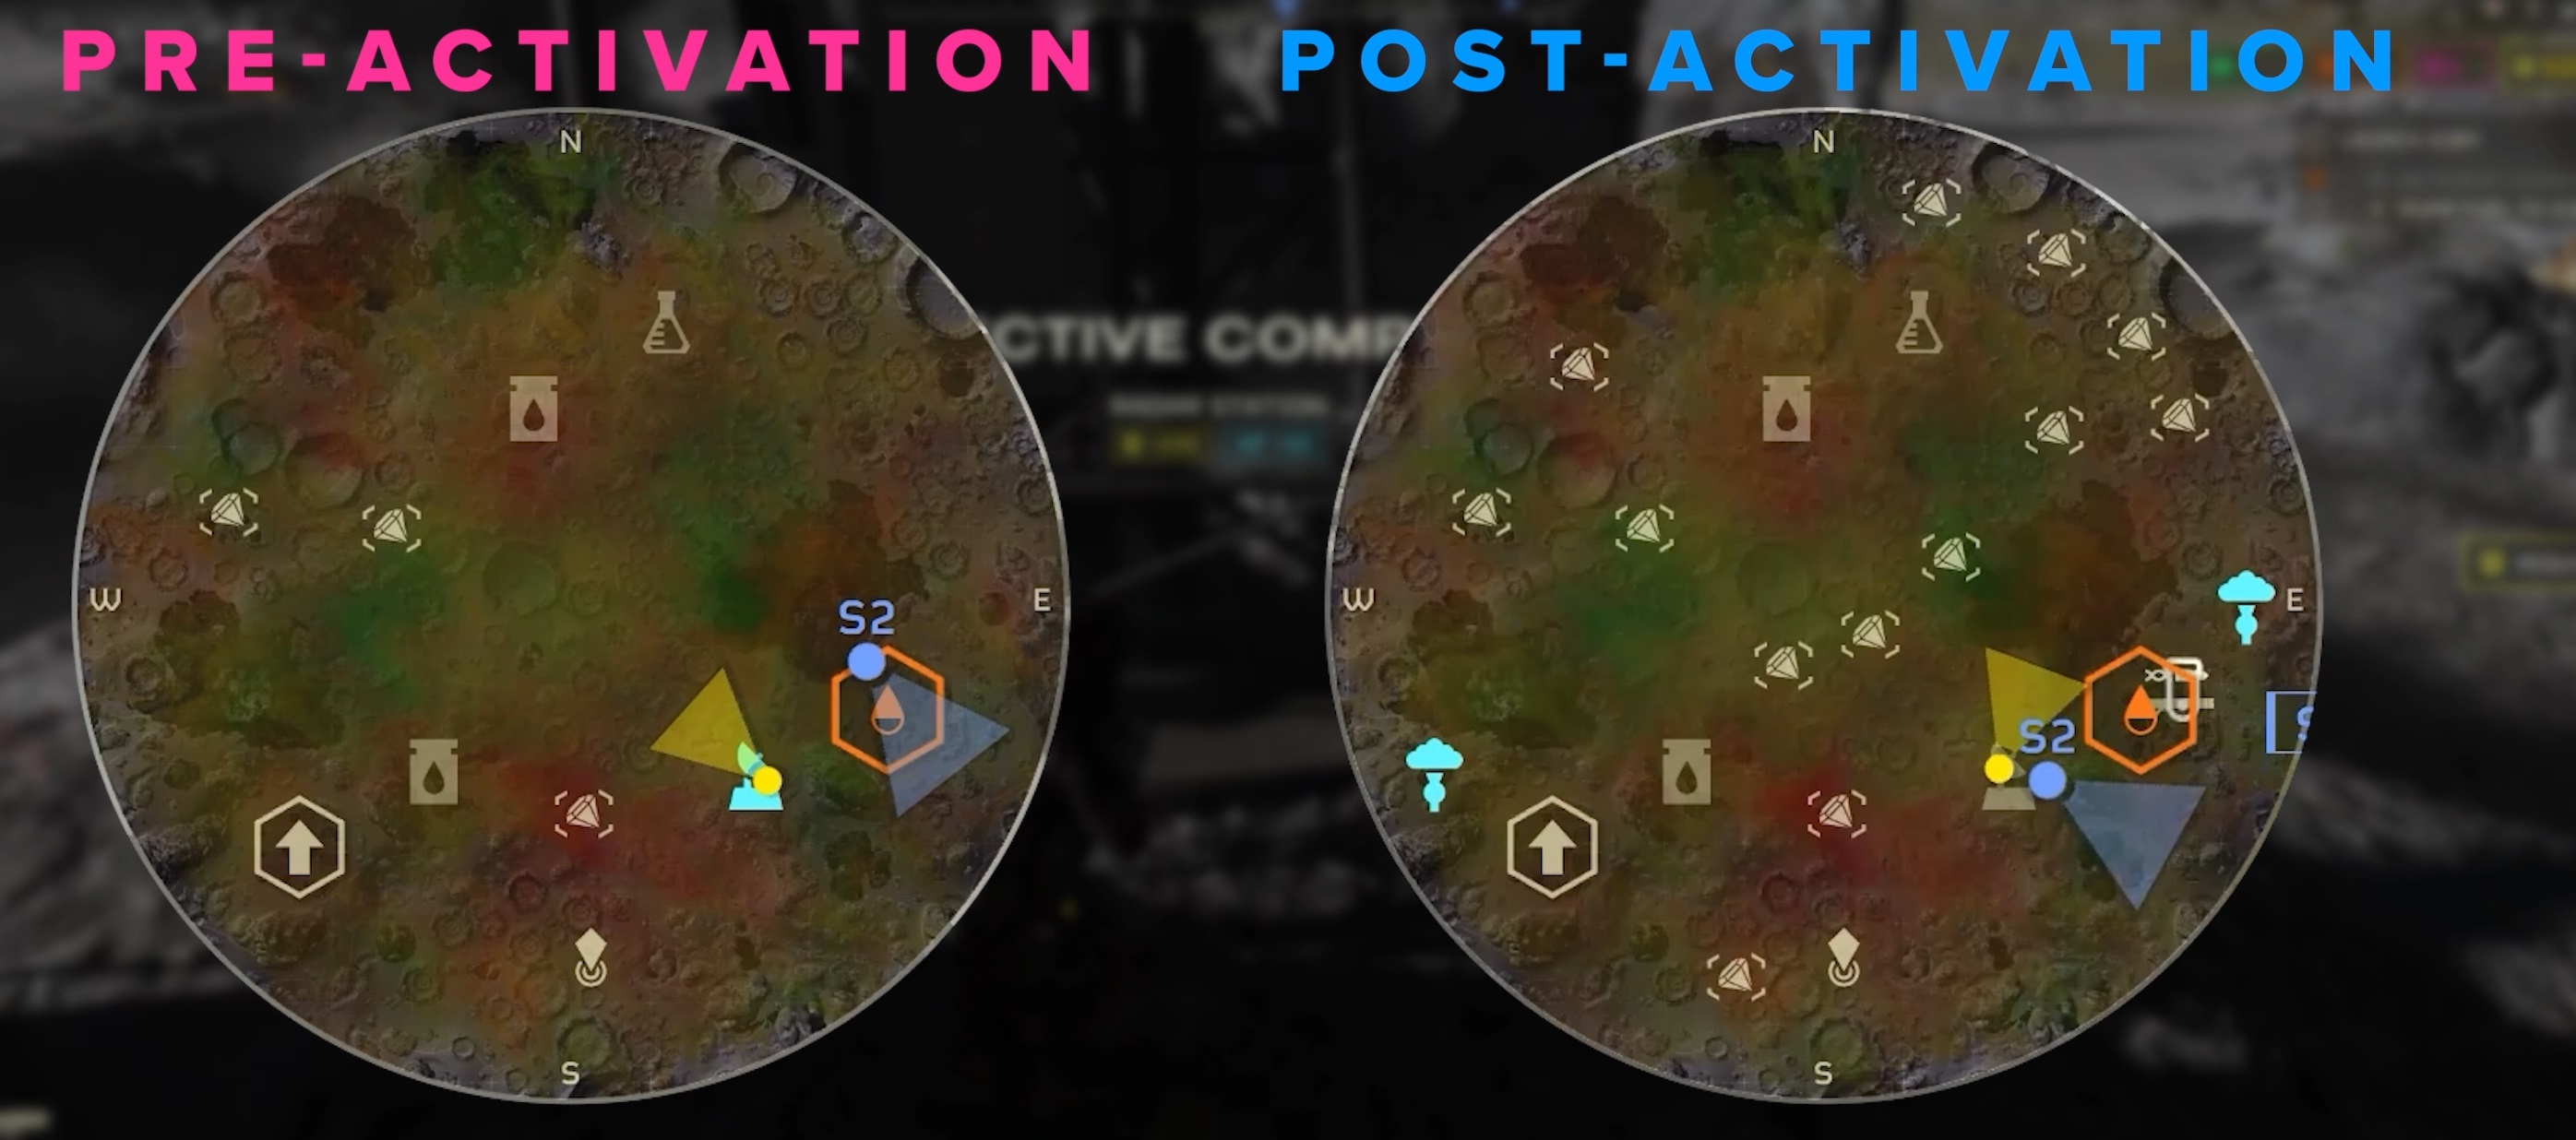
Radar stations will help you in scanning the area for interesting places to check out. If you see one, especially early on in your mission, it’s wise to get it activated.
Once it’s turned on, it will reveal points of interest on the map, this will dramatically speed up searching for those locations and acquiring more Samples and Super Credits.
Menu options
There are some things you can do in the menus to help you in game.
I suggest turning Motion Blur to off as this can be really distracting. And the same goes for screen Shake.
The weapon wheel button is one your going to want to know exactly where it is. This will allow you to change how your weapon functions in game.
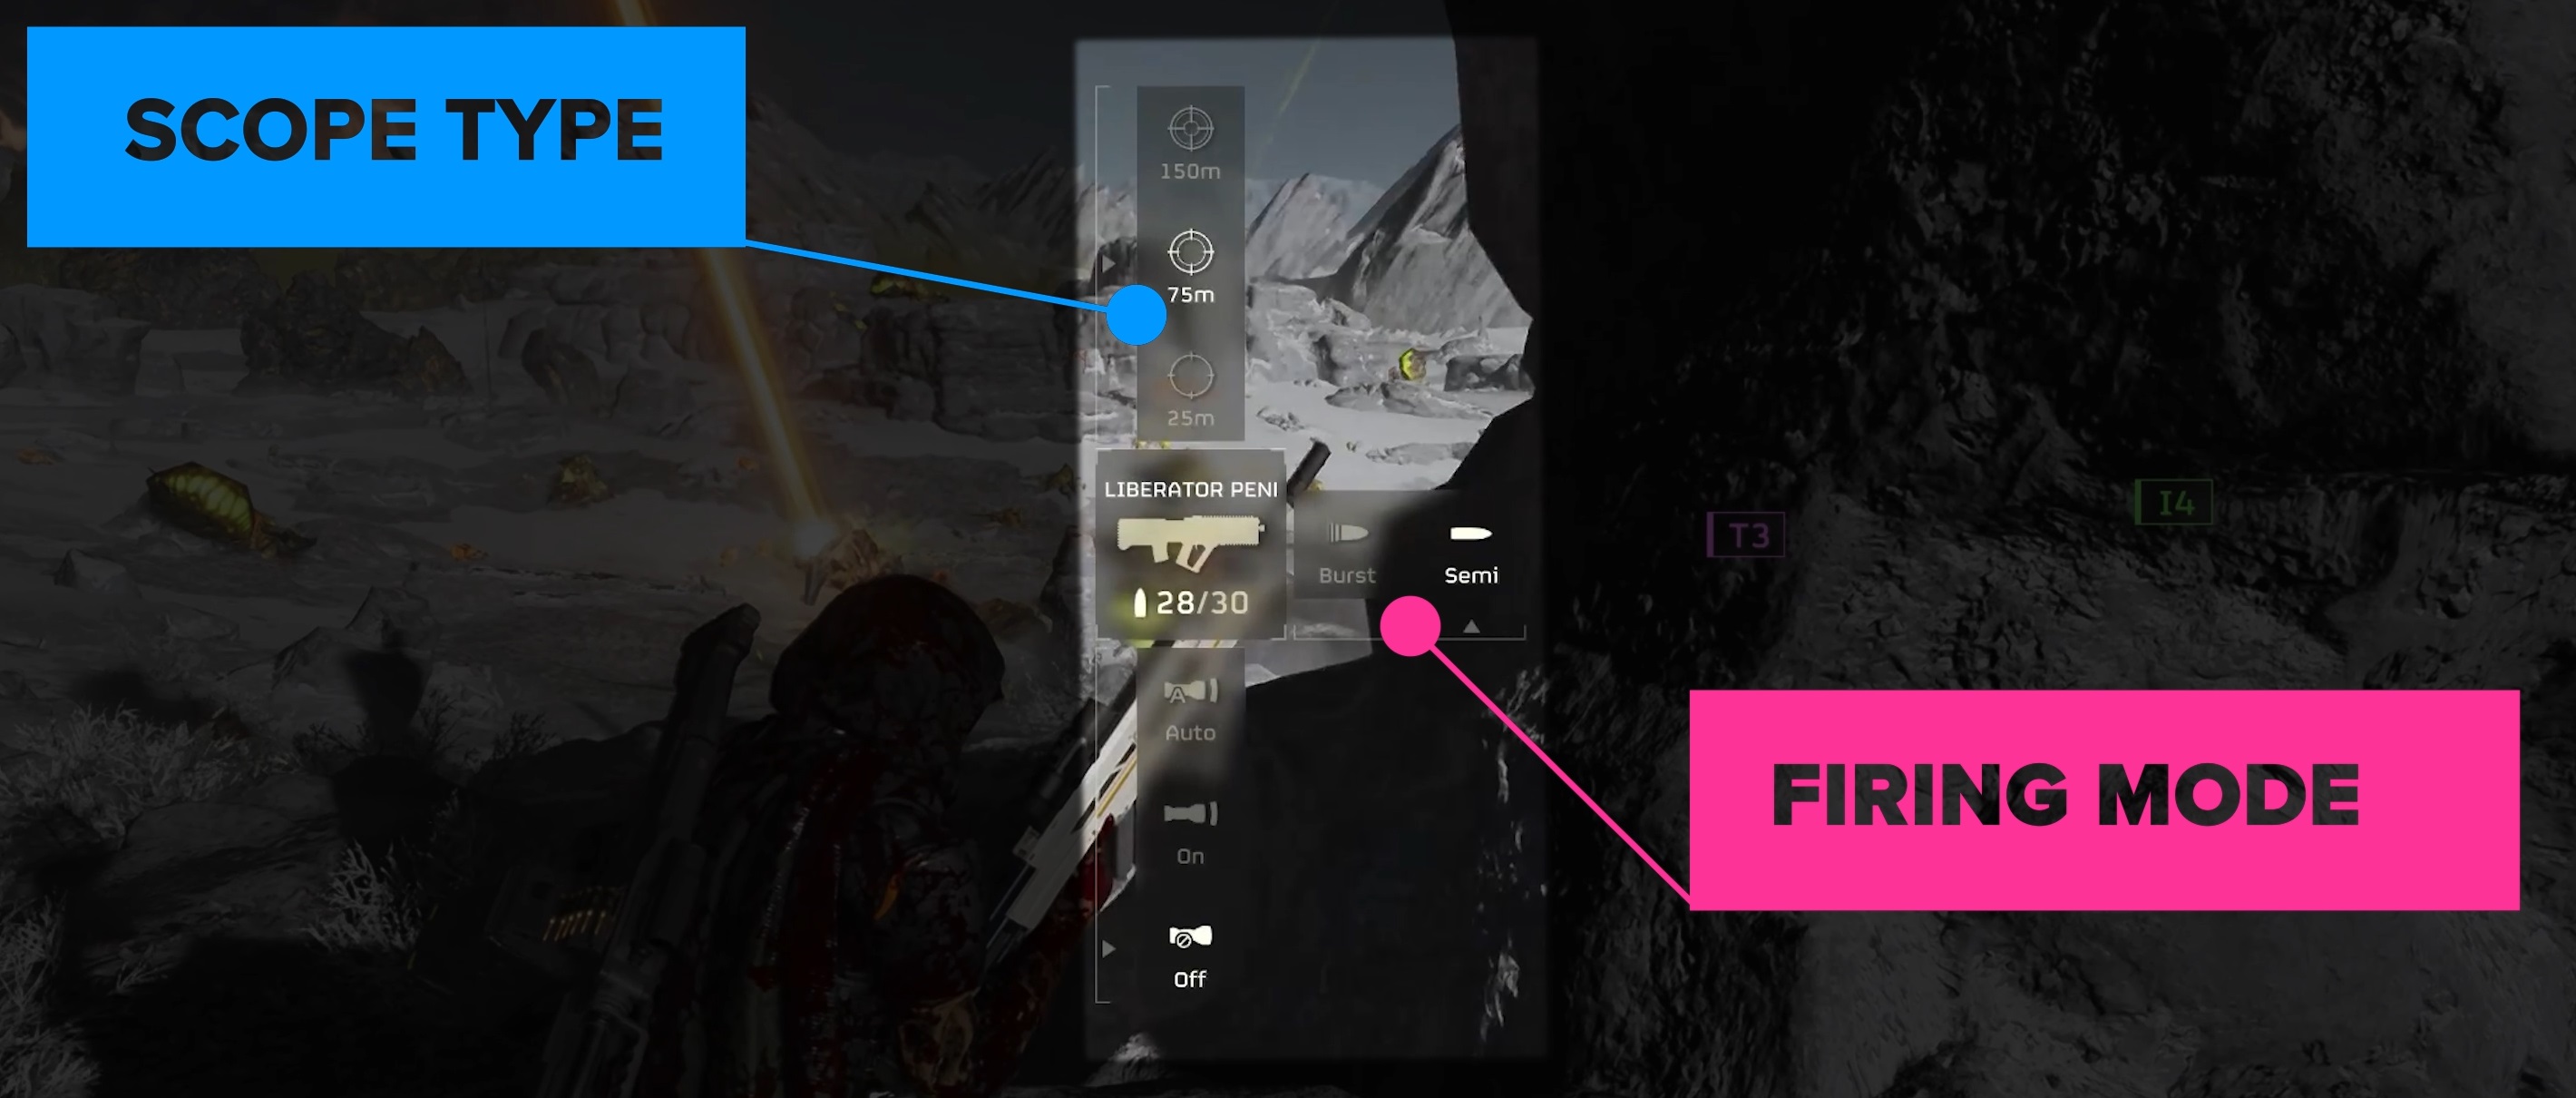
Some weapons this will allow you to change different distances on the scopes. Nearly all of the weapons will have some kind of firing mode, such as semi-automatic or fully-automatic.
Each time you get a different weapon, bring this up and play around with what works best for you.