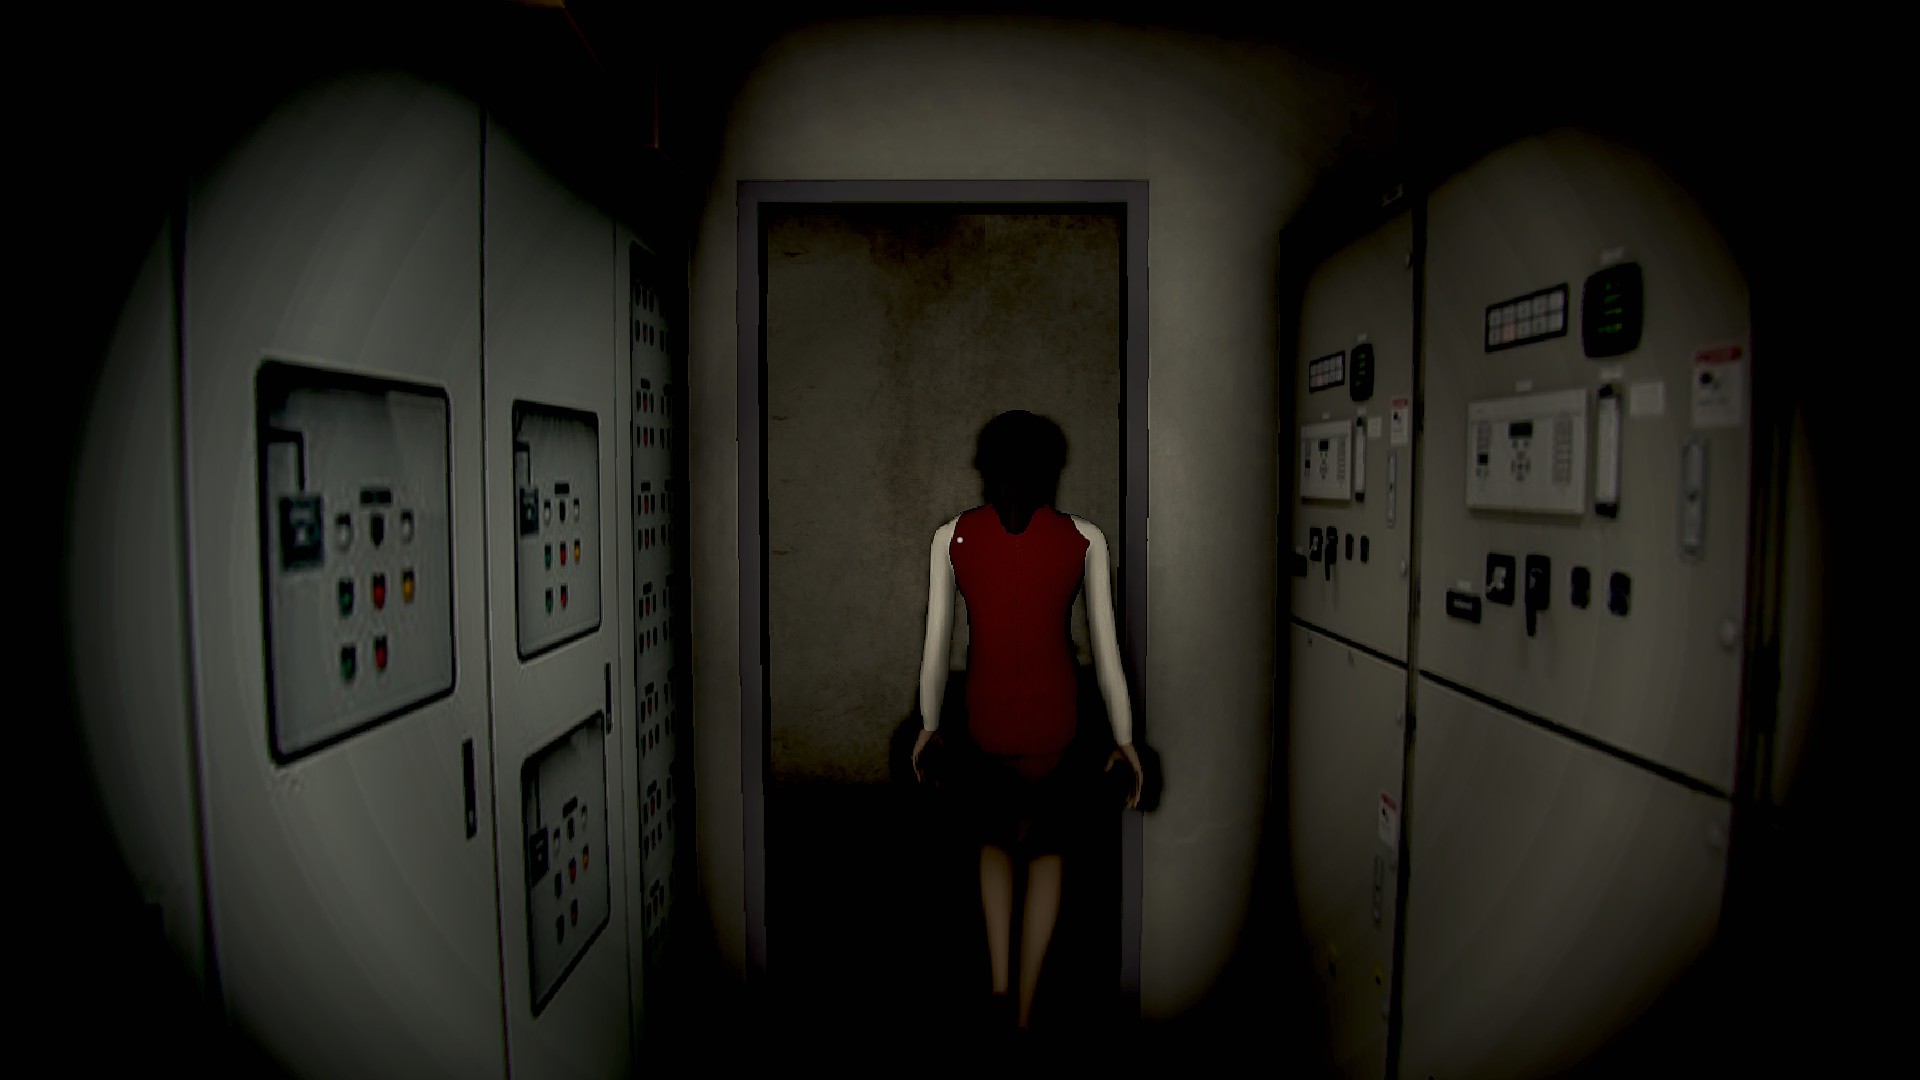
This is a 100% achievement guide and walk-through for Night Security | 夜間警備 by Chilla’s Art.
Introduction
Night Security | 夜間警備 has 4 achievements total. One for dying, one for all Patreon collectibles, and 2 Ending based achievements. This guide will split them up into separate sections- Gameplay and Collectibles. Gameplay Part II will include the achievements for death, and both endings.
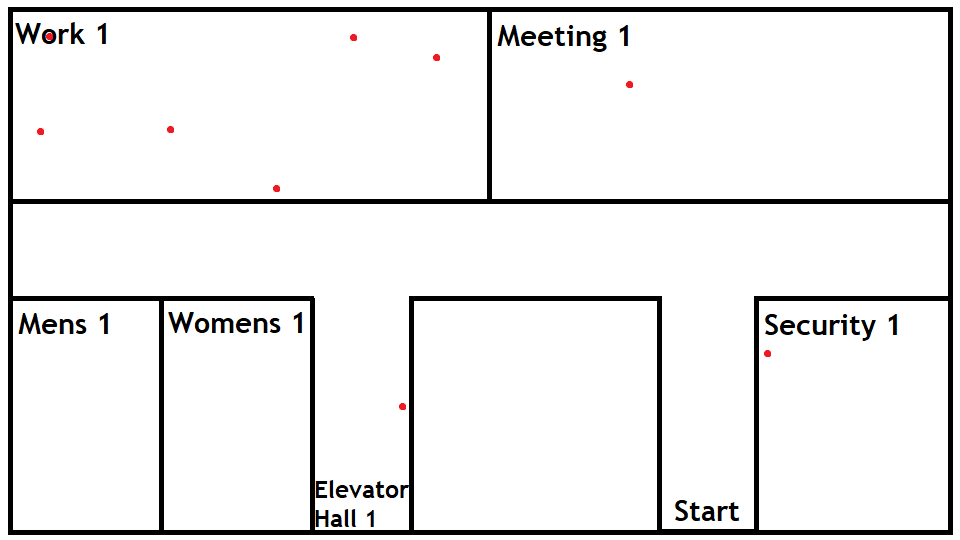
Maps are included in Gameplay sections to make it easier. Each room is named in accordance to the floor they’re on. Collectibles are marked with red dots to show their location. There’s the more detailed walk through below of you get stuck.
Gameplay Part I
Prologue
- Tear off the calendar page. Look around and have dinner, if you like.
- Go to your bedroom, last room to the right.
- Interact with the closet to get dressed.
- Say goodnight to your wife
- Go across the hall and say good night to your daughter.
Floor 1
- Go around to the front of the building
- Enter your work
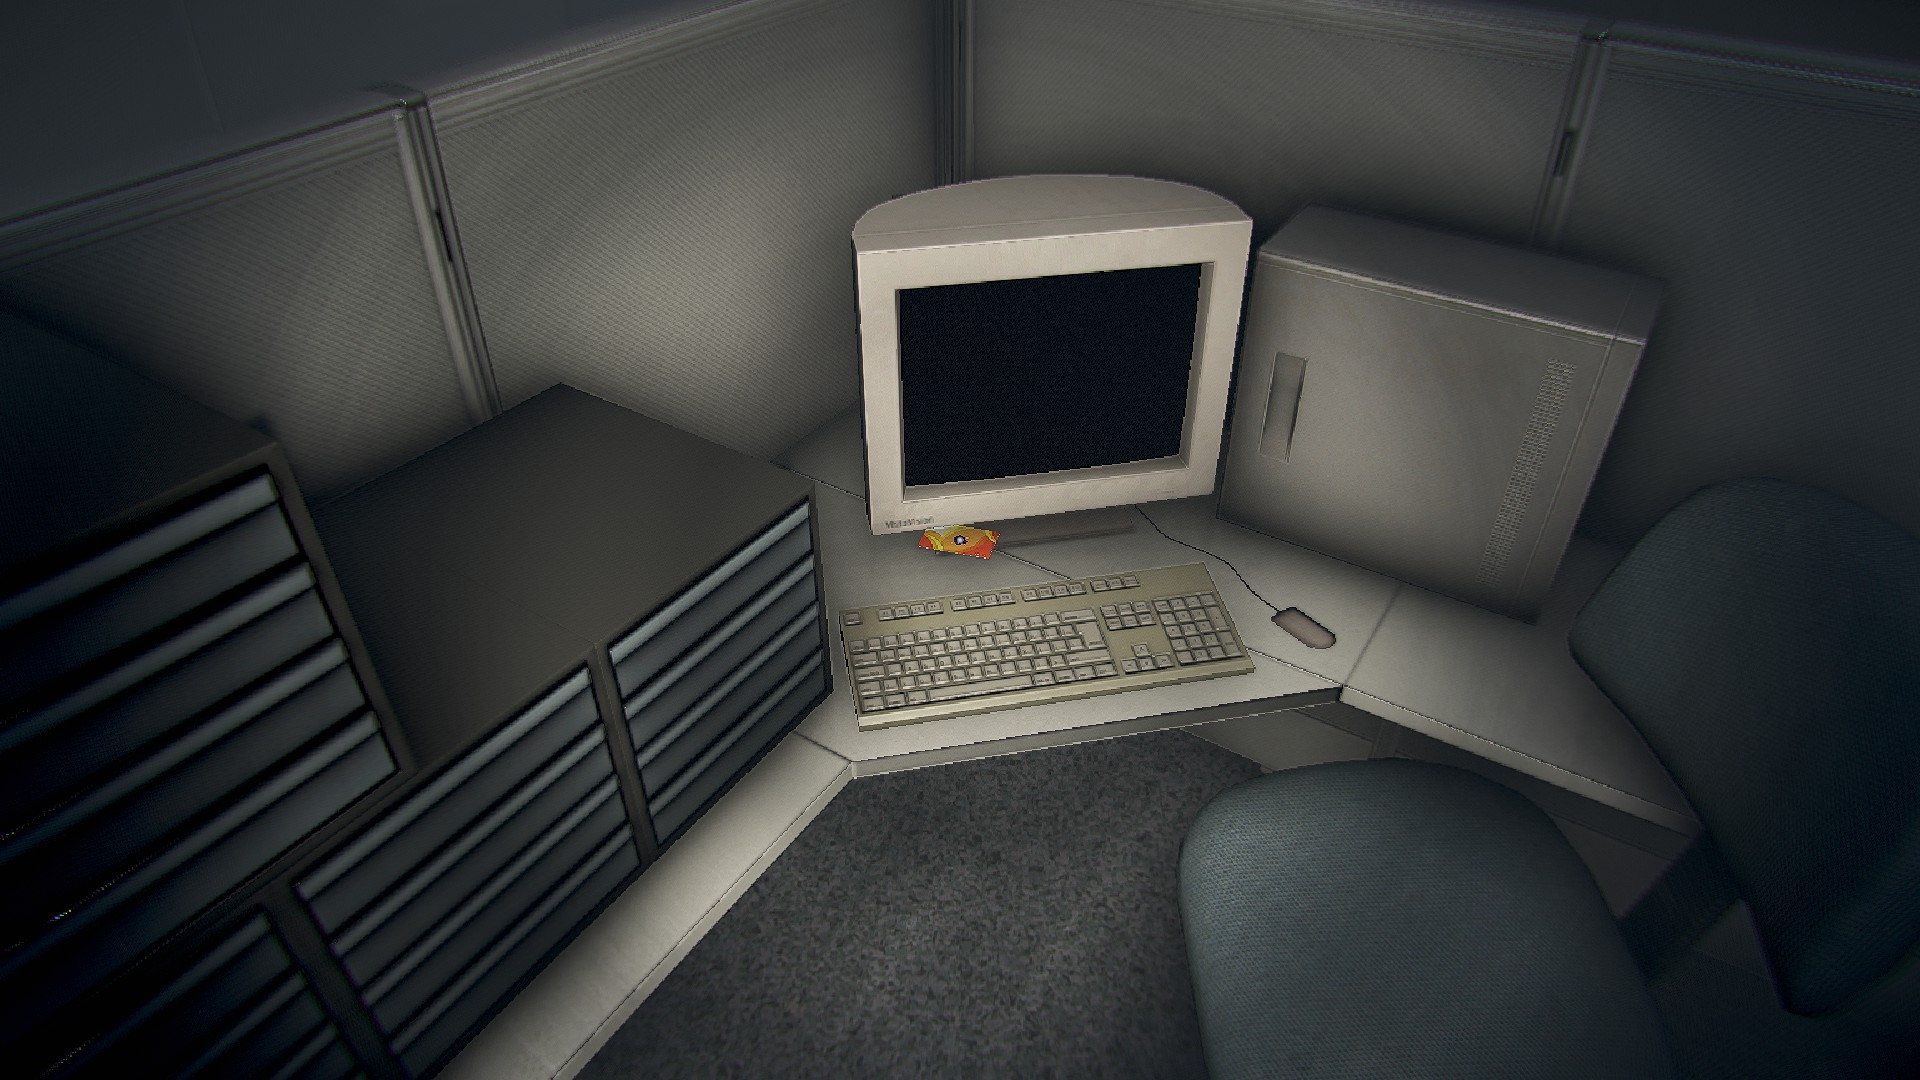
- Go in Security 1 to the right
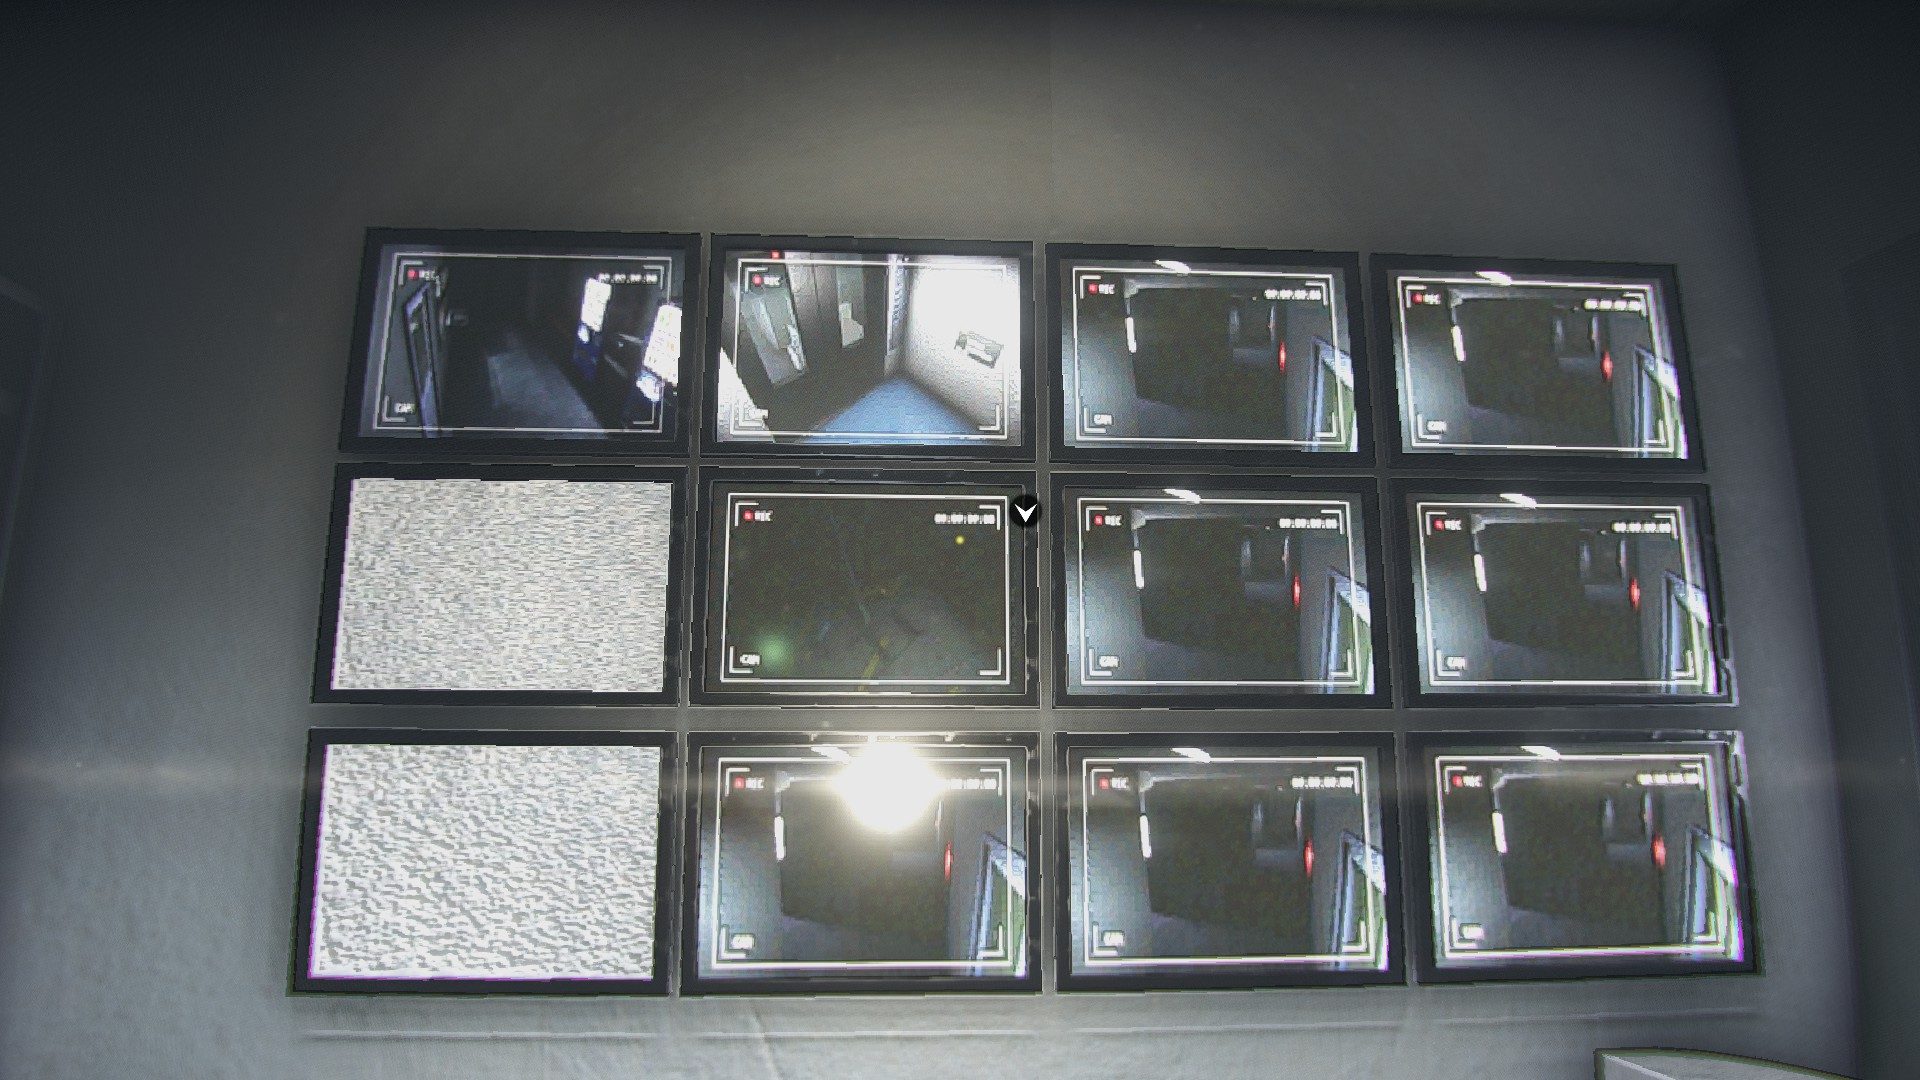
- Check the clock, notes, cameras
- Collect items in Security 1, Elevator 1
- Enter Meeting 1
- Collect items
- Check the fire alarm in the back
- Go to the connecting room, Work 1
- Send the person home
- Collect items
- Check the fire alarm in the back
- Lights off in the bathrooms
- Go to the hall and lock the doors
- Go to the elevator. Press up to enter, then Floor 2 on the keypad
Floor 2
- Exit Elevator 2, collect items
- Go to Cubicle 2
- Use your rizz on the business hunny
- Collect items
- Check the fire alarm in the back
- Go to the connecting room, Cubicle 2a
- Collect items
- Check the fire alarm in the back
- Watch some TV if you like, no bearing on endings.
- Lights off in the bathrooms; talk to someone in Womens 2
- Go to the hall and lock the doors
- Elevator time. Go up, Floor 3.
Floor 3
- Exit Elevator 3, collect items
- Go to the right end and enter Lecture 3
- Collect items
- Check the fire alarm in the back
- Go to the connecting room, Meeting 3
- Collect items
- Check the fire alarm in the back
- Watch some TV. Or not.
- Turn off the bathroom lights
- Collect items
- Go to the hall and lock the doors
- Elevator time. Go up, Floor 4
Floor 4
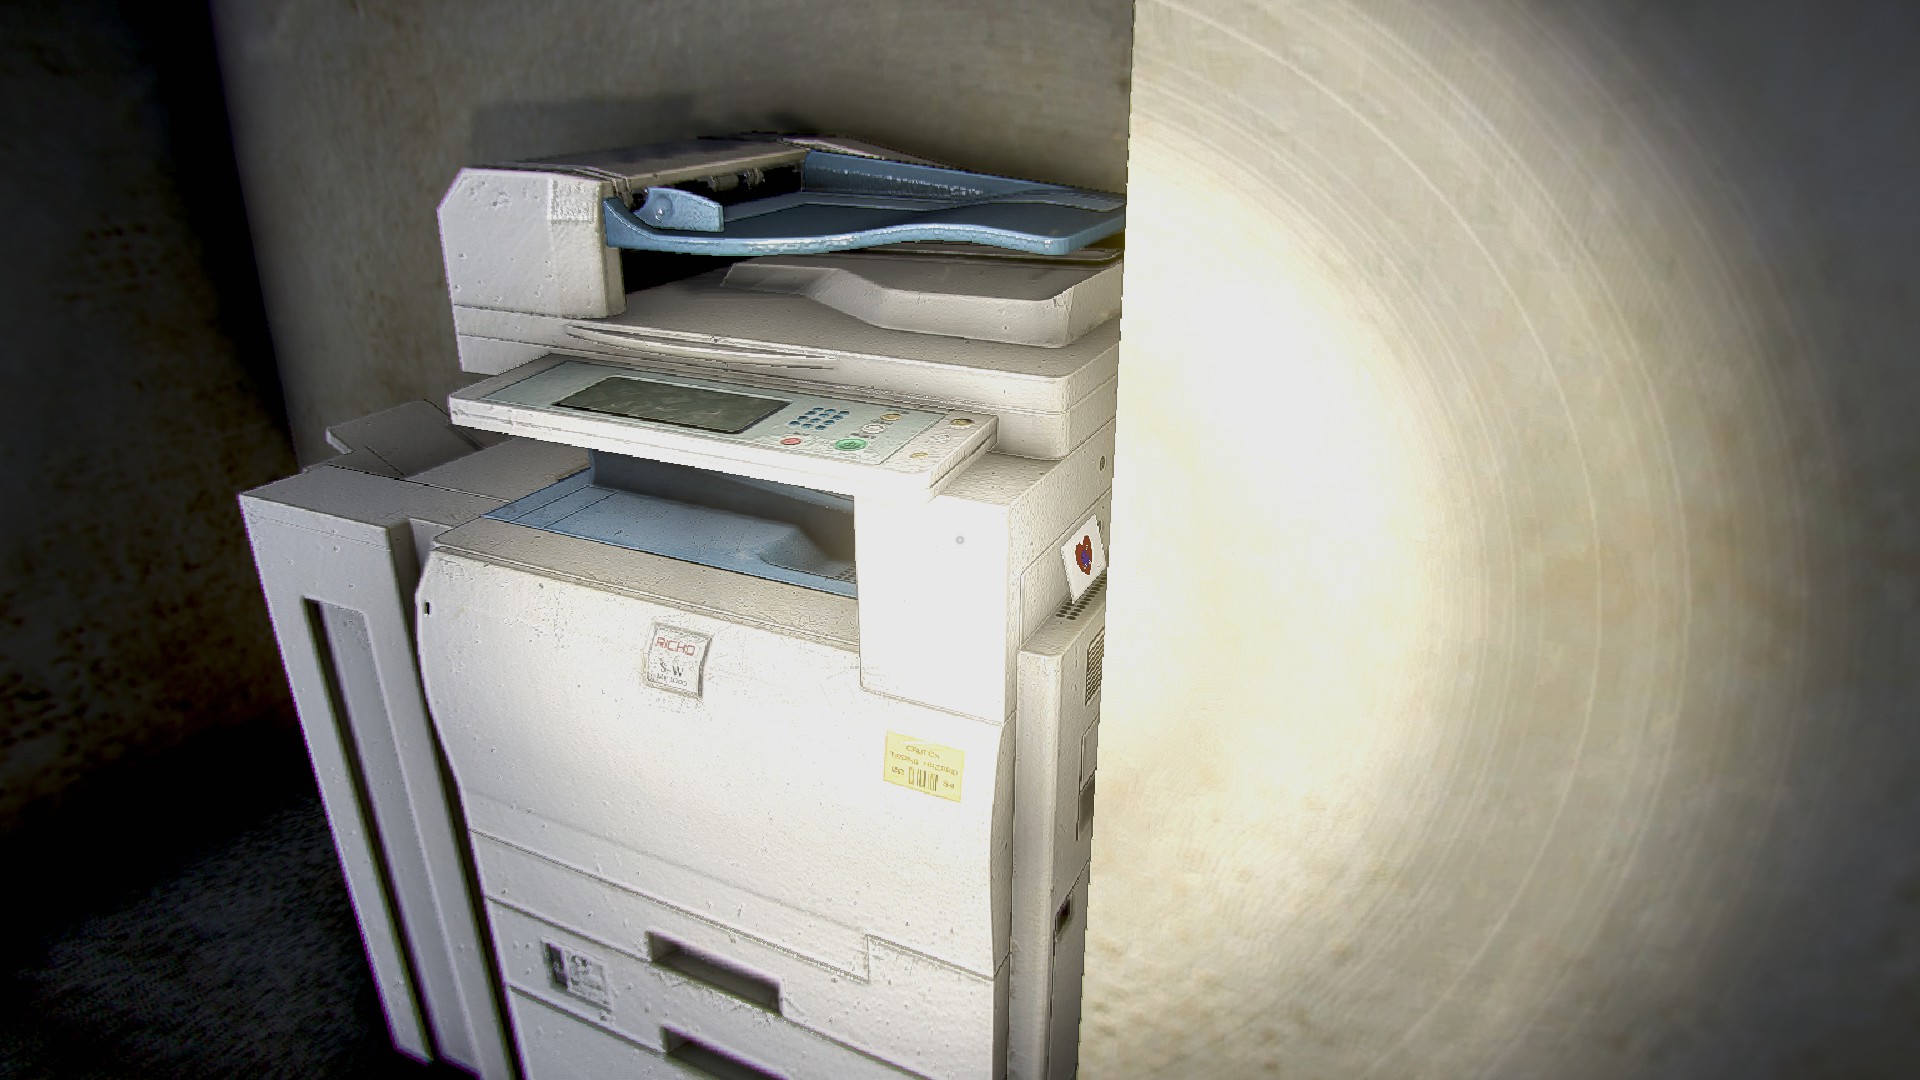
- Check out the copier in Elevator 4. Not interactive.
- Collect items
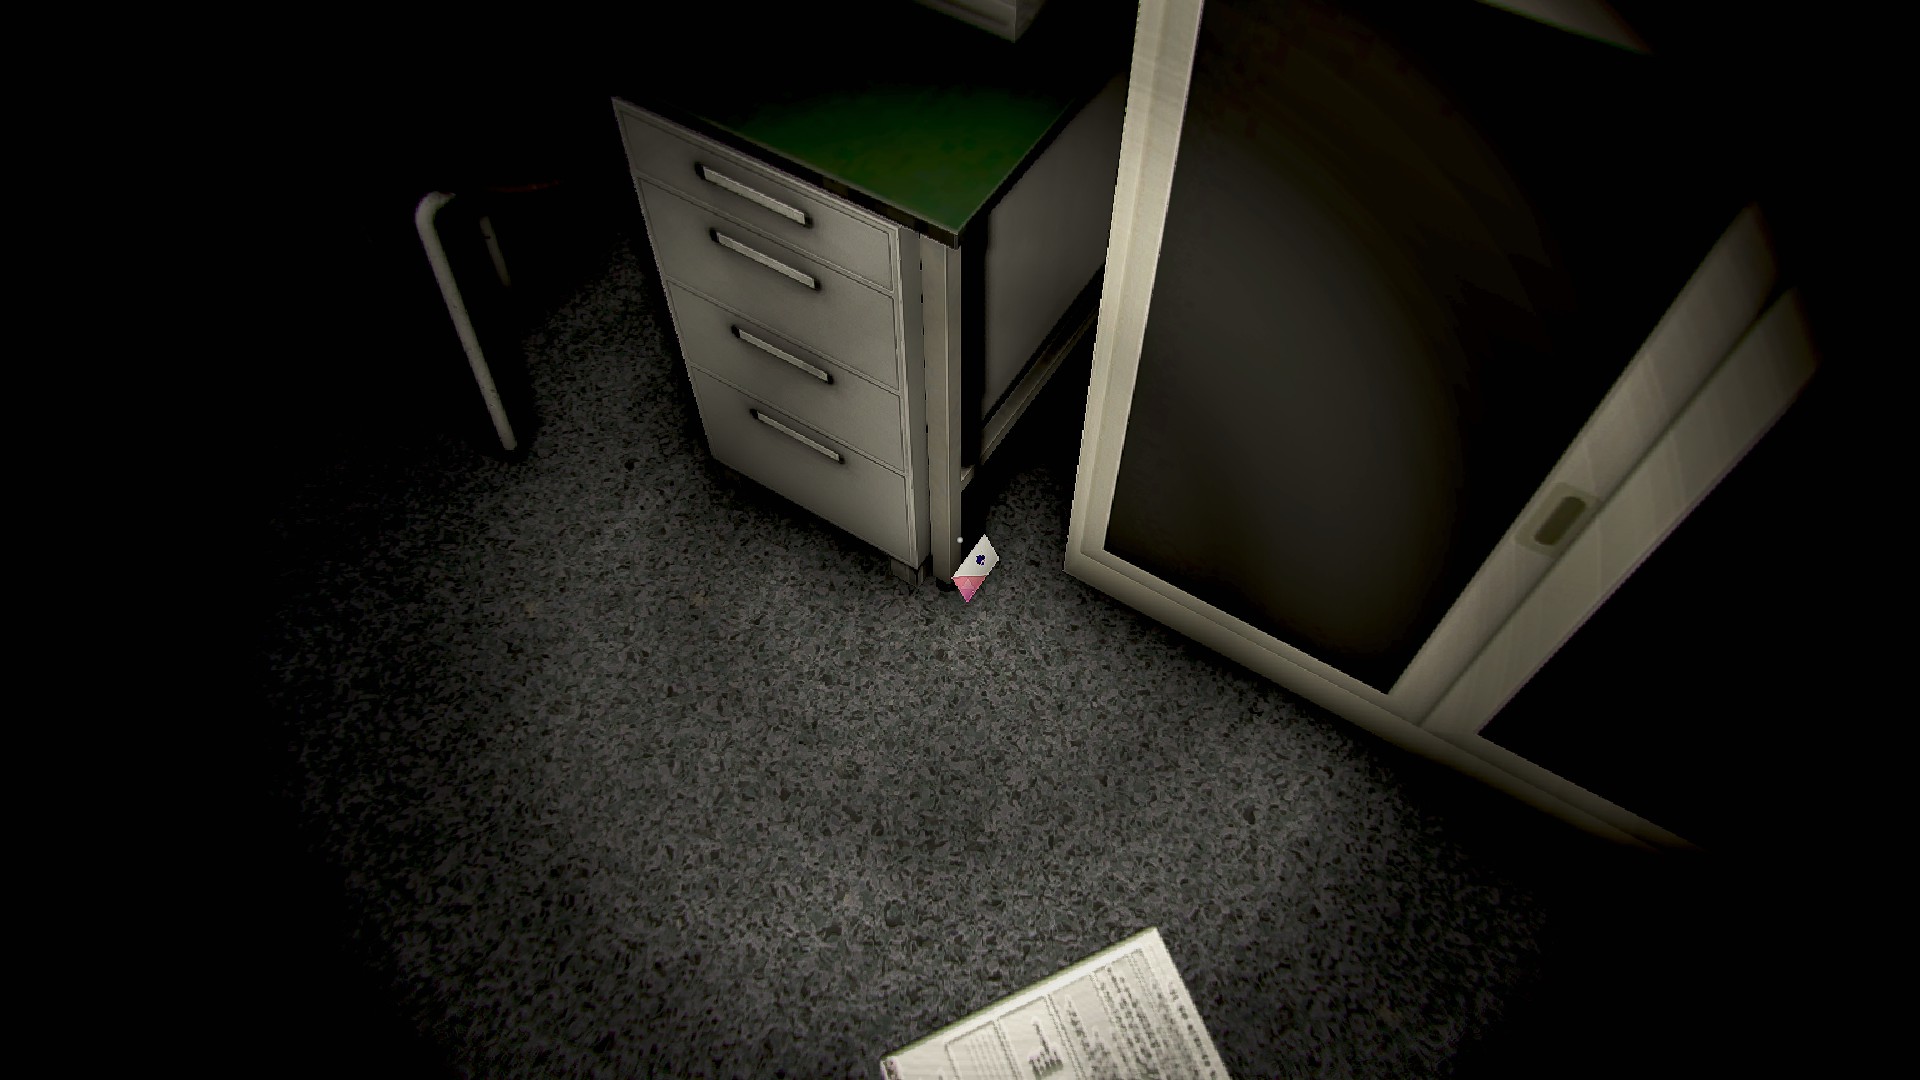
- Go to the right end and enter File 4
- Check the fire alarm in the back
- Go to the connecting room, Work 4
- Have wholesome time with a man, and kick him out
- Collect items
- Check the fire alarm in the back
- Be annoyed
- Go to Storage 4
- Pickup the light and install it at prompt point
- Turn off the bathroom lights
- Collect items
- Go to the hall and lock the doors
- Elevator time. Go up, Floor 5
Floor 5
- Hey, these lights suck too
- Collect items
- Fuse 5, check fuse box
- Collect items
- Go down the hall to the weird door I guess
- There will be 7 points where you choose a direction. Turns without a choice are not listed.
- Right
- Left
- Forward
- Forward
- Forward
- Right
- Left
- Collect the fuse on the table
- Exit the blood maze
- Install the new fuse in Fuse 5
- Ask the person to leave
- Go to Electrical 5 and flip 4 switches. They will be glowing, pretty easy to find
- Check the fire alarm in the back
- Go to Security 5
- Collect items
- Read Note
- Check the CCTV
- Watch some TV maybe, up to you
- Turn off the bathroom lights
- Collect items
- Go to the hall and lock the doors
- Elevator time. Go up, Floor 6.
Floor 6
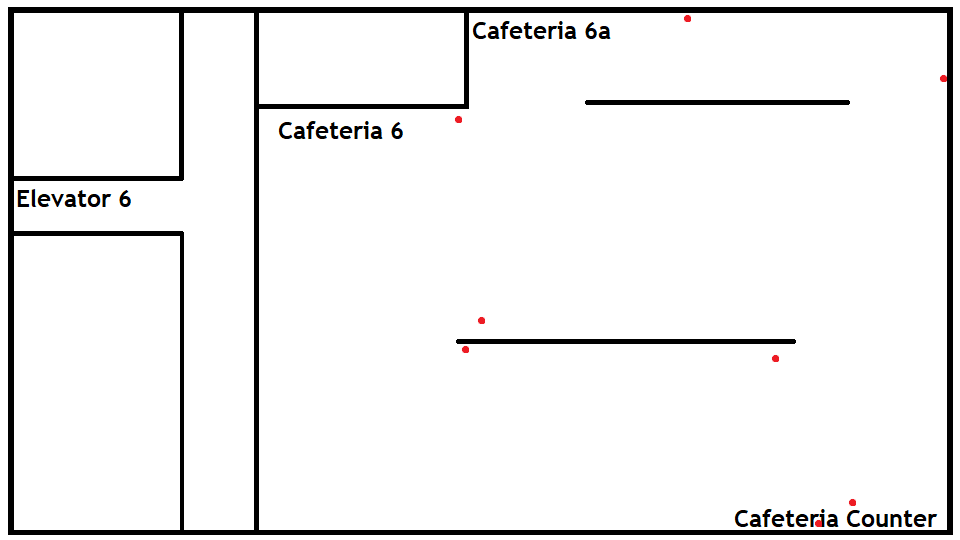
- Enter the right most door of Cafeteria 6
- Collect items
- Check the fire alarm in the back
- Go to the hall and lock the doors
- Elevator time. Go up, Floor 7.
Floor 7

- Go to the right end and enter Ladder 7
- Up the closest ladder
- Grab the switch
- Look down, and select ladder to go back down
- Up the other ladder
- Grab the 2nd switch
- Look down, and select ladder to go back down
- Collect items
- Go the the connected room, Ladder 7a
- Up ladder #3 to grab the 3rd switch
- Look down, and select ladder to go back down
- Collect items
- Climb the ladder in Womens 7 for the 4th switch
- Go reattach the switches at Elevator 7
- Elevator time. Go up, Floor 8.
Floor 8
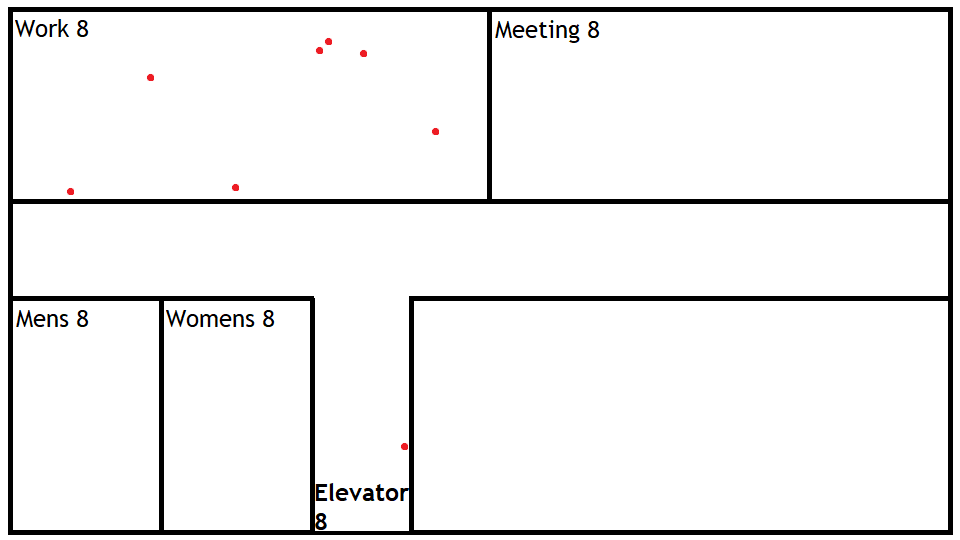
- Exit Elevator 8, collect items
- Go to the right end and enter Meeting 8
- Check the fire alarm in the back
- Go the the connected room, Work 8
- Collect items
- Turn off the bathroom lights
- Go to the hall and lock the doors
- Elevator time. Go up, Floor 9.
Floor 9
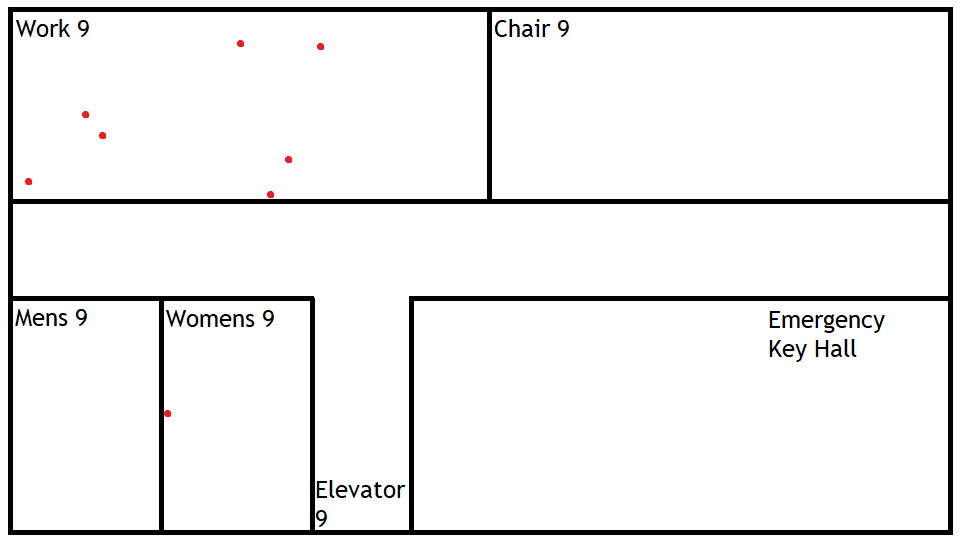
- Go to Chair 9
- Check the fire alarm in the back
- Go to Work 9
- Collect items
- Interact with the person in the middle of the room
- Check the fire alarm in the back
- Turn off the bathroom lights
- Collect items
- Go to the hall and lock the doors
- Elevator time- nm, to the stairs!
- Emergency Key hall will spawn across from Chair 9
- Grab the key at the end, there’s only one way to go
- To return, go left when possible, otherwise go straight.
- Go to the stairway door, use the key
- Enter and go upstairs. Keep in mind there is no autosave here.
- No further collectibles.
Gameplay Part II, Achievements
Floor 10
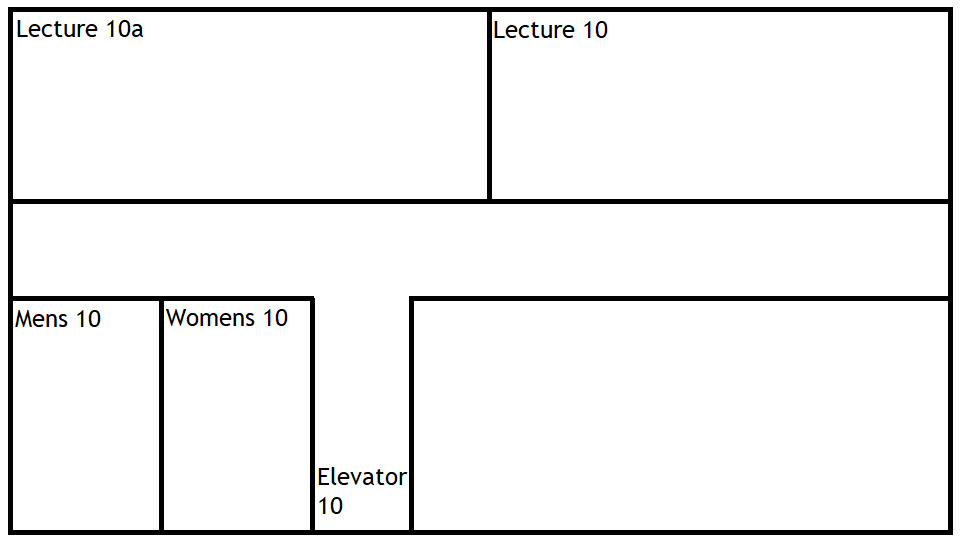
- Enter floor 10
- Enter the door to the right, Lecture 10
- Check the fire alarm in the back
- Go the the connected room, Lecture 10a
- Check the fire alarm in the back
- Turn off the bathroom lights
- Go to the hall and lock the doors
- Elevator time. Go up, Floor 11.
Floor 11
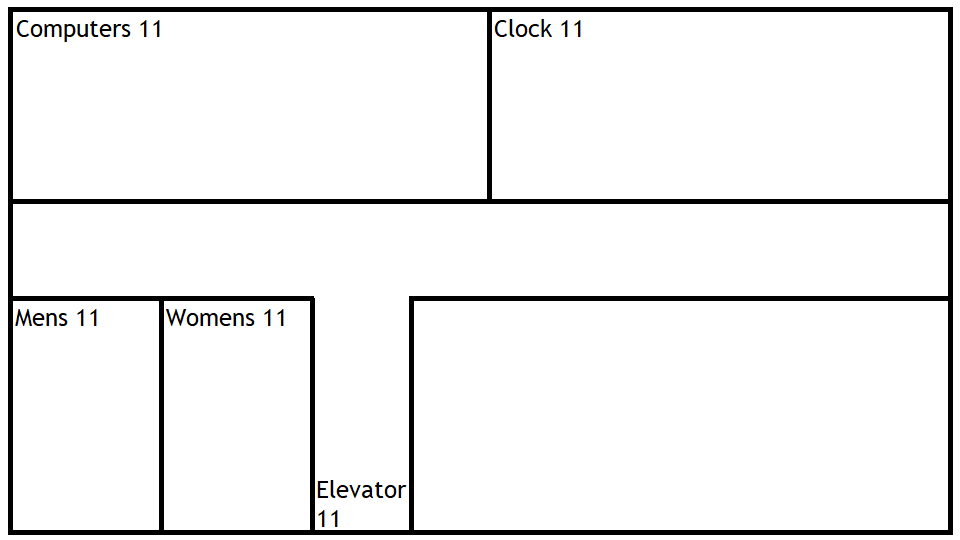
- Exit the elevator and approach the TV ahead of you. Interact.
- Walk forward.
- Enter the right door down the hall to Clock 11
- Look at the right wall at the dirty clock and interact with it.
- Exit and go to a bathroom,interact with a sink
- Return to Clock 11
- Interact with the clock on the wall
- Go the the connected room, Computers 11
- Go to the safe, enter 90 for inner circle and 60 for outer
- Grab the tape
- Check to lockers to your right, the middle one will have cables
- Apply both to the TV in the middle of the room, and watch
All three non- collectible achievements can be gotten right here with one death, and one reload.
After Ending 1, reload the floor and repeat the steps until now, and proceed to Ending 2.
[Achievement: Death]
- Realize your situation finally
- Open the door, run out, and die

[Achievement: Ending 1]
- Open the door, run back
- Go to the door in the far corner past the TV
- Hang left, run back to the stairwell

[Achievement: Ending 2]
- Open the door, run back
- Go to the door in the far corner past the TV
- Look right to the end of the hall, at the wall with the keypad and drawing
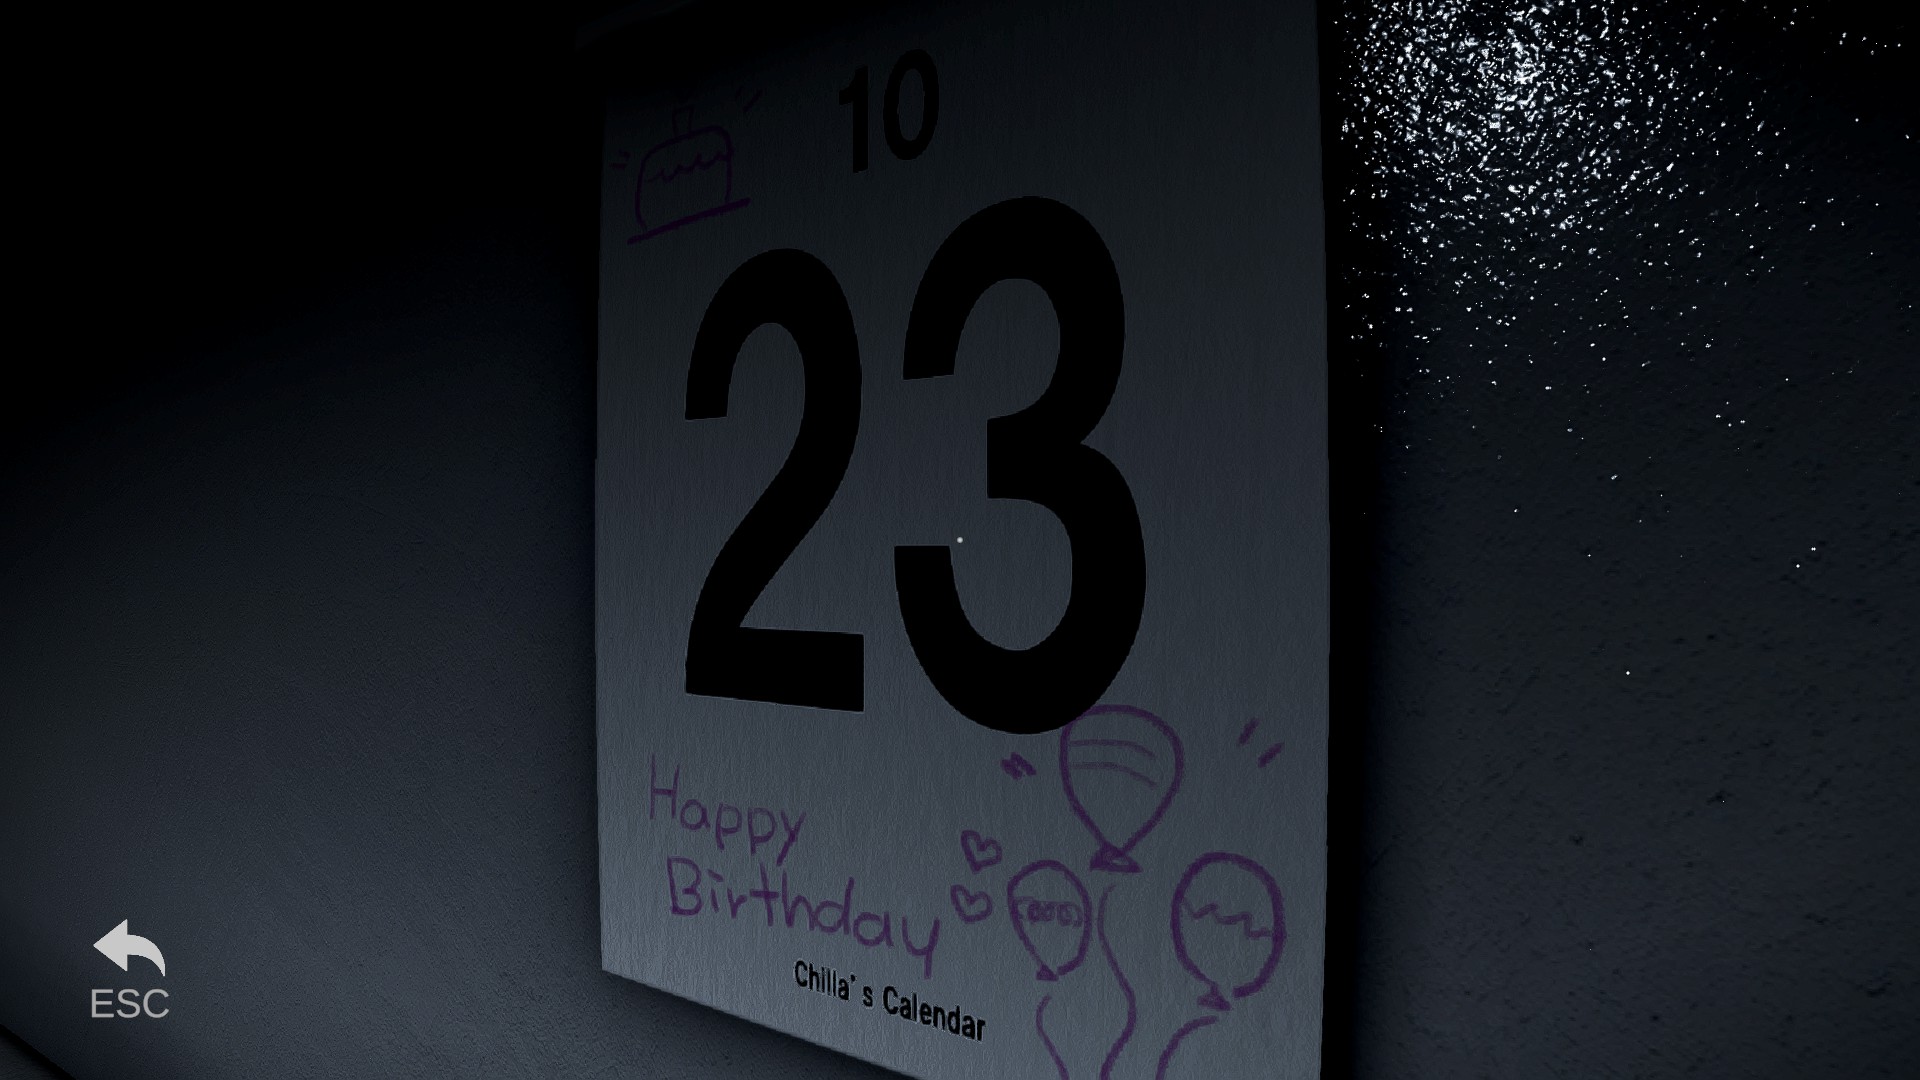
- Enter “1023”
- Run to Elevator 11

Collectibles Part I
Business Card Locations
Night Shift Patreon collectibles are business cards left around the building. There are XX cards in total. Collectibles are marked with red dots on the maps above, and following is a more detailed walk through.
Please Note: “Front facing” desk means the person sitting in this desk is facing the front of the room. “Back facing” desk means the person sitting here would be facing the back.
Floor 1 | 9 Cards
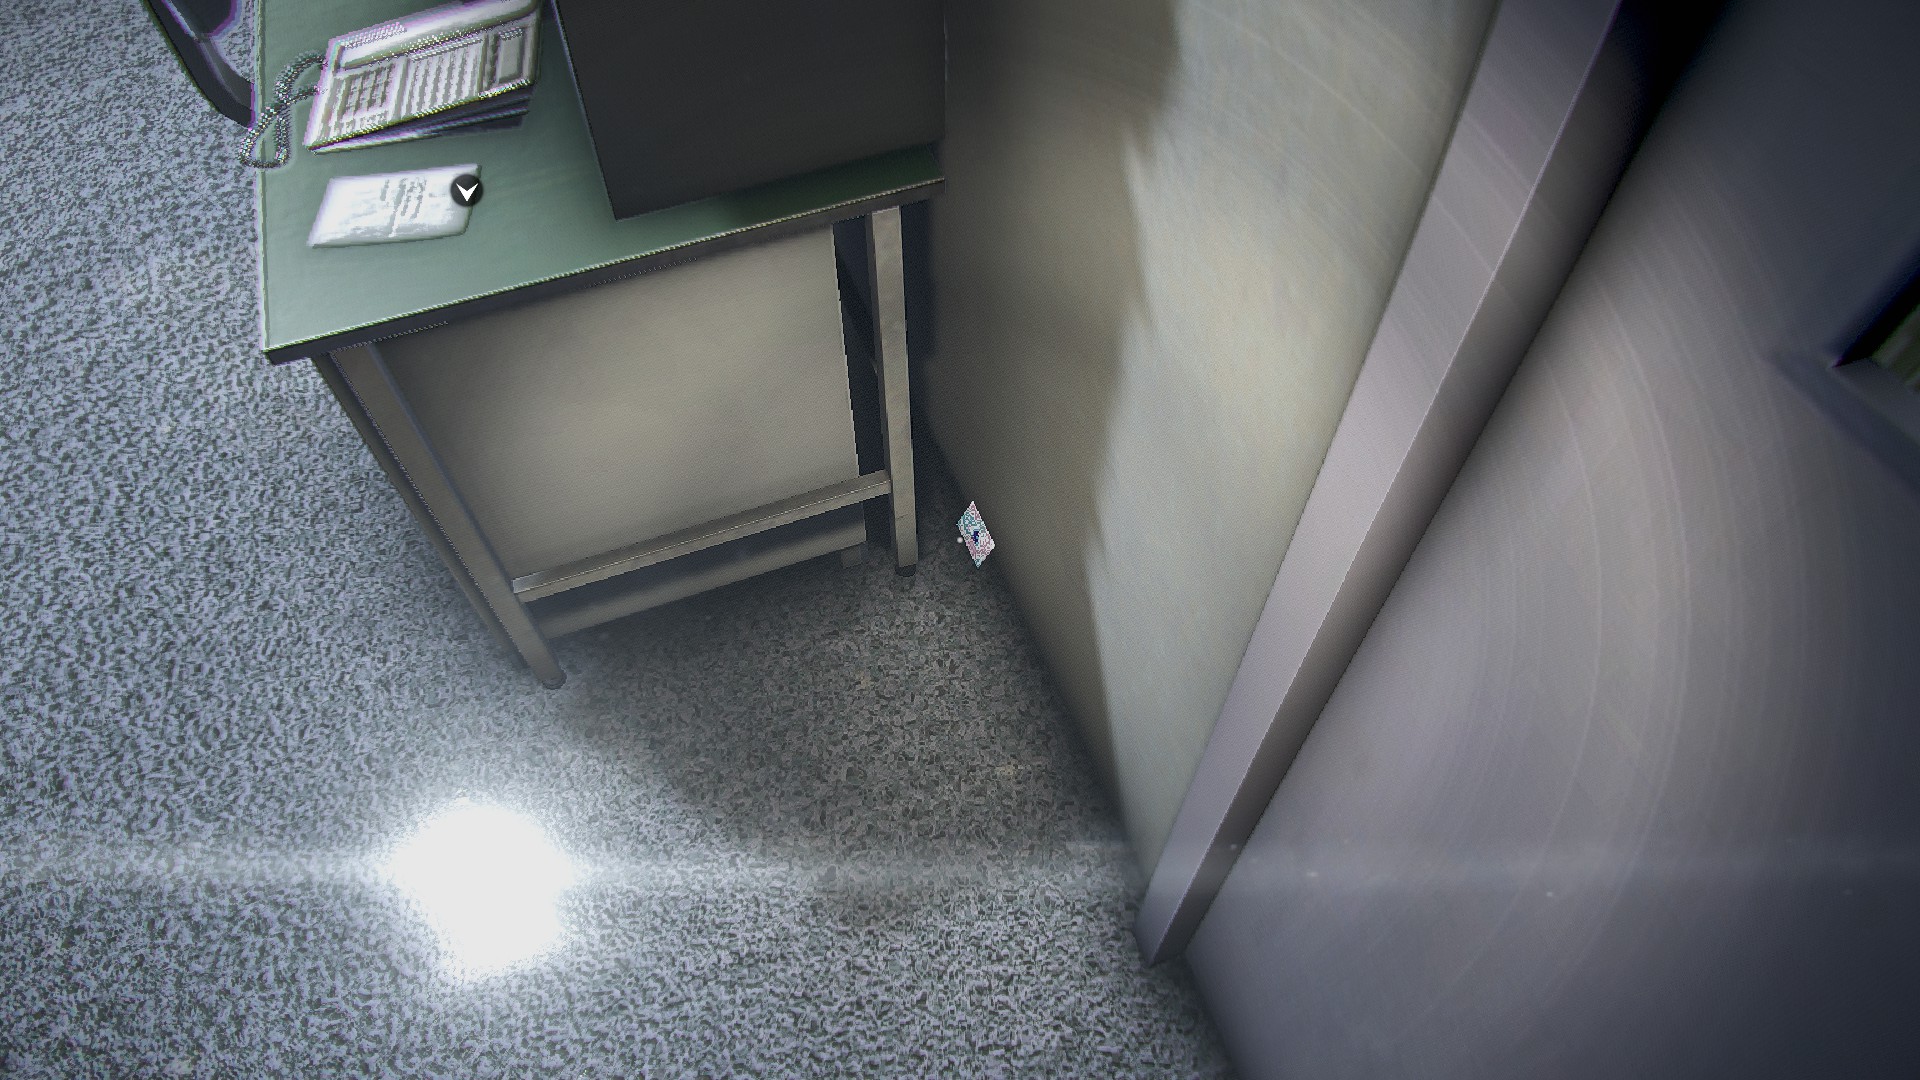
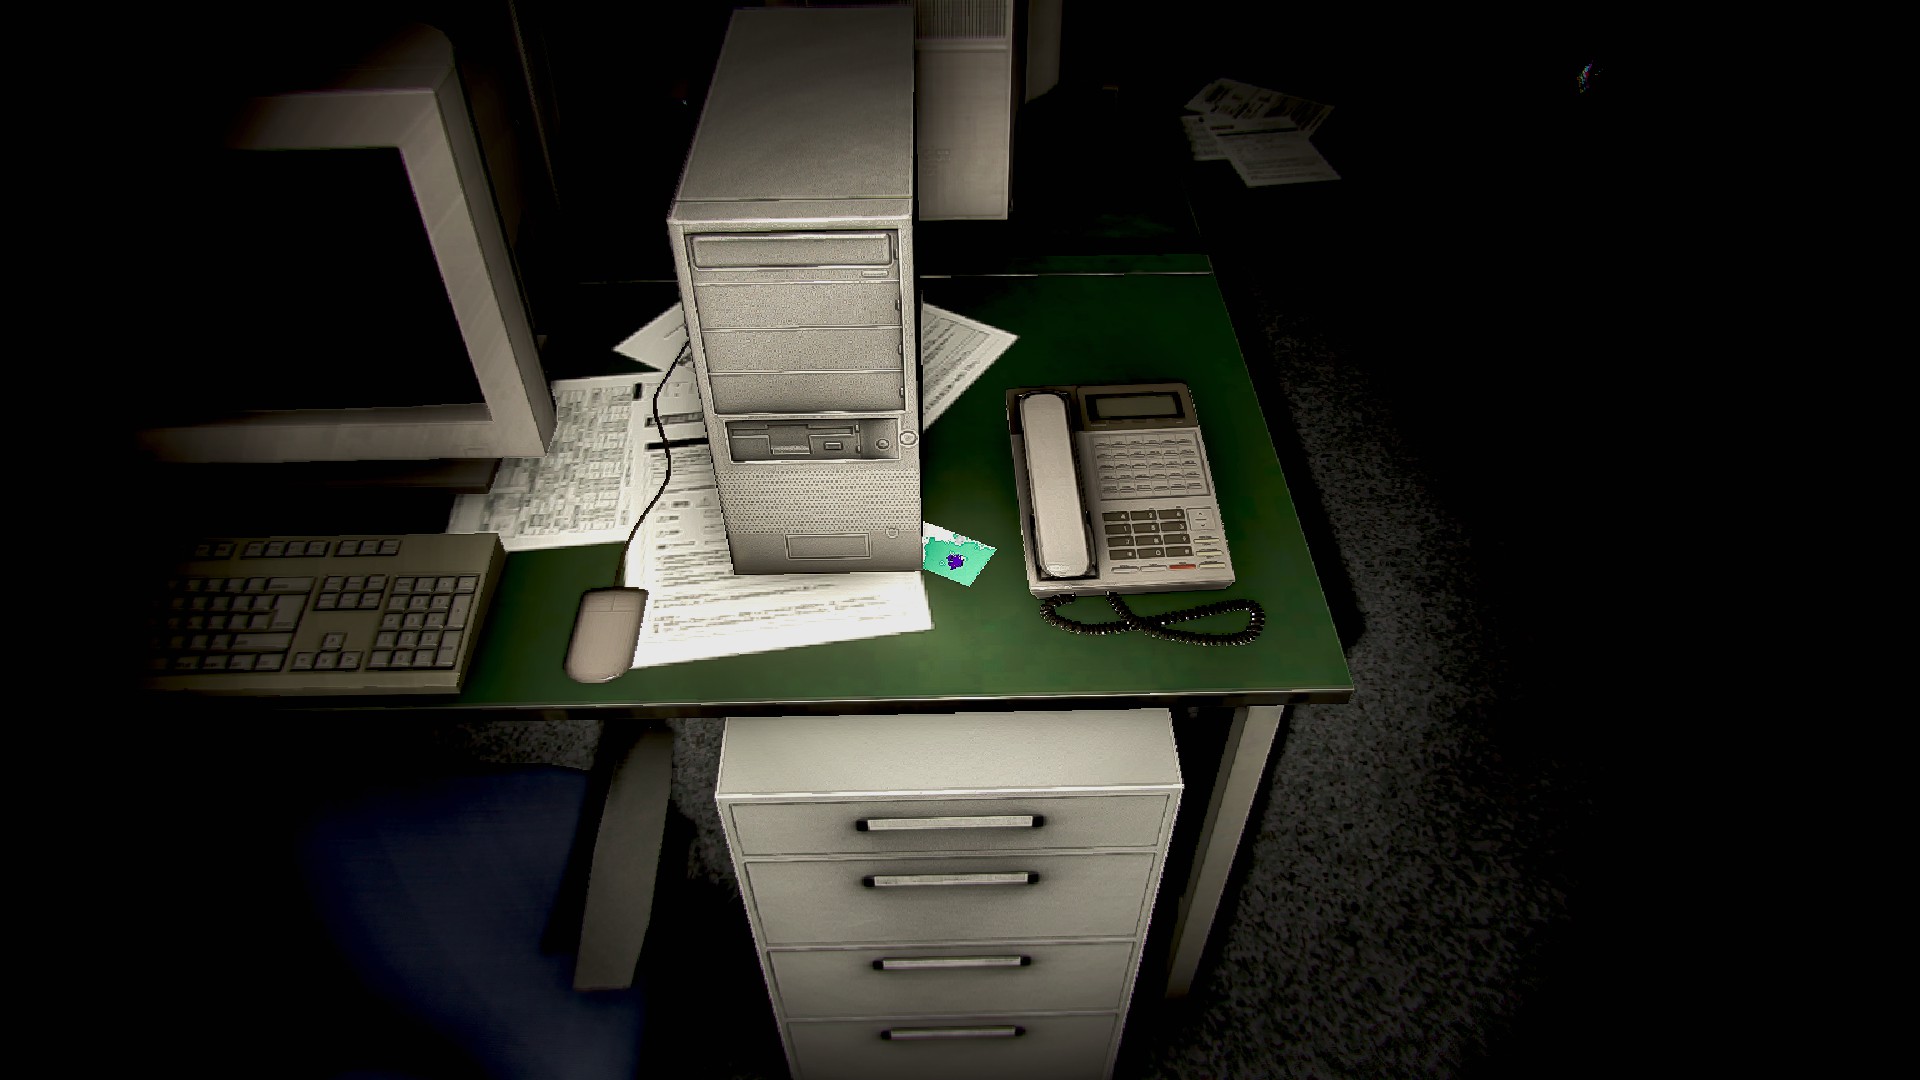
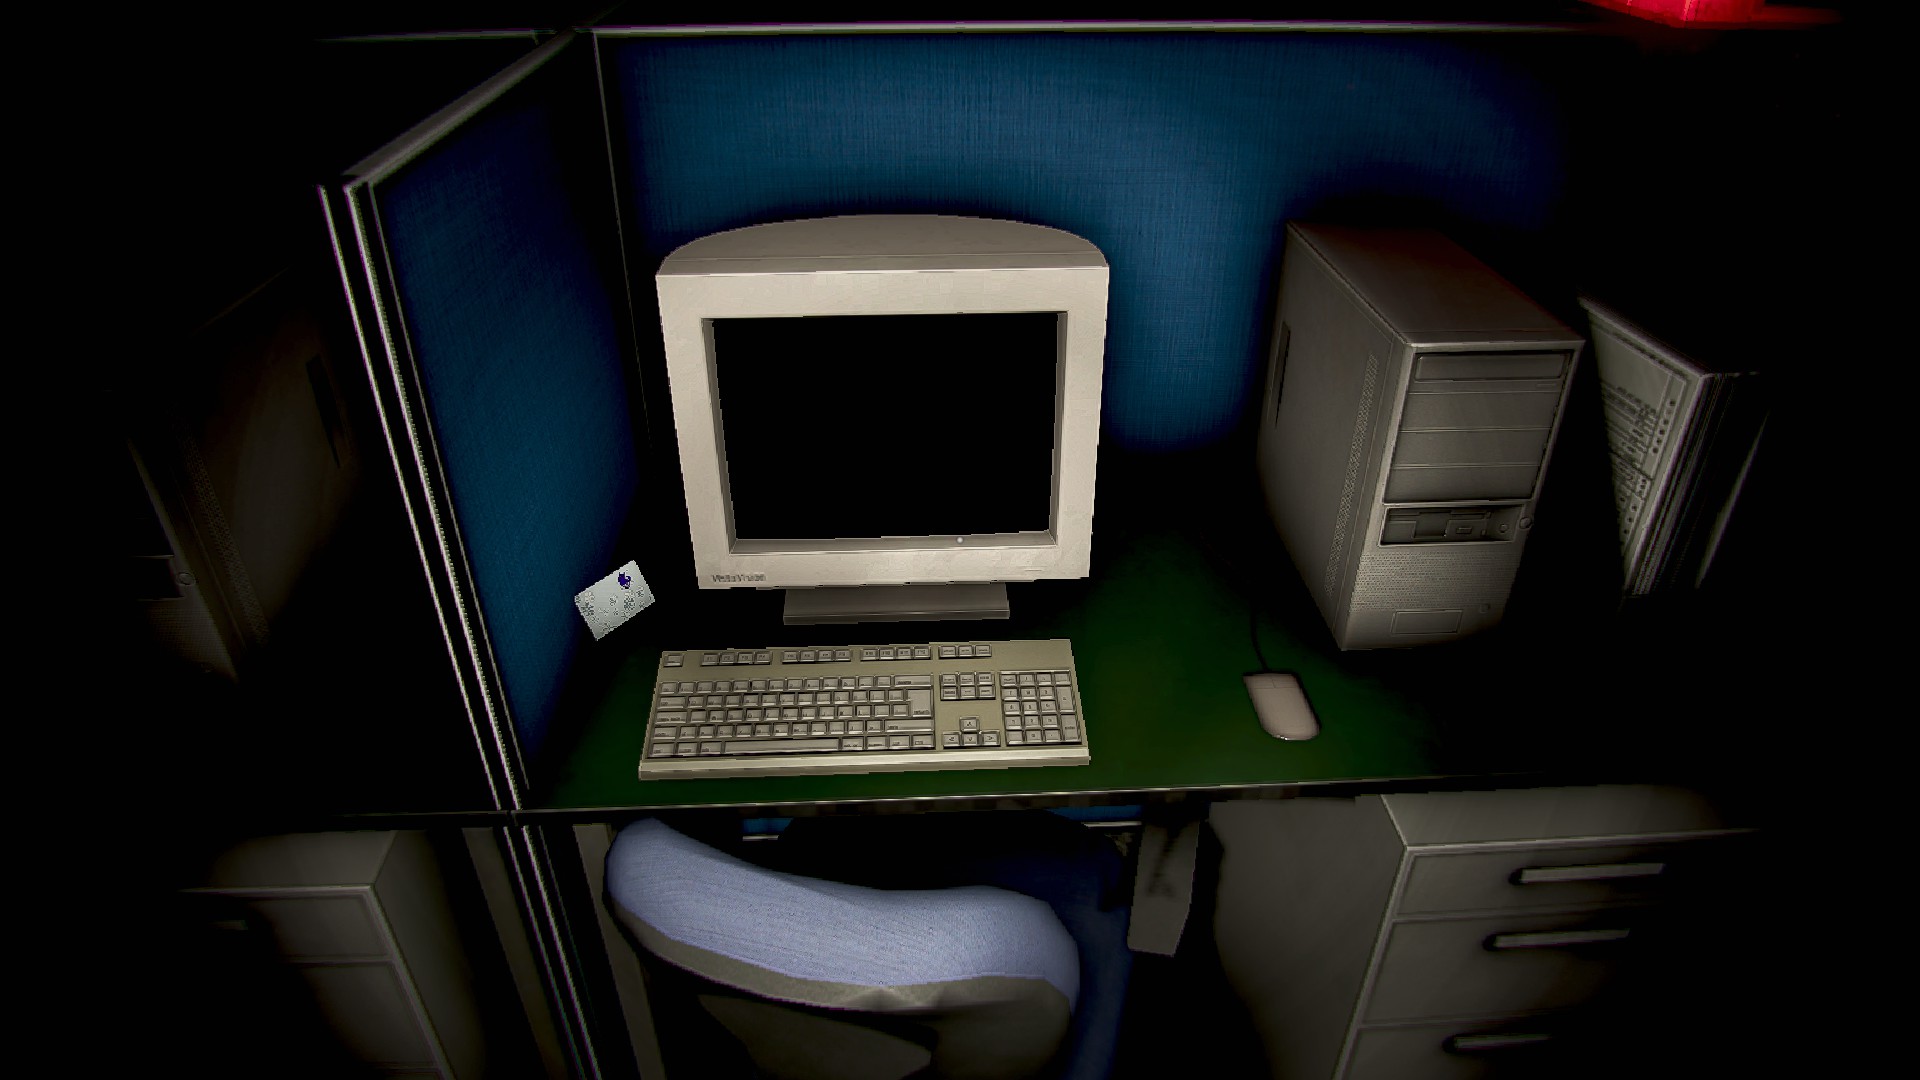
- Security 1, behind your desk on the ground
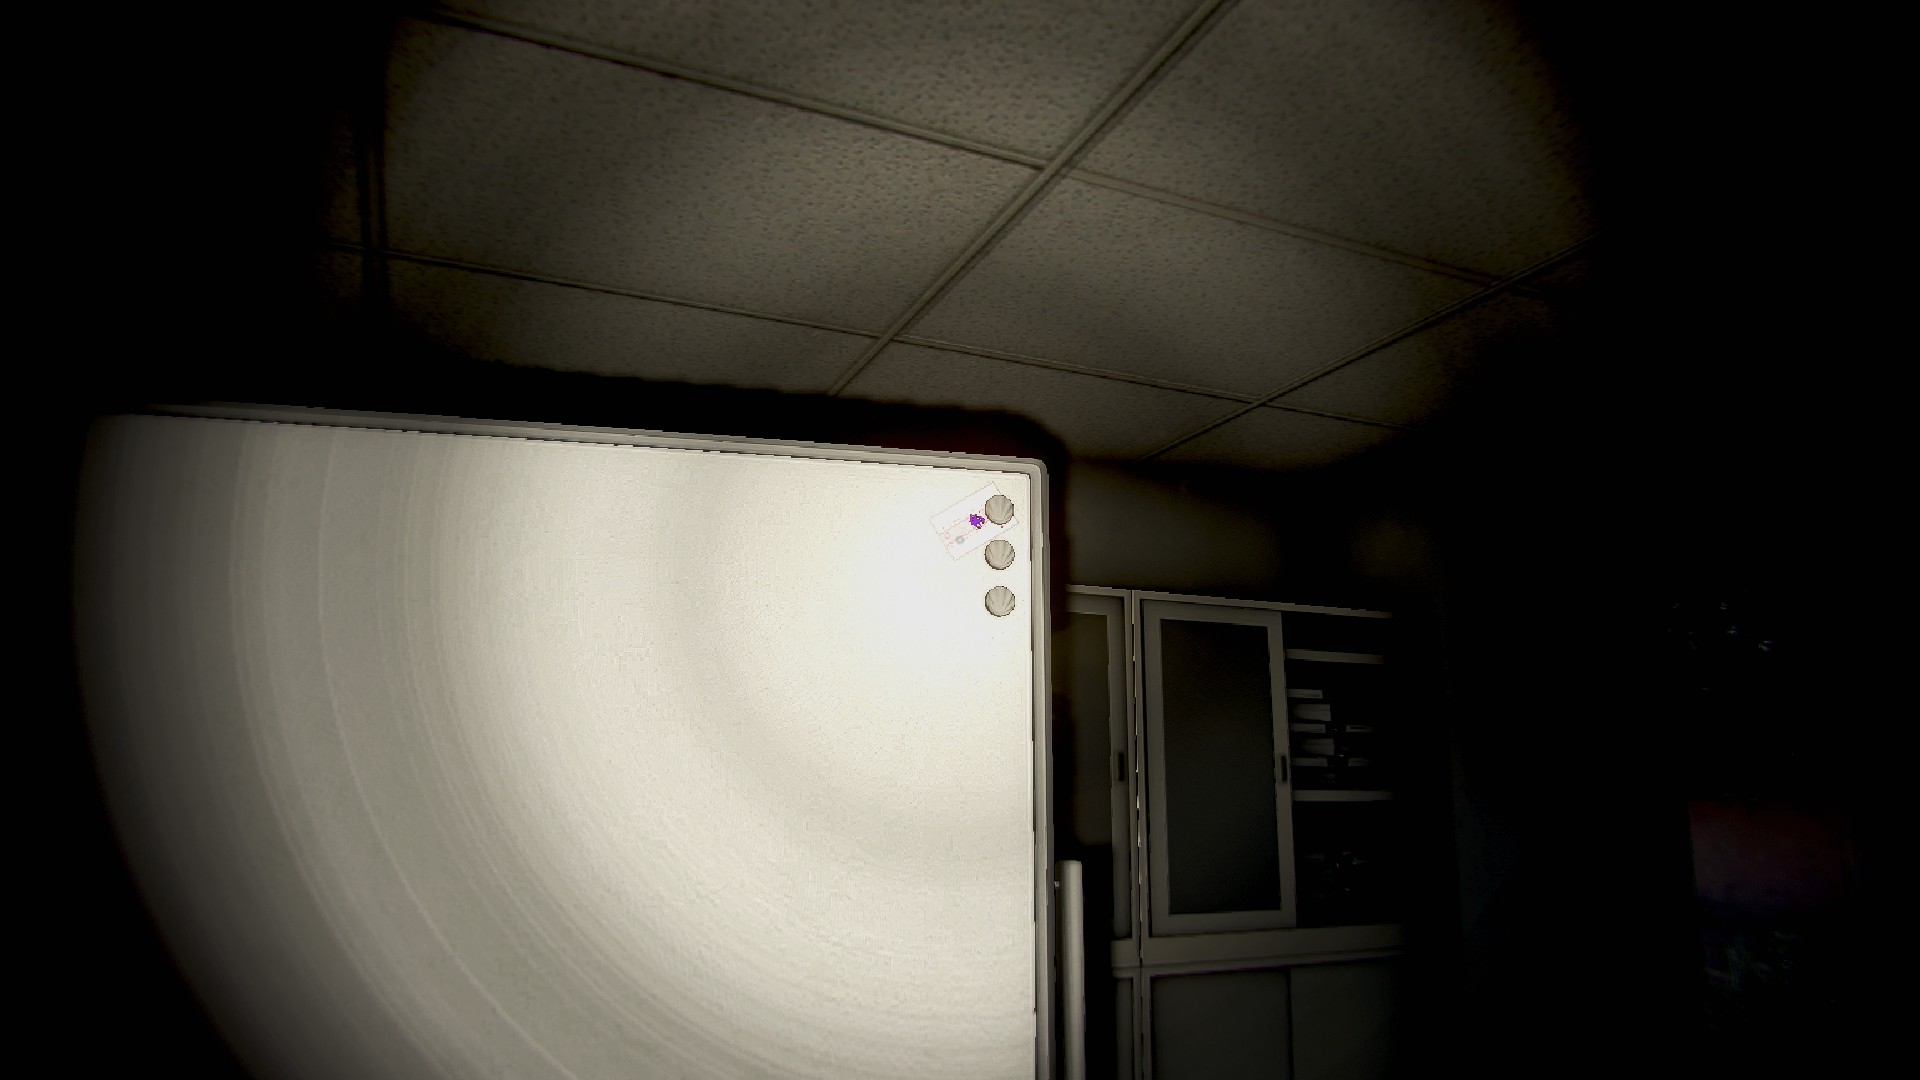
- Meeting 1, upper right side of the whiteboard
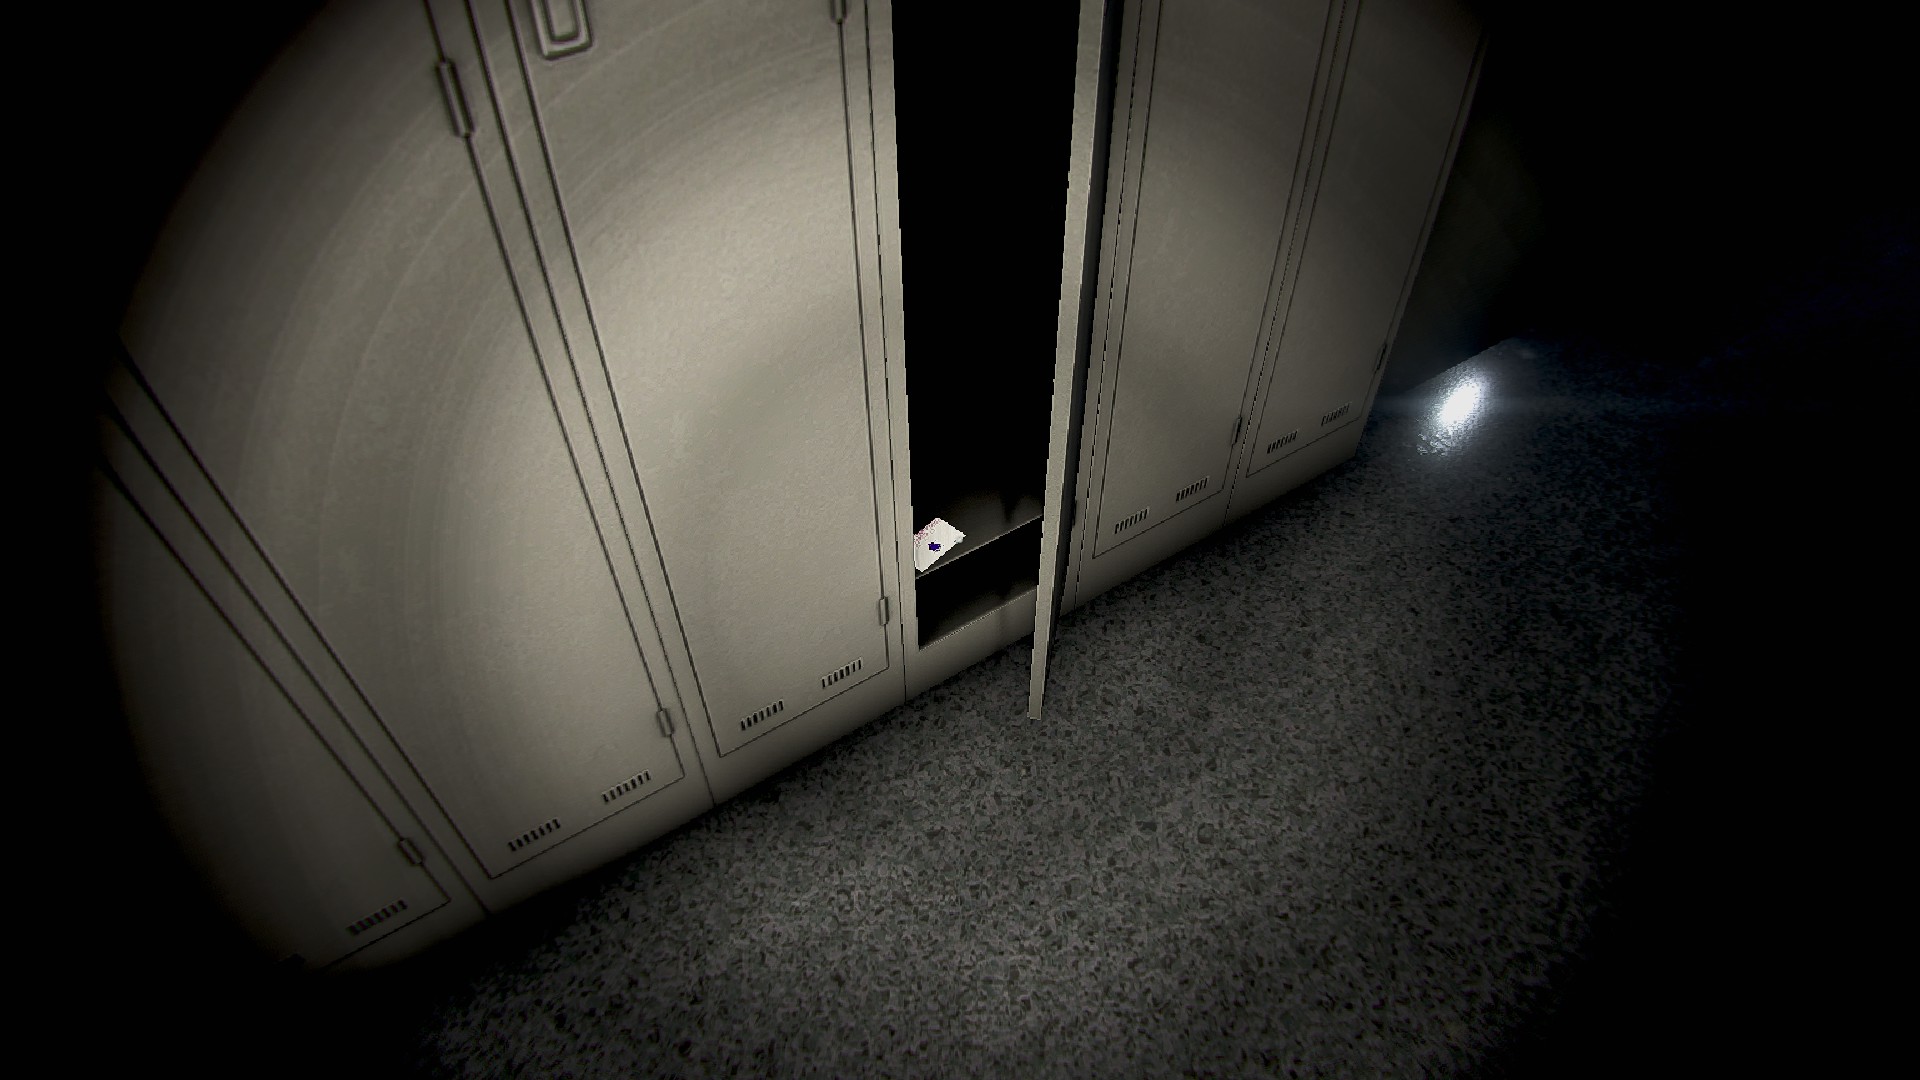
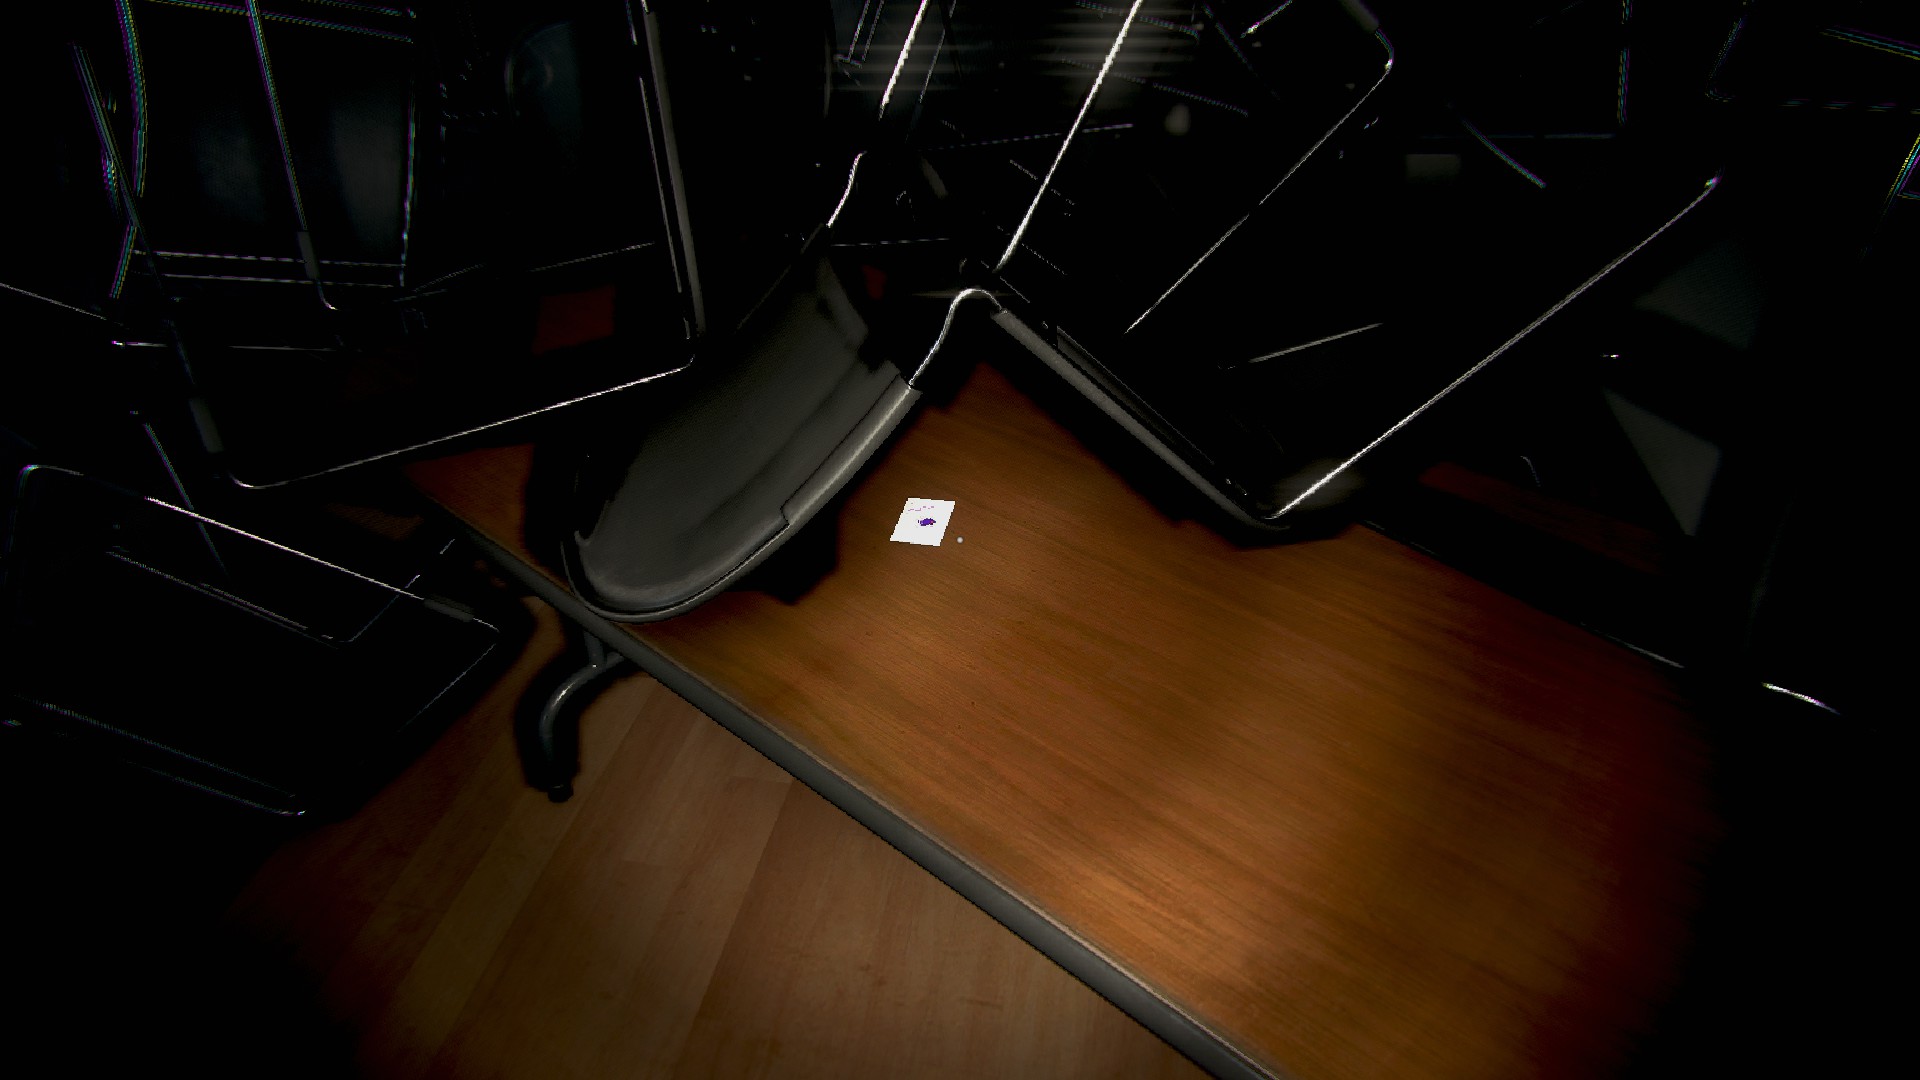
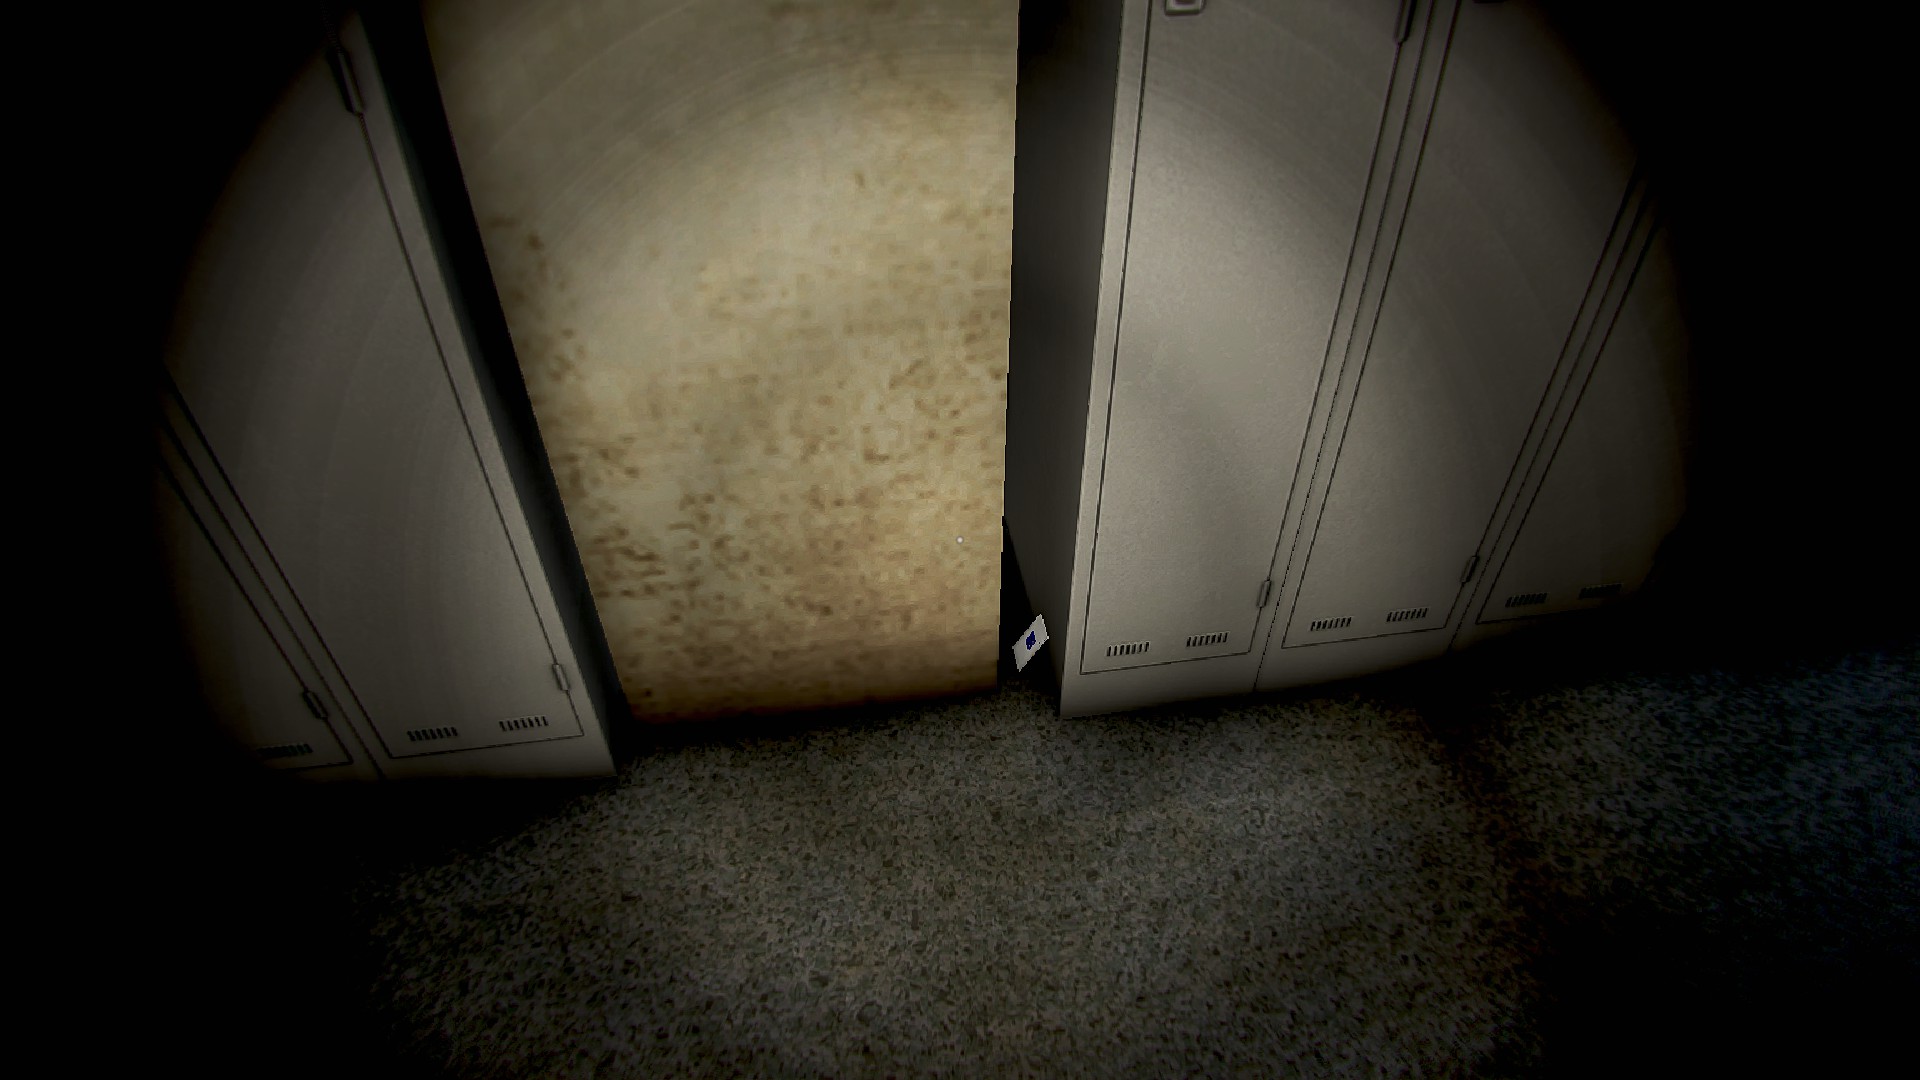
- Work 1, check the bottom of the lockers as you enter
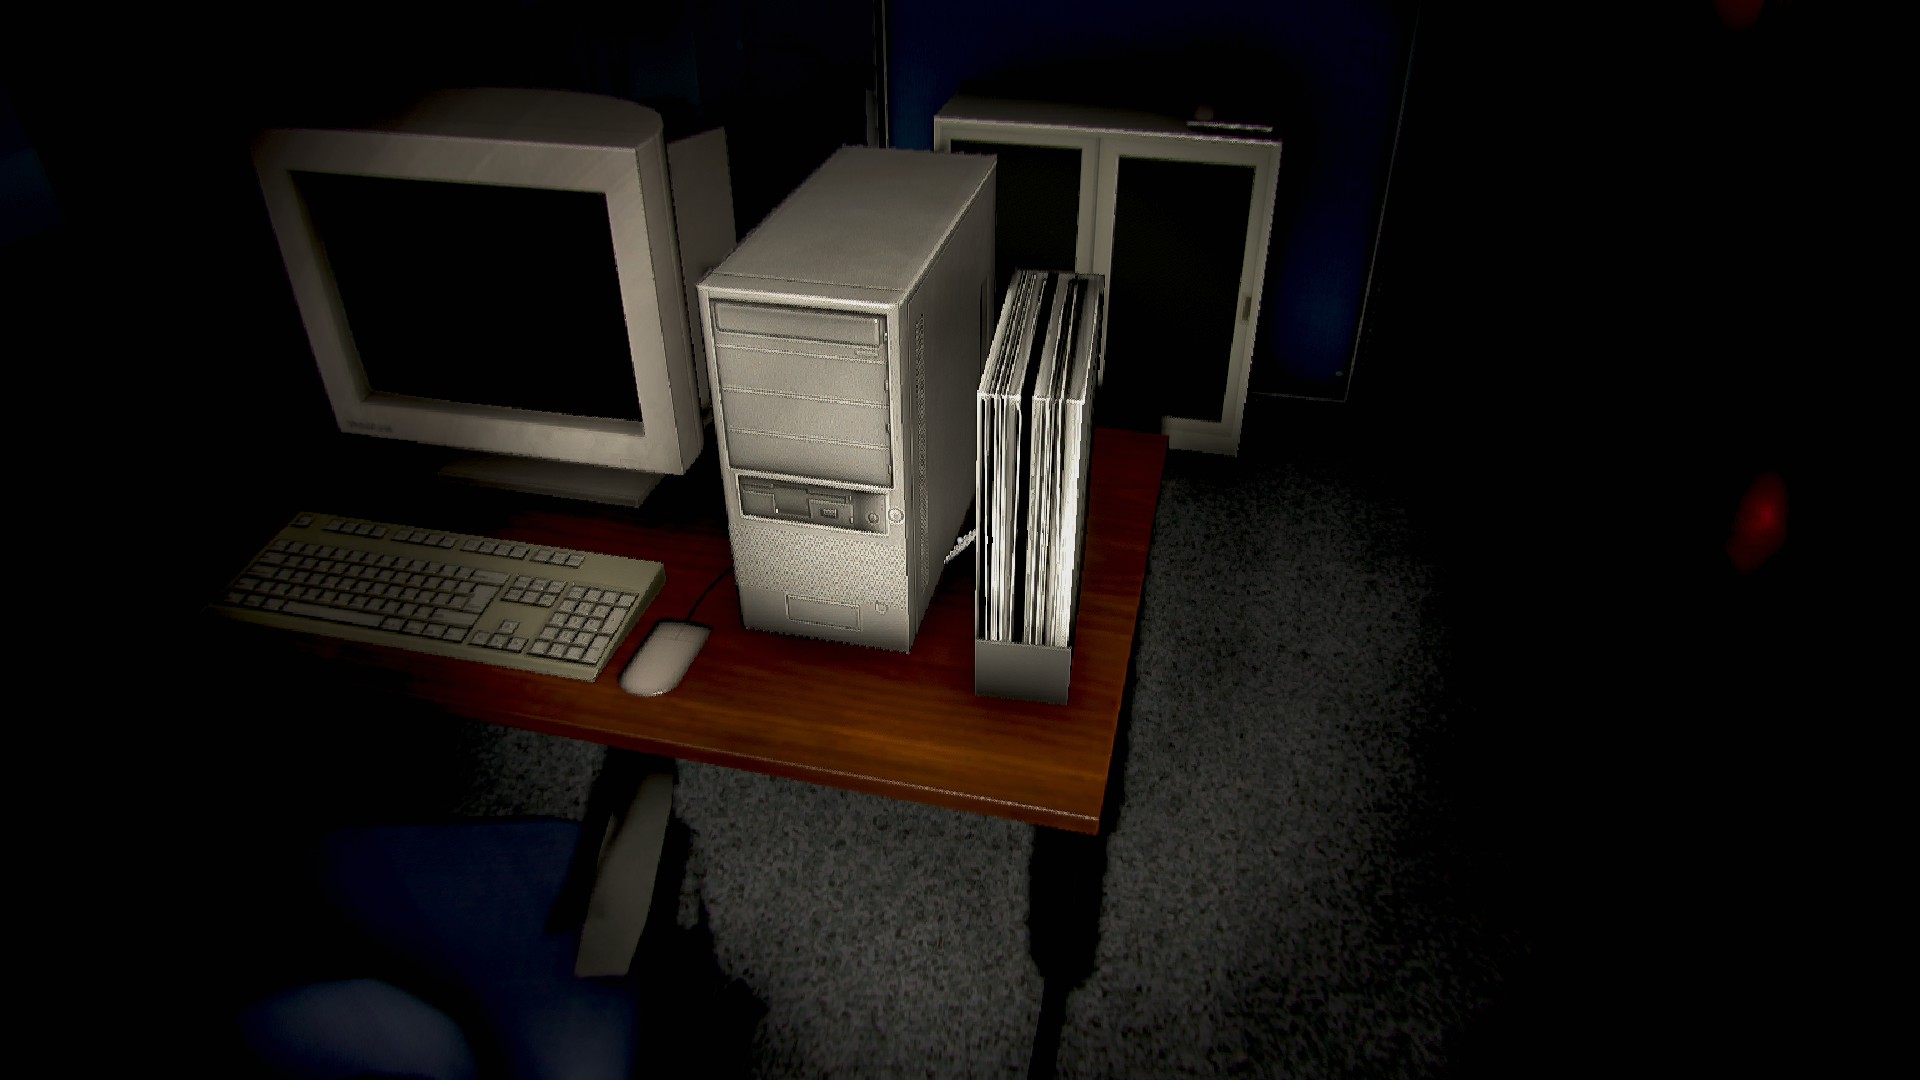
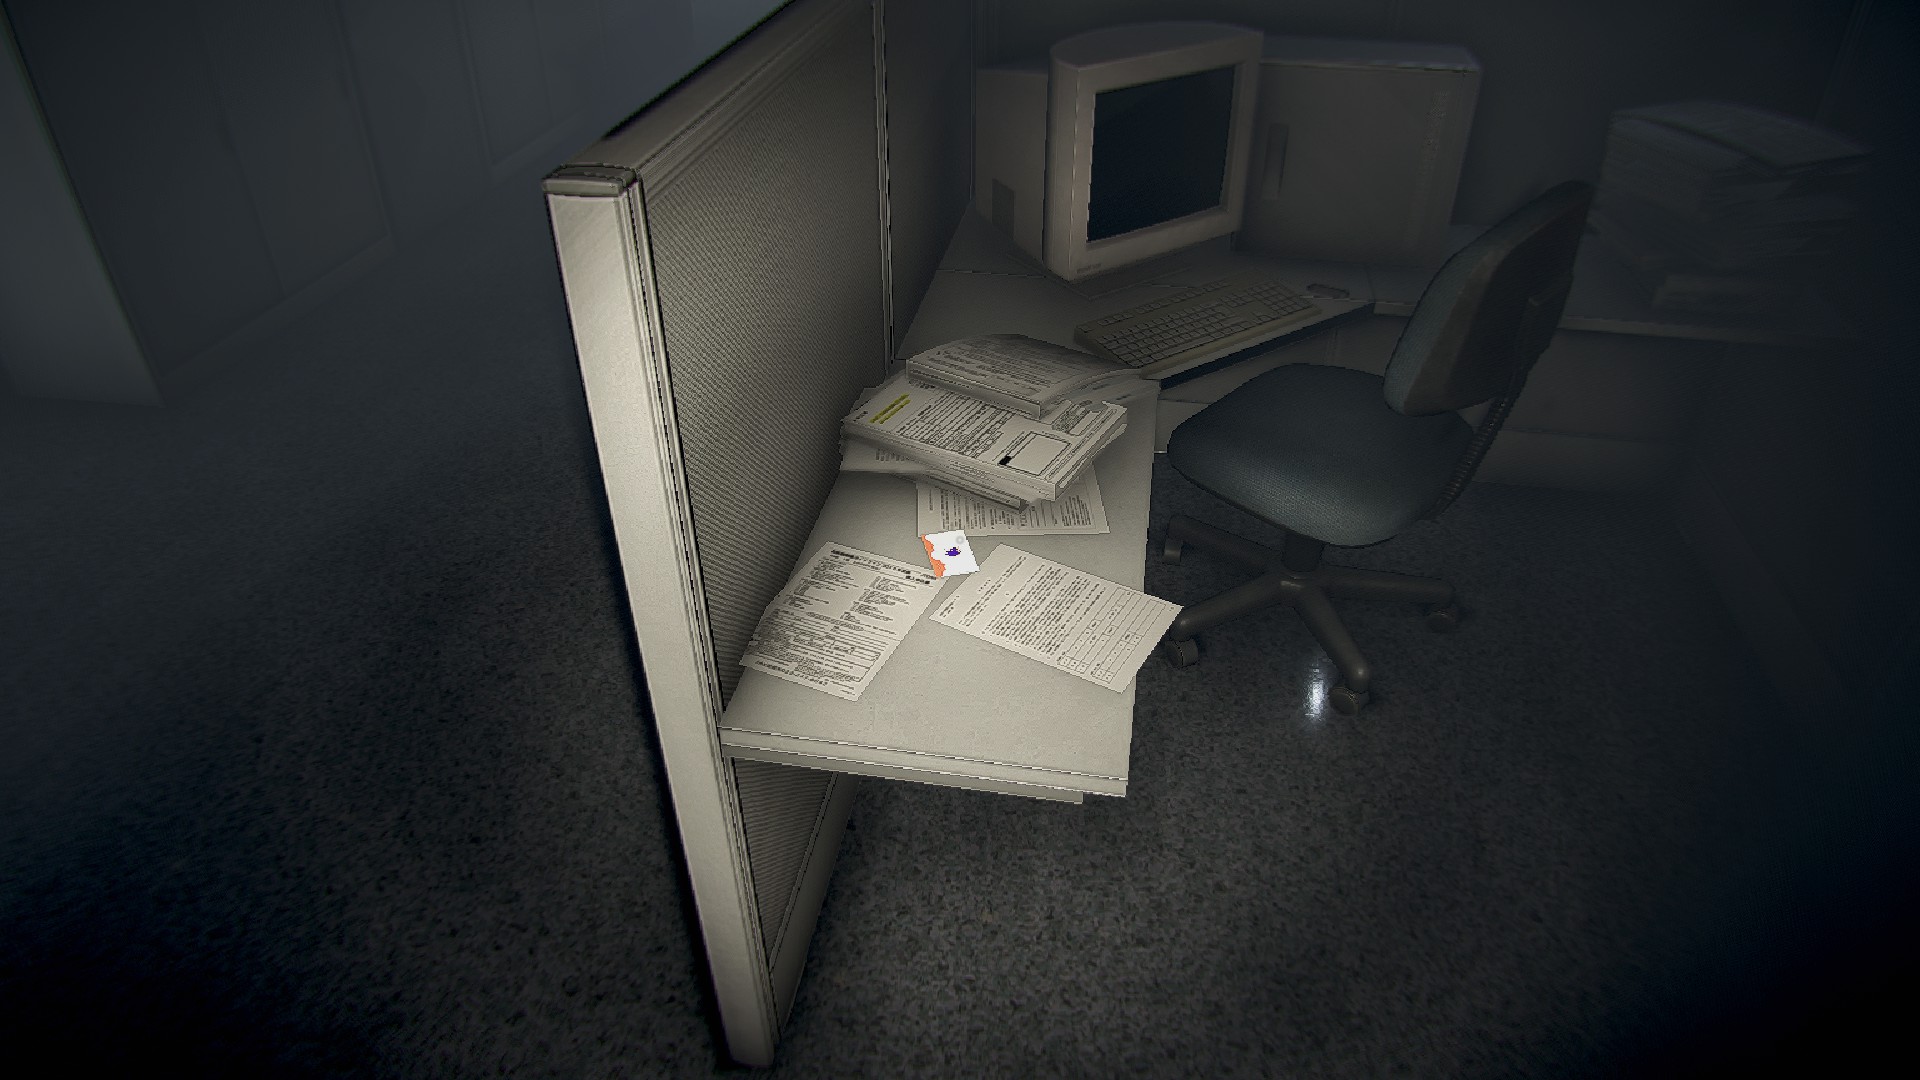
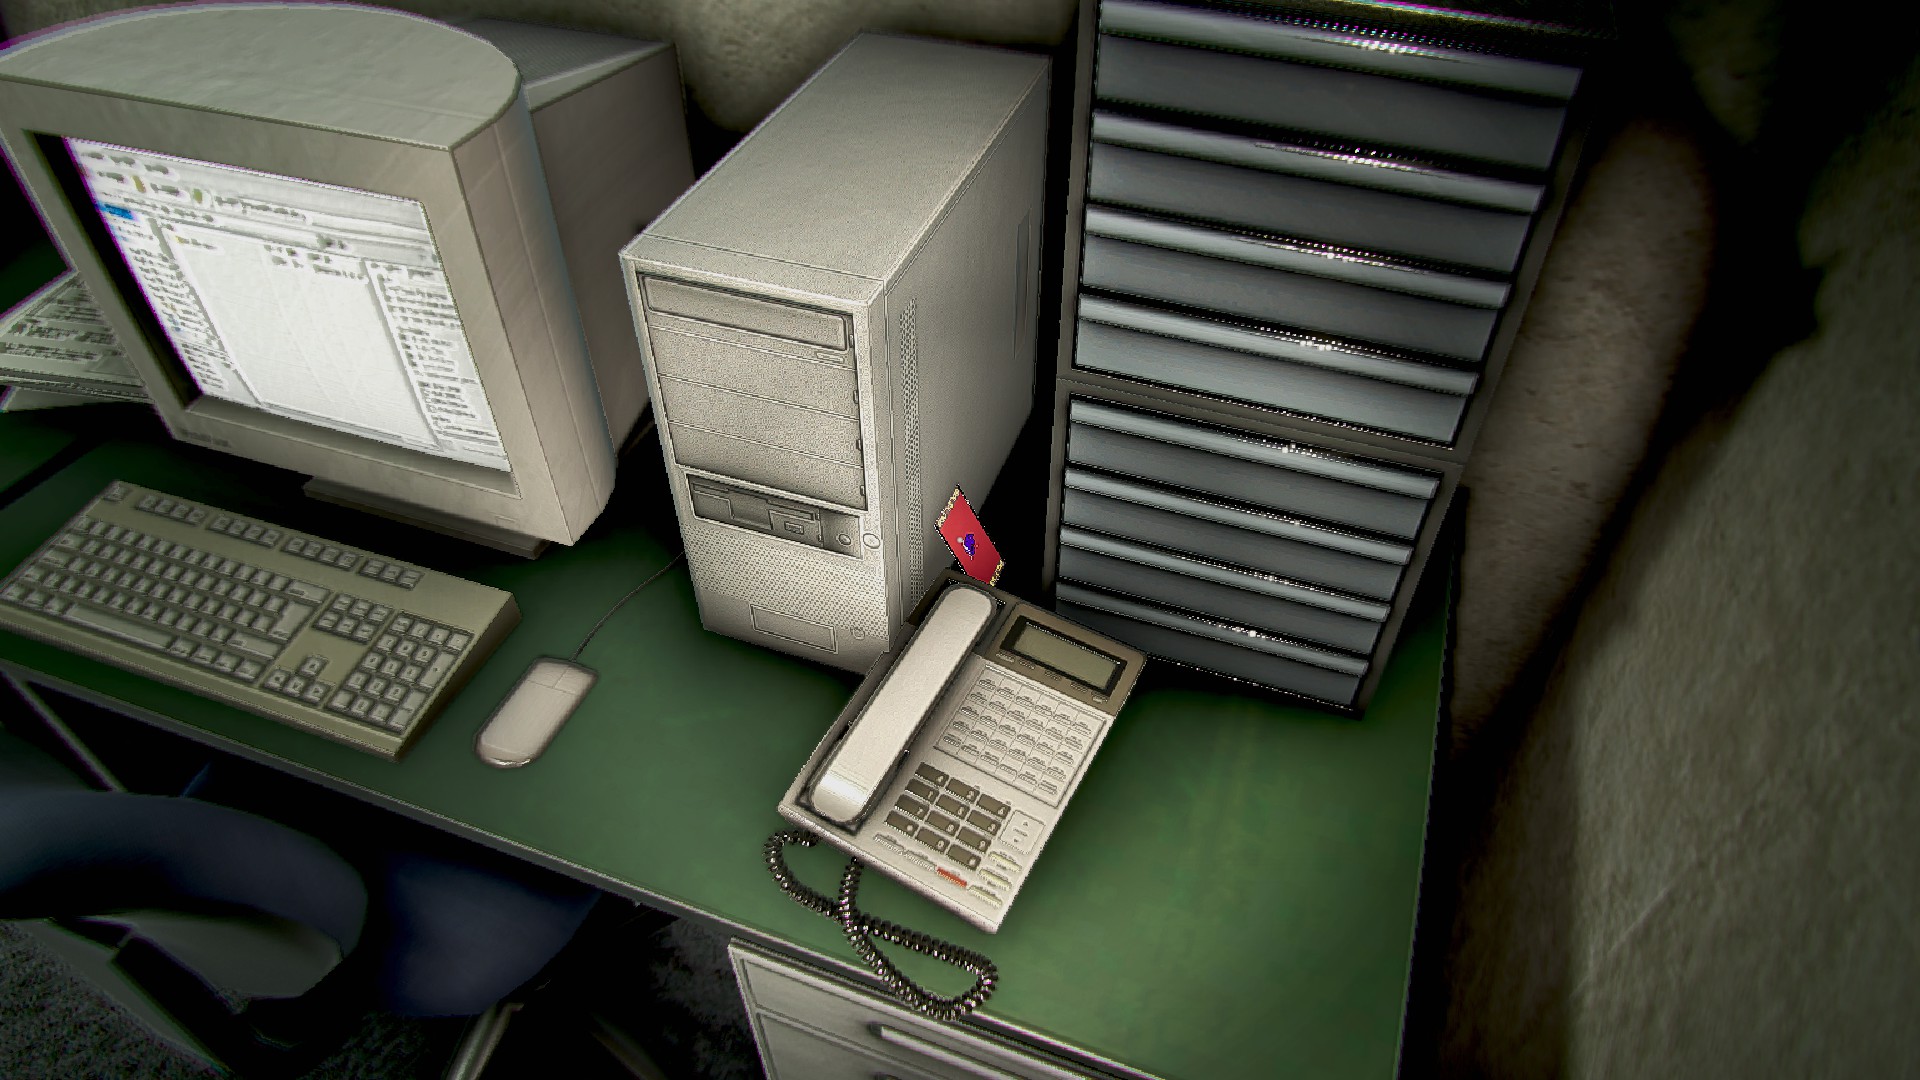
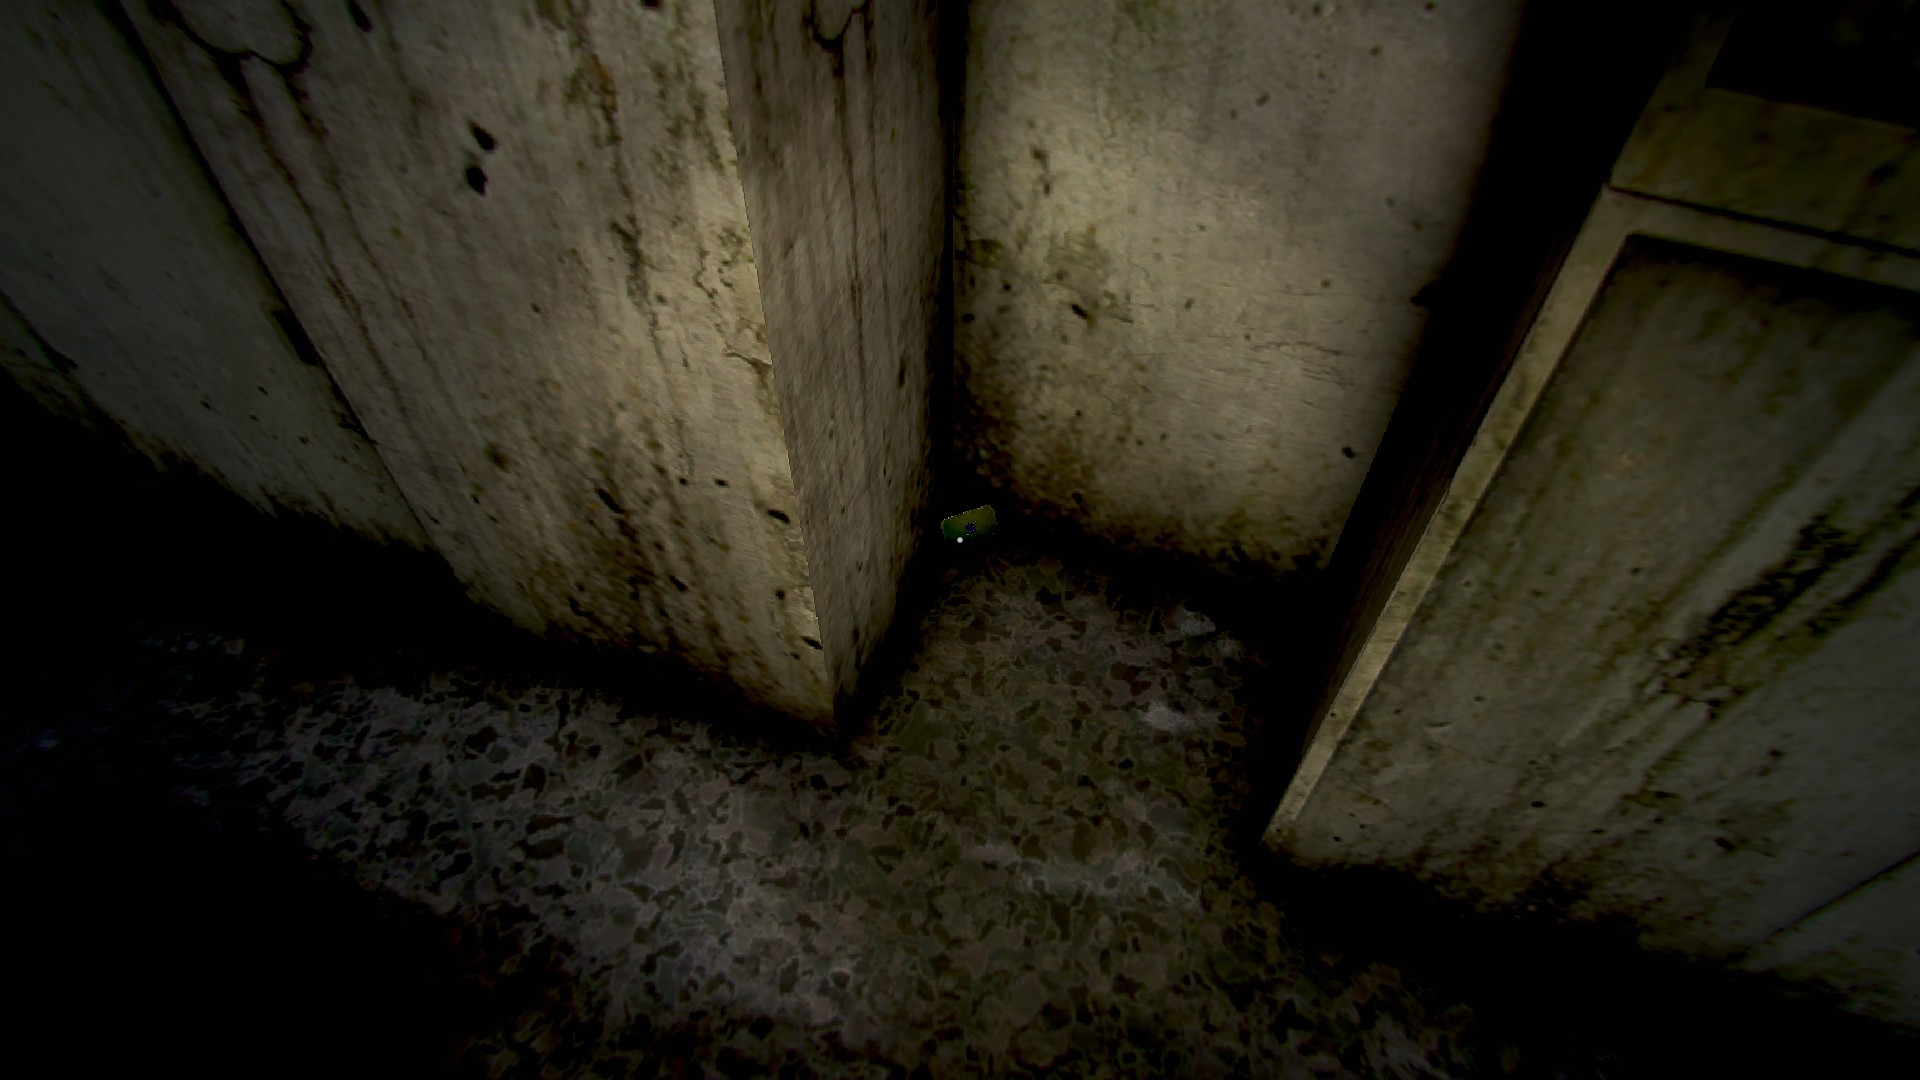
- Work 1, behind the person, between the files and PC tower
- Work 1, behind the person, next to the cabinet at the end of the last row, right side
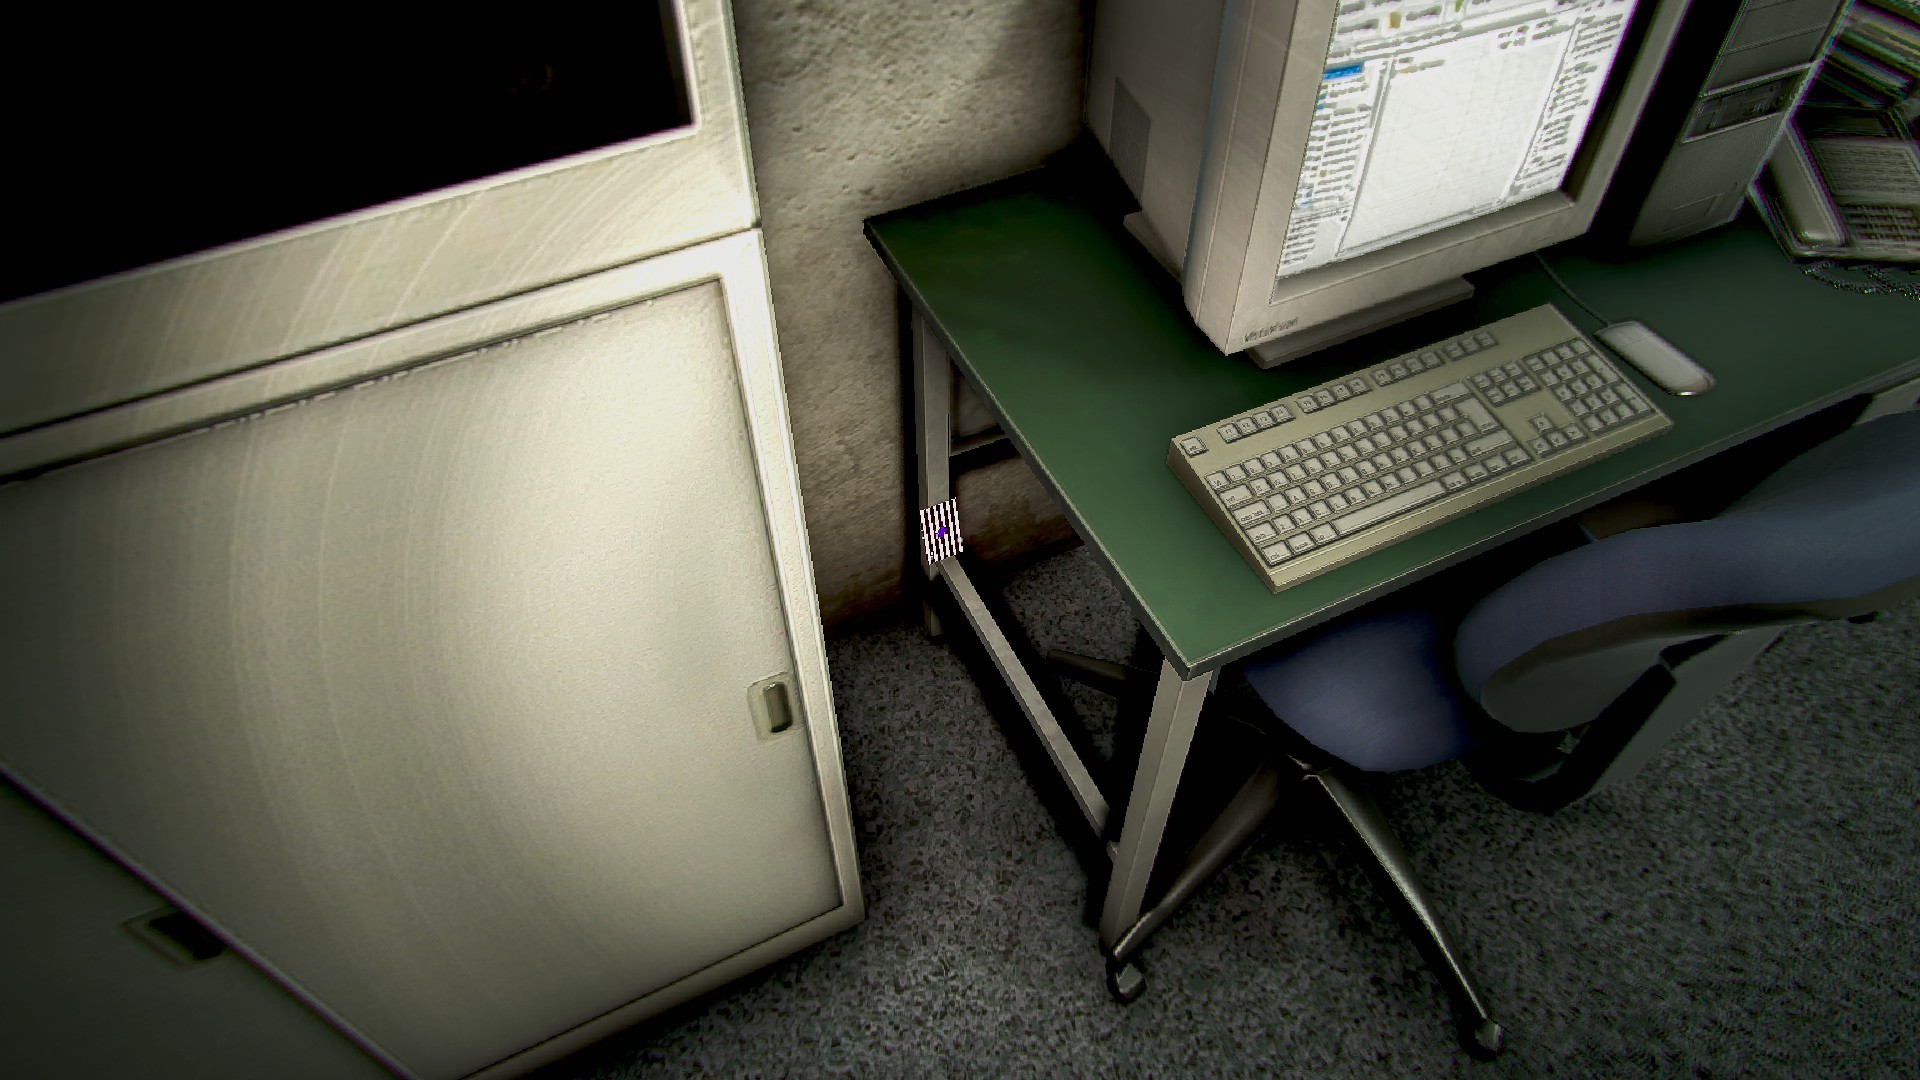
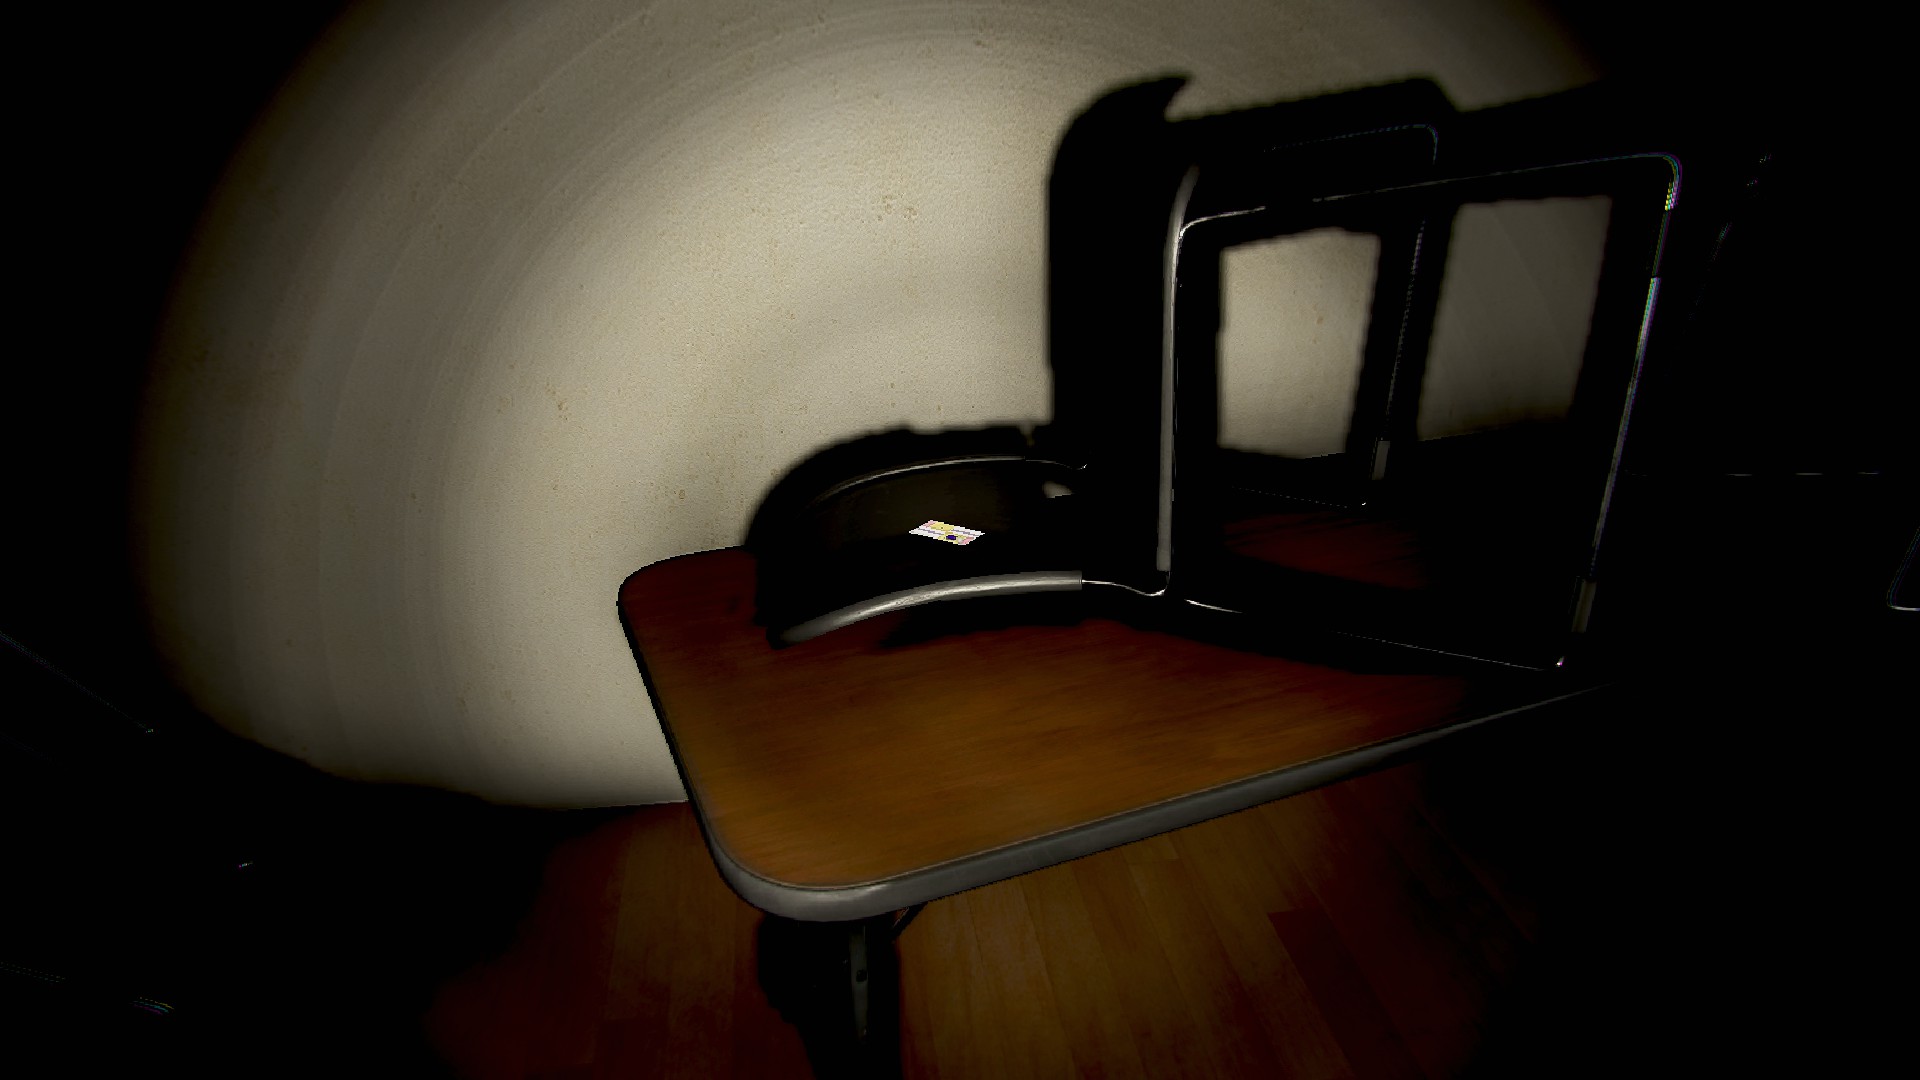
- Work 1, Desk in the center area, tucked under a keyboard
- Work 1, on the floor against a desk
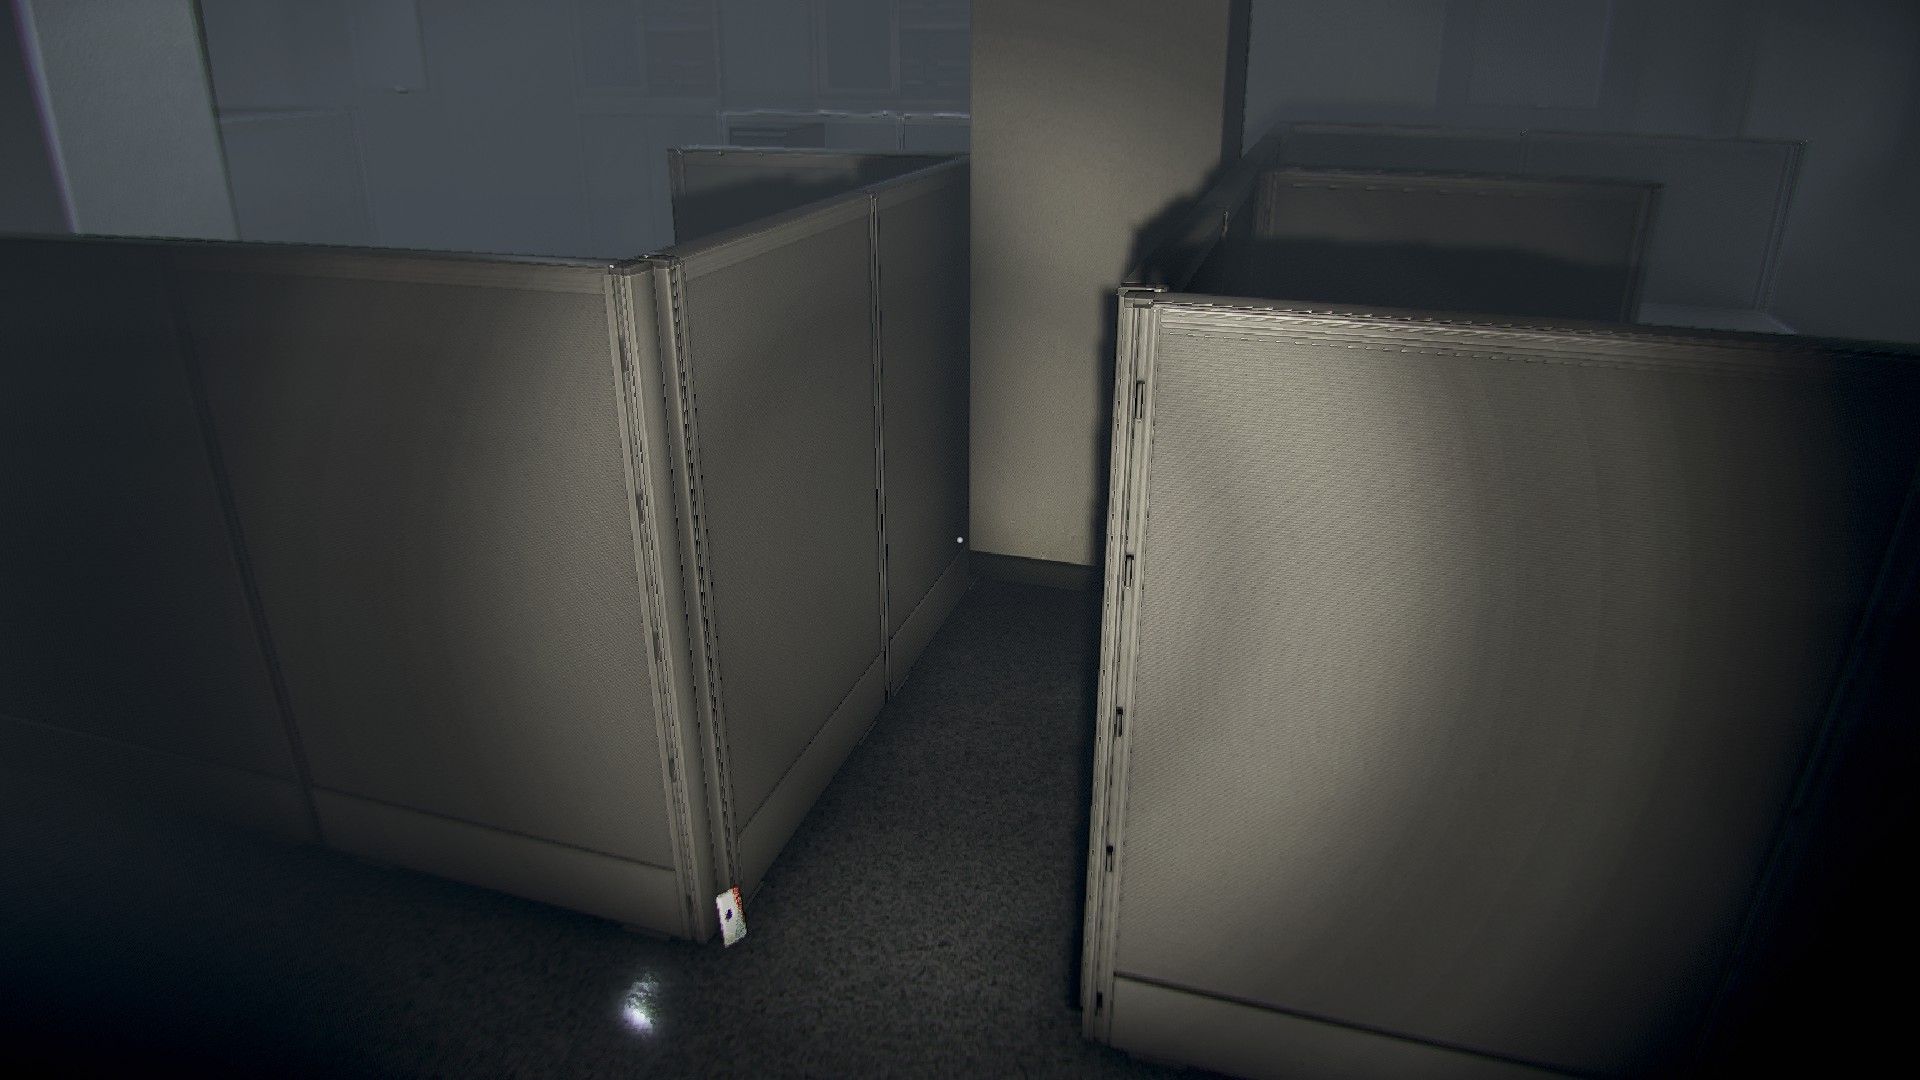
- Work 1 back of the room, back wall of the end desk
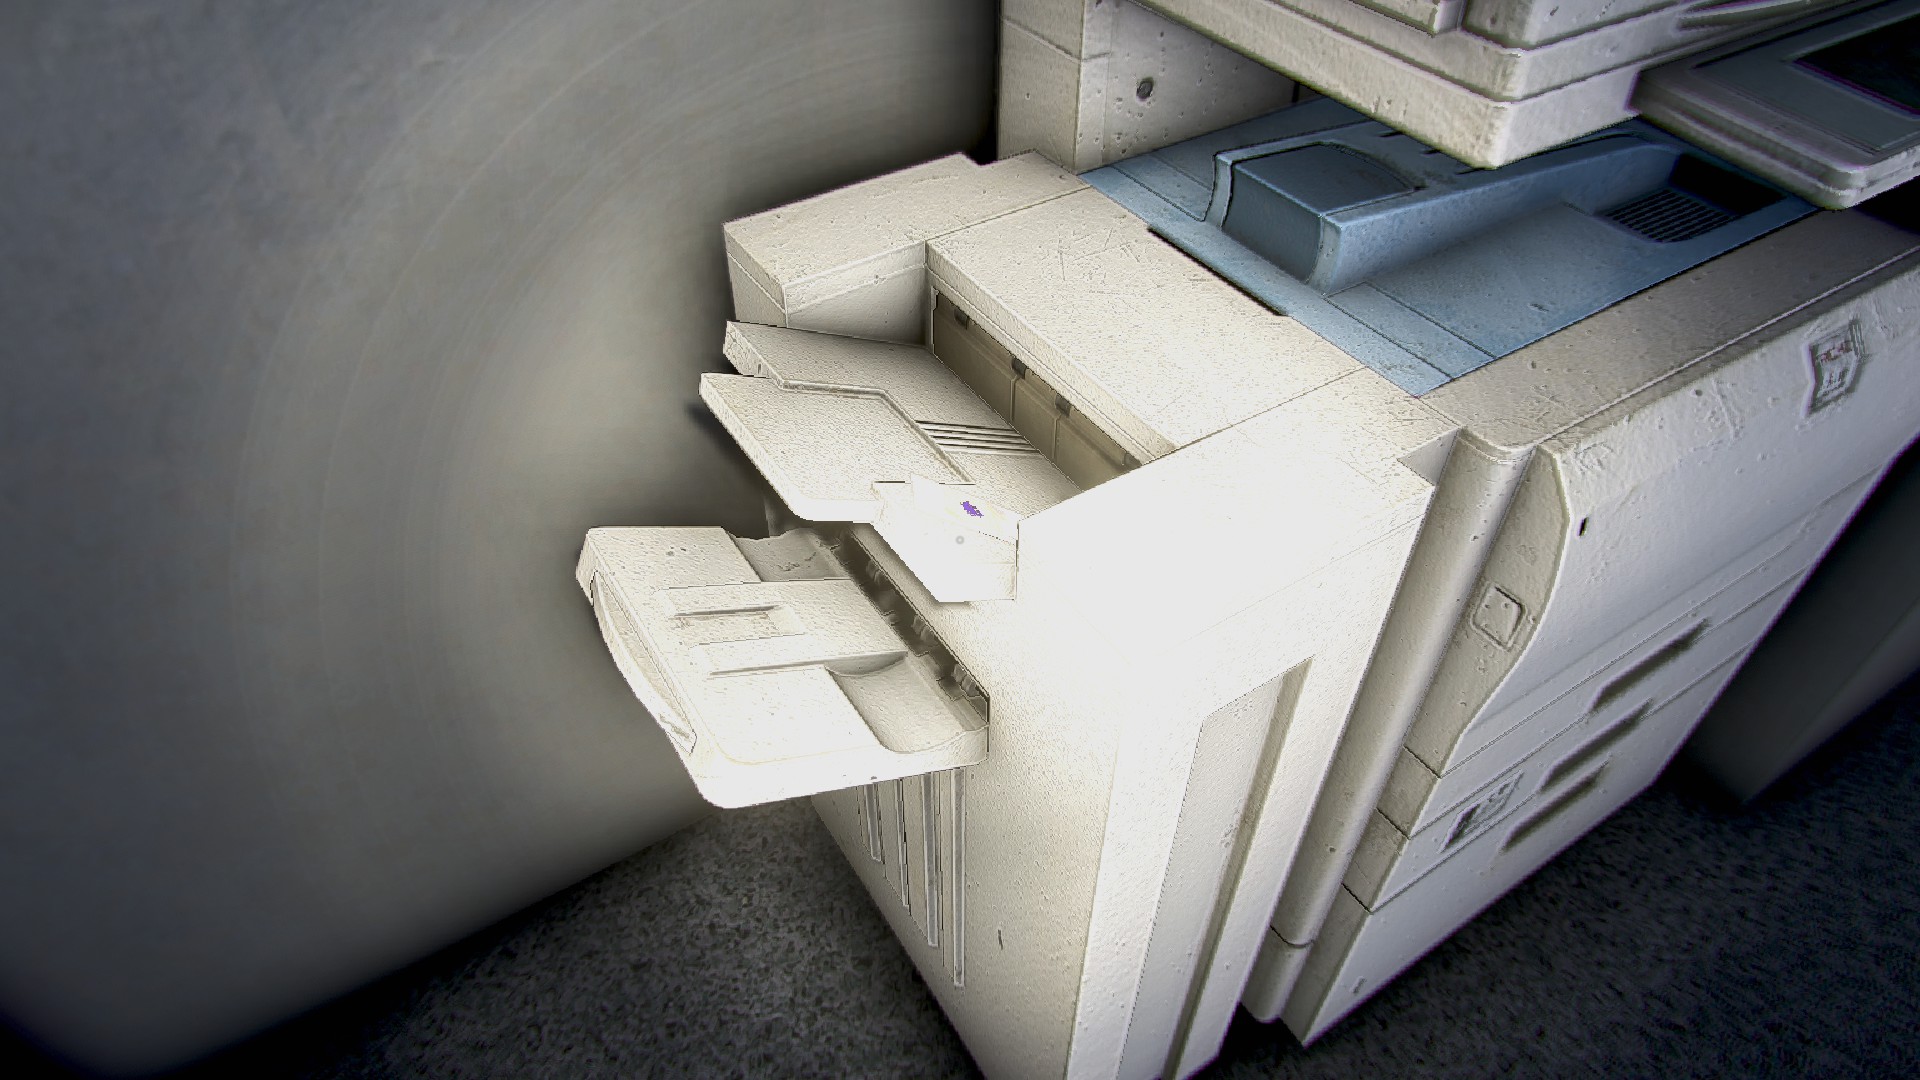
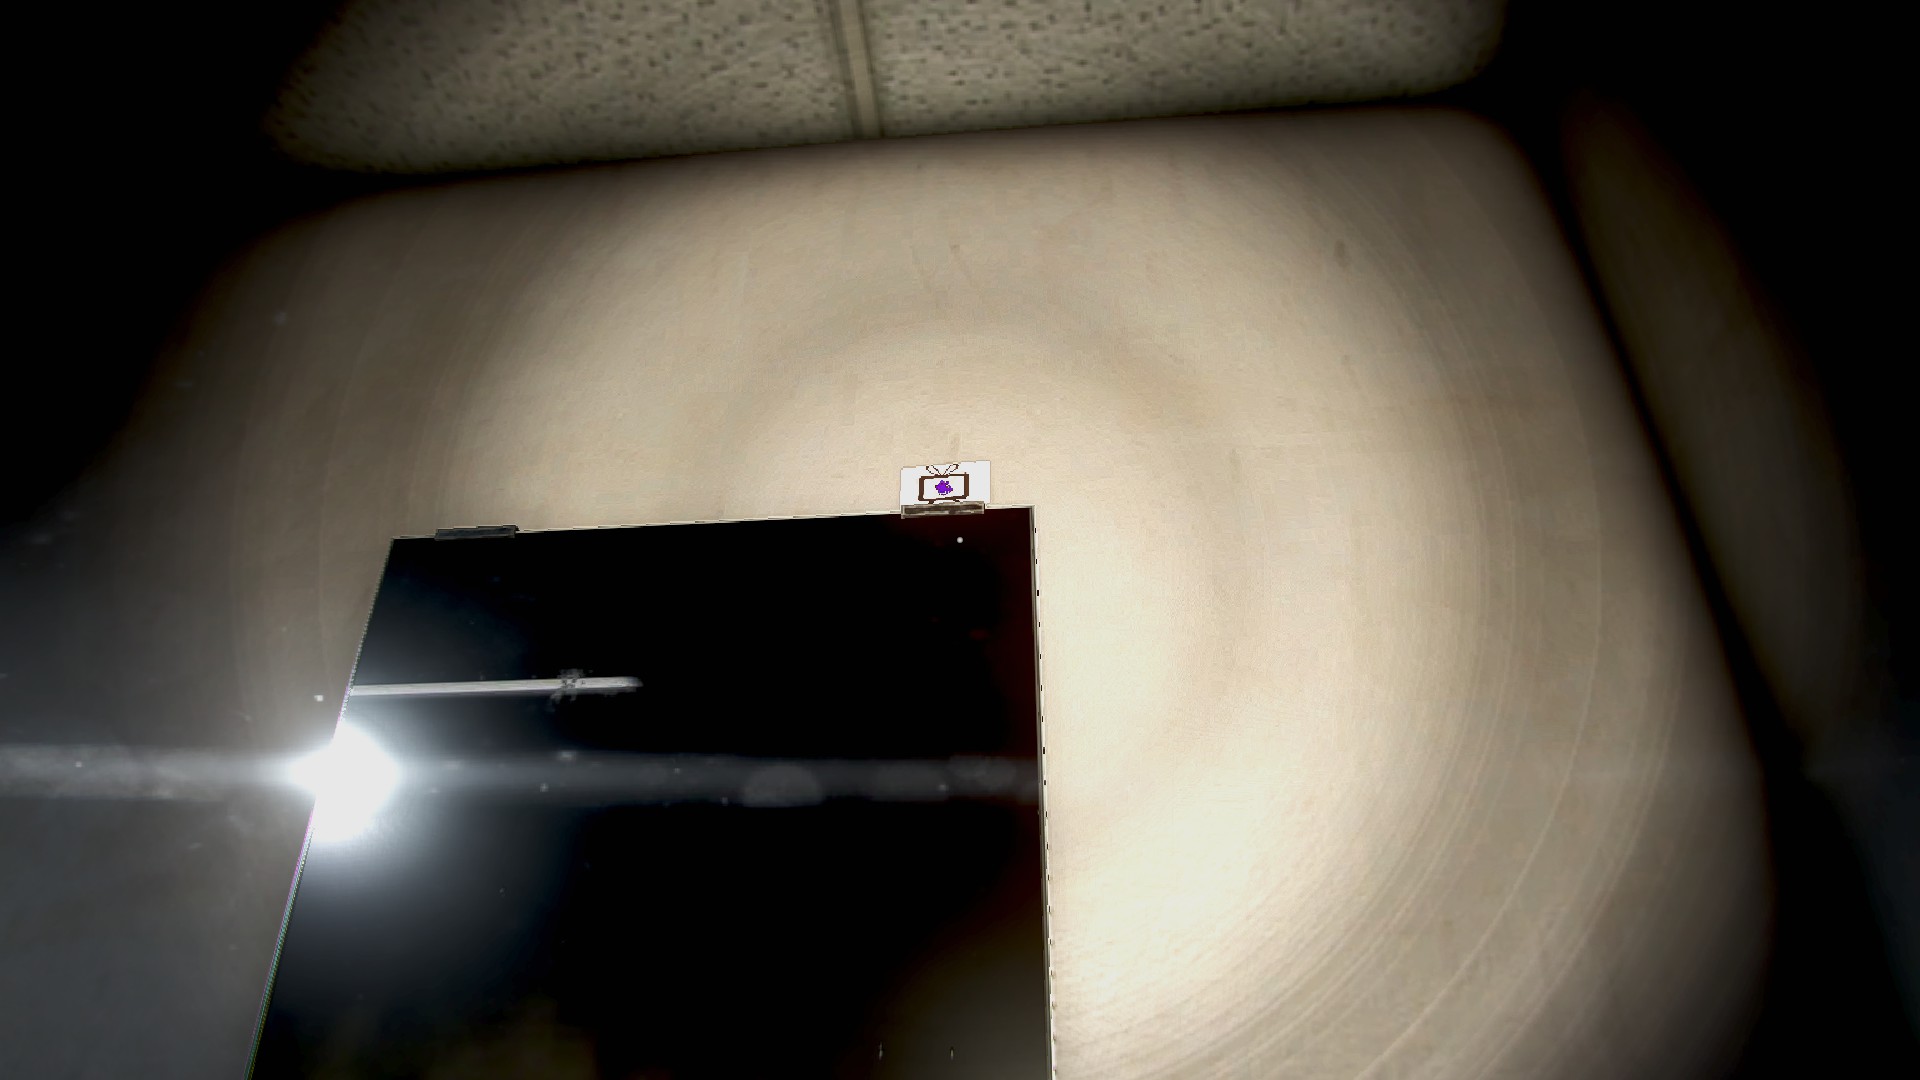
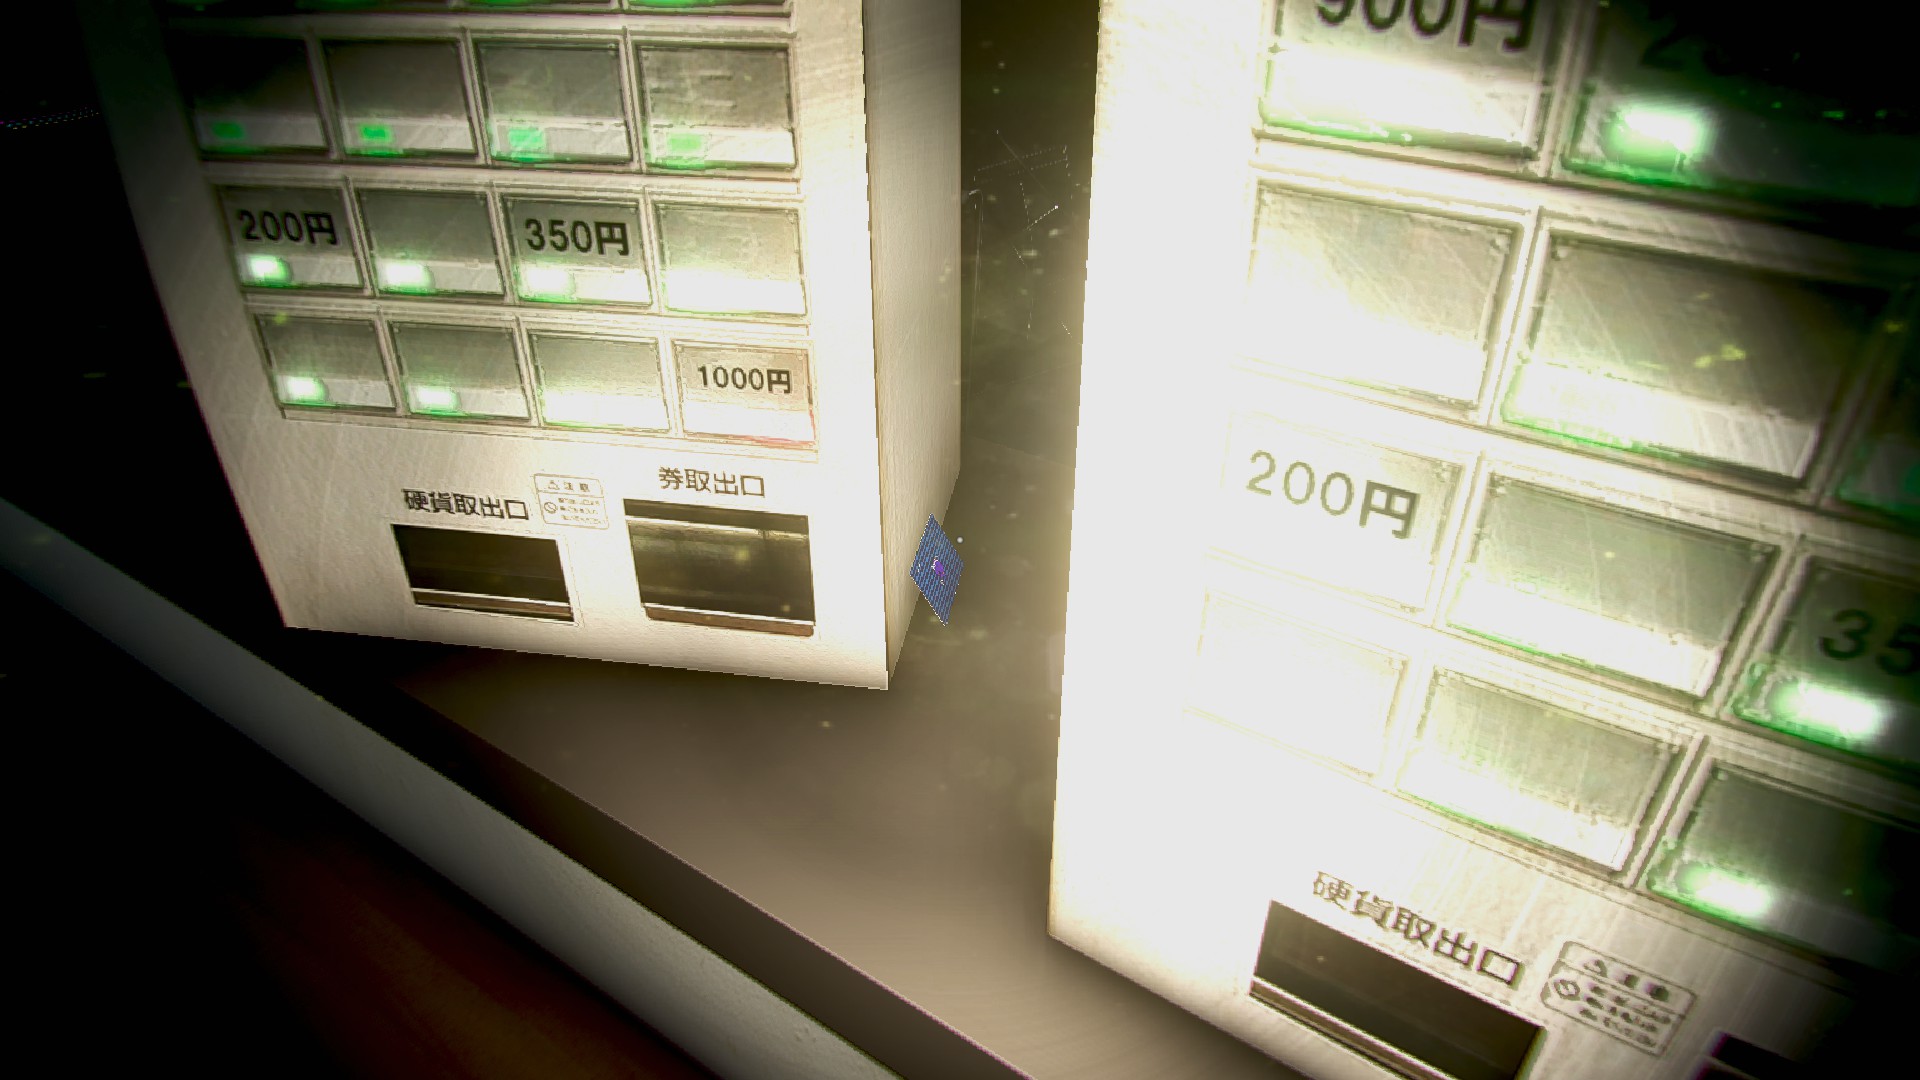
- Elevator Hall 1, in the copier tray
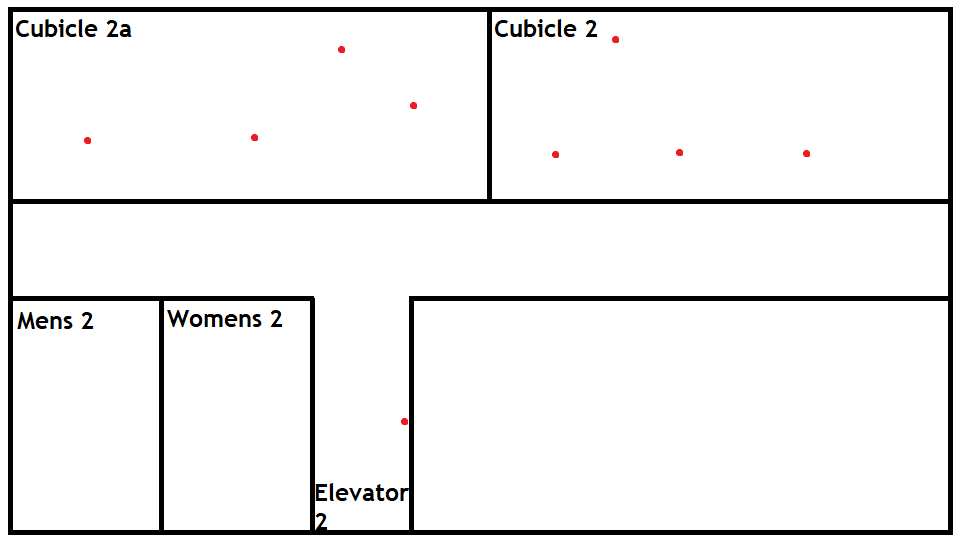
Floor 2 | 9 Cards
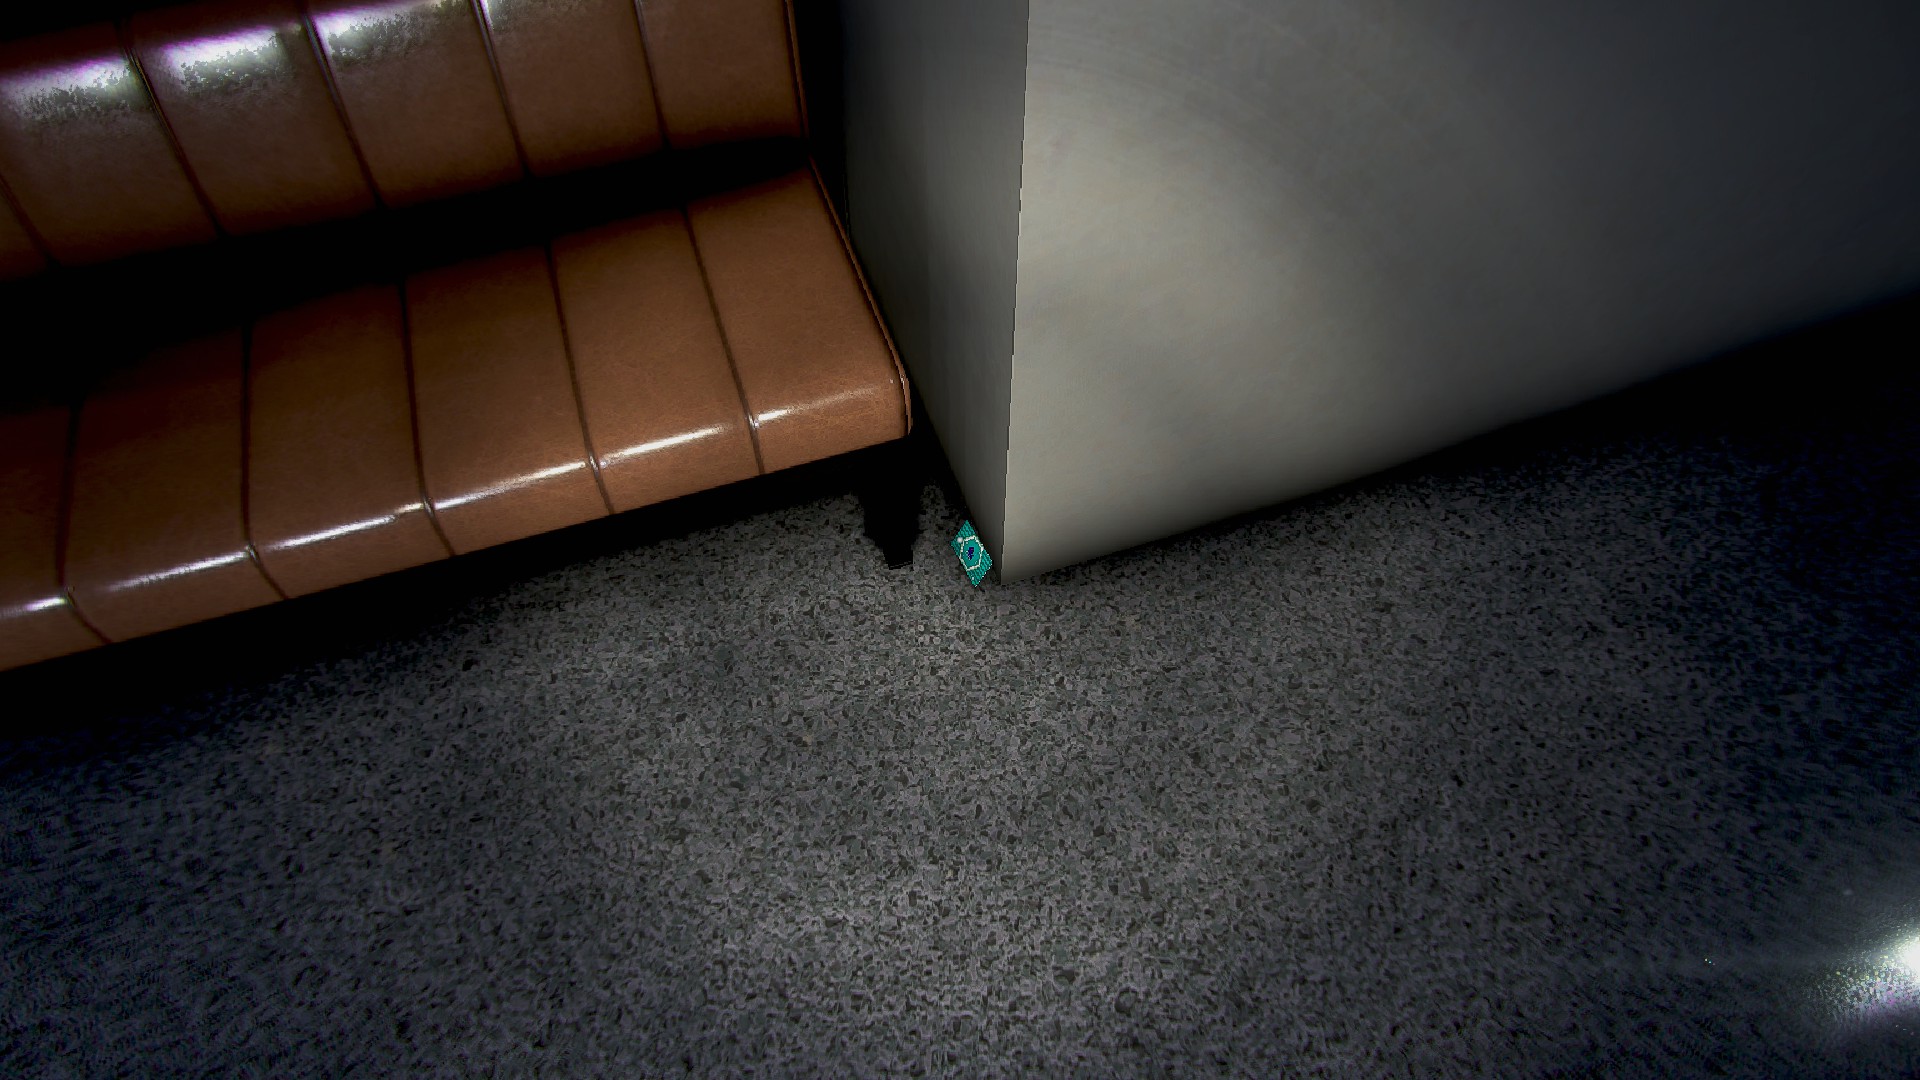
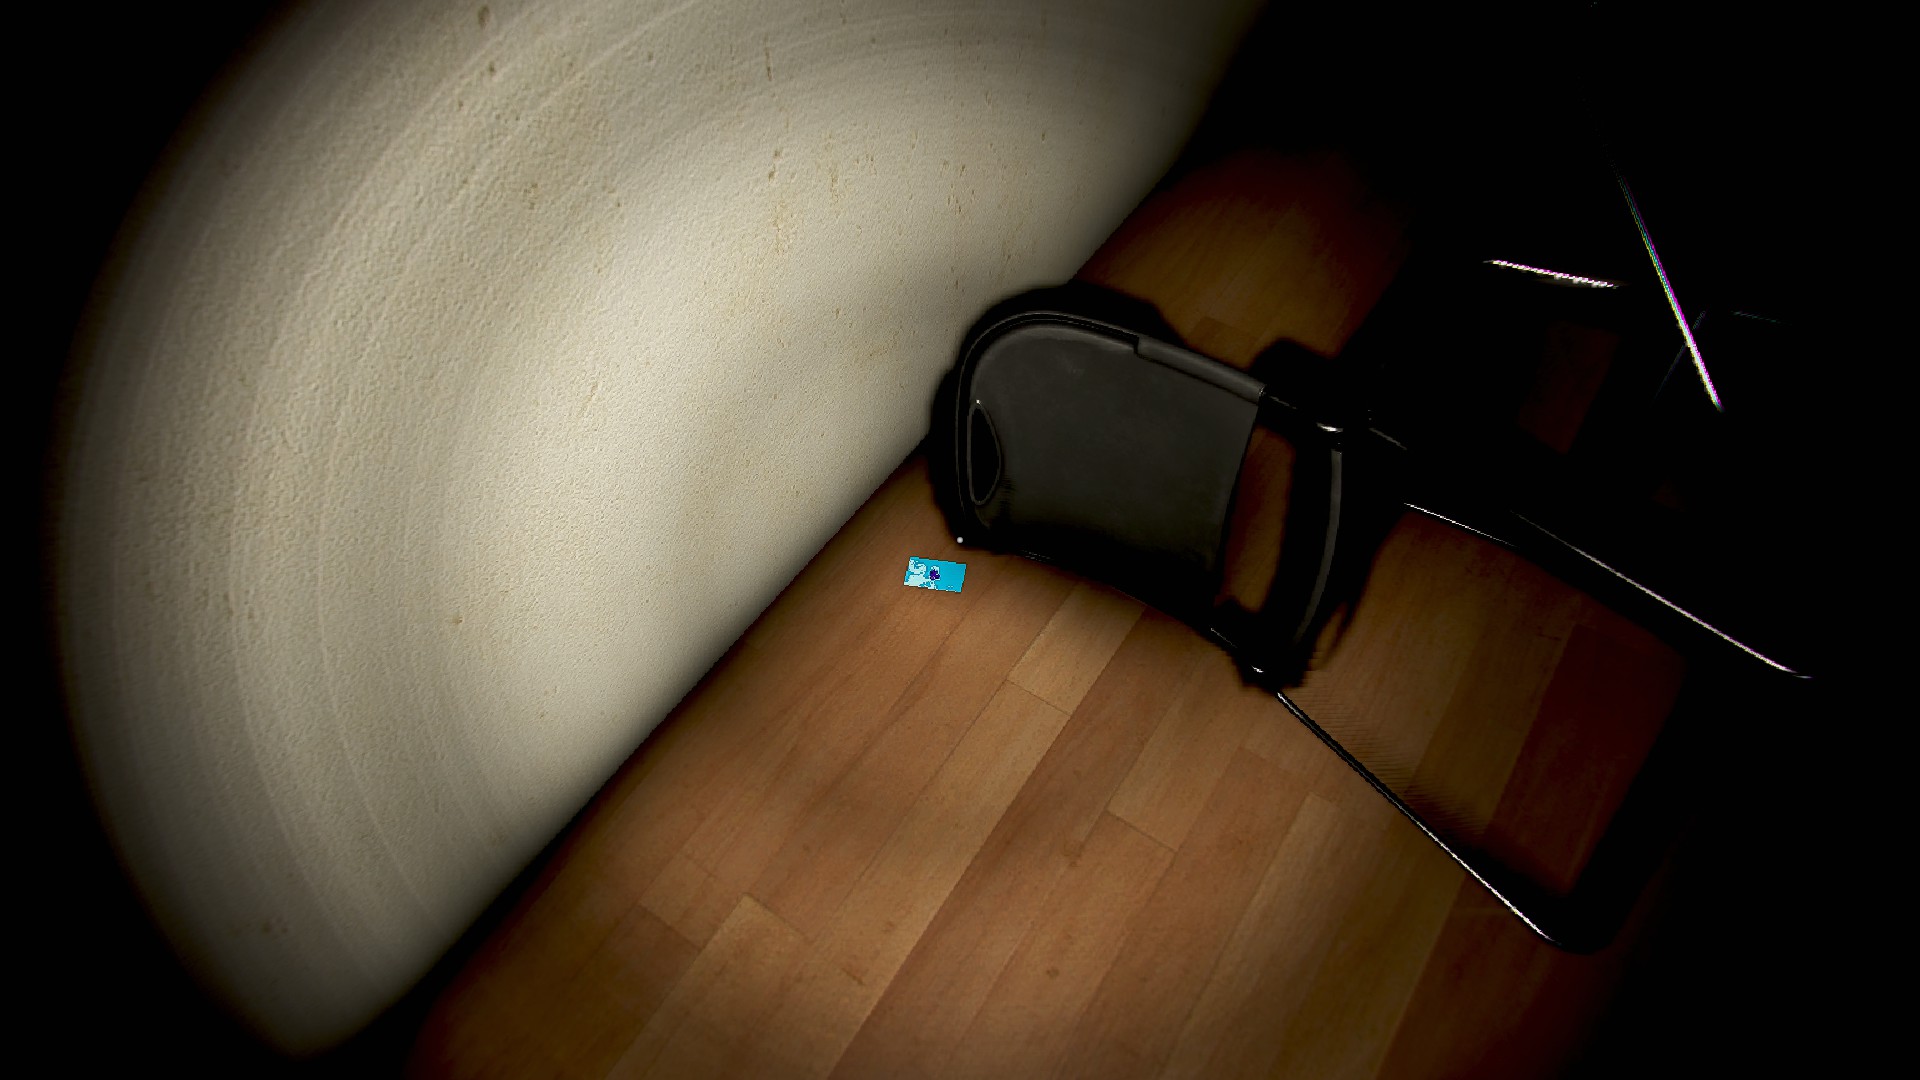
- Elevator 2, to your right, on the floor next to the couch
- Cubicle 2, front cubicle in the middle row under the monitor
- Cubicle 2, cubicle behind the middle one, among its papers
- Cubicle 2, cubicle in front of the middle one, on the file cabinet under the desk
- Cubicle 2, in the gap between cubicles, behind the middle row
- Cubicle 2a, on top of the divide of the first cubicles
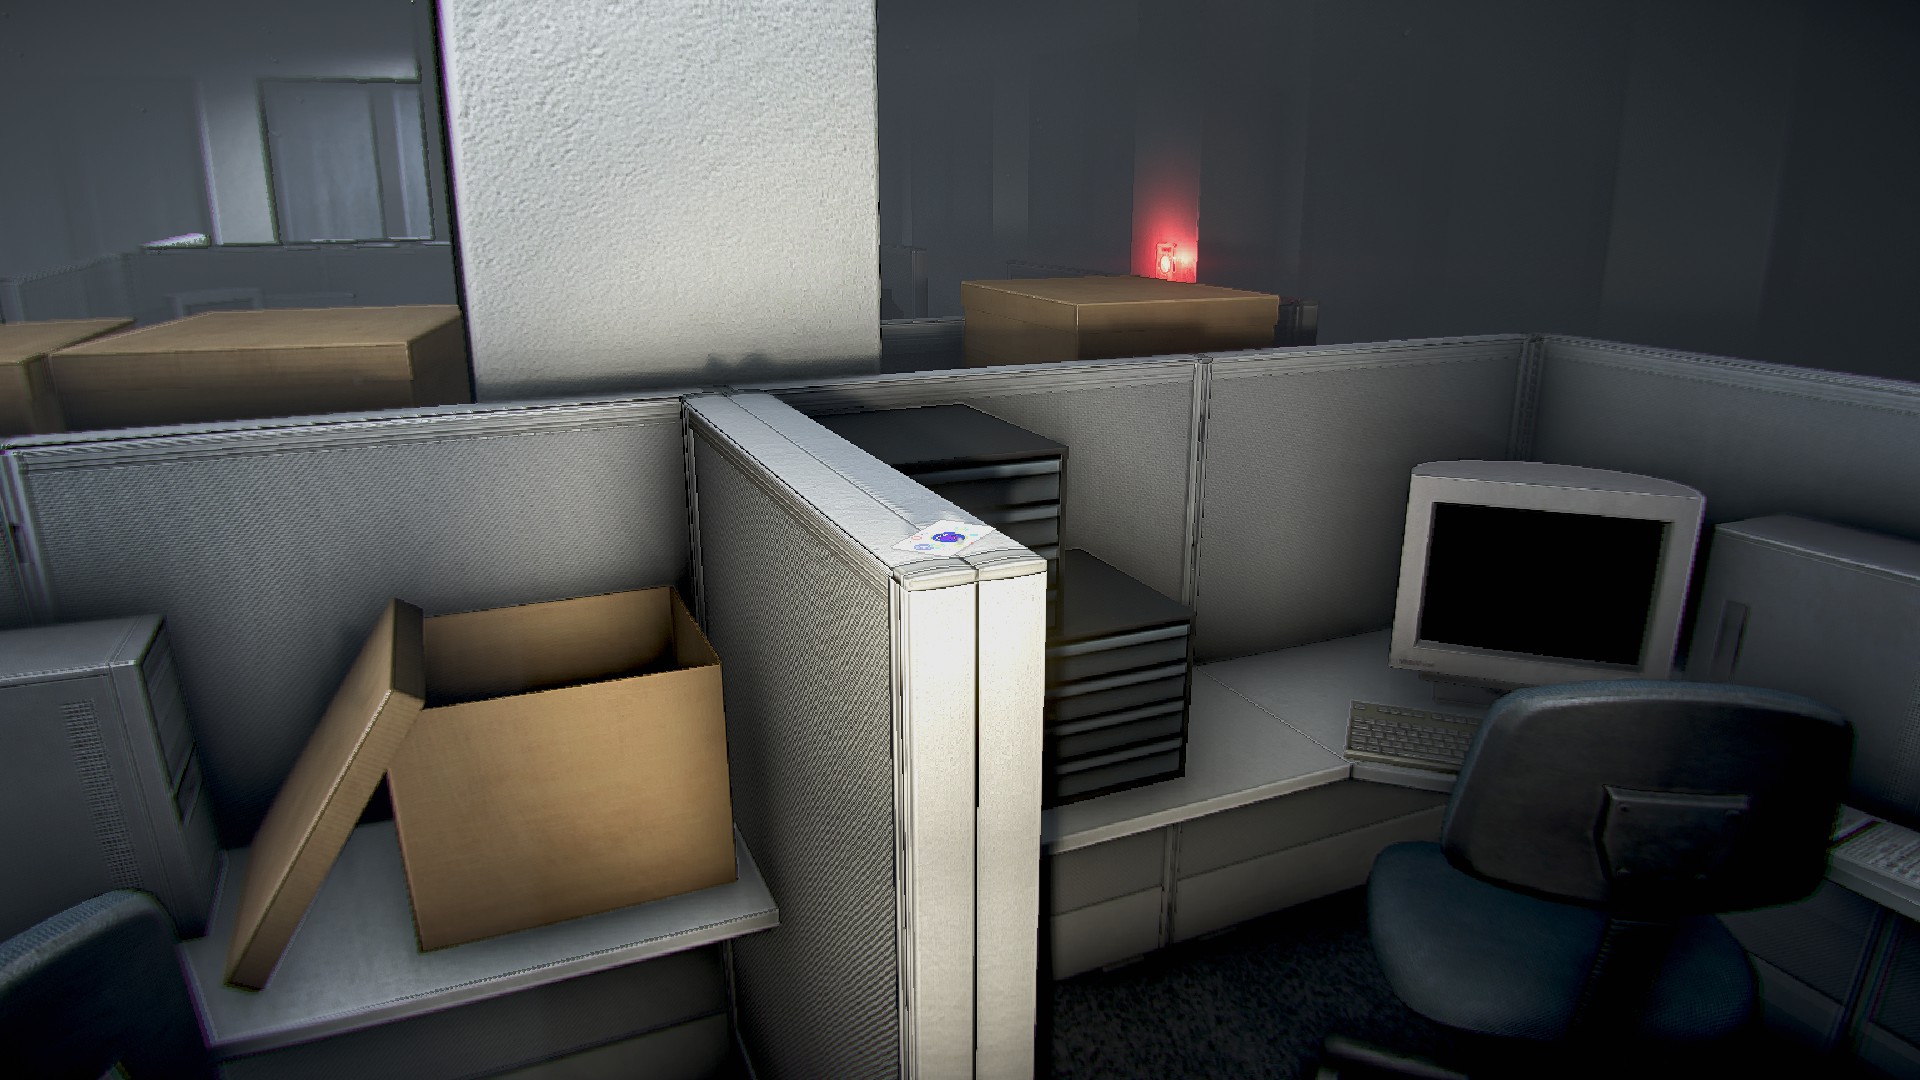
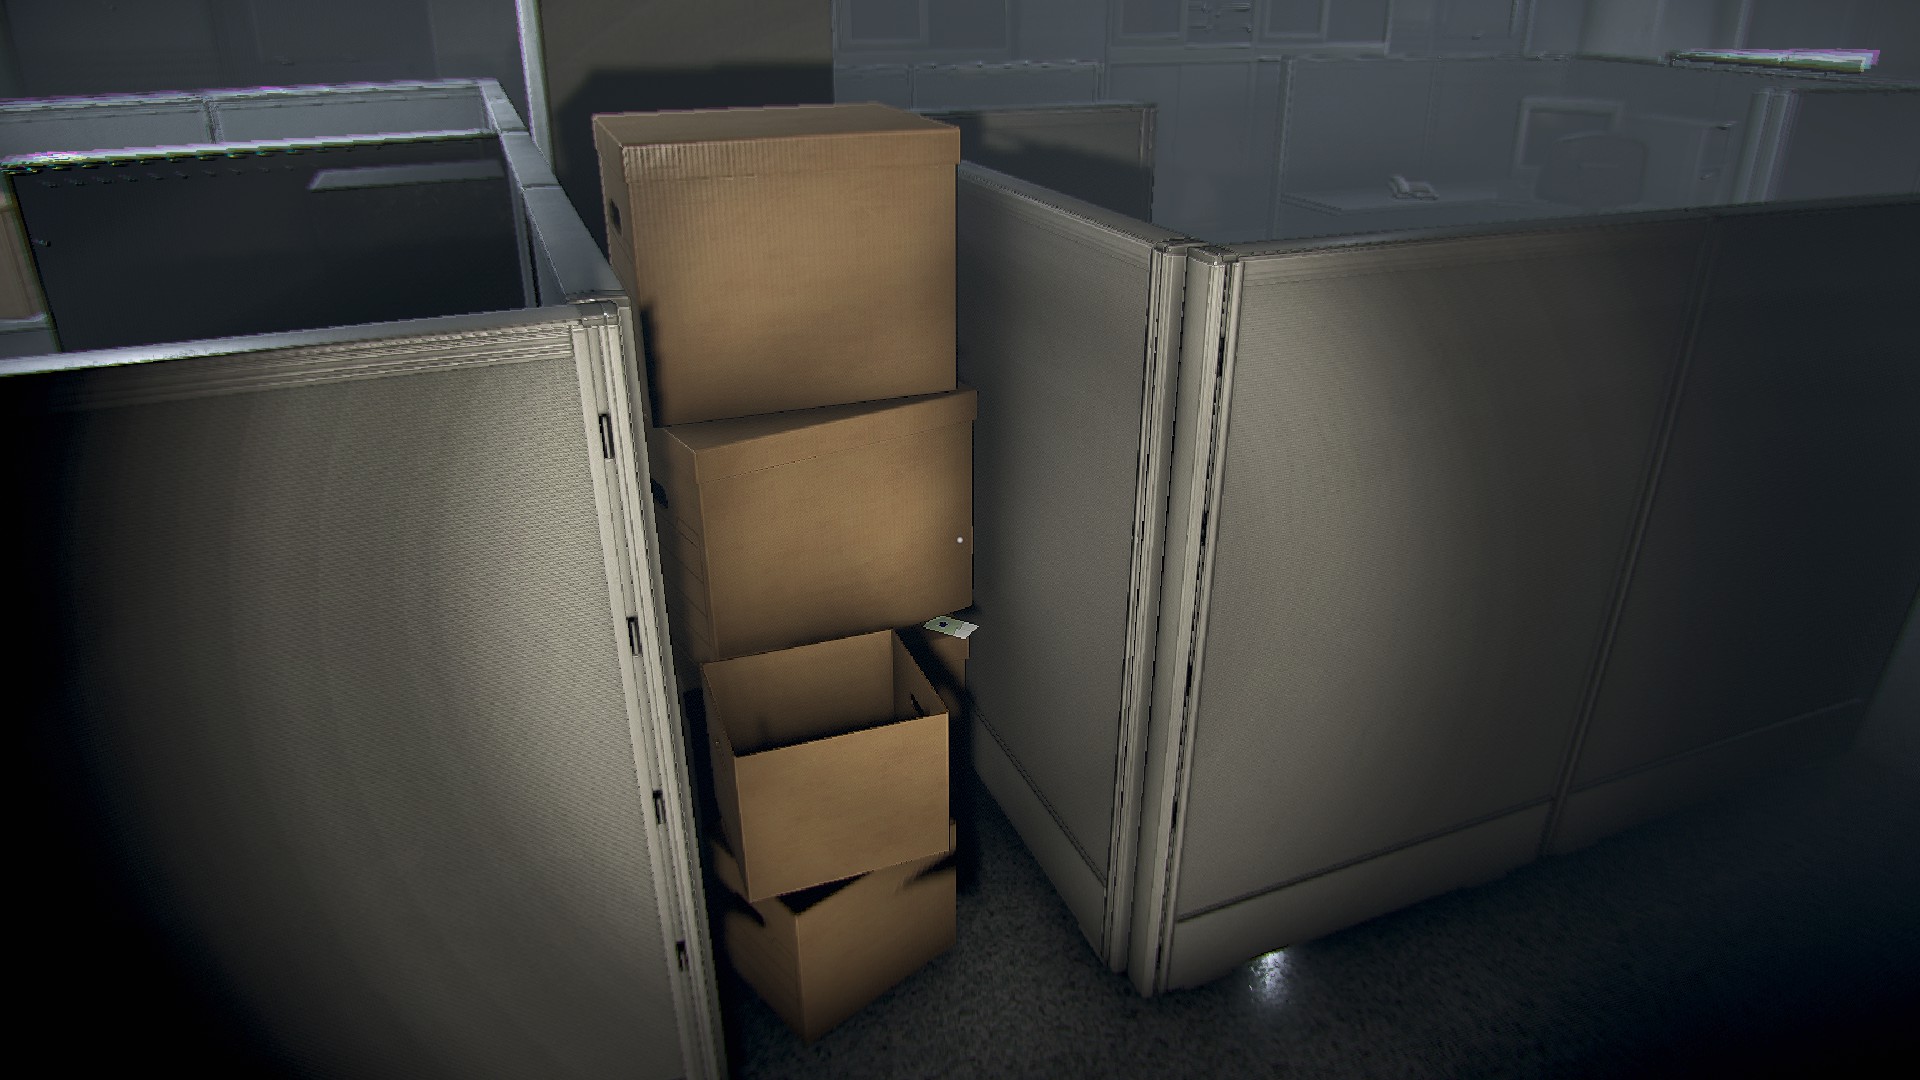
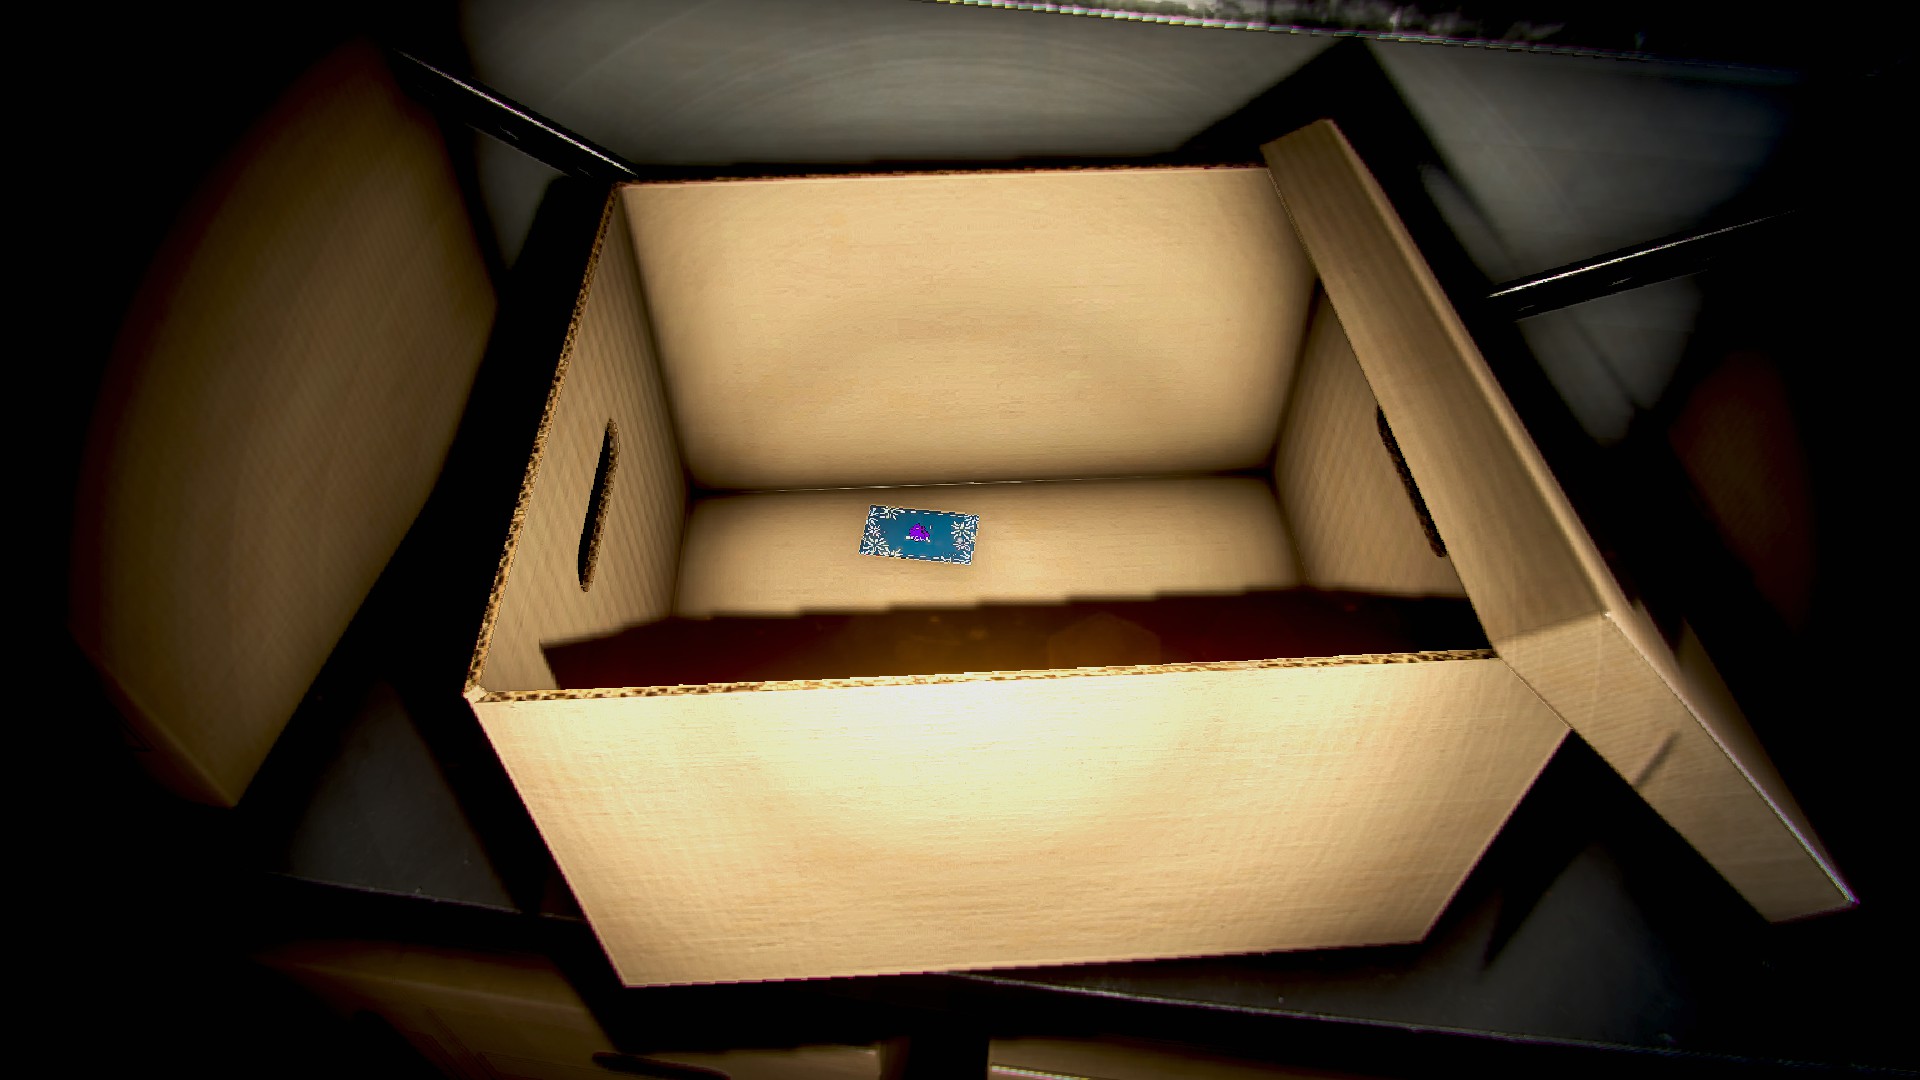
- Cubicle 2a, in the gap behind the first cubicles on a cardboard box
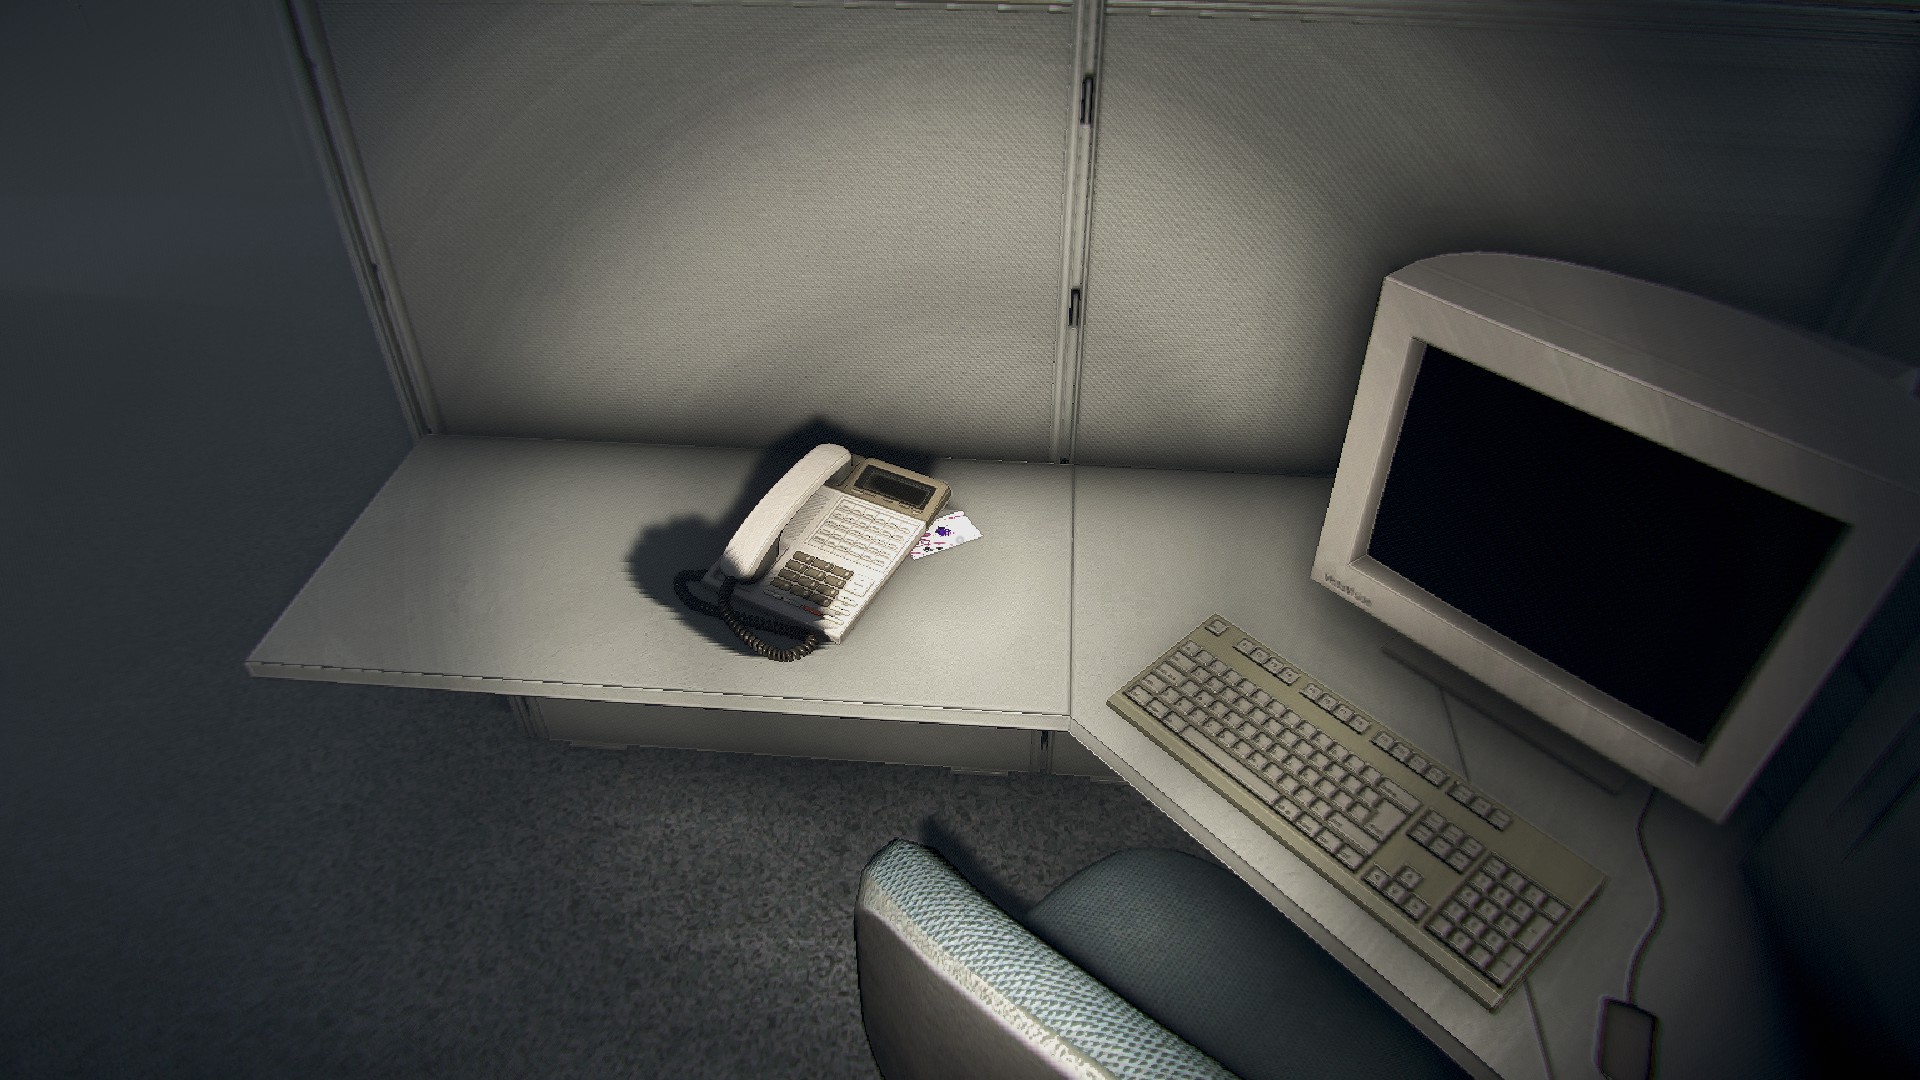
- Cubicle 2a, middle row front cubicle, under the phone (missed picture)
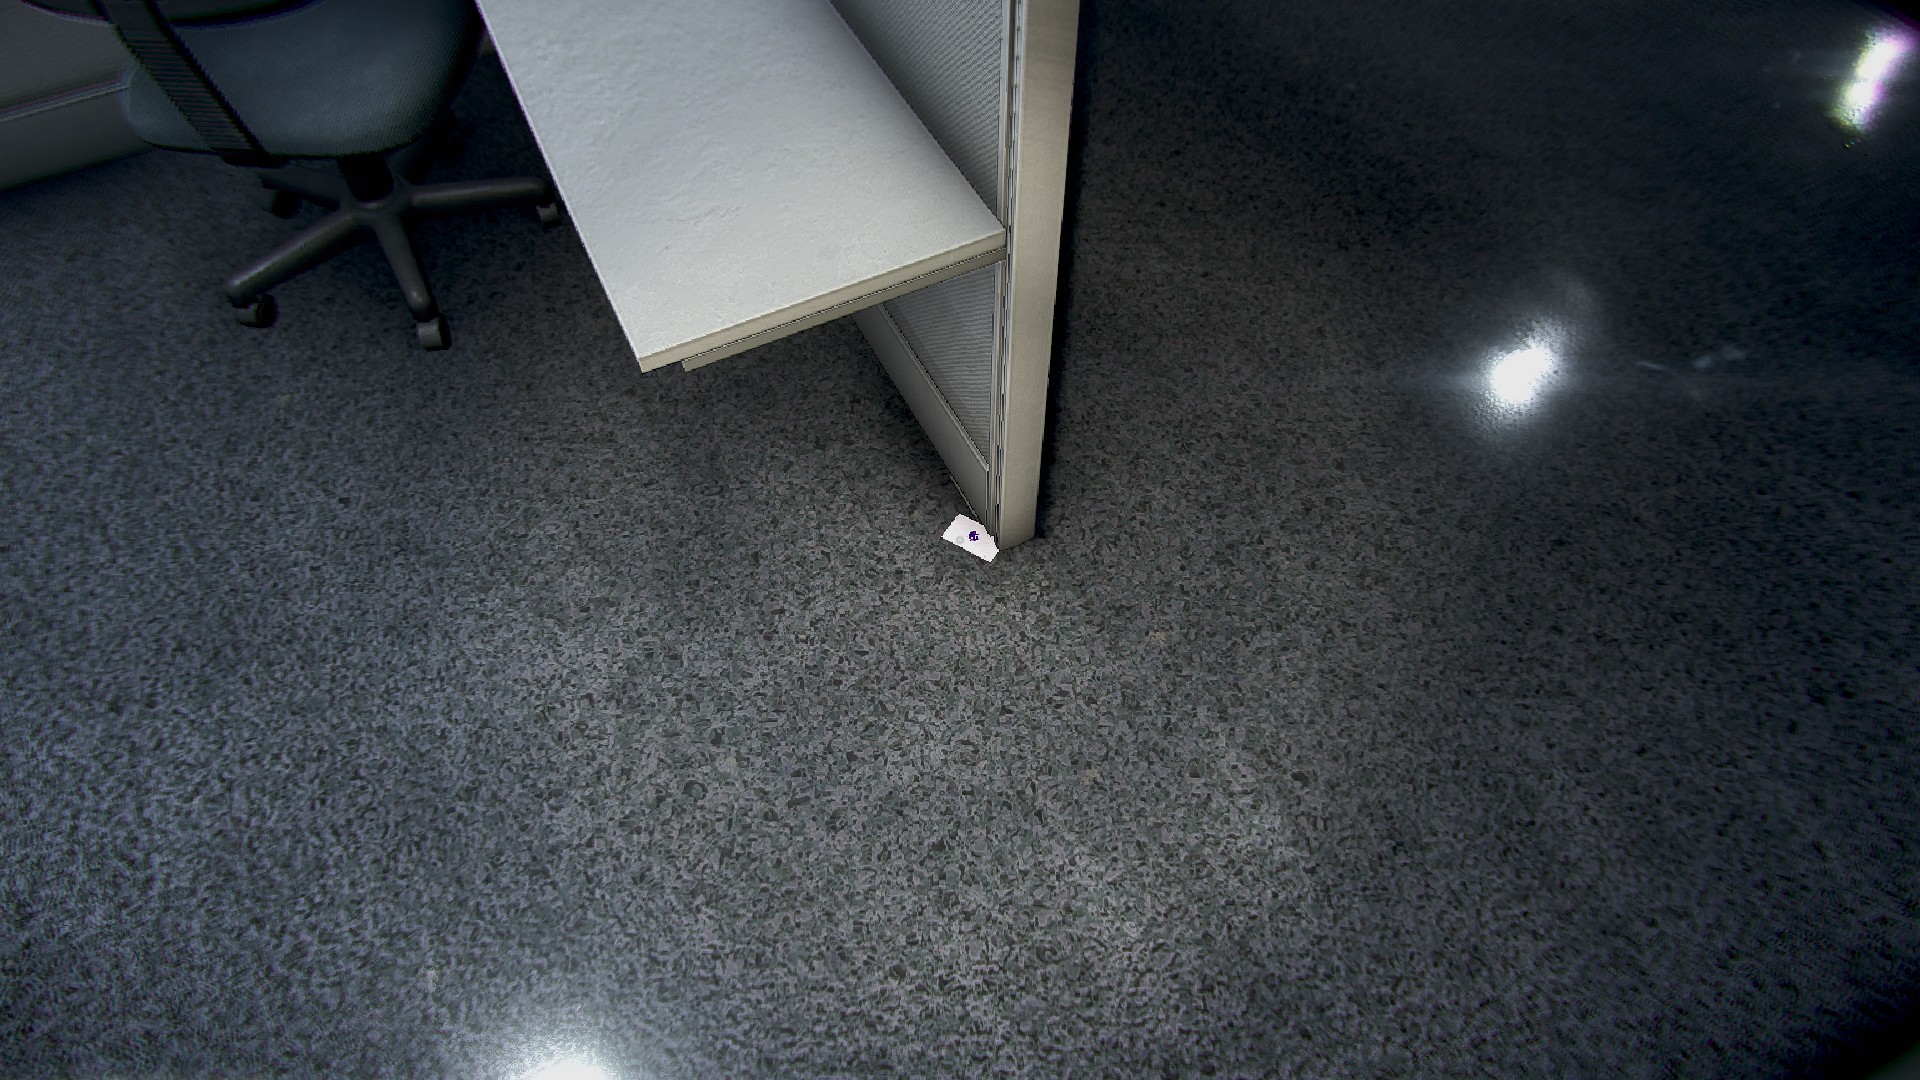
- Cubicle 2a, last row, under the divider of the front desk
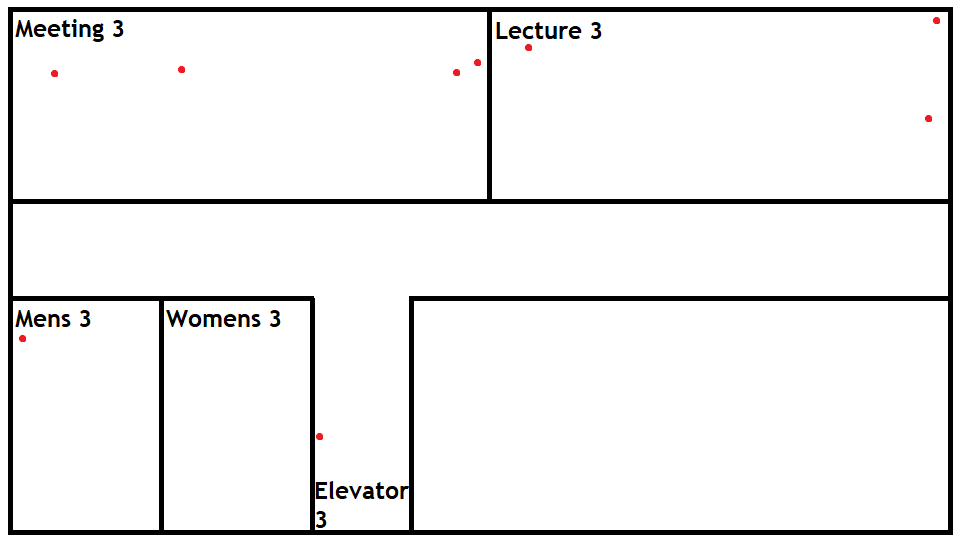
Floor 3 | 9 Cards
- Elevator 3, on the ground, leaning against the left drink machine
- Lecture 3, Marker tray of the front whiteboard
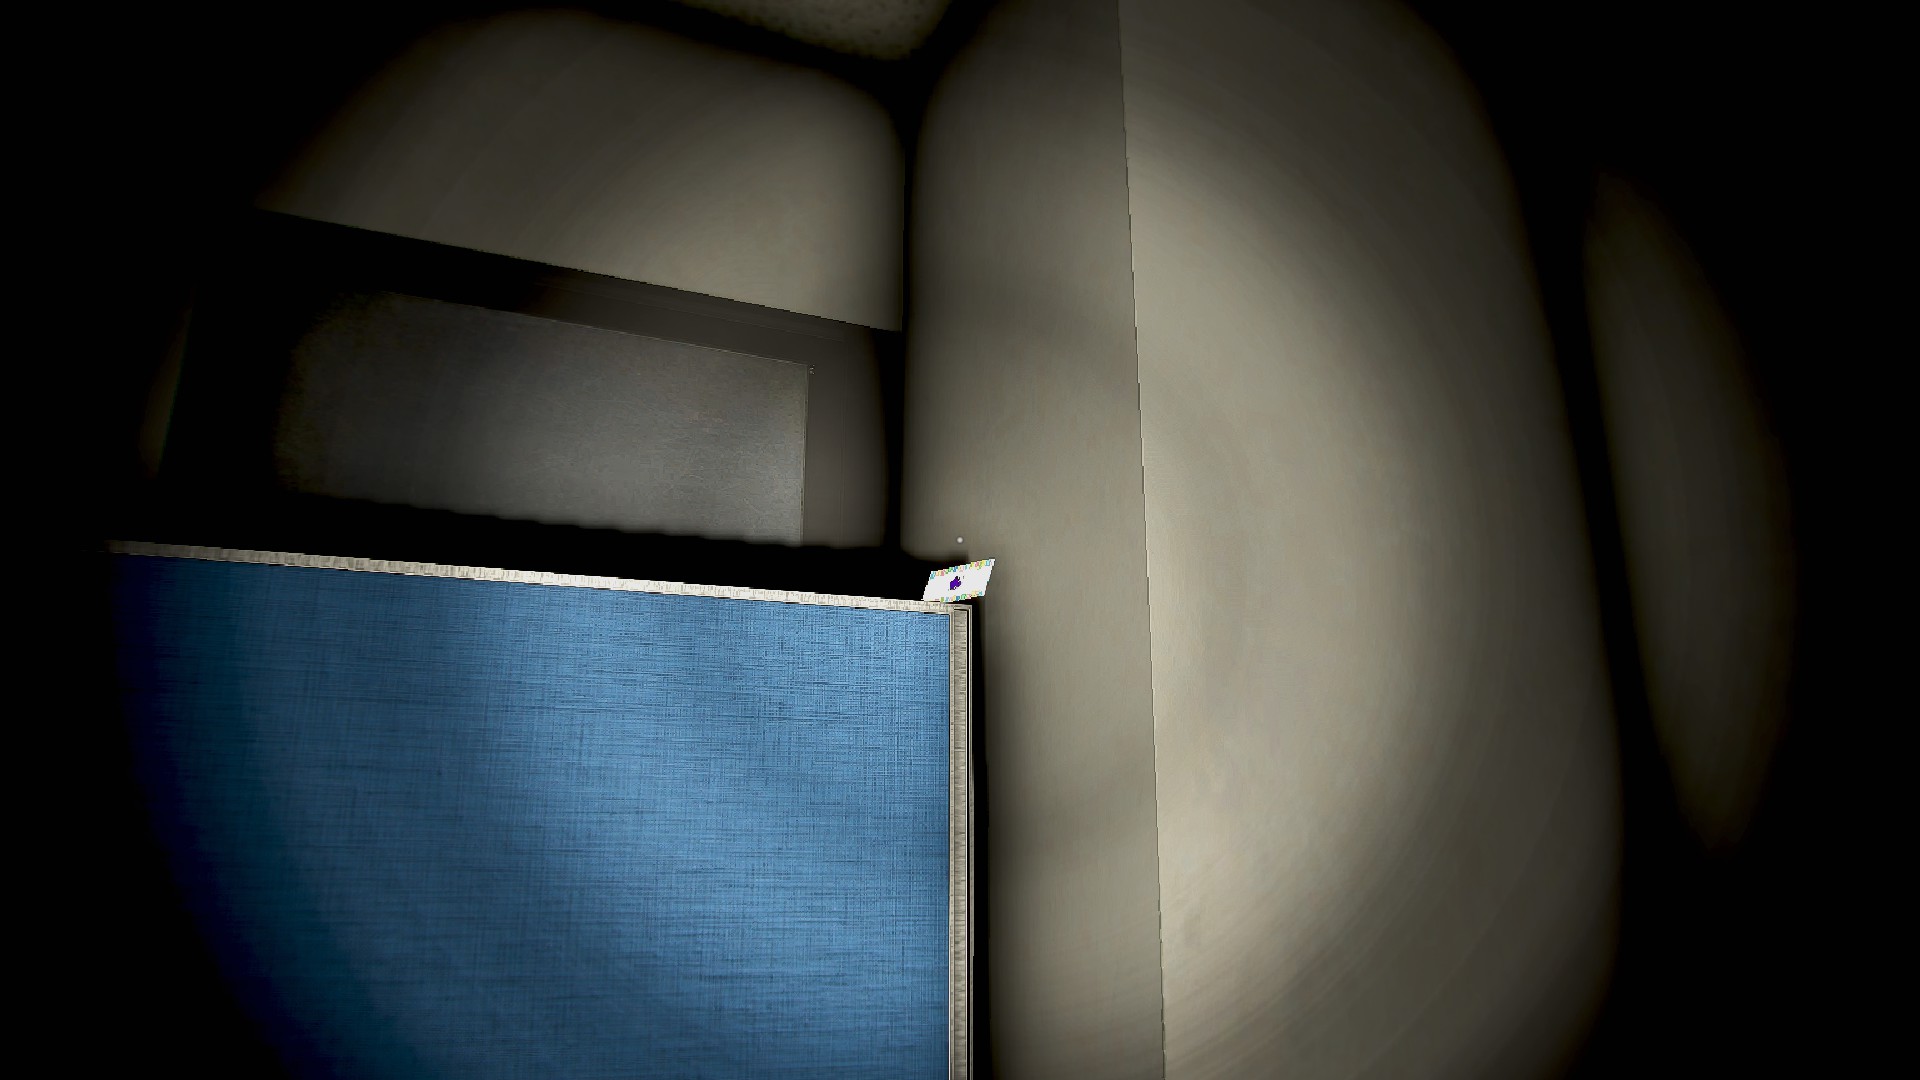
- Lecture 3, on top of the blue room divider, near the whiteboards
- Lecture 3, rear row of seats, last chair, leaning against the arm rest

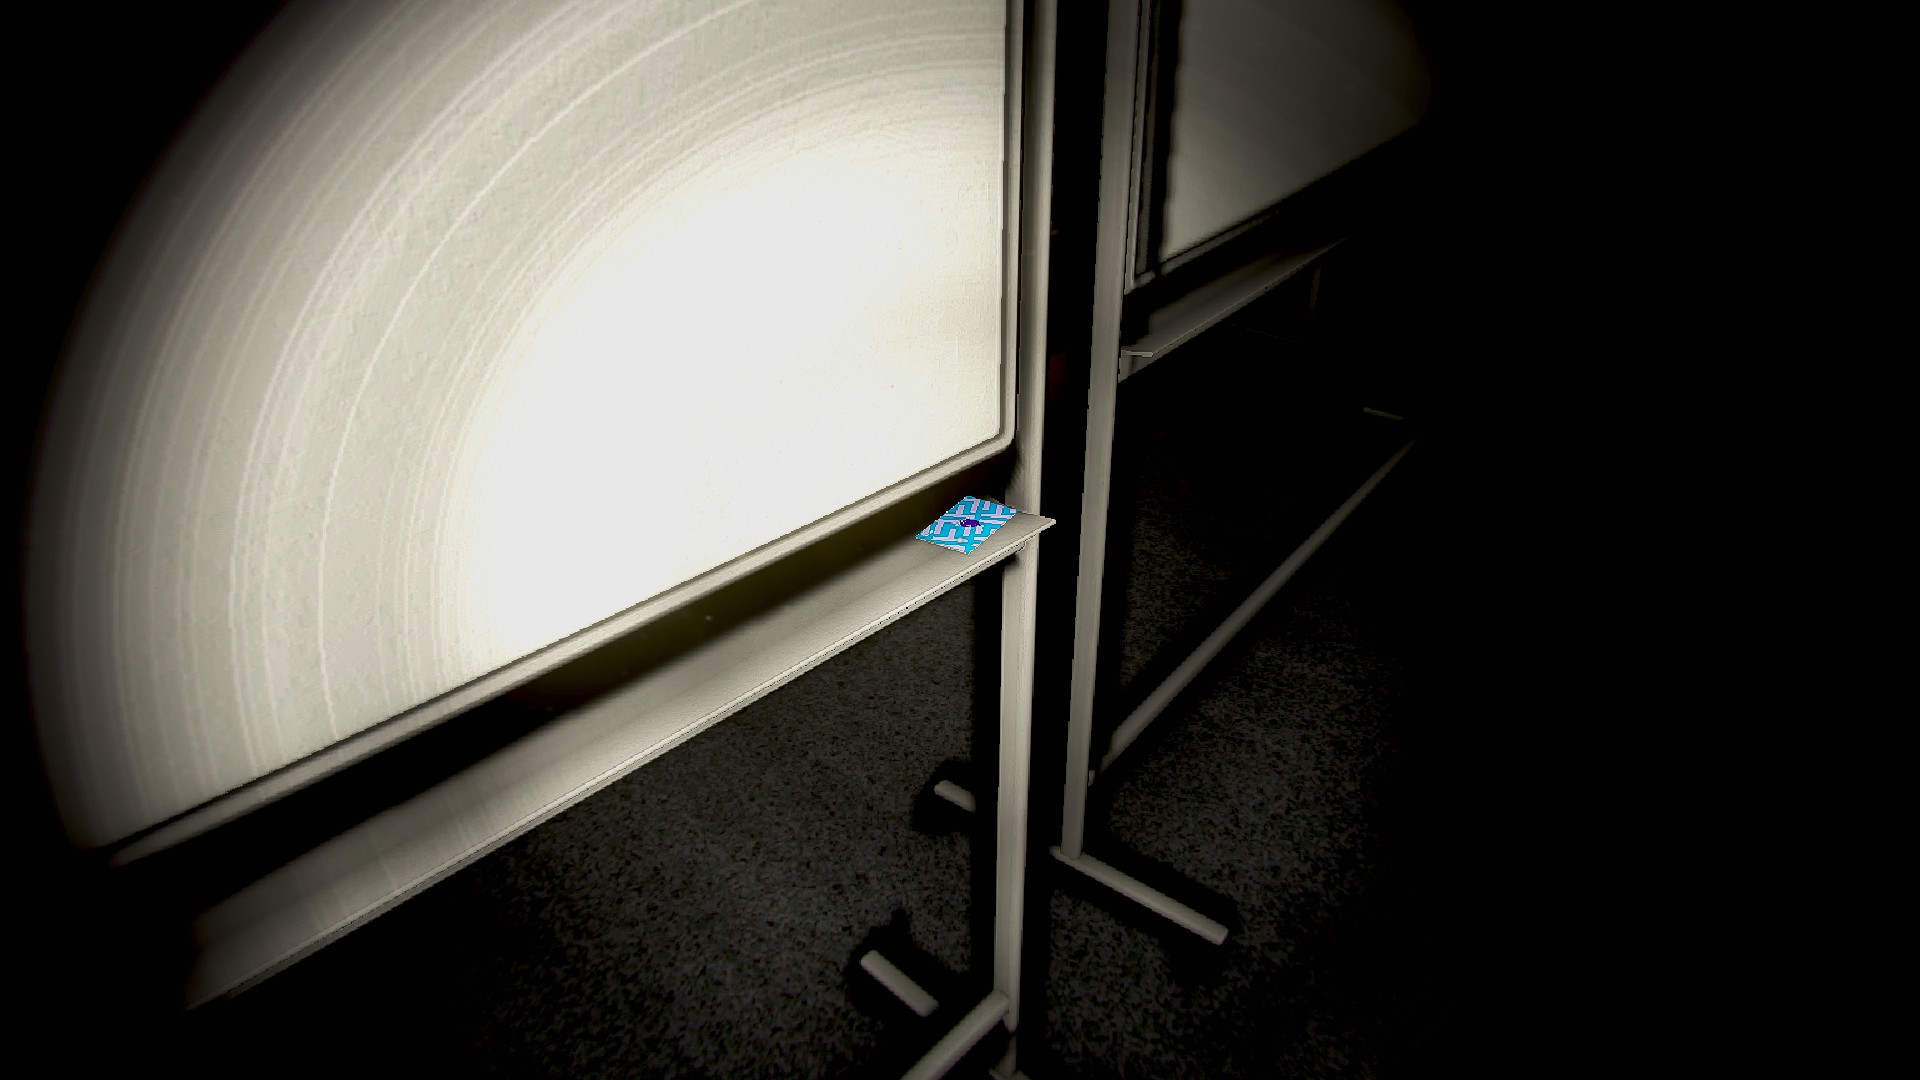
- Meeting 3, back of the whiteboard, bottom right
- Meeting 3, inside the open box directly behind the whiteboard
- Meeting 3, arm rest of second chair from the ladder, back of the room
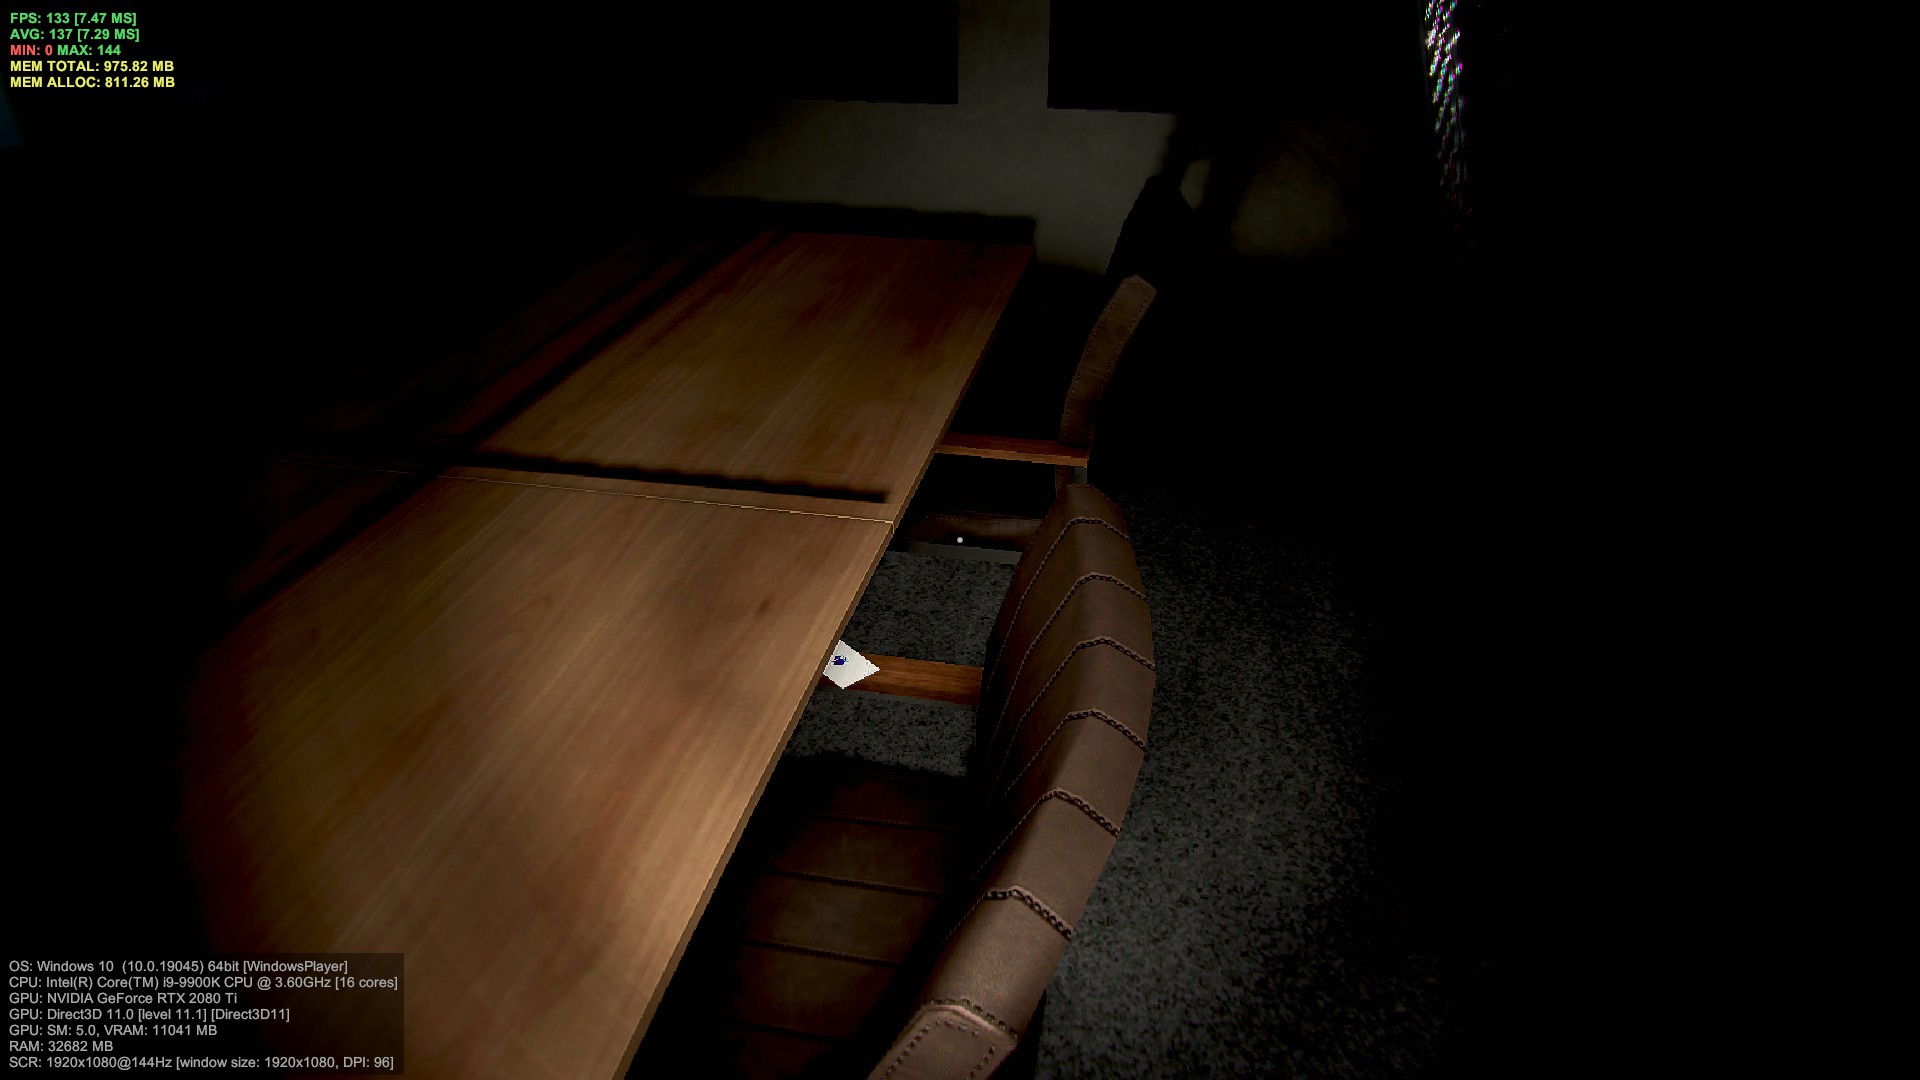
- Meeting 3, ladder support shelf
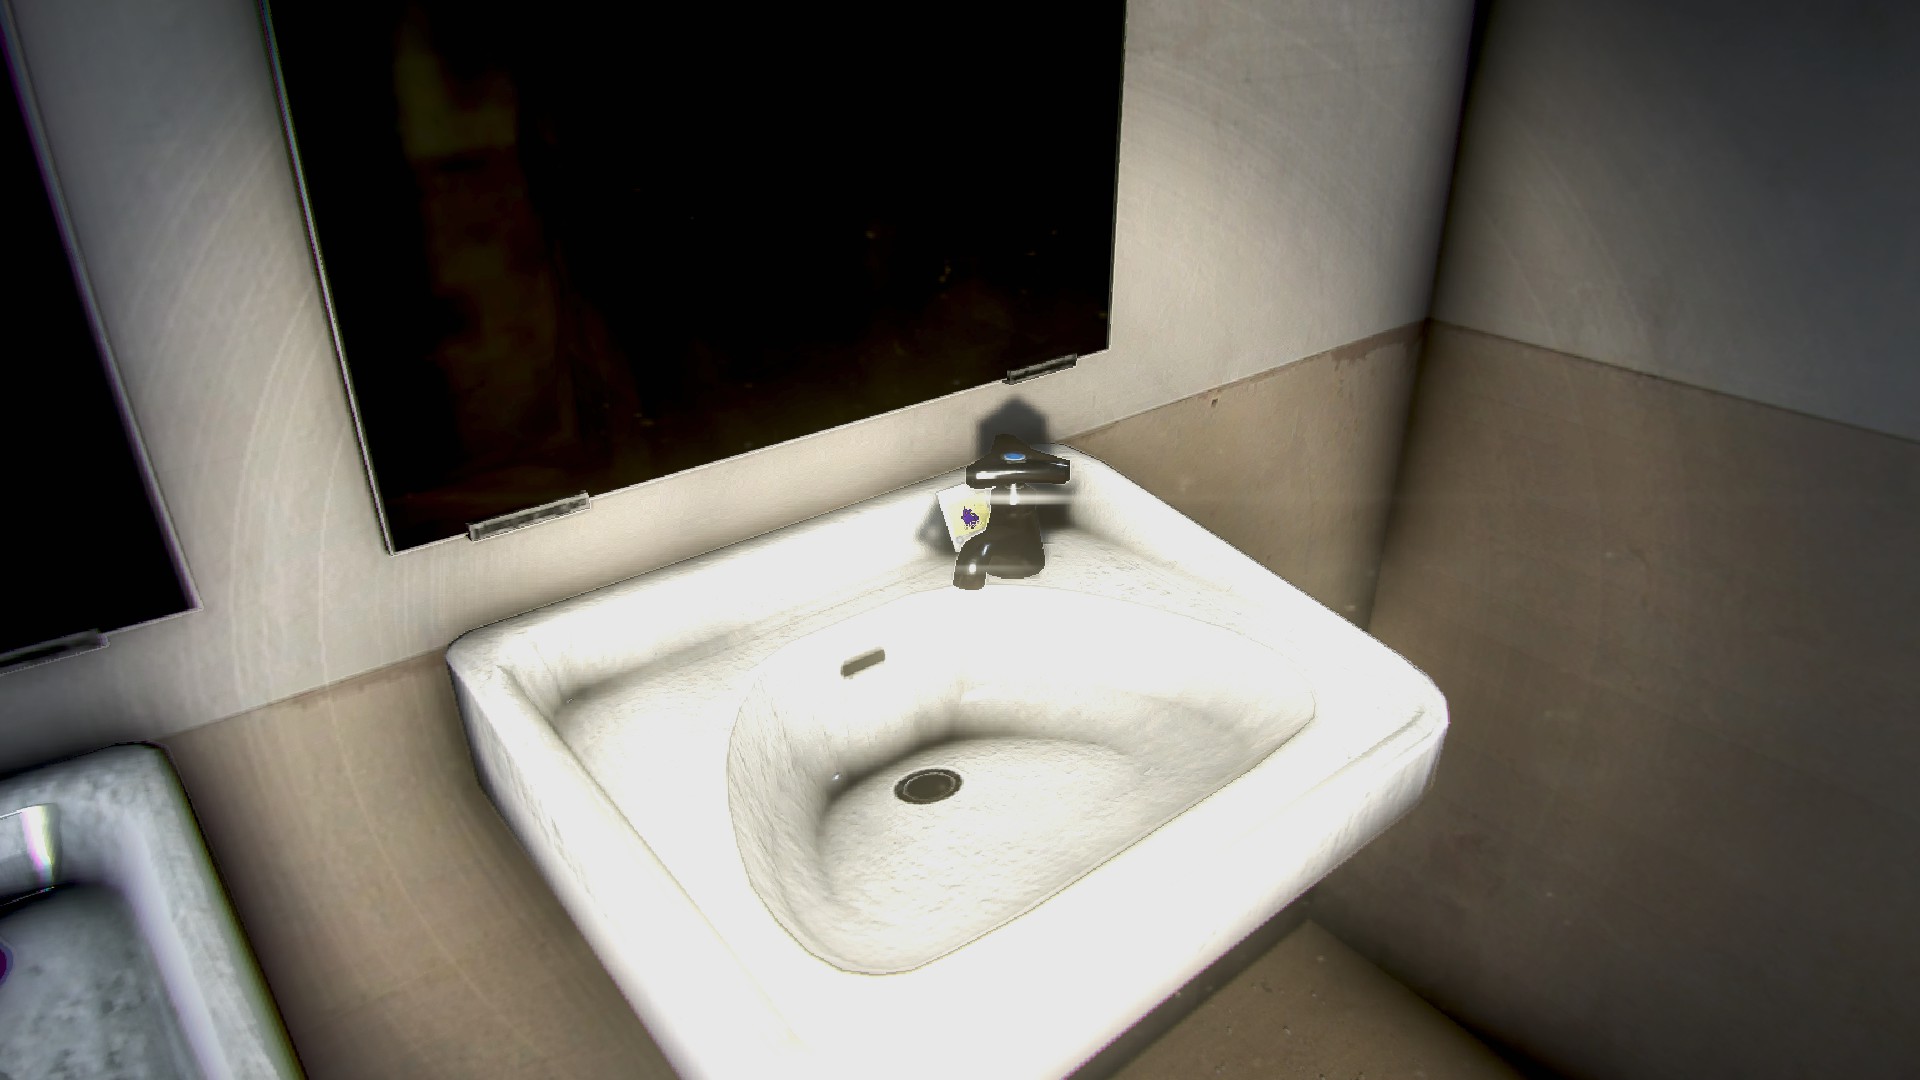
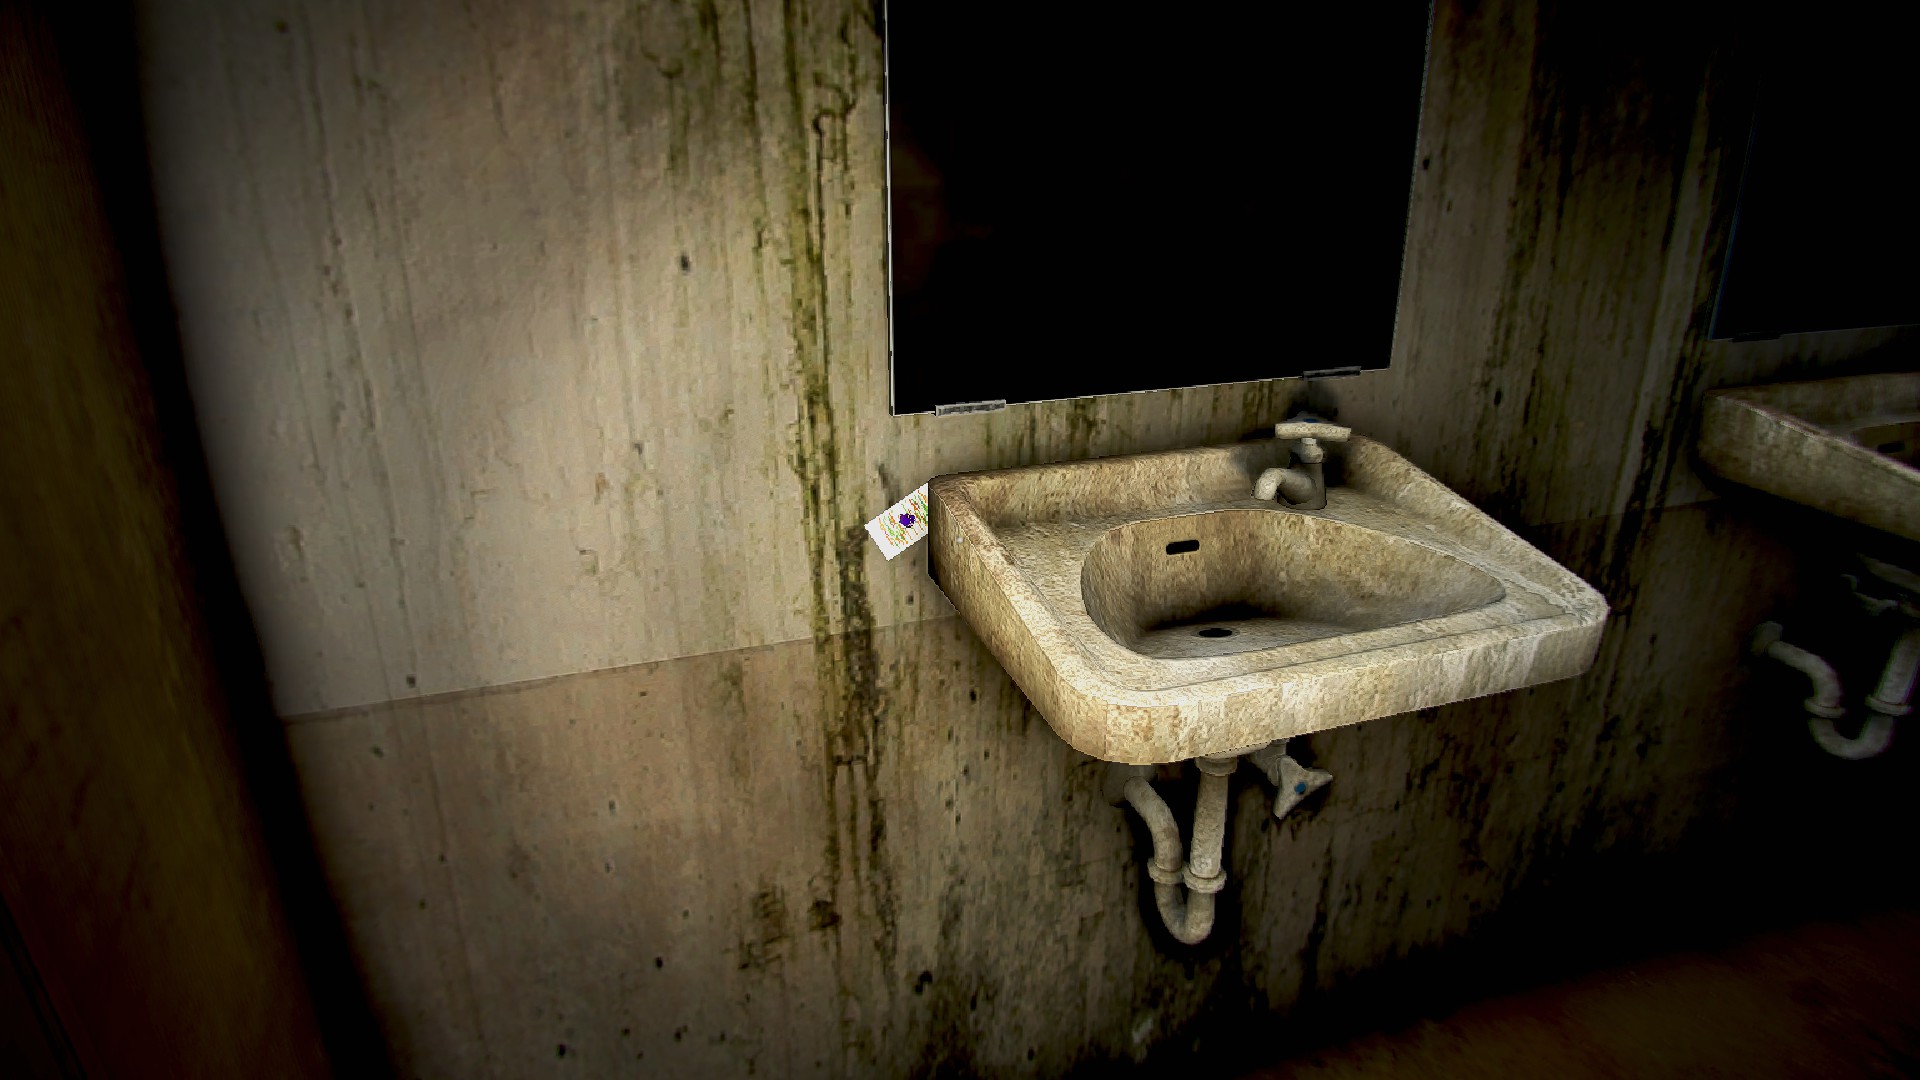
- Men’s 3, behind the faucet on the first sink
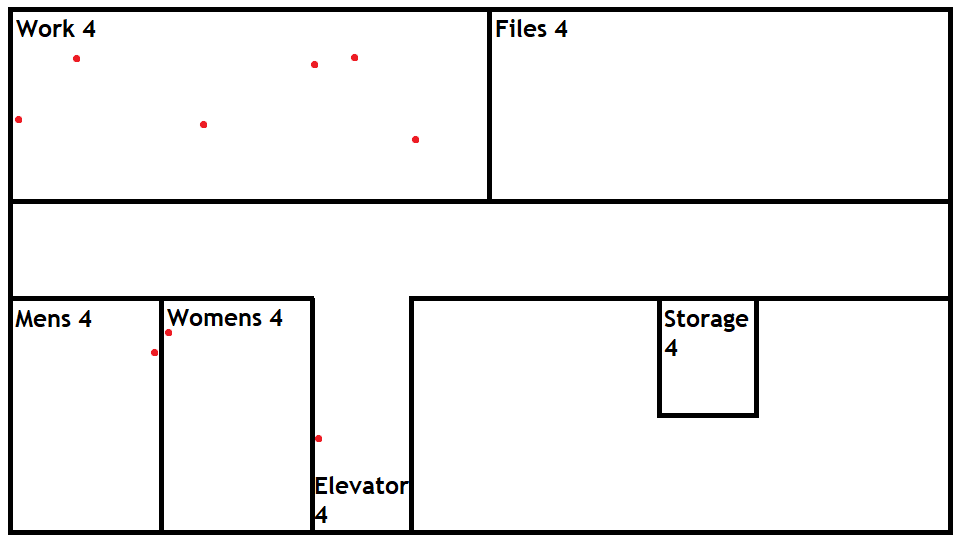
Floor 4 | 9 Cards
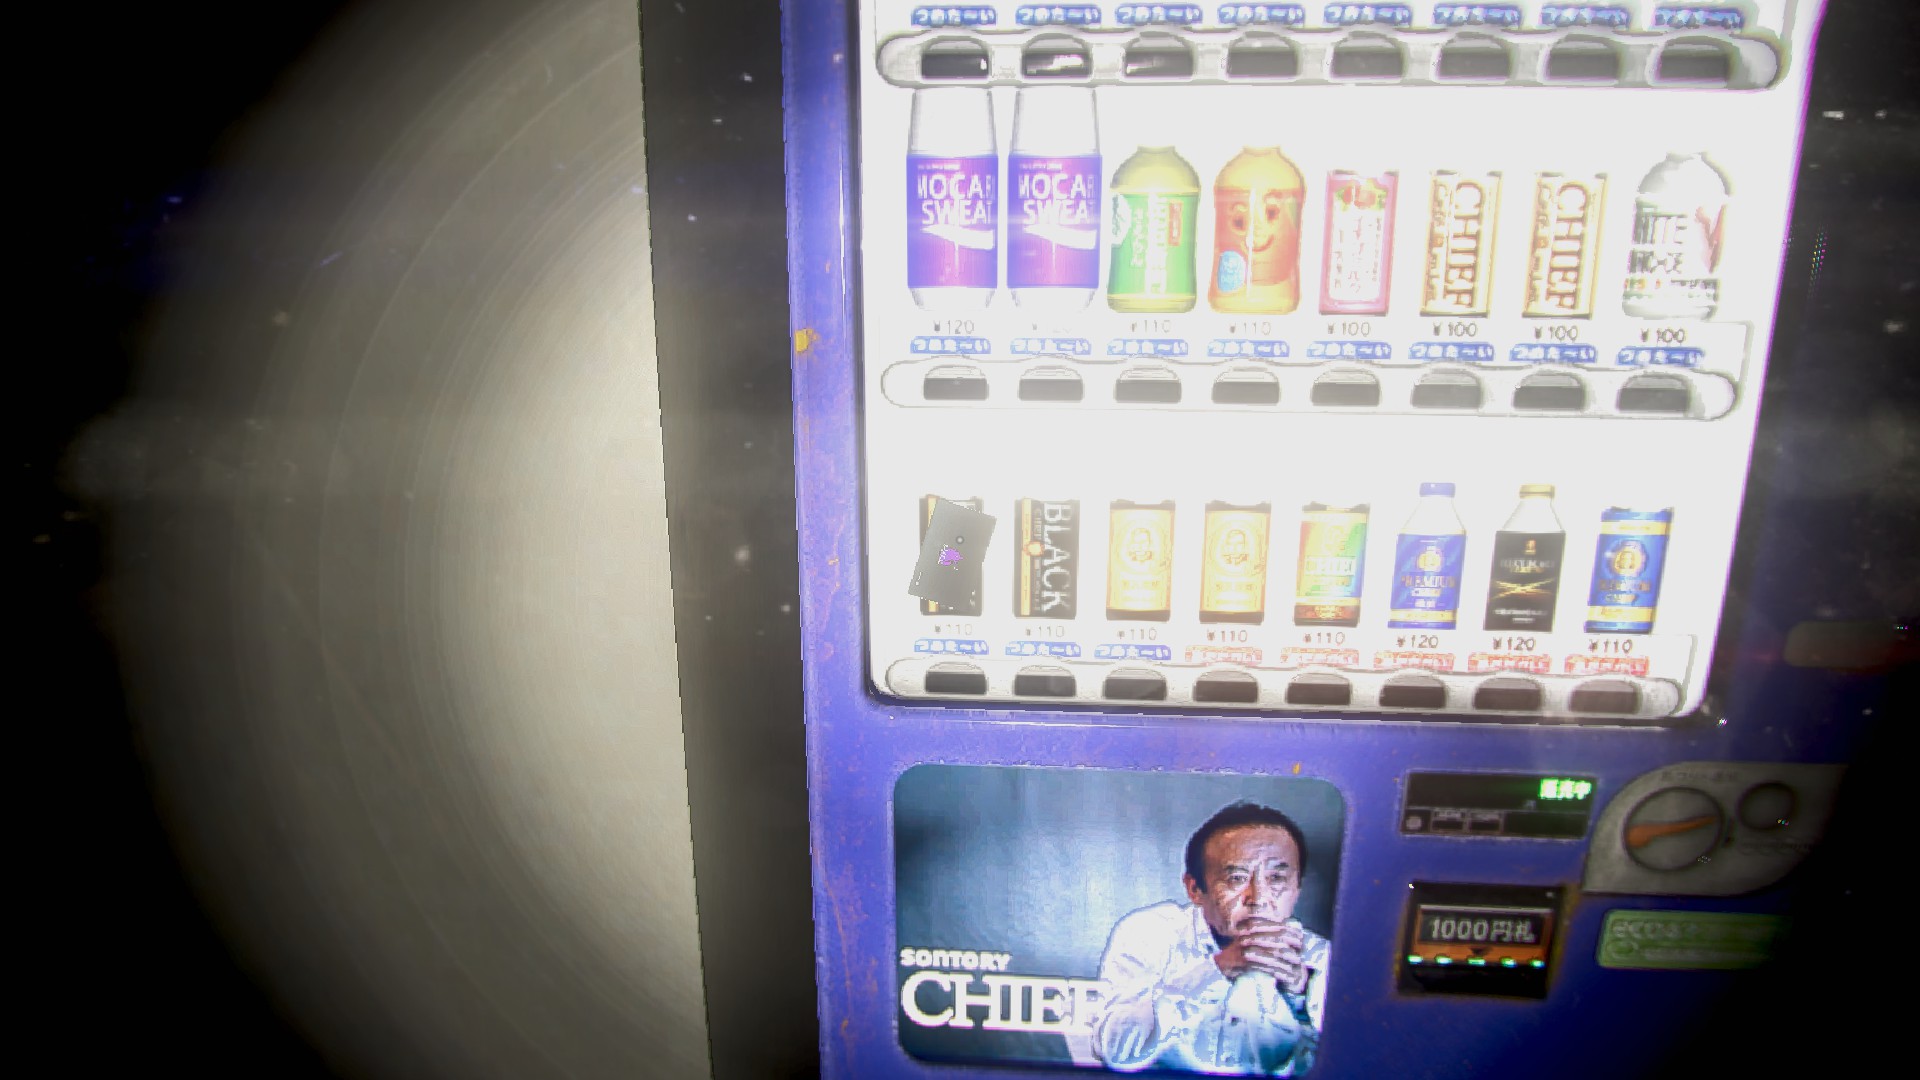
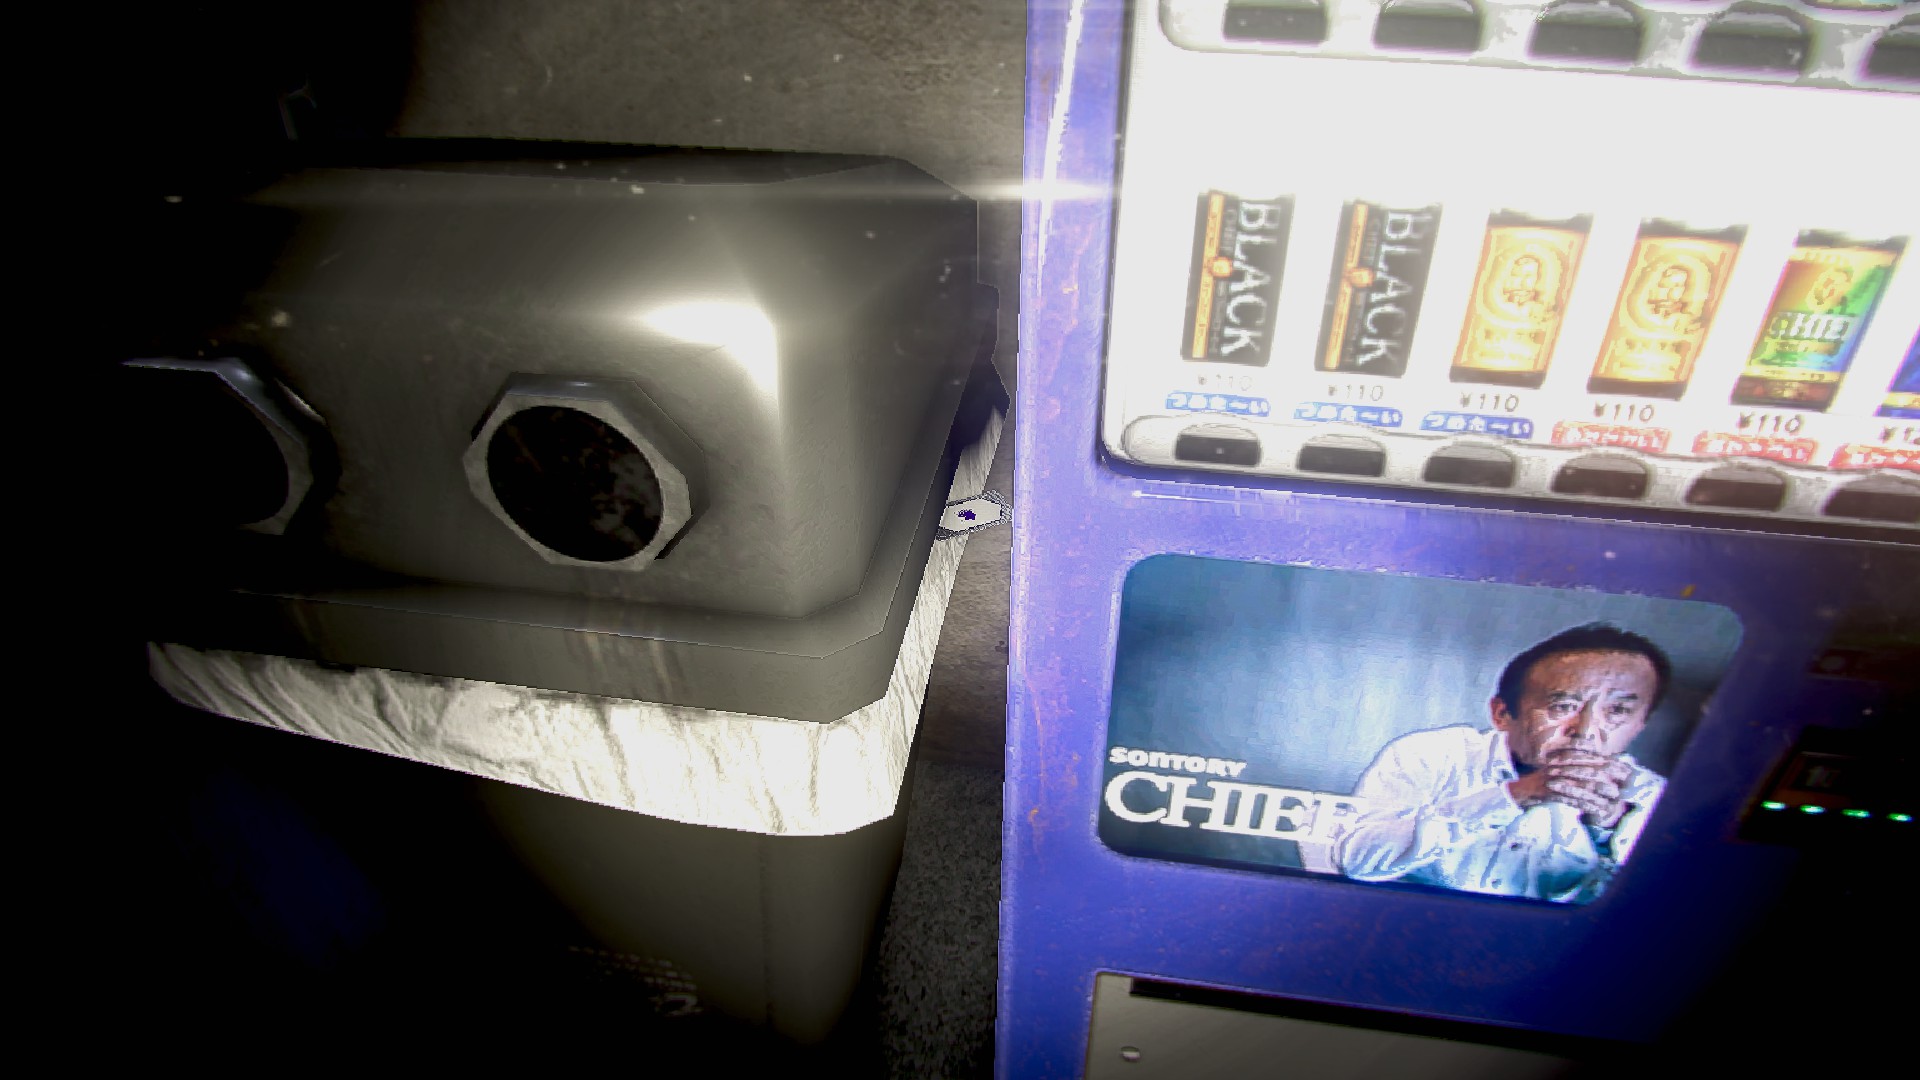
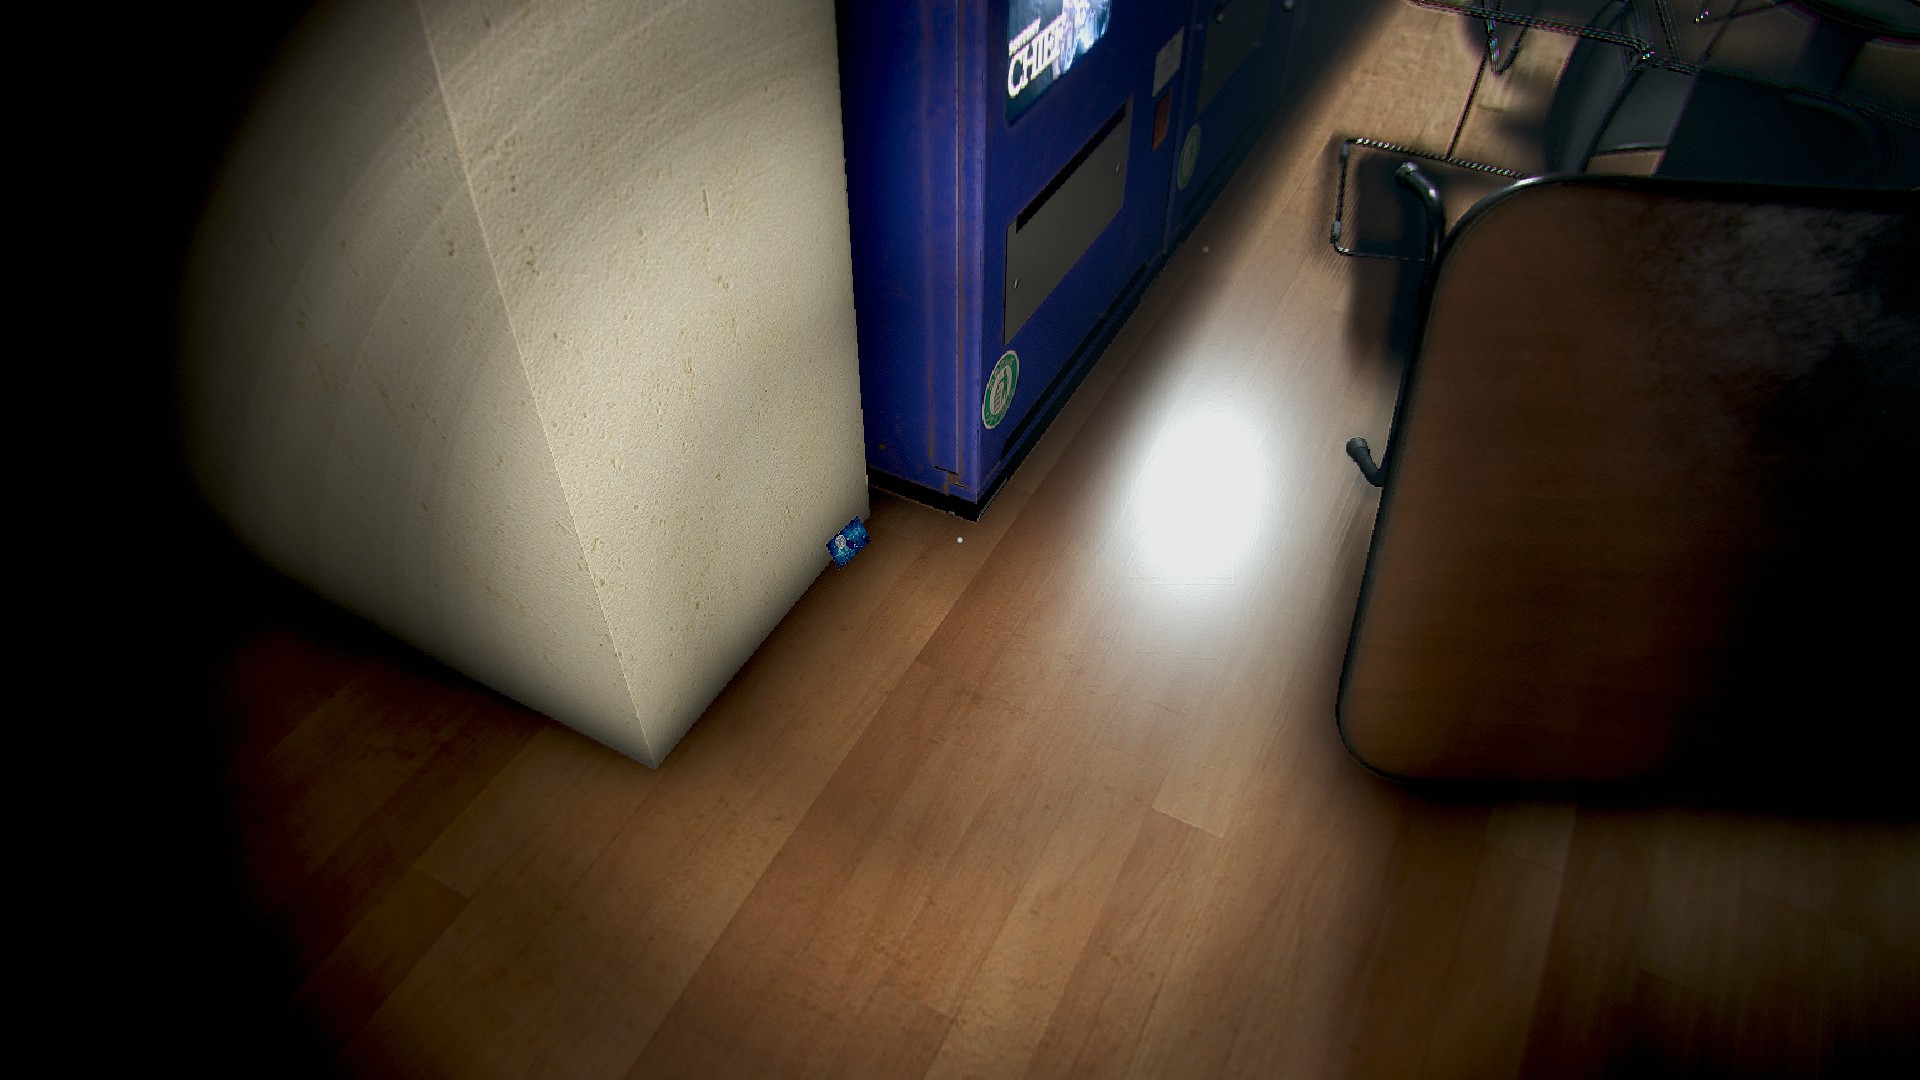
- Elevator 4, First vending machine, over the bottom left drink choice
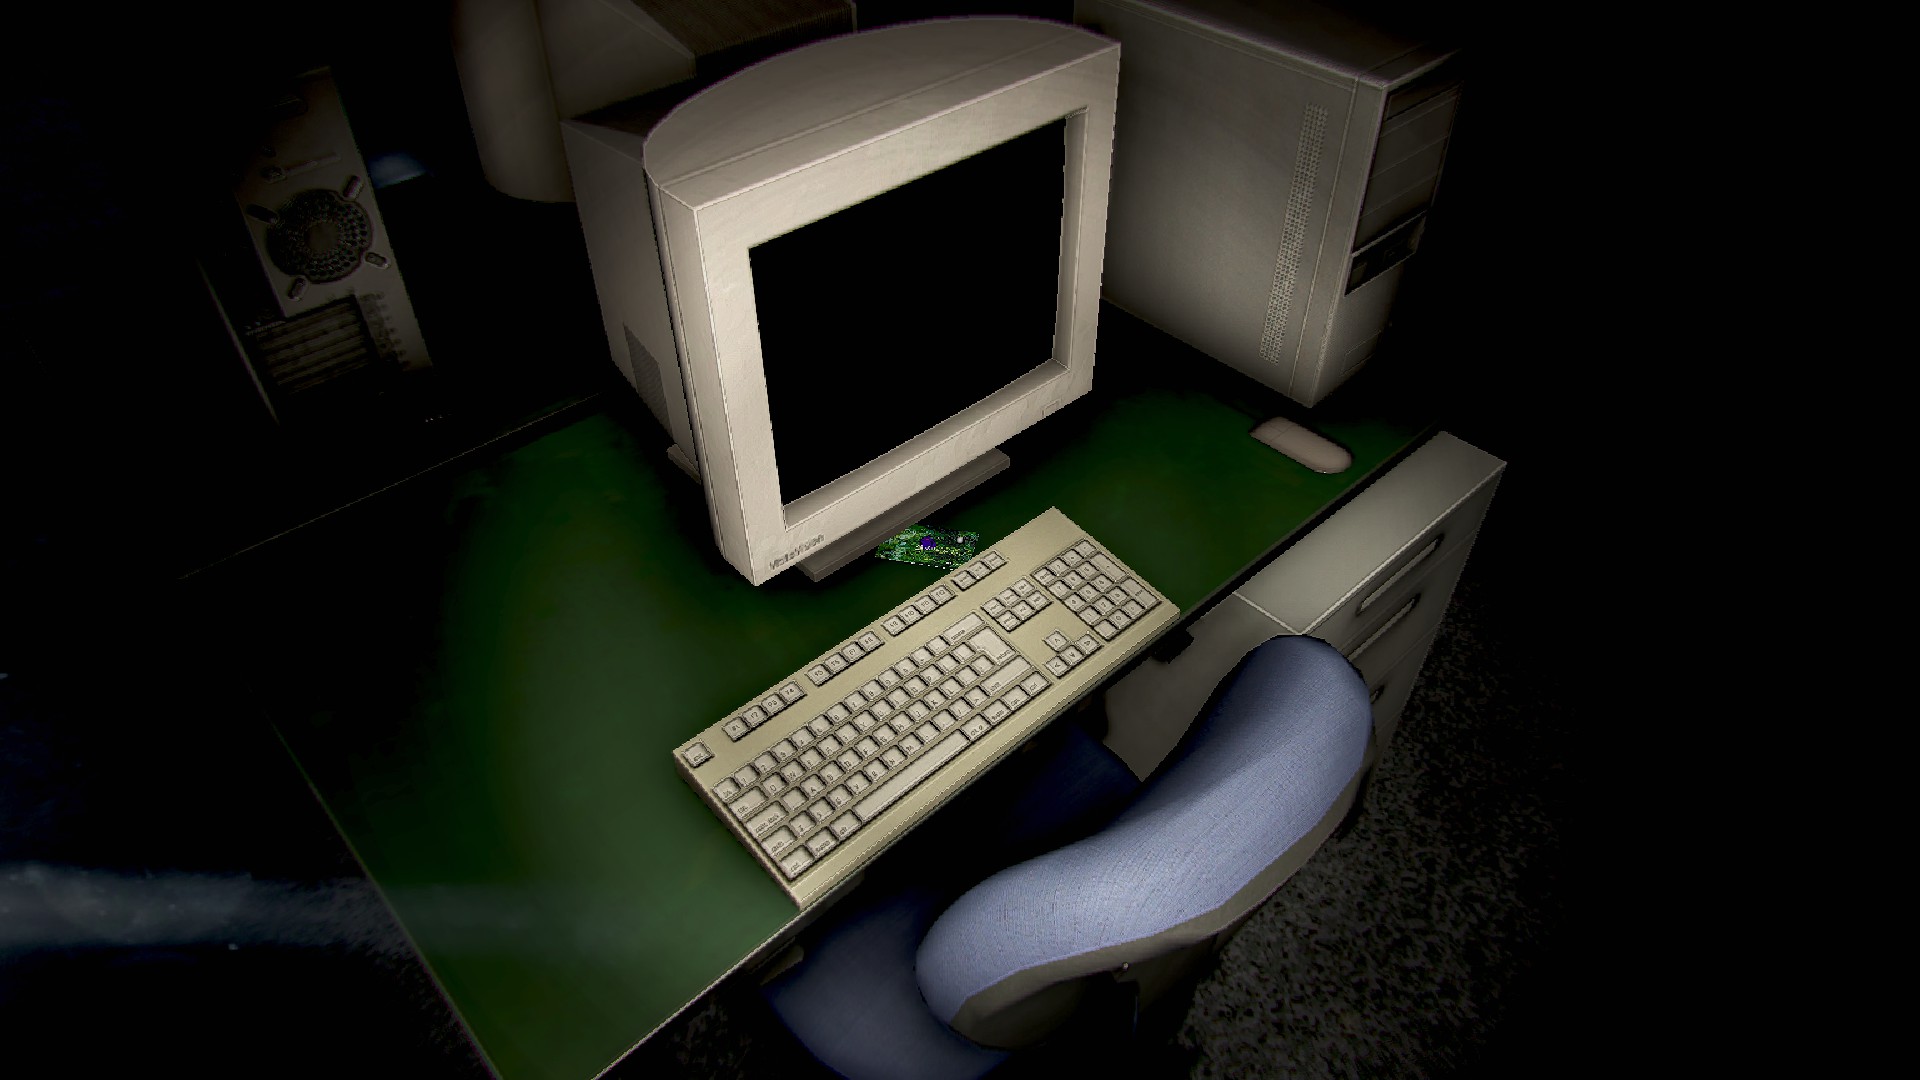
- Work 4, first pair of desks, front facing desk under the monitor
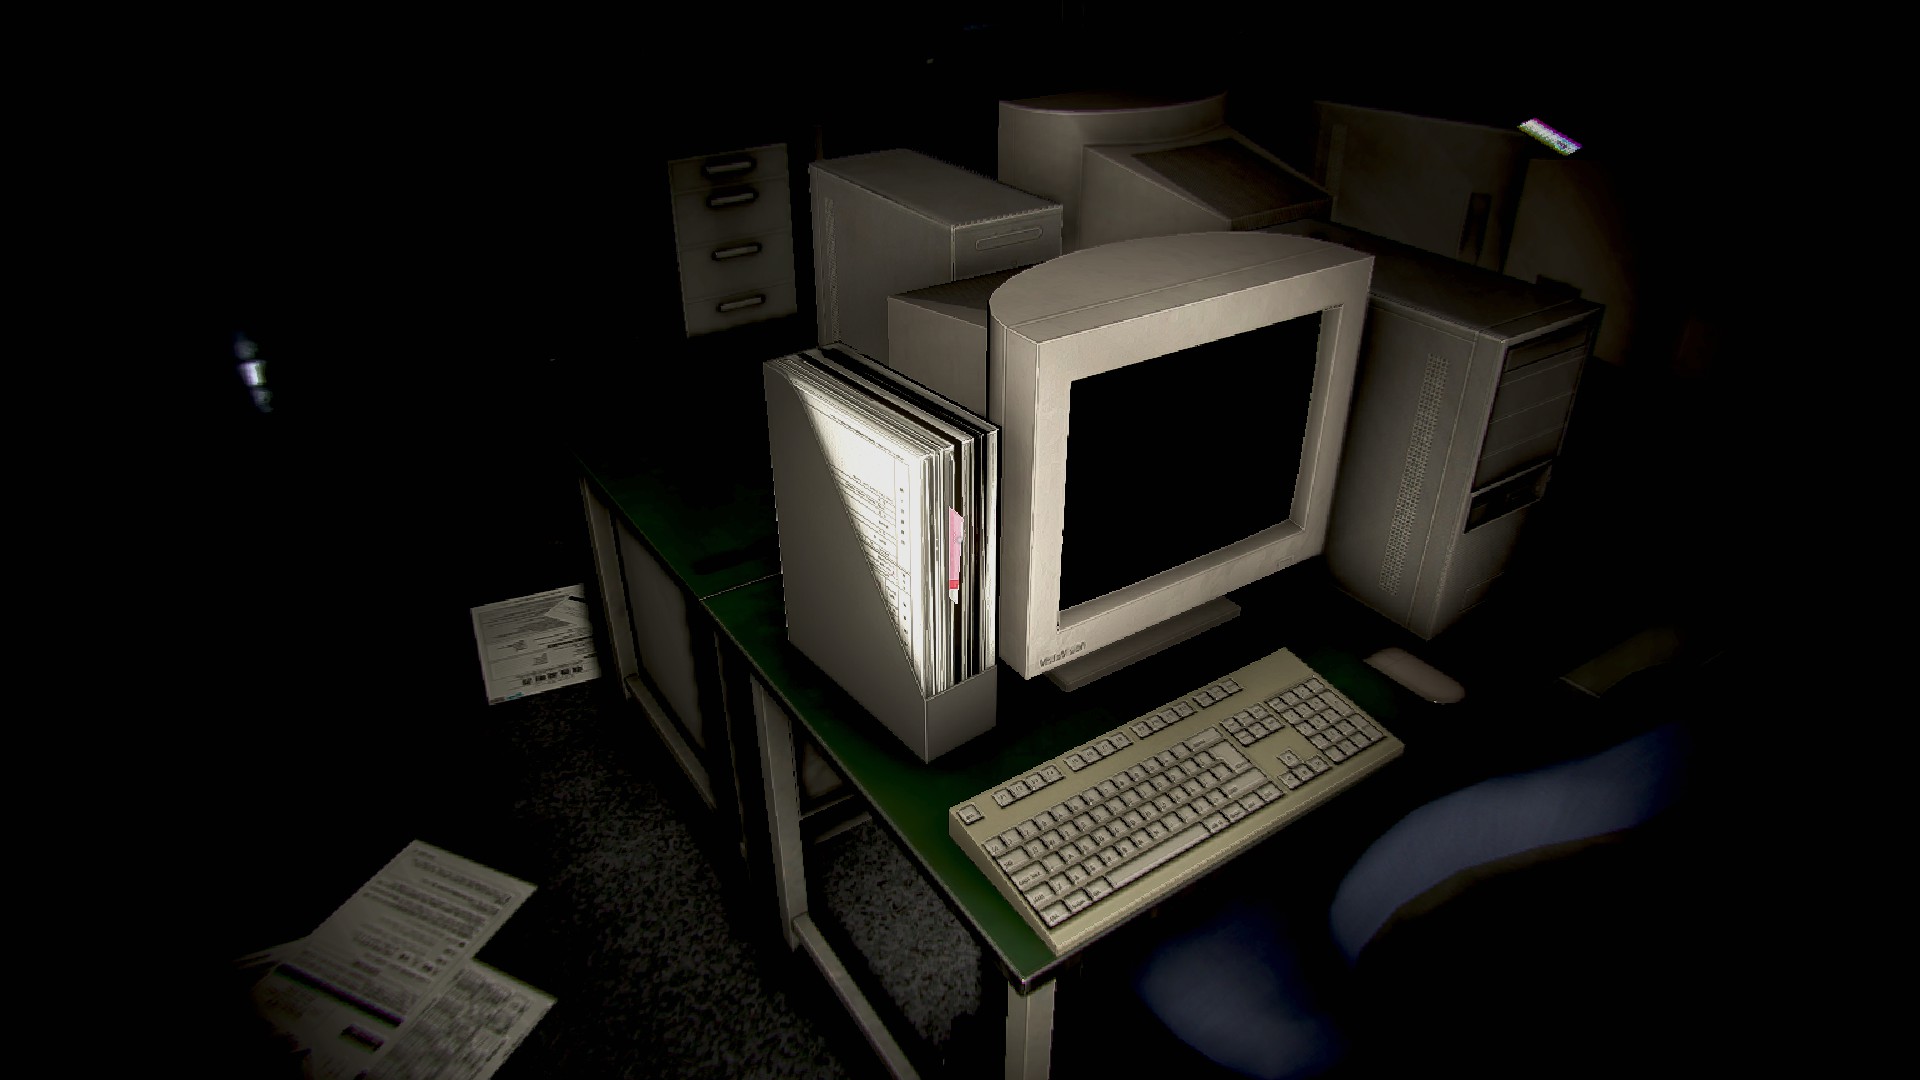
- Work 4, back row of desks, first one in the next island, left of the monitor in some papers
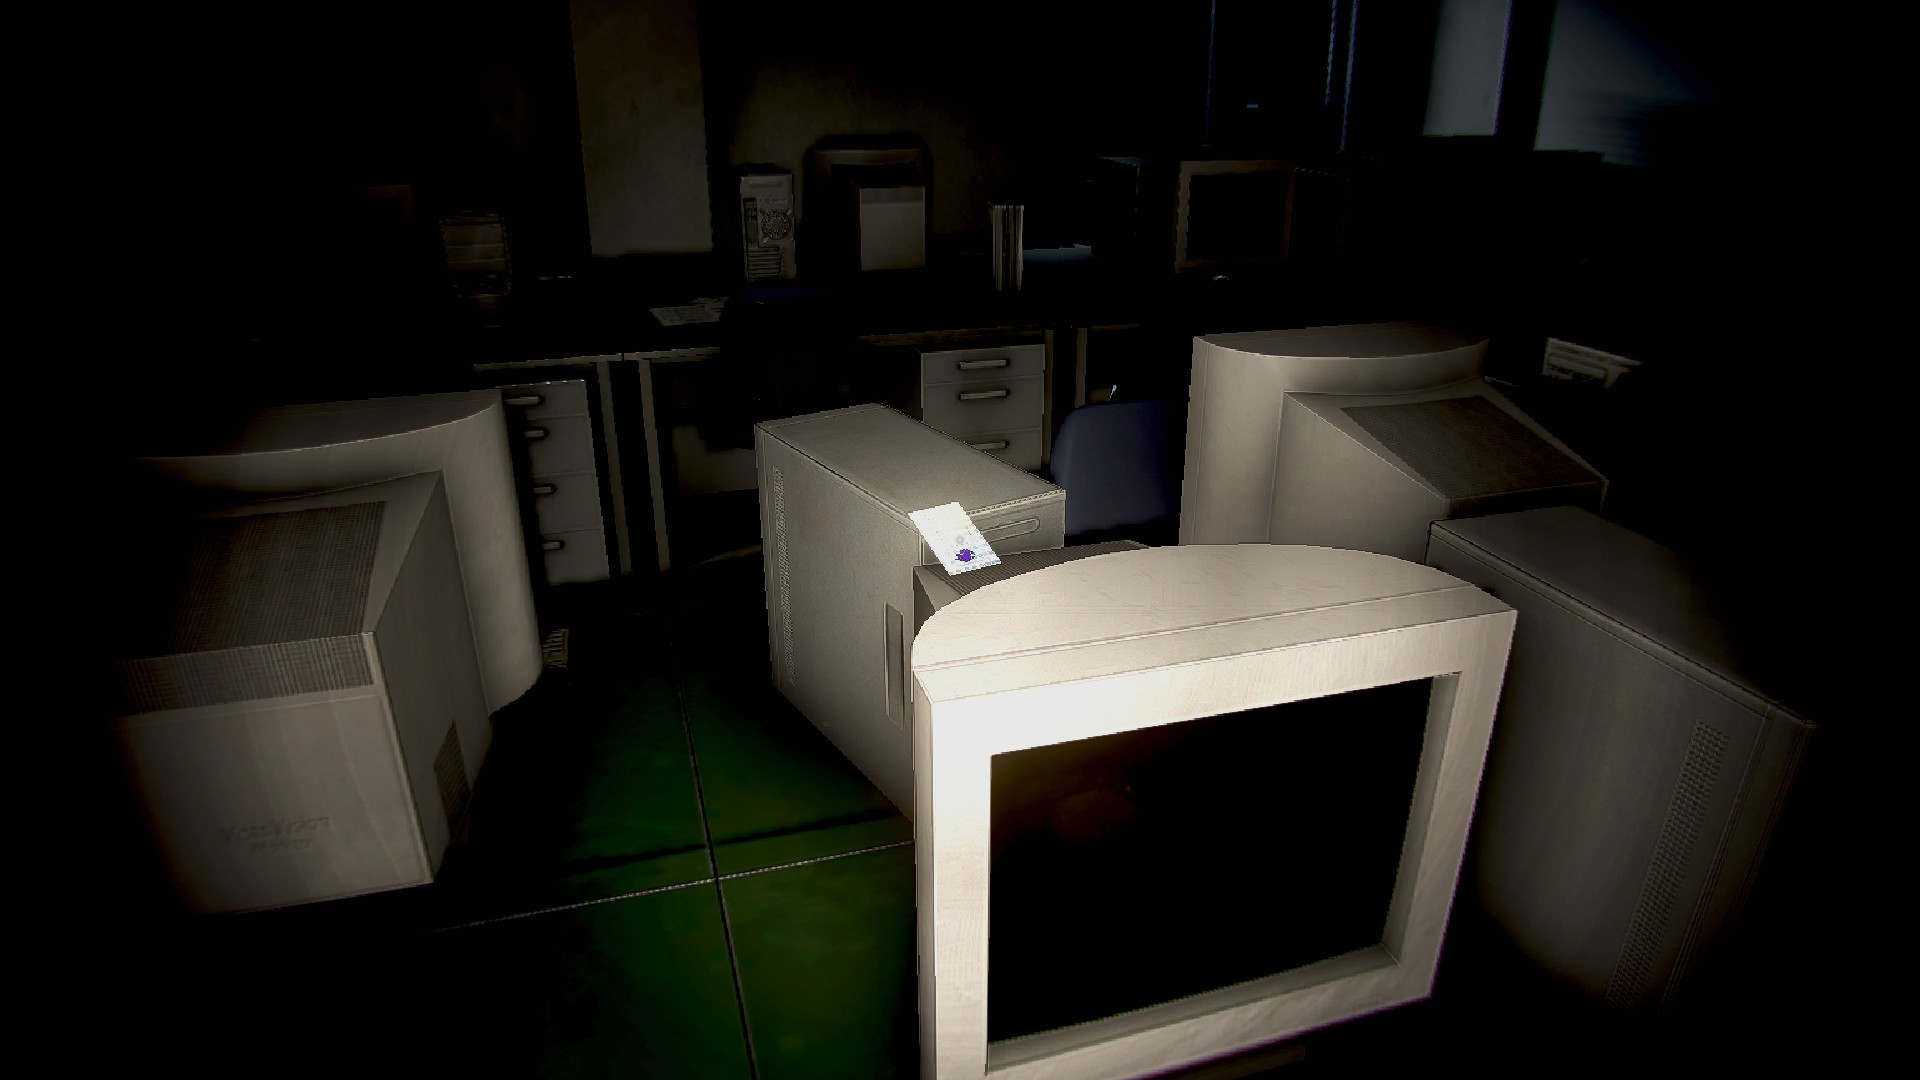
- Work 4, one desk to the right, on top of the monitor
- Work 4, last desk in the row, to the right of the tower
- Work 4, against the wall, tucked in the bottom of the blinds, between two whiteboards
- Work 4, middle row, in between the desk with no computer and the desk to its right
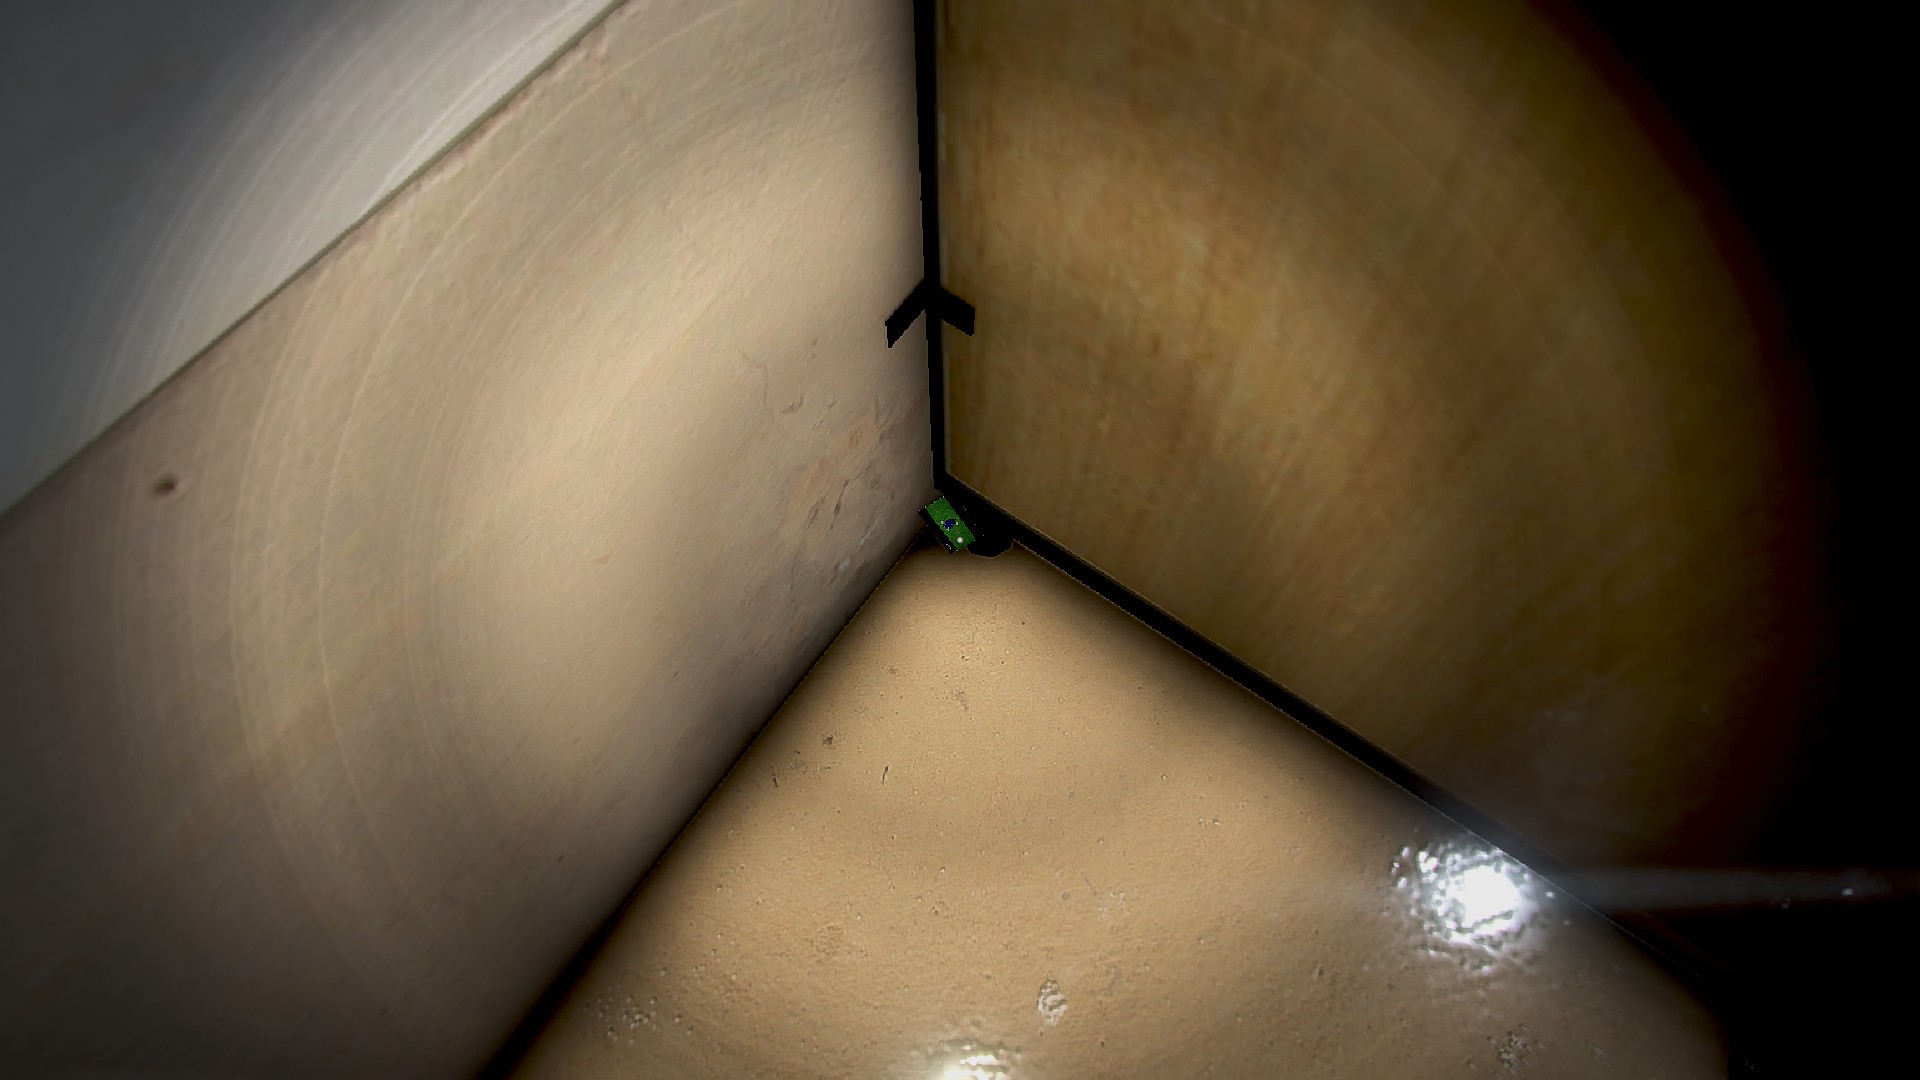
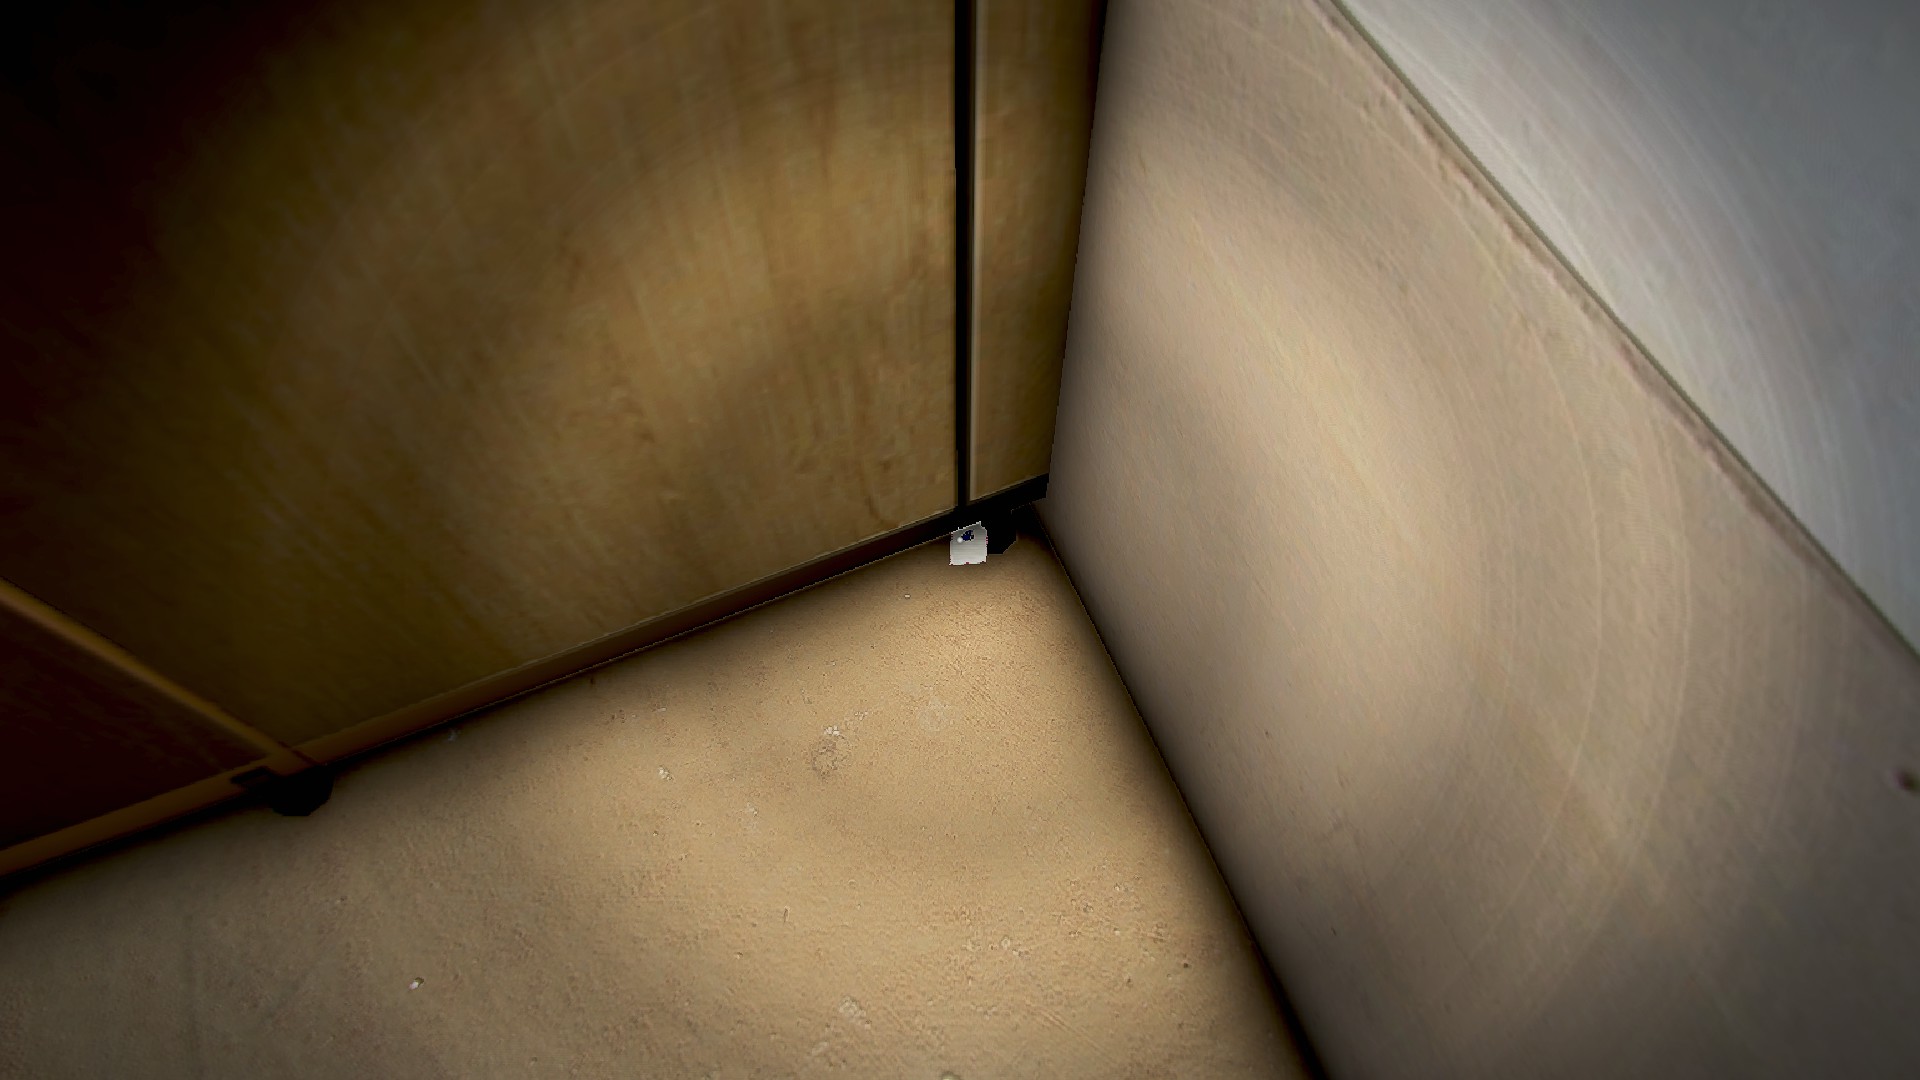
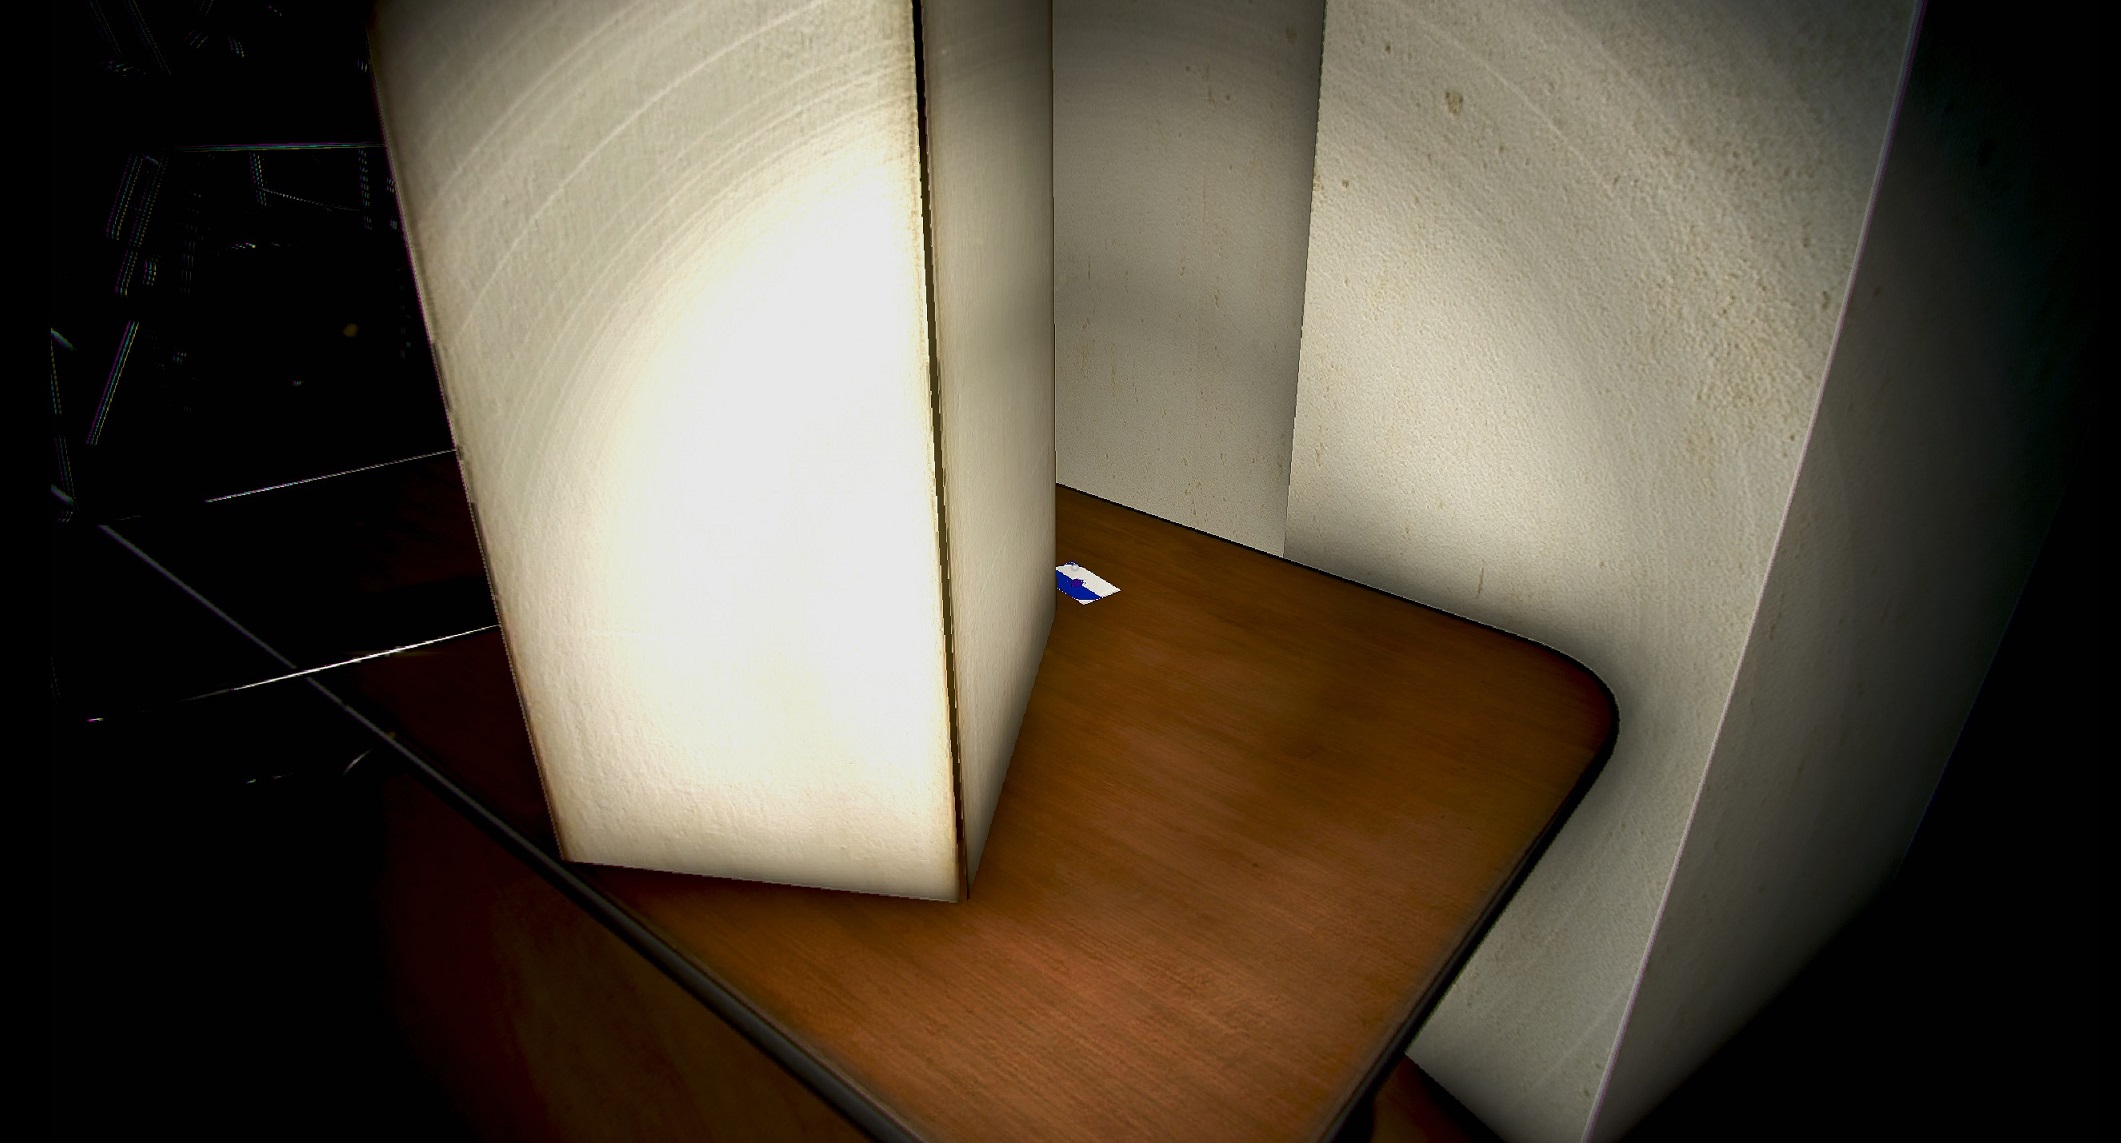
- Men’s 4, left as you enter on the ground, against the stall
- Women’s 4, on top of the right mirror
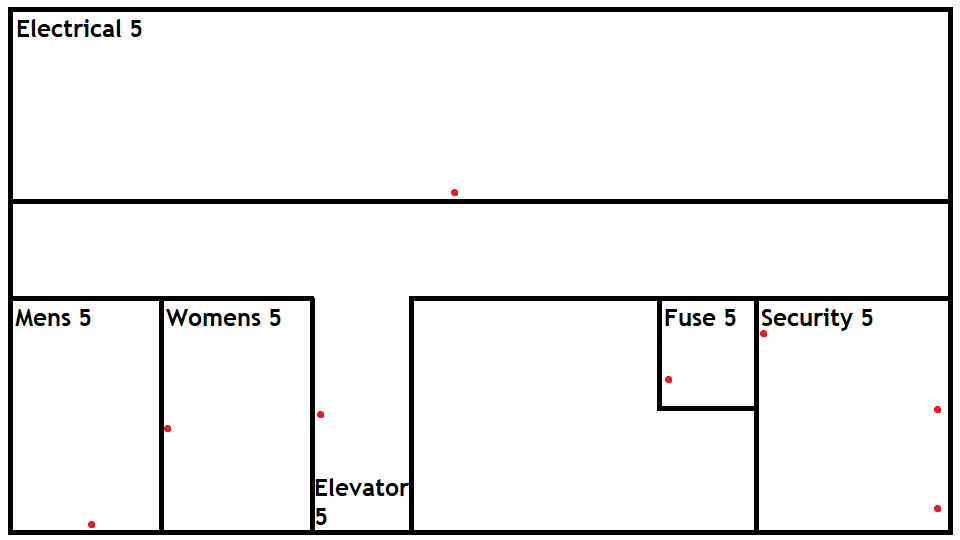
Floor 5 | 8 Cards
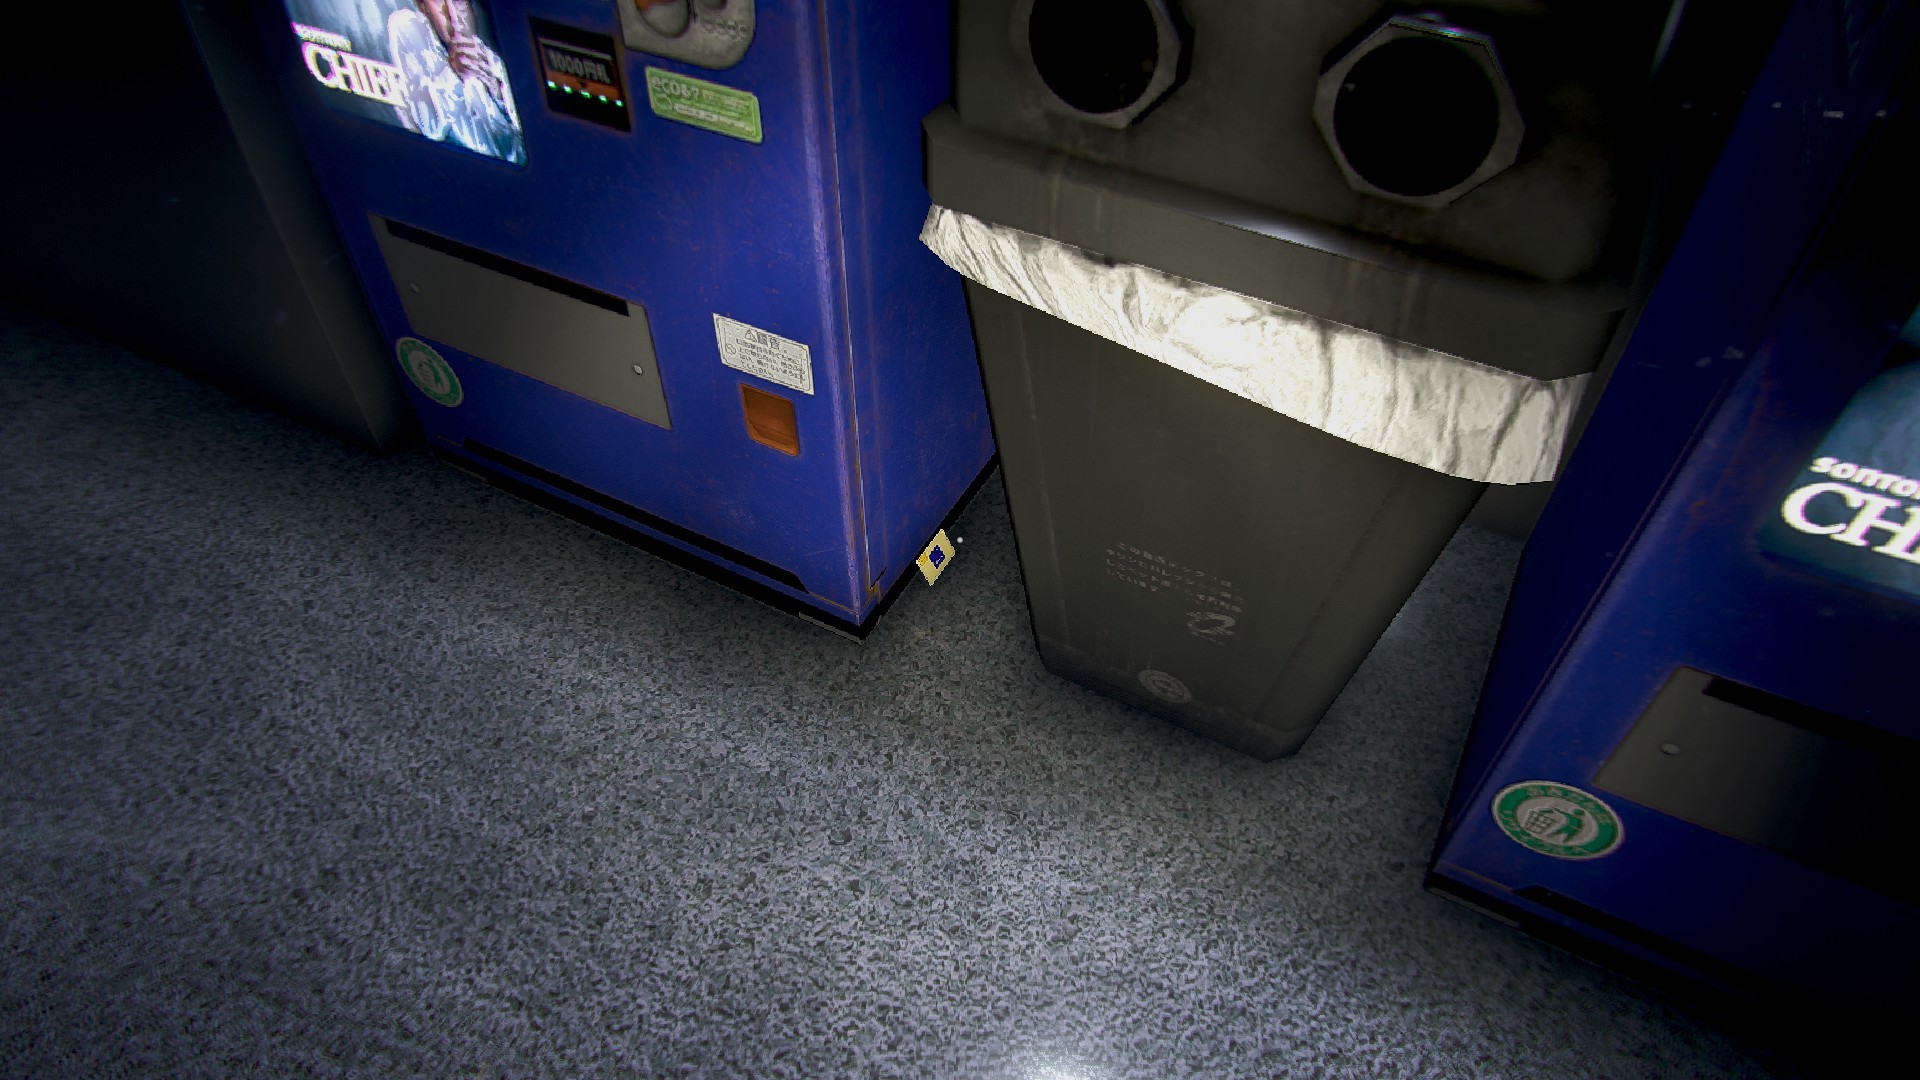
- Elevator 5, right side of the trashcan’s lid
- Fuse 5, right wall, tucked behind the upper part of the left cabinet

- Breaker 5, front of the room, right of the center pillar, on the floor
- Security 5, behind the door, against the cabinet, on the floor
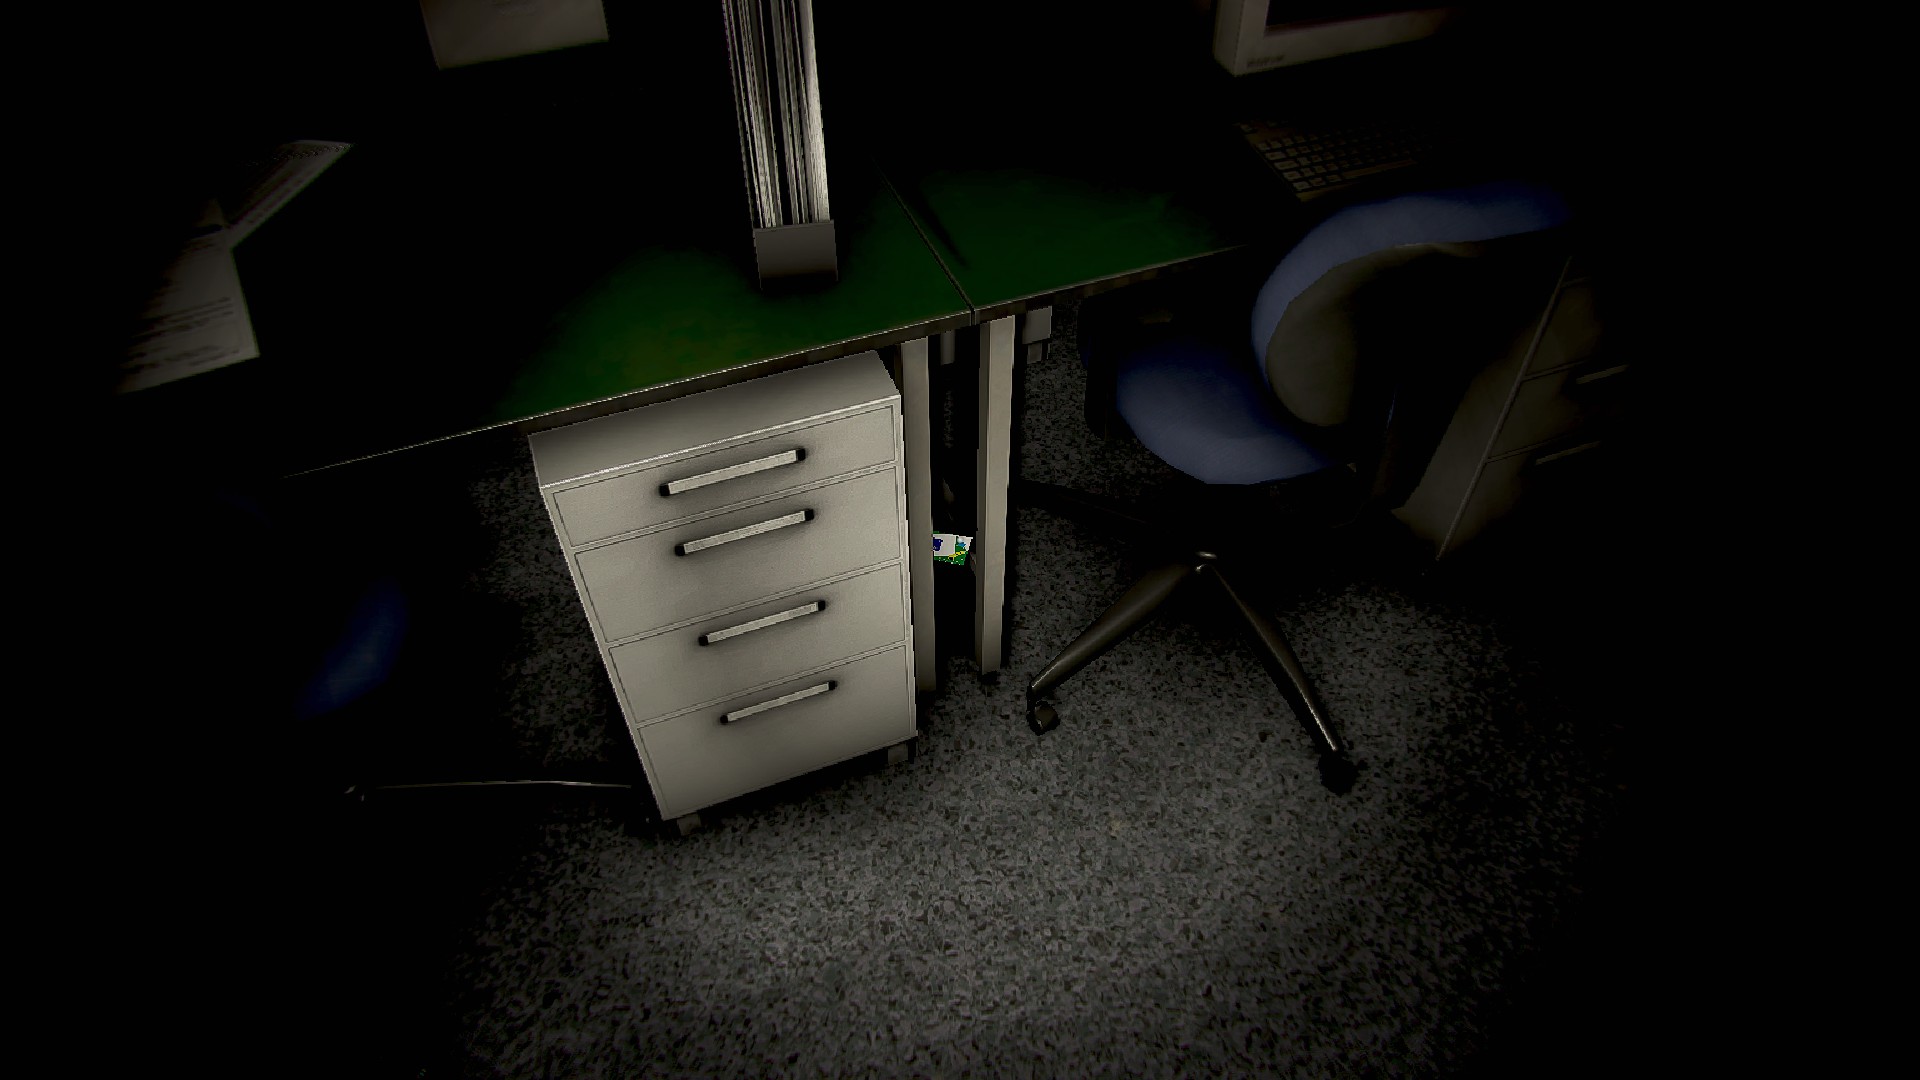
- Security 5, under the desk, left side, on the support rails
- Security 5, right computer, between the file cabinet and tower
- Men’s 5, far stall, under the door
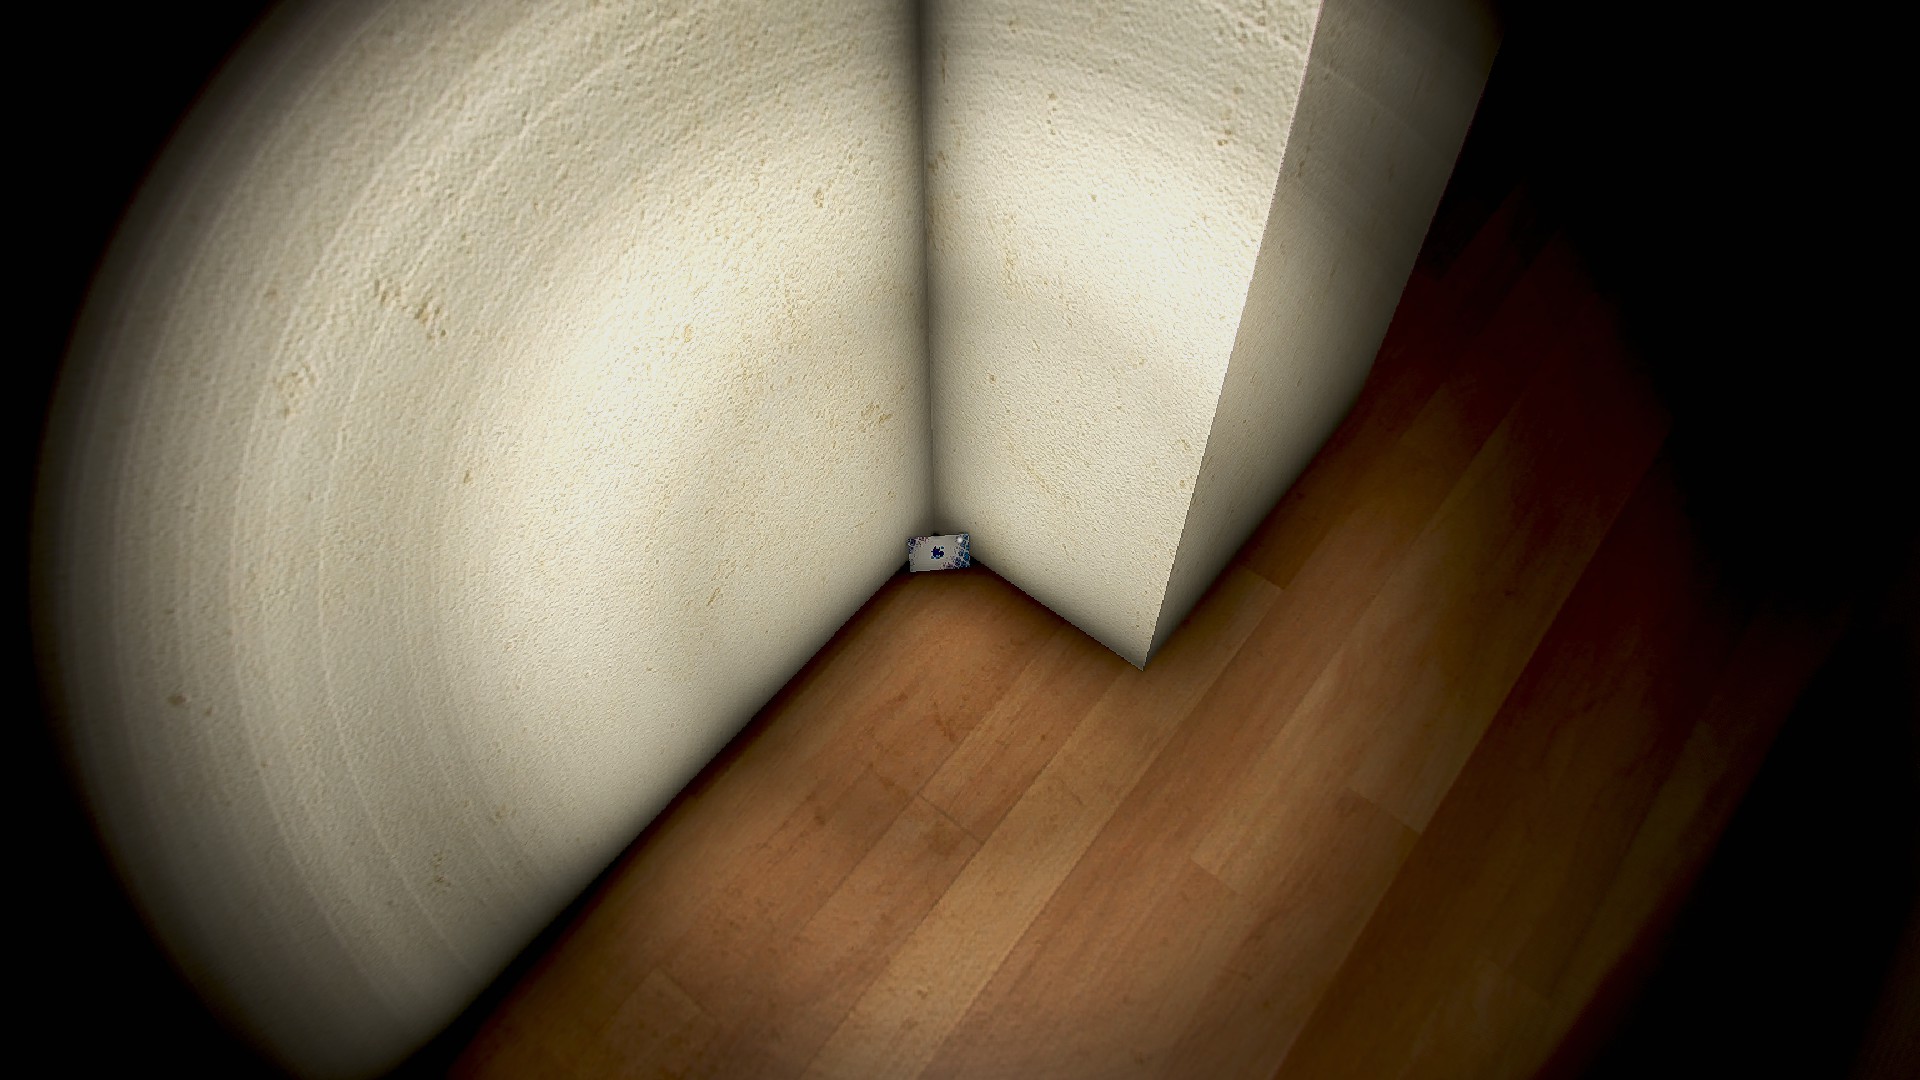
- Women’s 5, right stall, tucked into the wall
Collectibles Part II
Floor 6 | 8 Cards
- Cafeteria 6, against the pillar before the drink machines
- Cafeteria 6, other side of the pillar on the table, left of the change machine(?)
- Cafeteria 6, outside the divider walls to the left side, behind the other change machine (?)
- Cafeteria 6, go to the backside of the room, to the other side of the drink machines, corner pillar
- Cafeteria 6, cafeteria counter between the two standing change machines.
- Cafeteria 6, on top the table close to the cafeteria counter, under an overturned chair
- Cafeteria 6a, middle of the left wall, on the floor by a pile of chairs
- Cafeteria 6a, back wall, on the backrest of a chair on top of a table
Floor 7 | 5 Cards
- Elevator 7, right at the split, under some scaffolding
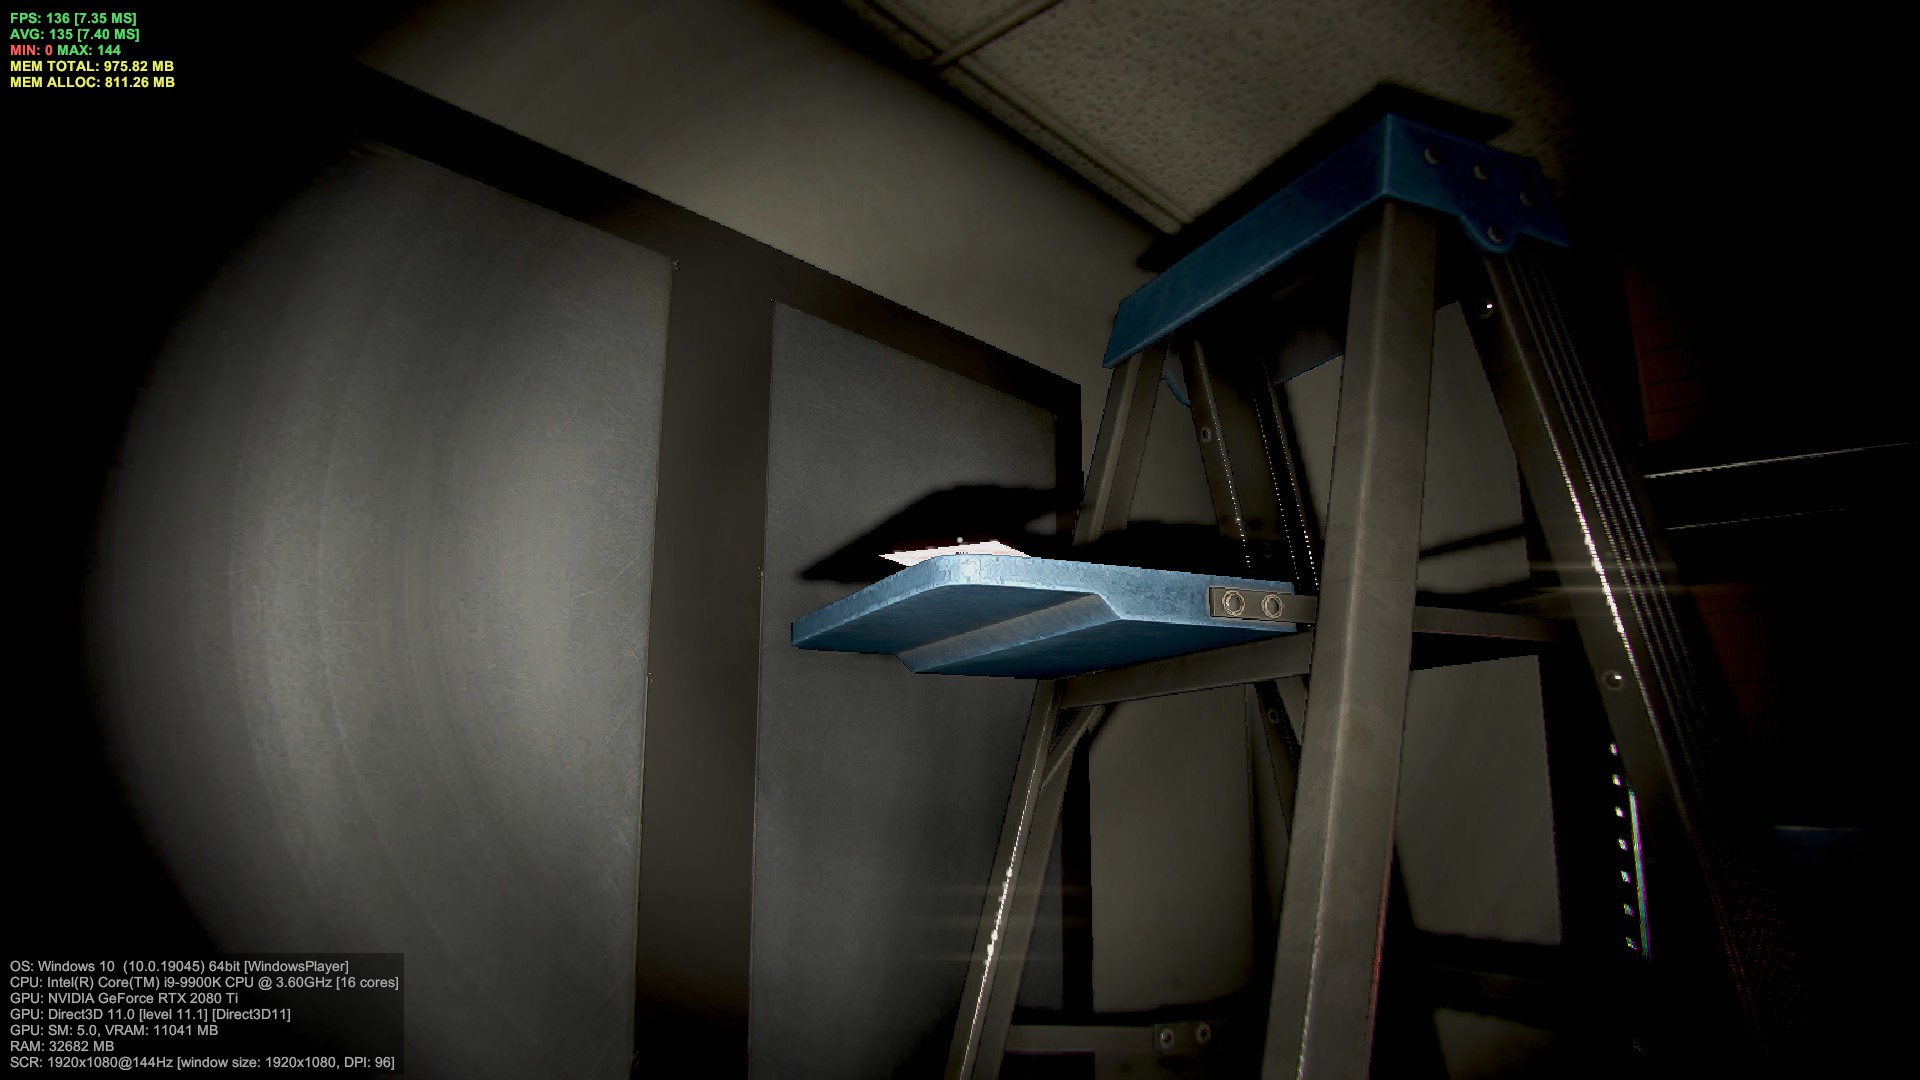
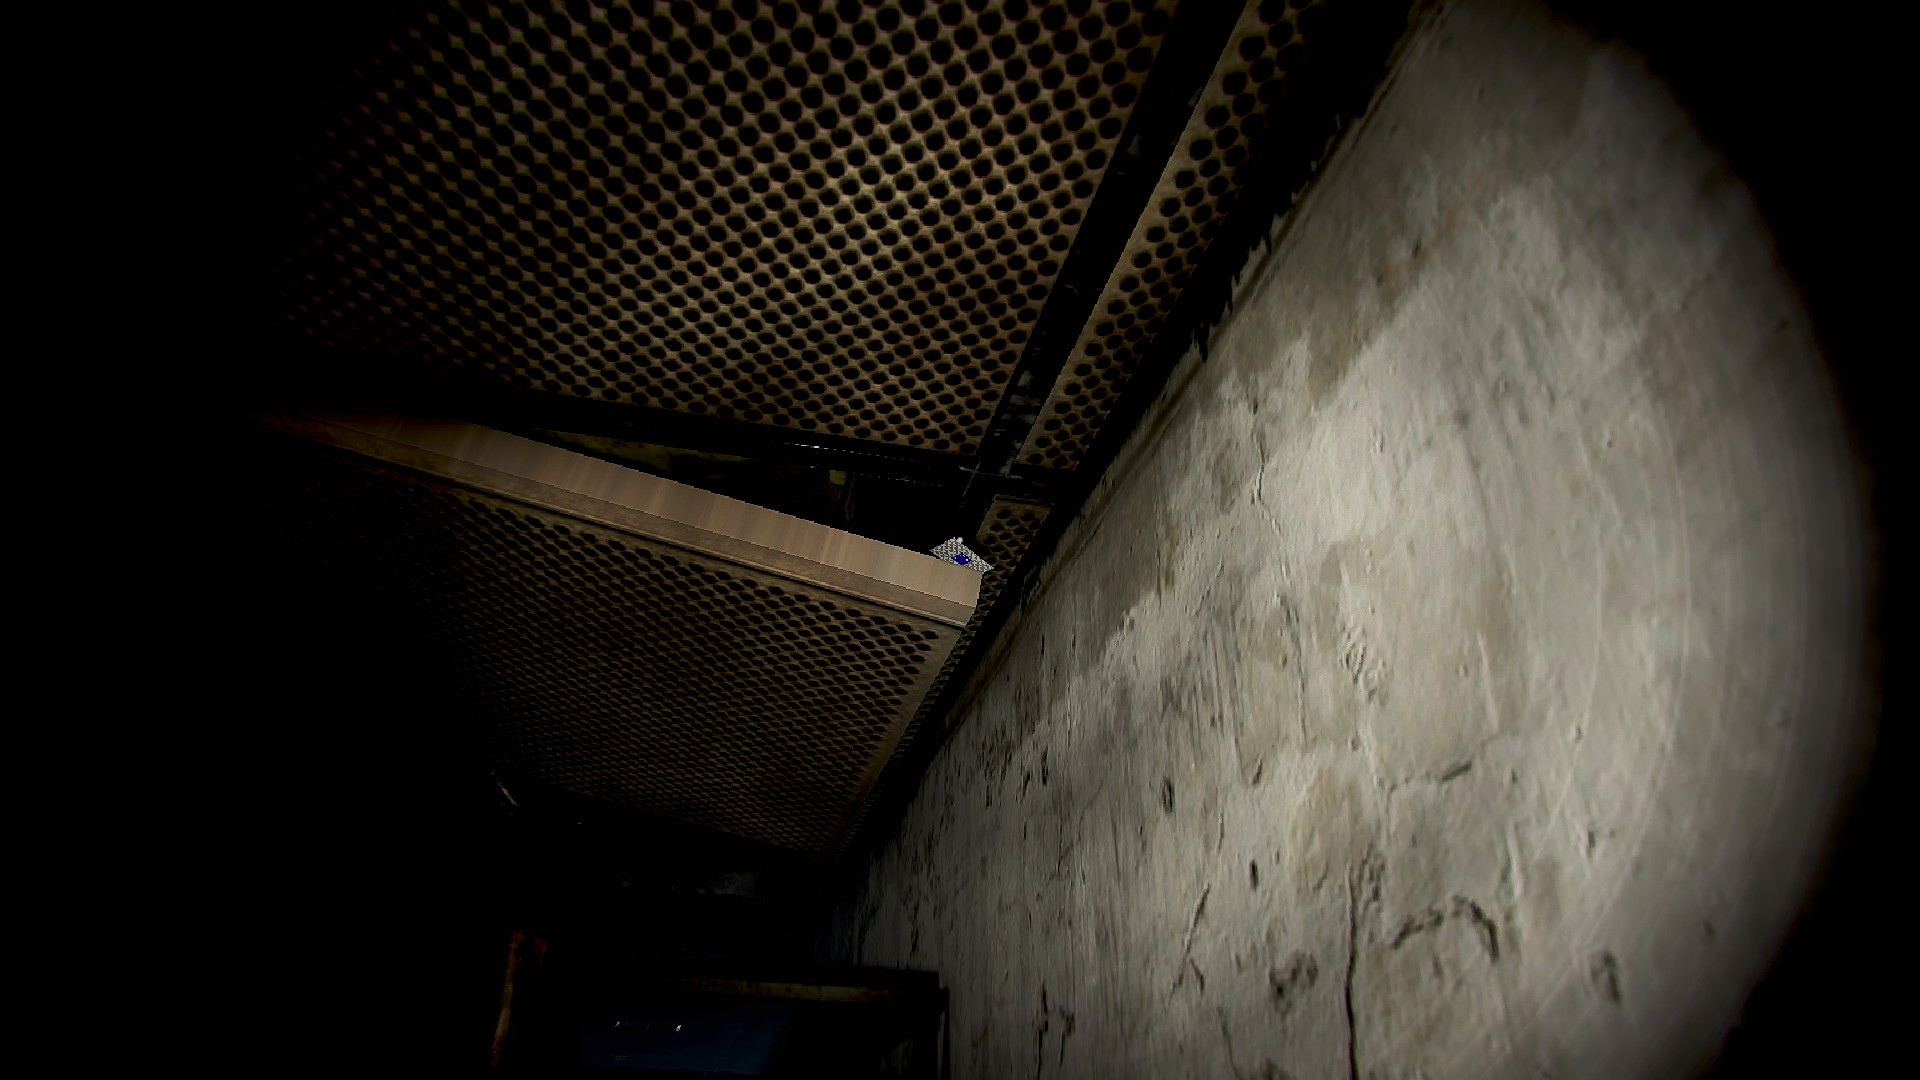
- Elevator 7, before entering Ladder 7, look up at the ceiling to the left, tucked in a loose panel
- Ladder room 7, by the banners in the corner, on the floor
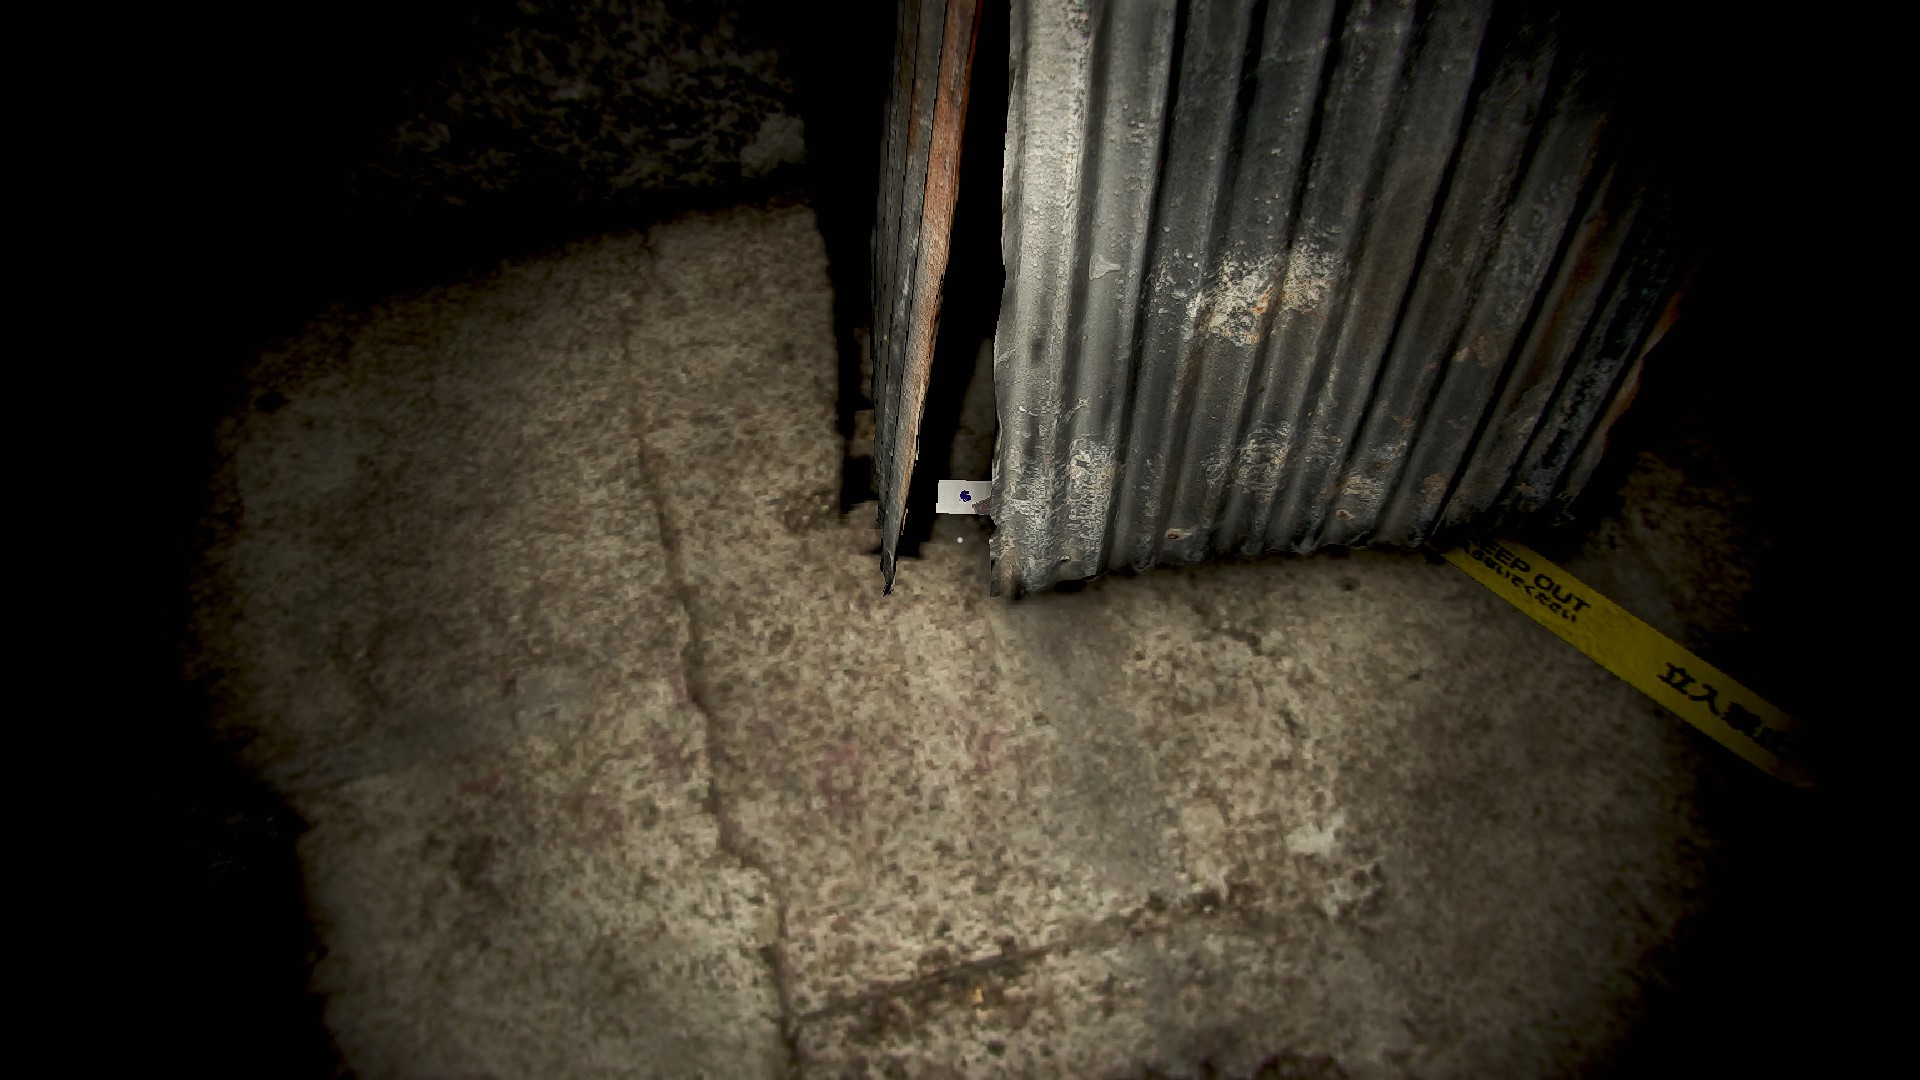
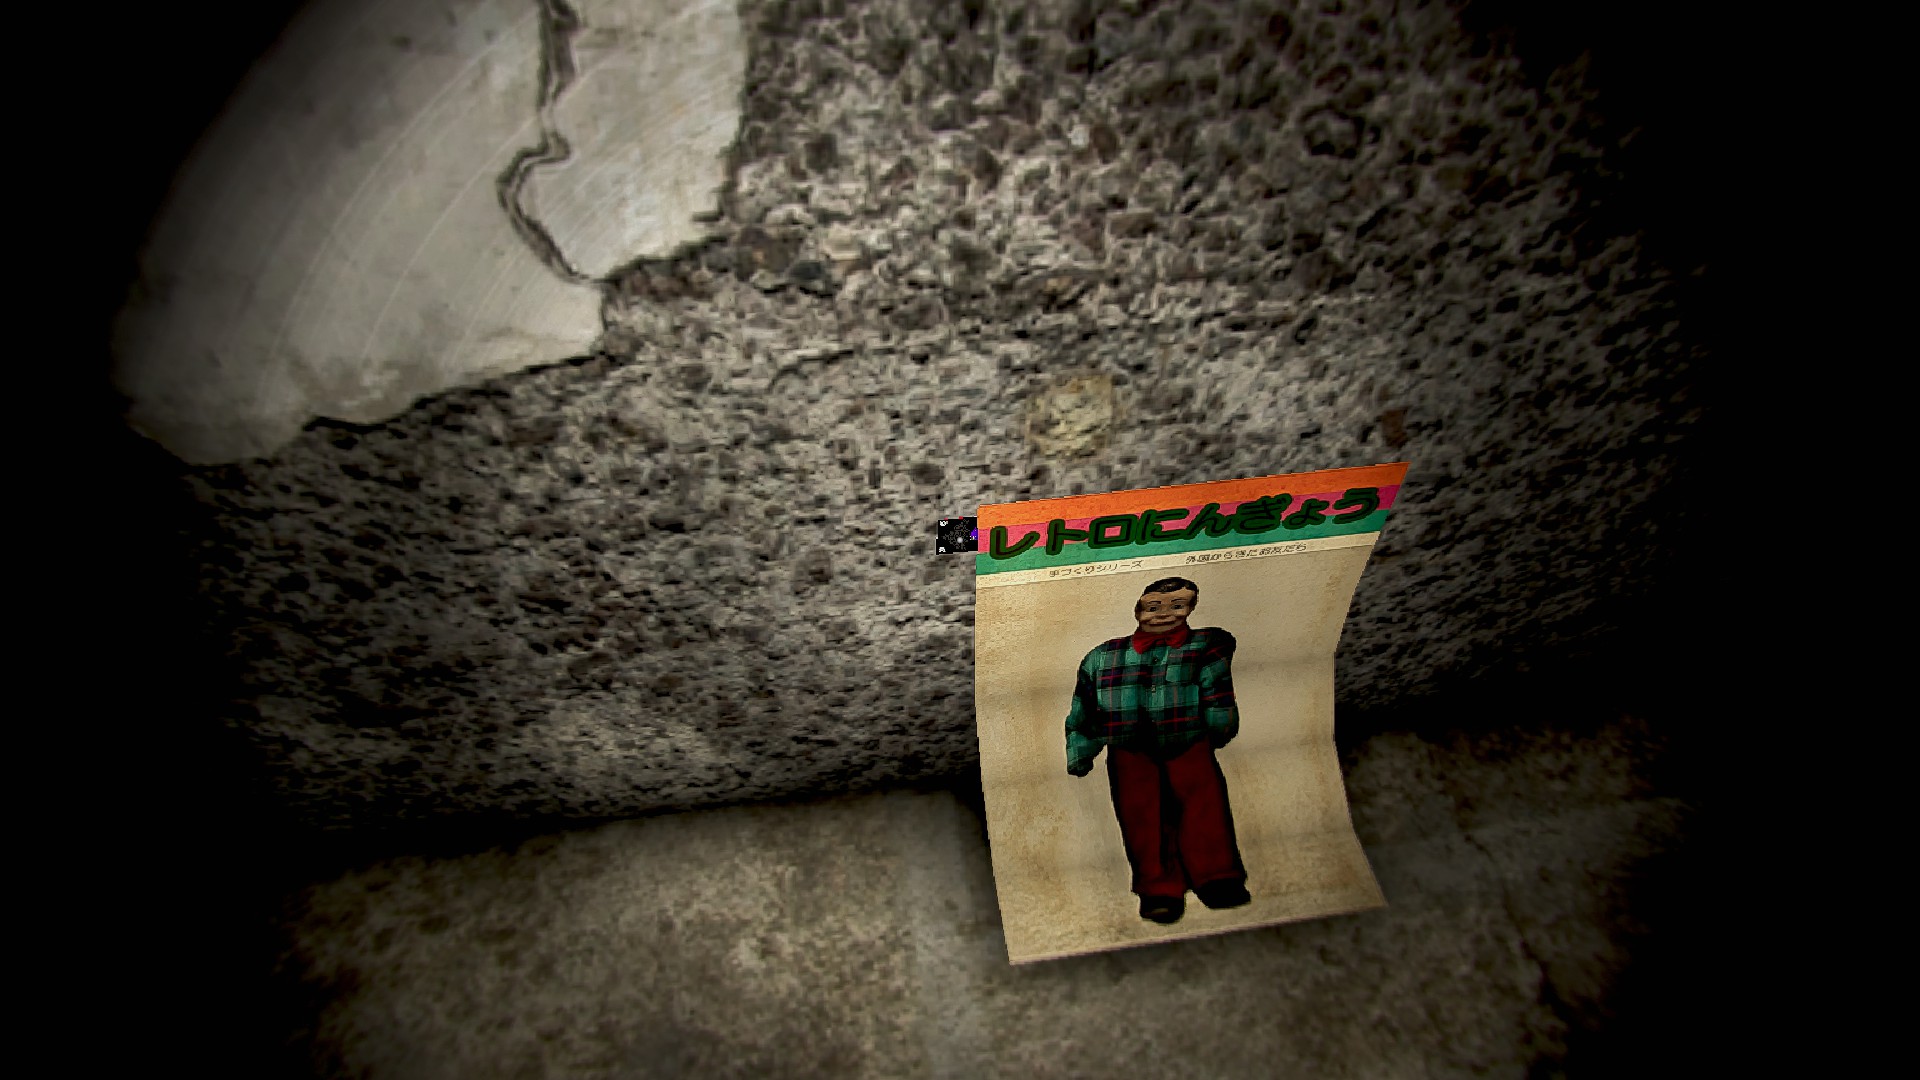
- Ladder room 7a. Behind the dummy poster on the back wall
- Men’s 7, on the pipe under the sink

Floor 8 | 8 Cards
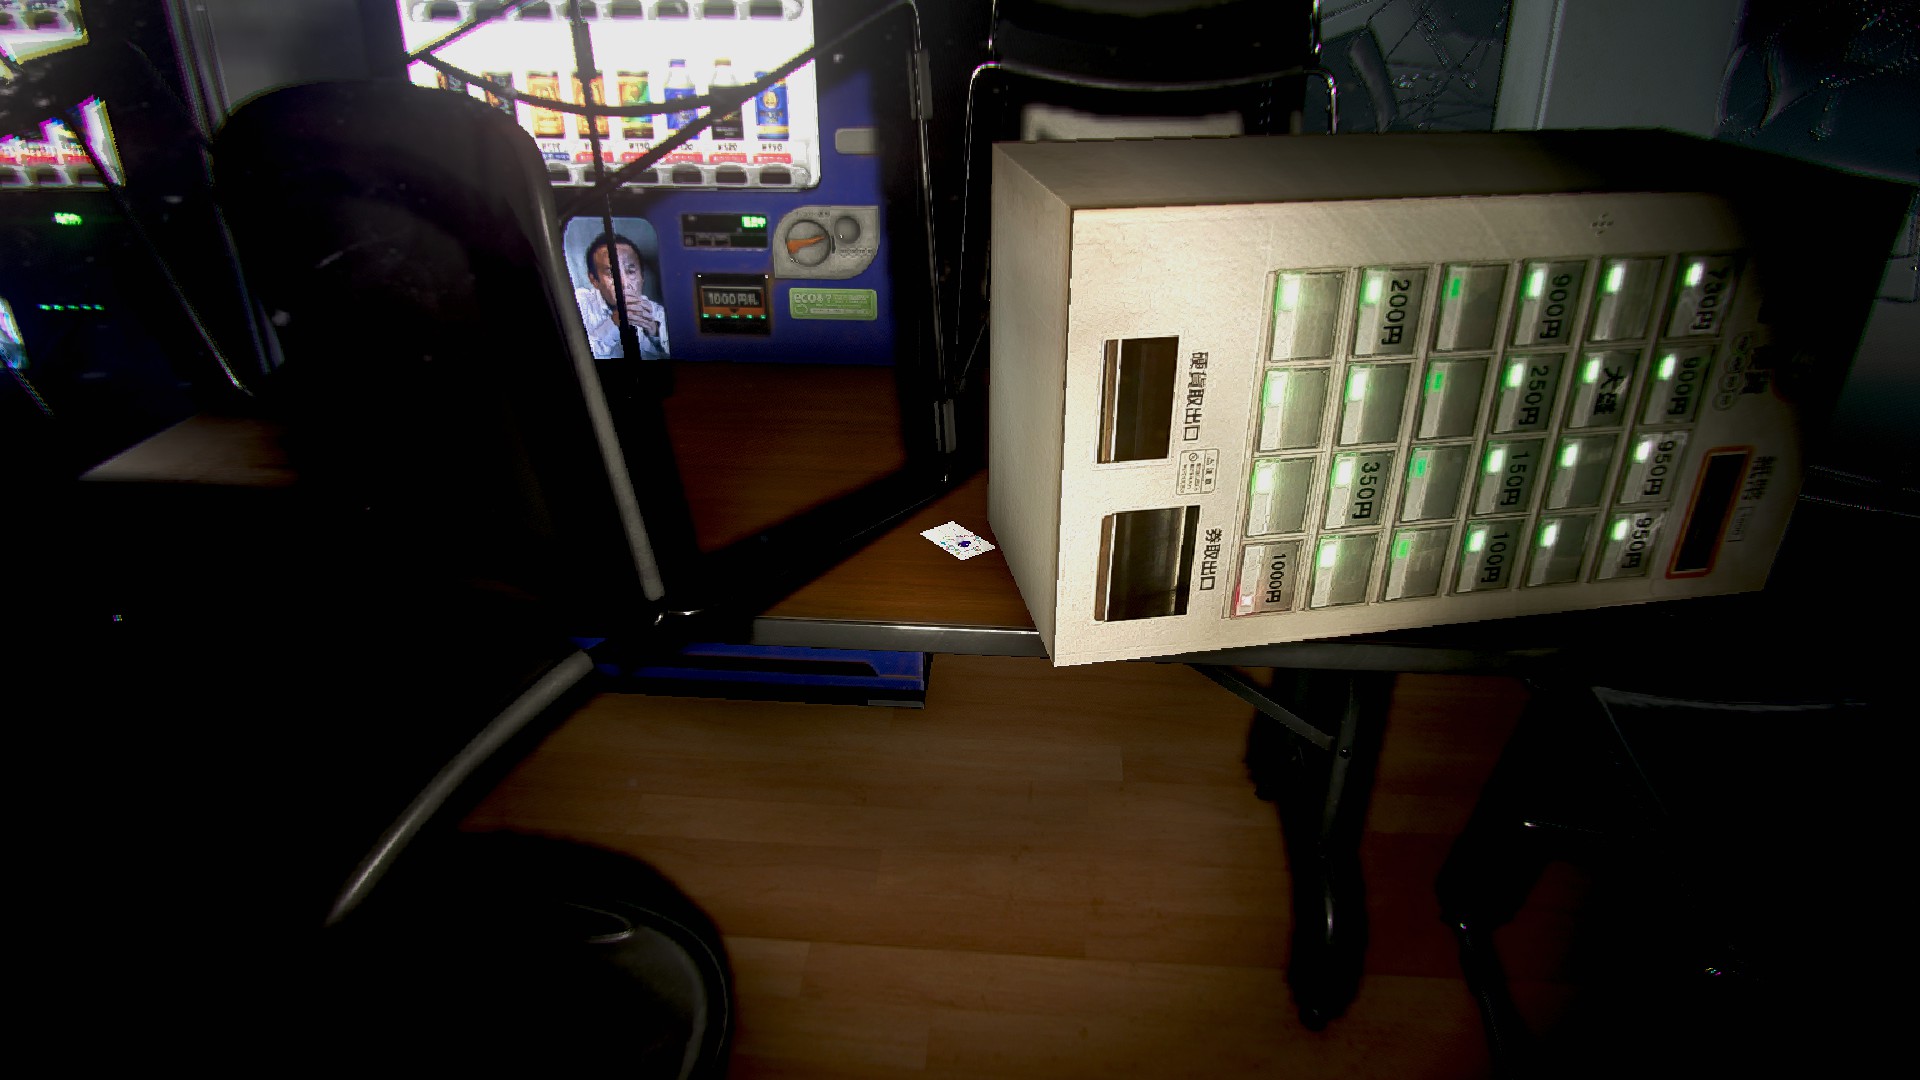
- Elevator 8, on the copier against the right wall
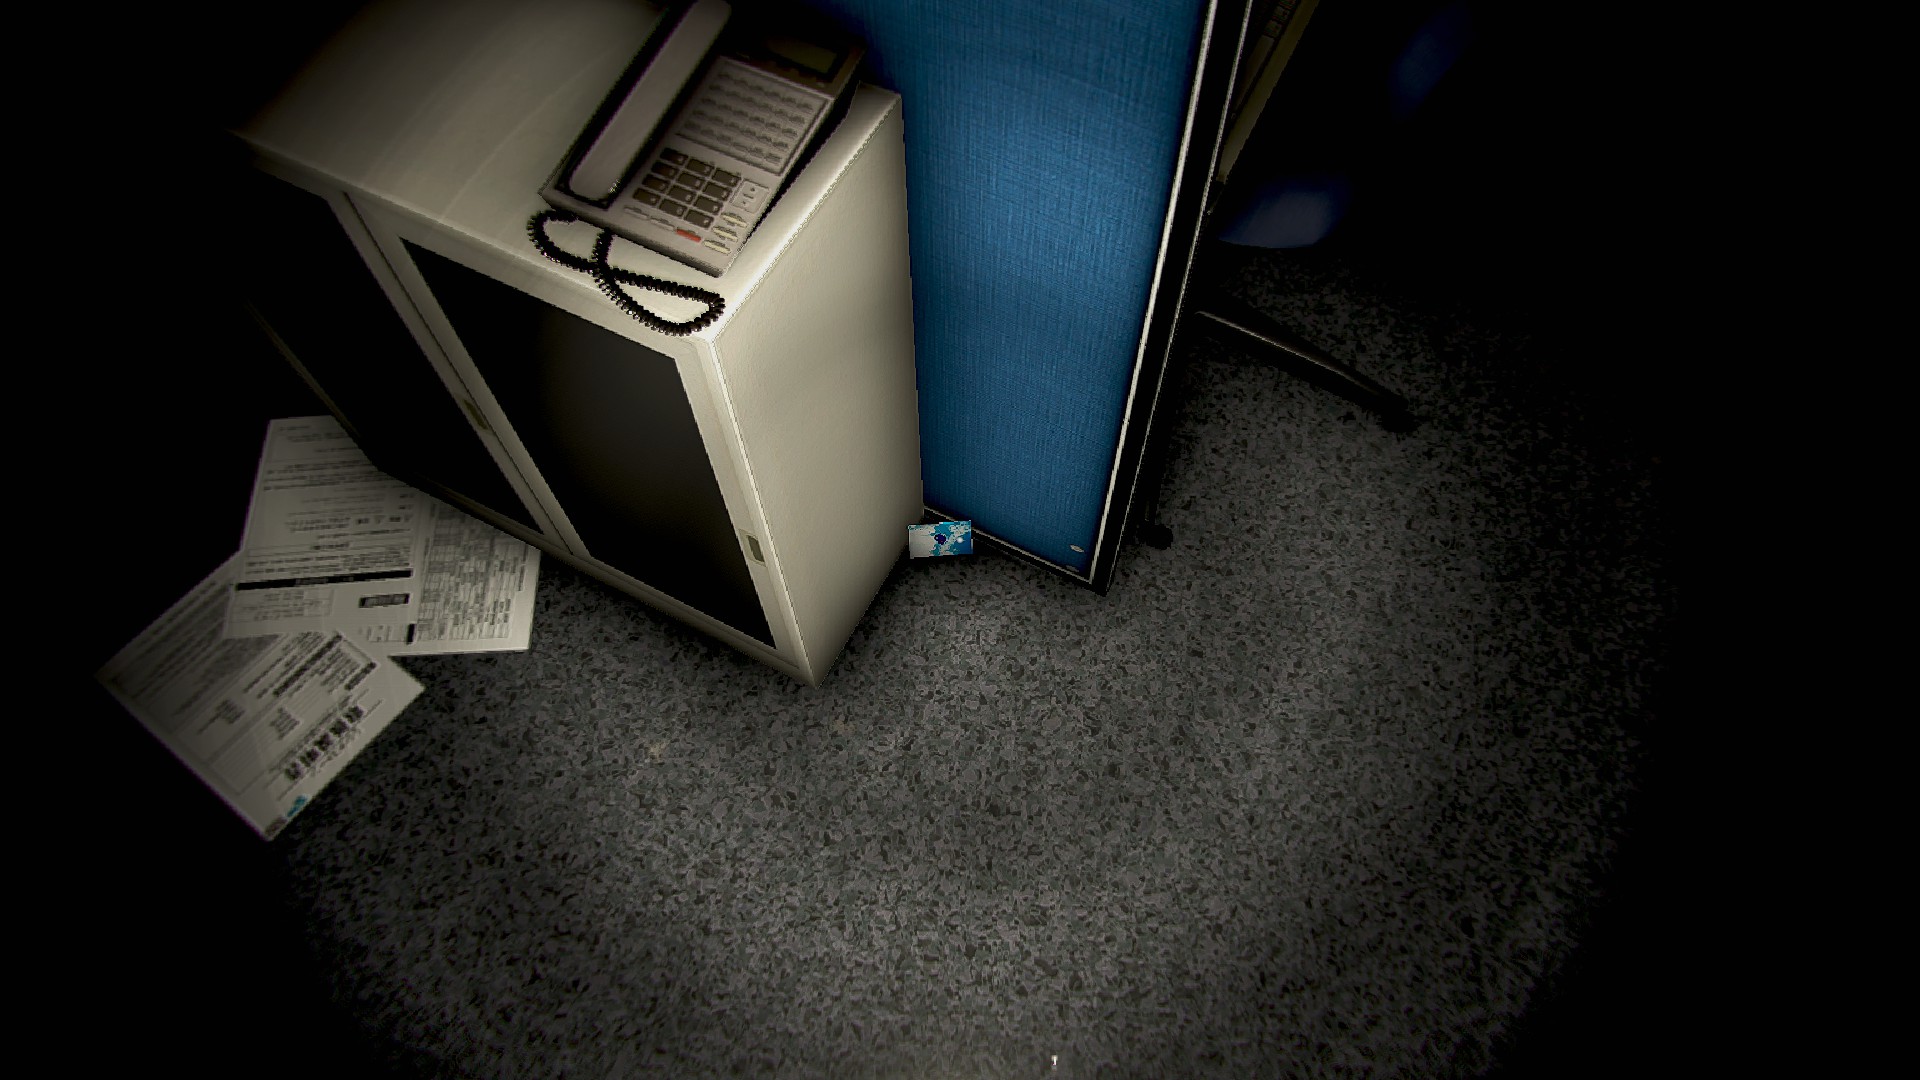
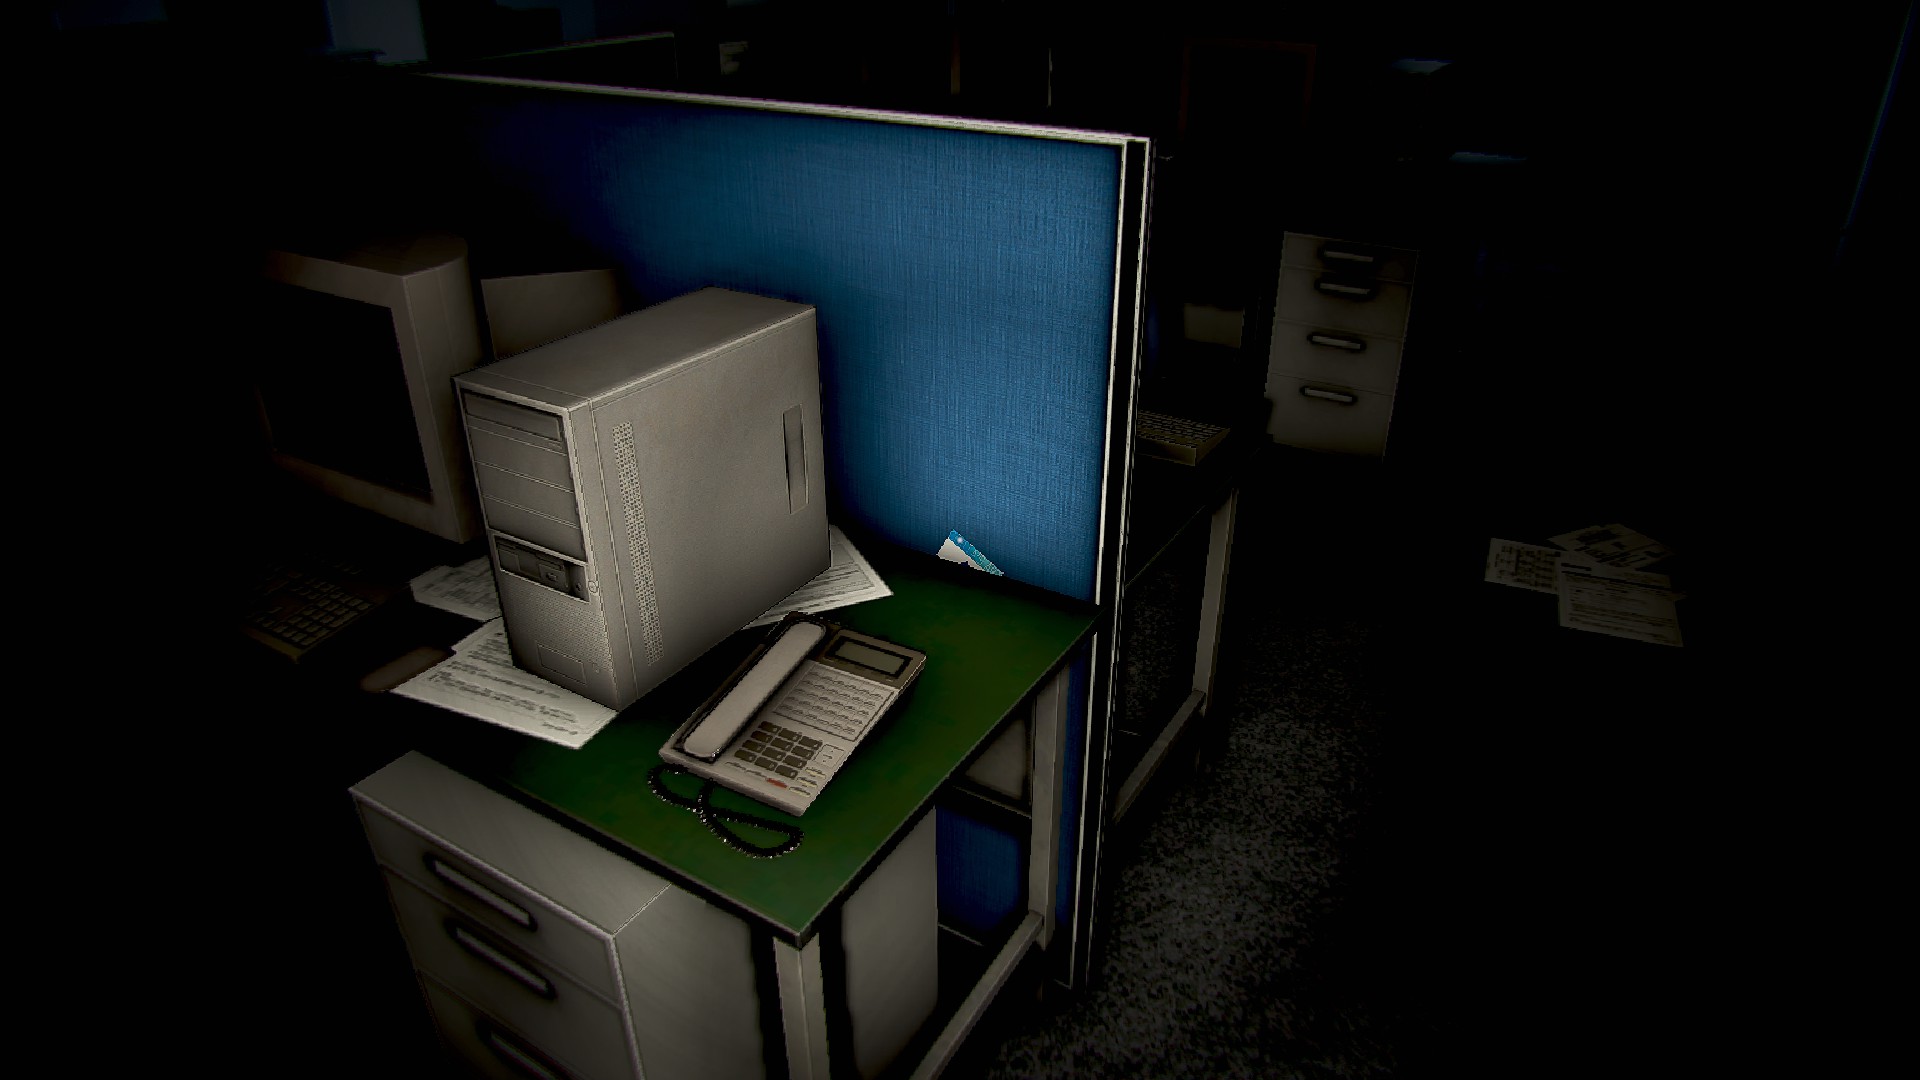
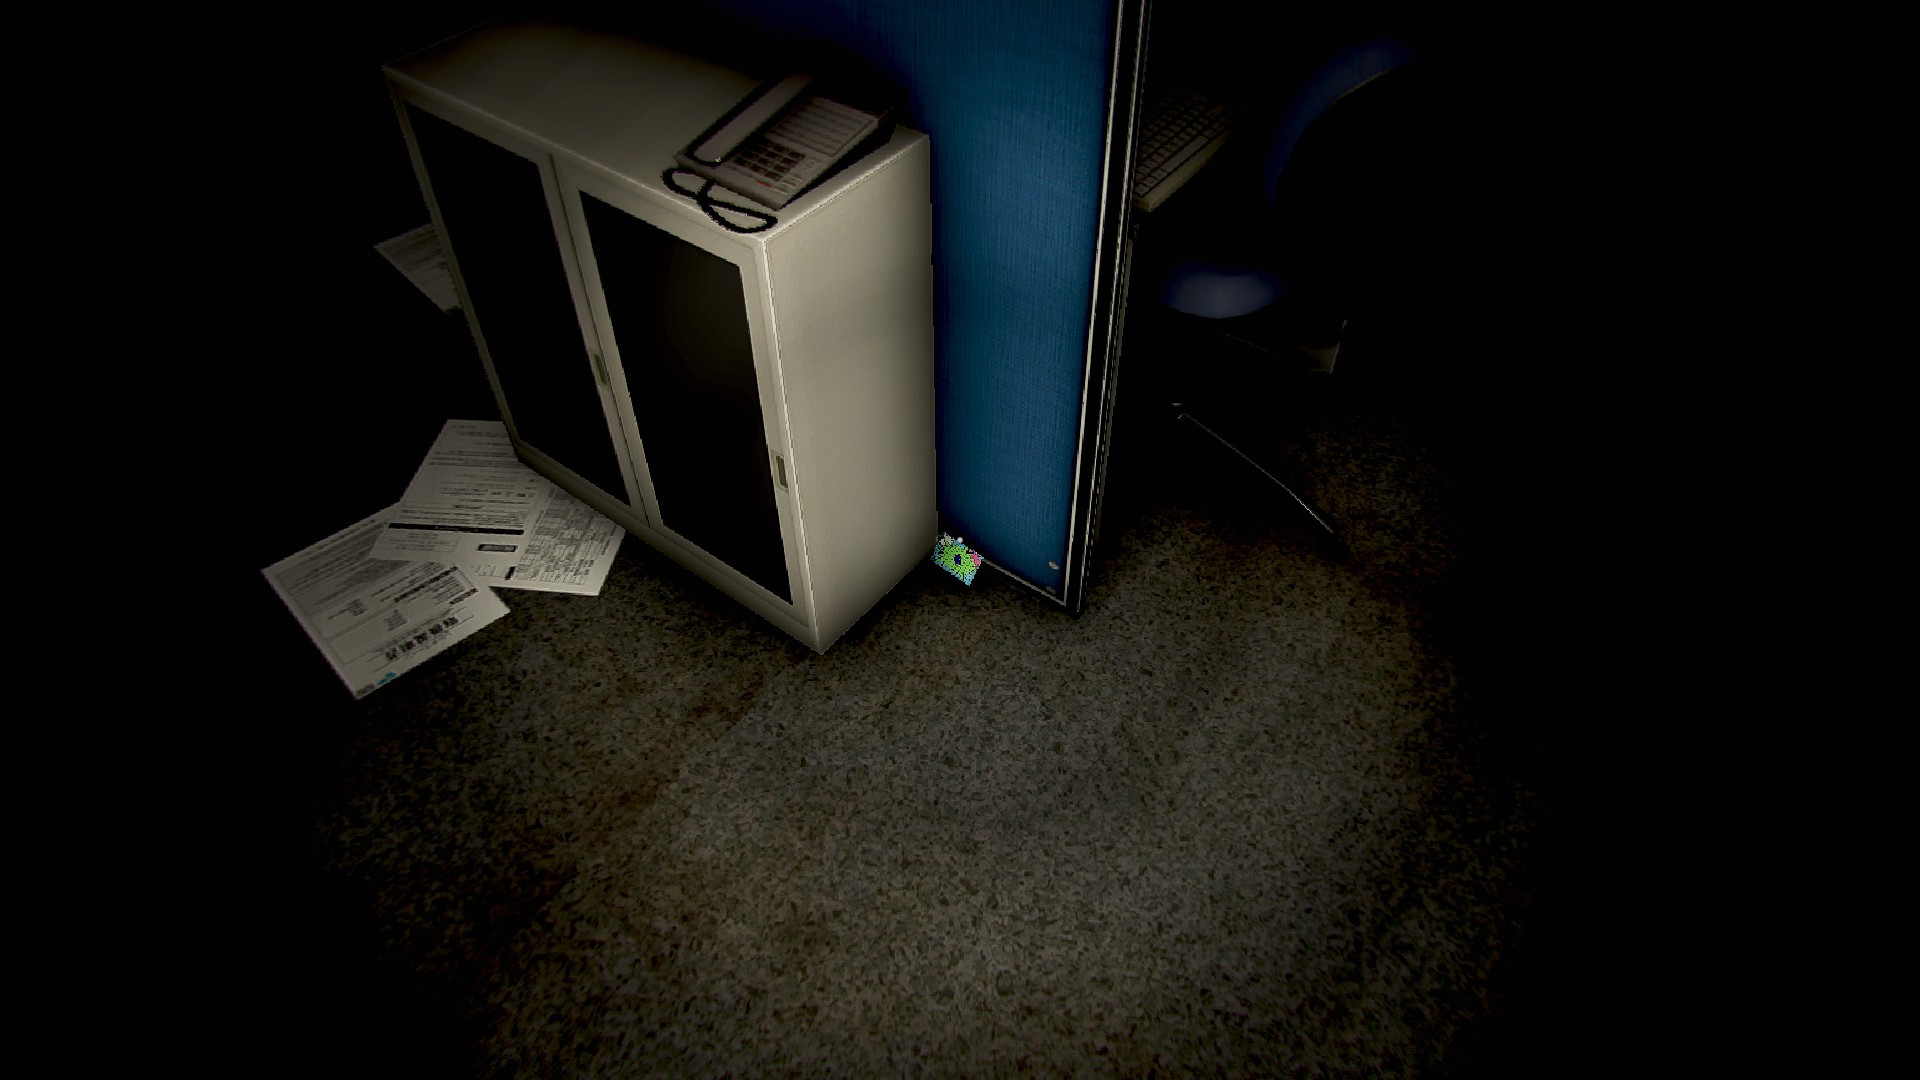
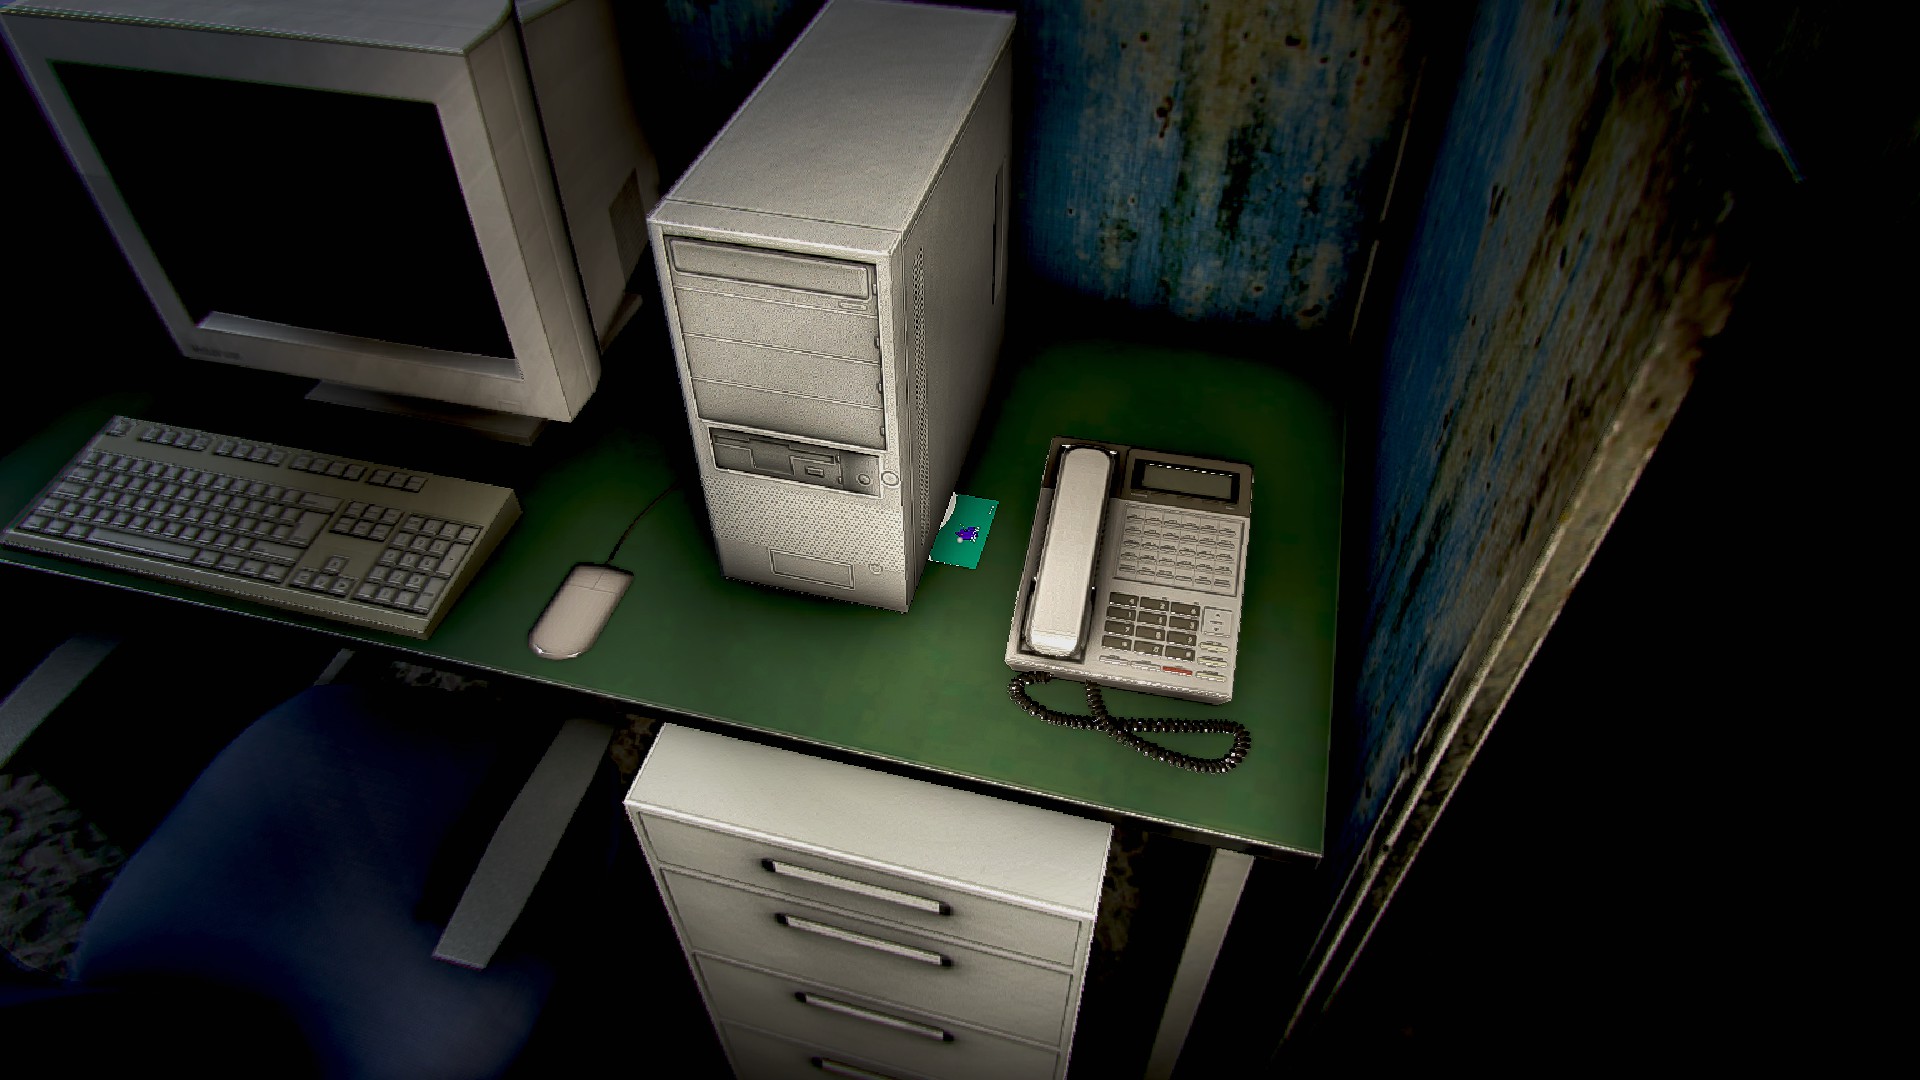
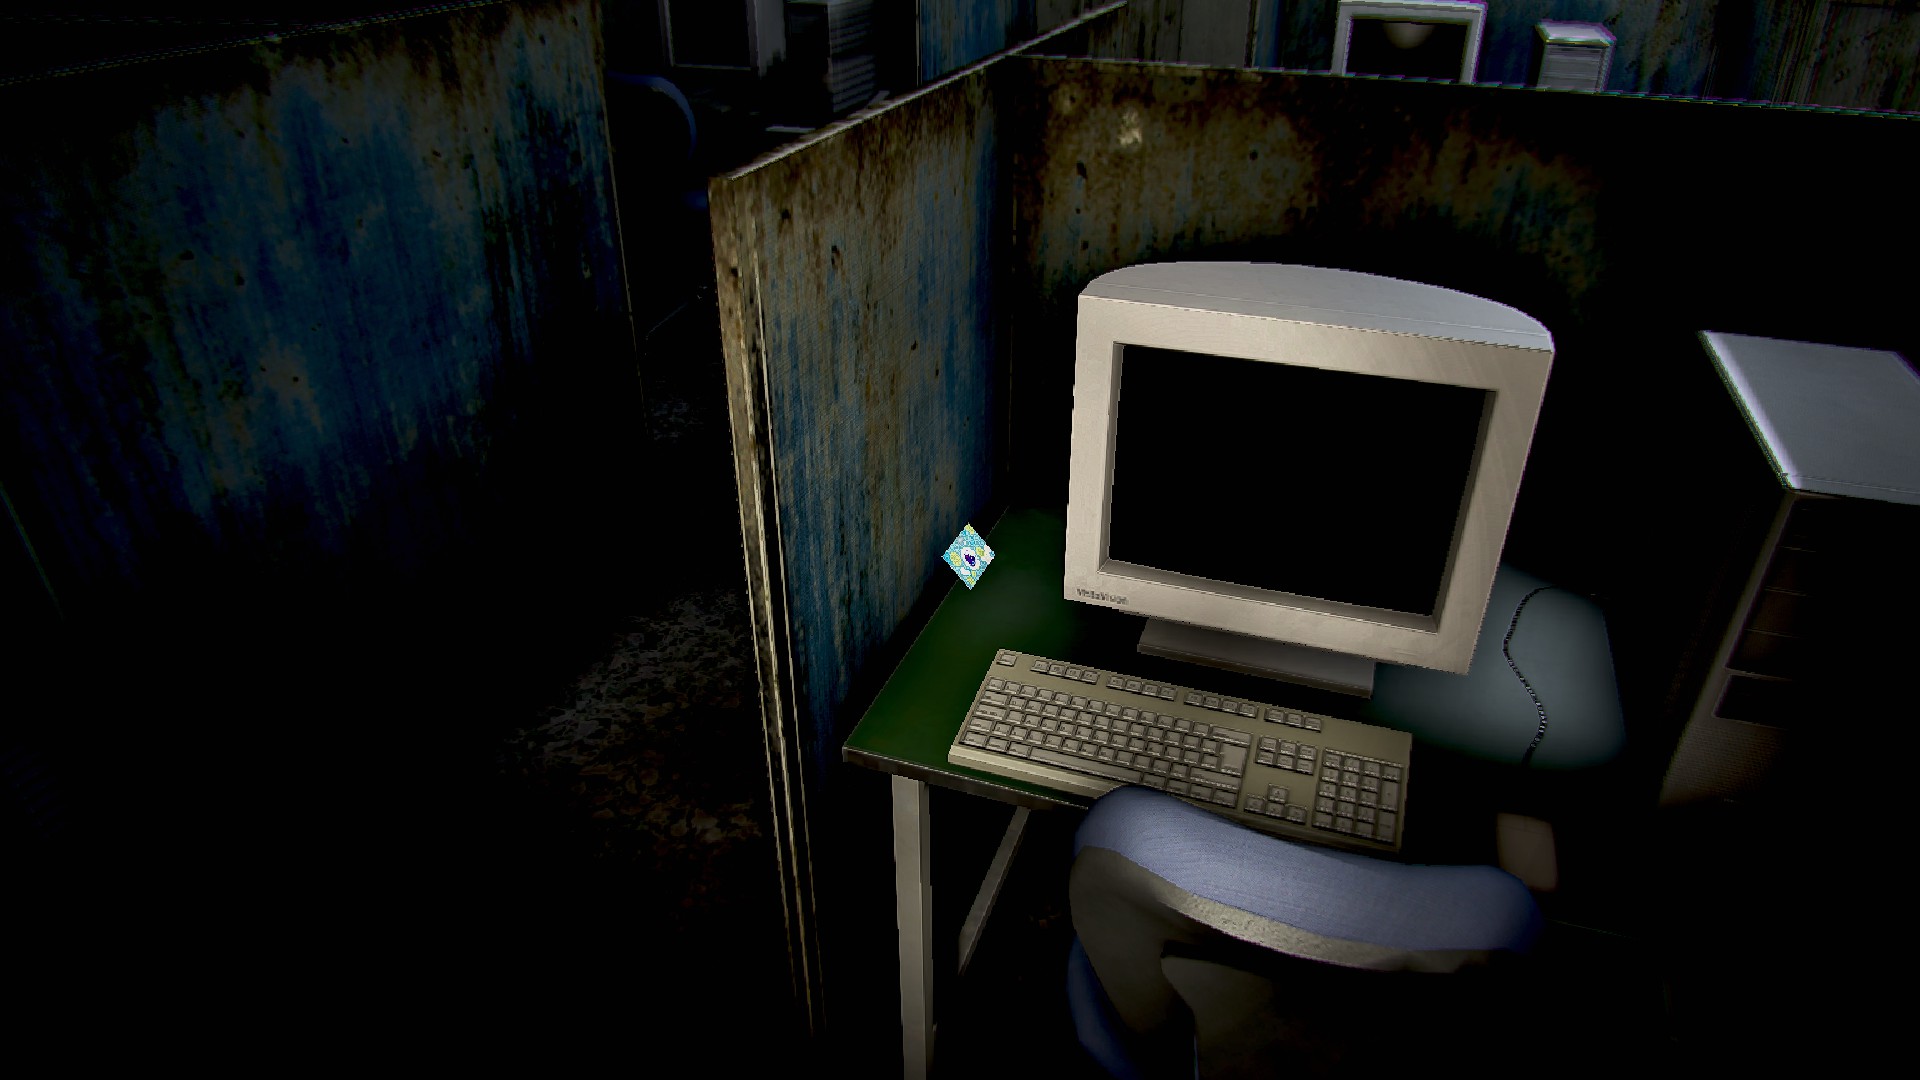
- Work 8, phone to the right of the first computer, card tucked under the phone
- Work 8, first front facing desk in the back row, on the ground to the left, near a cabinet
- Work 8, same desk has one in the papers to the right
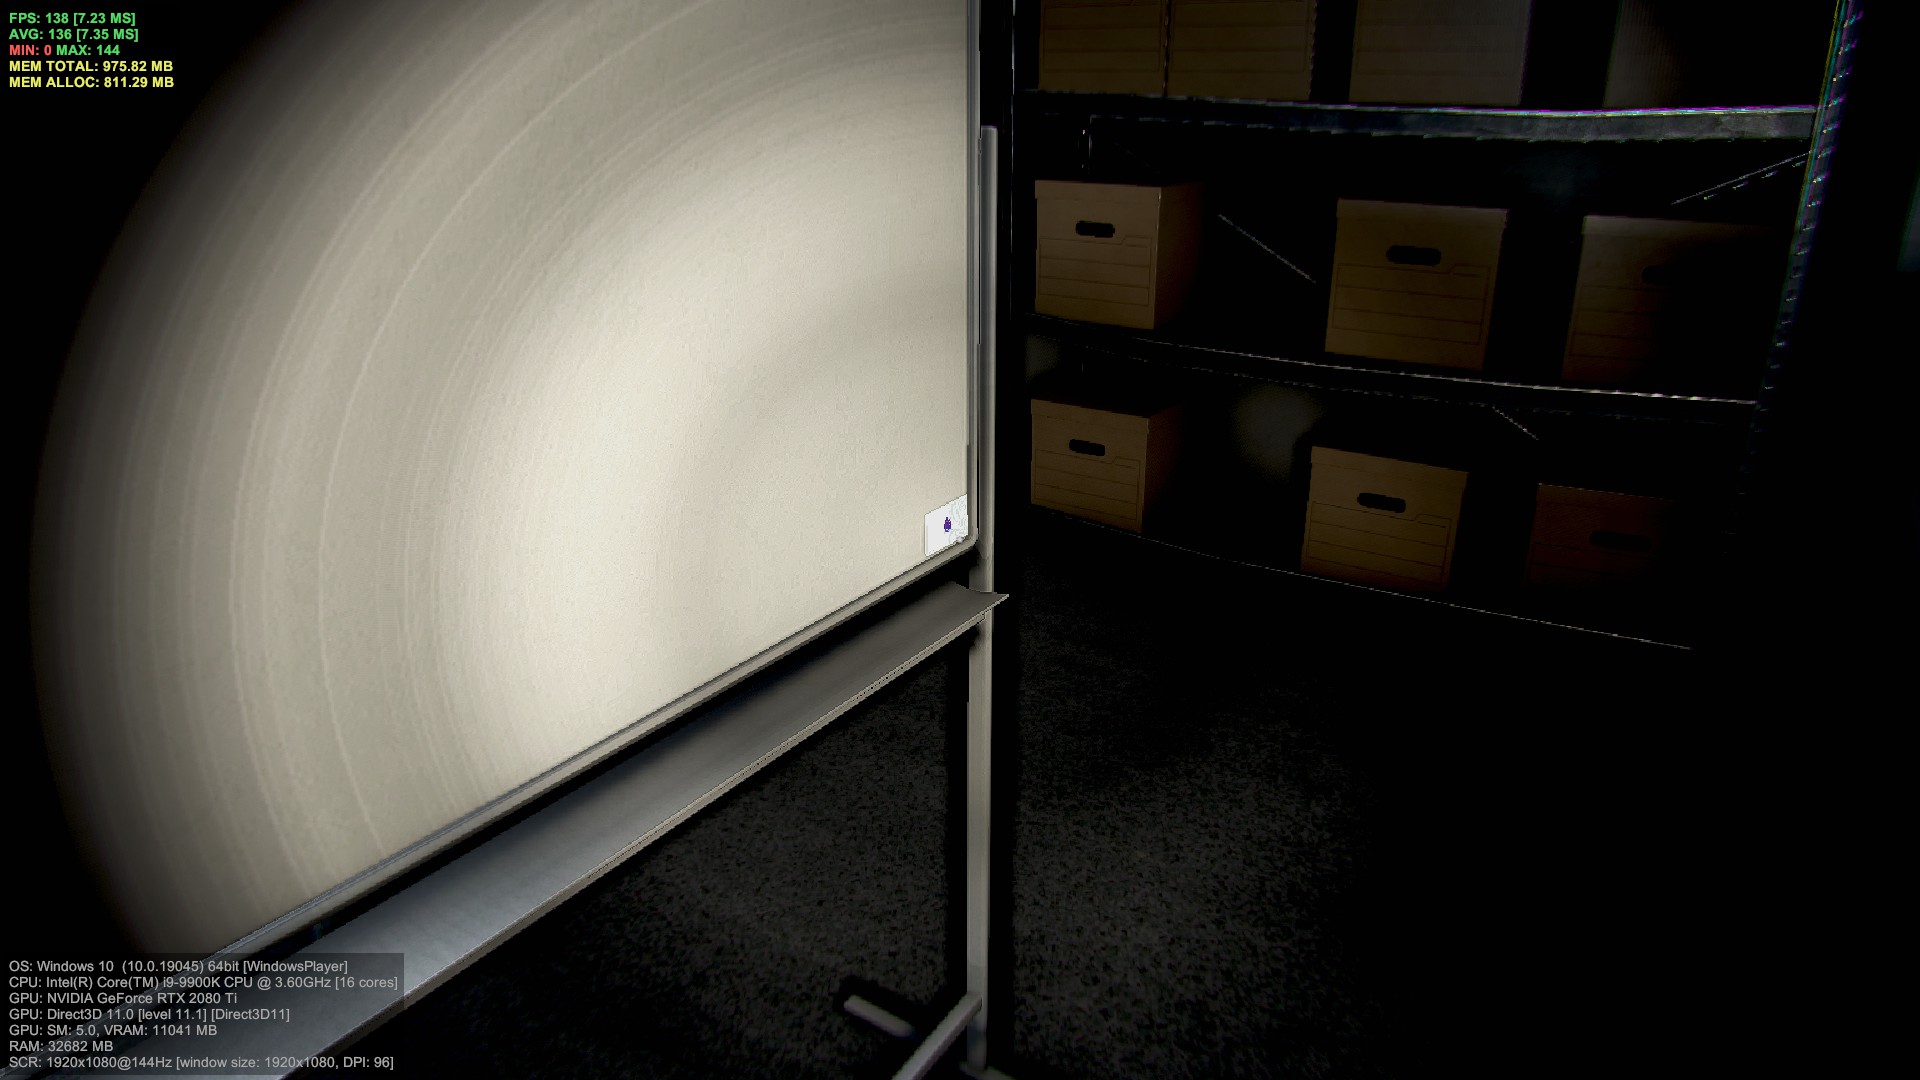
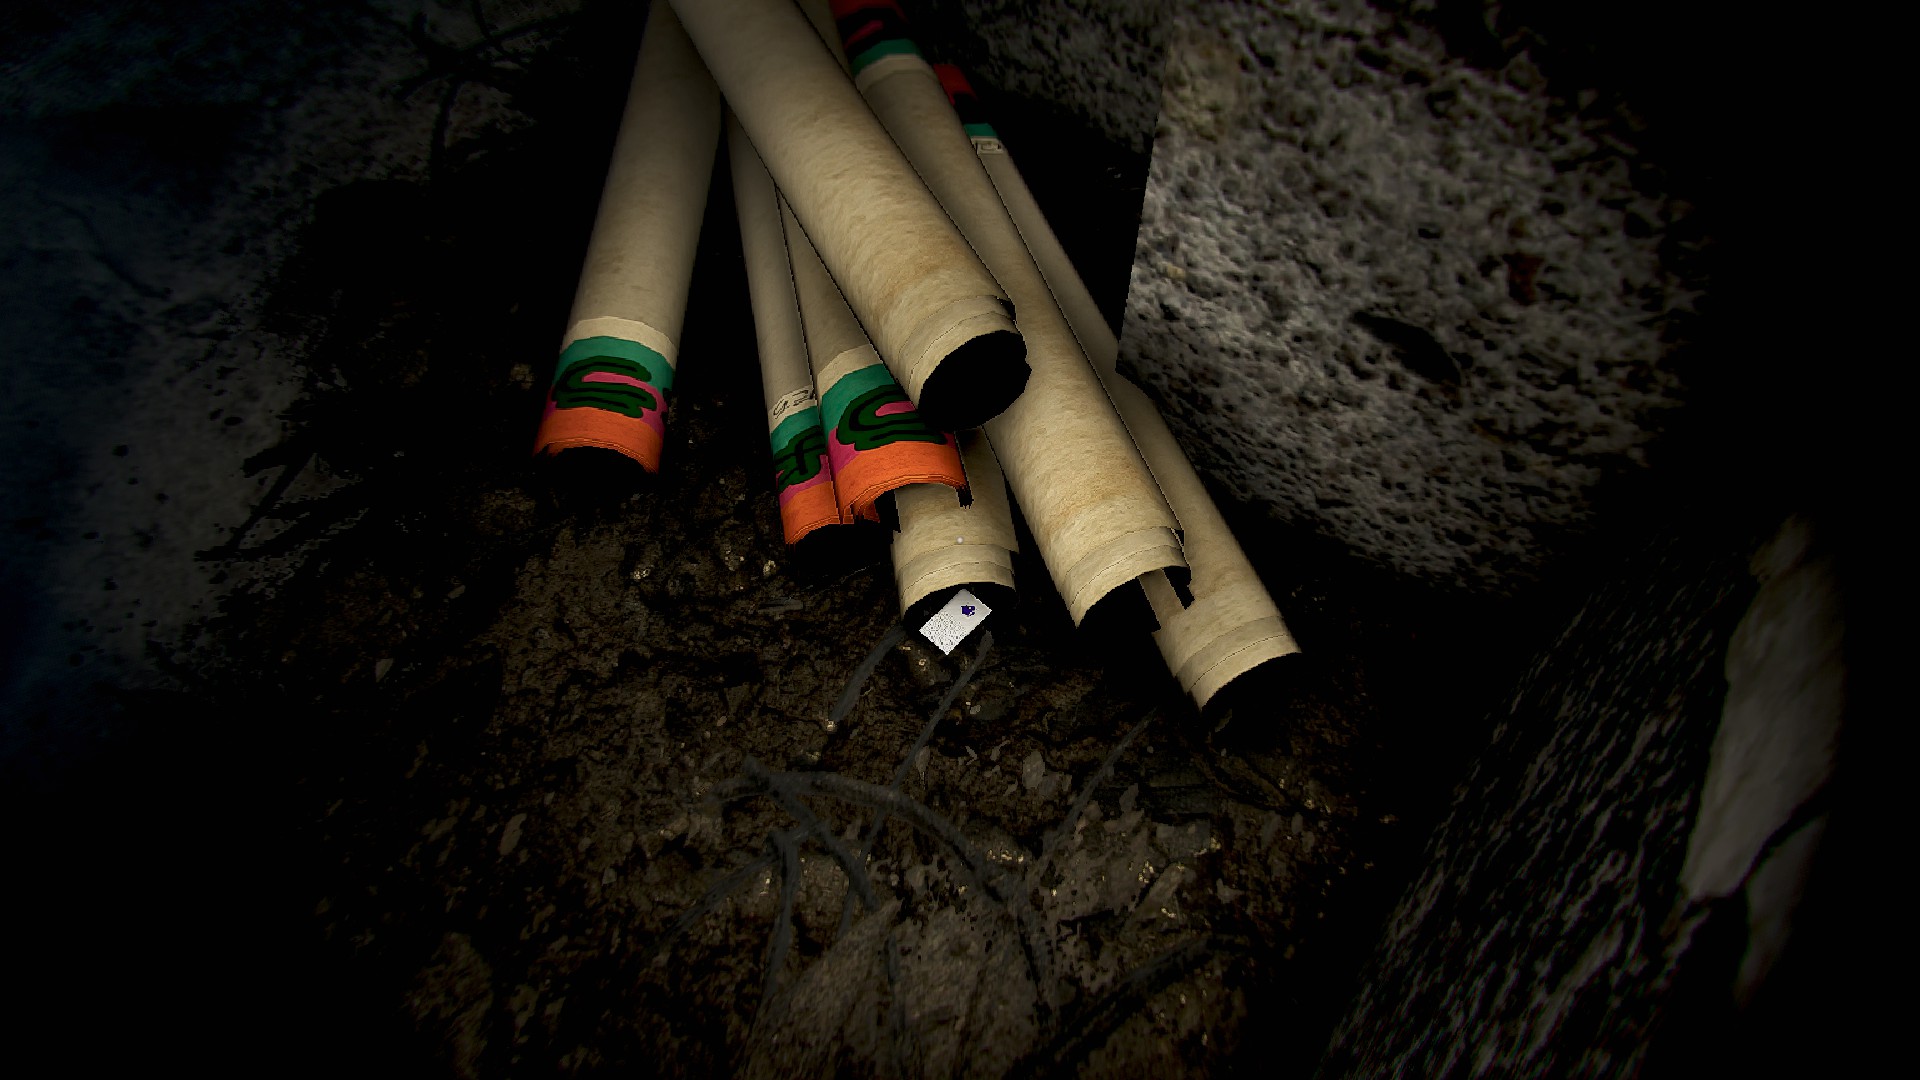
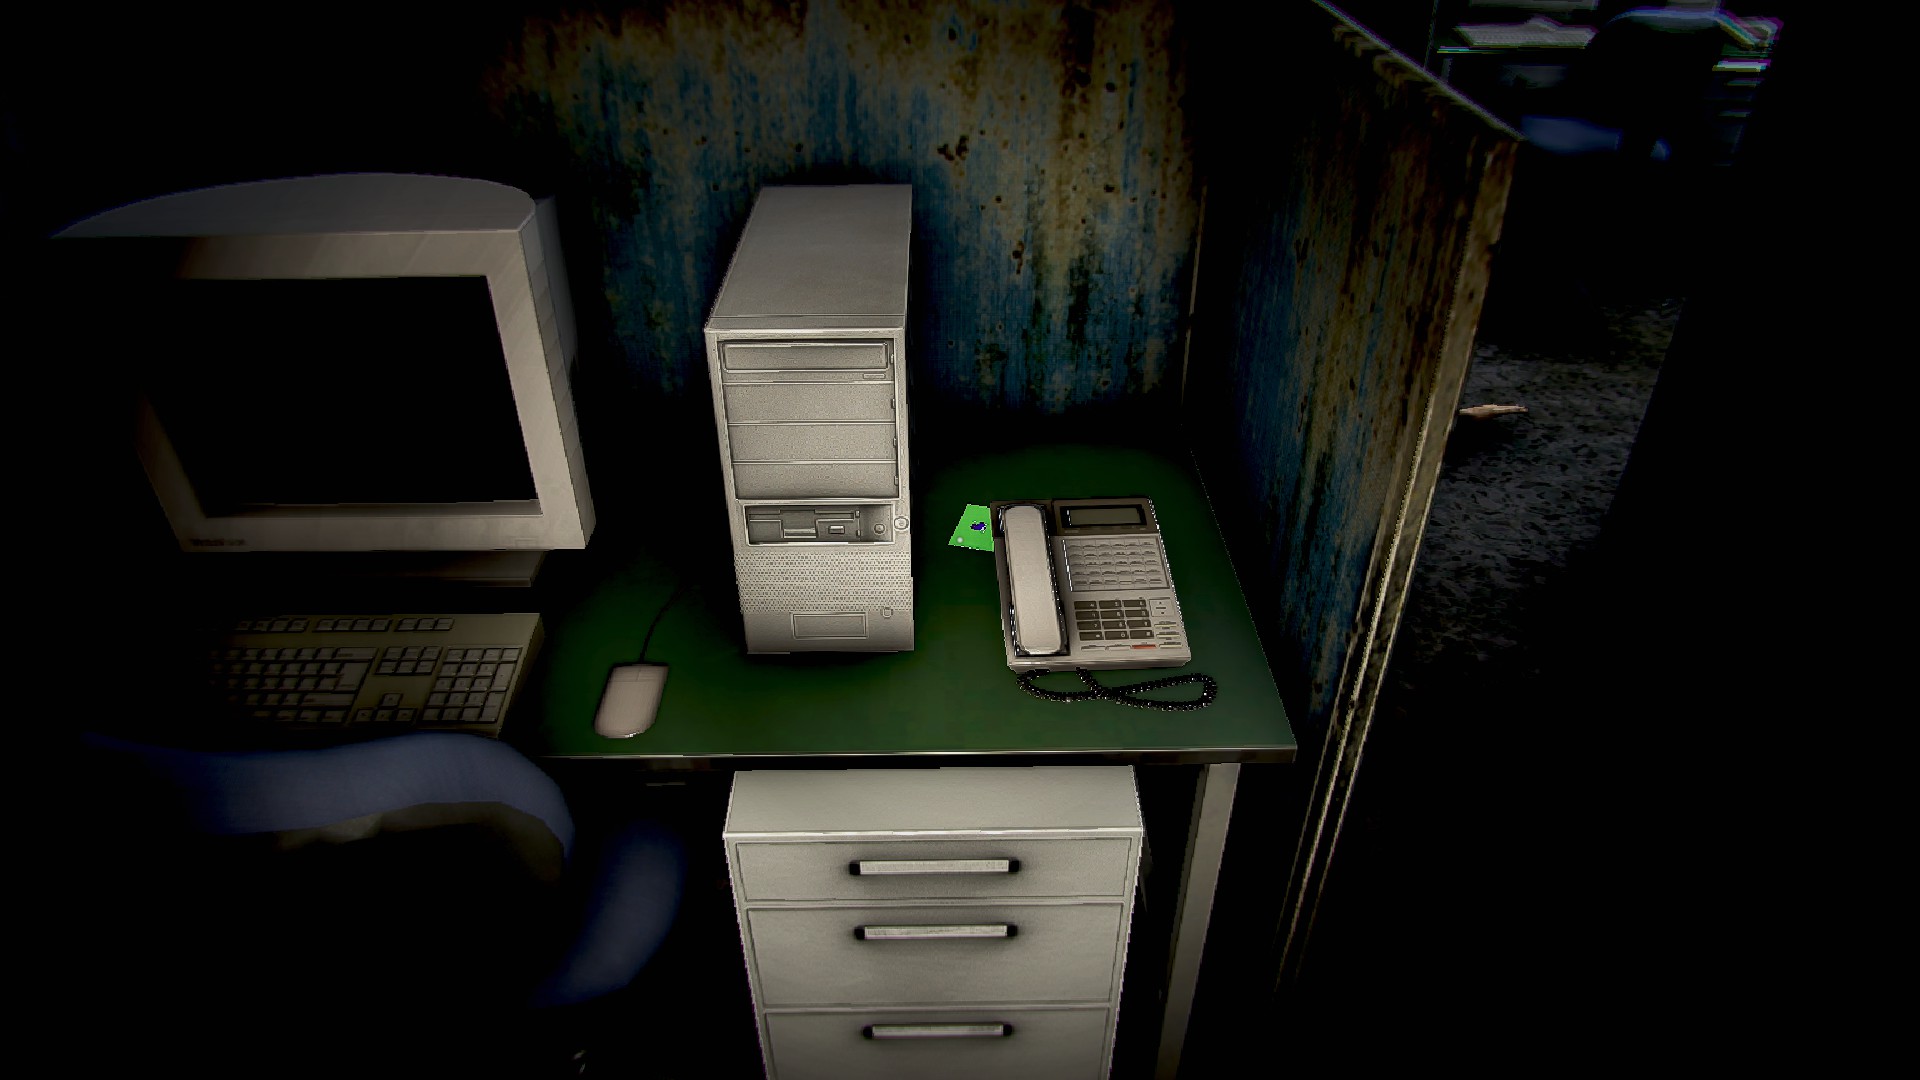
- Work 8, same desk on the arm rest
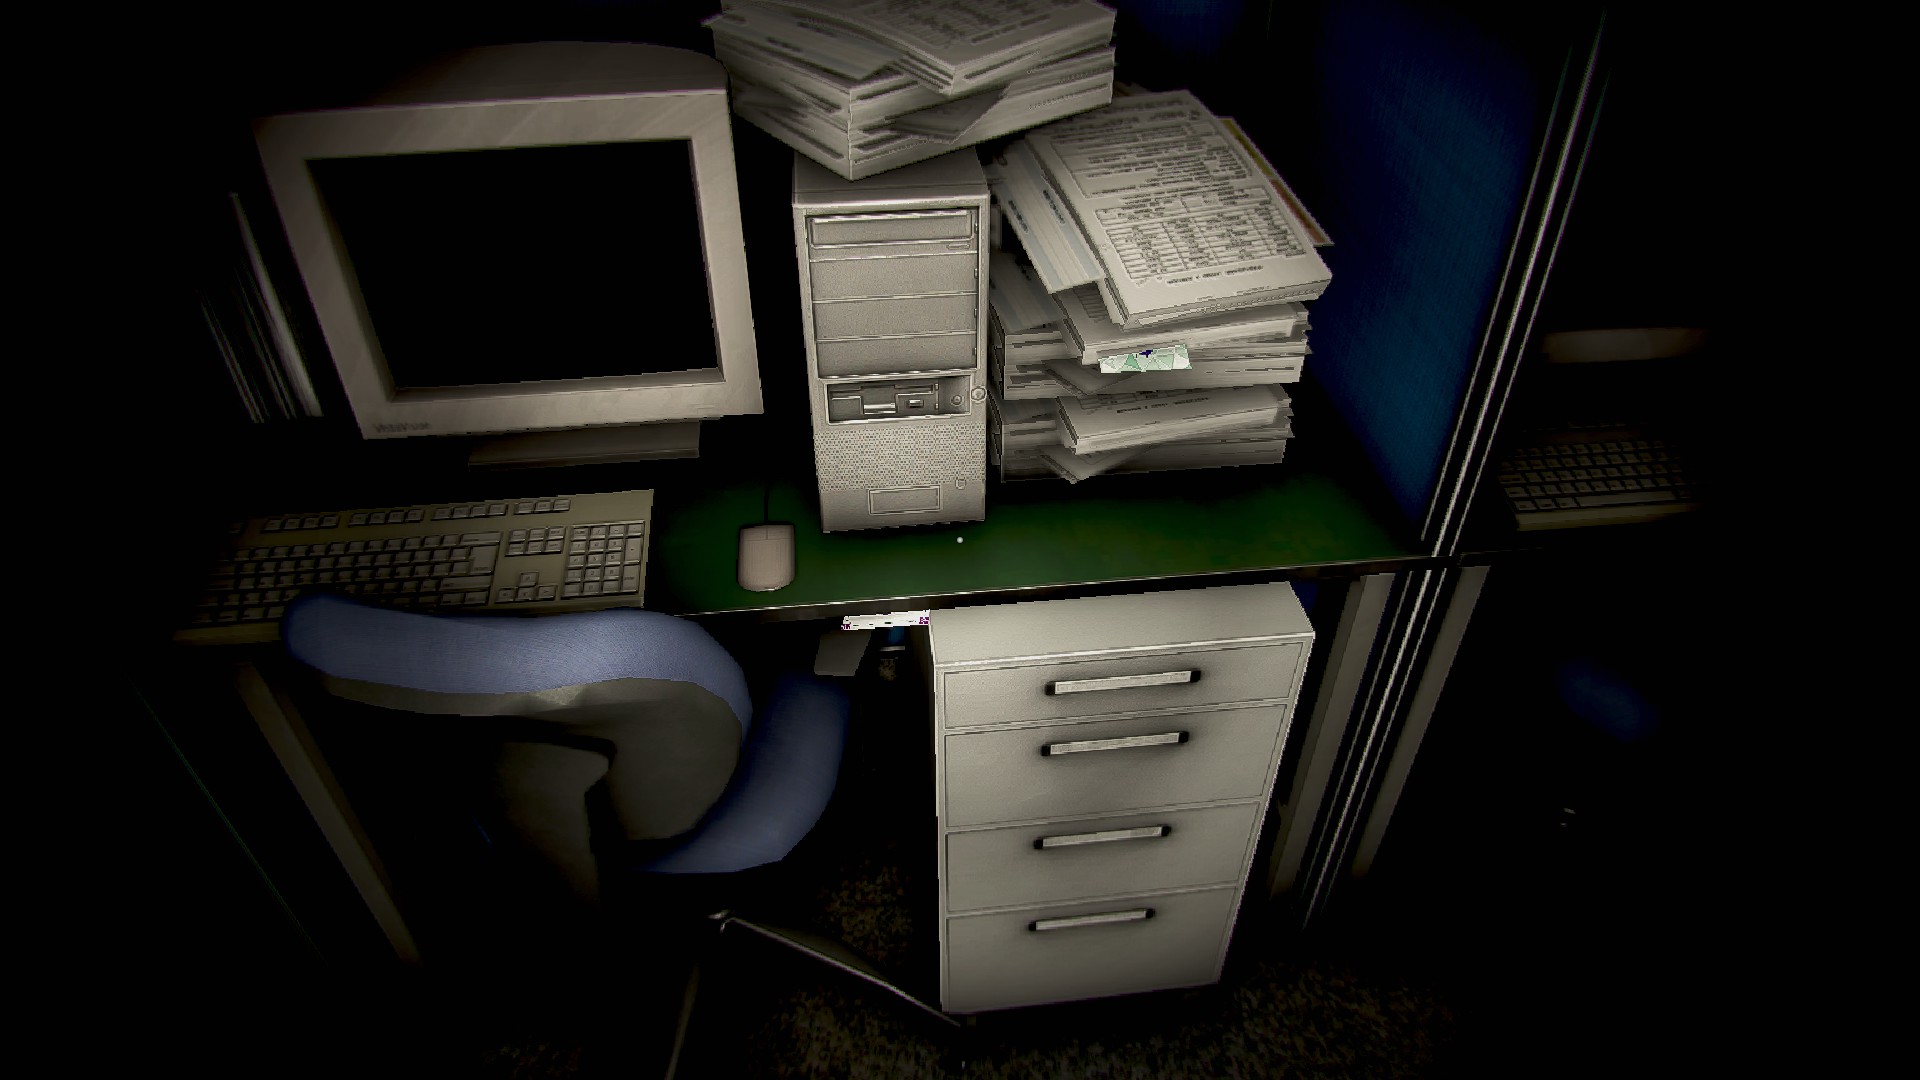
See above picture, same frame - Work 8, last back facing row, second desk from the left, to the right of the monitor
- Work 8, pillar front center of the room, right side
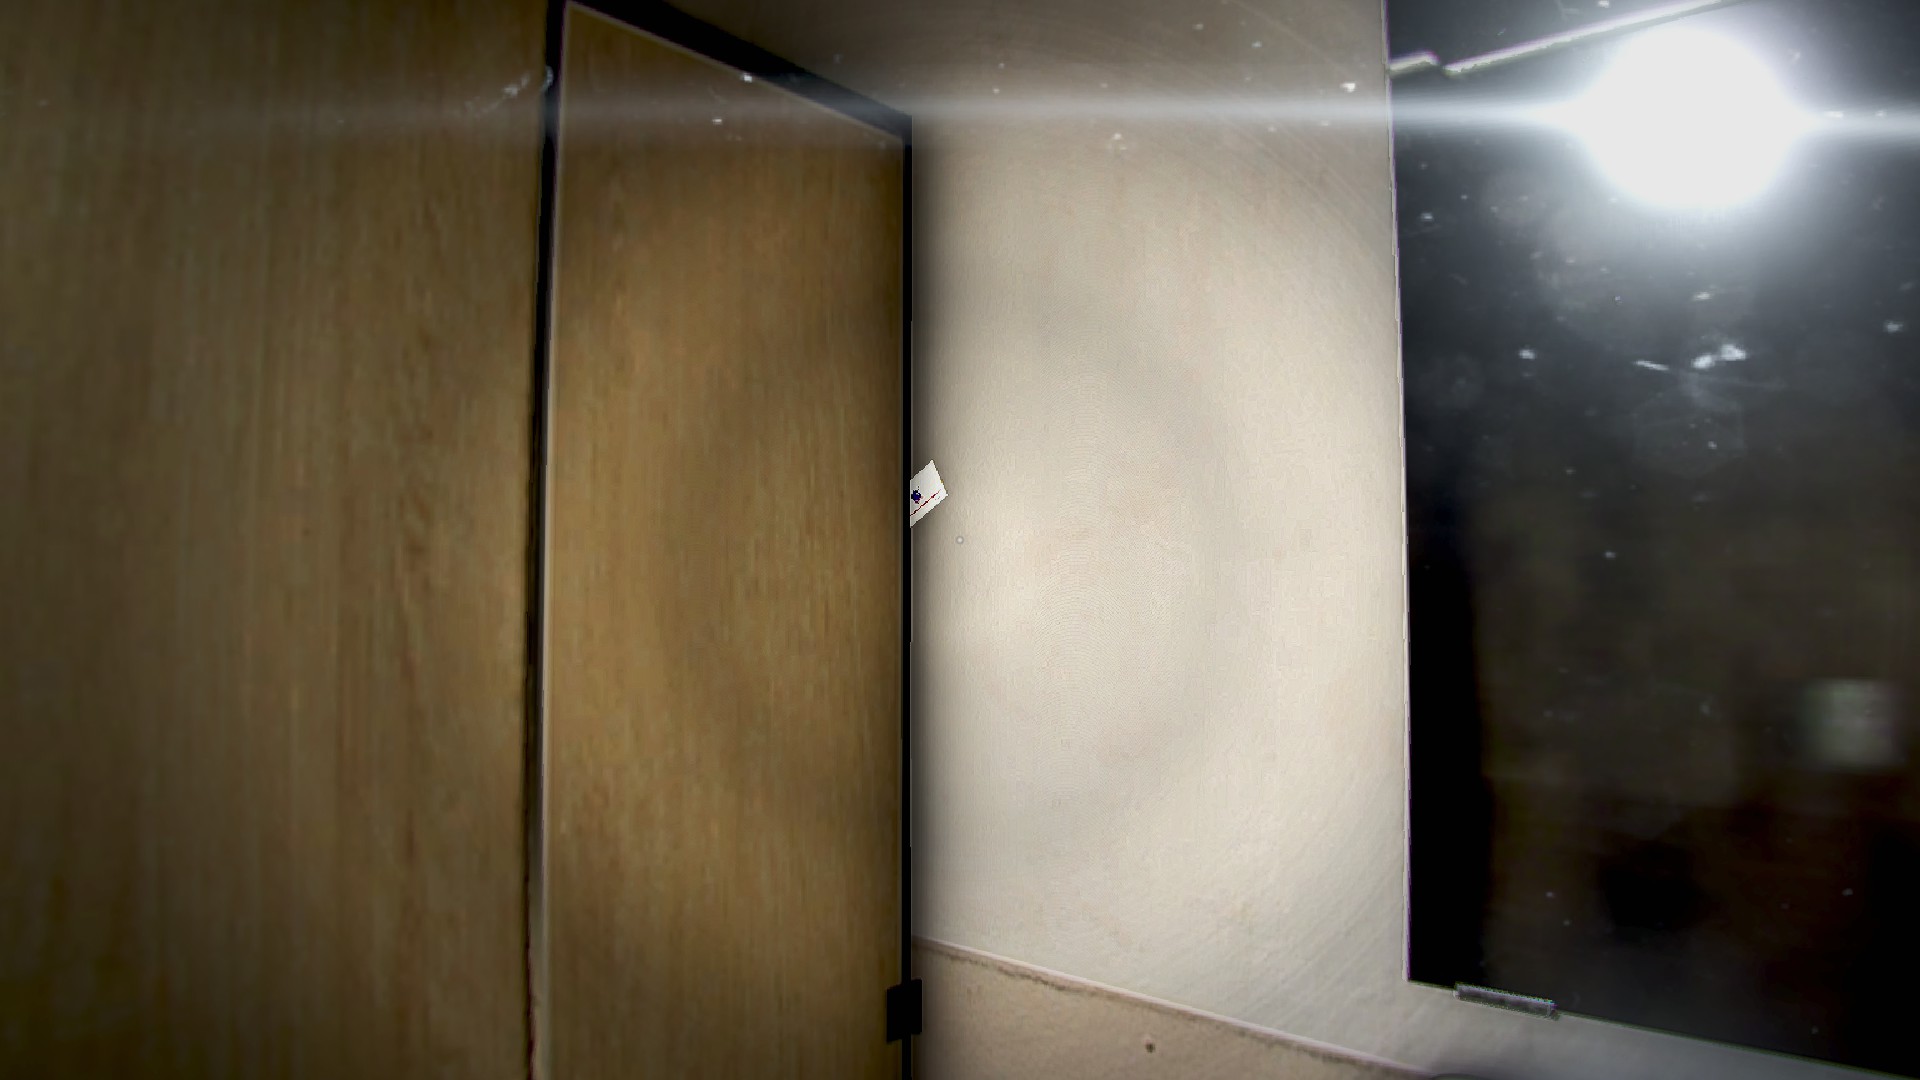
- Work 8, behind the door near the end of the hall

Floor 9 | 8 Cards
- Work 9, go along the first row, 2nd desk from the right, on the floor near the filing cabinet

- Work 9, against the center pillar behind that desk
- Work 9, last desk to the left, front row, on top of the center divider
- Work 9, far wall to the left, near the door, on the ground between the wall and a cabinet
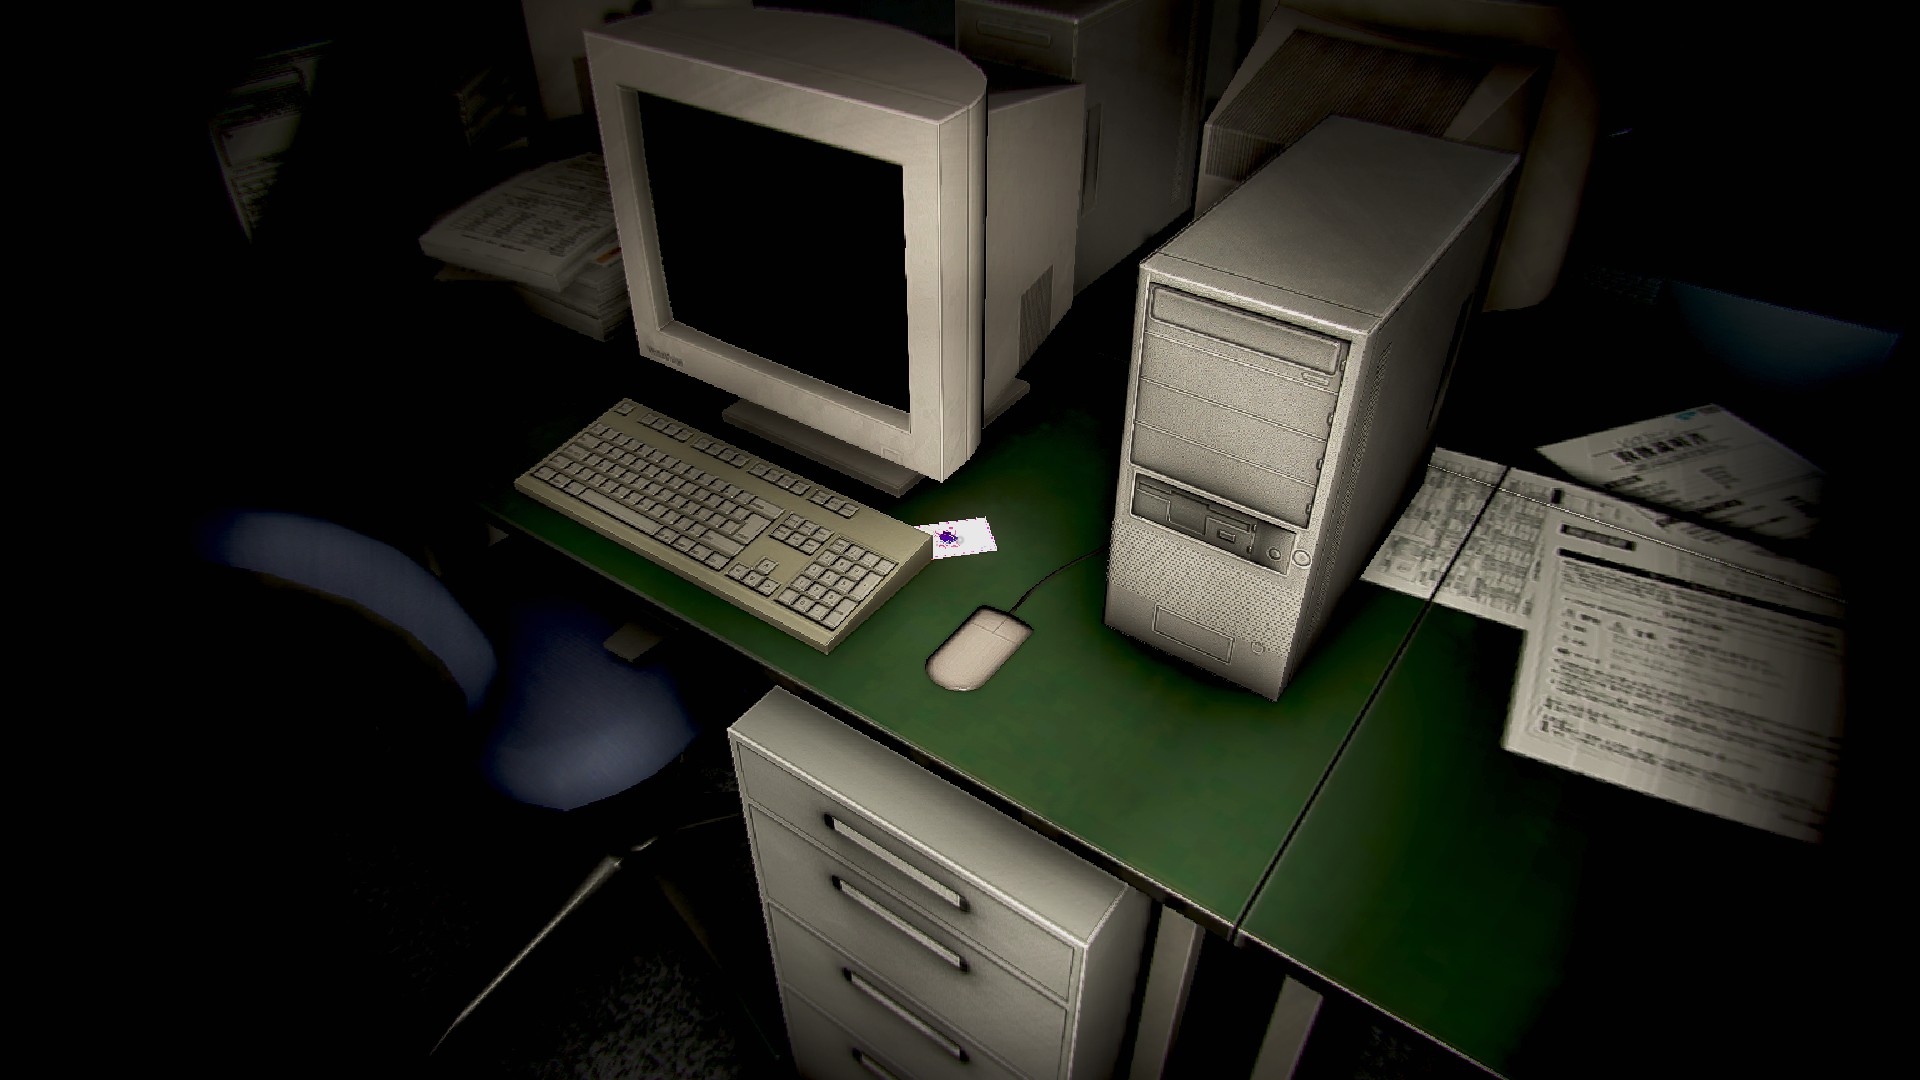
- Work 9, middle row, first front facing desk on the left, between the phone and PC tower
- Work 9, go to the last row along the back wall. Middle desk, to the left of the monitor
- Work 9, last desk to the right along the back wall, between the PC tower and the phone
- Women’s 9, tucked behind the left sink
Ta da!