Basic tips on gameplay mechanics and suggestions for building decks and exploring dungeons.
Introduction
Take Me to the Dungeon is a roguelite deck builder type game with, let’s say, ‘improved victory and defeat mechanics’. Now you can’t just waltz in and expect to be rewarded, if you want to progress you need to actually build yourself a competent deck and learn how to counter enemies properly.
Town Basics
Once you finish the tutorial, you will find yourself in Town. This is the game’s hub spot from which you can assemble your deck, unlock cards, buy basic runes and craft advanced runes, upgrade Una’s stats, view old scenes and enter dungeons.

Clicking on the Rune button will bring up a list of all the runes you currently posses. You can filter out runes based off their class. Material Runes can be found as drops in the Dungeon and later bought from the vendor once you have found one of that type in the dungeon. They are used to craft Normal Runes at the Shop.
Scarlet Runes buff Strength (Red) cards
Emerald Runes buff Speed (Green) cards
Cobalt Runes buff Magic (Blue) cards
Platinum Runes buff non-attribute (White) cards
Rainbow Runes buff any card type

Clicking on the Card button will bring up the deck assembler. You can have up to five decks. To make it easier to remember, you can name each deck. Click the deck you want to use. To remove card from a deck, left click on the card in the deck. To add a card to the deck, left click on a card in the card list.
To edit runes on a card, right click on the card. To remove a rune, click on the rune you want to remove on the right of the card. To add a rune, click on a rune under ‘Usable Runes’ section. You can also use a rune that is already in use another card by clicking on a rune under ‘Rune is already in use’. You will be given a warning that it is in use and if you want to move it over. Agreeing will move the rune from it’s original card to the new card.
As you progress through the dungeon and beat the mini-bosses and bosses you will unlock additional cards immediately and make new cards available for purchase at the Shop.
For more details about deck building tips, please see the General Gameplay Tips section.

Clicking on the Shop button will allow you to buy cards and Material Runes and craft Normal Runes. To buy cards, click Unlock Card and select which cards you want to unlock. To buy Material Runes, click Rune Market then select the number of runes you want to purchase then click Buy. Material Runes will only become available for purchase once you find at least one in the dungeon. To craft Normal Runes, click Rune Crafting, select the rune you want to craft and if you have the required Material Runes and gold on hand then you will be able to craft the rune.
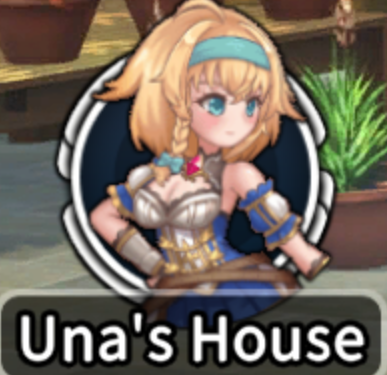
Clicking on the Una’s House button will bring you to Una’s House. Here you can upgrade Una’s stats with the special rewards that are given out for clearing each zone in the main dungeon. These rewards increase Una’s health, the number of cards you can have in your deck and the total number of crystals available each turn. The Dungeon Record keeps a list of all your previous runs (limit is apparently the last 100 runs). Memory lets you review old pictures, animations and full story scenes you have previously unlocked. Gallery lets you see cards, runes and treasures you have acquired.
There’s also the option ‘Make Different Choices’. This is used to change a pair of decisions which decides if you are on the Normal or Good ending path.
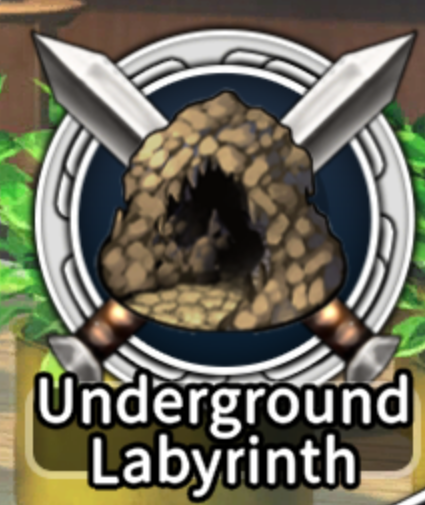
Clicking on the Underground Labyrinth, brings up the dungeon selection screen. There are two tabs, one for the main story dungeon and one for optional side dungeons. The side dungeons don’t offer much other than gold and runes as rewards.
Dungeon Encounter Basics
Inside the dungeon, you will find five rows of nodes, each node representing a specific dungeon encounter. Each column represent a floor of the dungeon. From your current position, you can go one row up or down or remain on the same row. If you are on the top most or bottom most rows then you will be restricted in that you will no longer have the option to go up (if on top row) or down (if on bottom row).
You can see a few columns in advance. Main dungeons have 20 floors, with the tenth floor being a mini-boss and the twentieth floor being the main boss. Losing / winning to the main boss unlocks achievements / scene. Both the mini-boss and main boss are fixed encounters. The ninth floor before the mini-boss is always a rest encounter and the nineteenth floor before the zone boss always has a hot spring encounter.
It’s a smart idea to take a quick peek at the upcoming encounters and chart out the most optimal path through the dungeon that you can. Hitting certain encounters can help you get more powerful in this run by getting run-exclusive treasures or enchantments to your cards. Take a look at the nodes and try to pick out a route that will most likely give you the best upgrades for the least risk.
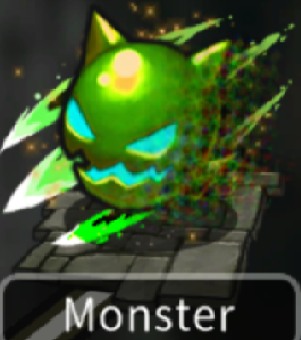
Regular Monster

This is a regular monster encounter. This is the most basic combat encounter and should generally only be taken if there are no other nodes available. Victory here will net you some gold and rune(s).
Mutated Monster
This is a mutated monster encounter. Mutated enemies each get a special special buff. The buffs are largely pretty minor through and not too difficult to deal with compared to regular monsters. Defeating them will reward you the choice of a mutated treasure from three options in addition to the gold and rune(s) making it the superior option compared to regular monster encounters.
Rare Monster
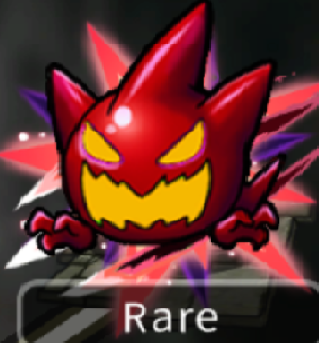
Rare monster encounters are elite monster fights. I believe there is one fixed rare monster for each zone. Defeating one grants a large pool of gold, runes and your choice of regular treasure. Unless there’s a Treasure Chest or Shop available (maybe an Event too) and aren’t really hurt, a Rare is often a priority and rewarding encounter.
Treasure Chest

Treasure chest encounters give you a choice of three treasures. This can include mutated treasure (green monster symbol), regular treasure (treasure chest symbol) or non-run exclusive rewards such as gold and runes. Treasure rewards have a level and get stronger as you progress further through the story.
Later in the dungeon this encounter can trigger a mimic chest trap instead. You will need to fight the mimic first before you can get your reward. Mimics are very annoying enemies, they mitigate damage they take to basically nothing (DOTs do 1 damage, direct damage does 1 except for elemental weakness) and same type damage heals them. They take a while to die while still hitting you hard and potentially forcing you to discard more cards then you’d like.
Shop
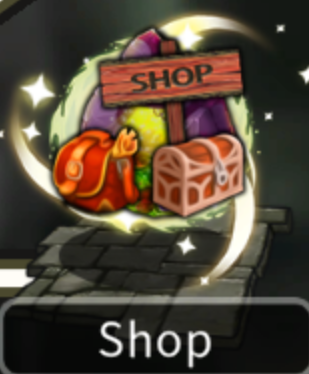
Shop encounters will offer you your choice of one of three treasures for gold. These are better nodes than Rare monster encounters as you they let you treasures for your run with zero risk. All it costs is a bit of gold. Collecting gold is not a huge hassle, you should have plenty to spare on buying whatever treasures you want.
Later in the story dungeon, stores will also start the sell a dungeon limited card. It costs a bit to do compared to the treasure and you seem to generate a card with random stats when doing so. Didn’t try it much, seemed pretty confusing on how to use so I currently don’t have any real commentary on it’s usefulness.
Event
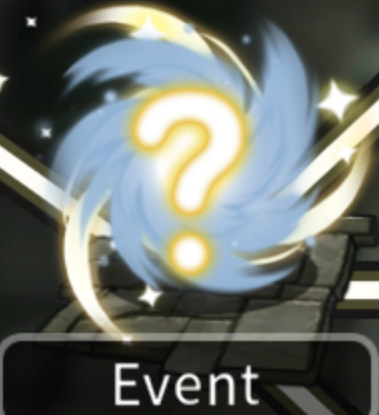
Event encounters offer amusing little story side-plots. You are given some story, then have a choice of three options (usually quite amusing). Each zone has its own small pool of events. Each of the options has their own rewards, once you have viewed them you should be able to see what each option rewards on later runs.
Enchantments are buffs to the cards in your deck. Each card can only have one enchantment on it at once. If you apply a new enchantment to a card which already has one, the new enchantment will overwrite the original.
Review what the enchantment does then select the card you want to enchant. On the bottom of the screen, the existing version of the card will be listed on the left and the post-enchantment version of the card will be on the right. Verify that you are happy with the resulting enchantment and click Enchantment. Otherwise select another card and check the new card until you are happy.
FYI, there are two trap events you can encounter. The enchantments they provide tend to be quite bad. Sometimes zero benefit whatsoever, sometimes have small benefit for a cost. You are not forced to make an enchantment, clicking Quit will return you to the dungeon map.
Rest
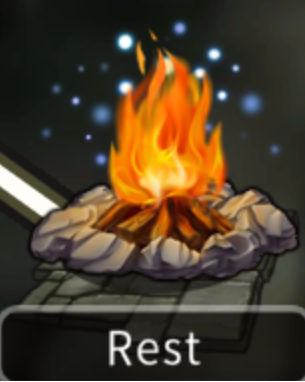
Rest encounters are always on the floor before the mini-boss and can also rarely be found on other floors. You have the option of fully recovering health and two discarded cards at random at the cost of all your armour and halos or you can recover all your discarded cards instead with no impact to your health, armour and halos. The best choice will depend on your current situation. I usually wound up using the recover all discarded cards option. No reason to use the first option unless you have really low health.
Mini-boss

This is the mini-boss encounter on the tenth level of the zone. Always fixed for the zone, mandatory fight. Beating the mini-boss will fully refresh you, restoring all health and discarded cards. Also you will get an offer of three often very good treasures.
Hot Spring
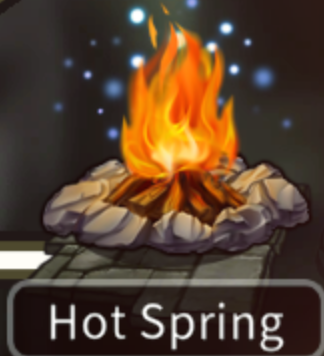
Hot Spring encounters are always on the floor before the final zone boss and nowhere else. It will fully refresh your health and discarded cards. As well, you will have the option of choosing one of three buffs. Boost next ? attacks by ?%, heal ? for the next ? turns or gain ? armour at the start of the next ? turns. Similar to treasures, these have a level that gets higher the farther you go in the story dungeon.
FYI, for completionists, there are some alternative hot spring photos. To unlock them, you need to first lose to the boss of said zone, then get back to the Hot Spring on a later run of the zone and you may get a new photo with the boss in the Hot Spring with you.
The Boss
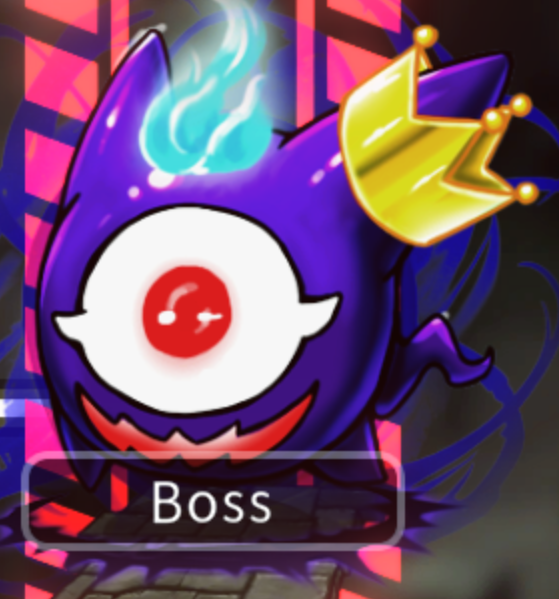
The final boss of the zone. Losing to the boss unlocks an achievement and new scene. Beating the boss unlocks an achievement, a new scene and opens up deeper levels of the dungeon for you to explore.
General Gameplay Tips
Gameplay is fairly simple. You build your deck in town beforehand, then go the dungeon. You start with all your available cards in your hand when you enter a fight. Each card has a crystal cost. Each turn you have a number of crystals to spend.
To target an enemy, click on them and they will be circled in yellow. To use a card, left click on it and drag it to upwards on the screen, then release to cast it.
When you no longer have any cards available that can be cast, you can either click End Turn or, if you have no played any cards this turn, Rest. End Turn gives the AI their turn. After the AI has finished their turn you will get your crystals back to cast cards but not any cards you used the previous turn.
In order to get back used cards, you need to use the Rest option instead. This will force you to ‘Discard’ a card in order to get your other cards back. Discarded cards are no longer available. There are cards that provide bonuses when they have been discarded through. Also, when you Rest you skip your next turn. So basically, you need to waste one full turn to Rest. There’s a couple of Treasures which can help with this. One gives you a chance to not skip your turn and play with your full hand. Others give you armour or heals when resting.
One important thing to note is that it’s entirely possible to run out of cards on some boss fights. Ending the turn while out of cards = run failed. Usually at this point, you want to double check that you have upgraded your runes to the highest current level available and tweak your deck/runes to better counter the boss. Shouldn’t take more than a couple attempts to clear each boss through.
Elemental Weaknesses
Each card and enemy has an attribute type. Each attribute has another attribute that it is weak against. Using cards of the counter attribute will let you do extra damage. As such, it’s a good idea to bring at least one type of attack for each element to take advantage of this bonus damage. The cards and the attributes are listed as below:
- Strength = red cards. They do extra damage against enemies with the speed (green) attribute.
- Speed = green cards. They do extra damage against enemies with the magic (blue) attribute.
- Magic = blue cards. They do extra damage against enemies with the strength(red) attribute.
- Non-attribute = white cards. Your white cards are all utility related, not for damage. Enemies that are non-attribute (white) do not have an elemental weakness. Most bosses are like this.
You can easily double-check the weaknesses if you forgot them. On the top right corner of screen, there is a picture representing the counters:

Also, when you target an enemy, cards that are its weakness have their damage listed in red instead of the usual white.

Deck Building Tips
Bring at least one card for each elemental type to make use of enemies attributes to be more efficient. As well as damage, bring some cards for utility (healing, armour, buffing yourself, provide item cards, etc.)
Make sure you put runes into every available slot on your card possible. When you unlock tier 2 and 3 material runes, make sure you bulk up on them and upgrade your cards to the latest tier. Runes will make a huge impact. Even the basic ones will pump up your cards damage. You can purchase as many Material Runes as you need from the store if you have the gold on hand. These can then be used to craft more interesting (or just better stats) Normal Rune.
Try to build your deck around a general identity. The cards should generally synergize with each other or provide useful utility. Try to avoid bringing effects that aren’t your deck’s focus. Certain treasures will only spawn if you have particular effects present in your deck. For example, you will never see a treasure for boosting bleed if you do not have any cards that do bleed. So to minimize the treasure pool you can try minimizing the number of effects you have.
It’s a good idea to make use of DOTs effects through. Poison and Burn, for example, can be very powerful in a deck. Building up heavy stacks on bosses can eat away lots of health over time. You just want to make sure you go heavy into the mechanic. Fill your deck with cards that use the mechanic. You can also add a Rune to cards that add the specific DOT on hit if said card has a free mod slot available.
Make use of Halos. Halos are special mods on particular cards that provide a benefit when discarded. This way you can get some buffs even when you need to discard a few cards during long boss fights. If you discard these cards prior to fighting the mini-boss on floor 10, you can use the Rest encounter to return all discarded cards but keep the halo (using the heal option will remove your halos along with shield). Hot spring also restores your discarded cards allowing you to discard halos beforehand.
Armour stacking is a very valid tactic as armour status persists over fights. This can be comboed with Shield Bash to 1-shot bosses away. Poison is good for this type of build as well as you can stack charges up and then use Nothingness to gain tons of extra amour.
For your reference, the following is the deck I used to clear Good Ending.

Unsheathed Slash is used to buff myself with Charge-up to buff up Tiger Slash. Even when discarded, it’s Halo will still give me a Charge-up for Tiger Slash. Combining it with Tiger Slash is a terrific and very simple combo, Tiger Slash getting a nice damage bonuses from Charge-Up and with a splash rune is a good way to do heavy damage to multiple enemies.
The build is heavily focused around the poison DOT. Poison Strike is used to stack up poison stacks, Poison Bite is then used to multiple the stacks and finally Spirit Break is used to spread some of the stacks to other enemies. I’m using Surplus Runes to give more chance of being able to stack more poison charges on these.
Defence and Chivralous Defence are there to stack up some armour when required. Armour stacks between combats so you can stack up armour in previous fights and enter the next right with armour. Bloodseeker provides a bit of a healing/damage hybrid and has a Halo.
Neither Magic Missile or Armour Penetration are exactly vital, they can be easily swapped with all sorts of cards I guess. Maybe toss in some sort of debuff removal, had one in previously, you can toss in a Morale card or add the Rune adds the mod to another card or add in something like Blizzard as that card works very well with Poison Strike’s Halo.
There’s a lot of cards for you to try out and you can store up to 5 decks. If you’re having trouble, try out a few decks and different cards and see what’s clicks. There’s no required deck for anything. Plenty of combos should work fine along as you have decent synergies and play smartly.