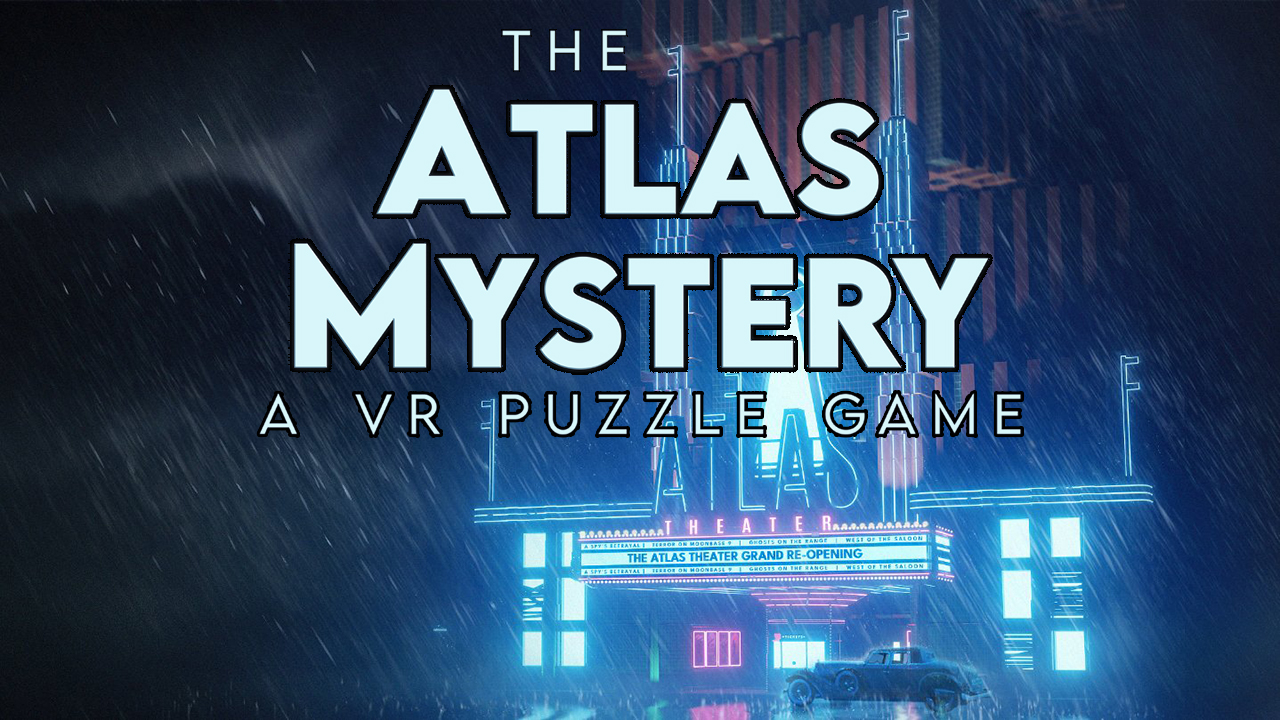
This is a basic guide to this puzzle game for anyone that might be struggling with it!
Tutorial
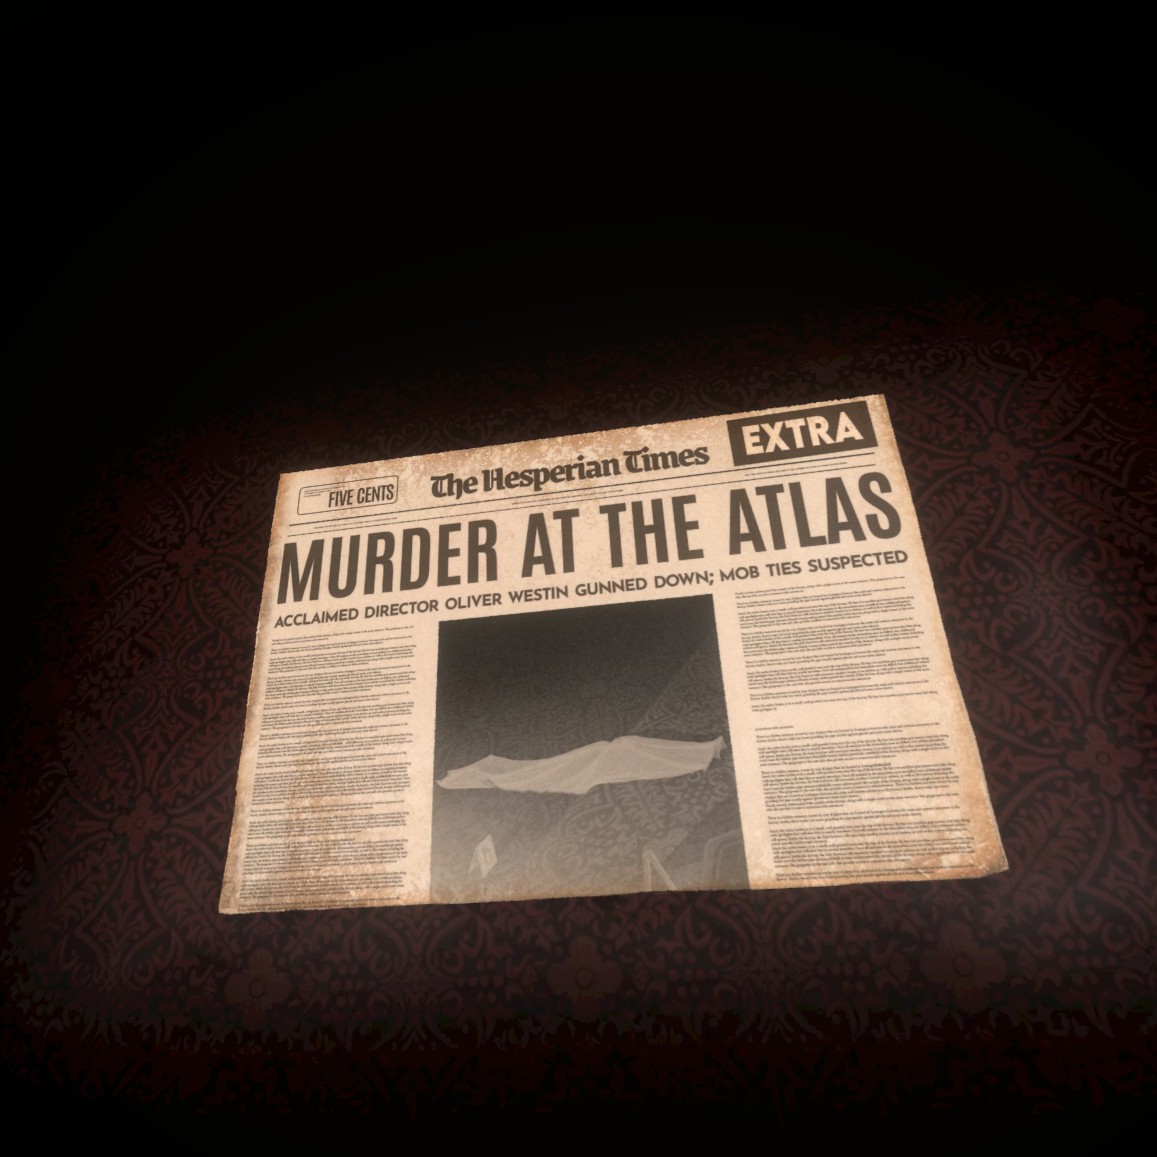
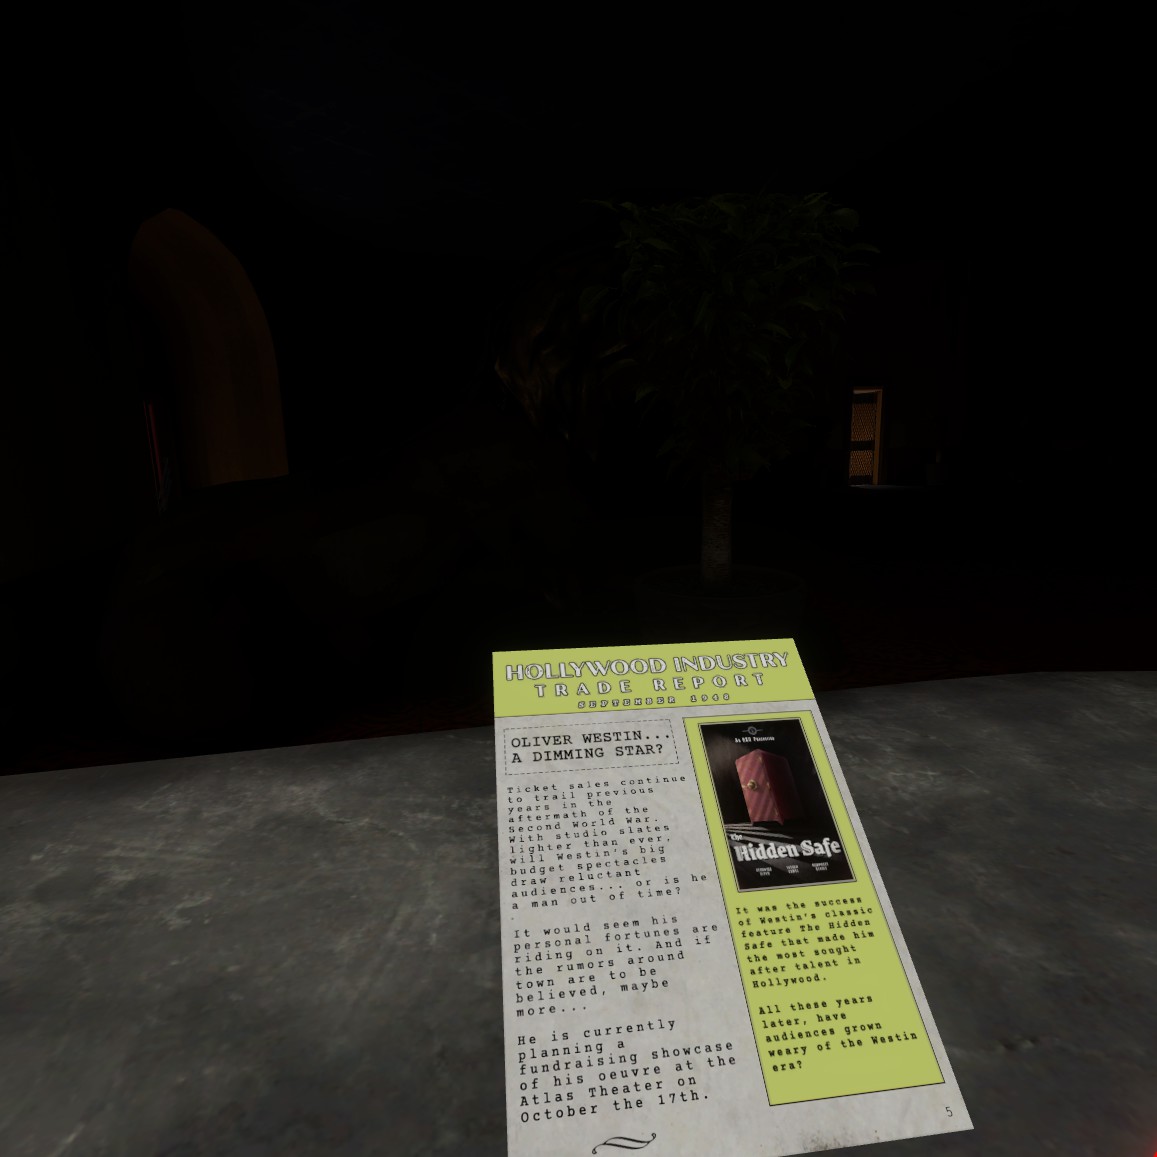
Ohh no, there’s been a murder at The Atlas! As the newest employee it’s important to find who they are, just in case they plan on going after anyone else.
Start the Tutorial:
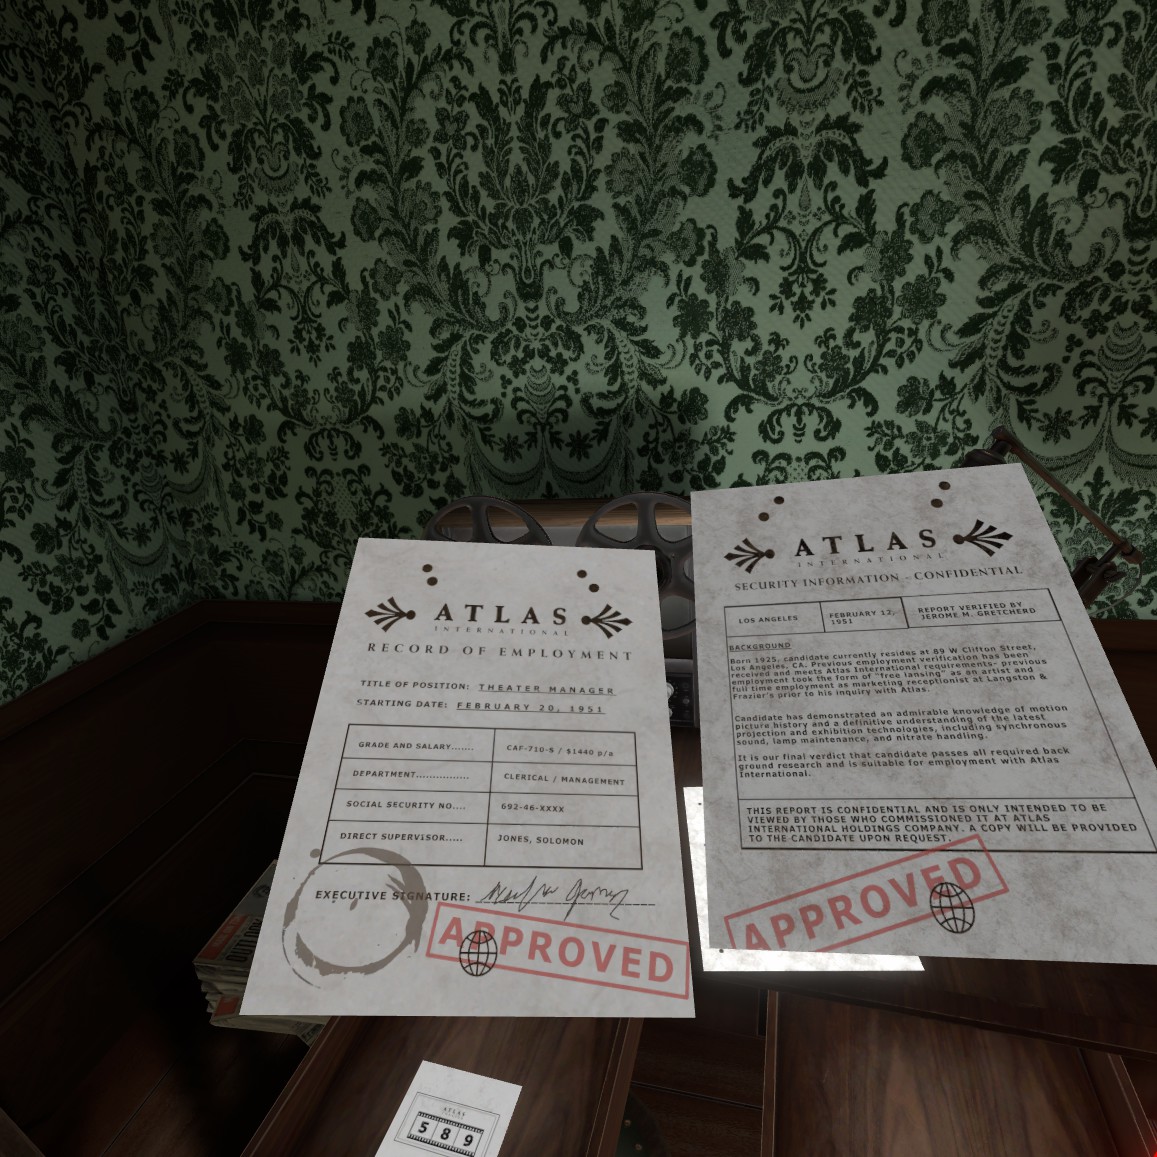
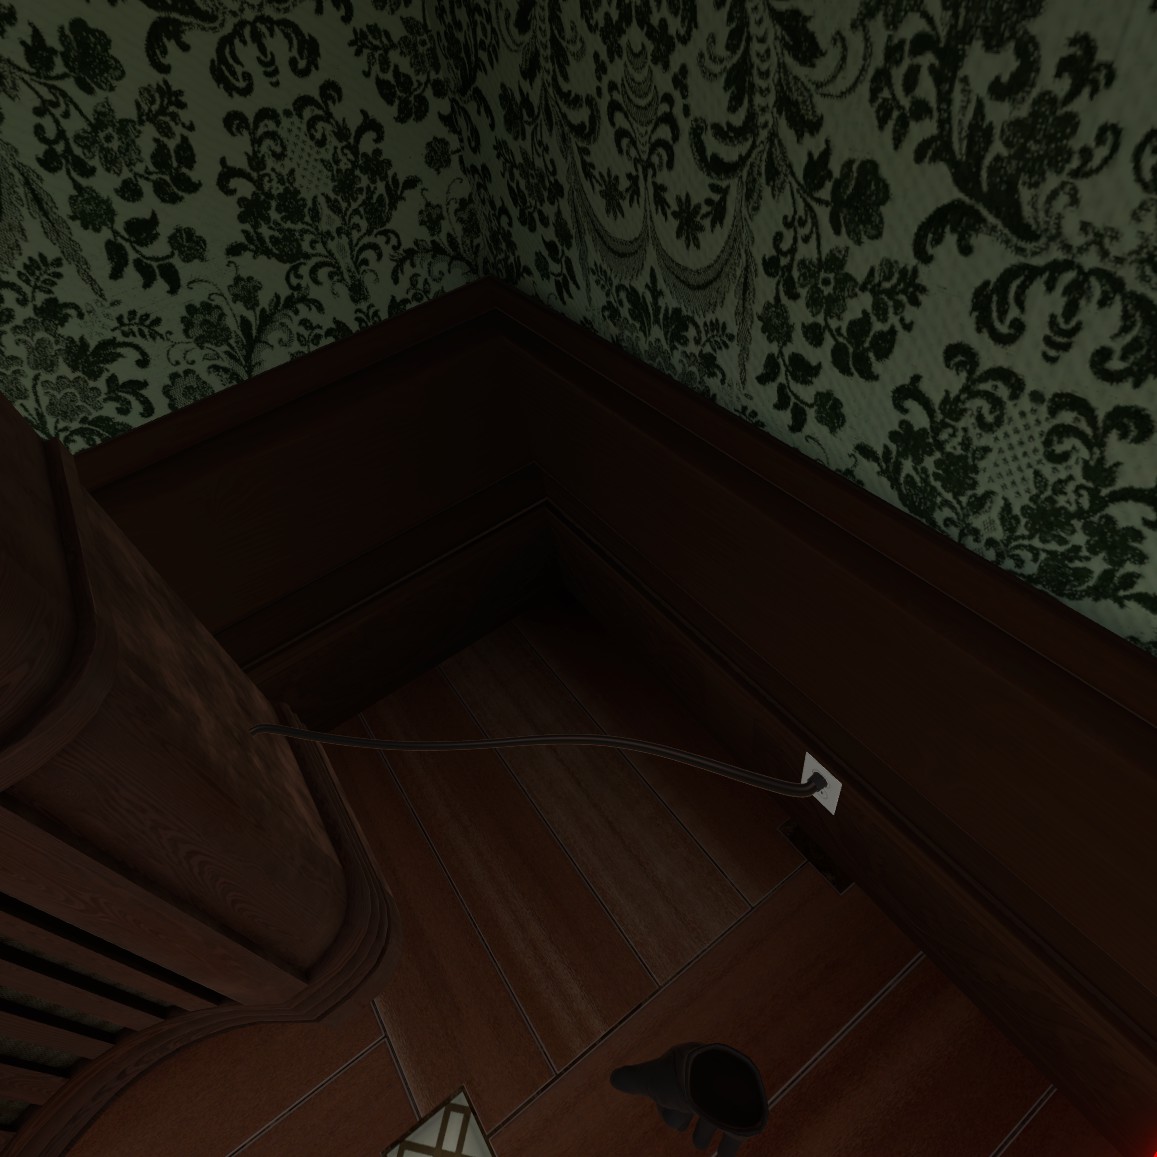
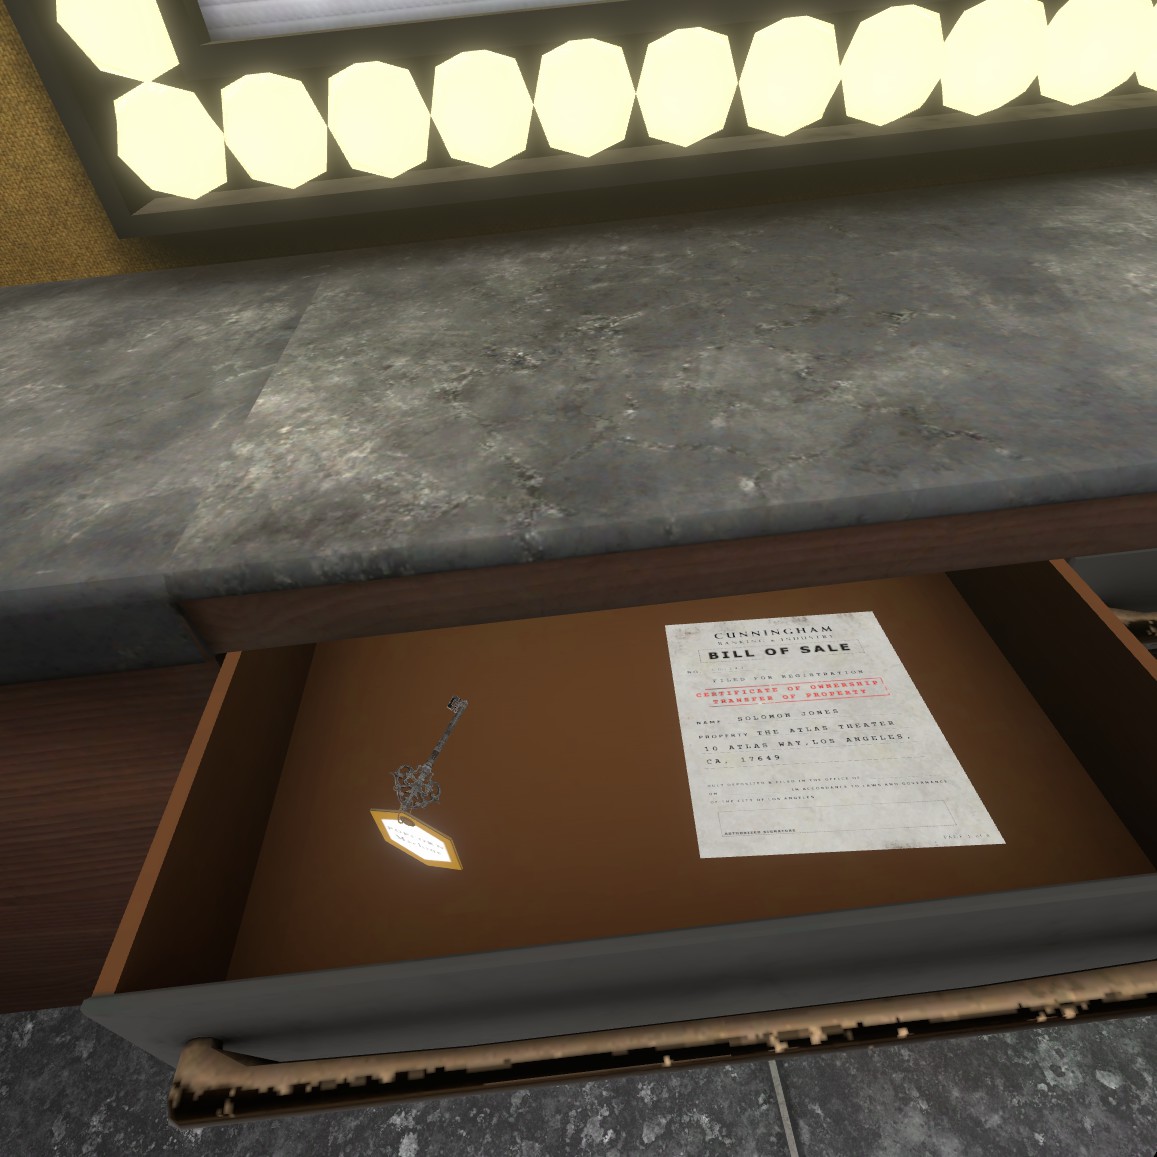
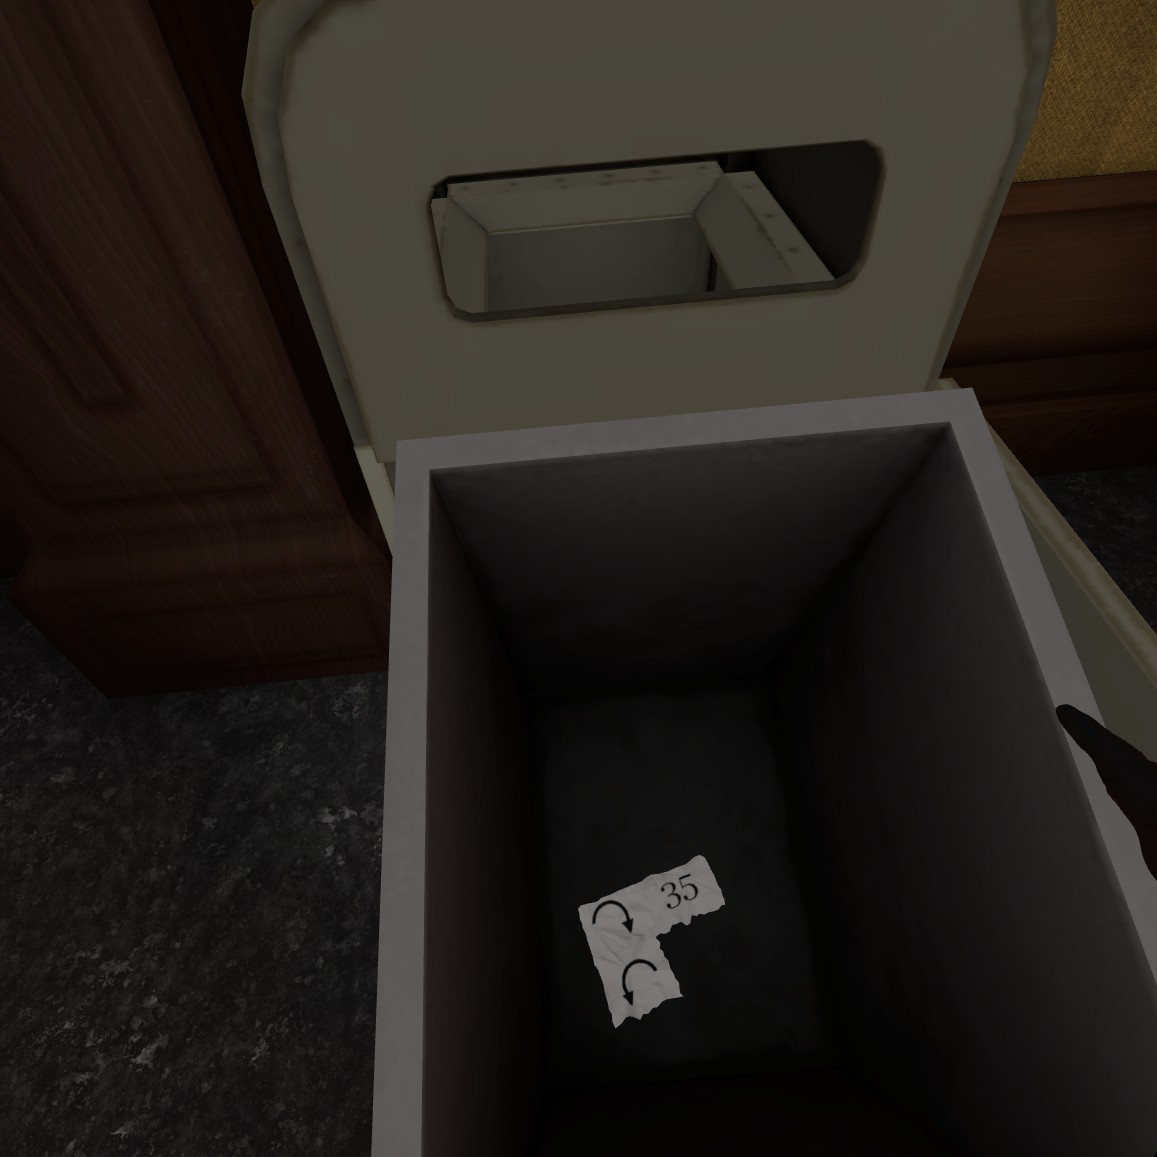
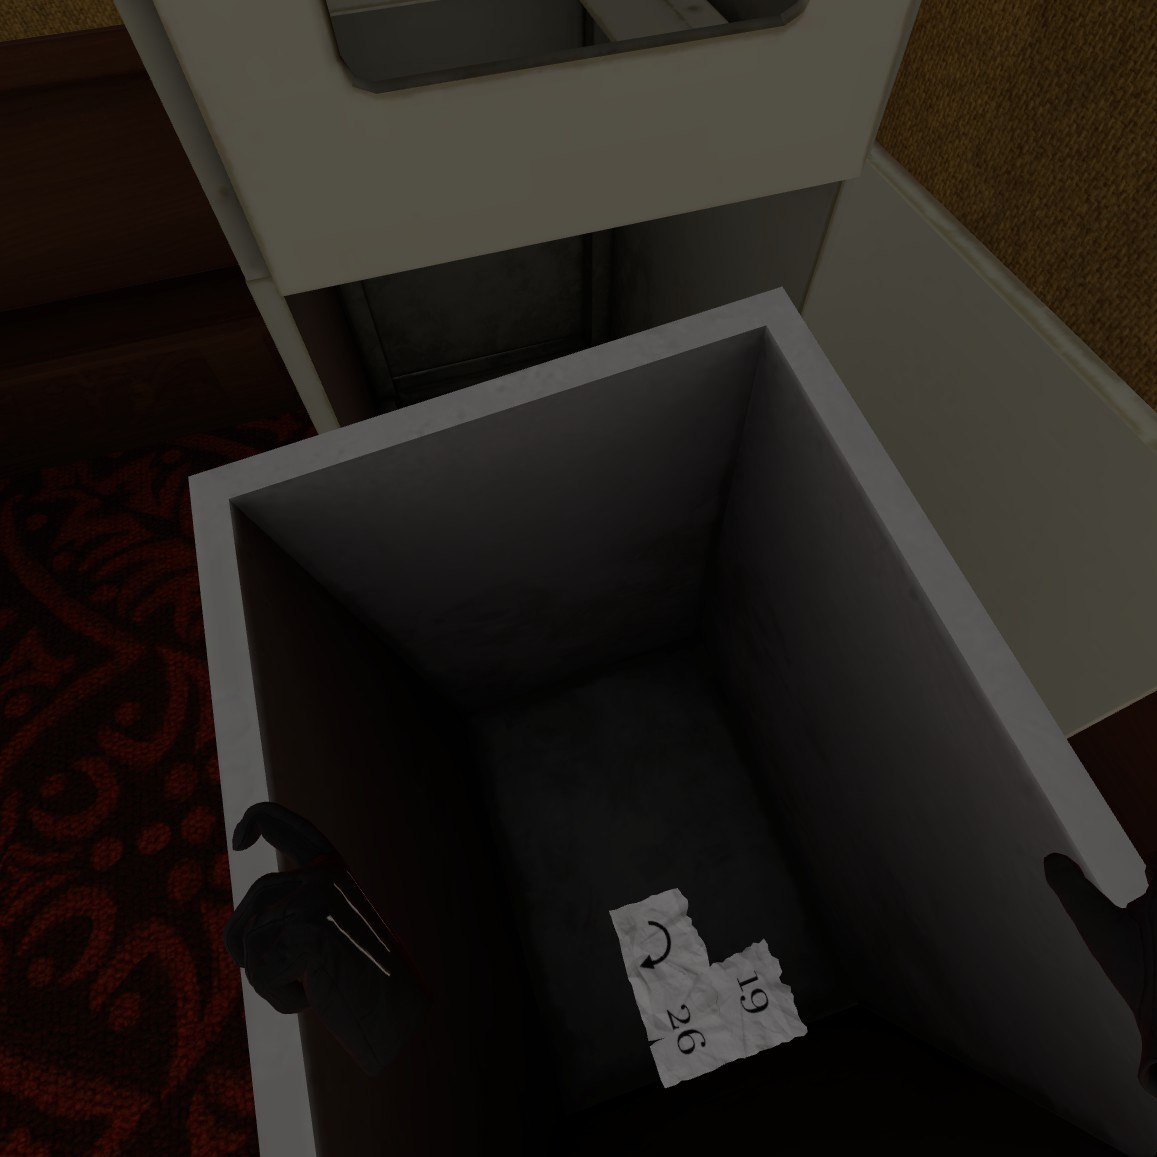
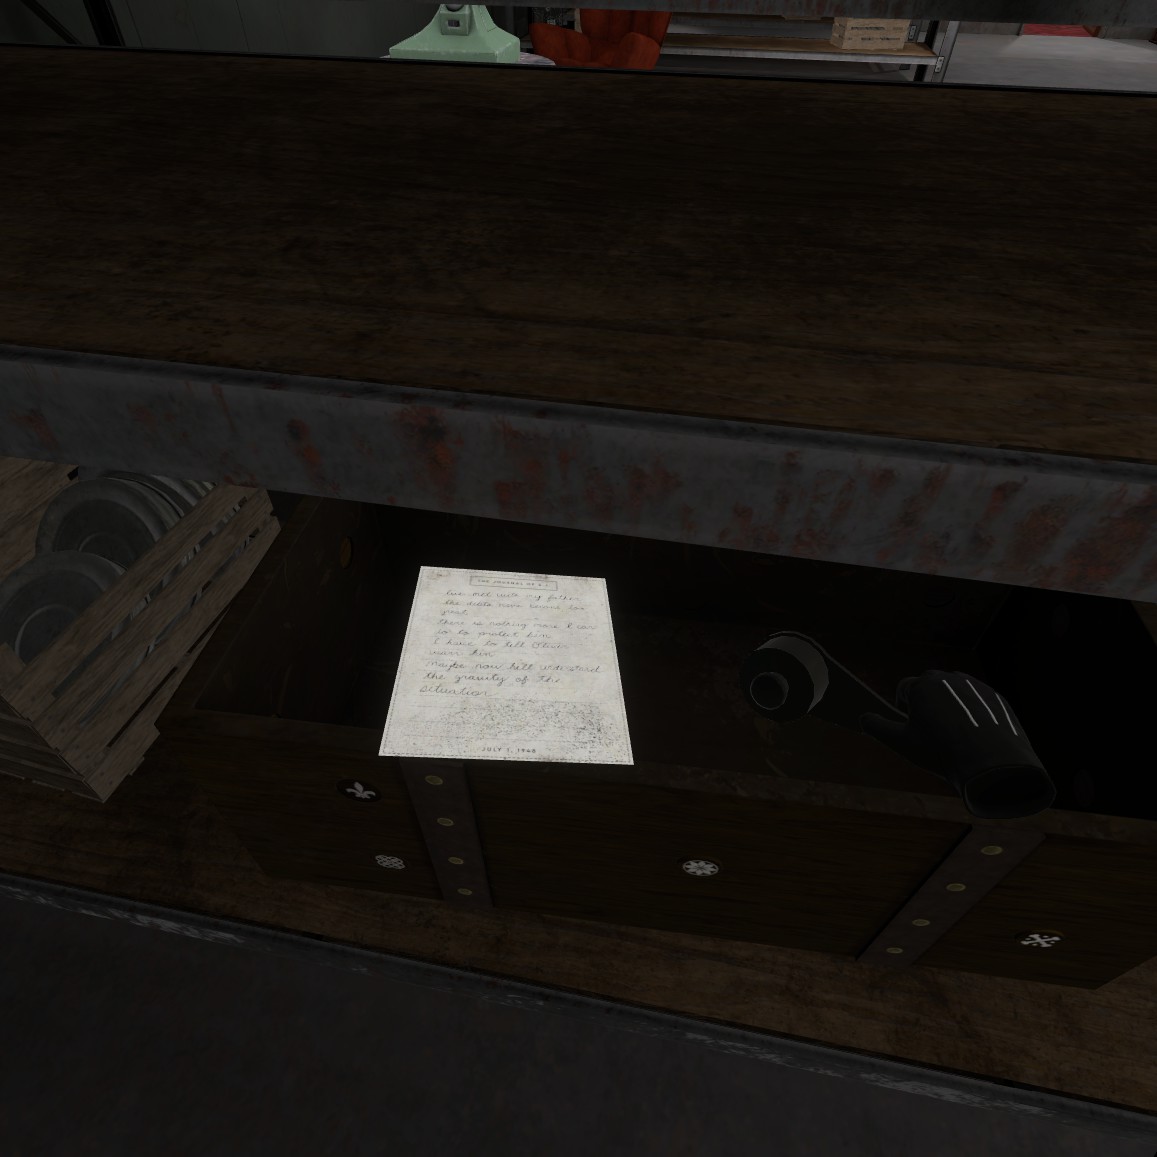
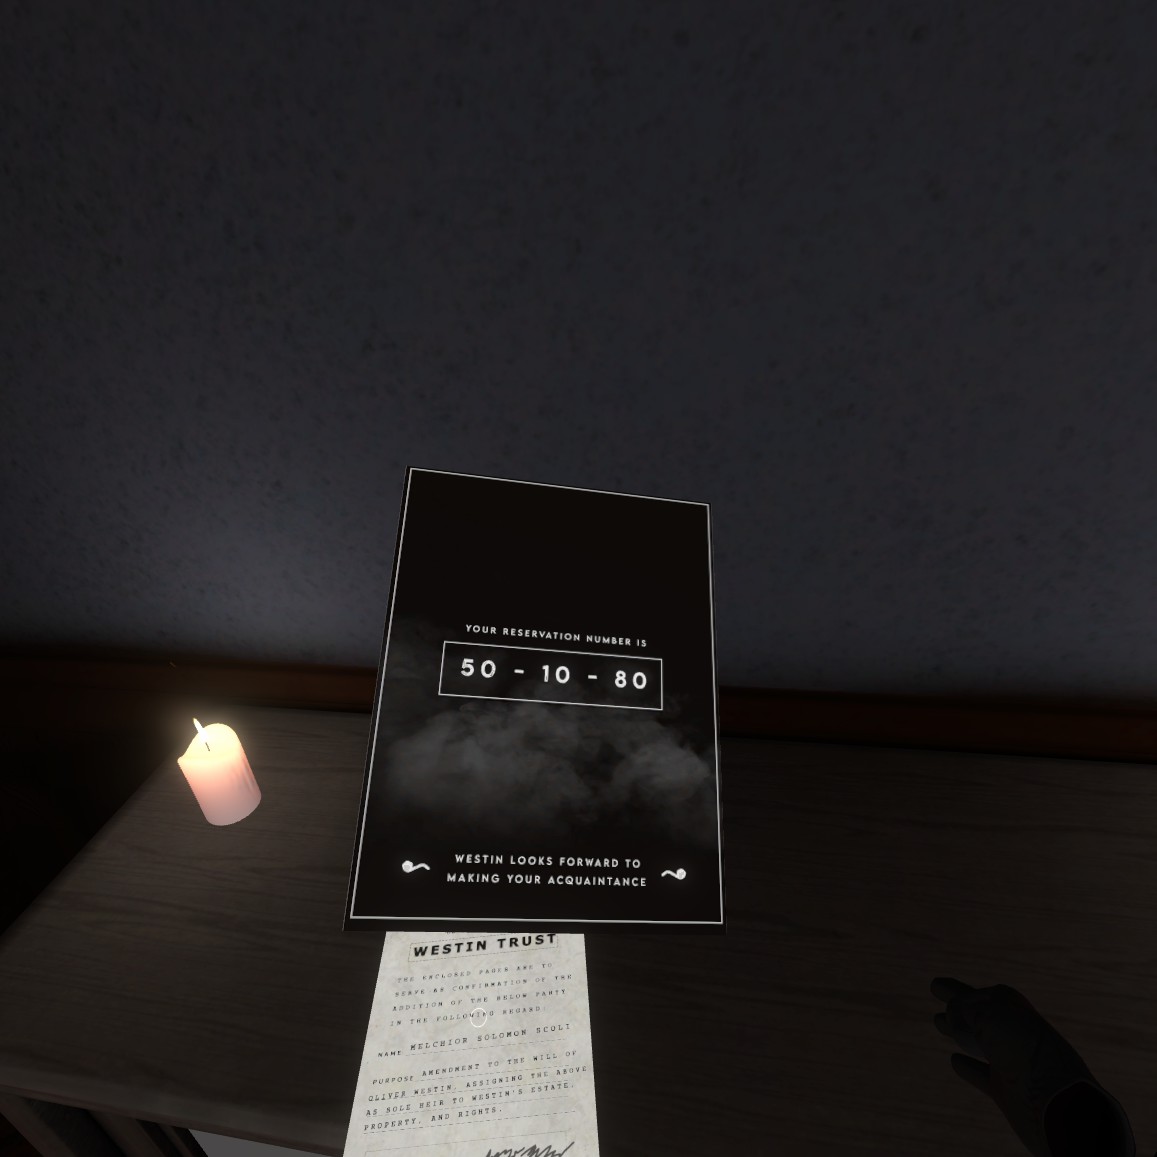
Open the second drawer and grab the two documents in there as part of a secret achievement. Take the code given in the first drawer and follow the tutorial to open the cabinet.
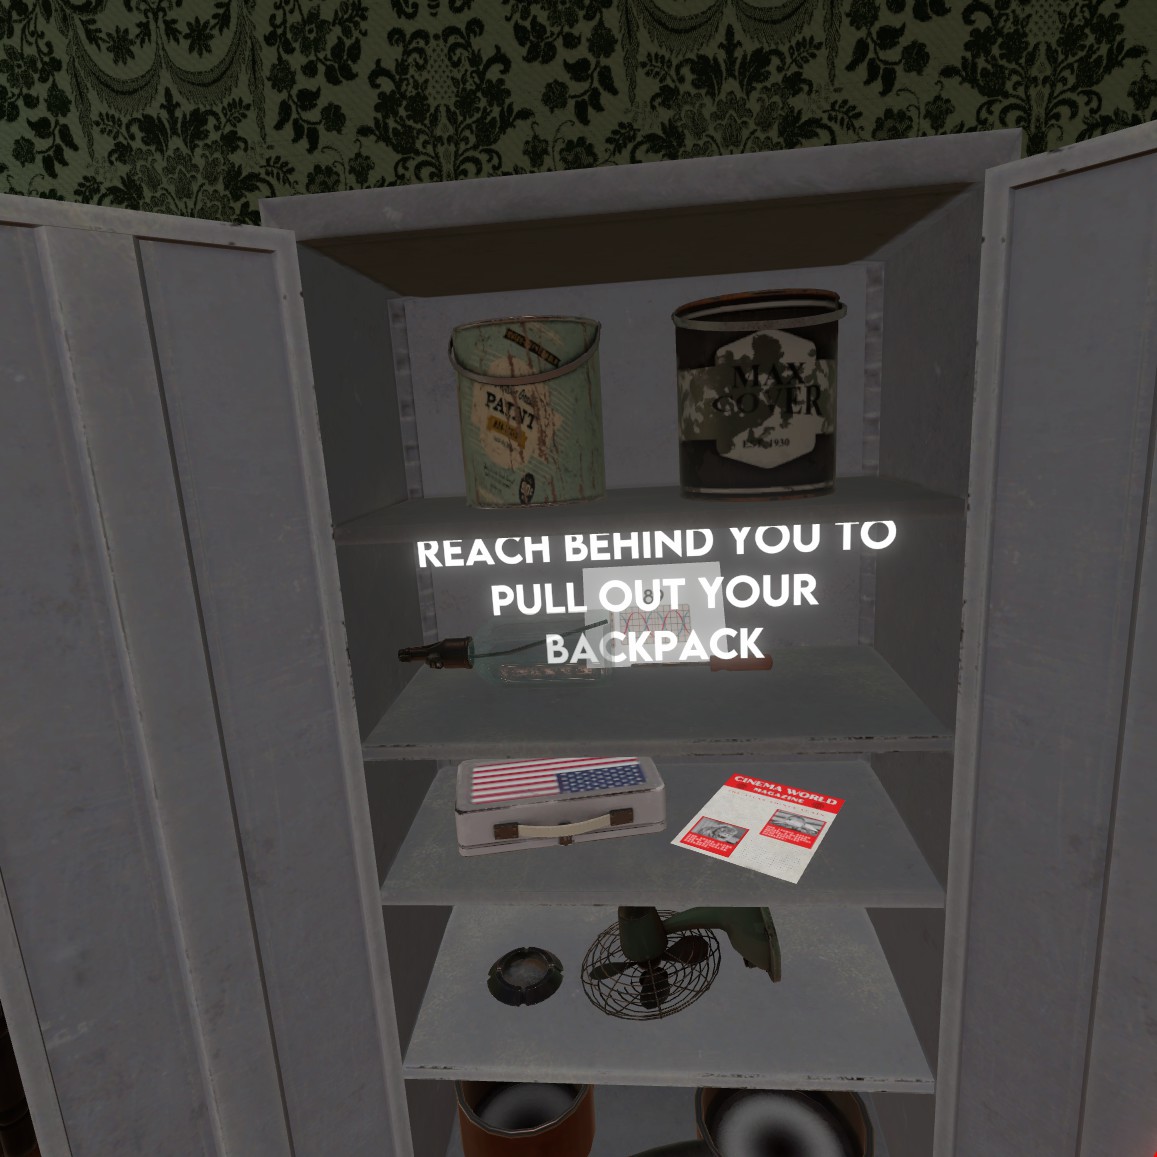
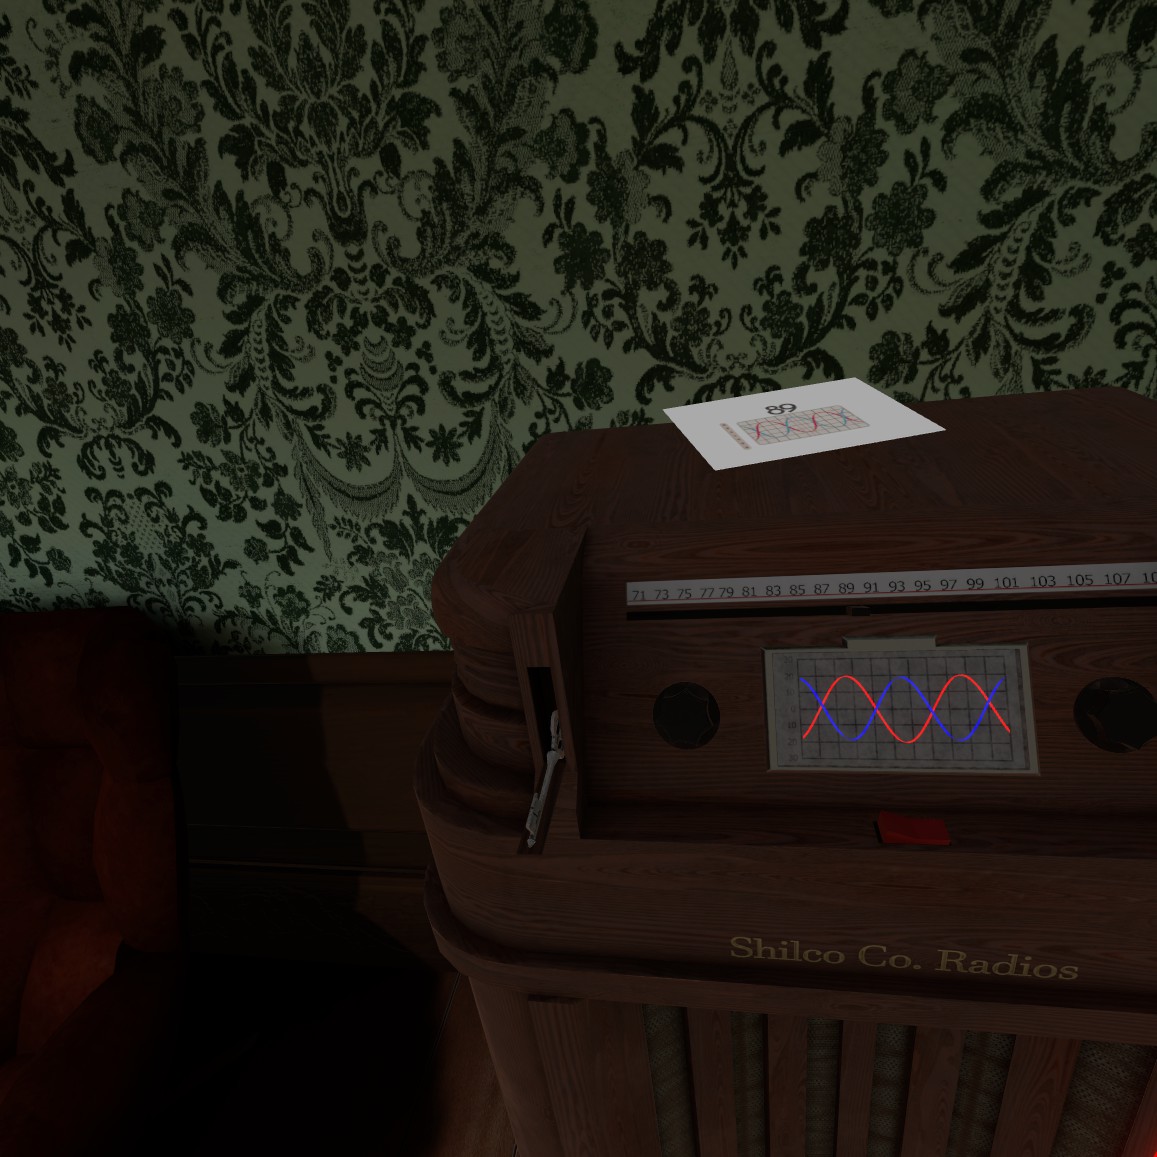
Grab the two pages in here for the achievement, put the screwdriver in your backpack, and then take the one with the number 89 and go to the old radio.
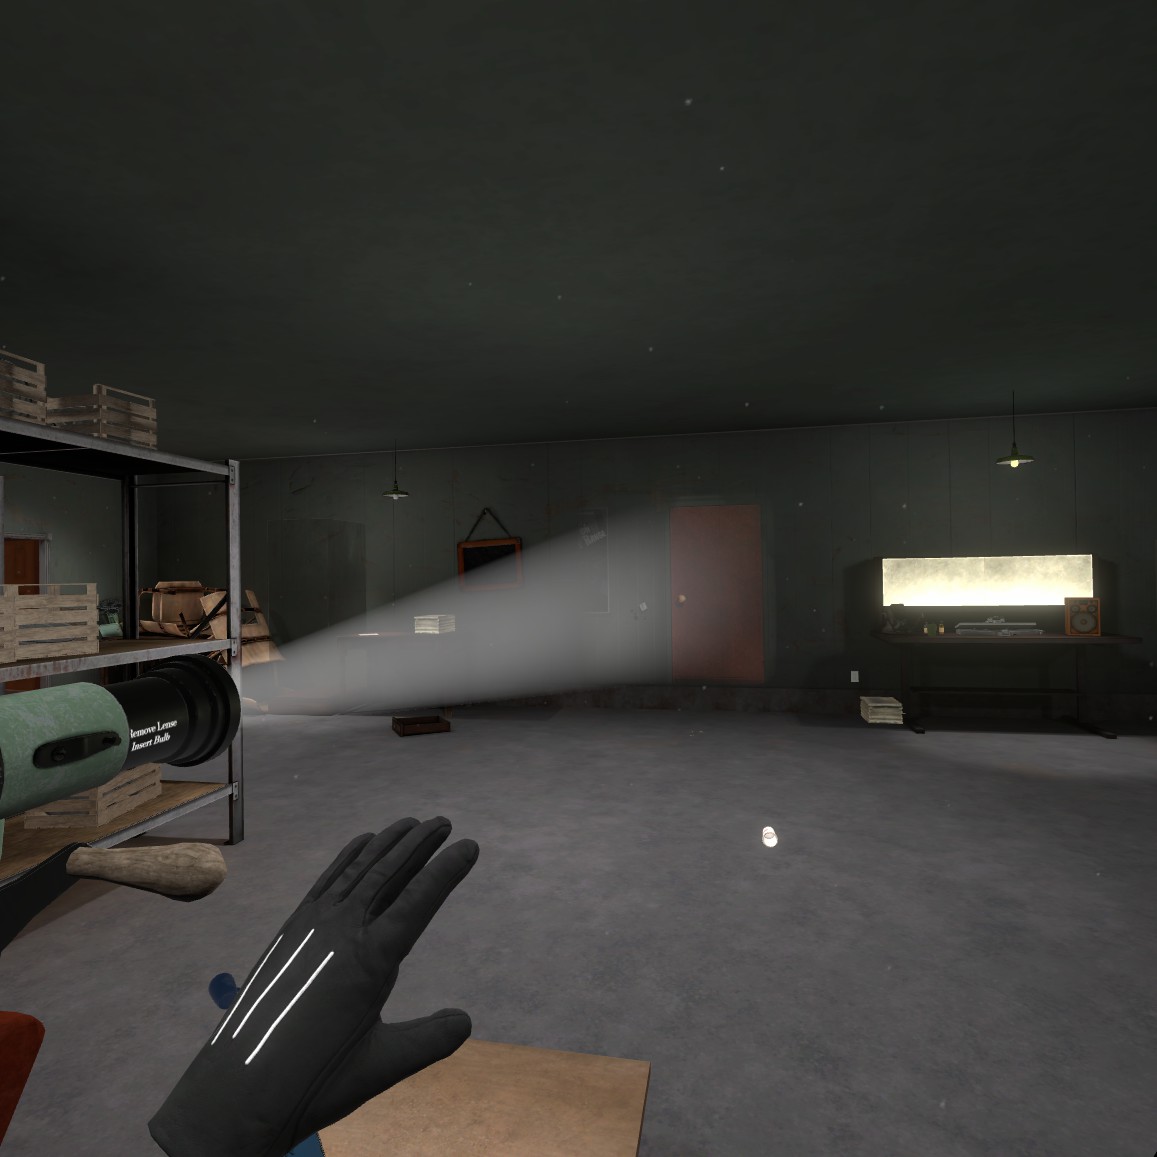
Plug in the radio as shown here then use the knob to the right to adjust the light of the waves, the knob on the left to adjust the width, and then the switch in the center to switch between blue and red waves.
Congratulations, you can now continue to the main game. Grab that key, stick it into the door and get going!
To the Concession Stand!
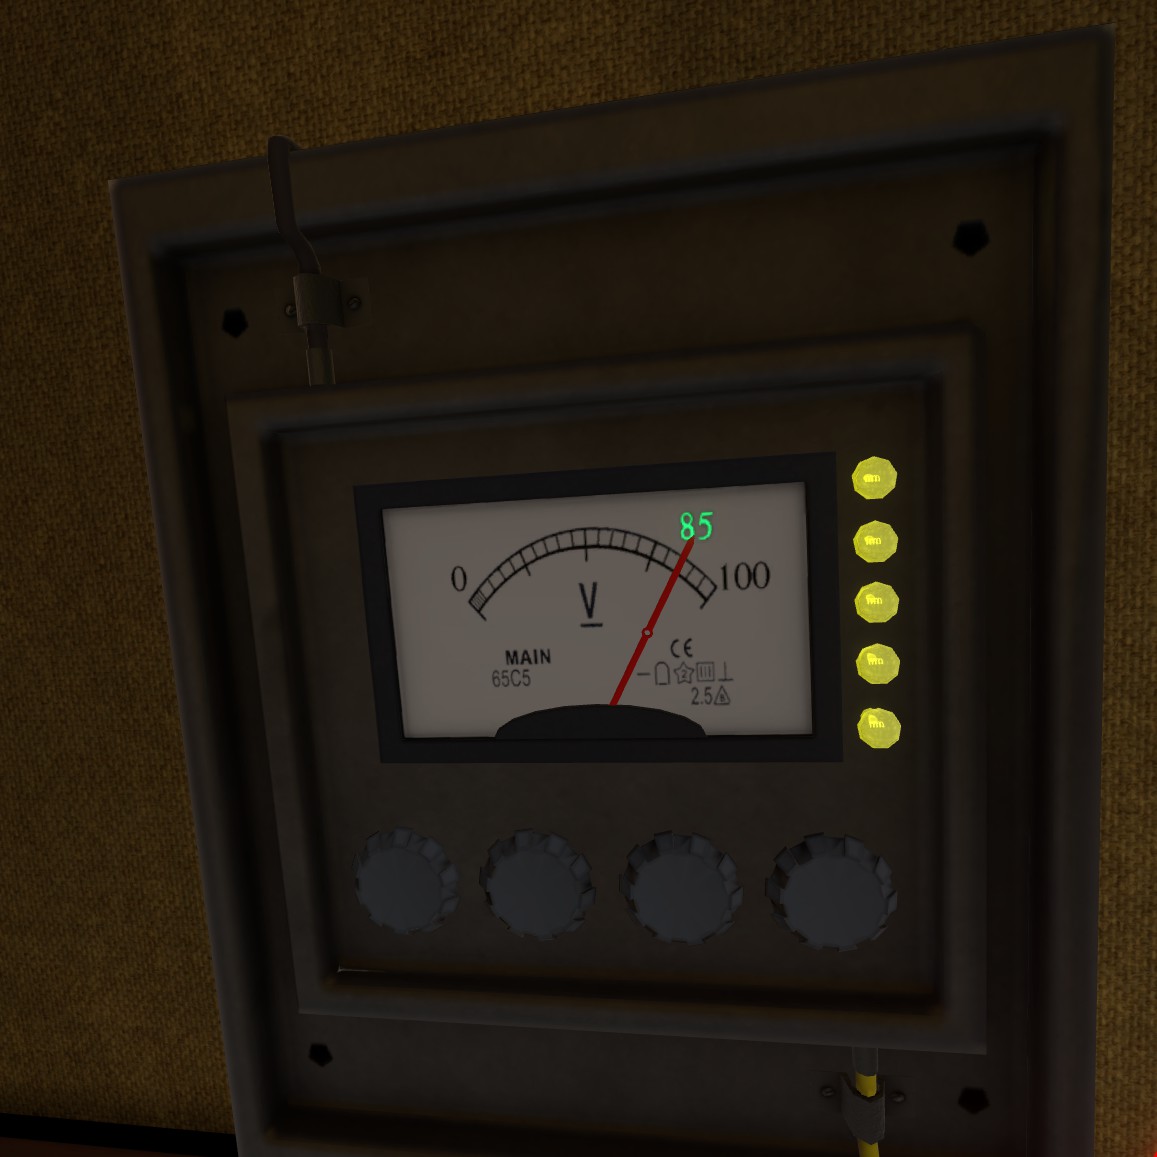
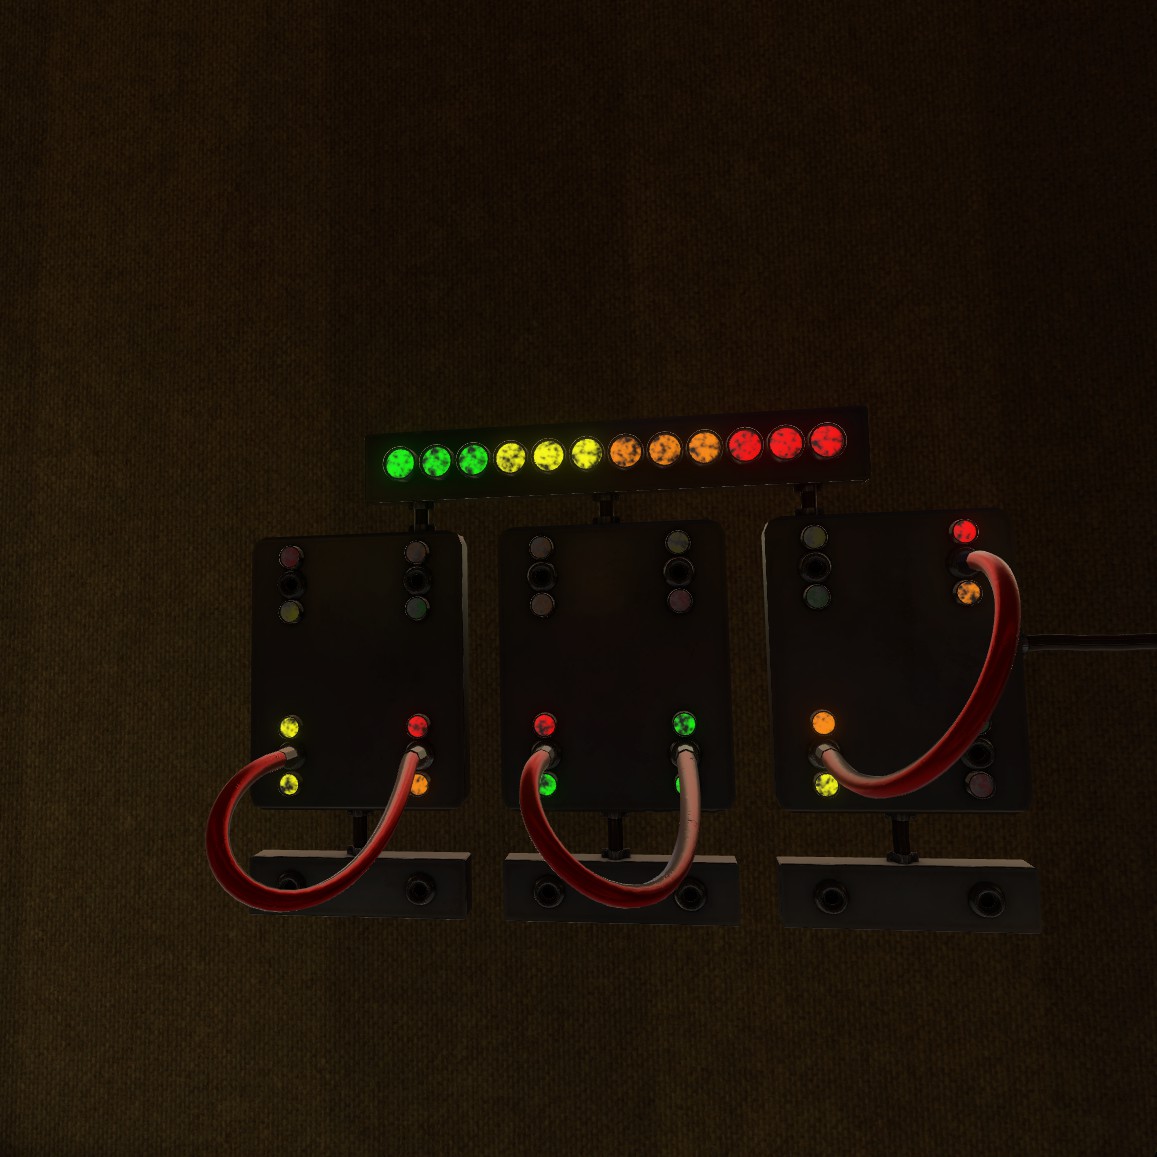
Now for the real game! Go over to this panel and adjust the first, third and fourth knobs to land on the green number. Each knob moves the needle a set number of squares, so this is easy.
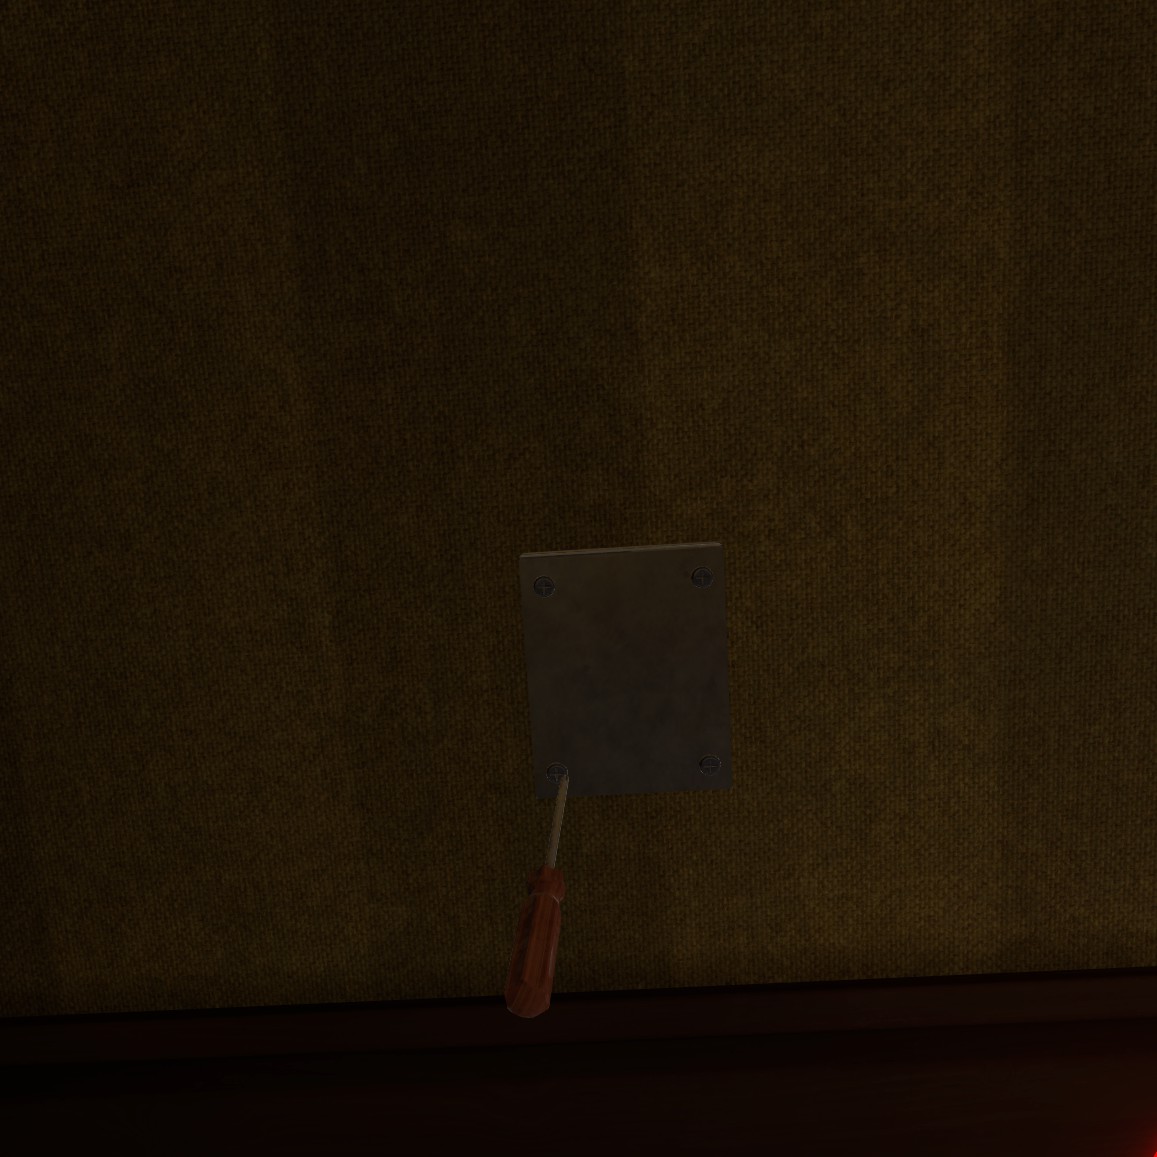
Next up, take out the screwdriver and undo this panel to become an electrician
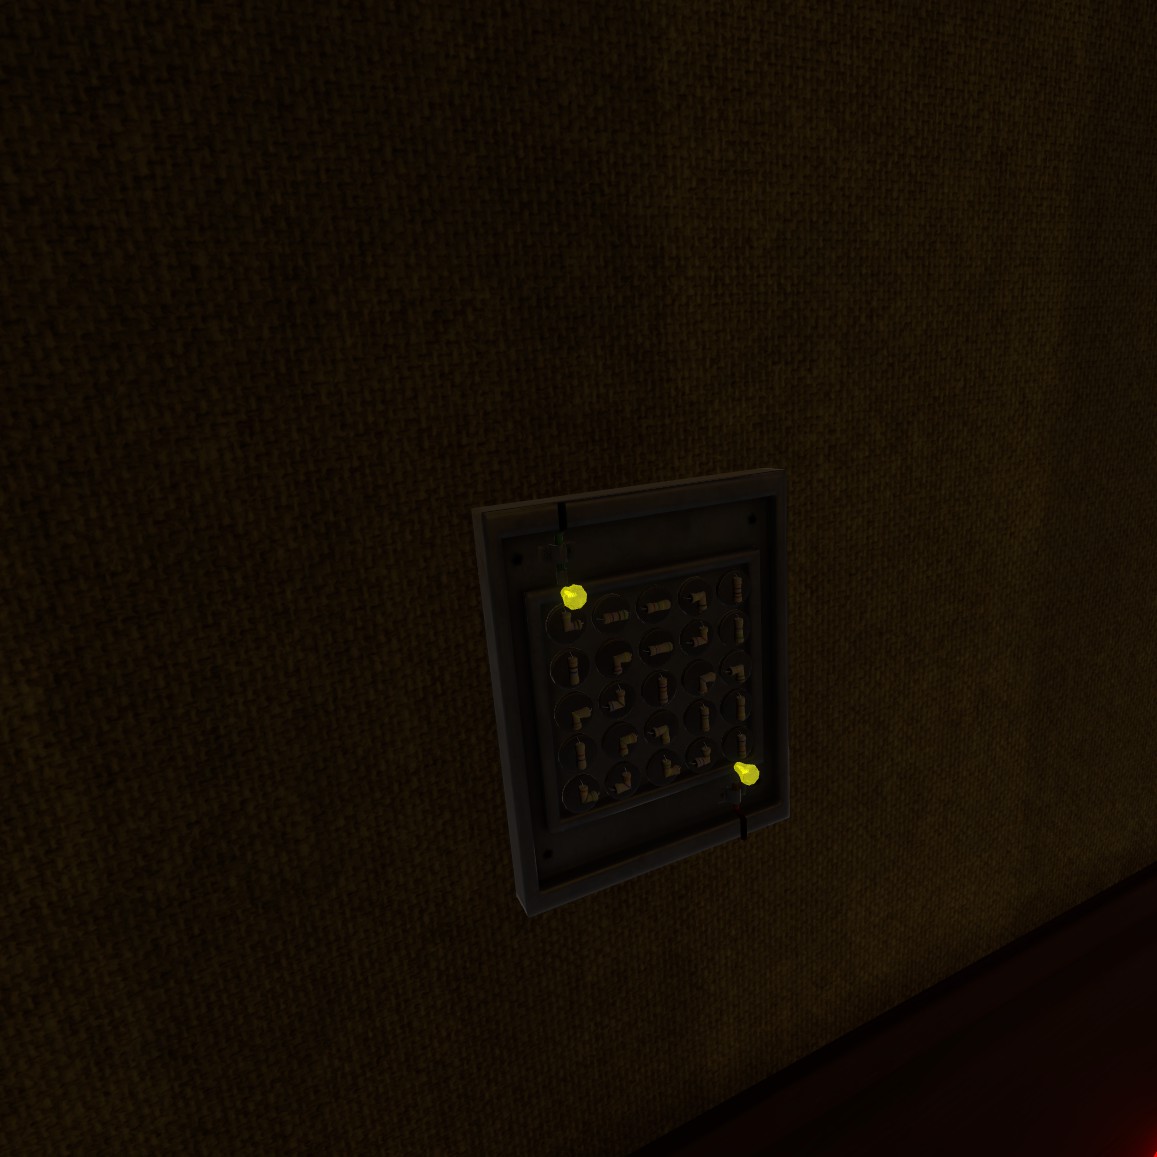
Adjust all the little circuits like a connect the pipe game (cause that’s totally how this works) until it looks like this
Once that’s done, you’re free to enter the concession stand! Start up by breaking everything to vent some frustrations! Just kidding, there’s an achievement for not breaking anything. So, I wouldn’t do that if I were you.
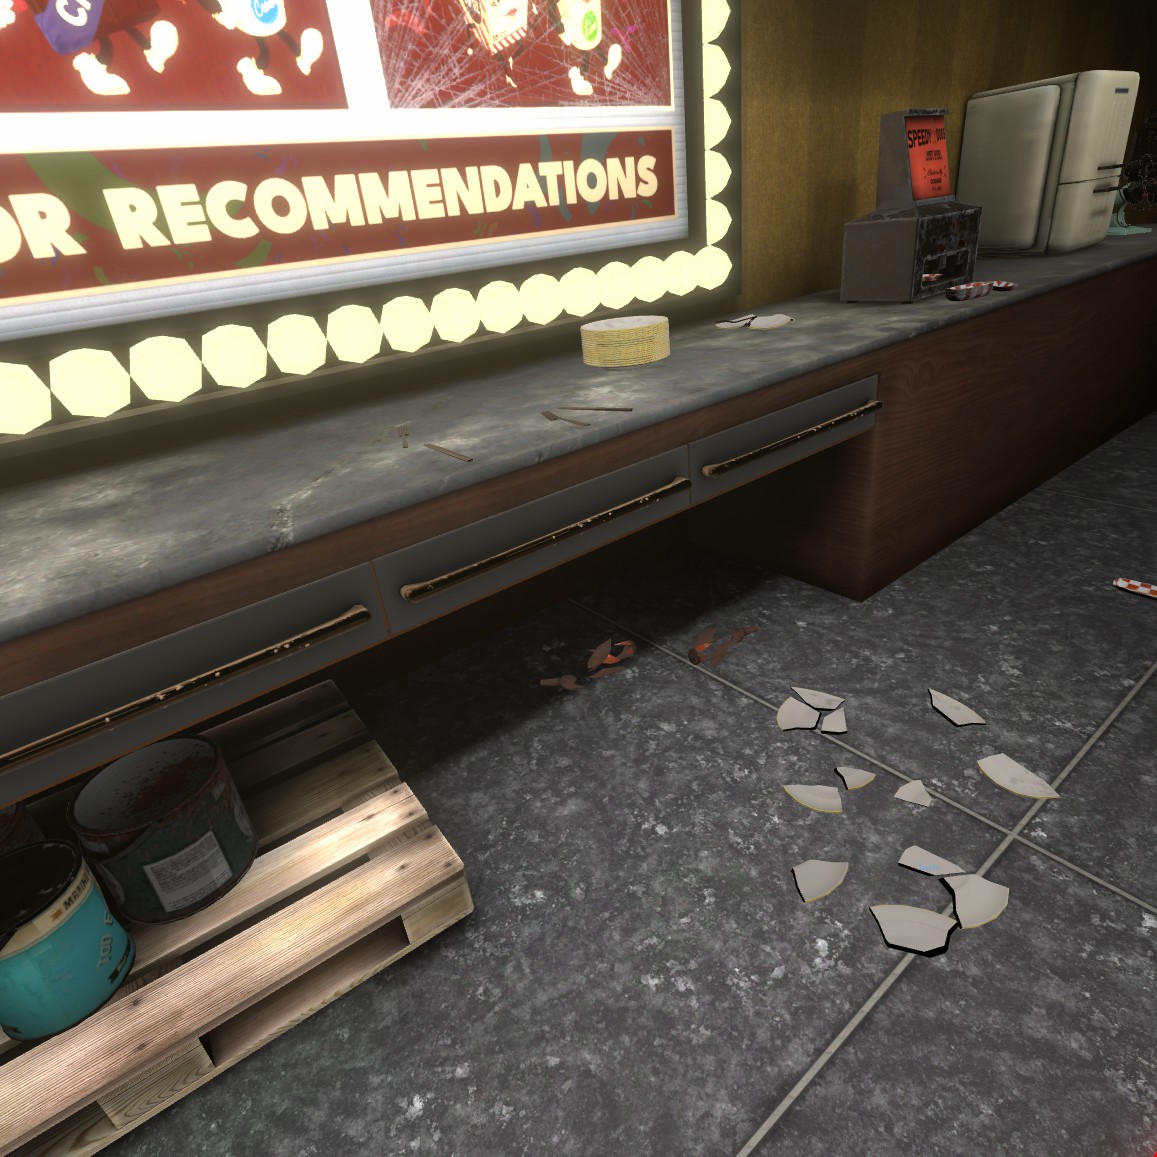
Open up all of the drawers, you’ll find a key to the soda machine, the popcorn machine key and another paper about the story to read.
Don’t forget to grab this paper on the counter all the way past the hot dog machine.
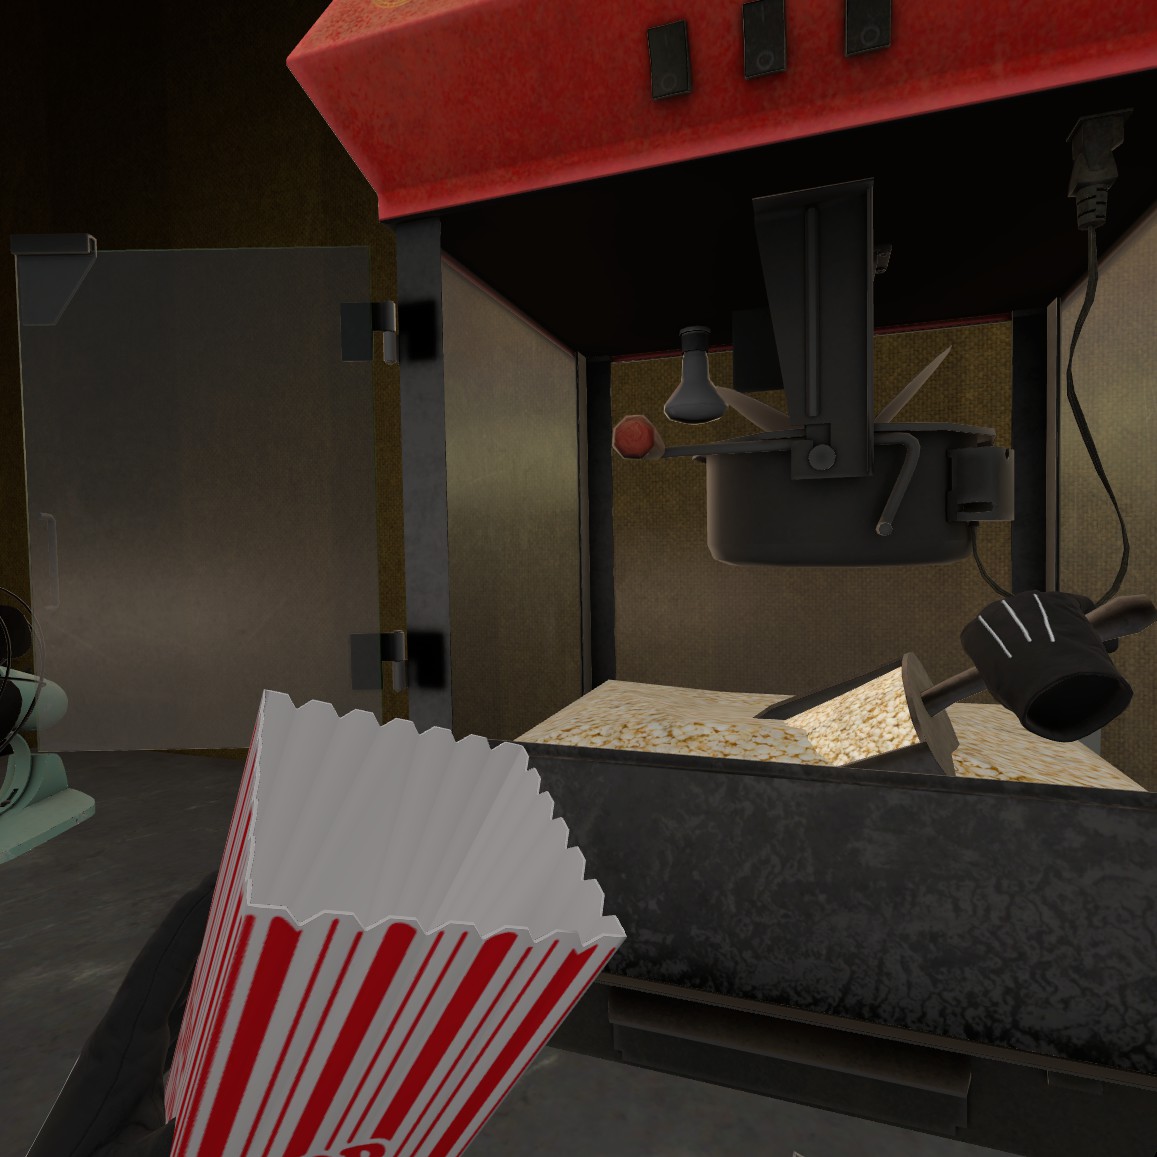
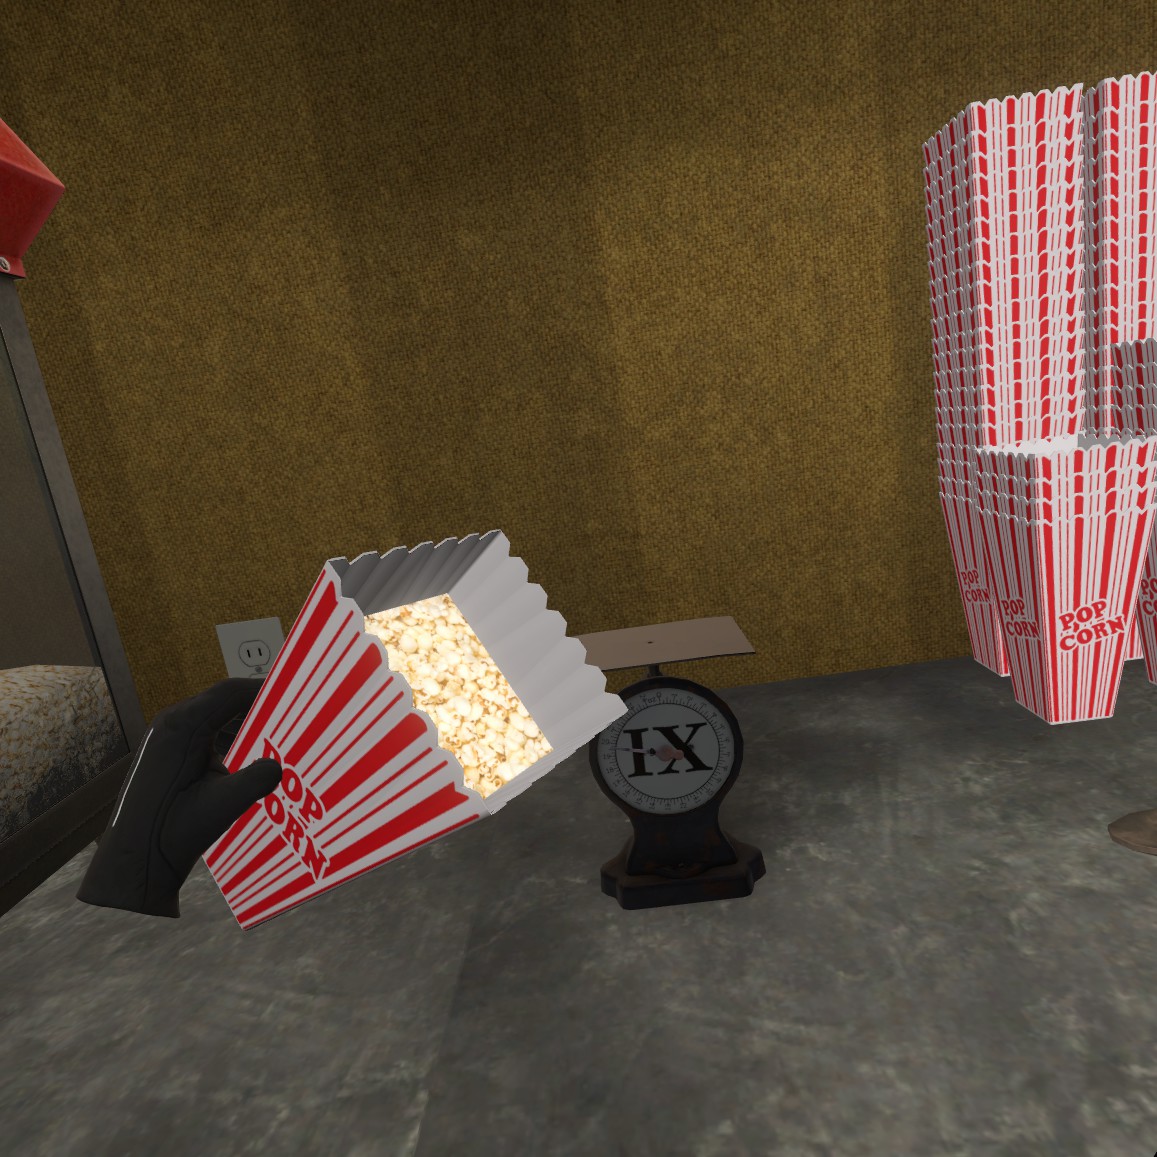
Starting with the popcorn, grab the scoop and popcorn bag after opening up the case. Fill up the bag and then weigh it for the first clue. It should look something like this.. because they never overfill the popcorn bag. Totally believable.
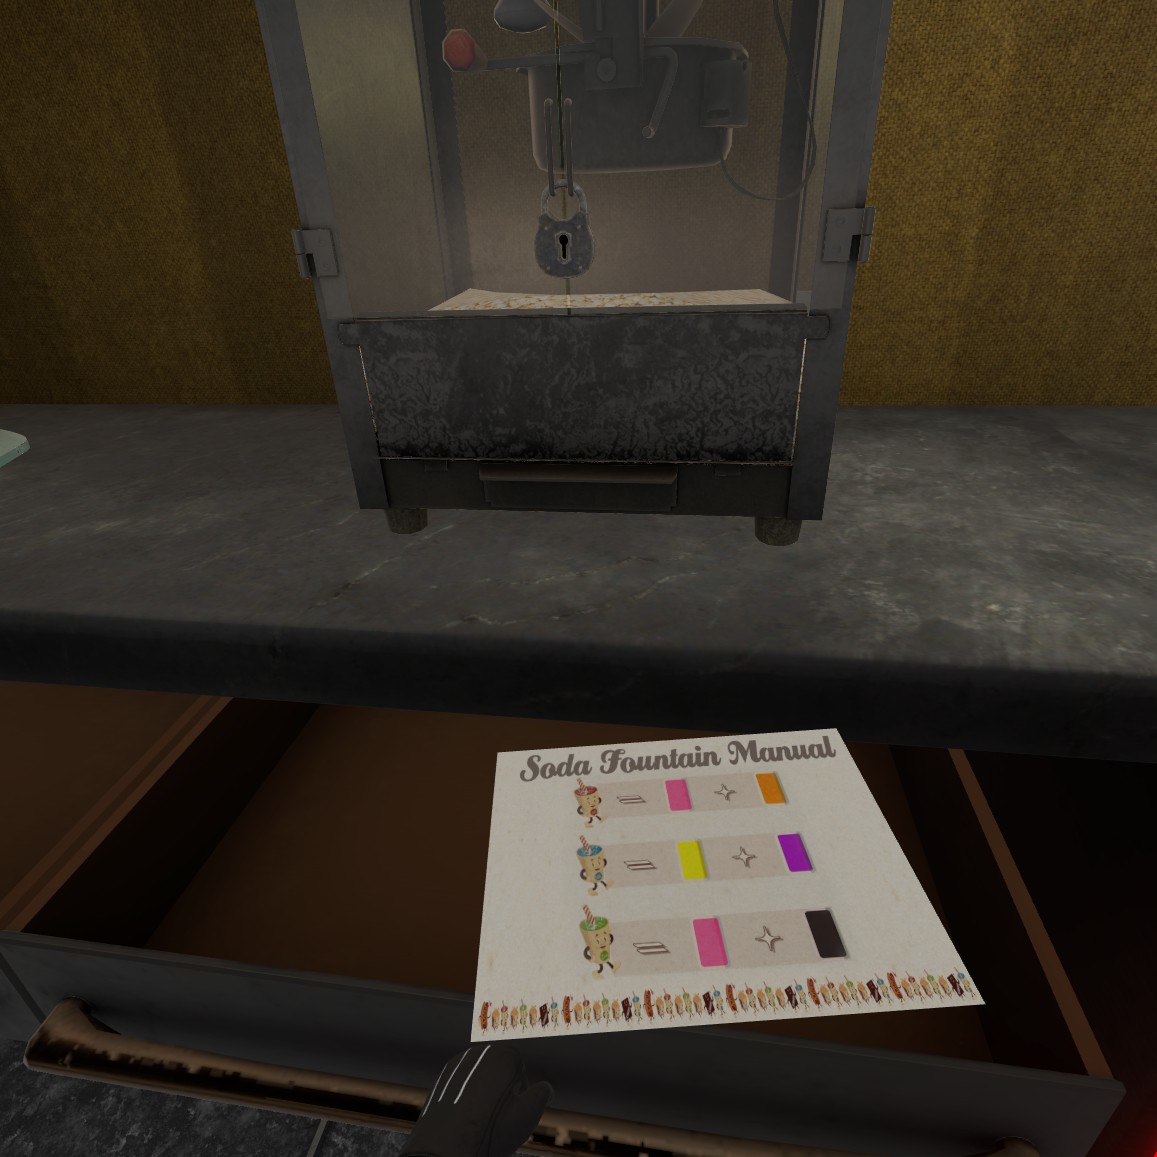
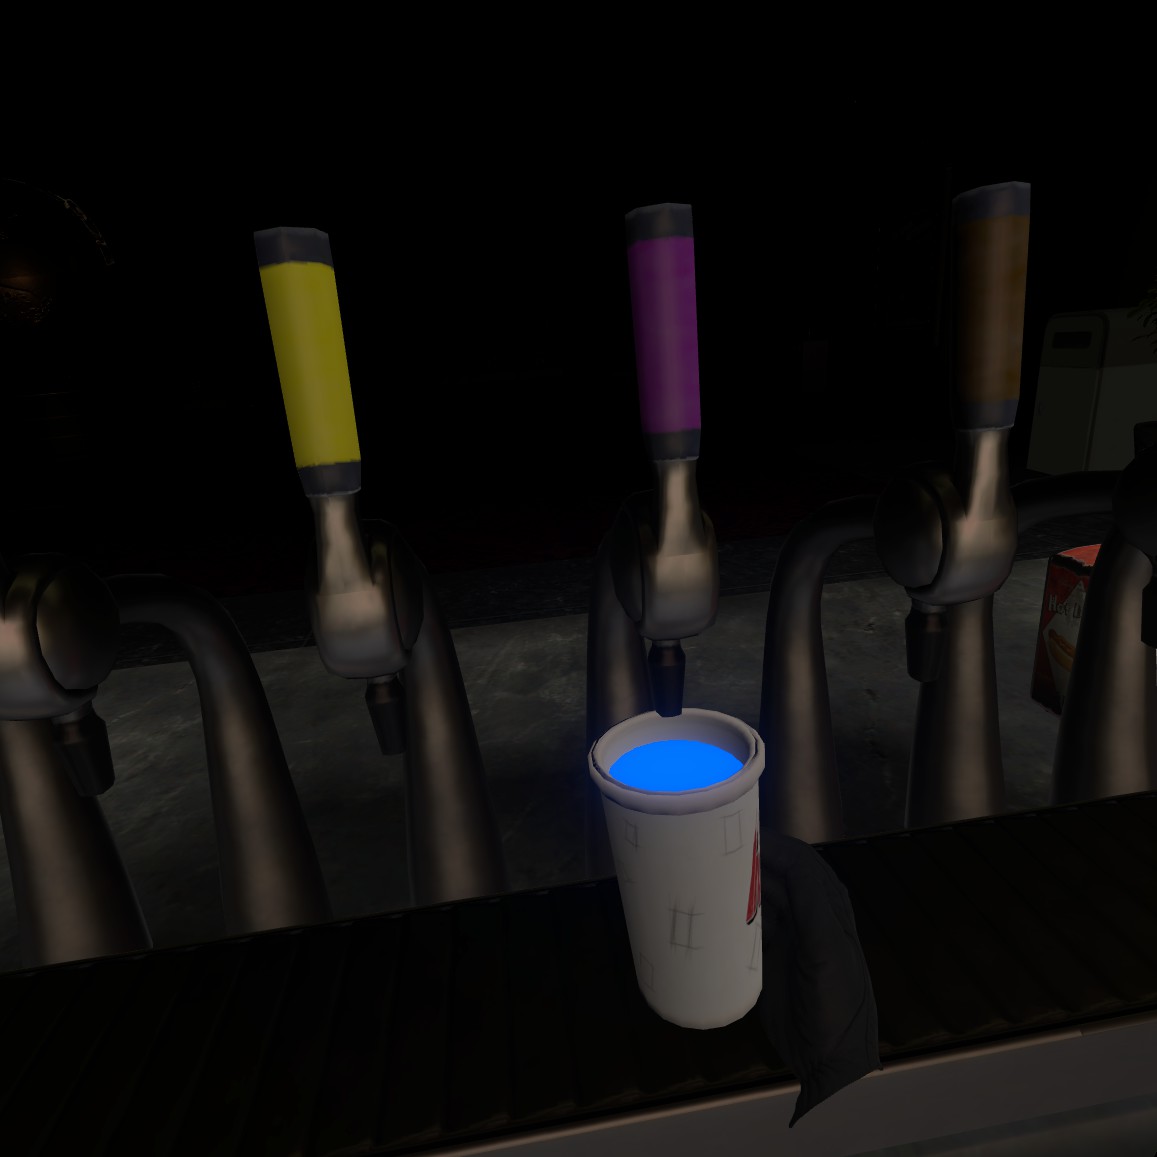
Next up, the soda machine. Mix yellow and purple to get blue (because that’s how colors work apparently) and get your second clue on the cup.
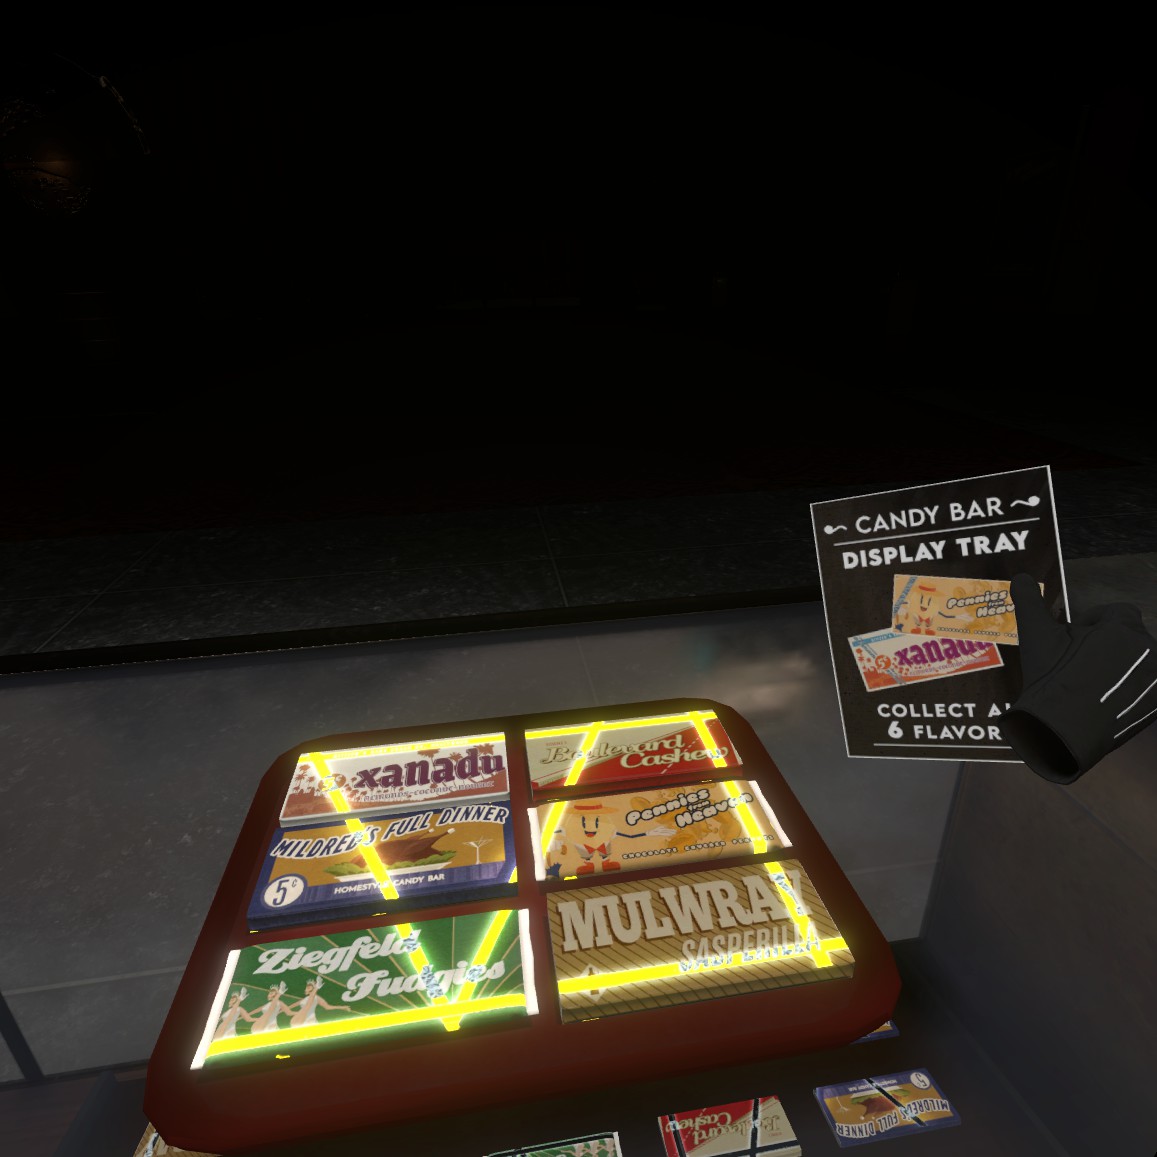
Finally, collect all the different chocolate bars and line them up for the final clue.
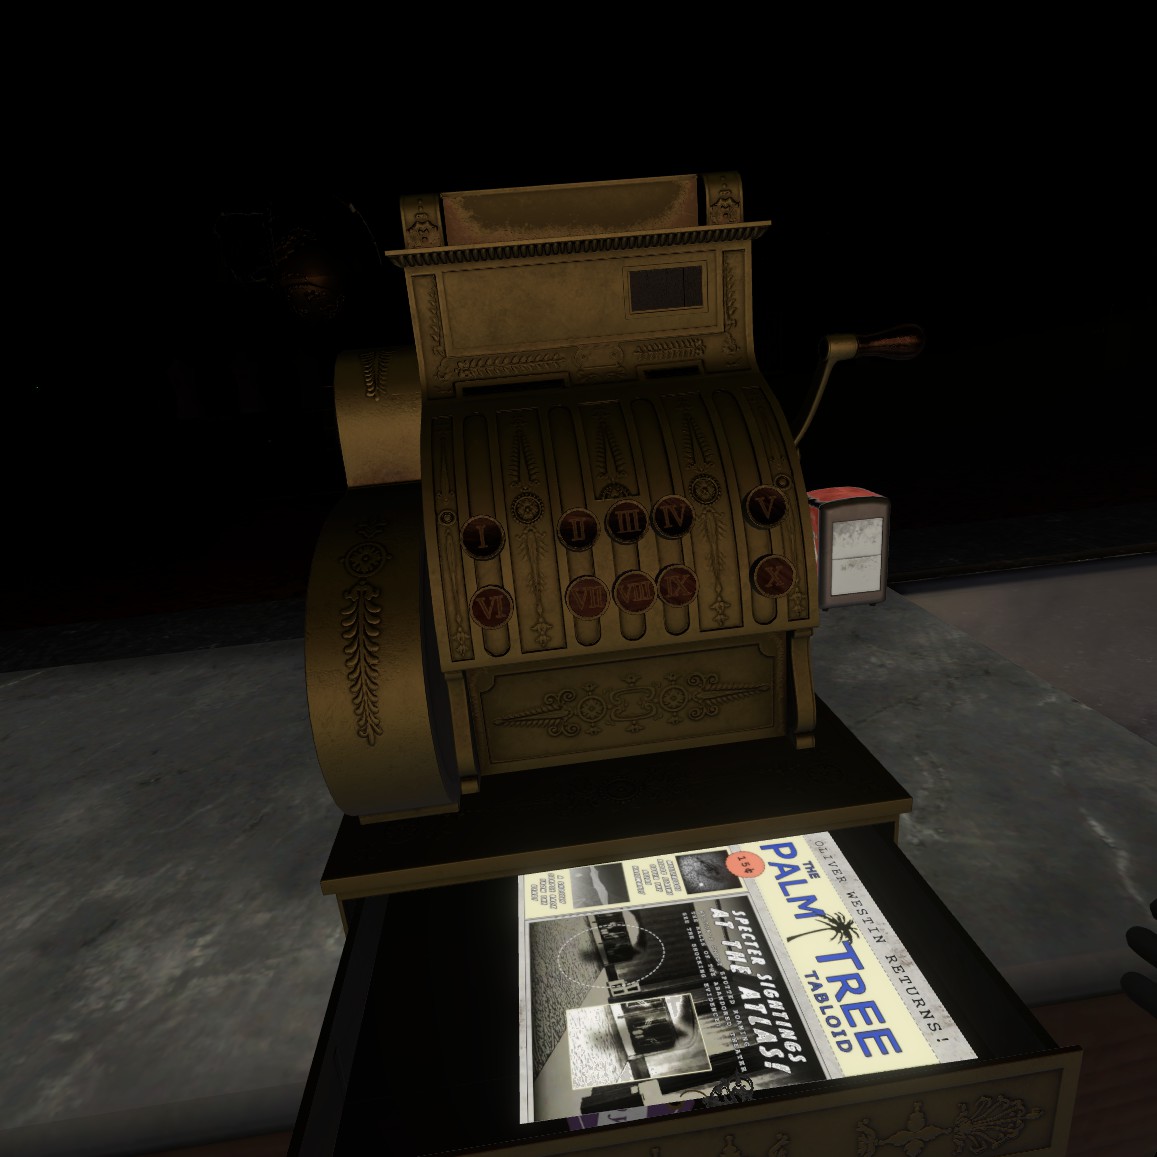
Great! You made your first combo like the note at the start of the counter told you too! Plug in the roman numerals II, VI, & IX into the cash register to get the key to the counter and another article about The Atlas.
Take the key and take off the padlock on the counter, you’ve now finished the concession stand and opened up the lobby.
Now, onto the main lobby! (Please note that you get an achievement for finishing this part under a certain amount of minutes)
Main Lobby of the Atlas
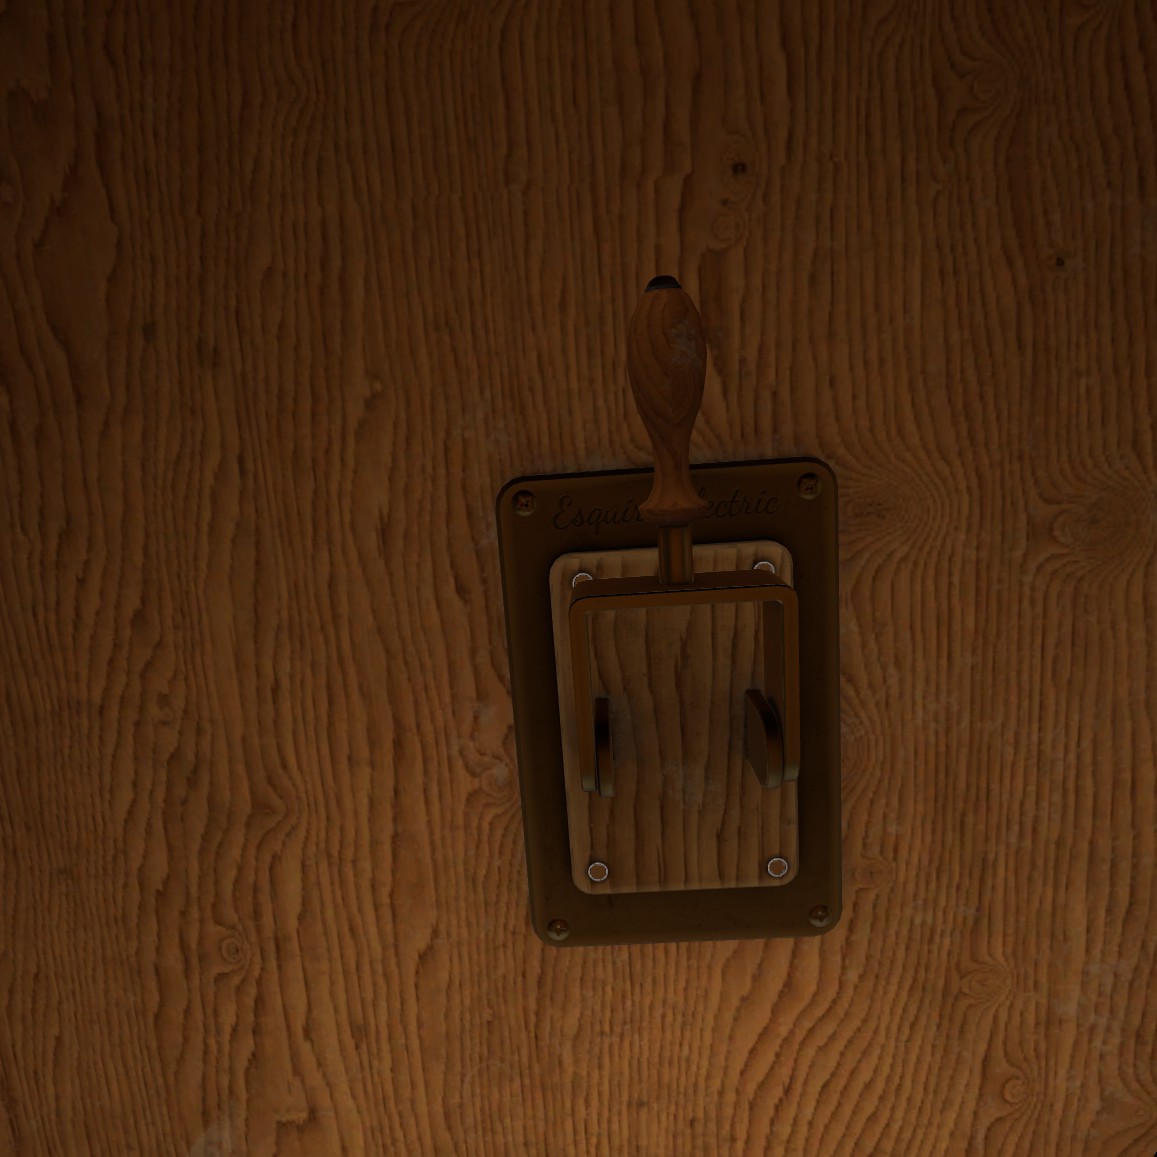
Igor, flip the switch! (then the lights will flicker on and you can see into the abyss)
Go fishing through the trash like the trash gamers we are. You will need to open the door (I struggled with it a bit) and then pull out the trash bin, grab the page and put the trashcan on your head.
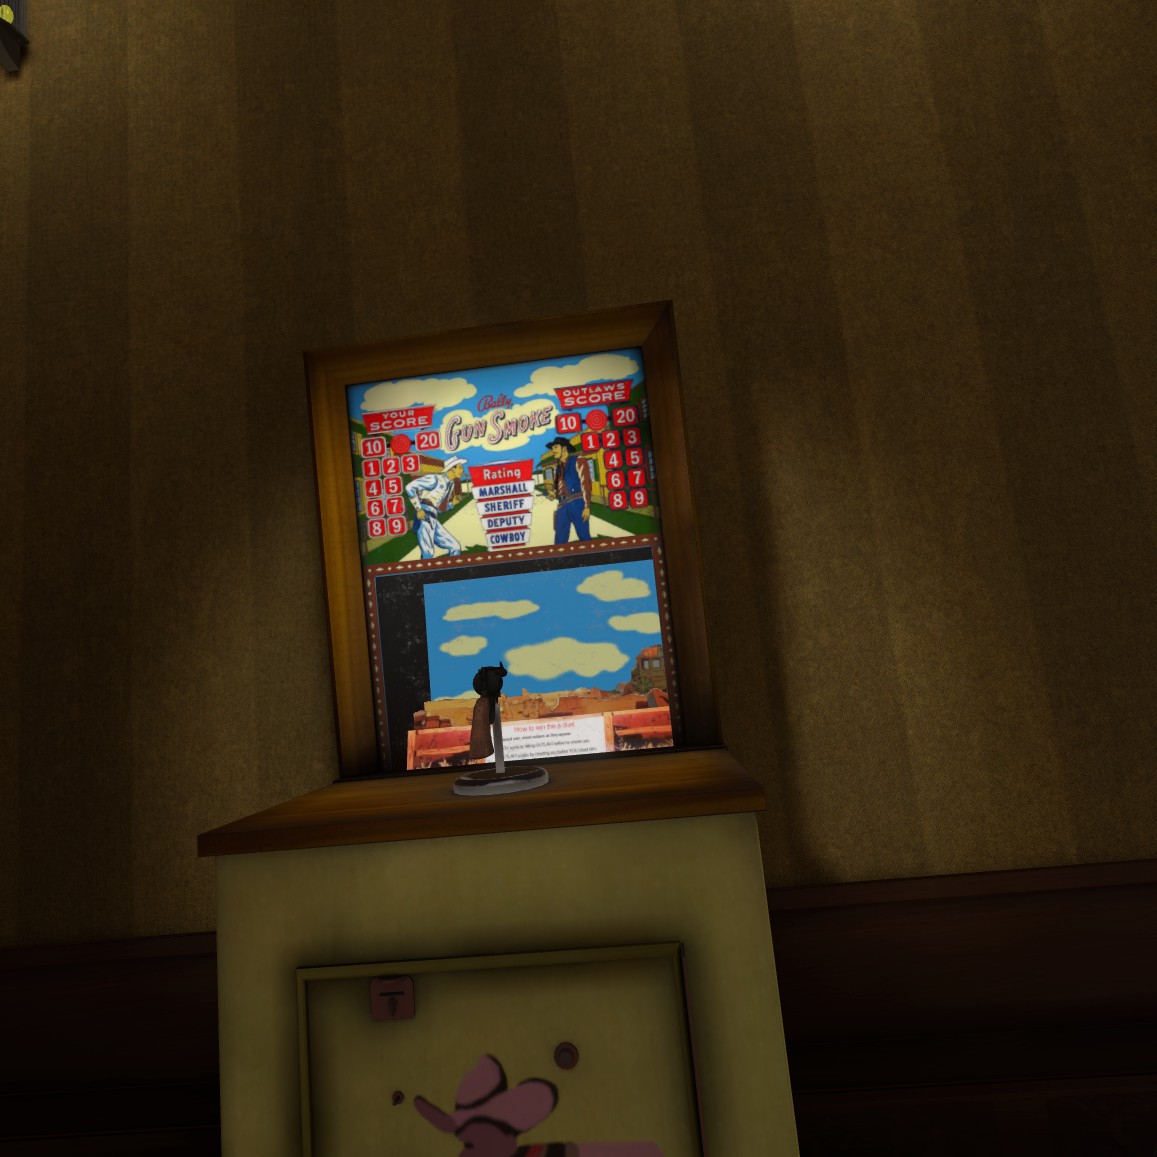
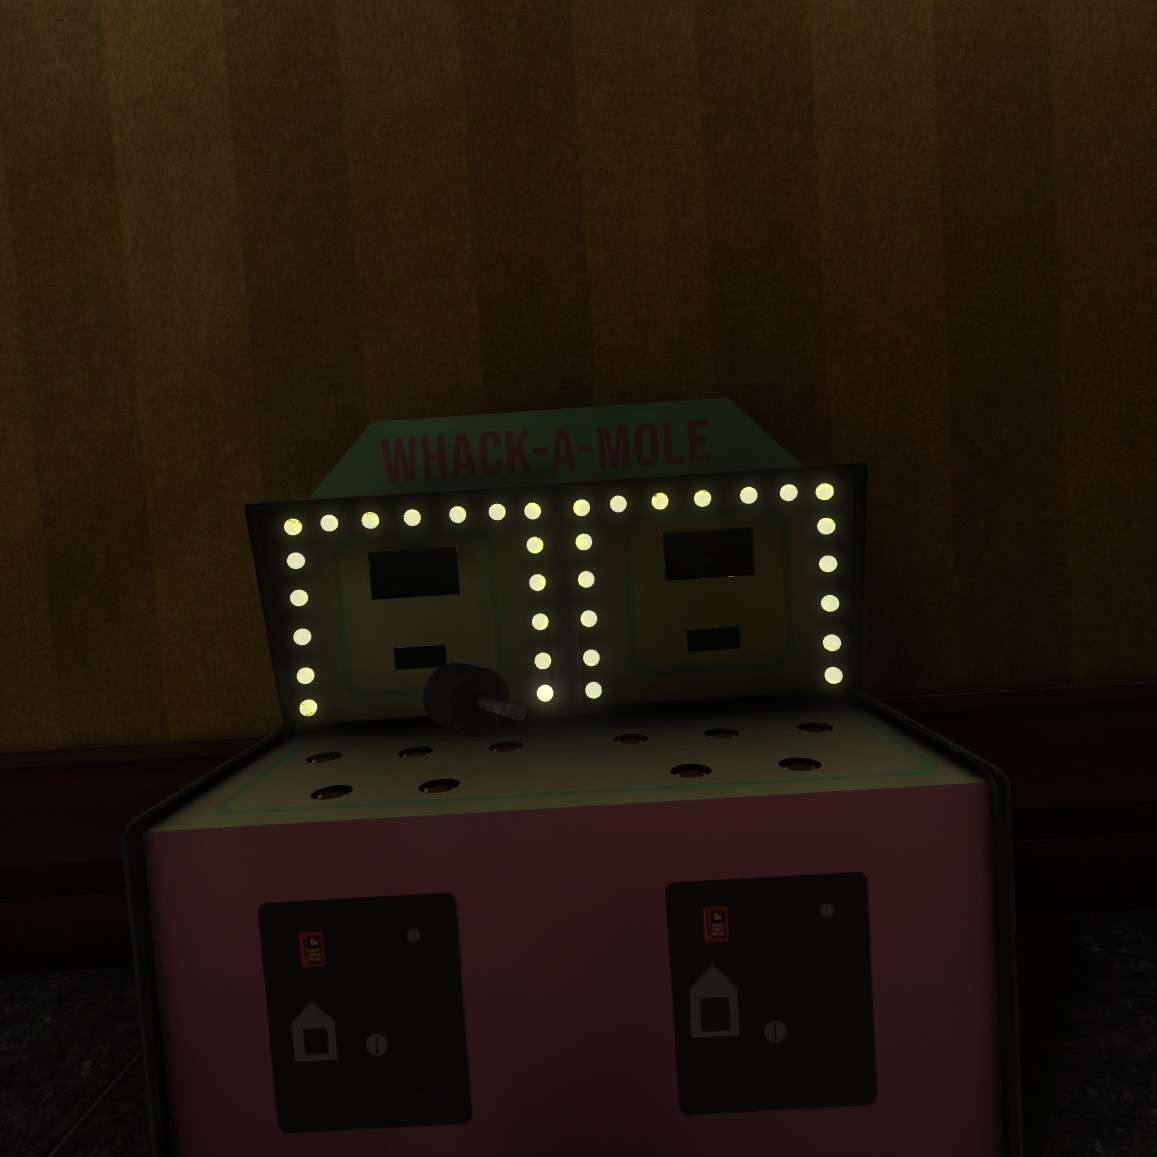
Go over to the arcade cowboy game and shoot cowboys until you get an achievement. (5 I believe) Next, go to the Wack a Mole machine and hit them until you unlock 2 achievements (5 & 15 I think)
Walk over to the table with a small potted plant and smash it for an achievement
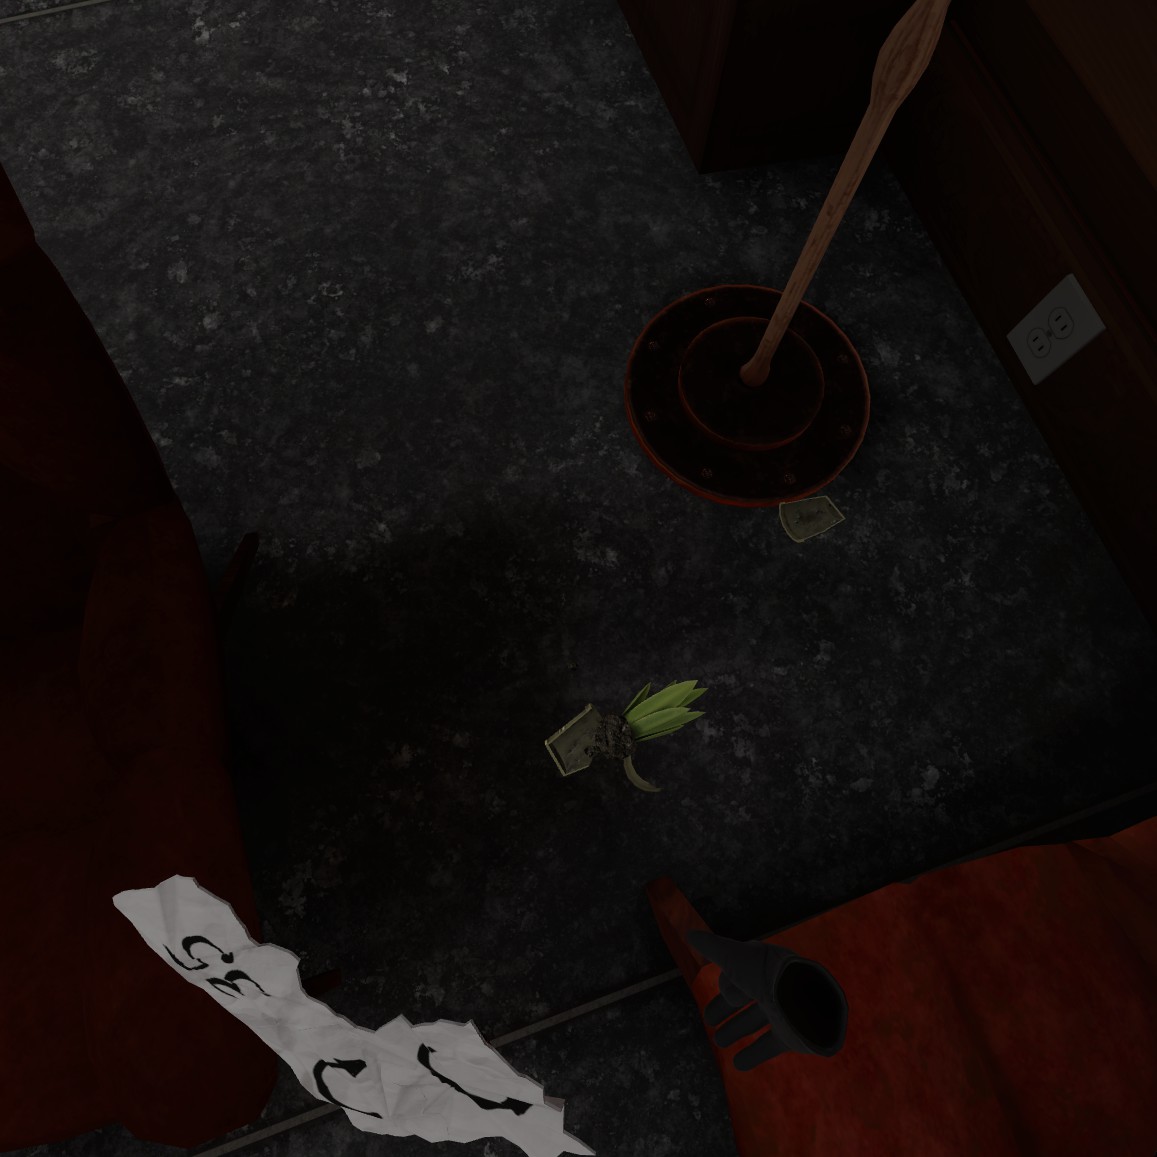

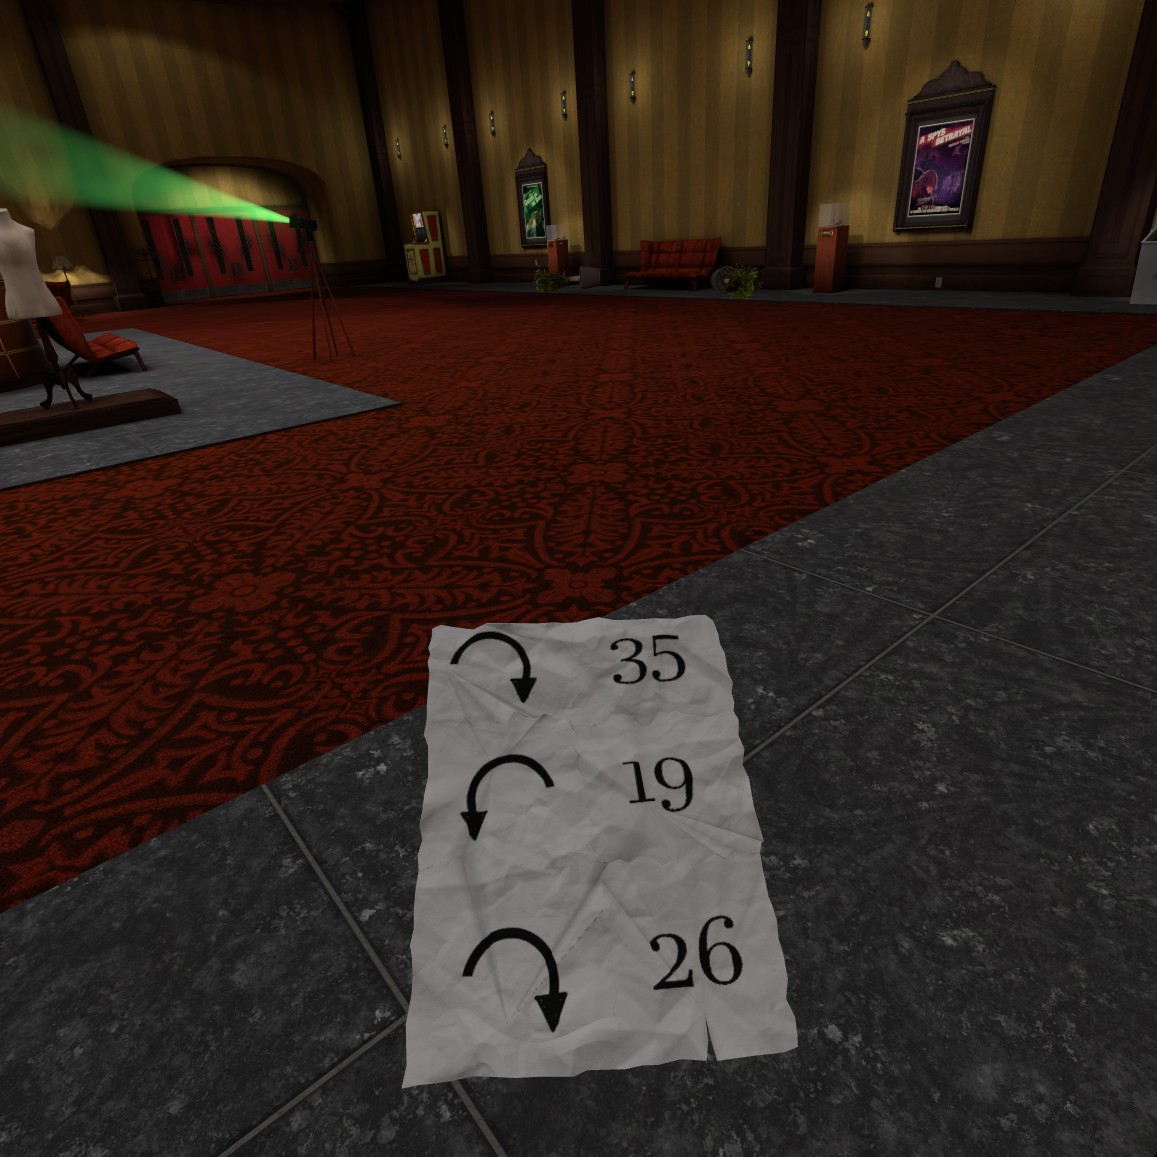
Grab the piece of paper on the table for a clue on how to unlock the first display cases you see.
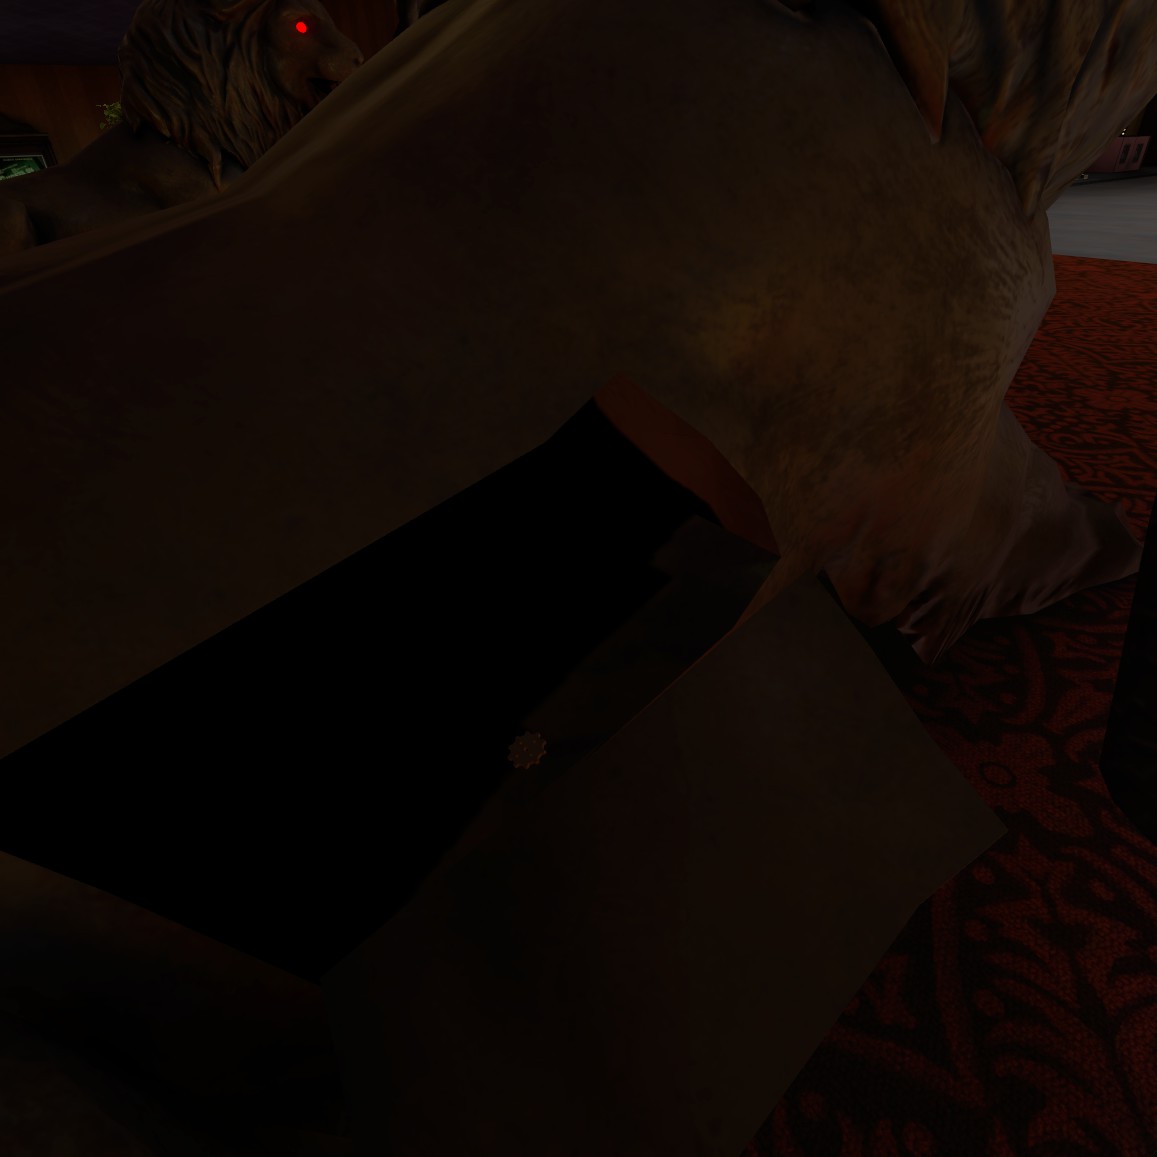
Pick up the box and tilt it to the left to open up the key to the pigpen cipher. Now walk over to the lions, set your little piece of paper down on the counter since you can’t put it in the backpack. Start with the lion on the left.
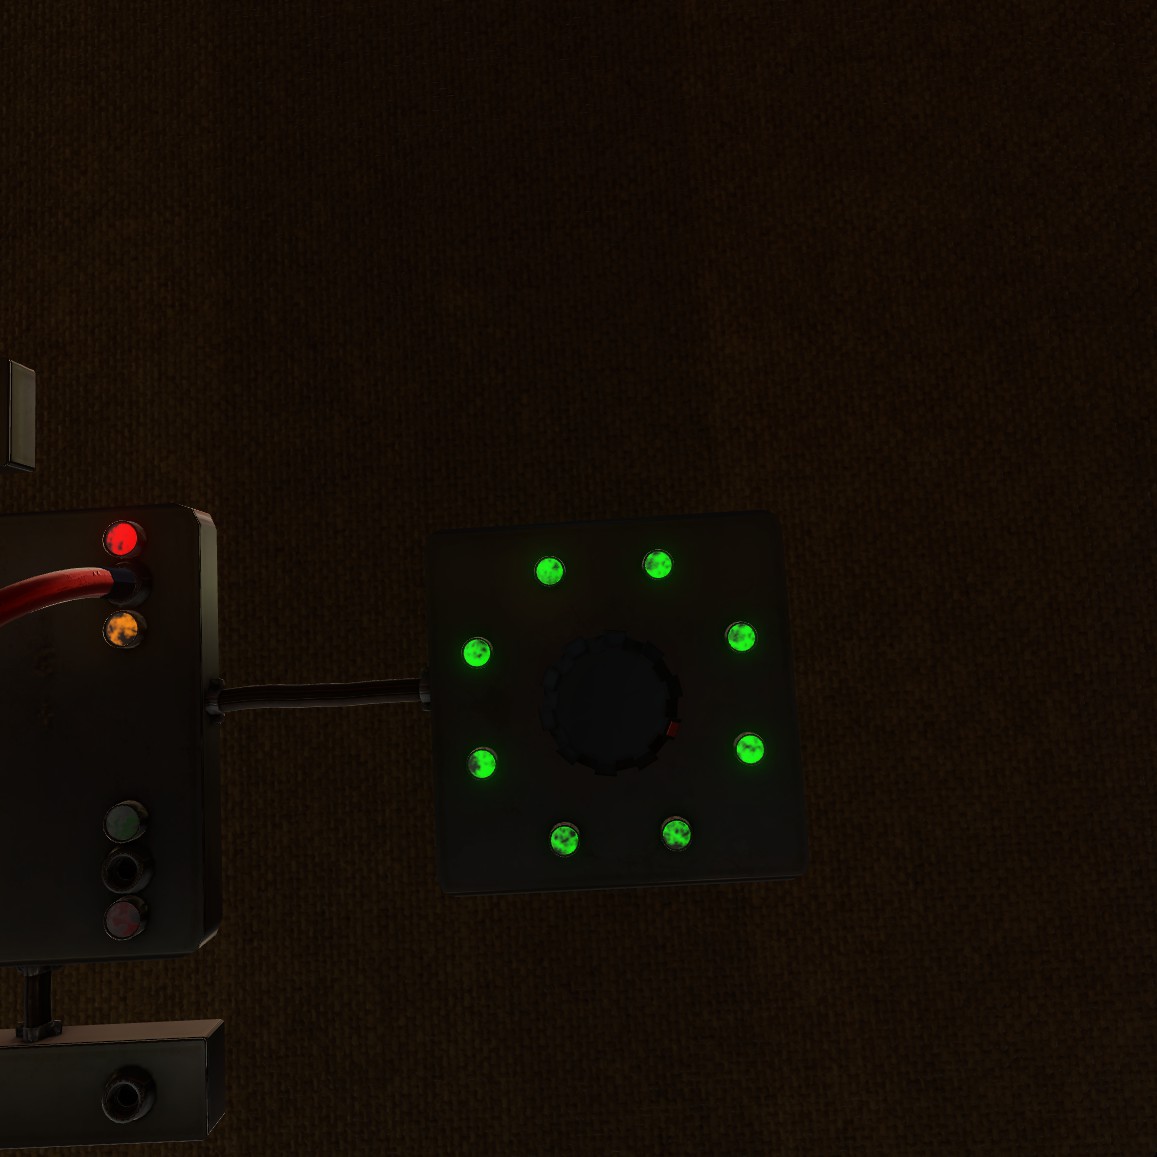
In order to activate all the lights, line up the plugs as shown in this first photograph. Then turn the dial next to it until all the lights are green. The back of the lion will open revealing a cog wheel, grab it and put it in your backpack.
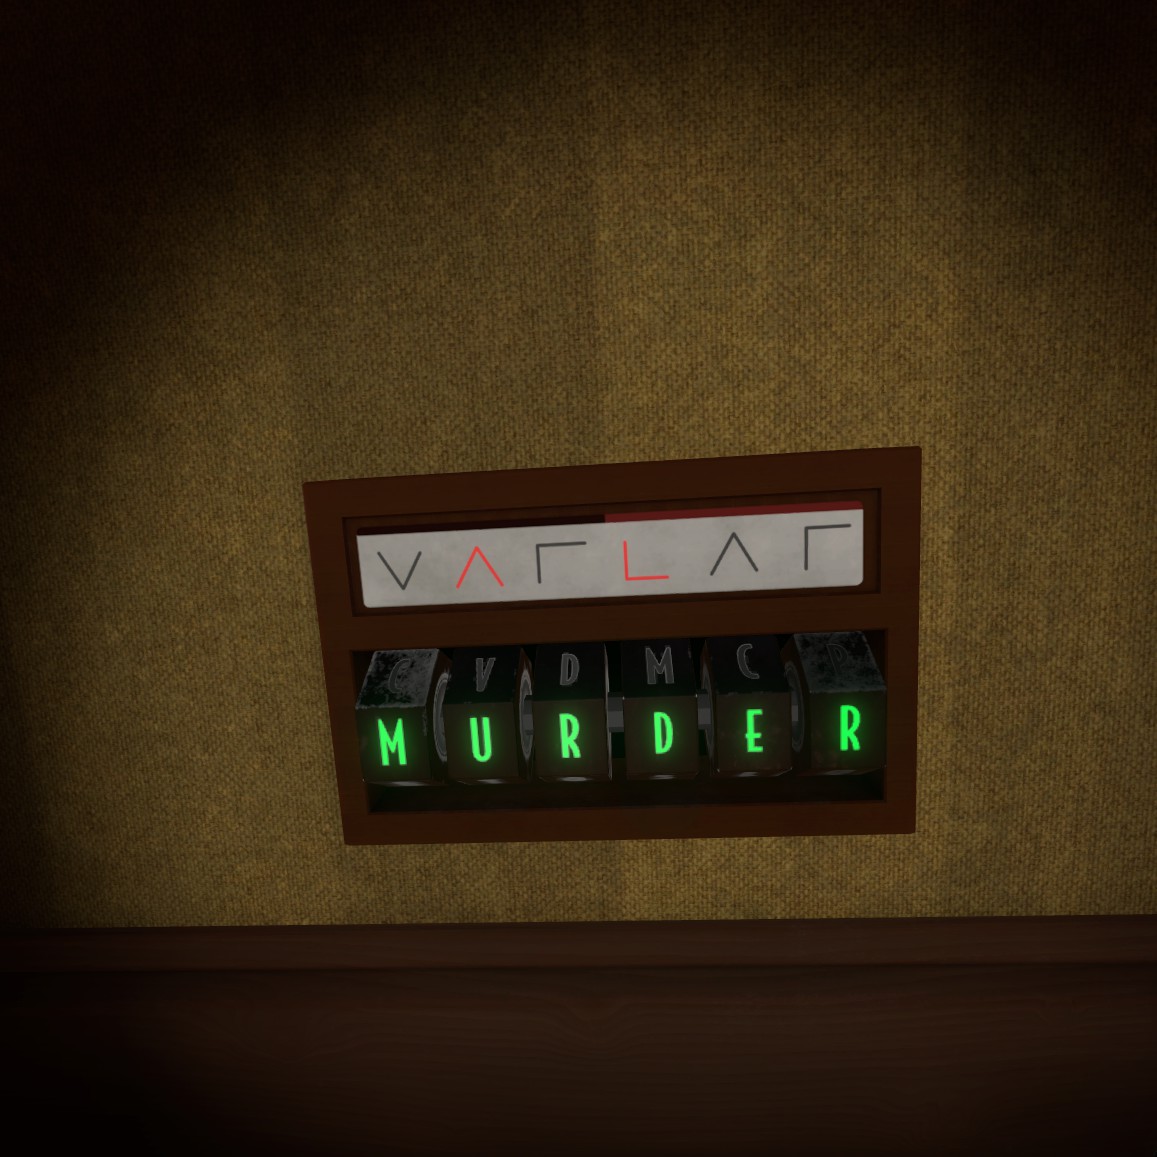
Go to the lion on the right and input the answer to the pigpen cipher (Murder). Grab the cog wheel that is inside the secret compartment of the lion and then take your little scrap of paper from the trash bin and walk to the second trash bin. Open it up and put the two pieces of paper together.
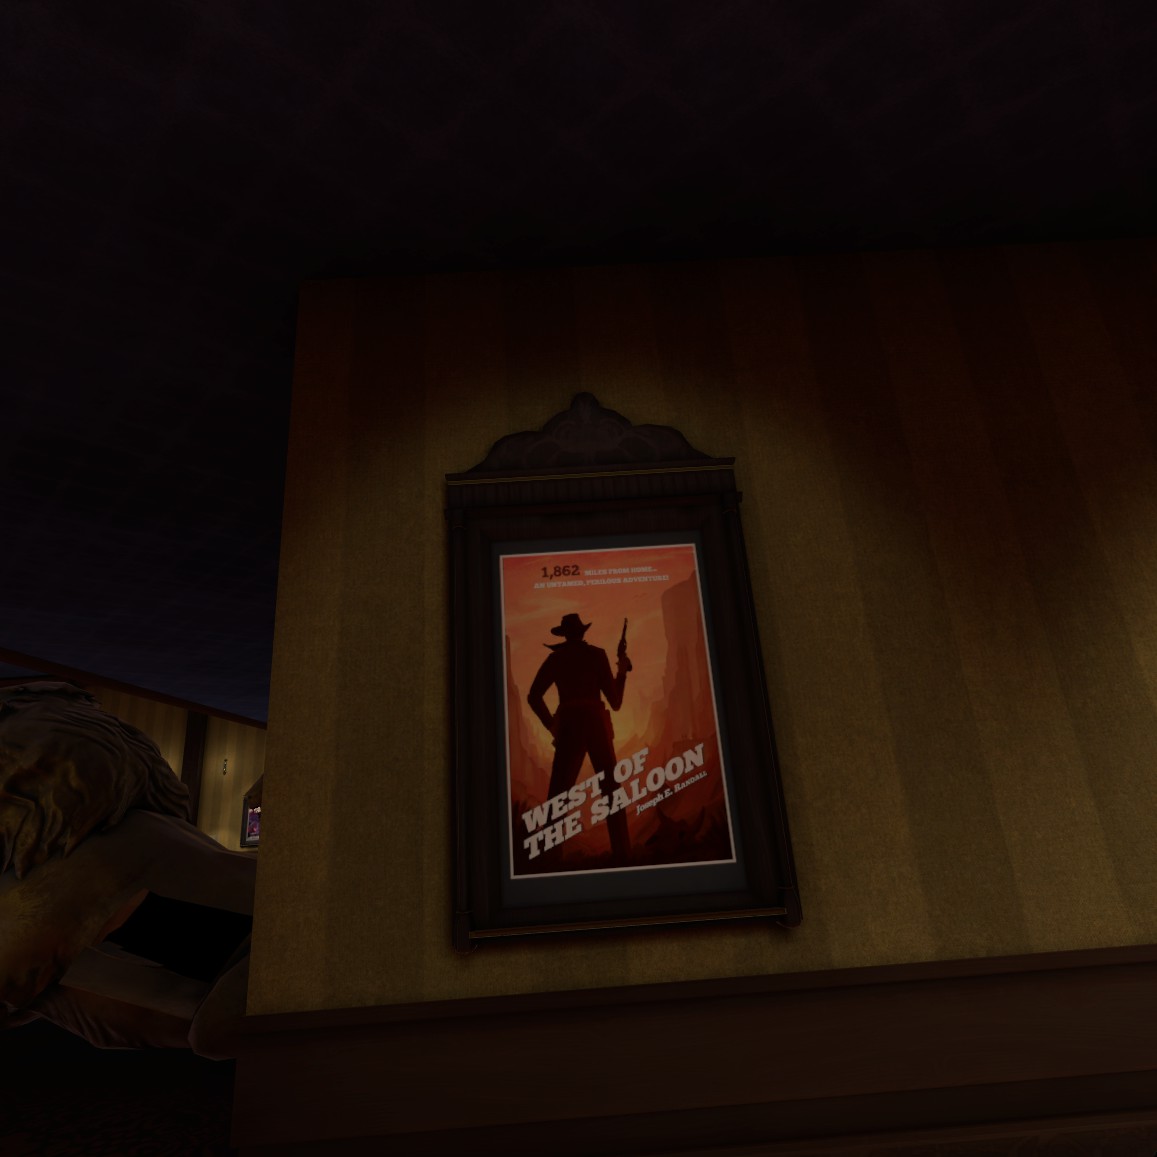
Take note of the poster on the wall opposite of the trash bin, this is the poster referenced in the clue we found earlier.
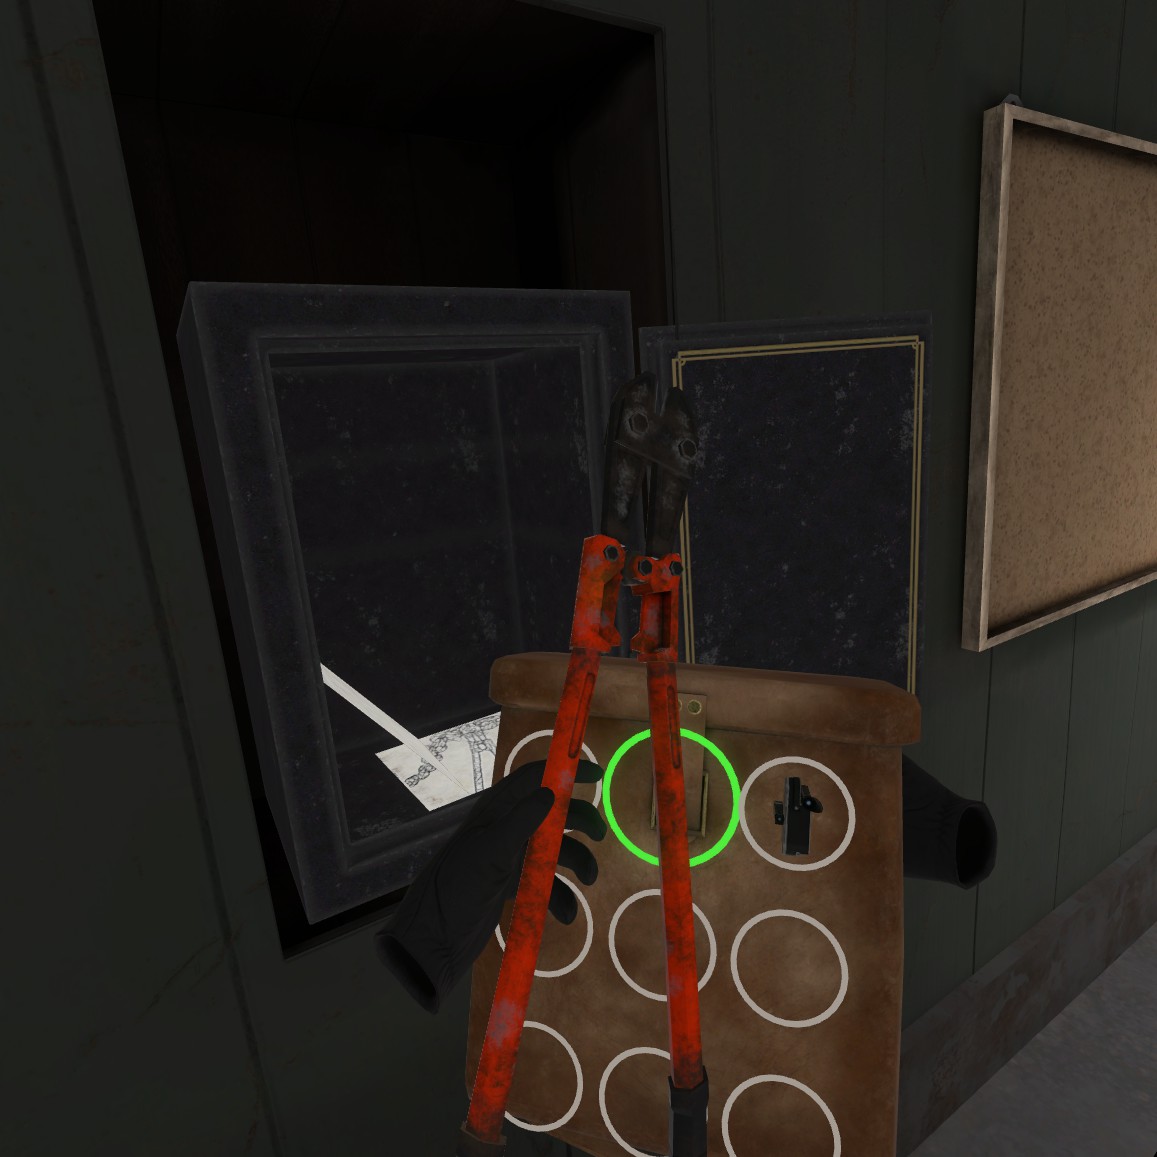
Go to the display case to the left of the second trash bin and tap the plaque to open a secret compartment. Put in the cogwheels as shown in this photo, take the statue and the dial and put them both in your backpack.

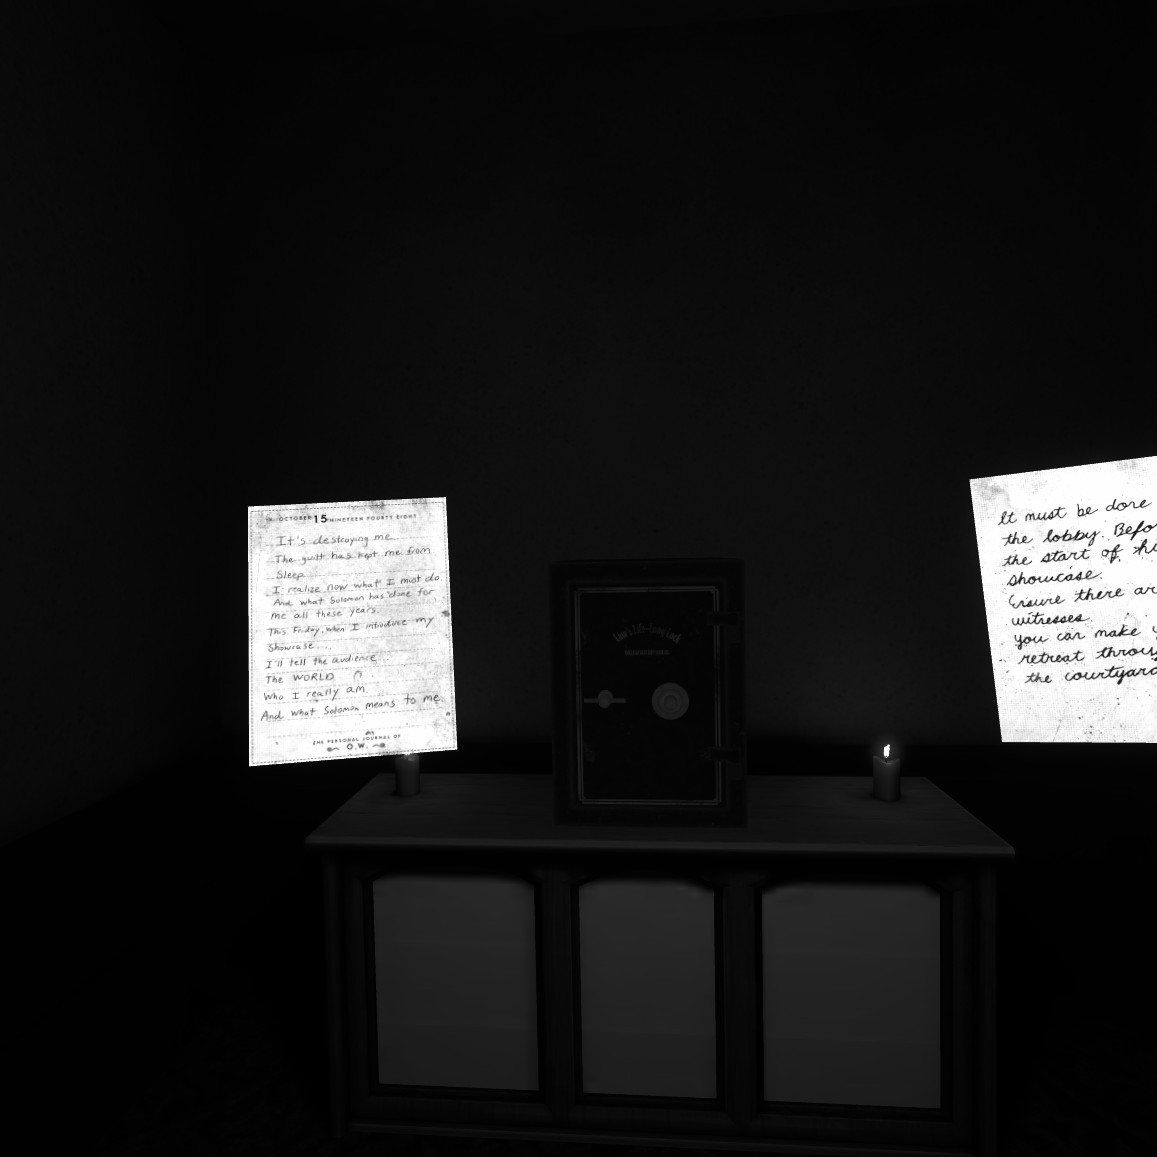
Go back to the other two display cases, start with the one on the left and input the combination using the crank since you can’t put the paper with the code into your backpack. Again, take the statue and dial and place them into your backpack. Go to the display case to the right of that one, the final case and put in the numbers 1862 to unlock it. Take the last dial & statue and then go over to the safe back on the other side of the lobby.
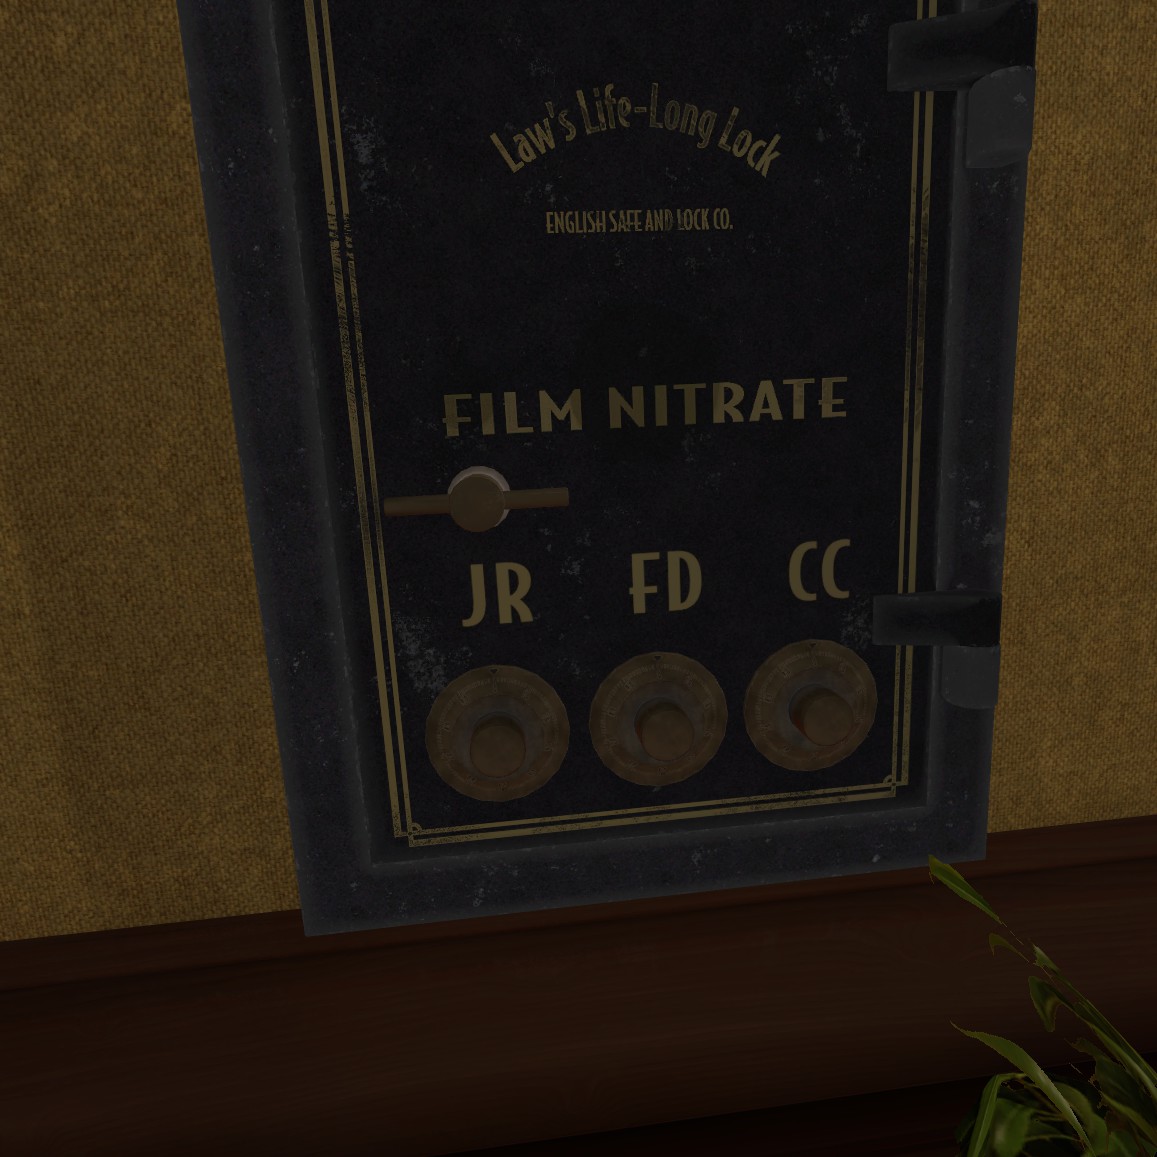
Attach all of the dials and then match the names on the statues to the initials on the safe. Use the initials to figure out the code for the safe. 20, 70, 50.
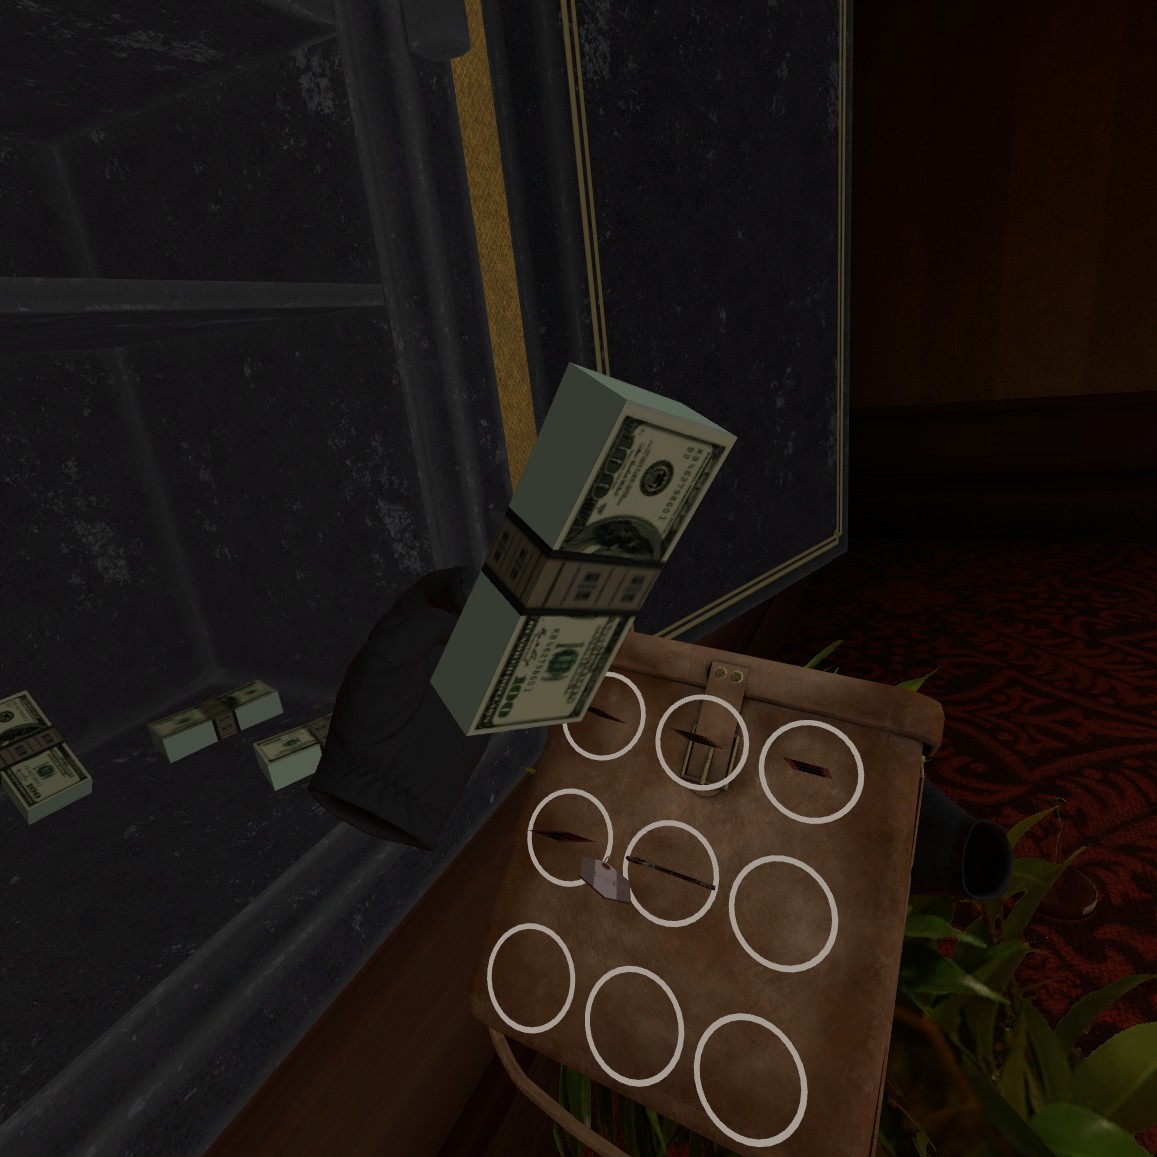
Afterwards, literally take
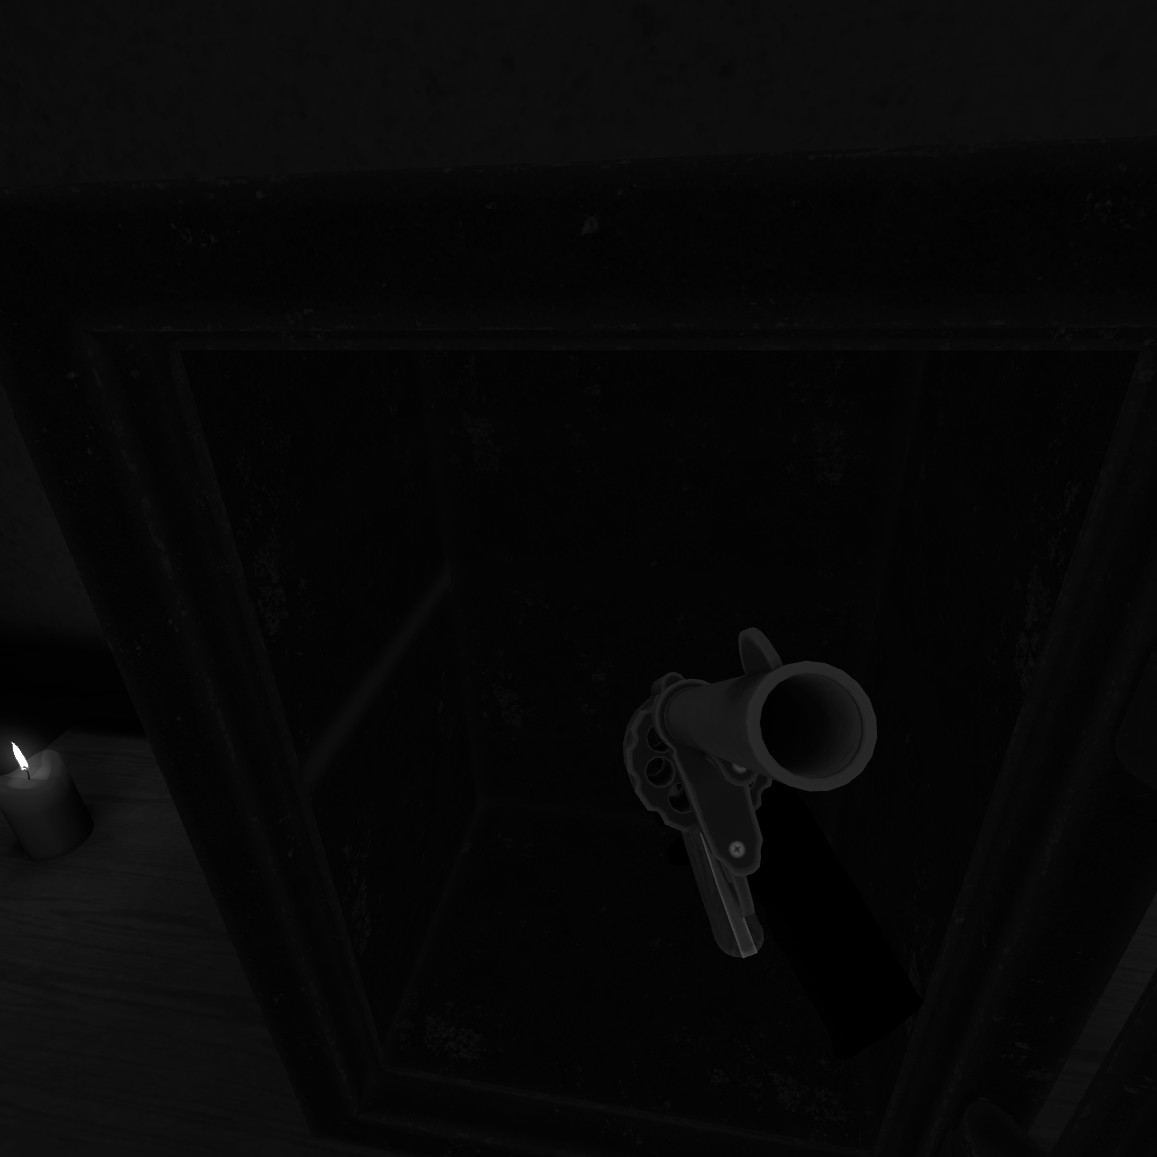
everythingout of the safe. Put the pieces of film into your backpack along with the key. Pull out the money for another achievement (you dirty thief you).
Take the key and go over to the globe. Once you put the key into the podium you have 30 seconds to solve this puzzle for.. you guessed it! Another achievement!
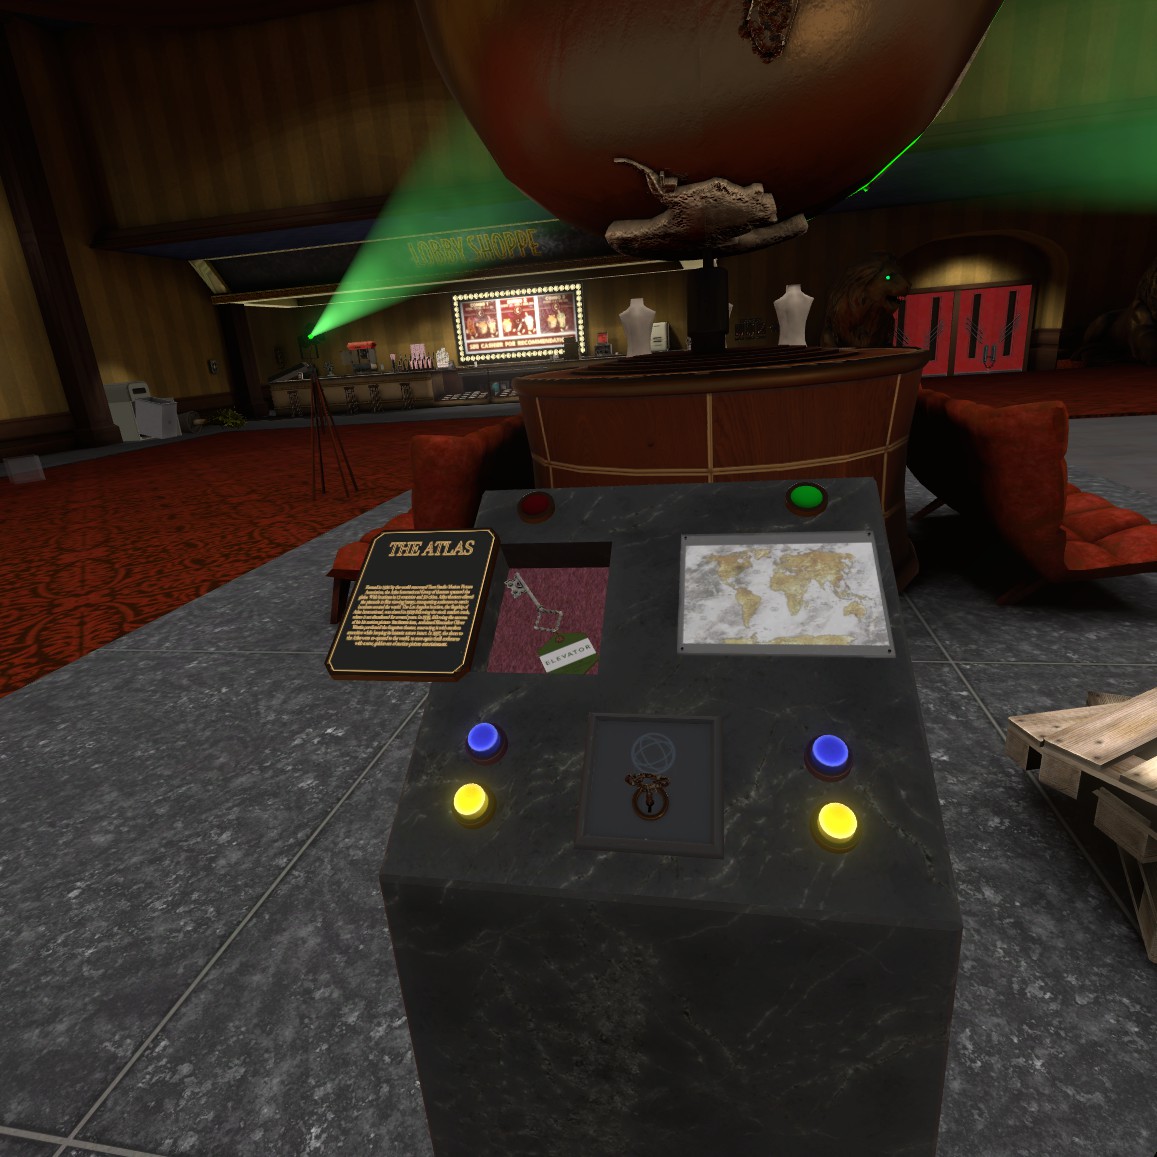
Contrary to popular belief, the buttons on the left only move the top part and the buttons on the right only move the bottom part of the globe. Press blue to move to the right, yellow to move to the left. Line up the continents to match the green glowing outlines and get the elevator key!
Now, to go upstairs! (Don’t forget the hammer!)
The Film Room
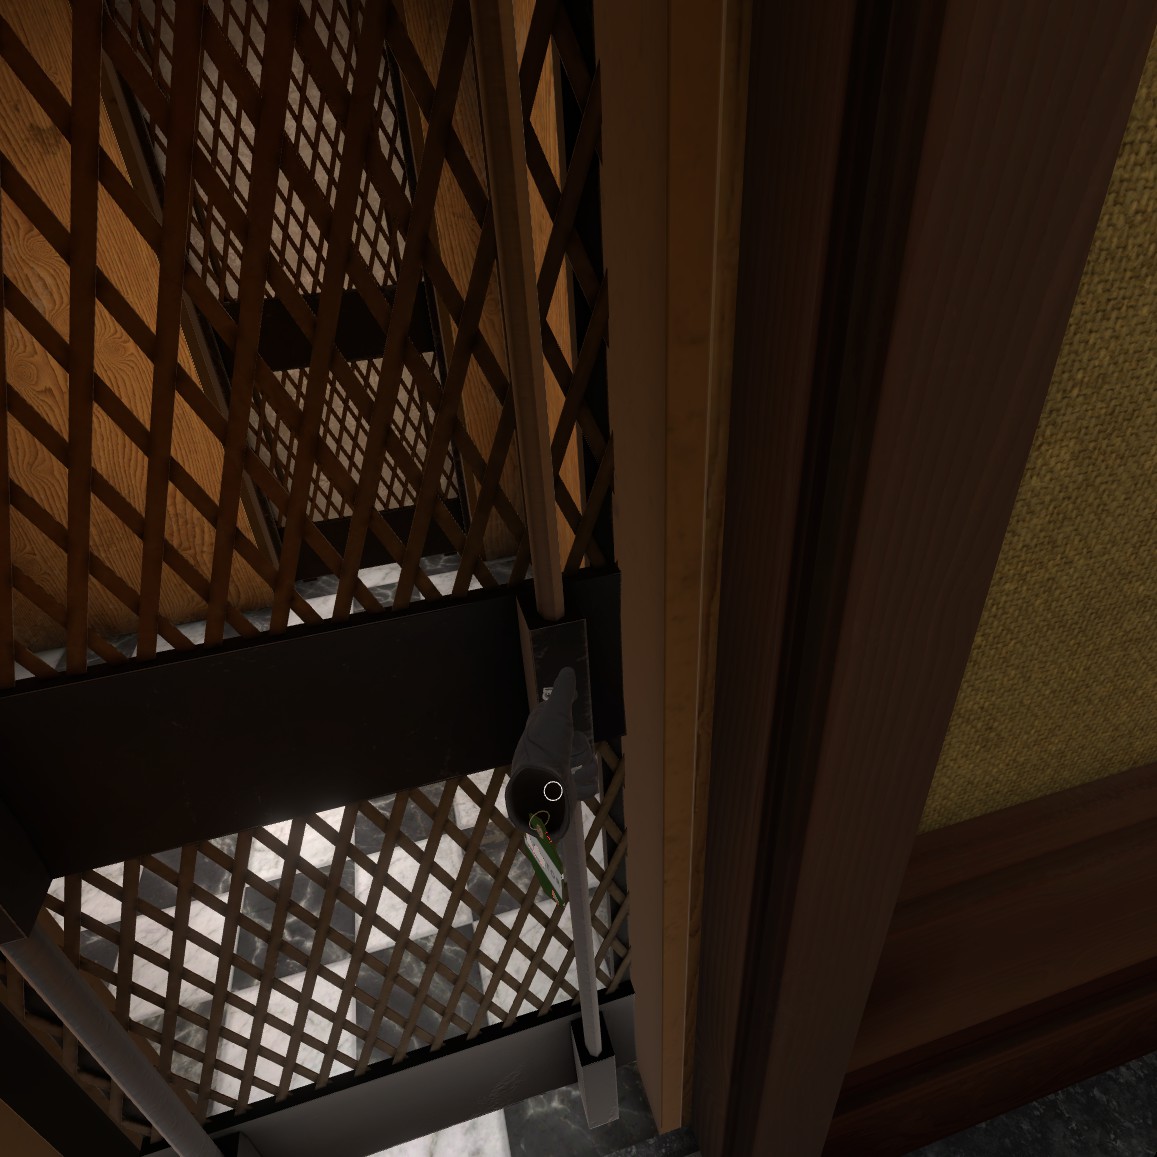
Once inside the elevator, pick up the piece of paper on the floor before doing anything because it has a chance of glitching. Now, while tightly clutching the hammer.. THROW THE SWITCH! To watch it glitch out of your hand and disappear, because you don’t actually need it anyways.
Go down the dark hallway upstairs and take a look at this page.
Then keep going until you get to the door and pick up the page on the floor.
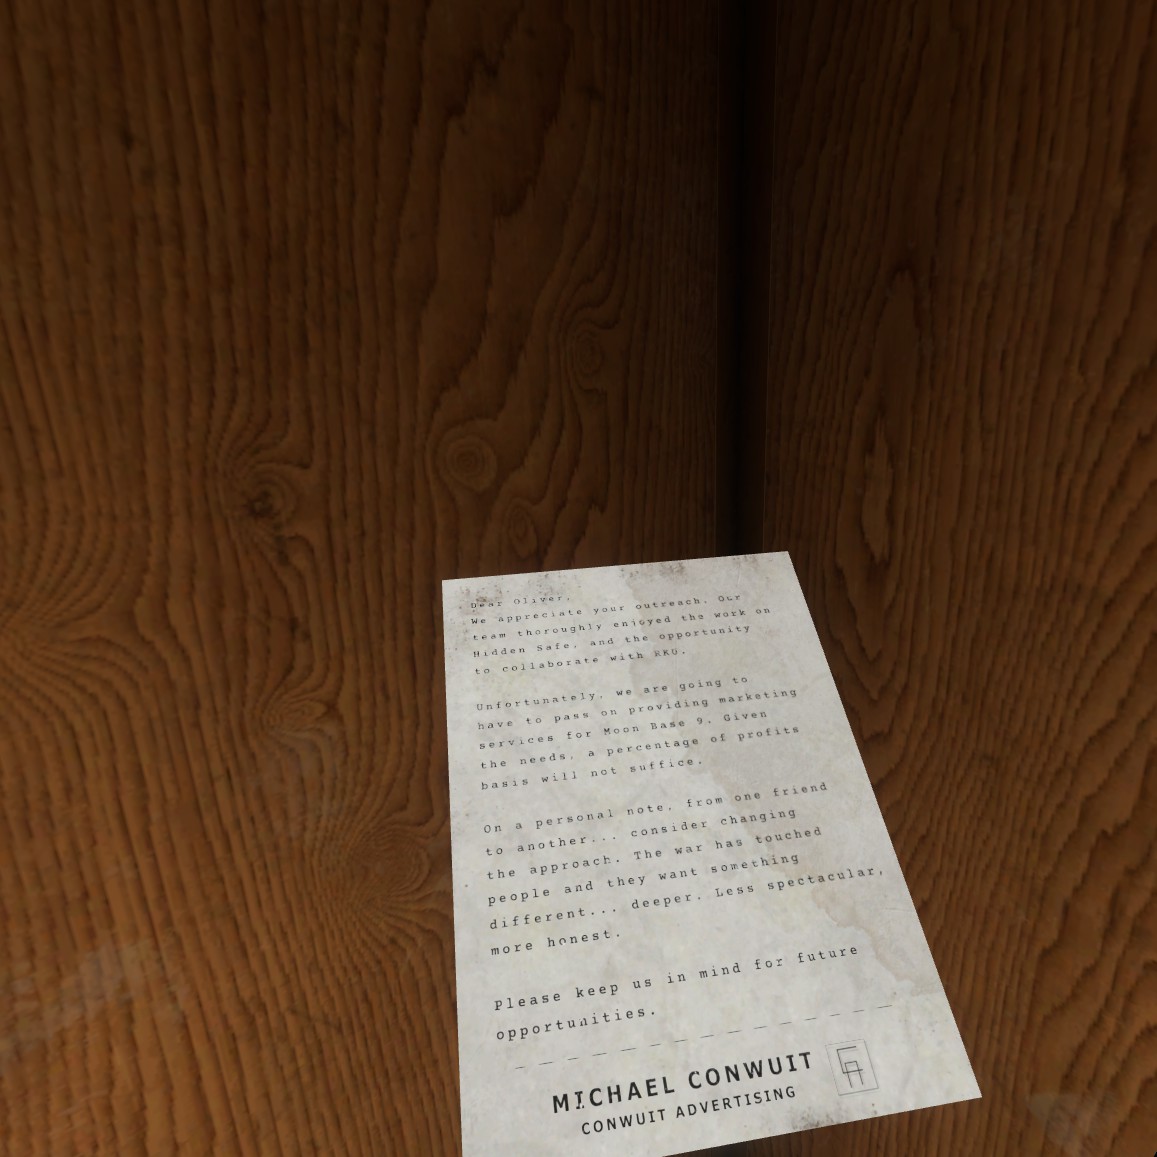
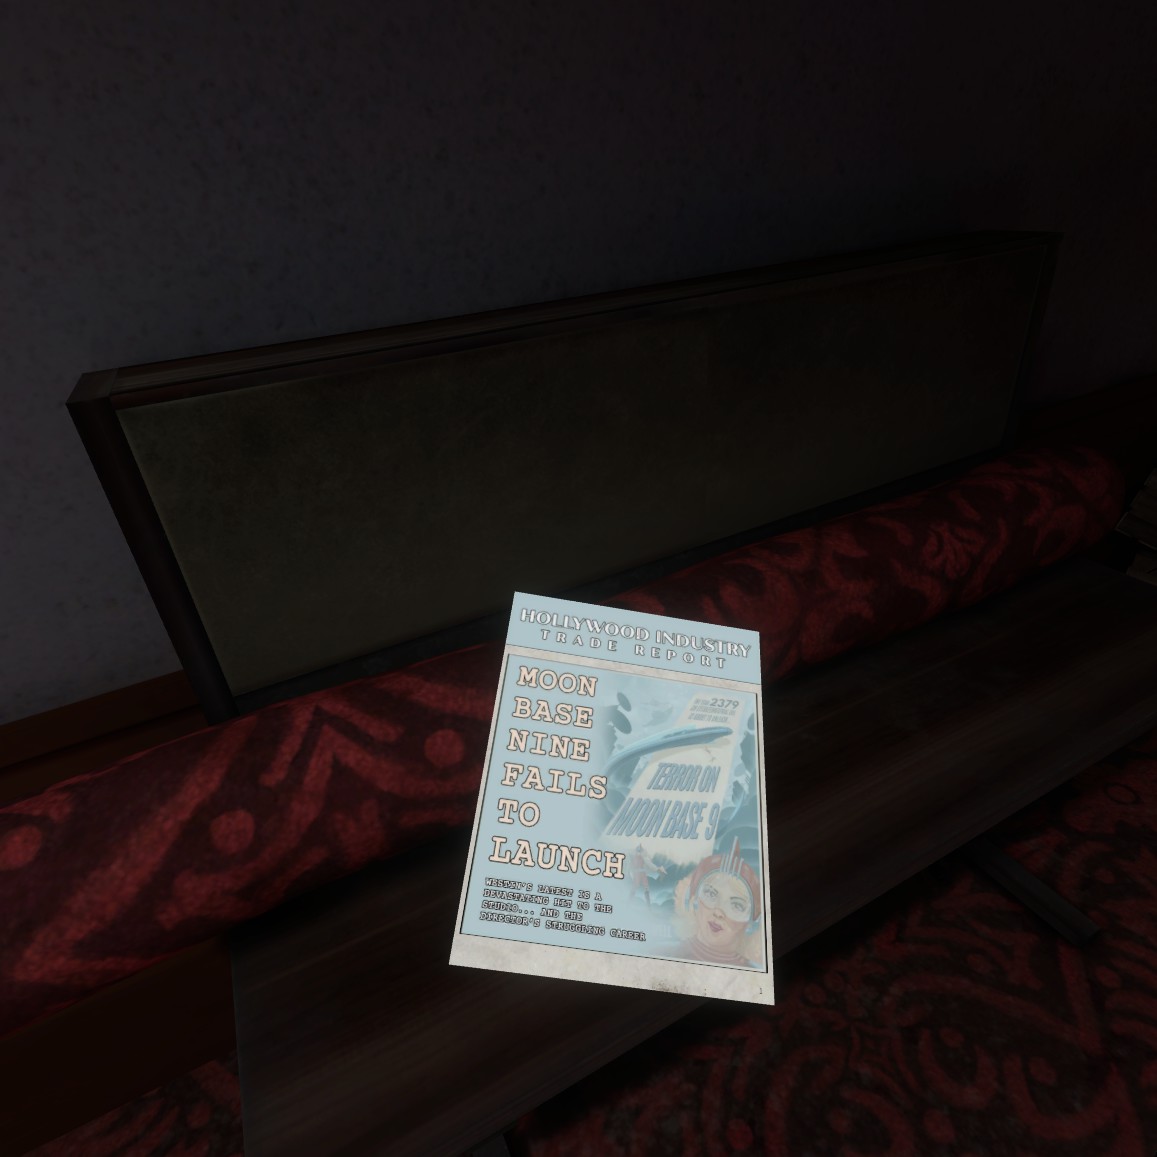
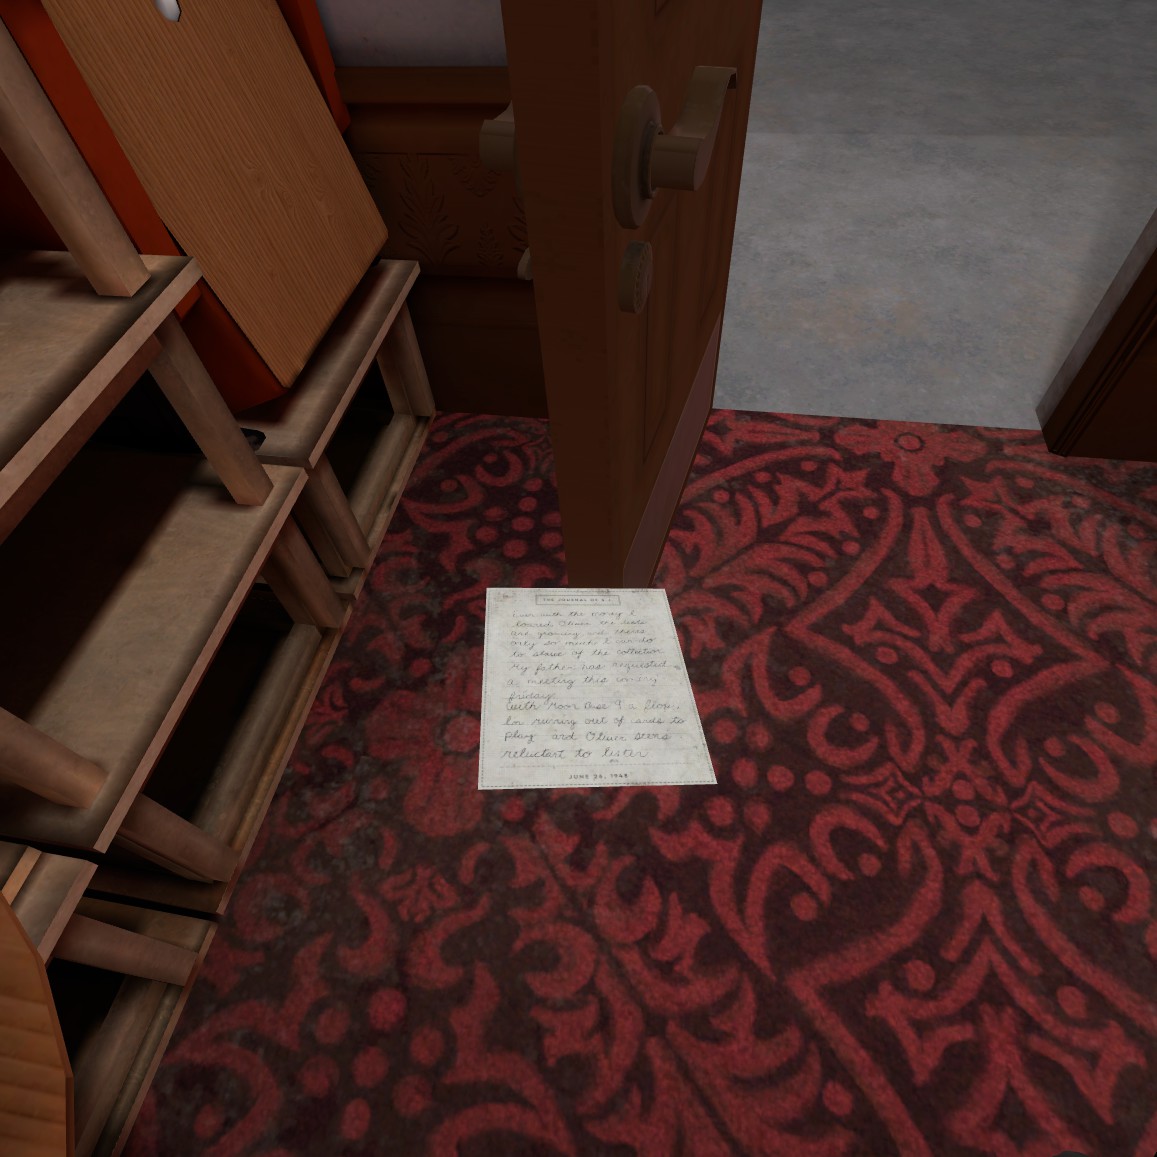
Look around the room and collect all the pages before doing anything else, there’s several on the shelves. You should find several pages of letters and script pages. Take and read all of them. The first page will be on the bottom of the first film shelf in front of you and the shelf above that one. Slap the poster of The Hidden Safe to reveal a hidden safe (iconic, right?). The next on the desk to the left. Take the script page and stick it on the floor in the center of the room. There will be another one on the other shelf, collect it as well and put it next to the first script page in the center of the room.
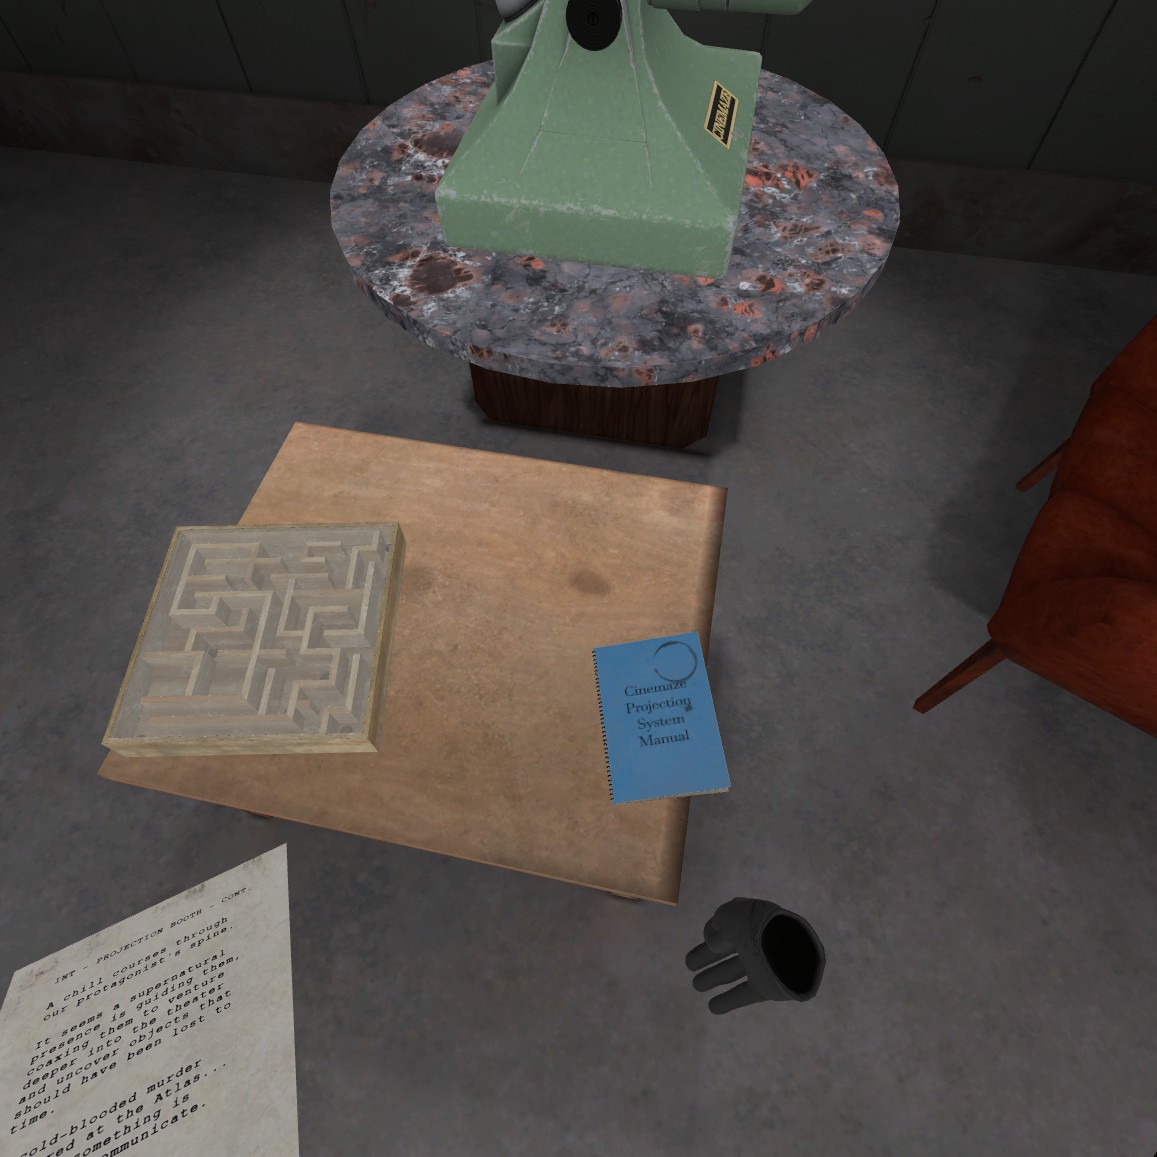
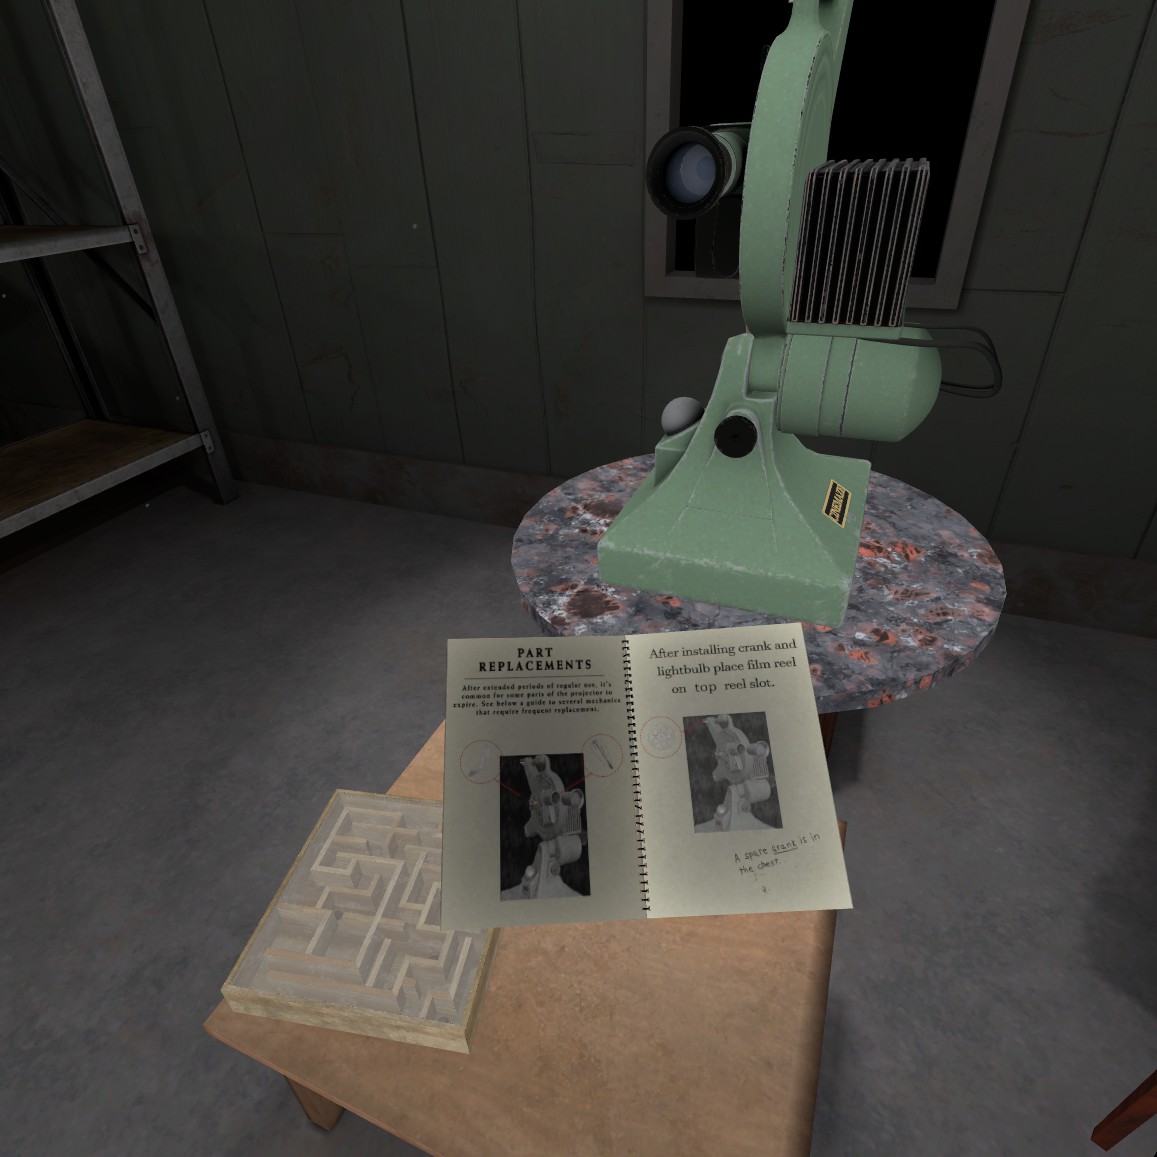
Grab the little blue book to see the instructions on how to start the projector.
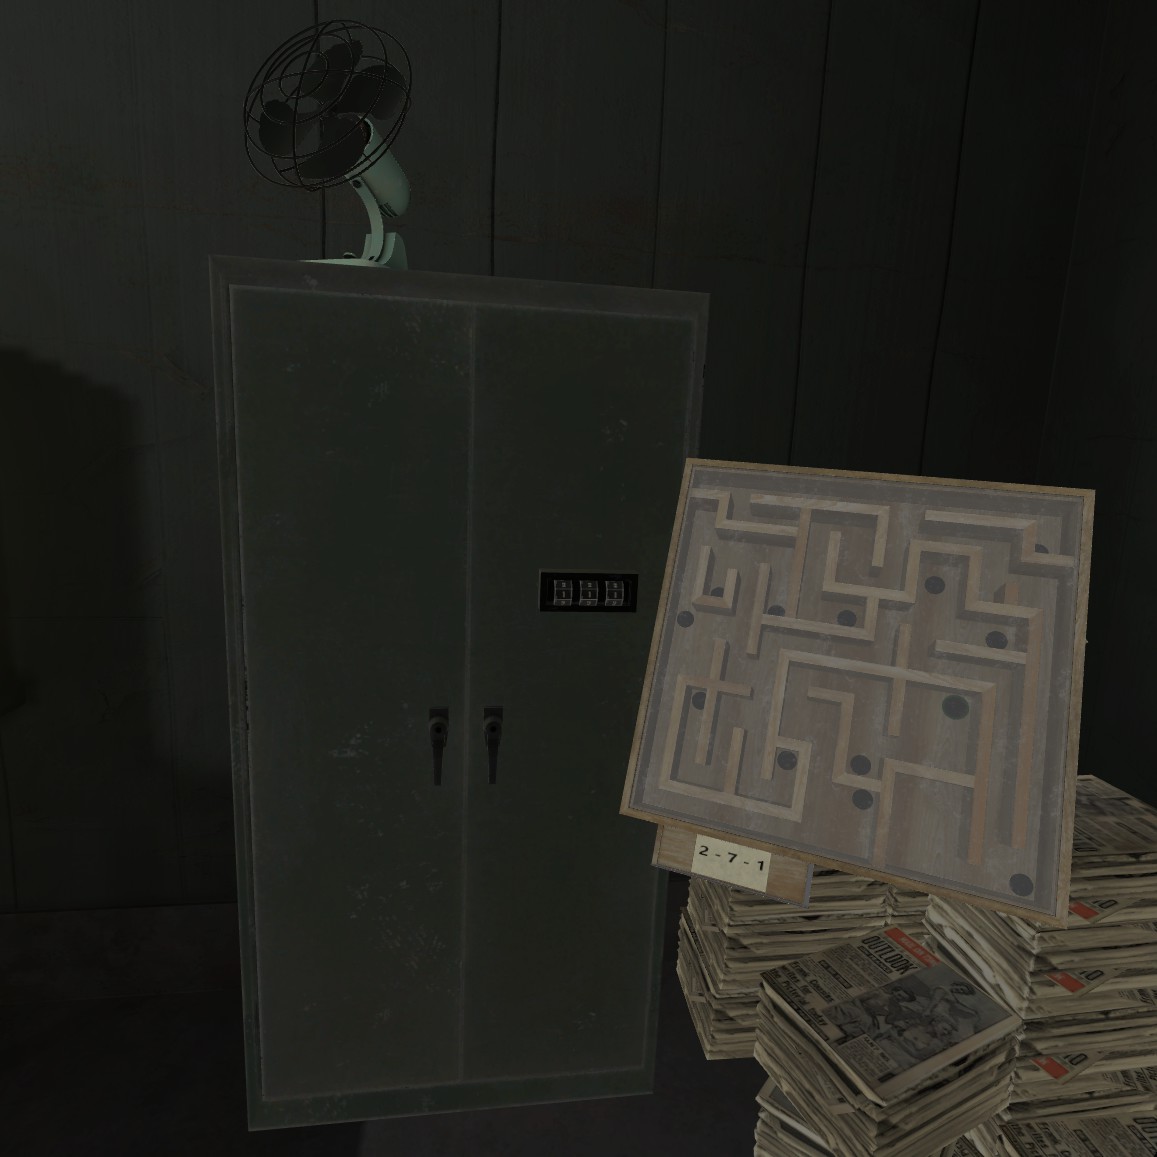
Pick up the little pinball puzzle and question your life choices of playing this game with stick drift as you attempt to roll the ball through the maze. Get frustrated and throw it across the room, then grab yourself a small snack break. Once you’ve solved the ball maze puzzle, input the code into the cabinet at the back of the room.
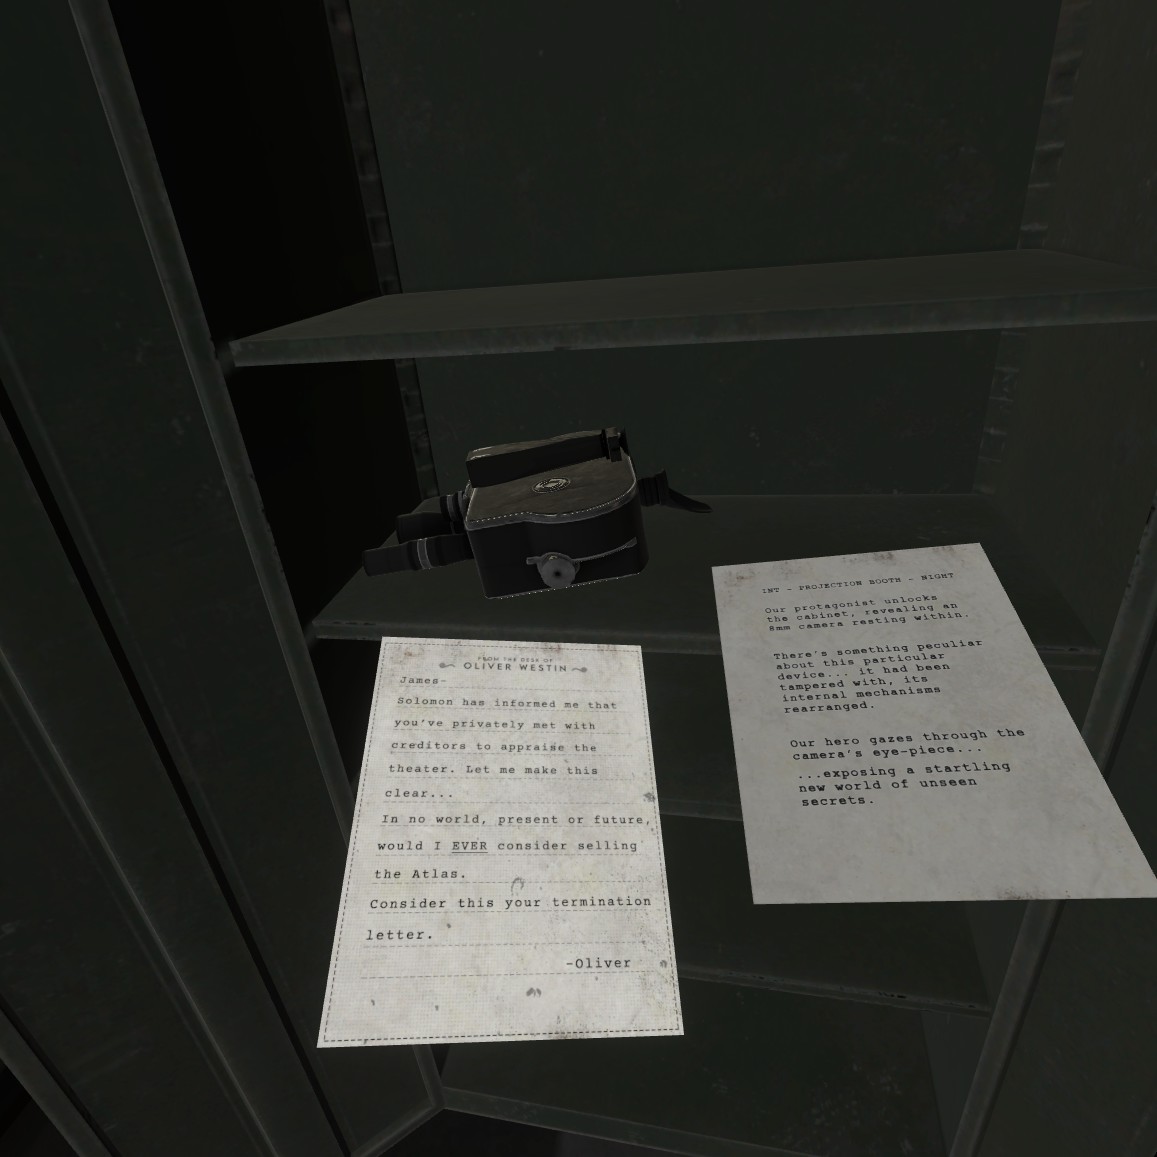
Grab and read the two pages, put the camera into your backpack and take the script page to the others you’ve collected.
Use the viewing lens on the camera to view the secrets hidden on the script pages. The images revealed here are the buttons that need to be pressed to open the chest on the bottom shelf across from the cabinet. Press the lion on the back of the chest and then walk around to the front and press the two on the left of the chest to open it.
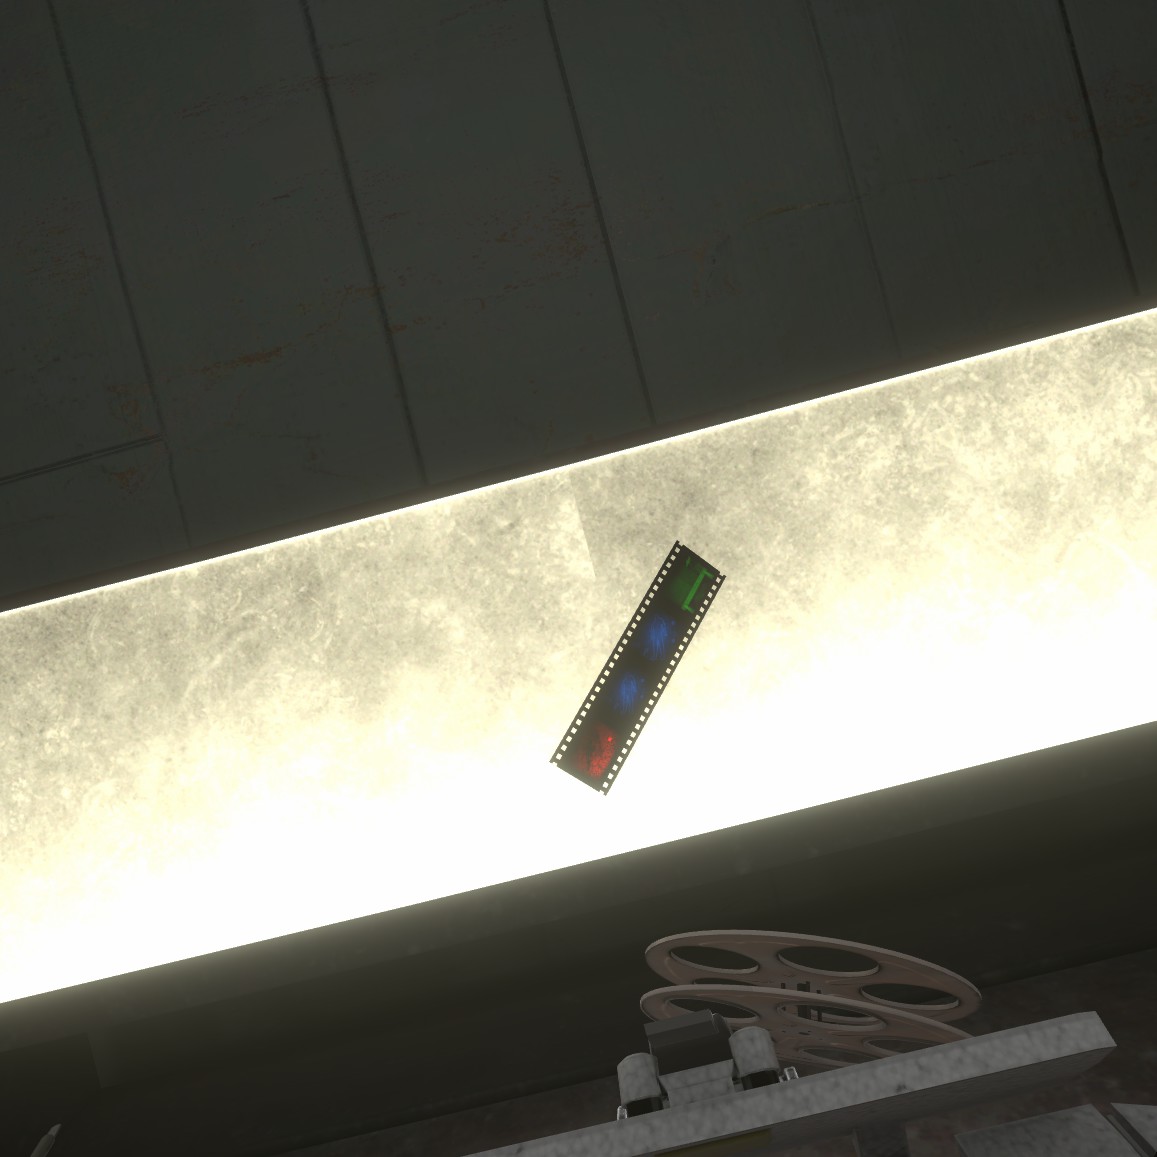
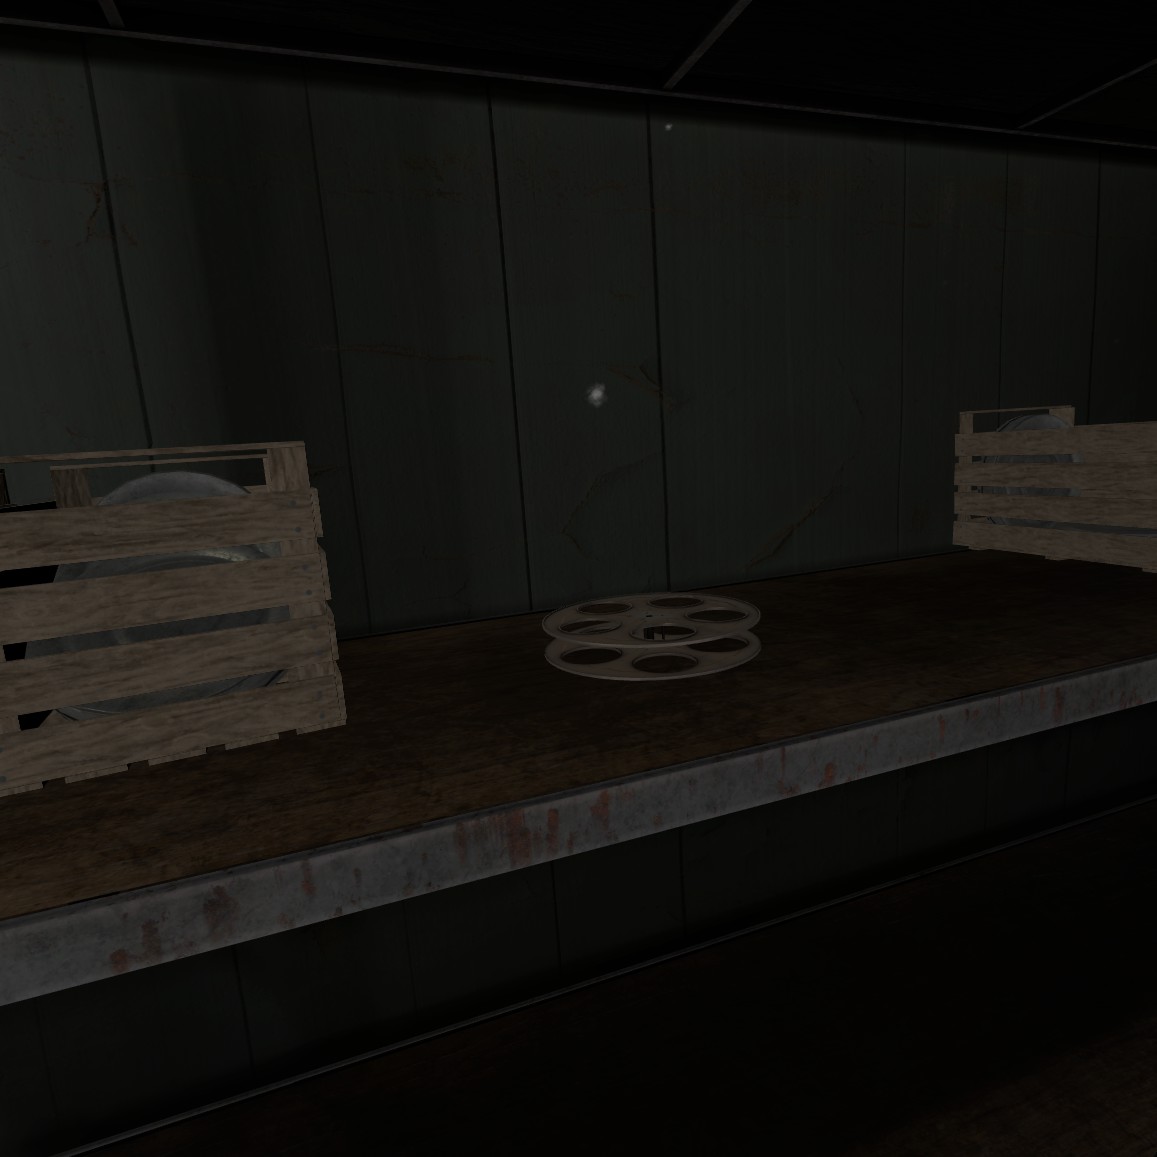
Read the page for more lore and then put the crank into your backpack like the good little gamer you are. Holoport over the the little film area and line up the pieces of film you found in the safe, matching up the colors and starting with the red one shown here. Once they are lined up, close the metal machine so it will paste them together. Pick up the completed film piece and add it to the reel you picked up. Grab this film reel from the very last shelf and place the film onto the reel. Afterwards, add it to the projector as shown in the blue book. Do the same with the crank.
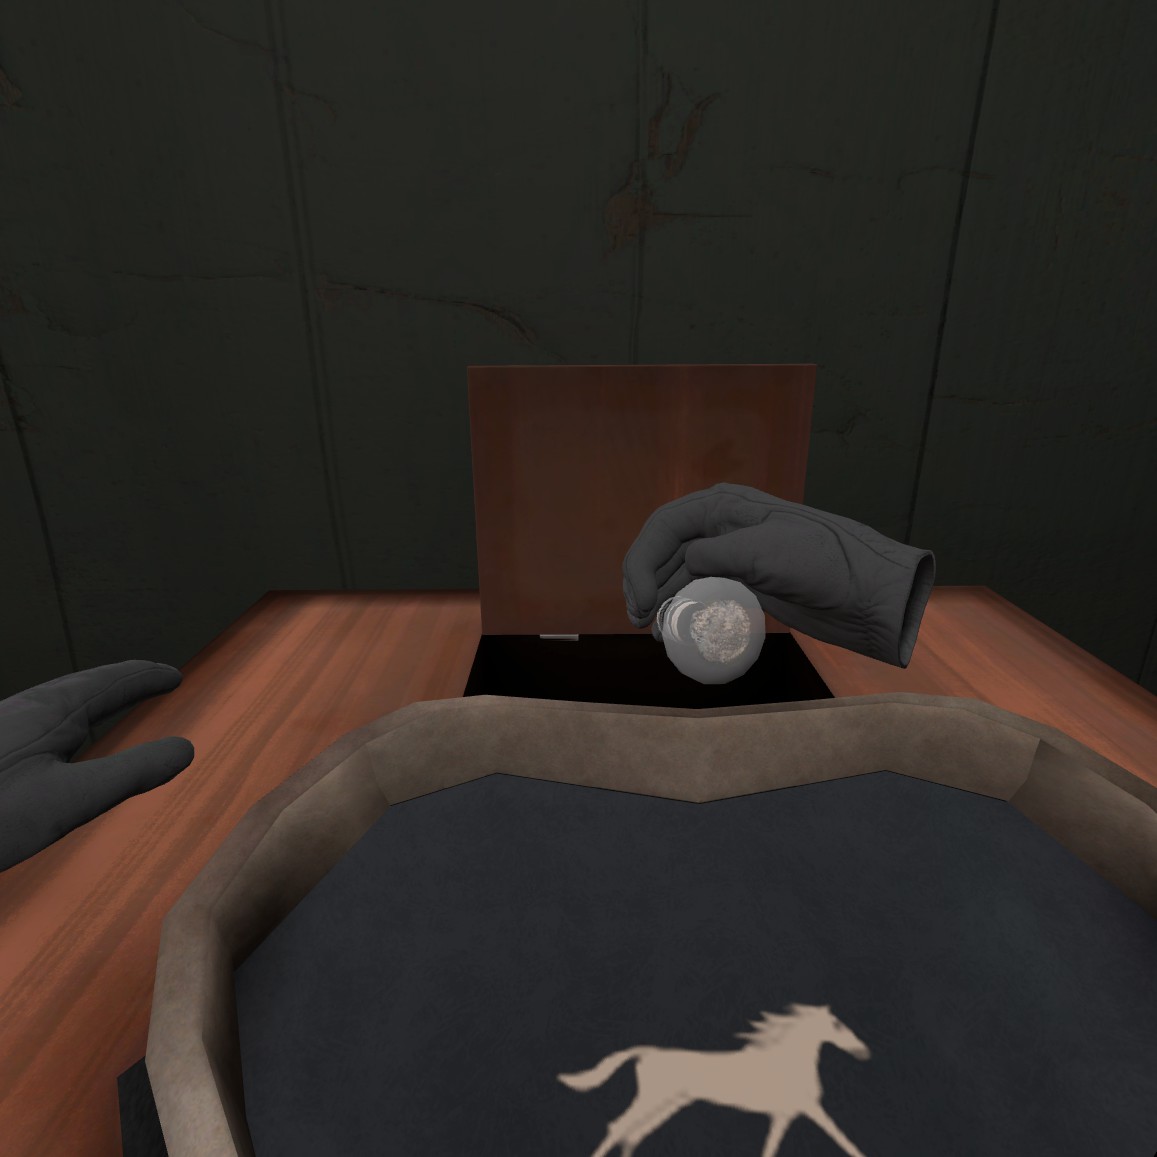
Walk to the other side of the room where the Mutoscope is. Don’t worry if you don’t know what that is, most people who do (and are alive) are great grandparents. It’s the machine with the running horse. Just like with the film pieces, take all the images of the horse and line them up so the colors connect. Once you have, start up the crank to watch the horse run and get the light bulb.
Go back to the projector and remove the lens that says remove to insert the light bulb. Put in the light bulb and use the crank to go through the movie you just put together! Roll through the movie until you get to the red door and then walk through it.
Go down the spoopy hallway and grab the two pages at the end. Keep the one with the code to the safe and turn around. Grab the page on the floor for more of the story to be revealed.
After you’re done reading, go open the safe using the code you found. Grab the wire cutters and put them into your backpack. Check out the other two pages and then grab the camera.
As you leave the film room, use the camera to film everything (by looking through it) until you get another achievement.
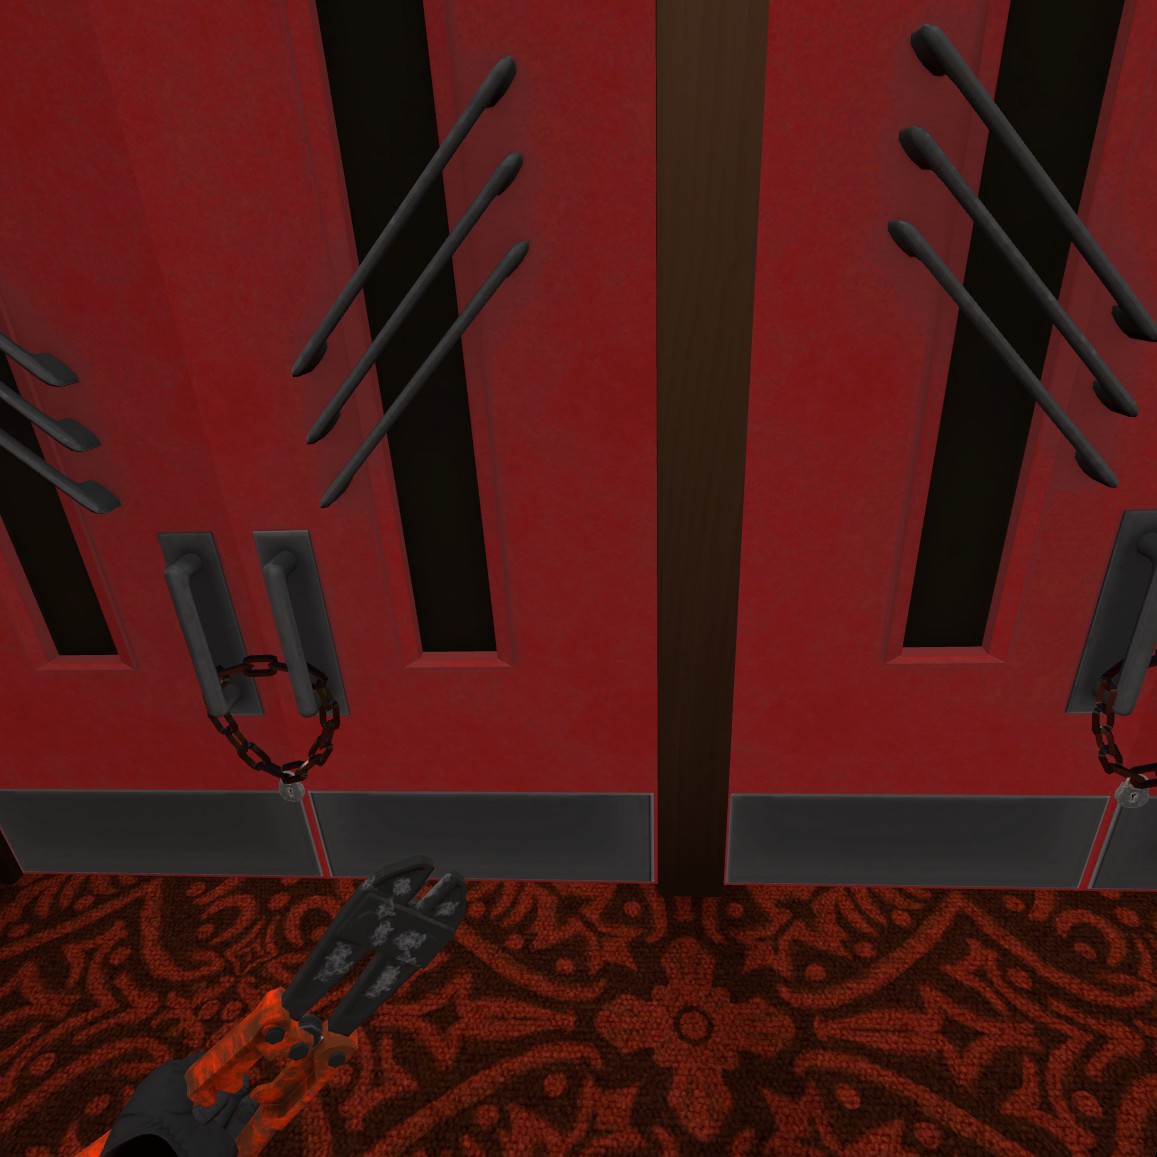
Cut the chains on both of the doors for another achievement! and then throw them open
Congratulations, you have now unlocked the theater!! The final room.
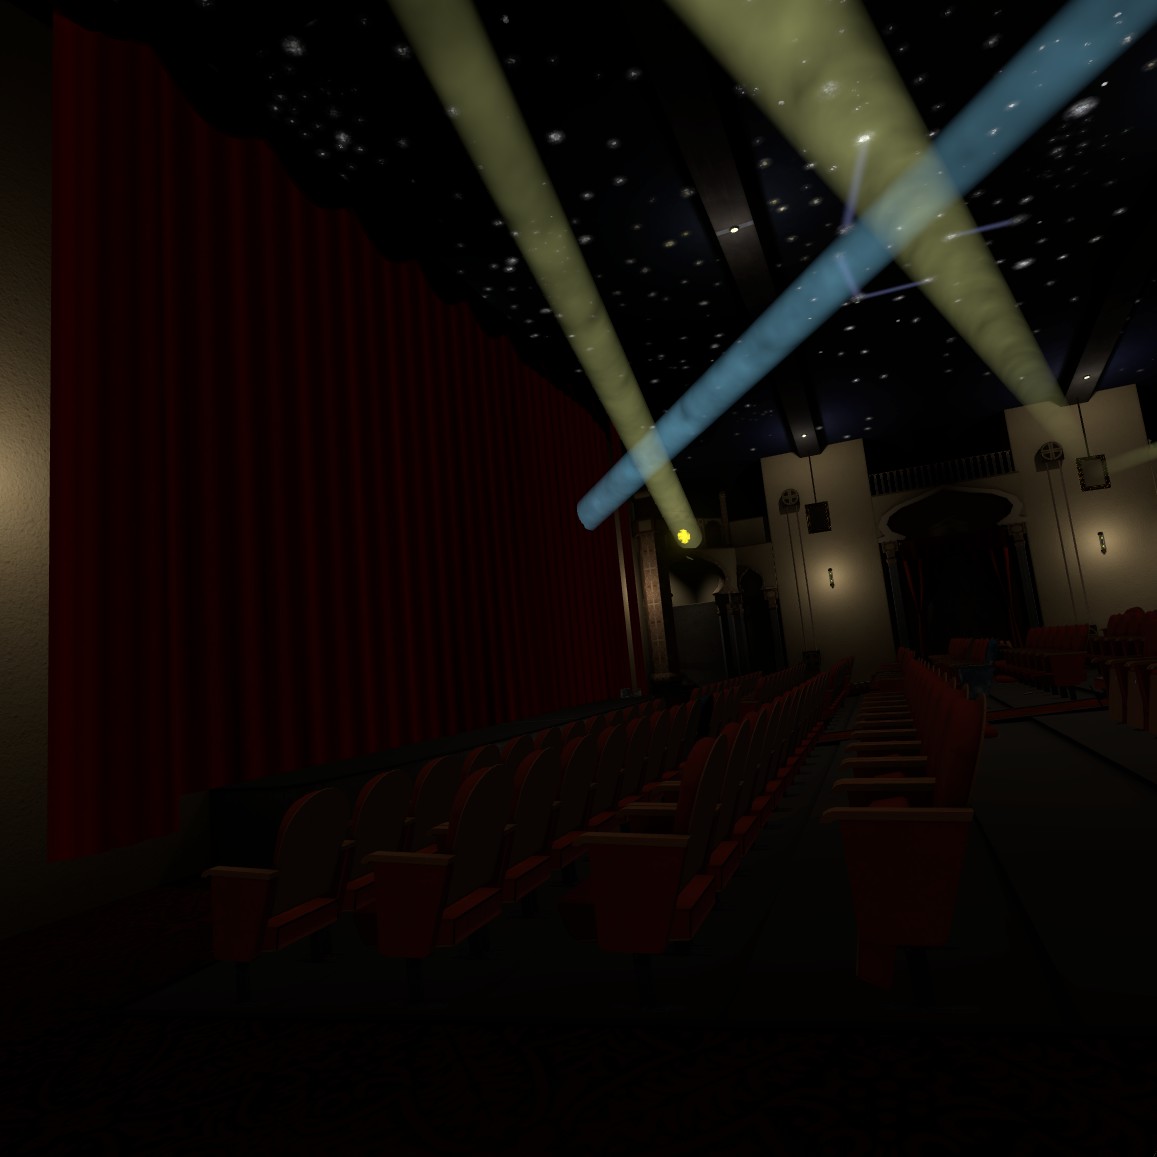
The Atlas Theater Room
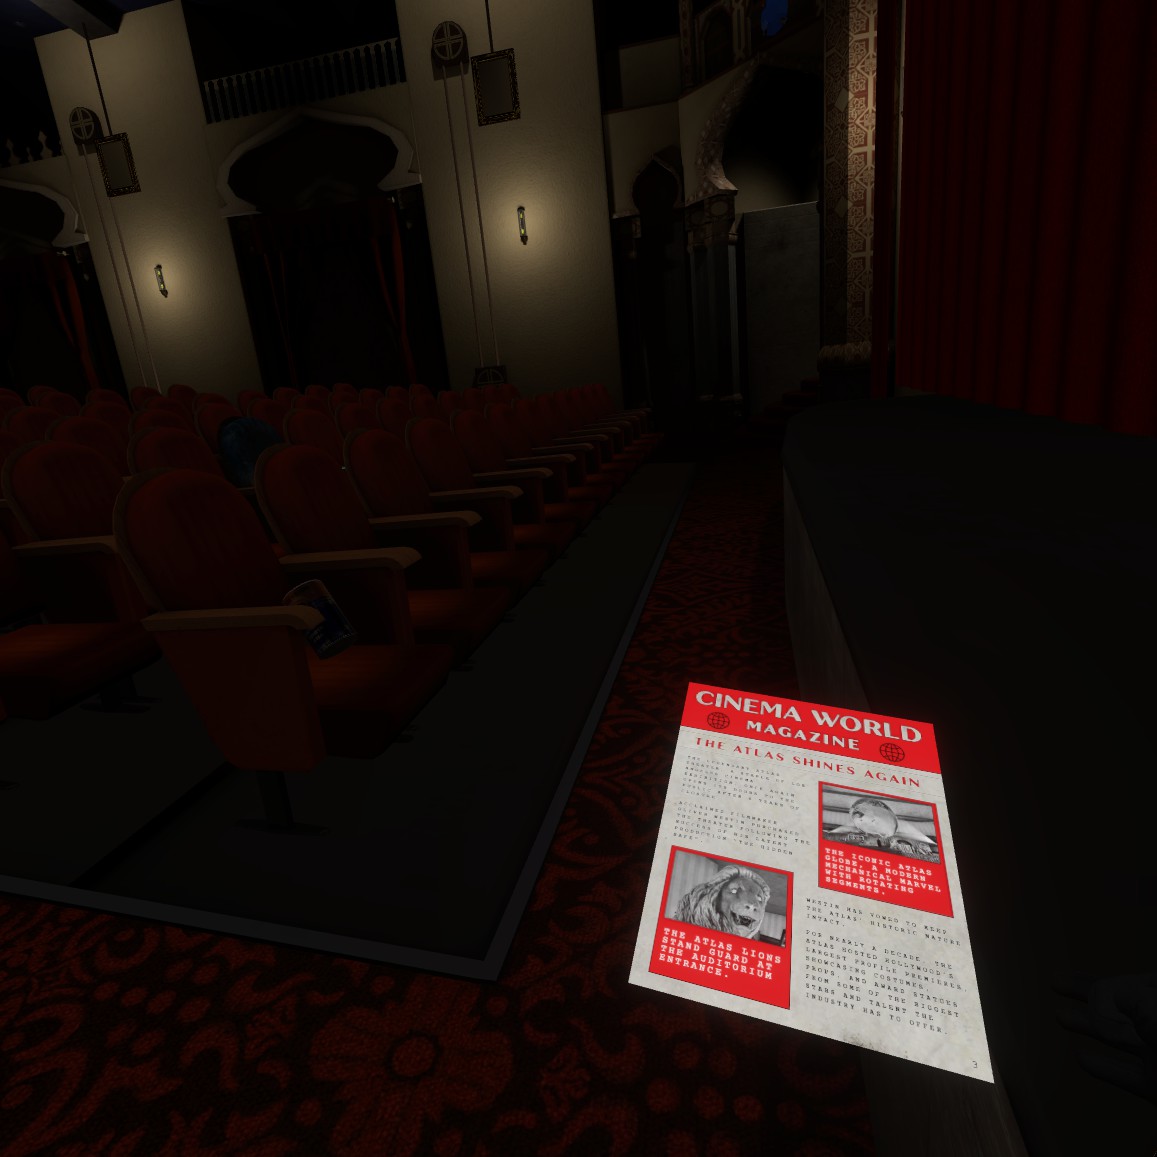
Holoport all the way to the front of the room and grab the magazine article and the battery on the chair in the front row.
If you’re thinking that’s a big D battery, that’s what she said.
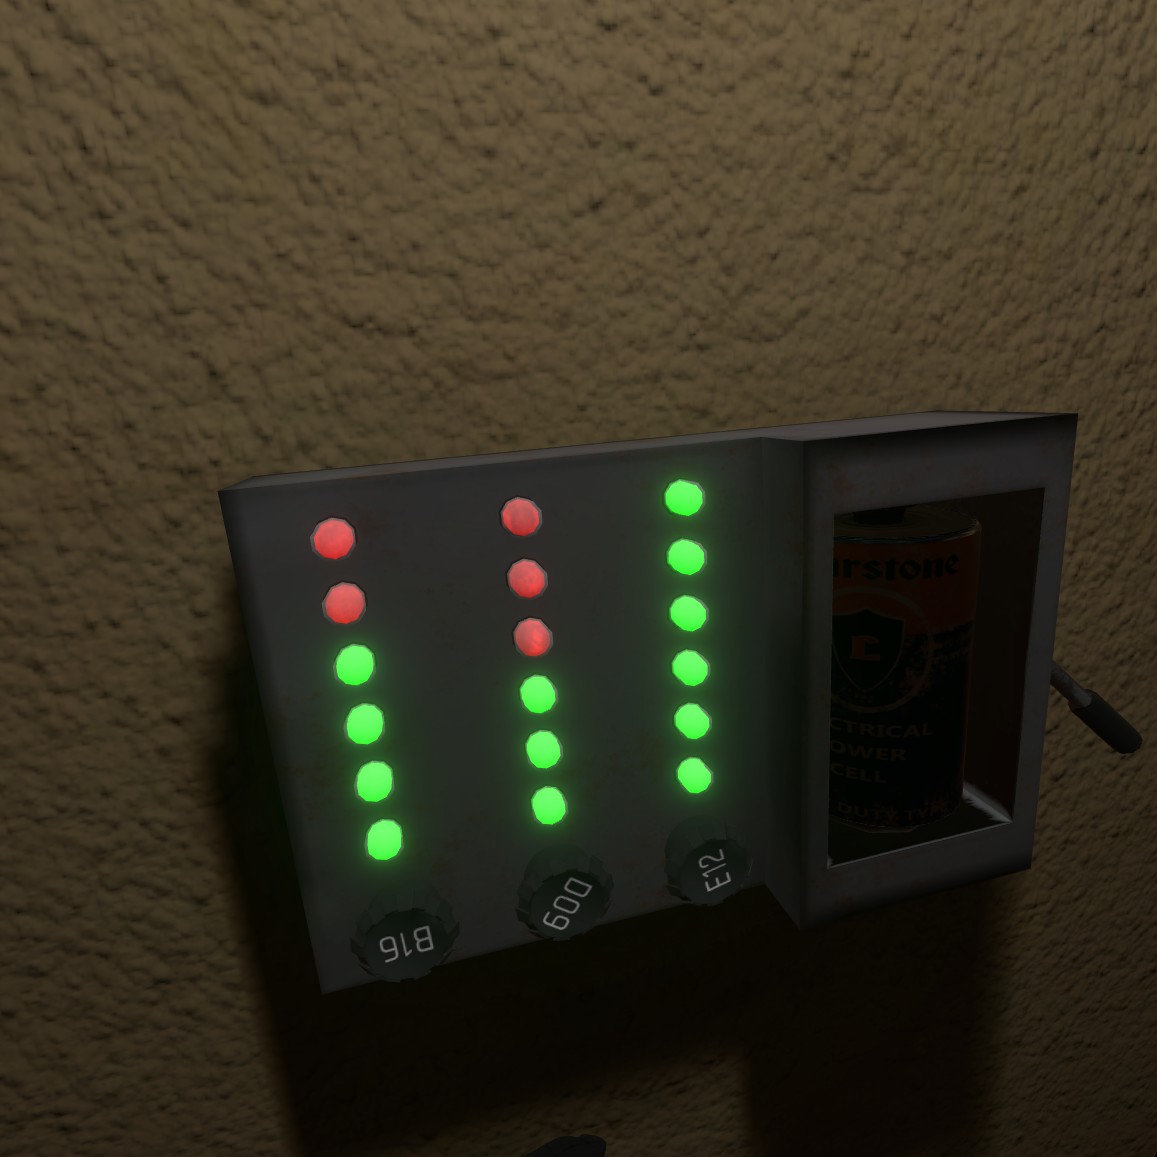
Holoport all the way to the panel on the back wall with the battery and flip the lever. Now, for those of you hermits who have never stepped foot in a theater, the letter & numbers on the knobs represent chairs in the room. You can go to each of the chairs to see what the dials needed to be turned too or use the photo here for reference.
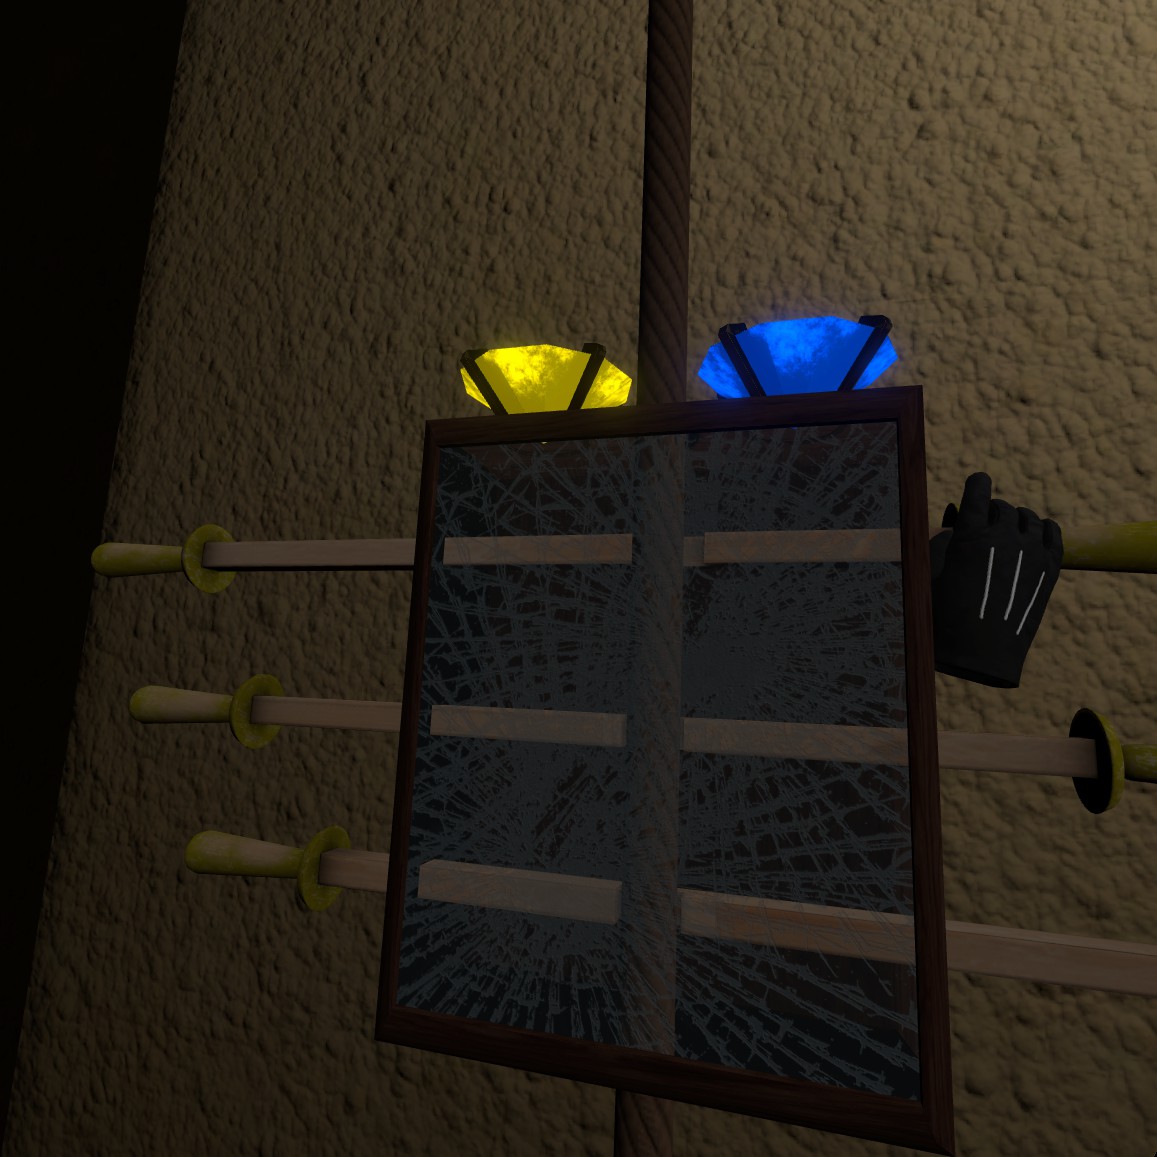
After the panel is fixed up, there will be stage lights activated above you. You will need to use the mirrors to adjust where the light is pointing.
Use the ropes next to the mirrors to adjust where the lights point until the blue and yellow gems are both lit up by their respective color. Once that is done, go back towards the entrance of the theater to the other back panel.
You will need to adjust these bars until the rope is able to pass freely between the notches in the bars and open up the stage curtain.
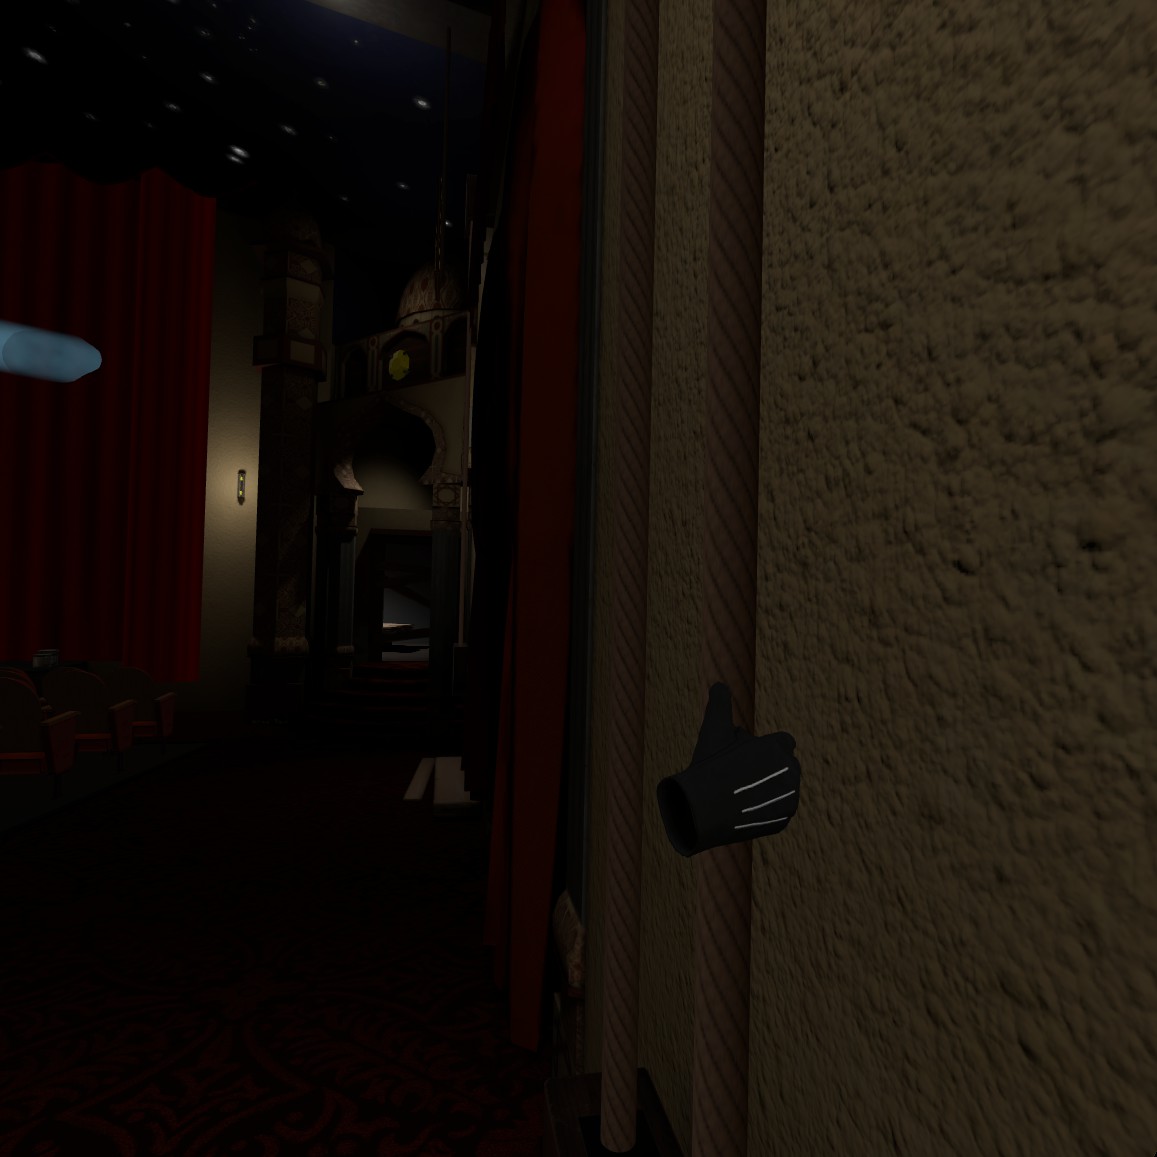
Go into the room that has opened on stage left and pick up the flashlight on the desk. Ignore everything else until you get to the pipe organ piano.
Adjust the pipes to match the first panel shown next to the piano keys. In order to get the achievement Fine Tuning only adjust pipes 2, 3, 5, 8, 9, & 10.
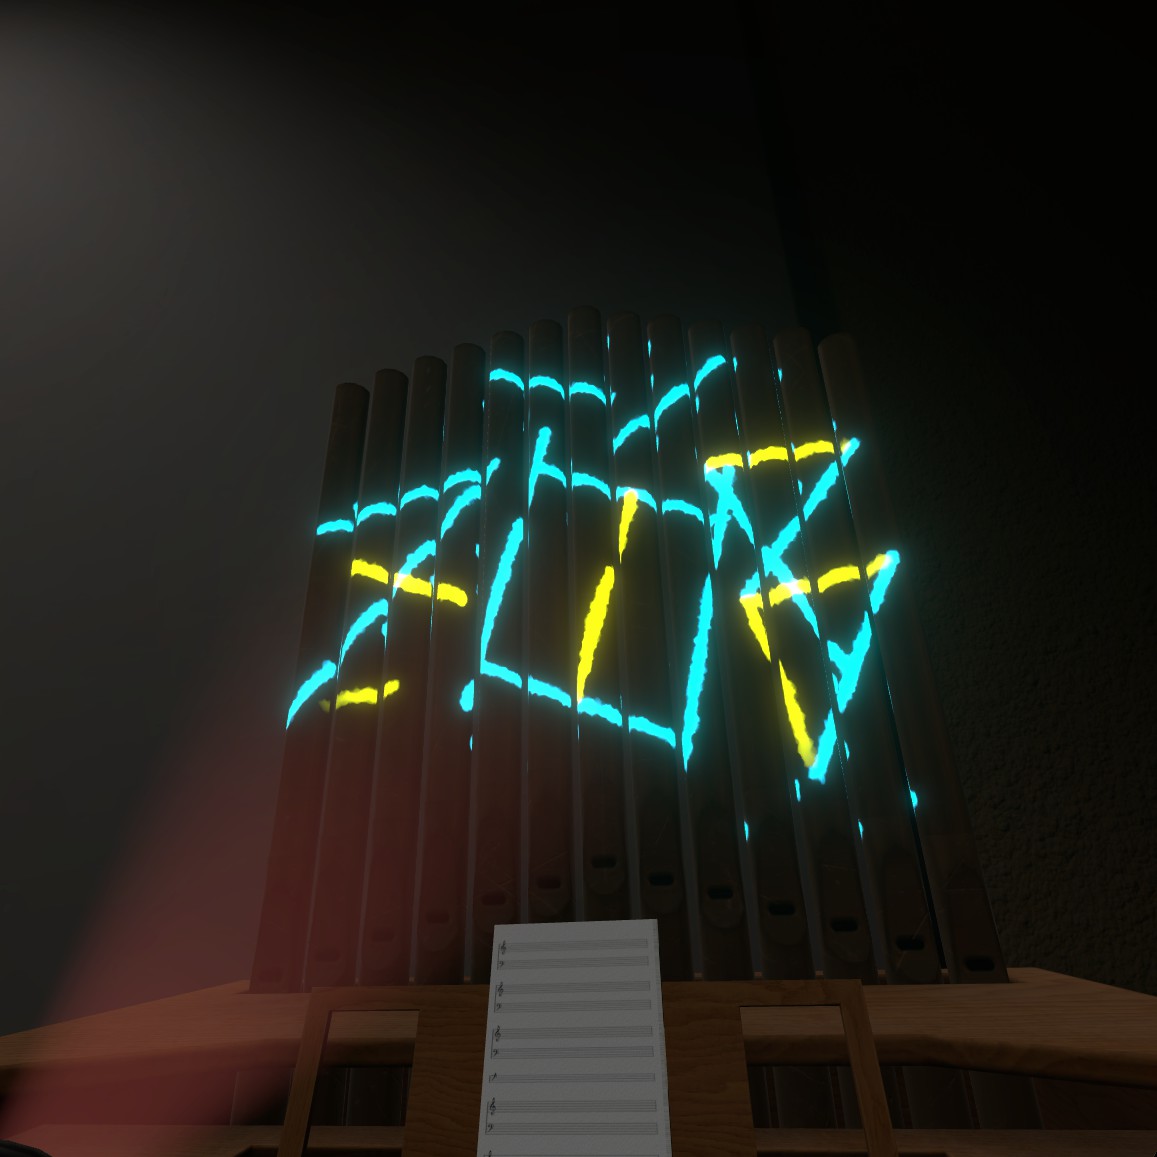
Use the flashlight to reveal the yellow lines as shown in the photo to solve the second piano key puzzle.
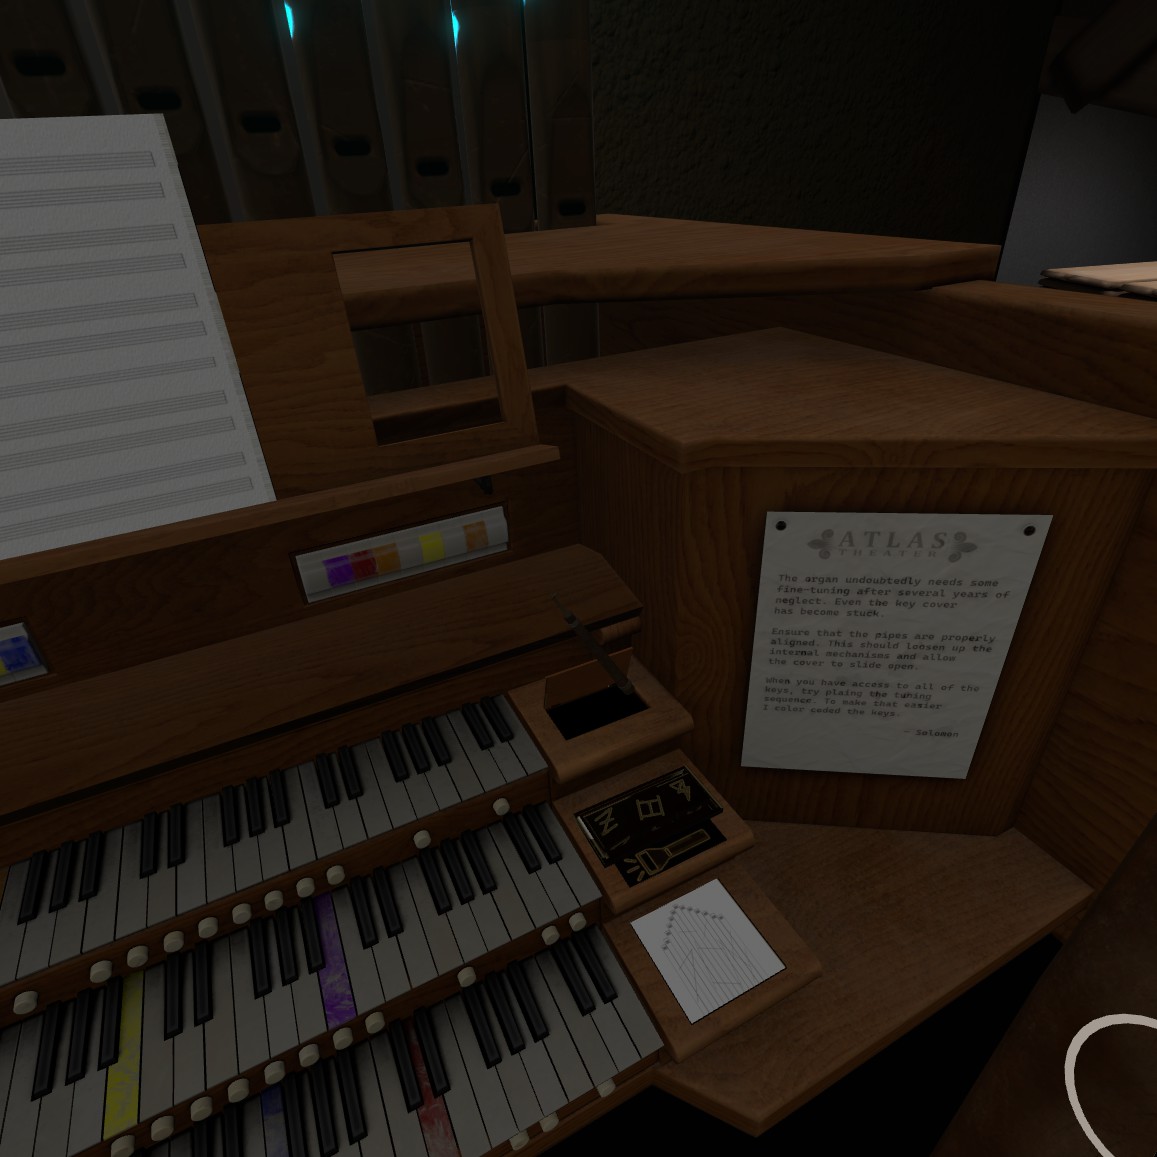
Finally, play the highlighted keys in the order of the tune shown at the top of the piano and put the lock pick into your backpack.
After a while of of questioning what the piano gave you, your life again, and flopping down onto the bed wondering where you went wrong.. Notice that the blue lines in the roof of the room look oddly similar to the blue lines on the piano.
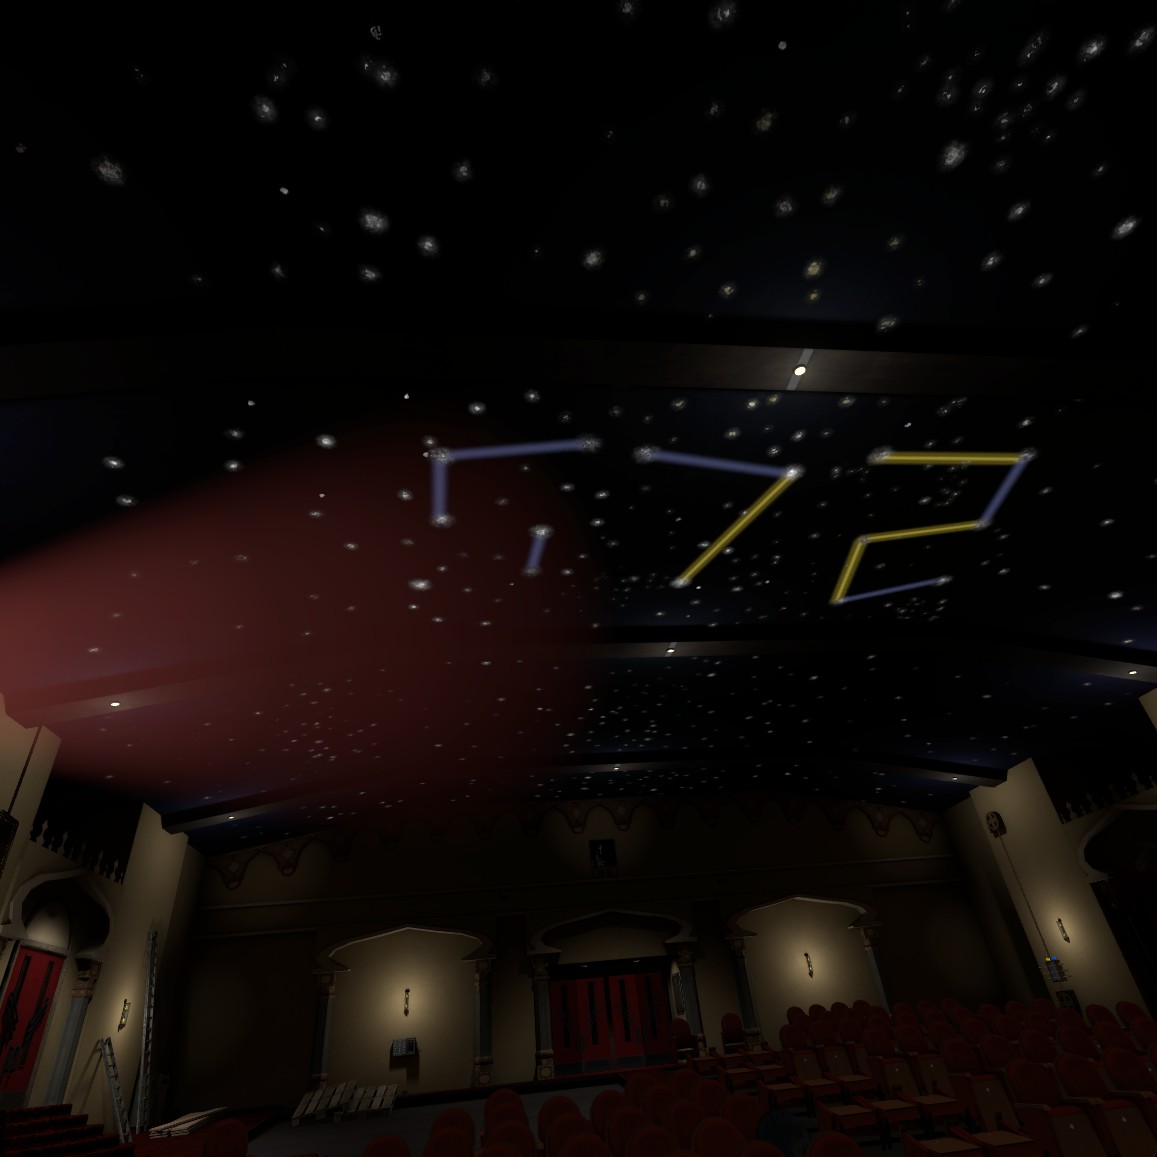
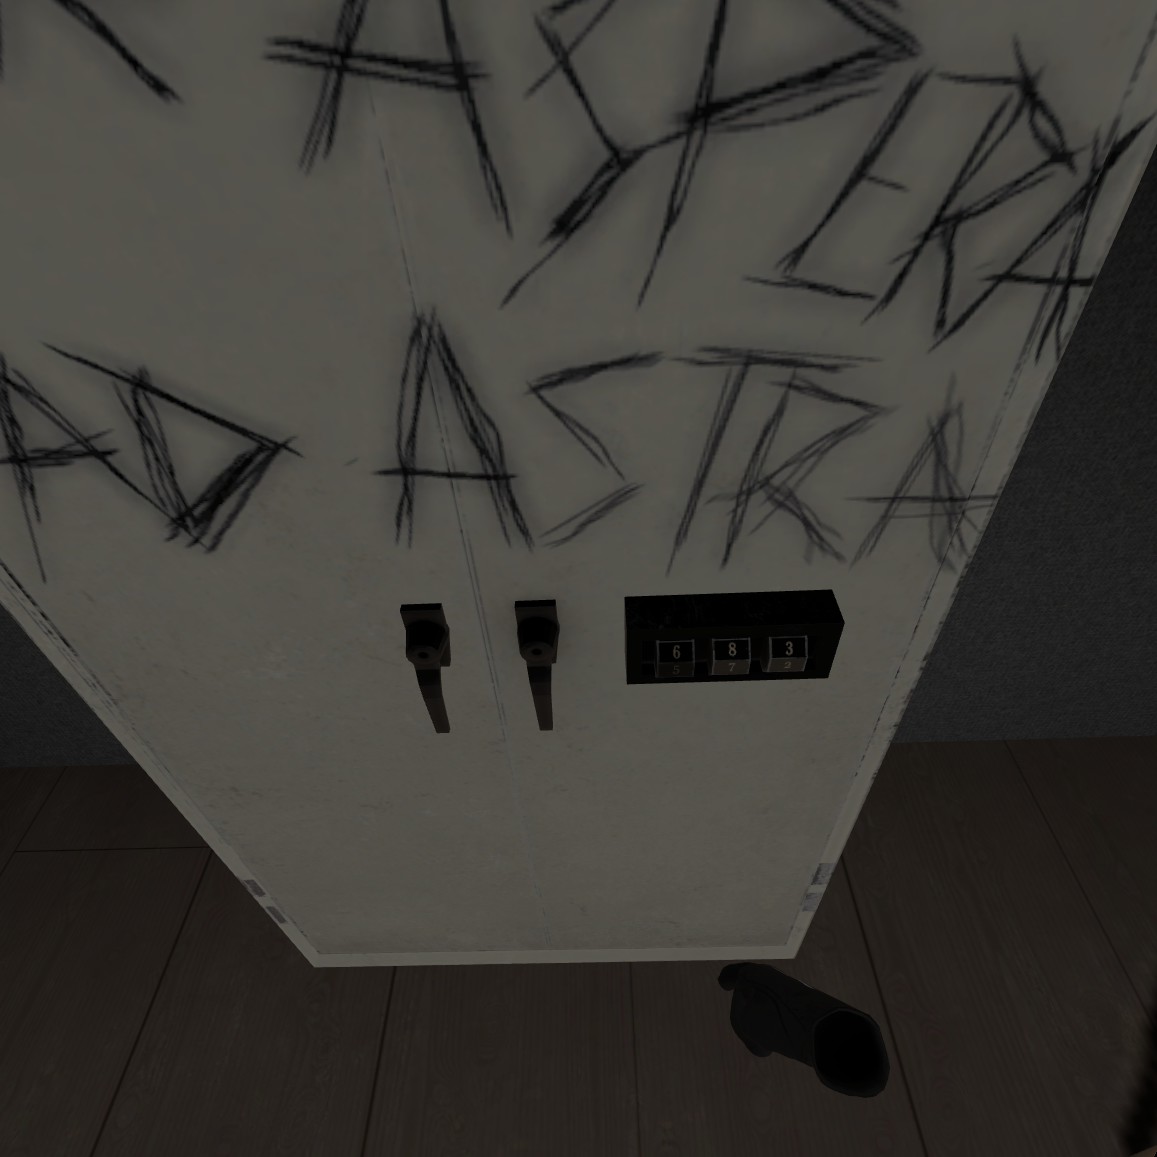
Pull out the flashlight and shine it up on the roof to reveal the code to the cabinet in the room on stage left. Throw the flashlight as hard as you can into the rows of chairs in frustration at your own stupidity and go put in the code 5 7 2.

Take out your lock pick and watch a short lock picking animation (turns out you’re actually playing a thief) and then grab the film reel that’s inside the box. Get spooked by the new music and then go check out the film that’s now playing.
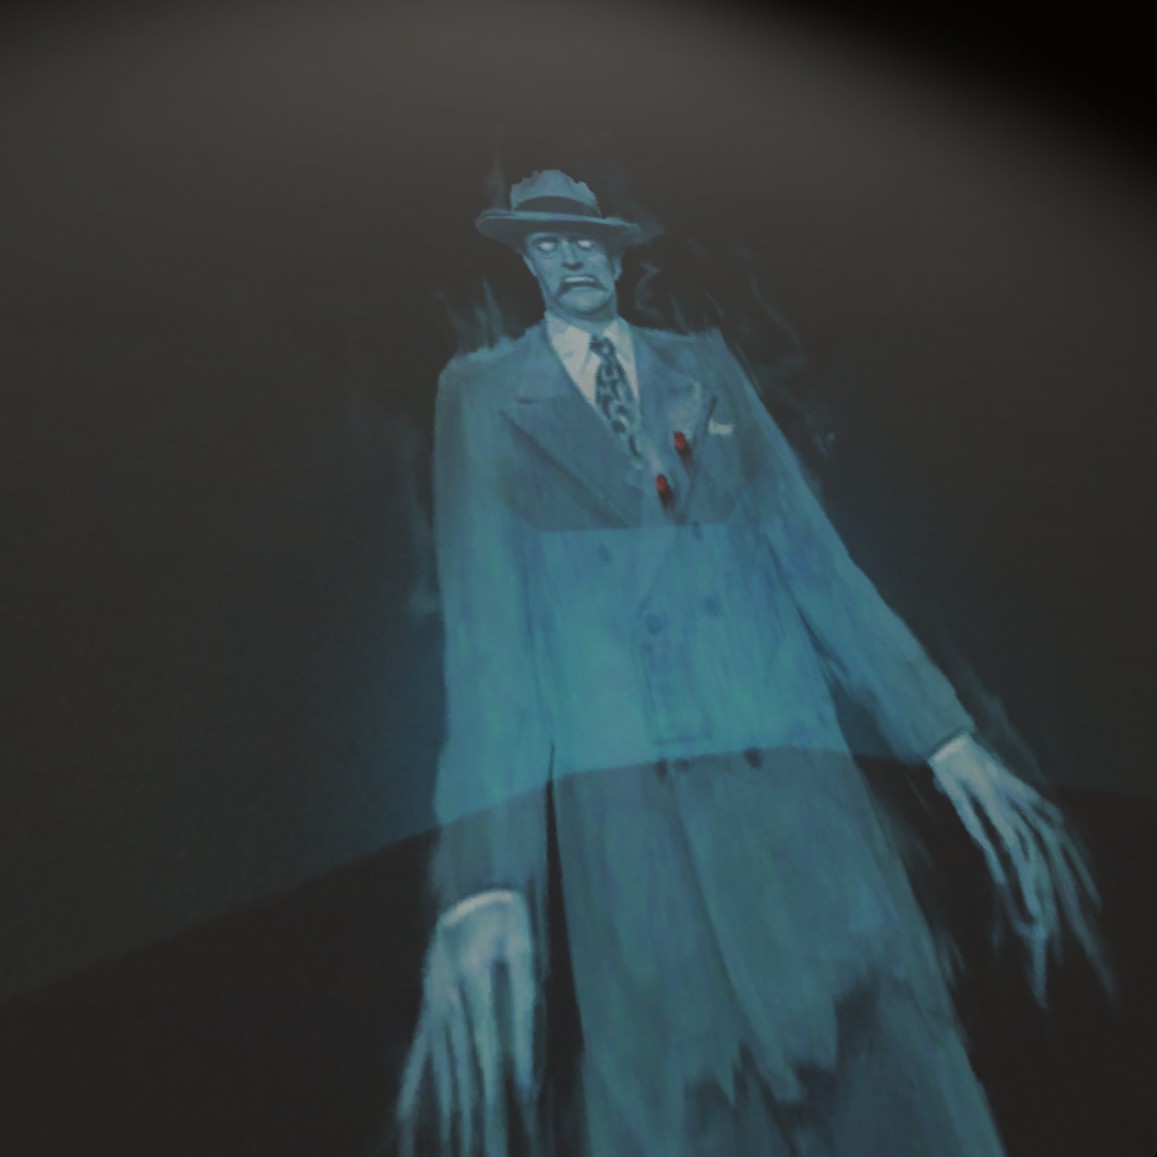
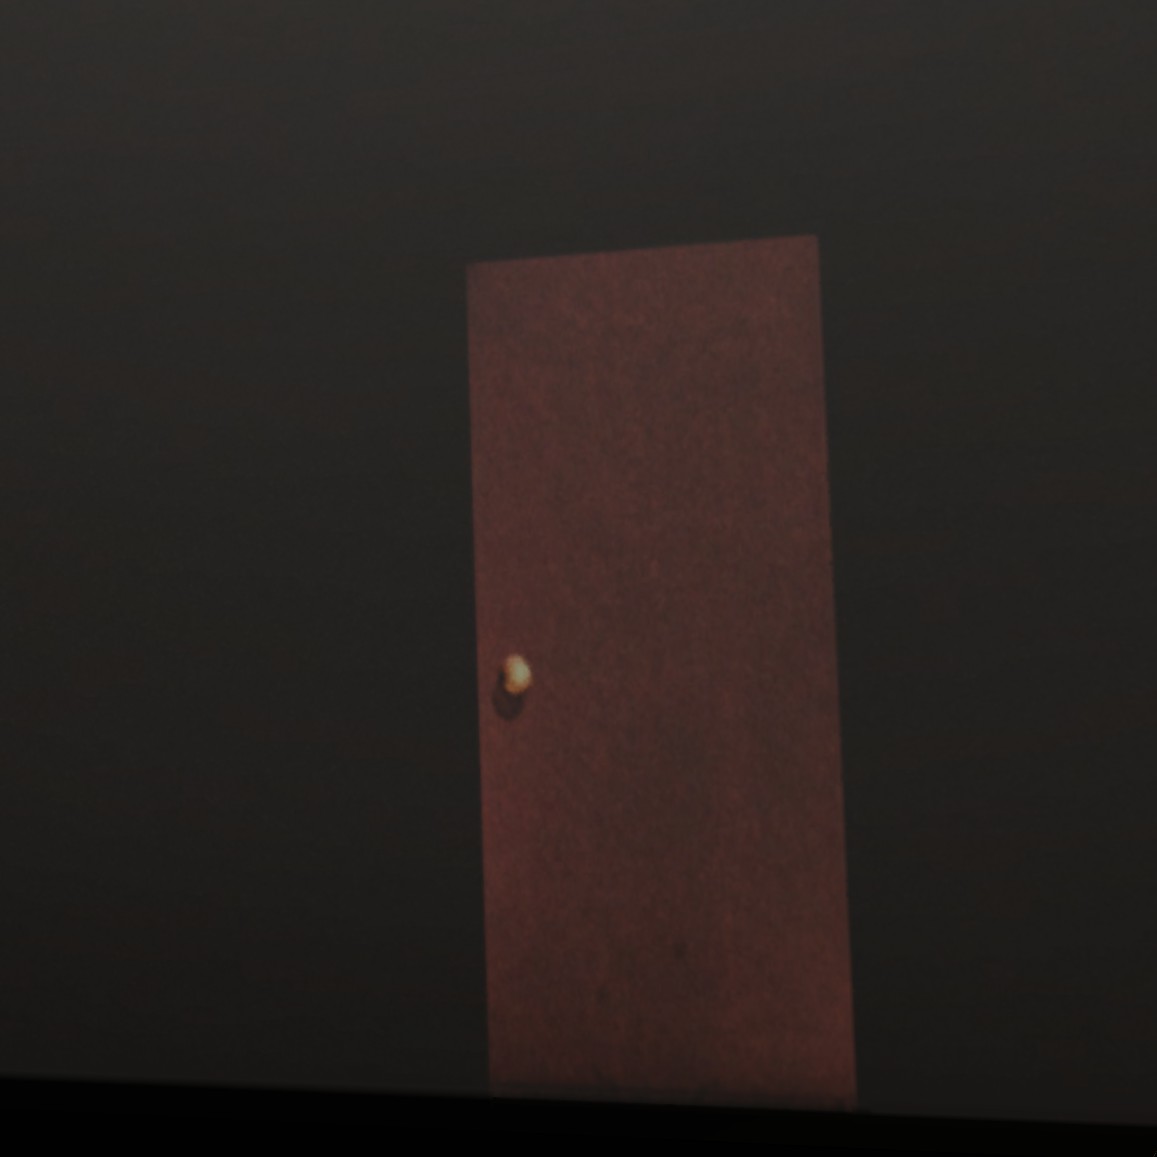
Wait until the spoopy ghost dude turns into the red door shown here and then walk through the red door.
Go down this new, even spoopier hallway and grab the last two pages to finish the two page achievements. Take the gun out of the safe and find out what truly happened at The Atlas.
Congratulations, you have how 100% the game!