Have you ever asked a friend how grenades work and they just say “Throw them and they explode” without elaborating on how to use them? This is for you.
Grenades
Ah, grenades. They’re often the last aspect of a player’s arsenal to be explored, and for good reason- they’re significantly harder to get the hang of than most other weapons in the game. From the weirdly-timed Frag Grenades to the seemingly-useless Implosion Grenades, they have a variety of uses that are deadly when you can get the hang of them.
This guide is here to provide you a deeper insight than most experienced players are willing to put the time into explaining, as grenades aren’t a mechanic you want to overlook.
General Physics
Grenades in War Brokers are perhaps the things most effected by gravity in the entire game. A frag grenade thrown straight forward will start by going up a tiny bit, then hit the ground after about 25m (approximately).
The higher you aim, the farther it will generally go, until you reach a 45° angle, in which they’ll start traveling more up than forward. Similar to throwing anything in real life, but a whole lot easier to think about.
Explosion damage as a whole is lessened by cover. Full cover completely depletes the damage of explosions, while part-cover reduces it partially (equivalent to how much of you is exposed). Generally if you physically cannot see the grenade while it explodes, you probably won’t die.
Explosion damage can also be nullified by distance. The farther you are from an explosion, the less damage you take- and the less knockback. Explosions are some of the only things that can involuntarily push the player around.
Be warned, grenades/explosives shot by you can damage you. As can ones by enemies. This includes land mines, and the disorienting effect of the Concussion Grenade.
Mines, grenades and explosives shot by allies generally cannot harm you.
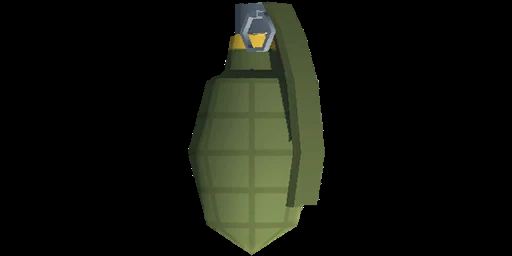
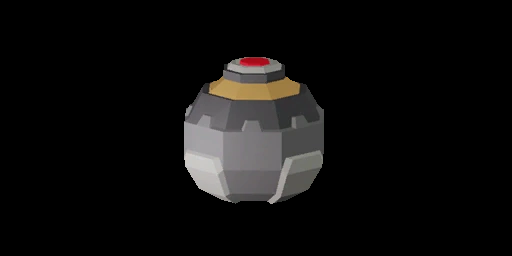
Frag Grenades
While called the “Grenade” in-game, it’s referred to as the Frag Grenade by the community to reduce confusion.
Statistics
The player is able to carry up to 5 grenades, and each grenade has a blast radius of 22.9 meters. Its damage is 490- or a little under double the player’s health bar- so you’ll want to back off as soon as you see one.
In Battle Royale (or Dead End City) mode, each “grenade” item gives you 3 grenades, not 5.
The grenade is extremely accurate in terms of not going left or right, but doesn’t travel nearly as far as most other weapons, the downward curve taking affect very quickly.
When you click the attack button, the grenade is armed. It’s live for 5 seconds before exploding, and you can continue to hold down the attack button to keep it in your hand longer.
How to use effectively
The Frag Grenade is great because it has so many uses. It can clear rooms, secure flags, deter pursuers, reach hard-to-get areas, and kill everyone- yourself included.
1. For clearing a room, hold the grenade for about a second, then poke through the entrance, toss the grenade at the center of the room (or a little before it since grenades bounce), and poke out. This forces people to get to the edges of the room or get out of the room entirely depending on the size of said room. Usually, when the grenade explodes, you may want to toss in a second one closer to the back of the room just to be sure people have cleared out.
This strategy isn’t quite as effective if there’s cover in the room.
2. To secure a flag in Point Capture mode, simply toss the grenade at the base of the flagpole. Try to get it to bounce off of the pole itself near the bottom. Even if this doesn’t kill everyone there, it’s likely to make them get away, possibly allowing your team to move in.
CAUTION: It can prove difficult to survive pulling off this maneuver, as generally, attacking a large group of enemies means you’ll be shot to pieces.
3. Deterring pursuit is one of the more certain uses of the grenade. If you’re in a flat plain, throwing a grenade back will be nearly useless, as your pursuer(s) can just run past or around it with no trouble. Just focus on not dying. The same usually applies for hallways.
Find a doorway or other opening and run toward it. Pull the pin 1 or 2 seconds before reaching said opening (depending on the distance of your pursuers) and throw it at the base of the opening so that it stays in that doorway. This will usually intimidate them and give you a chance to gain some distance.
You can also toss it a little bit ahead of you instead if you want to kill them, but this is more risky.
4. If there’s an opponent on a rooftop, in a building, through a window or anything of the like, you can toss the grenade at them. Make sure to have it land as close to the opponent as possible, no need to hold the pin for extra long unless you want it to explode as soon as it hits them.
Try to bounce it off of a wall behind them instead of tossing it straight up and letting gravity do anything if possible, you’re less likely to have it explode too early.
How to combat it effectively
The Frag Grenade will always have a bigger blast radius than you expect. The particle effect is tiny (being about 4-5m in diameter) but the blast is huge.
As soon as you see a grenade, either get away from it or get behind FULL cover. Half-cover won’t protect you enough usually. Get behind a wall, crate, or vending machine.
Experience will build a natural image of how big its blast radius is in your head, that’s quite difficult to explain in words.
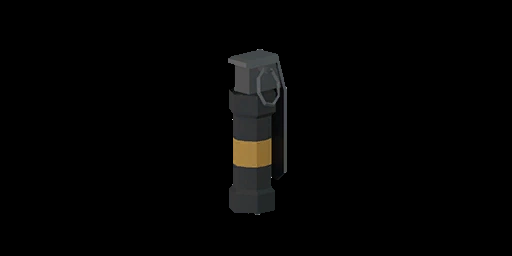
Concussion Grenades
Usually the second-most-popularly chosen grenade, and for good reason- the Concussion Grenade is pretty much the most “normal” grenade you’ll get.
It also goes by “Flashbang Grenade” or “Stun Grenade”.
Statistics
The Concussion Grenade by far has the longest range of any grenade. It also explodes on impact, meaning you can’t hold down the attack button (pr you can but it won’t do anything).
It deals roughly 40 damage and has a small blast radius of about 8-10m in diameter.
When hit with this grenade, an affected player’s vision will be blocked by a blinding white light for a moment, as well as having their volume either muted or reduced greatly for several seconds. It also shakes their screen wildly for a second.
How to use effectively
The uses of the Concussion Grenade are vast due to its instantaneous nature. Some of its uses include enemy detection, sniper disruption, distraction, and bothering.
1. By simply throwing a Concussion Grenade into an enclosed space (IE an eye hole of the skull in the Skull Island map), you can look at your crosshair and see if the “hit” symbols appear. If they do, there’s somebody there.
They’re either going to move back since they don’t know how many people there are attacking them, or come out and try to kill you. Make sure to be prepared.
This also works if you know the opponent is there and want to cover yourself and your team when moving in.
2. The Concussion Grenade’s signature feature is its ability to shake players’ screens. This also throws off their aim, the bullets going wherever the center of the screen is.
This means that if you throw it at an enemy sniper, it’ll disrupt them and ruin their shot, as well as knocking them out of that position they spend so long getting just right. Granted, moments later they’ll likely poke out to shoot you, but if you spam grenades at them then they’ll eventually be forced to move camp.
3. If you have an opponent chasing you, you can throw this behind you and make sure they’ll take a second longer in shooting at you. Try to toss it closer to the ground level so that it doesn’t need to hit them precisely, as otherwise the cost of missing will be far greater.
4. If an enemy tank is approaching your base and they won’t pay attention to your bullets, try hitting them with a Concussion Grenade. It won’t stun them, but it’ll deal enough burst damage to catch their attention usually. (Not always, as it’s a matter of psychology)
How to combat it effectively
When fighting against the Concussion Grenade, you have to realize that it’s a side weapon above all else. Nobody is going to center their playstyle around it. Somebody is going to take it out, toss it, then switch to a regular weapon again.
If you want to counter it, make sure you stay close to your opponent. If they use this, it’ll shake them up as well, evening the playing field a little. Otherwise, don’t be zoomed in when the initial blast happens- it’ll mess with your mind and exaggerate the damage, thus causing you to panic.
Laser Trip Mines
Can also be called the “Mine”, “Laser Mine”, “Land Mine”, or “Proximity Mine”.
Statistics
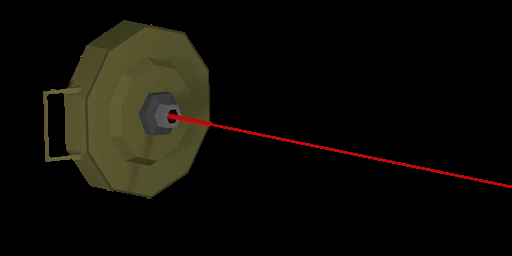
Think of the Laser Trip Mine like a stationary, very temperamental frag grenade. Upon placing it on a surface, it takes about 3 seconds to arm itself, then a RED line forms. If you or an opponent walks through that red line, it explodes, killing the opponent.
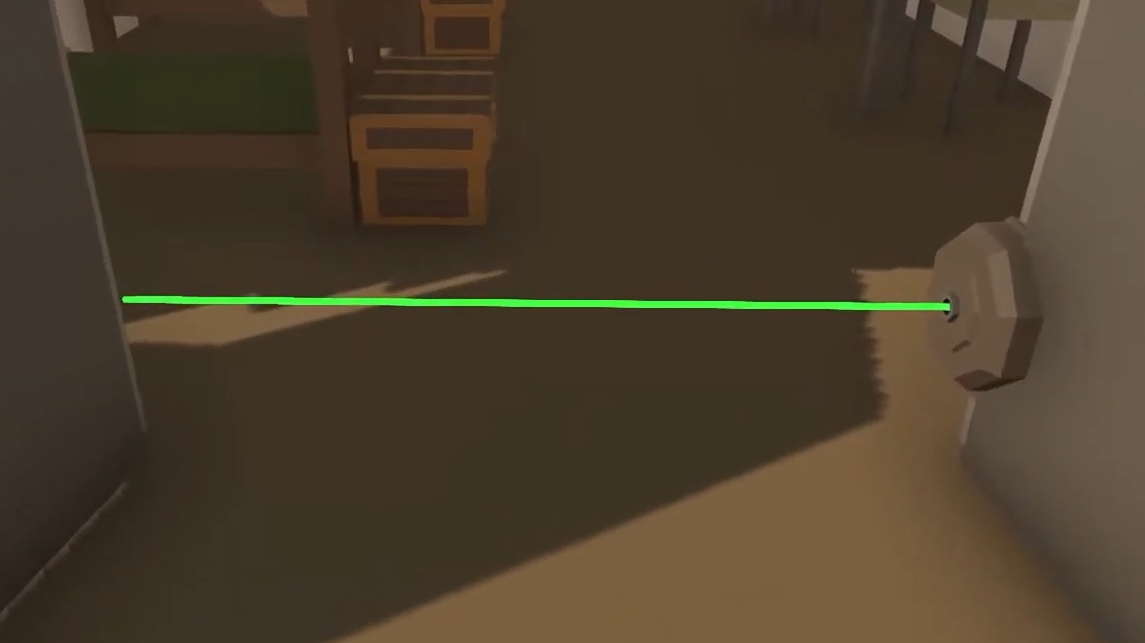
Allies may pass through this line freely, and you may pass through mines places by allies. When you can pass through a mine, the line will appear GREEN.
The mine’s damage is 490, identically to the Frag Grenade, and it has a range of 22.9m- just like the Frag Grenade. Unlike said grenade, however, the mine deals high damage to any and all vehicles.
Touching the inner 8m of the line is a death sentence. Touching the end will leave you with 100 hp (on full health), and anything between will leave you with 45-95 hp.
You can shoot enemy land mines to destroy them, but cannot destroy mines placed by yourself or allies.To remove a mine placed by yourself, use the mine elsewhere. You can only have up to 2 mines out at once, so the old ones will despawn.
How to use effectively
The mine has a surprising number of uses, but some of them are similar to one another. These uses are like doorway blockage, bomb protection, vehicle demolition, and base security.
1. In blocking doorways, your main concern will be having an opponent see and thus destroy your mine. Place the mine as close to the wall as possible so that the red line is at the very edge of the doorway. Make sure to place it somewhere that isn’t the doorway itself, as if you place it there then the opponent will shoot it immediately.
Place it on any perpendicular wall, that may work nicely. If not, place it just above the doorway, creating a vertical line.
If the line is perpendicular to the wall, you can place it as close to the ground as possible. The only part of the grenade with a hitbox is the line and the spot creating the line, so the rest of the mine can just phase through the floor.
This way, the opponent is unlikely to see the line due to it being so close to the ground.
Although, if they do see it, they can just jump over it, so don’t rely on this strategy in a pinch.
2. Placing mines to protect bombs is an age-old tactic. Place the mines a small distance from the mines, making sure that they cover all angles that players could reach it.
If the mines are too close, players will be able to defuse the bomb from outside of the mines’ range, or just go to an opposite wall and shoot the mines from a distance. Make it as hard to get close to the bomb as possible.
3. The Frag Grenade deals 147-196 damage to vehicles, instead of the 490 damage that it does to players. The amazing thing about the Proximity Mind is that it deals the same damage to infantry as it does to vehicles- so 490 all around. If there’s a stopped vehicle, place the mine right below it and back off.
You can also block popular roadways, though be aware that oncoming vehicles could just shoot the mines.
4. In maps such as Frontier, protecting your base is integral. Place mines at back alleys and places where no soldiers will be. An opponent isn’t likely to go into your base through the front door due to the probability of a player appearing there, so the side entryways are more important to defend with mines.
Make sure to follow the tips used in #1.
How to combat it effectively
Mines can be extremely frustrating to deal with, but luckily, there are various counters to them.
Keep in mind that mines have the same blast radius as Frag Grenades, so picture the (full) red line coming from the mine being a full 360 degree circle. That’s the danger zone for shooting them.
When past that range (or in the farther half of them), you should be good to shoot them.
If you can’t shoot the mine, toss a Concussion Grenade, Frag Grenade, or Grenade Launcher Grenade and back off. The grenade will destroy the mine.
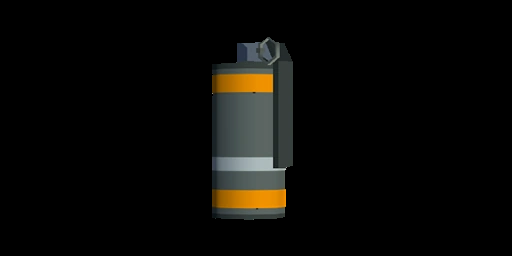
Smoke Grenades
This grenade actually doesn’t do any damage. That far from makes it useless, however.
Statistics
The least damaging grenade, clocking in at a grand total of 0 damage. It has a radius of about 4m, and its range is just shy of the Frag Grenade. It doesn’t do any knockback, either.
You can carry up to 10 of these grenades.
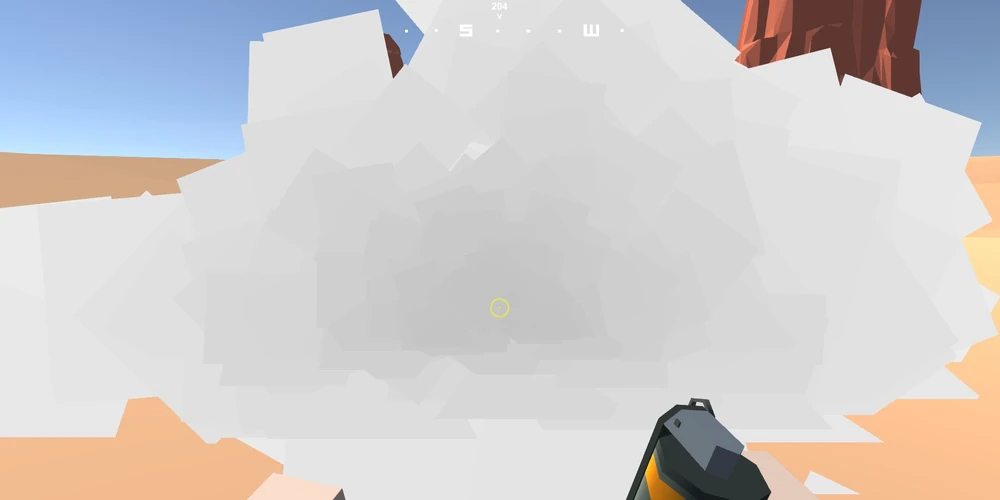
Despite its seemingly useless nature, this grenade has a special property- when it stops bouncing, it releases opaque white smoke in a 4m radius, and lasts for about 15 seconds. Neither you, your team, not the opposing team can see through the smoke.
This grenade can completely conceal about 3-5 players at once if they squish together. Its purpose is to hide players and confuse enemies.
How to use effectively
The Smoke Grenade doesn’t have a tremendous amount of uses. Regardless, it’s helpful in missile launching, sniper frustrating, and escape covering.
1. When launching a missile, the main concern is that an opponent will kill the person launching it. By using the smoke grenade, however, it makes it difficult for the opponent to decipher the precise location of the missile launcher, buying them valuable time. If smoke grenades are spammed, this can stall all the way to the missile’s launch.
2. If a sniper is in a nook or tight spot, toss a smoke grenade into the wall next to them. When it activates, it will obscure their vision, then stalling them or forcing them to move. It also draws attention to their location.
3. If you’re at an intersection and being pursued, you can toss a smoke grenade down to make it more ambiguous as to where you went. Granted, this doesn’t often work, as it takes too long for the grenade to activate- but this also helps get snipers to have a harder time counter-sniping you if you’re covering an escape from a sniper position.
How to combat effectively
The counter to grenades is simple. If somebody is using it to launch a missile- as you’ll often see- use a regular grenade and toss it into the smoke. They may not see it and thus get blown up.
Only do that if you have time and the missile is still decently far from being launched.
Otherwise, use explosives to knock them out of the smoke screen. As well, bear in mind they can’t see you, so if they’re hiding inside, there’s only one place they could be- but you have a near-360-degree range of where you could be and they wouldn’t know.
Additionally, exploit the weakness of the smoke grenade- it takes a while to activate, only doing so when it stops bouncing. If it rolls down a hill, it will take an extremely long time to activate.
Implosion Grenades
Vastly underutilized, this grenade has unexploited potential- but is ultimately outshined by the other grenades.
Statistics
This grenade deals very little damage (5-15), and has a blast radius of about 18m. You get 5 grenades.
It has no explosion particles, and has a unique explosion method. When thrown with the attack button, you explode it by clocking said button a second time.
As opposed to traditional grenades, which knock people back, the Implosion Grenade sucks people in upon activation. This has no effect on vehicles, airborne or otherwise.
It is thrown about is far as a grenade.
How to use effectively
The Implosion Grenade has two main uses, those being self-flinging and sniper disturbance.
1. It takes a bit of practice, but you can fling yourself upward extraordinarily high with this grenade. Jump, toss it upward, and wait about a quarter of a second before detonating. You’ll be flung rather high into the air, and this can be used diagonally to cover ground fast. Though this tends to give away your position.
2. While many other grenades do it better, if you toss this grenade at a sniper, you can pull the out of their sniper spot with the right detonation timing. Although this deals no damage, meaning it’s more of an annoyance than a viable method of attack.
How to combat effectively
People who use this sometimes use it for combat purposes, flying into the sky to rain a hail of bullets down onto you. If someone takes this out, always be prepared to look up and start shooting.
Otherwise, this grenade is mostly harmless, so there’s not much to worry about.
Grenade Launchers- Note
This isn’t a true guide to this weapon, you’ll find that everywhere else among the guides to War Brokers. Besides, this guide is long enough as is.
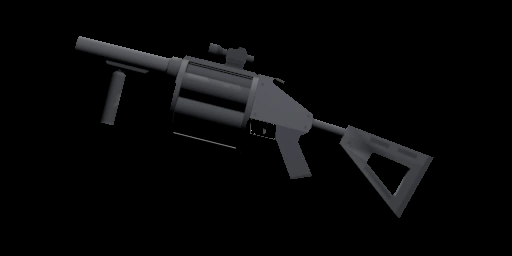
Use this weapon like grenades- each bomb deals 90 damage, and it’s good for dealing with mines. Individuals using this weapon are unlikely to get far, but groups of people using it can do severe damage to enemy teams.
Conclusion
Grenades are an integral part of nearly any playstyle. In this guide I covered ways to use them and ways to counter them, but often people use/combat them their own ways, so everything here is finite. Don’t take any of the counters as gospel, but they work for me and I’ve had a lot of experience fighting grenades.
Ultimately, do what works for you. If something is effective but not mentioned in here, be my guest.
Anyway, happy grenading, and don’t worry if you accidentally blow yourself up- it happens to everyone!