Even though it’s not the most crucial task at the moment, it’s still worth your effort to defeat all 5 Syndicate Tower bosses as they contribute significantly to the game’s backstory and lore. I’ll cover each of the 5 bosses, including their locations, stats, recommended levels for taking them on, and the optimal order to defeat them, ensuring you don’t get absolutely plugged.
Tower Locations

The above is a map of all the tower boss locations, they are in numerical order so you’ll know which ones you should go through first.
Syndicate Tower Bosses
Upon entering a syndicate tower, you have ten minutes to defeat the boss otherwise you will automatically lose. Here are the list of bosses all in order and their stats.
Zoe & Grizzbolt
- Coordinates: 112, -434
- Health: 30,000
- Recommended Level: 13
Zoe & Grizzbolt is the first boss you’ll encounter in the game. She’s relatively easy, but don’t let your guard down, as a couple of her attacks can end your life quickly. Grizzbolt is an electric type, so it’s recommended to bring a ground type pal to tilt the odds in your favor. Two notable attacks to watch out for are her triple ground slam, where she hops three times and slams her claws into the ground each time. It’s a powerful attack, so time your dodges carefully. Her second attack is a lock-on laser beam with a high stun chance, dealing significant damage. Fortunately, you can take cover behind pillars to avoid it. Just start running when you see the red laser aimed at you. And that’s it for the first boss! Now onto the second!

Lily & Lyleen
- Coordinates: 185, 28
- Health: 69,000
- Recommended Level: 25
Lily & Lyleen is the second boss you’ll face in the game. She’s a significant step up from Zoe & Grizzbolt and much more dangerous. Being a grass type, you’ll need a fire type pal to effectively combat her. She has several attacks you must watch out for. Firstly, she can launch a poison cloud ahead of her, so keep your distance. Another threat is her homing bubbles and hurricanes, which can deal hefty damage if they hit you, so be sure to dodge them. Her deadliest attack is her seed grenade, which scatters across the ground on impact. If it hits you directly, it’s likely to insta-kill you, so be extremely cautious. And with that we can now move onto the third boss.

Axel & Orserk
- Coordinates: -588, -518
- Health: 130,000
- Recommended Level: 40
Axel & Orserk are no joke and will absolutely crush you if you’re not careful. This is where the difficulty really amps up, and if you thought the previous two bosses were hard, you’re in for a hefty ride here. This is the only multi-element boss in the game, being both Electric and Dragon. I recommend bringing either ground or ice type pals, both can work if you want to fill your party with both types. Orserk uses a thunder trident projectile that splits into three directions on impact. It also summons a tracking poison cloud, so keep moving until it dissipates. Dodging its lightning beam is tough, so duck behind a pillar during the brief pause before it strikes. Avoid standing directly in front of Orserk, as it may use its Draconic Breath attack. If it closes the gap, be ready to dodge its close-range AoE attack. By this point, you should have unlocked heavier artillery to deal with Orserk’s massive health bar. Keep your distance, aim for the head with long-range weapons, and consider upgrading your armor or bringing a pal with lifesteal if you’re having trouble surviving.

Marcus & Faleris
- Coordinates: 561, 334
- Health: 147,000
- Recommended Level: 45
Marcus & Faleris is the second to last boss and the second hardest in the entire game. By this point, you should bring your most powerful pals and equipment. Faleris is a fire type, so bring water type pals. Faleris will throw out fire tornadoes, fireballs, and other projectiles. Use the arena to your advantage and keep a pillar between you and it whenever possible. Faleris’ Ignis Breath sends out a plume of flame ahead, so stay at mid-to-long range. Additionally, Faleris may position itself overhead to unleash fire or electric AoE attacks. It also has a thunderbolt attack that inflicts a shocking status effect, so keep moving during the fight and rely on your pals to draw attention. Faleris will remain airborne during the fight, so don’t rely on pals with melee attacks.

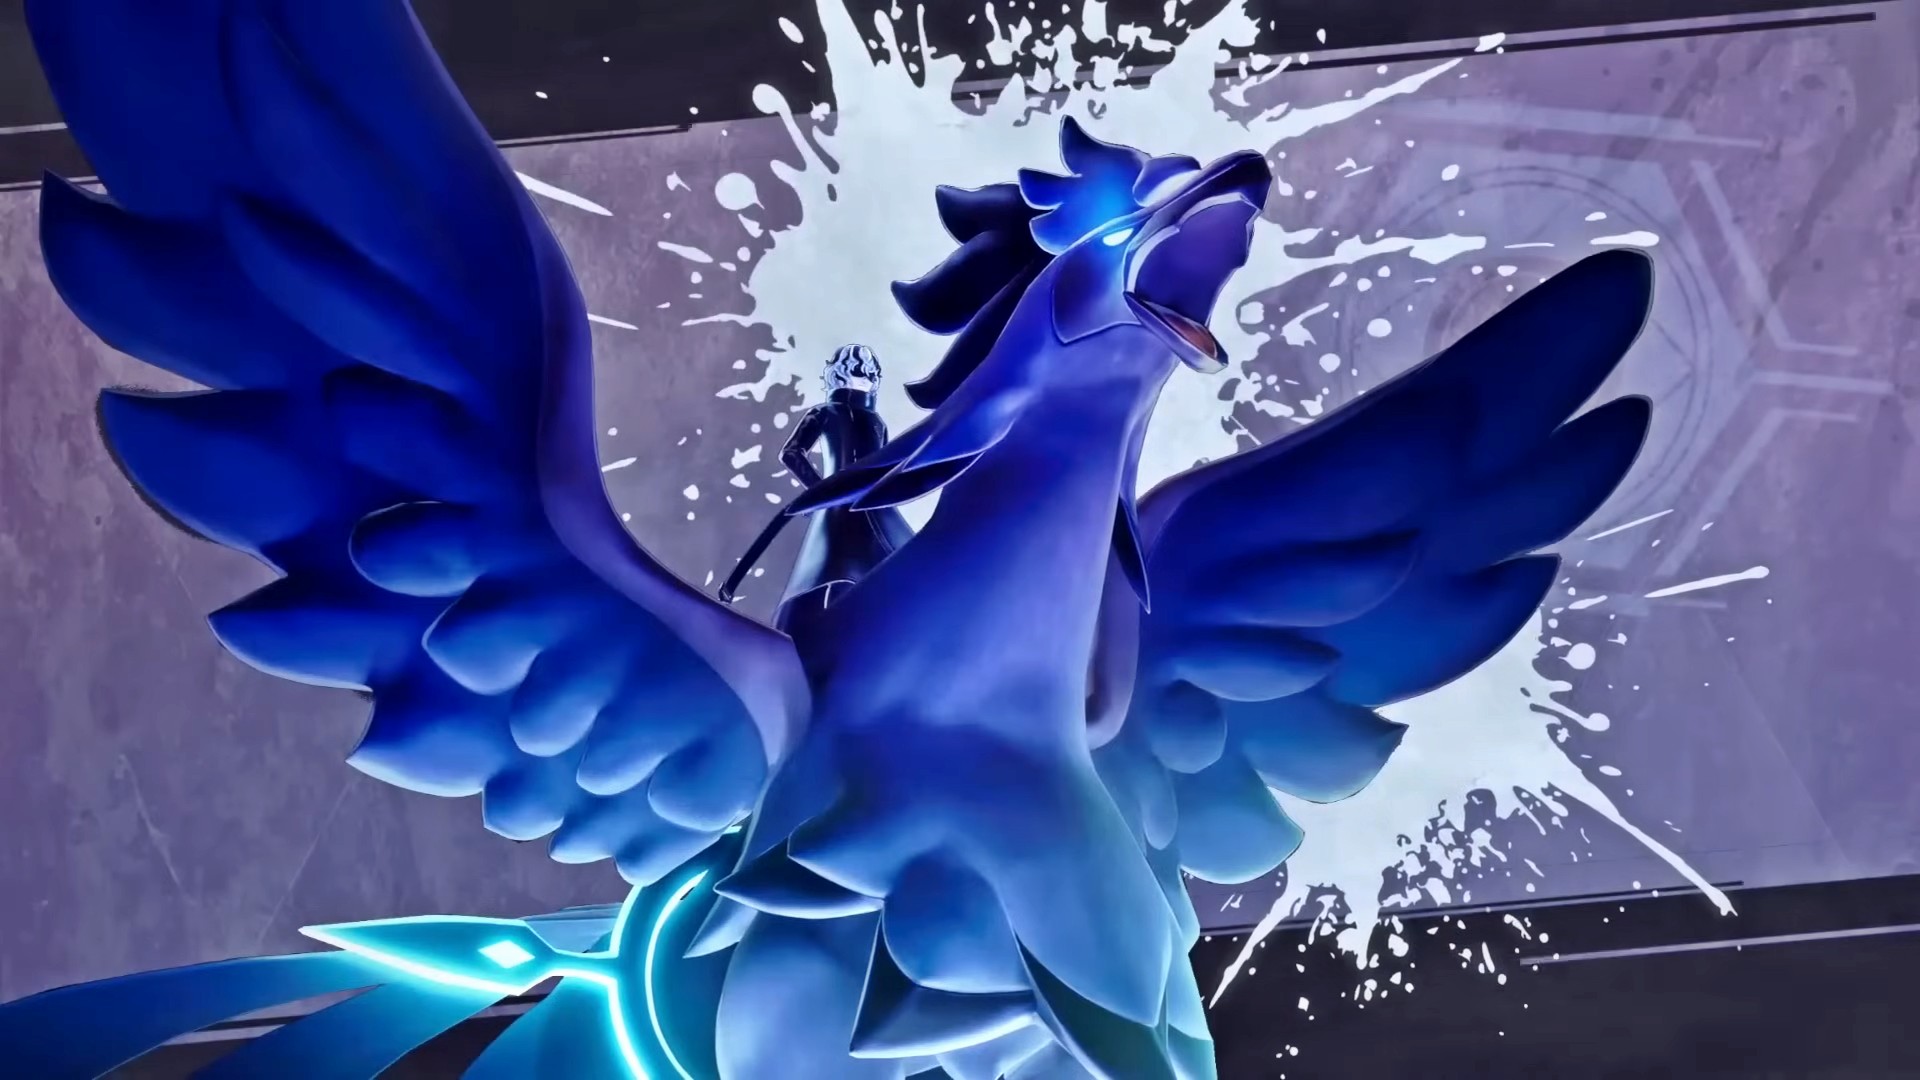
Victor & Shadowbeak
- Coordinates: -149, 445
- Health: 200,000
- Recommended Level: 50
Victor & Shadowbeak is the final boss in the game and rightfully holds the title of the hardest boss in Palworld. For this fight, bring your best equipment and pals. Since Shadowbeak is a dark type, bring the strongest dragon type pals available. Its attacks include orb projectiles, a forward beam, and homing orbs that inflict dark damage. Like previous boss encounters, you can dodge these attacks by hiding behind pillars or executing well-timed dodges. Shadowbeak also uses ice-based attacks, including an ice bomb, wave, and beam. Equipping Cold Resistant Armor can help ward off freeze status effects, but you should already have this equipped to deal with the cold outside the boss room. If you’re not at the max level cap, avoid taking on this boss as you won’t survive.