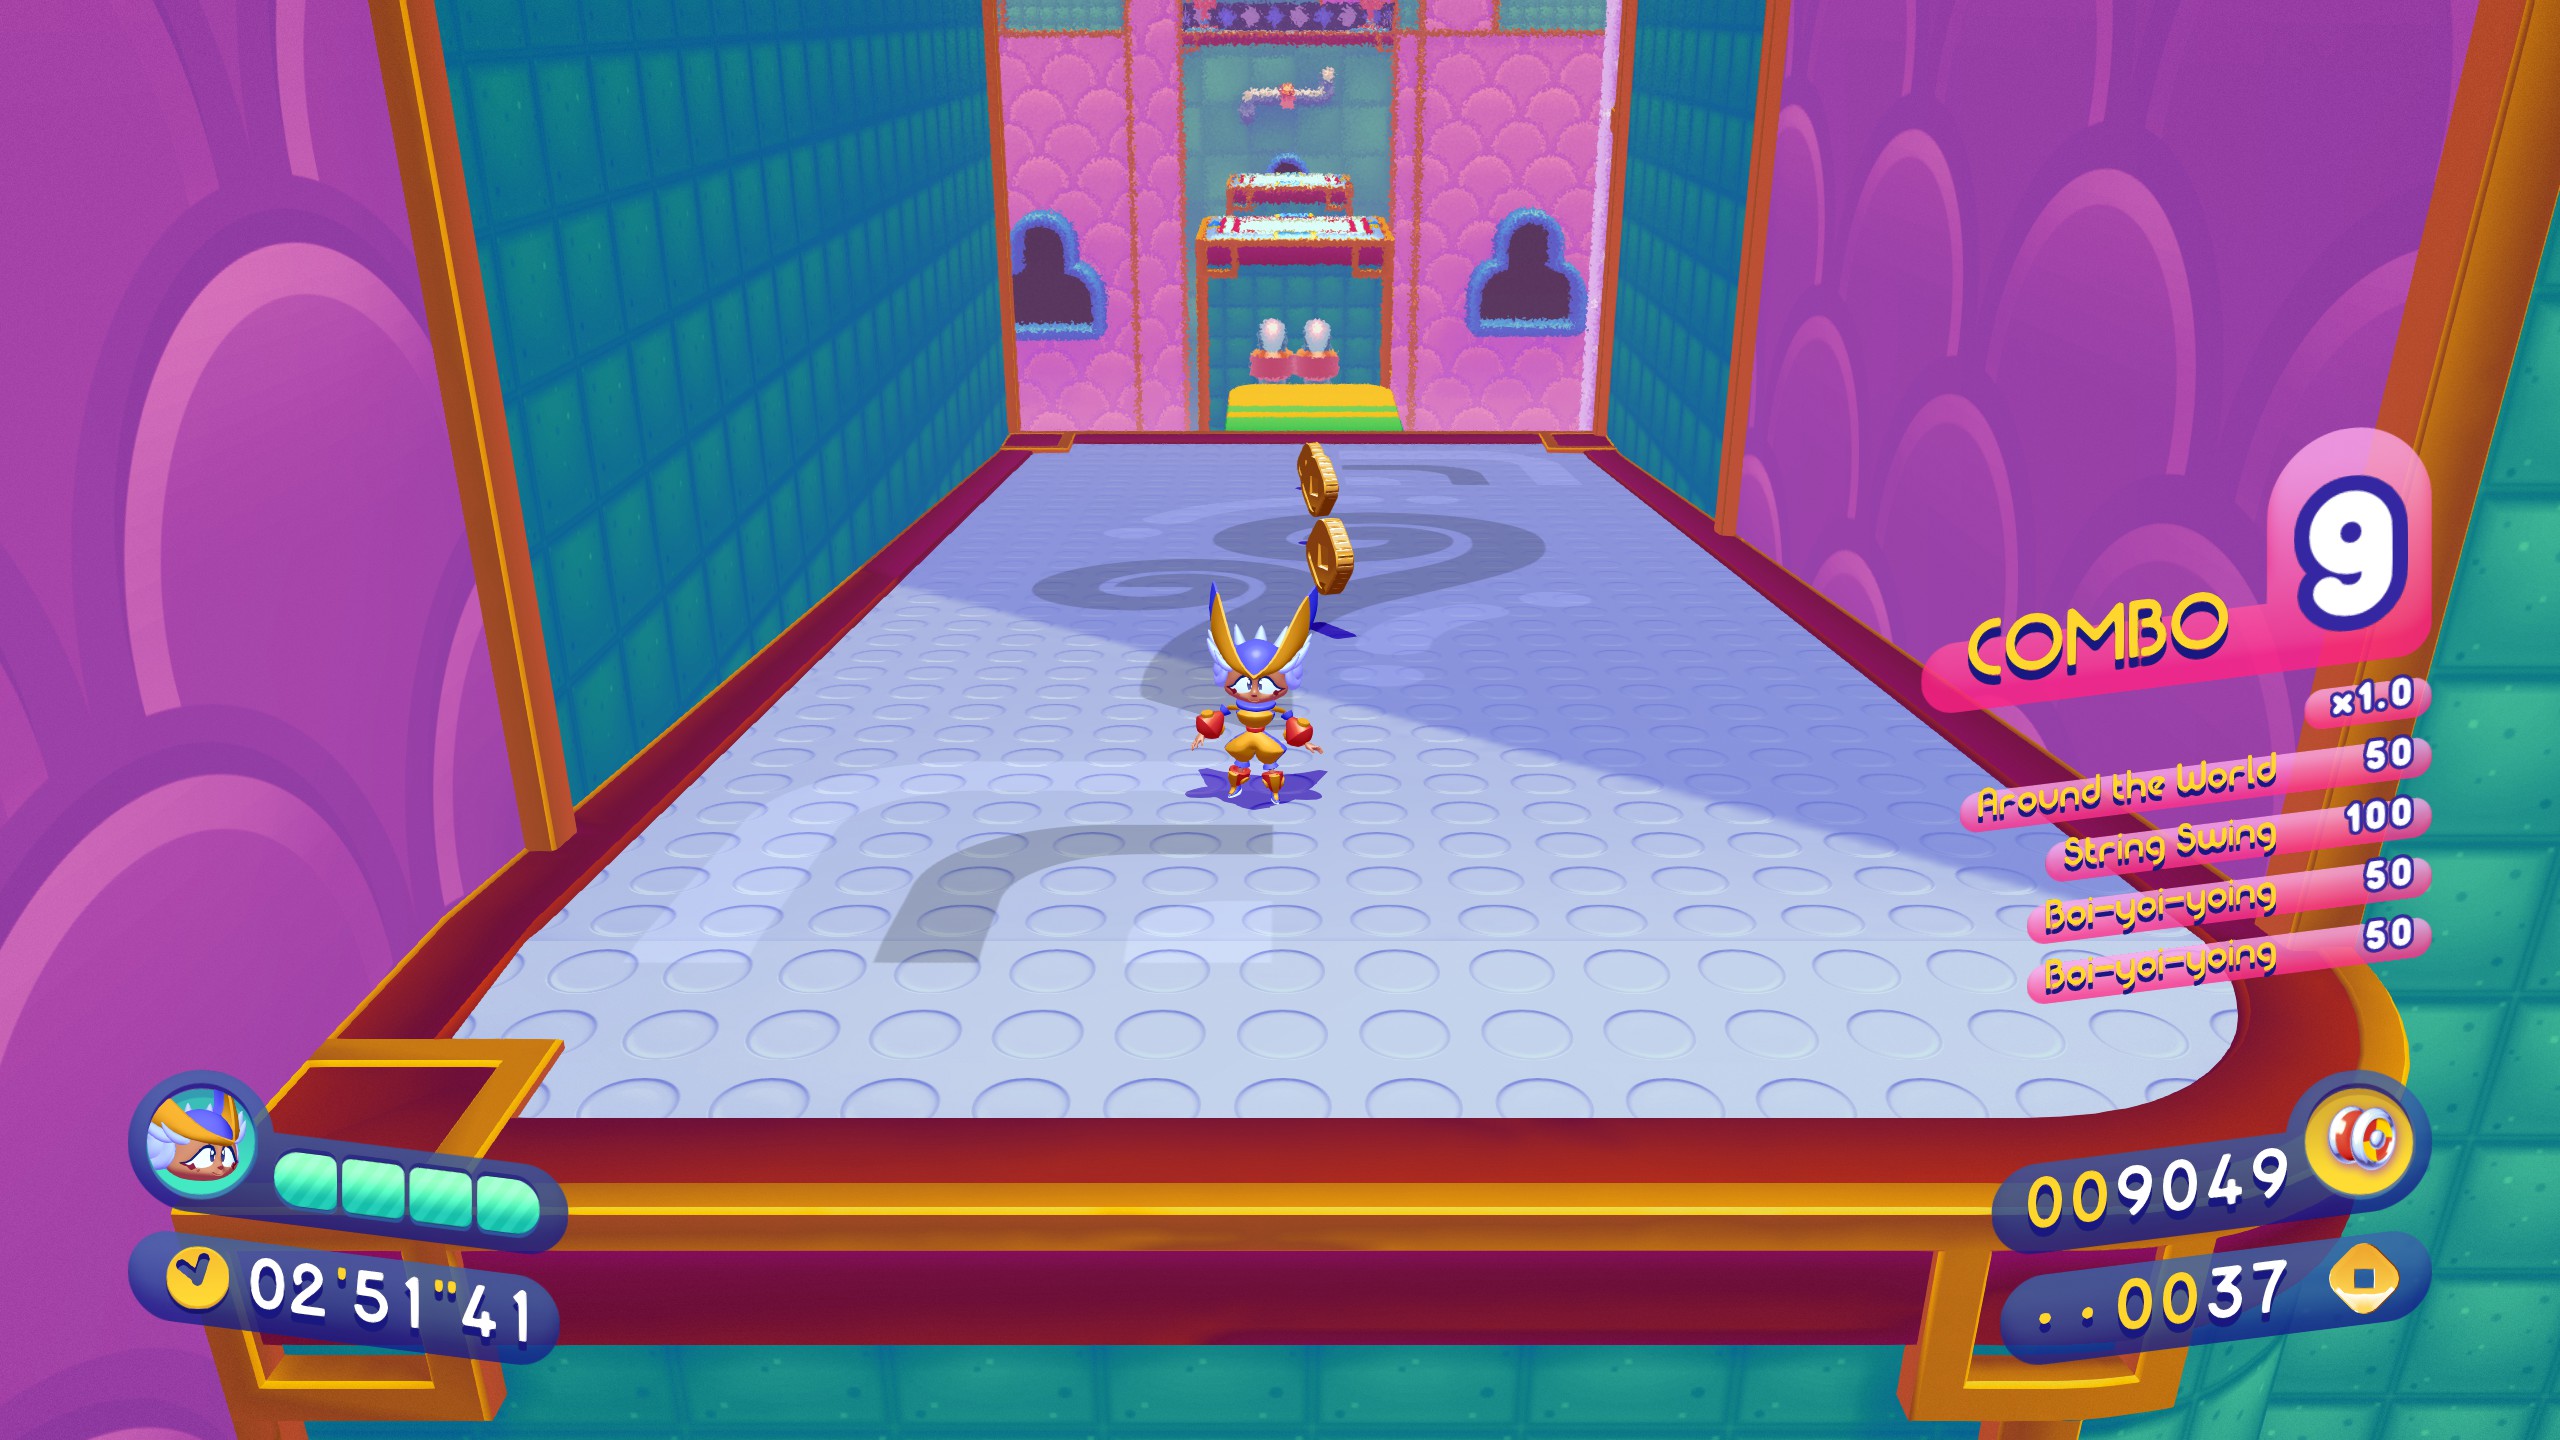
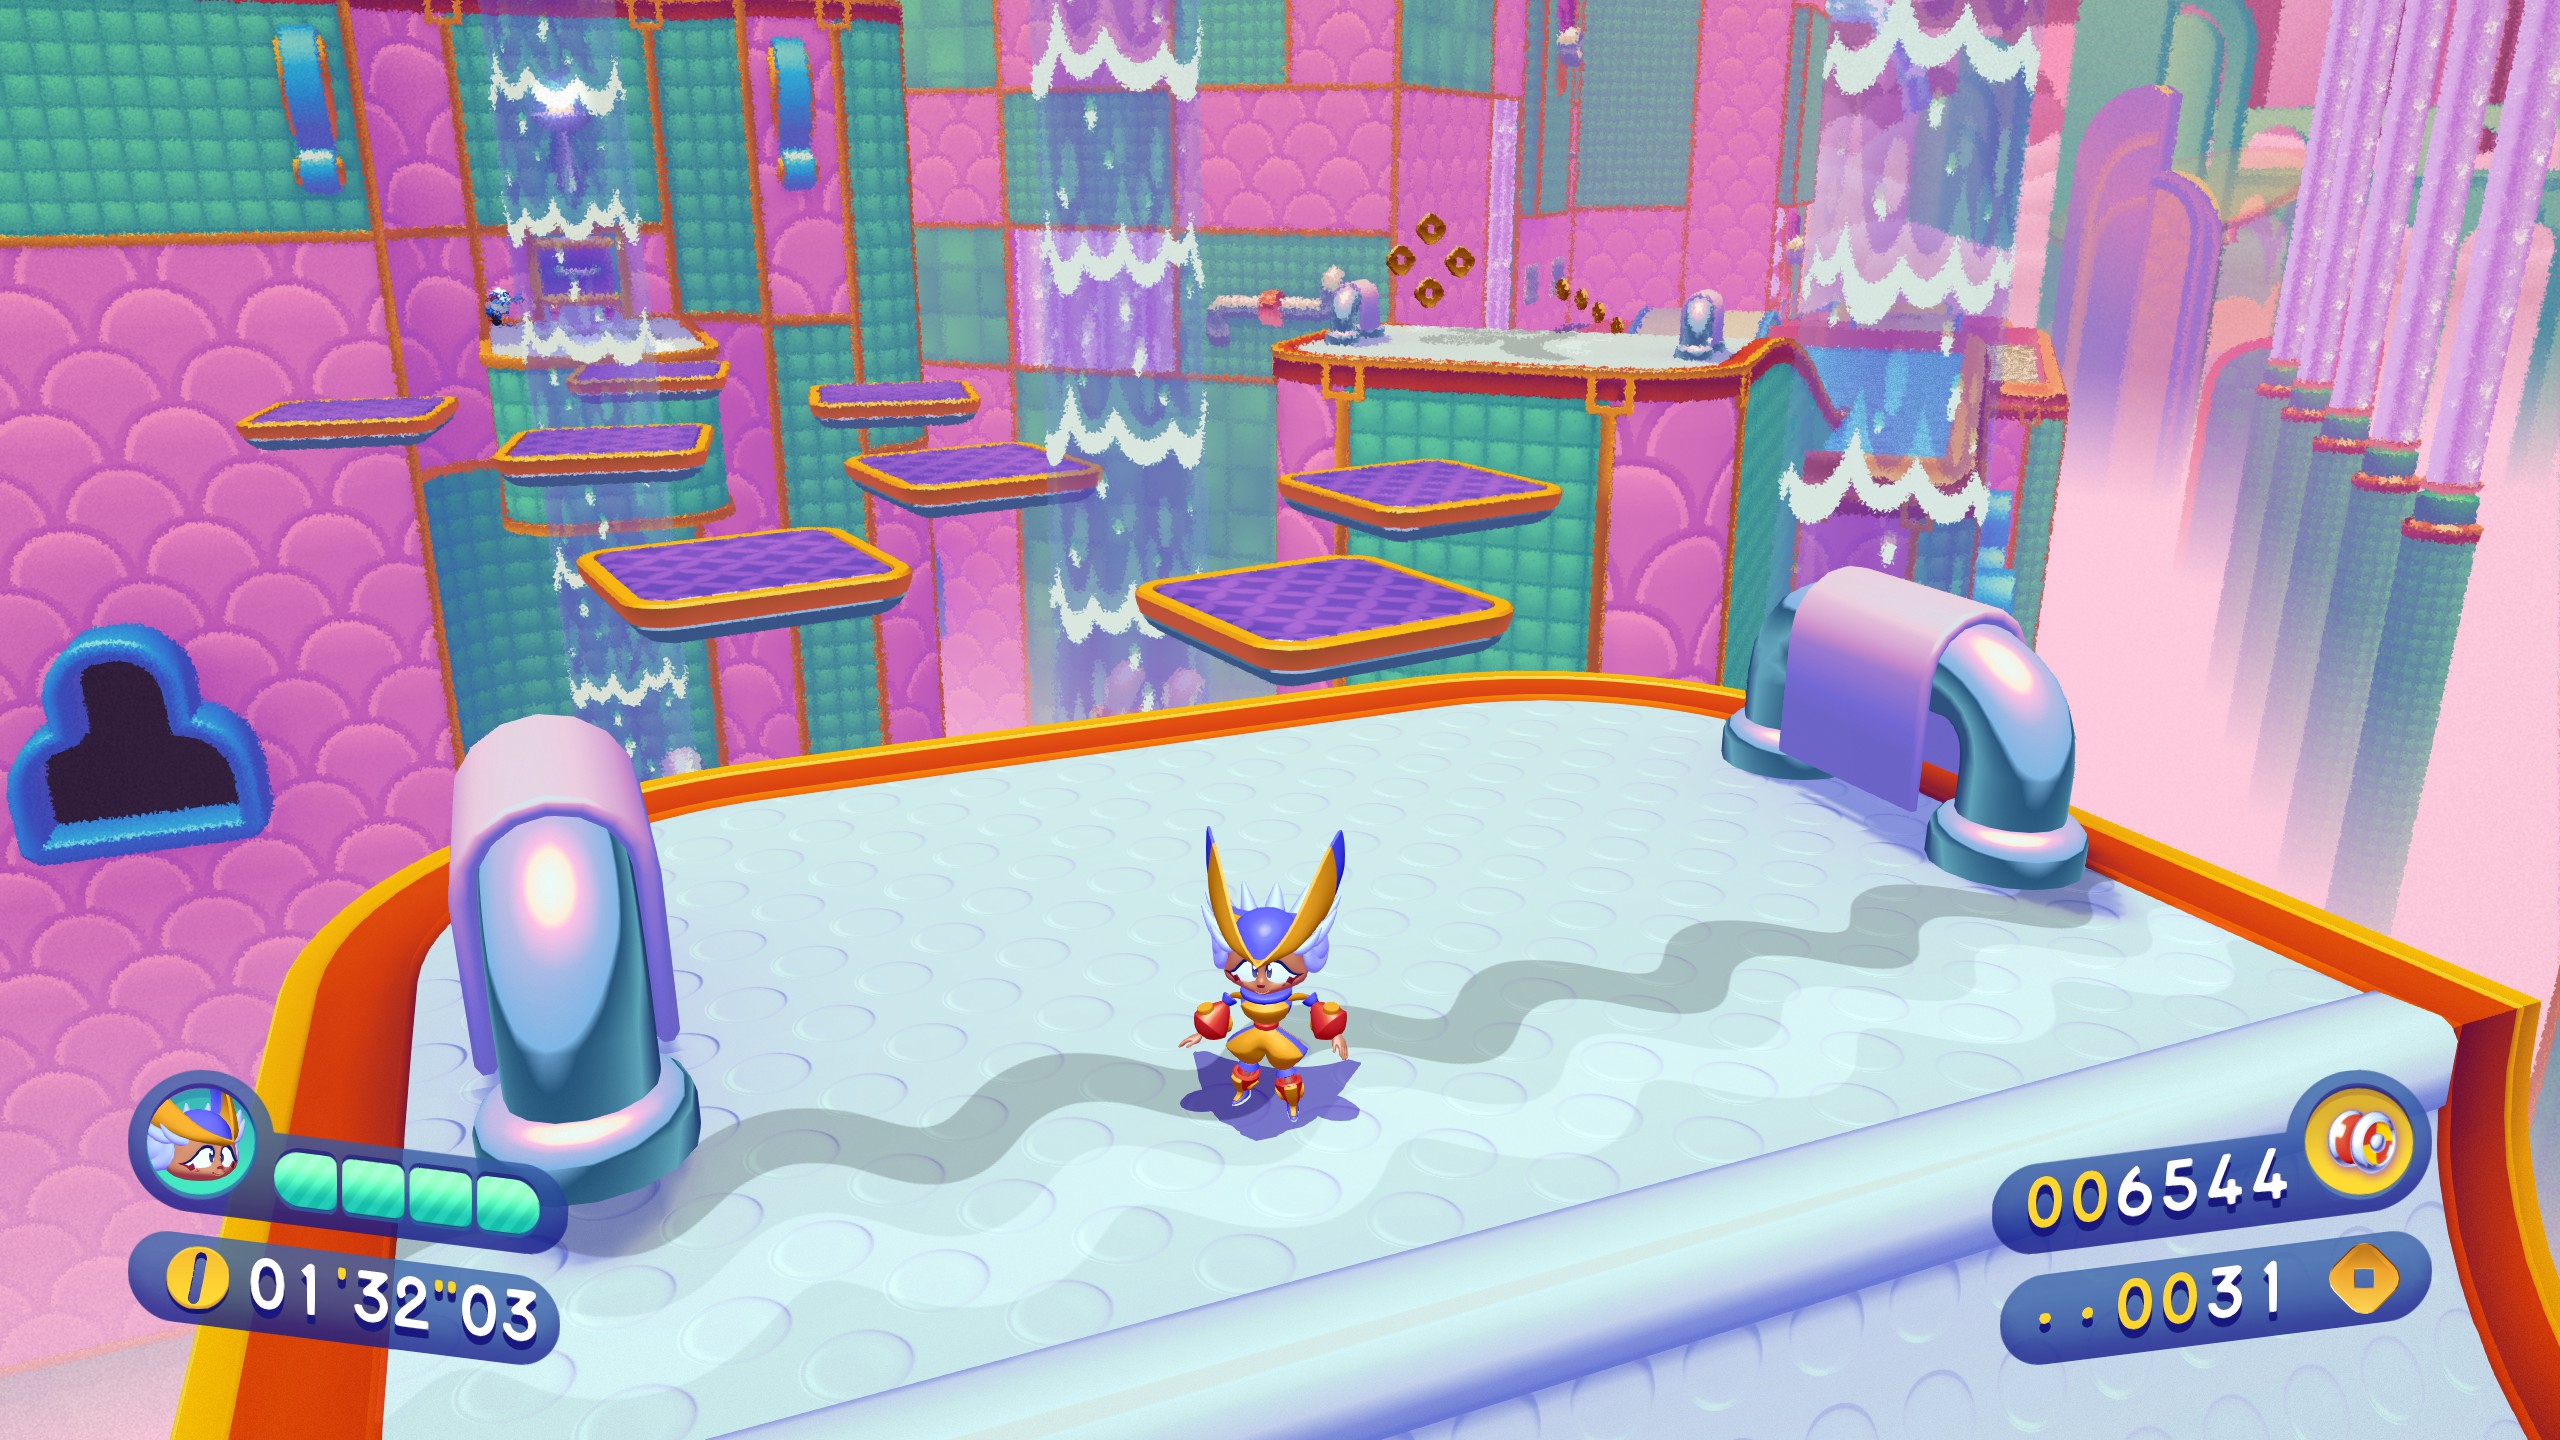
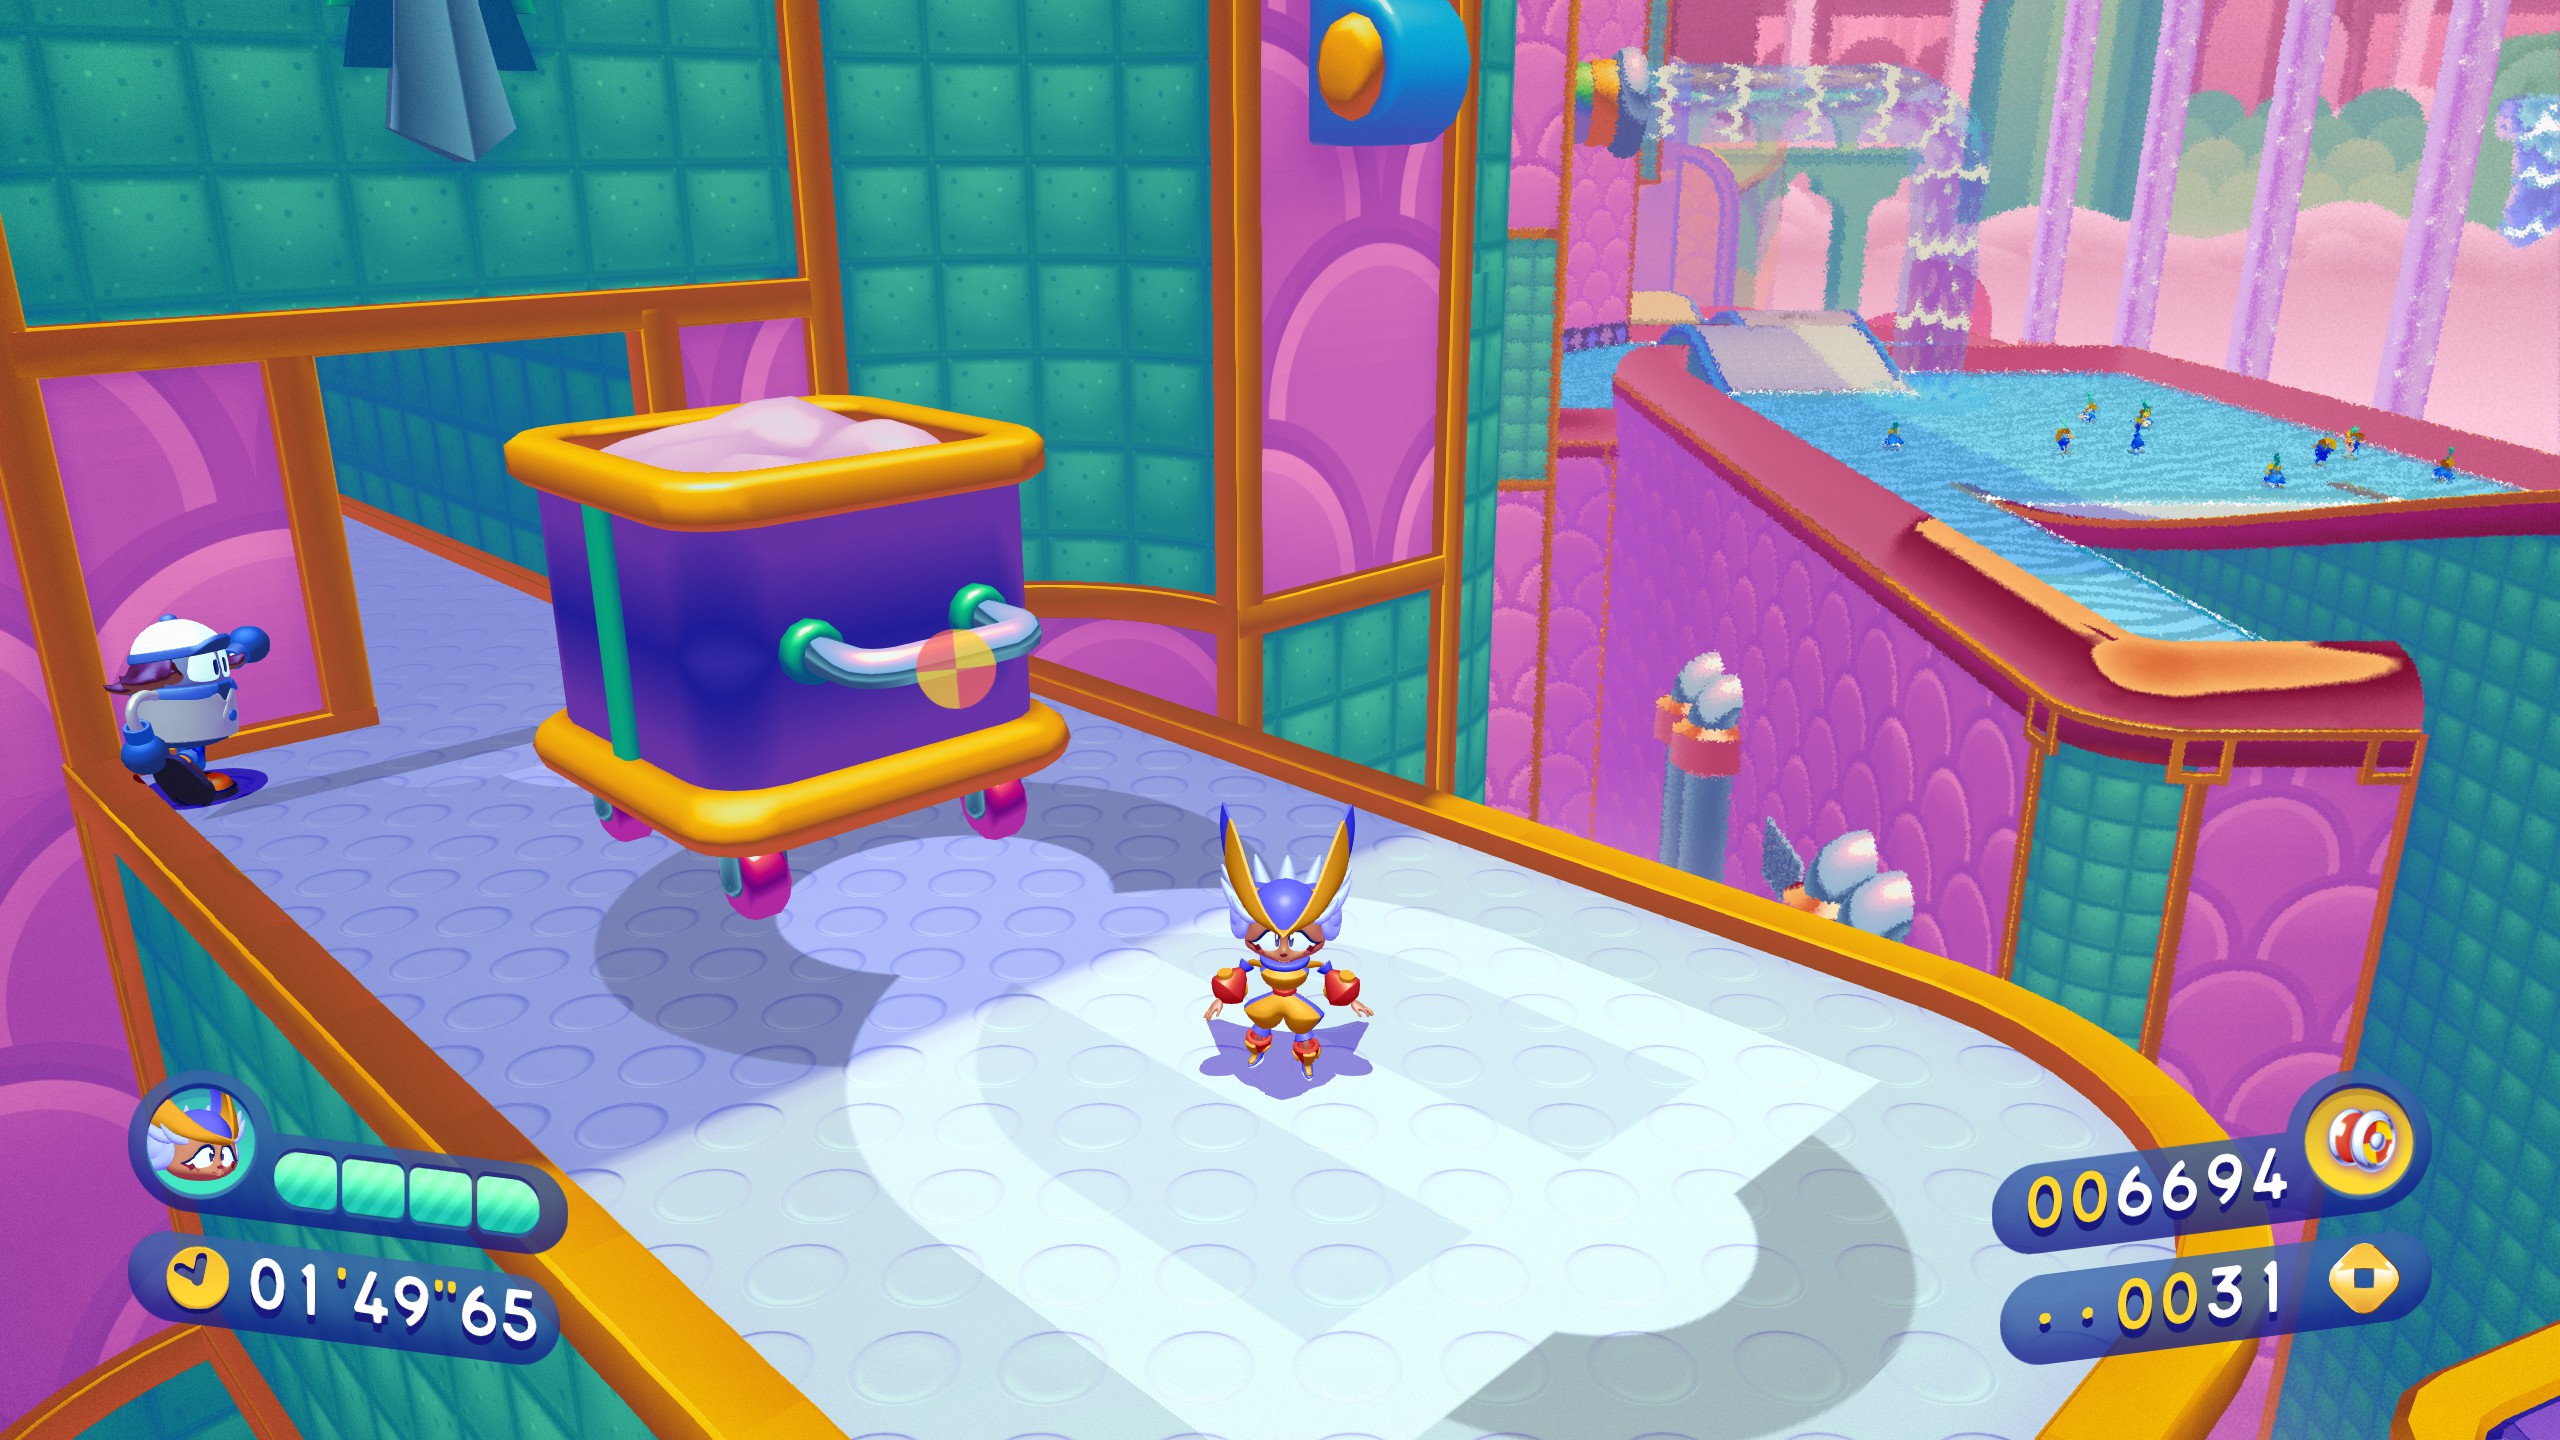
A brief picture guide to help you find all showpiece locations!
General notes
- If you grab a showpiece and die before reaching a new checkpoint, don’t worry, you do not have to collect it again. Once is enough.
- There are very few showpieces that require you to use any sort of advance “tech” or tricks to get them. Being good at swinging is about the most that’ll be asked of you, and even then I’d say most pieces don’t even strictly require that.
- Every single showpiece is needed to unlock every star globe level.
- Rather then jumping off a ledge if you need to reset, use the restart button in the menu. You can restart back to your last checkpoint and it won’t cost you any health, you’ll just have to see level intro thing again.
- I’m not sure when it’d come in too much handy, but spinning with the yoyo will attract coins and showpieces just a bit.
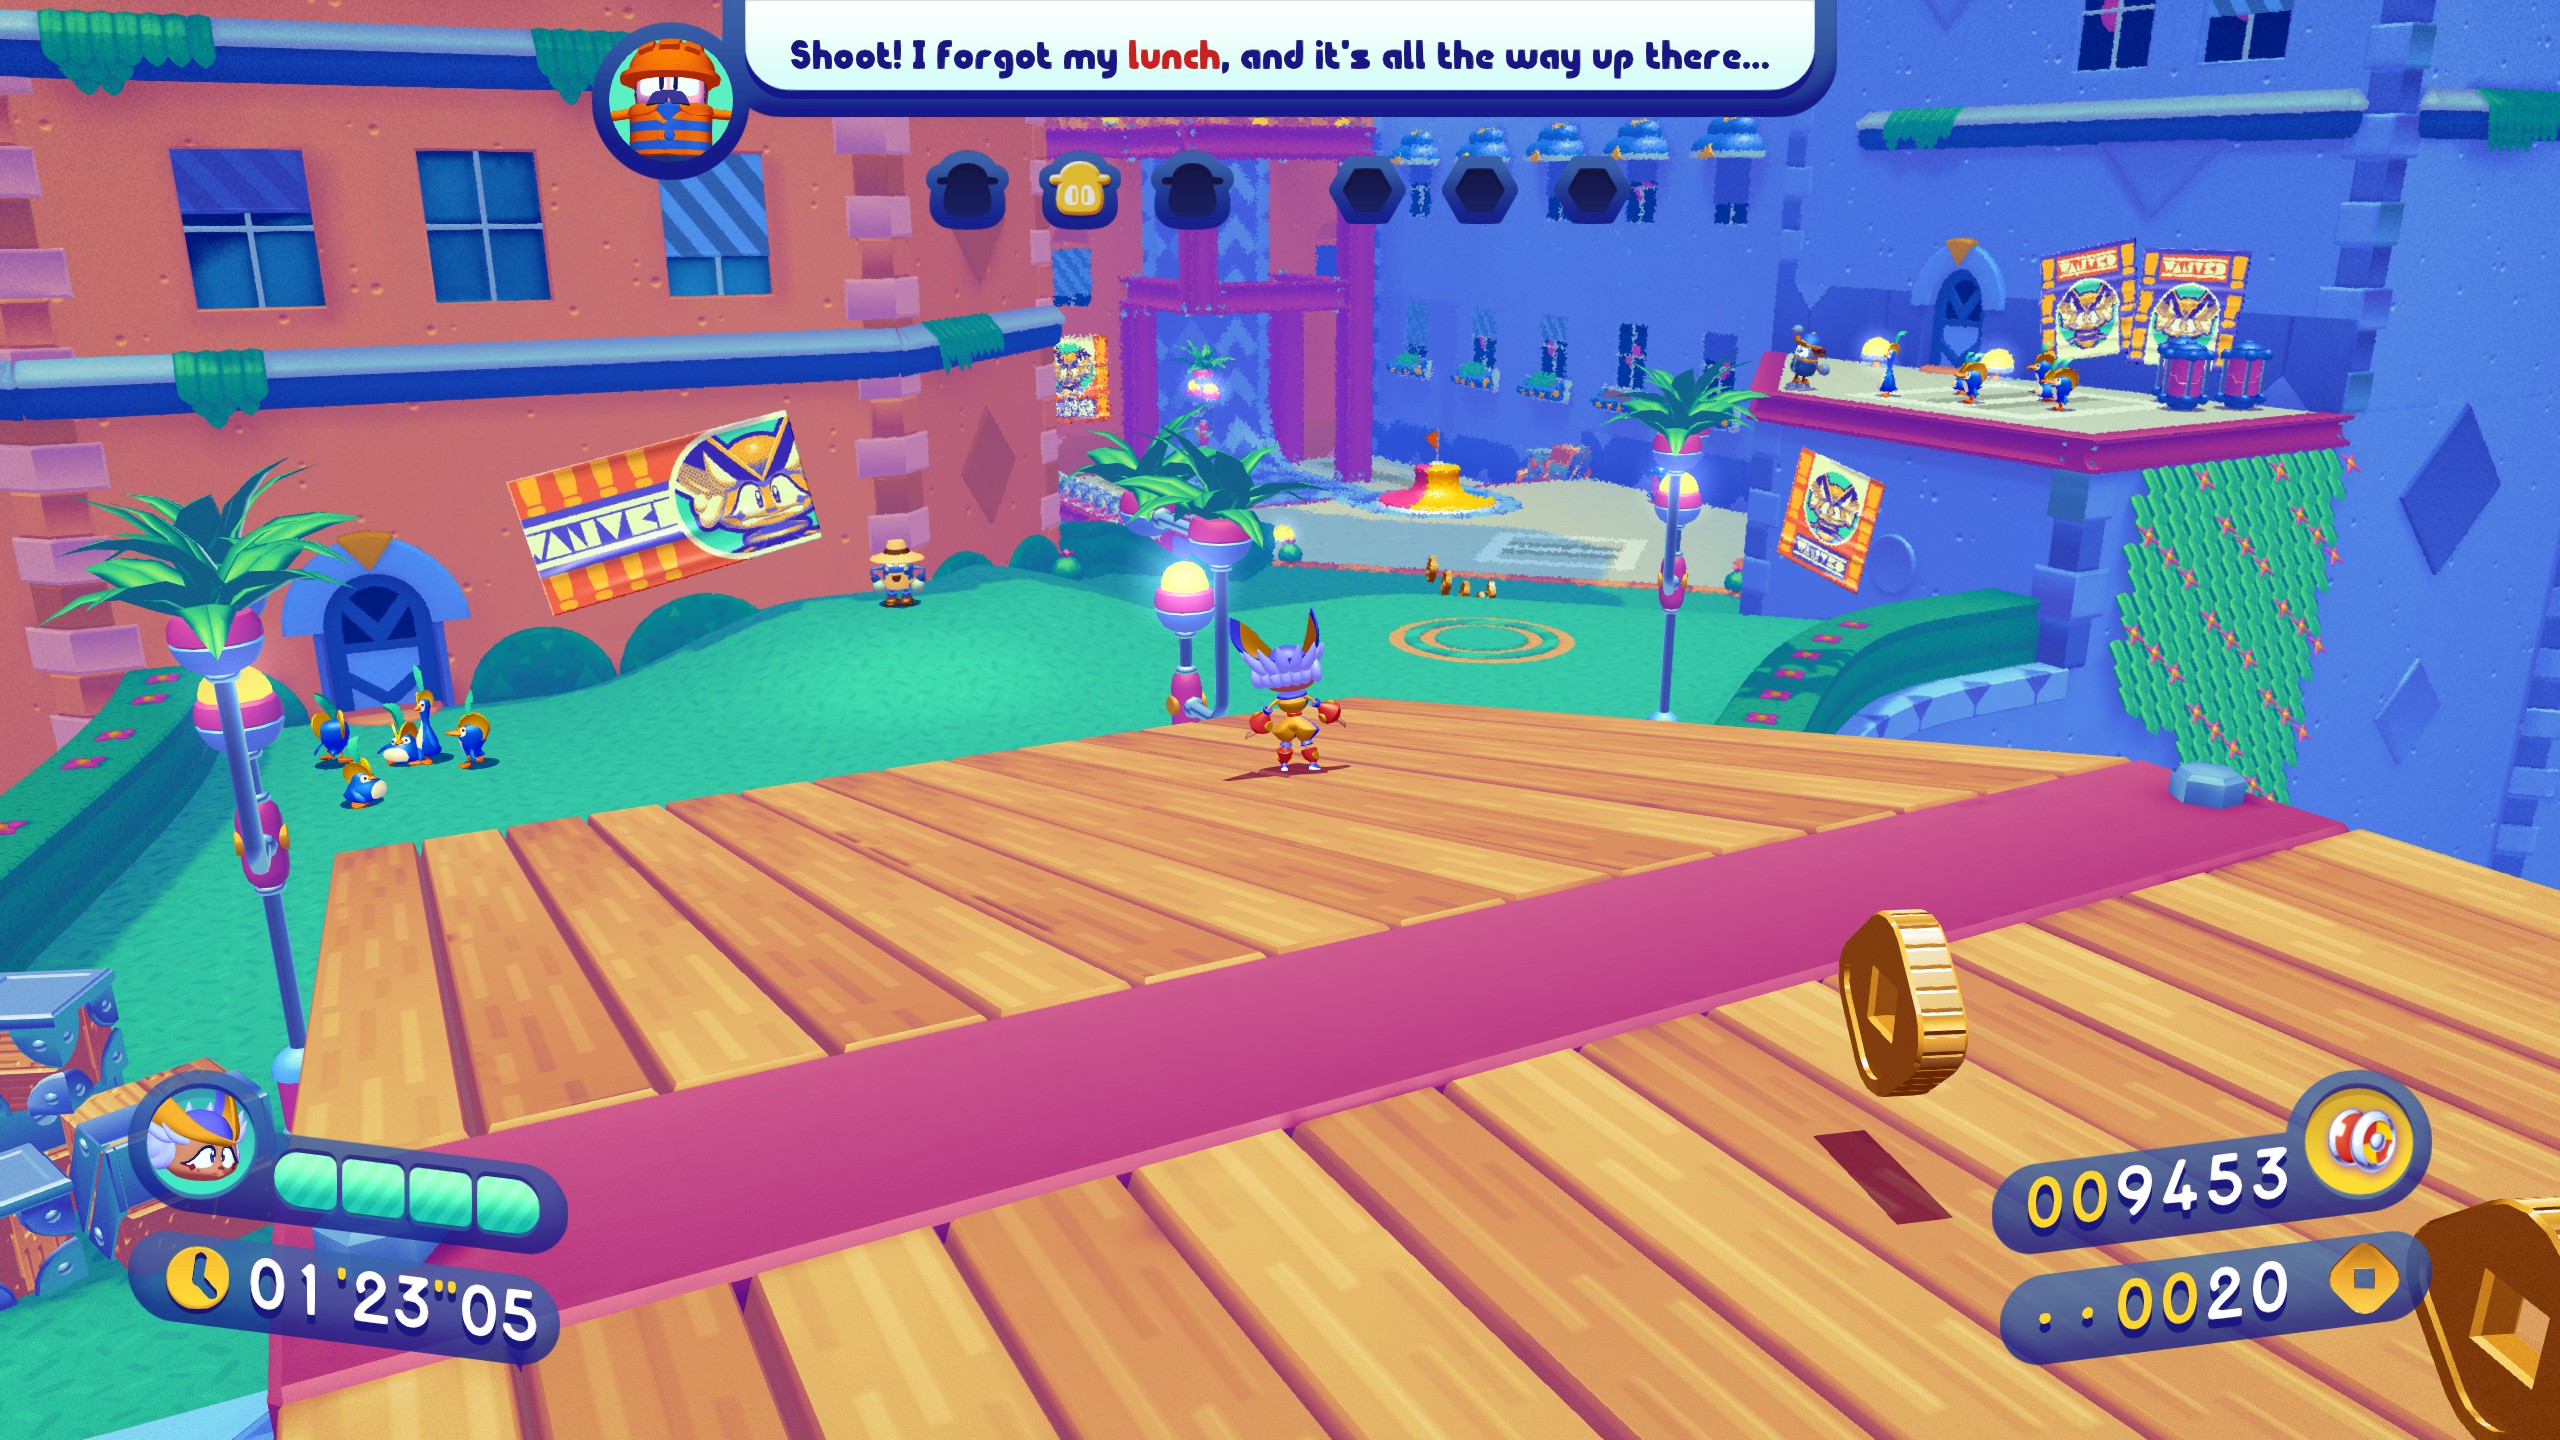
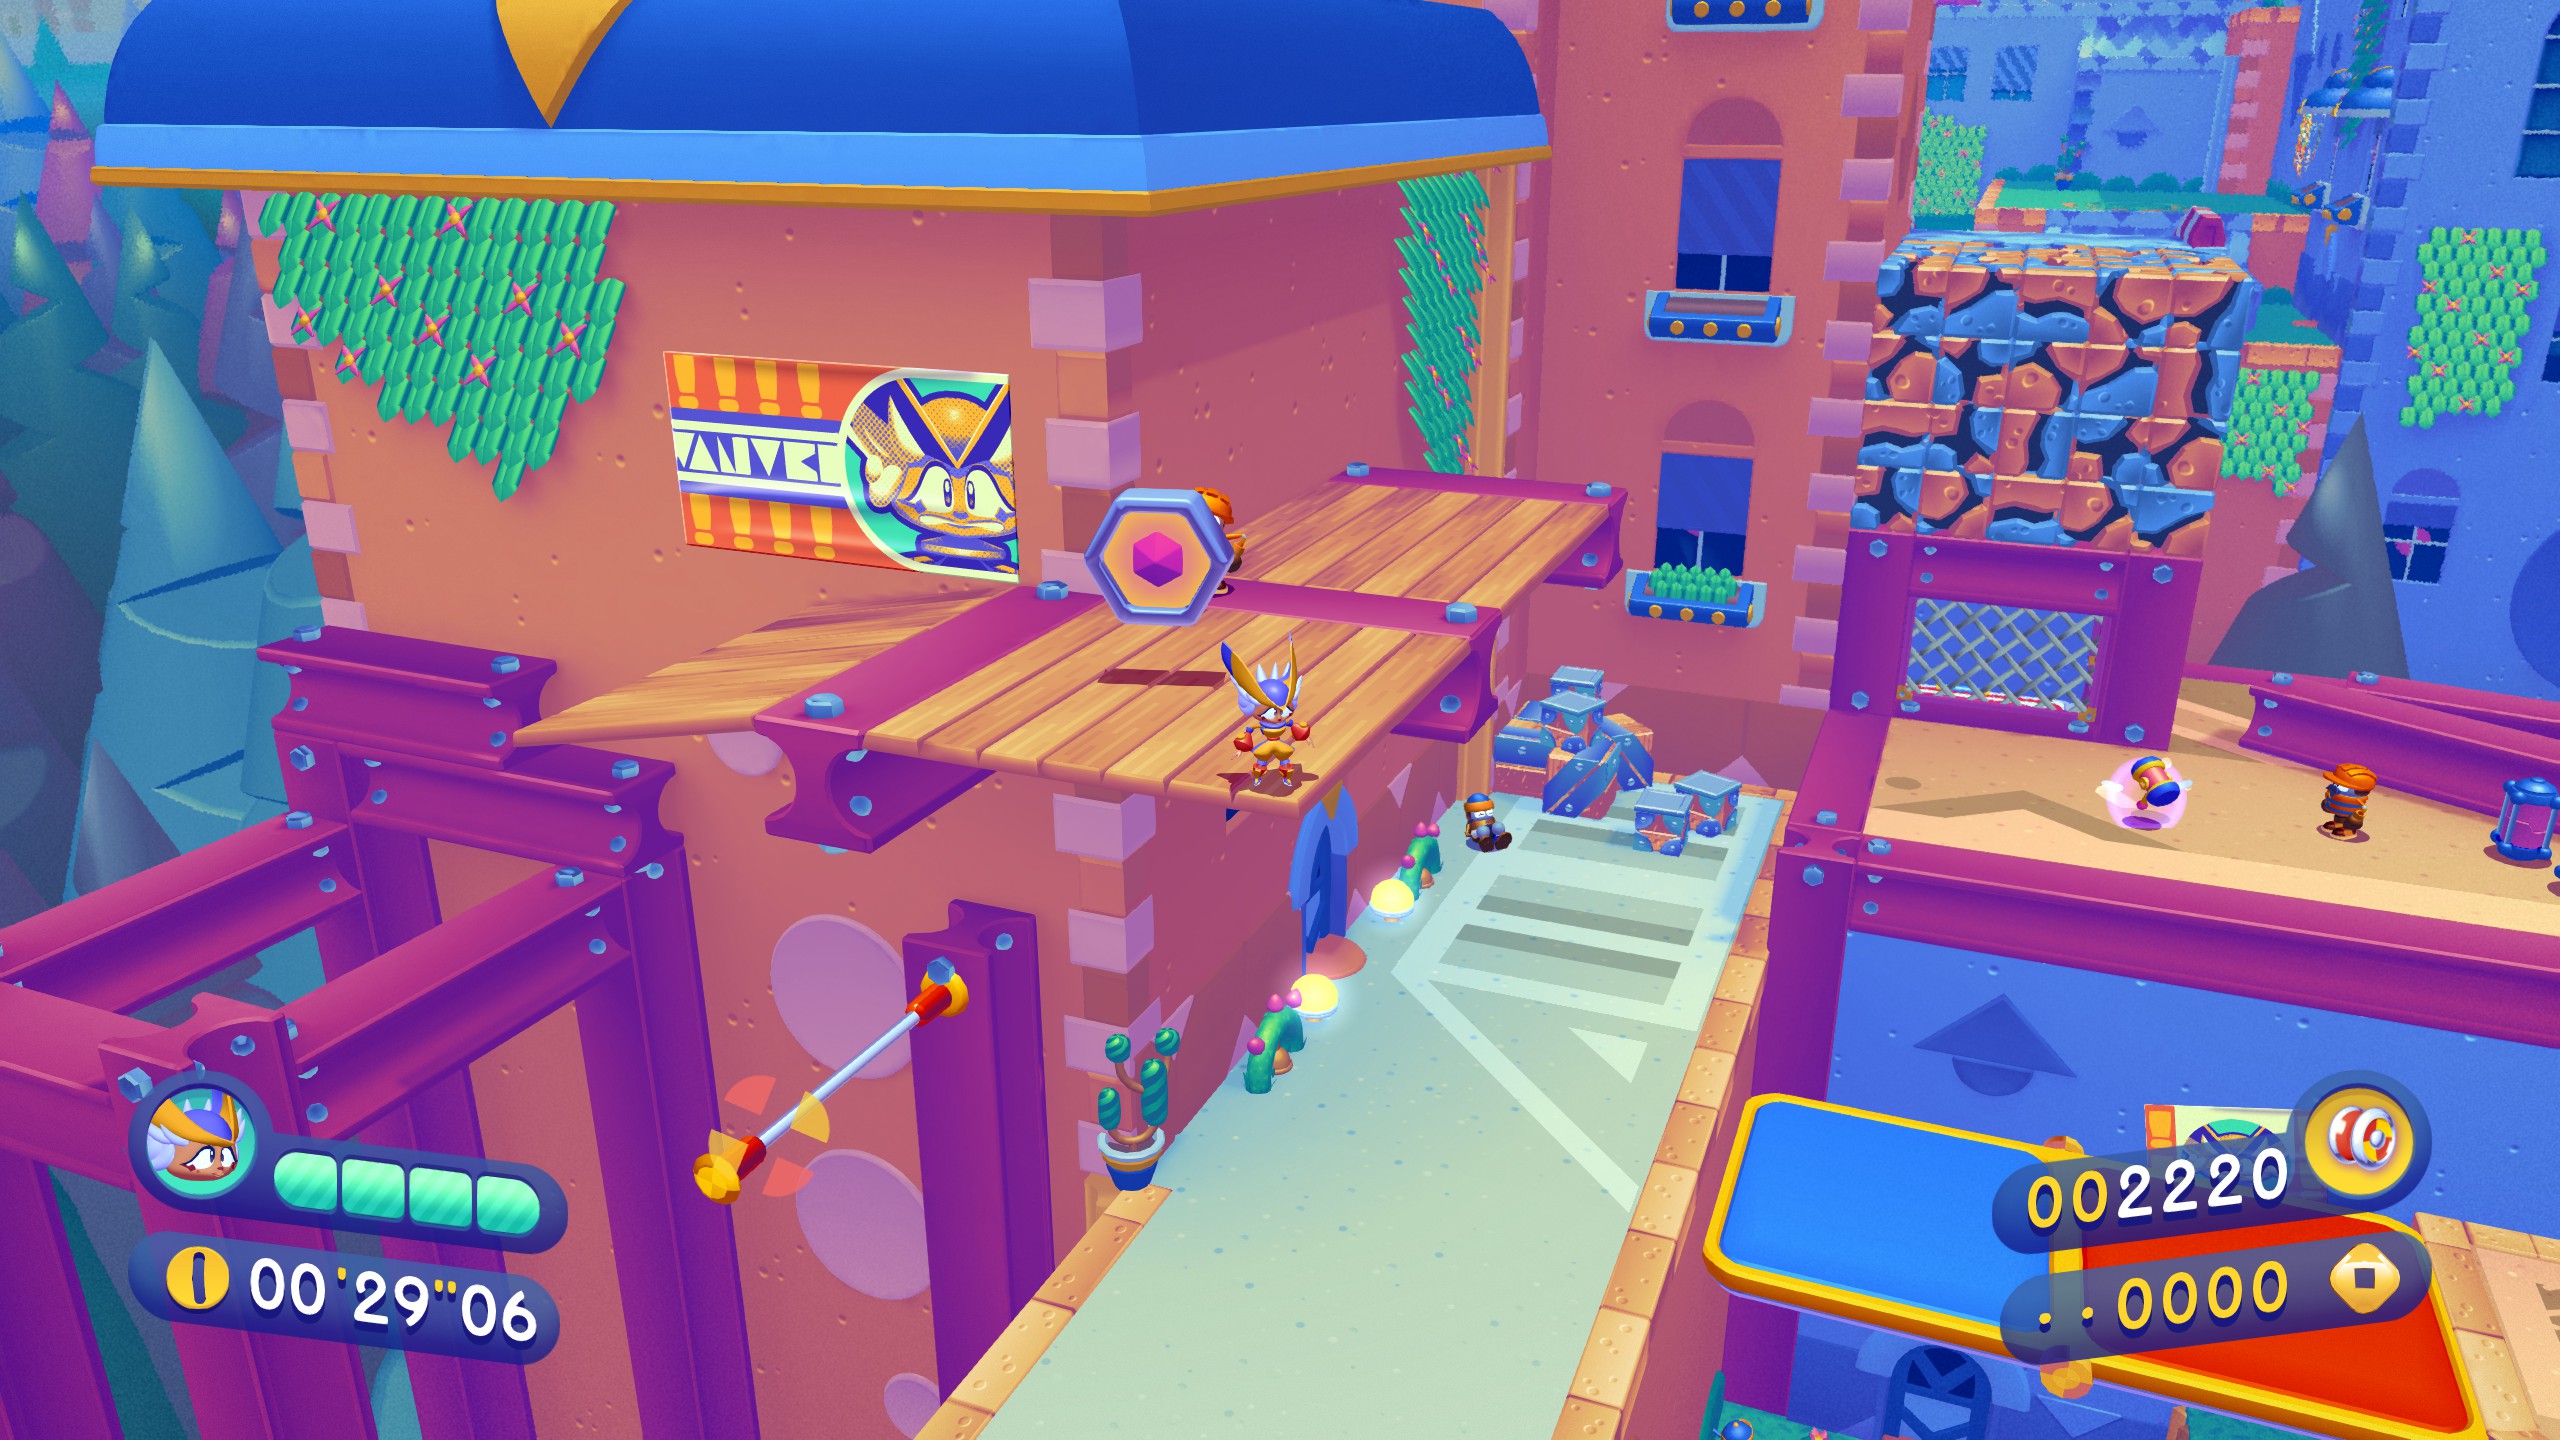
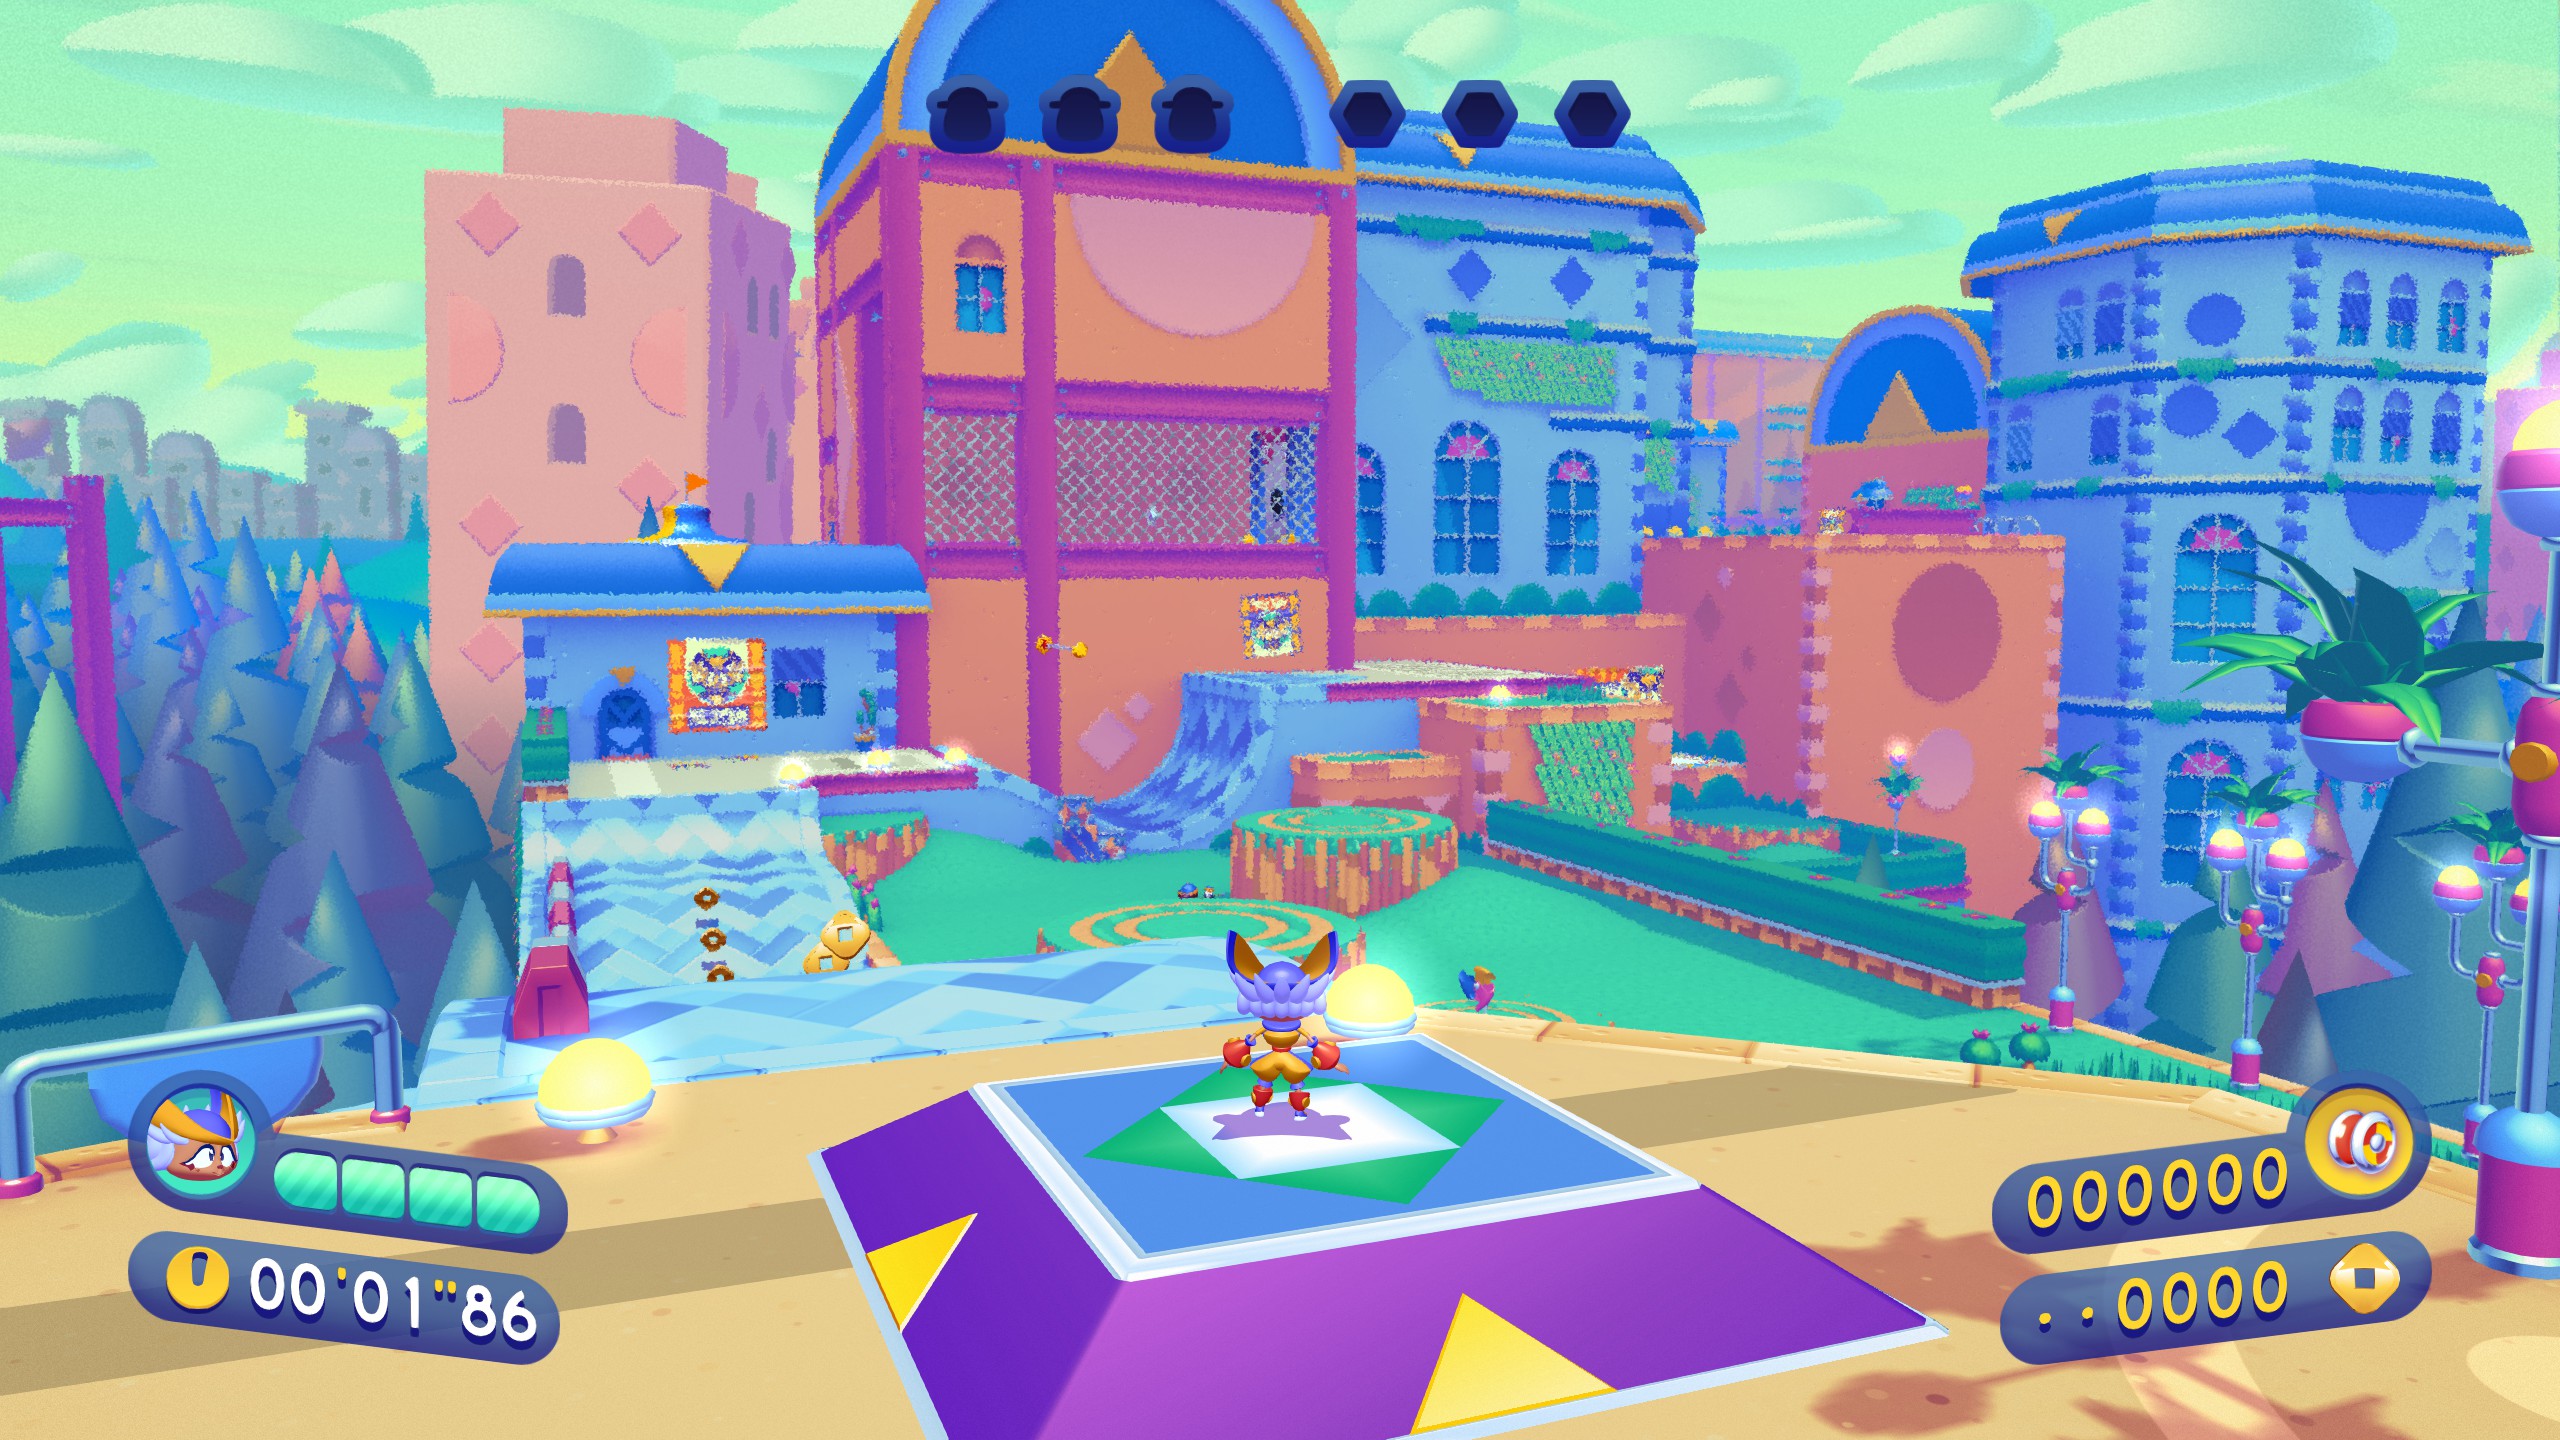
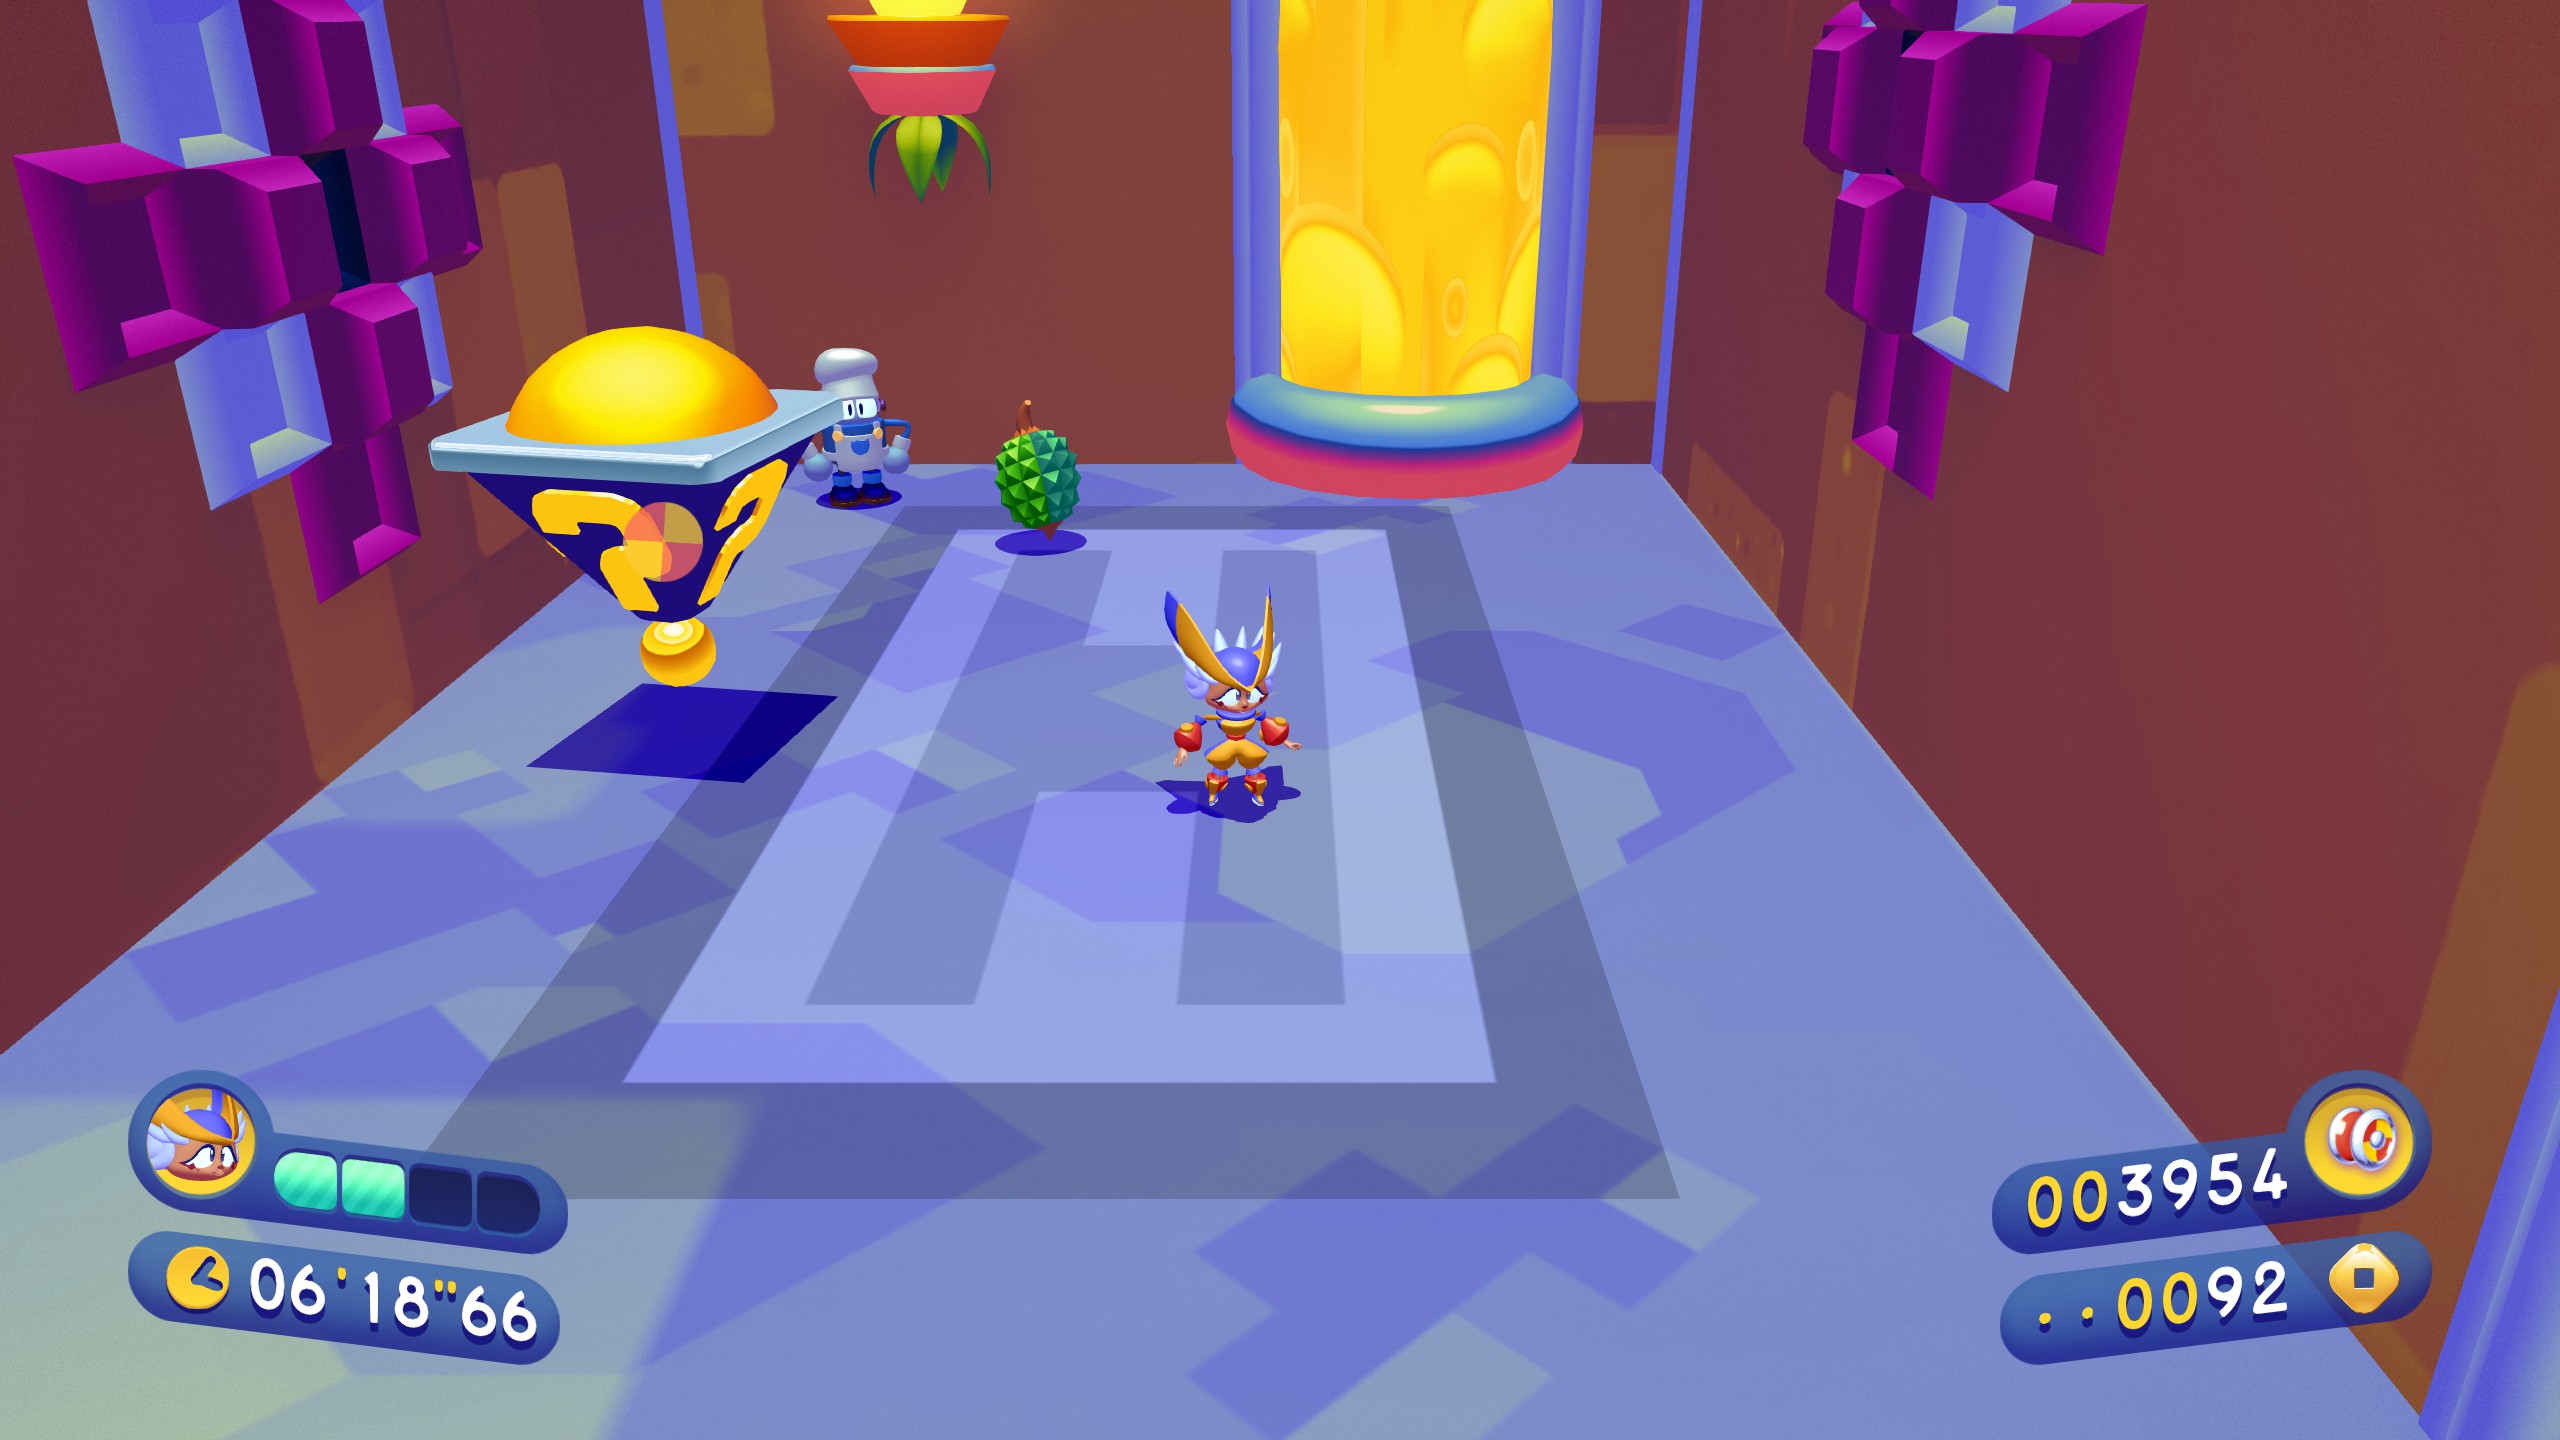
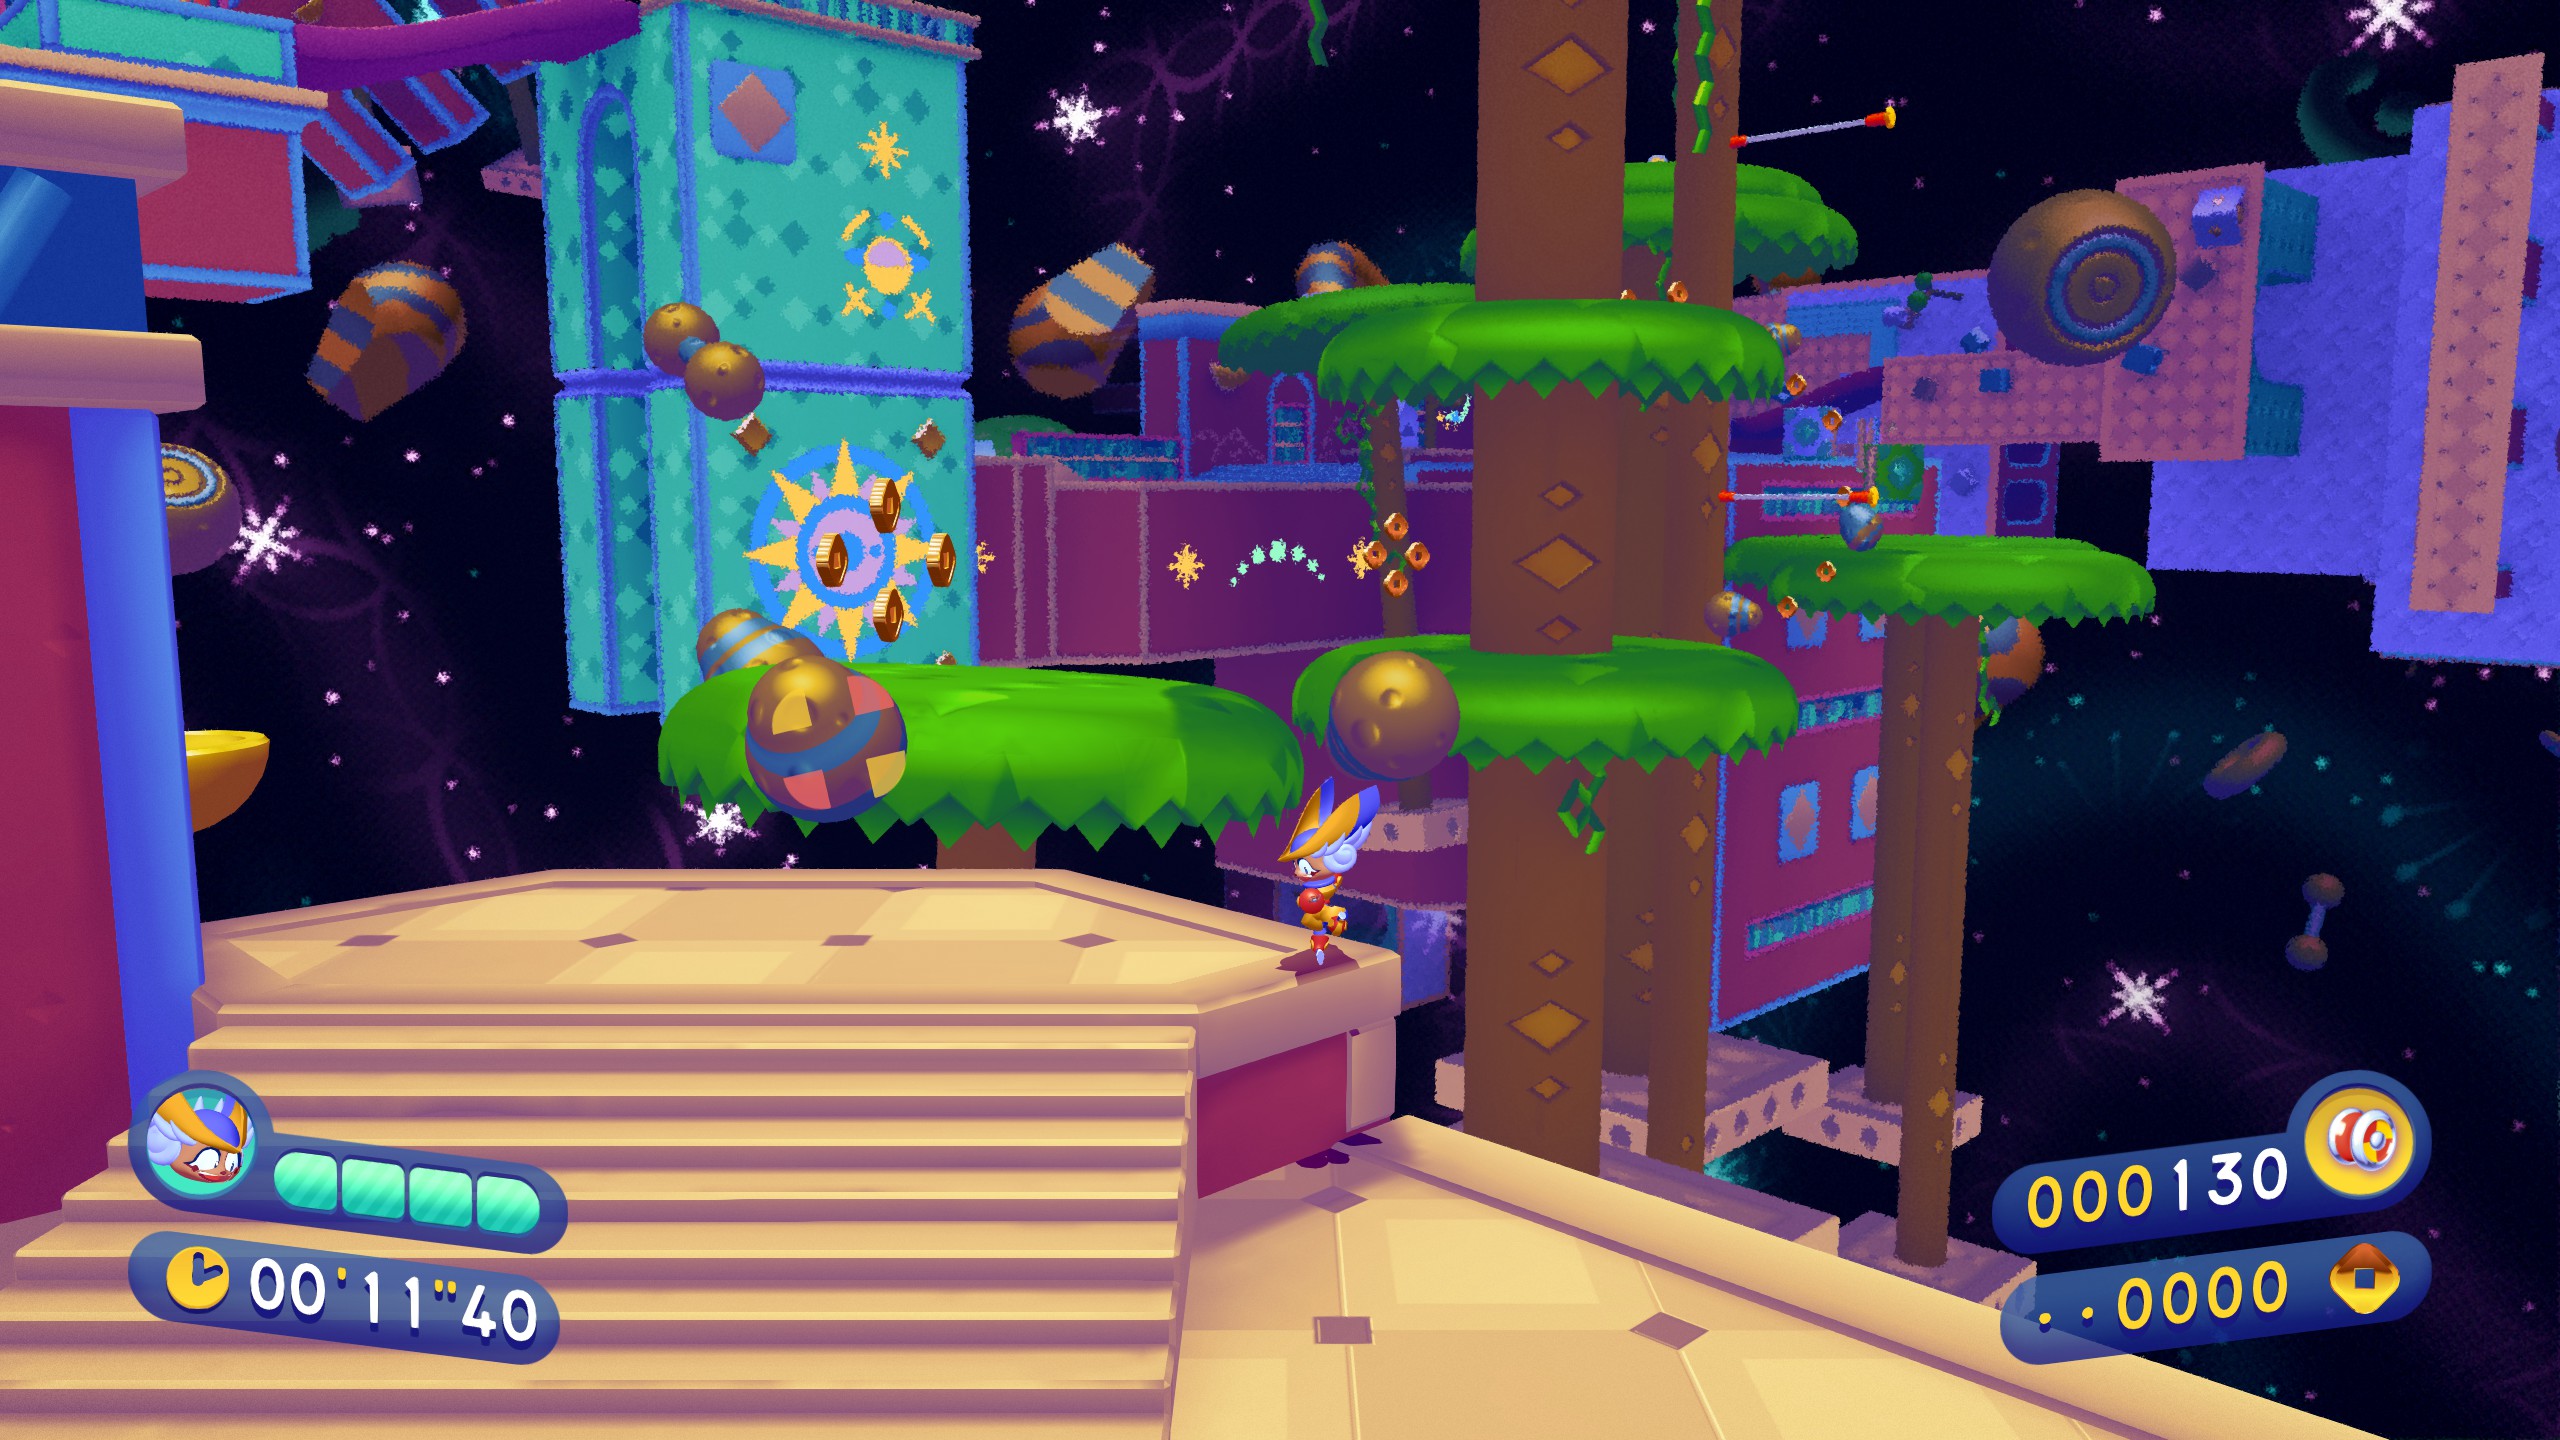
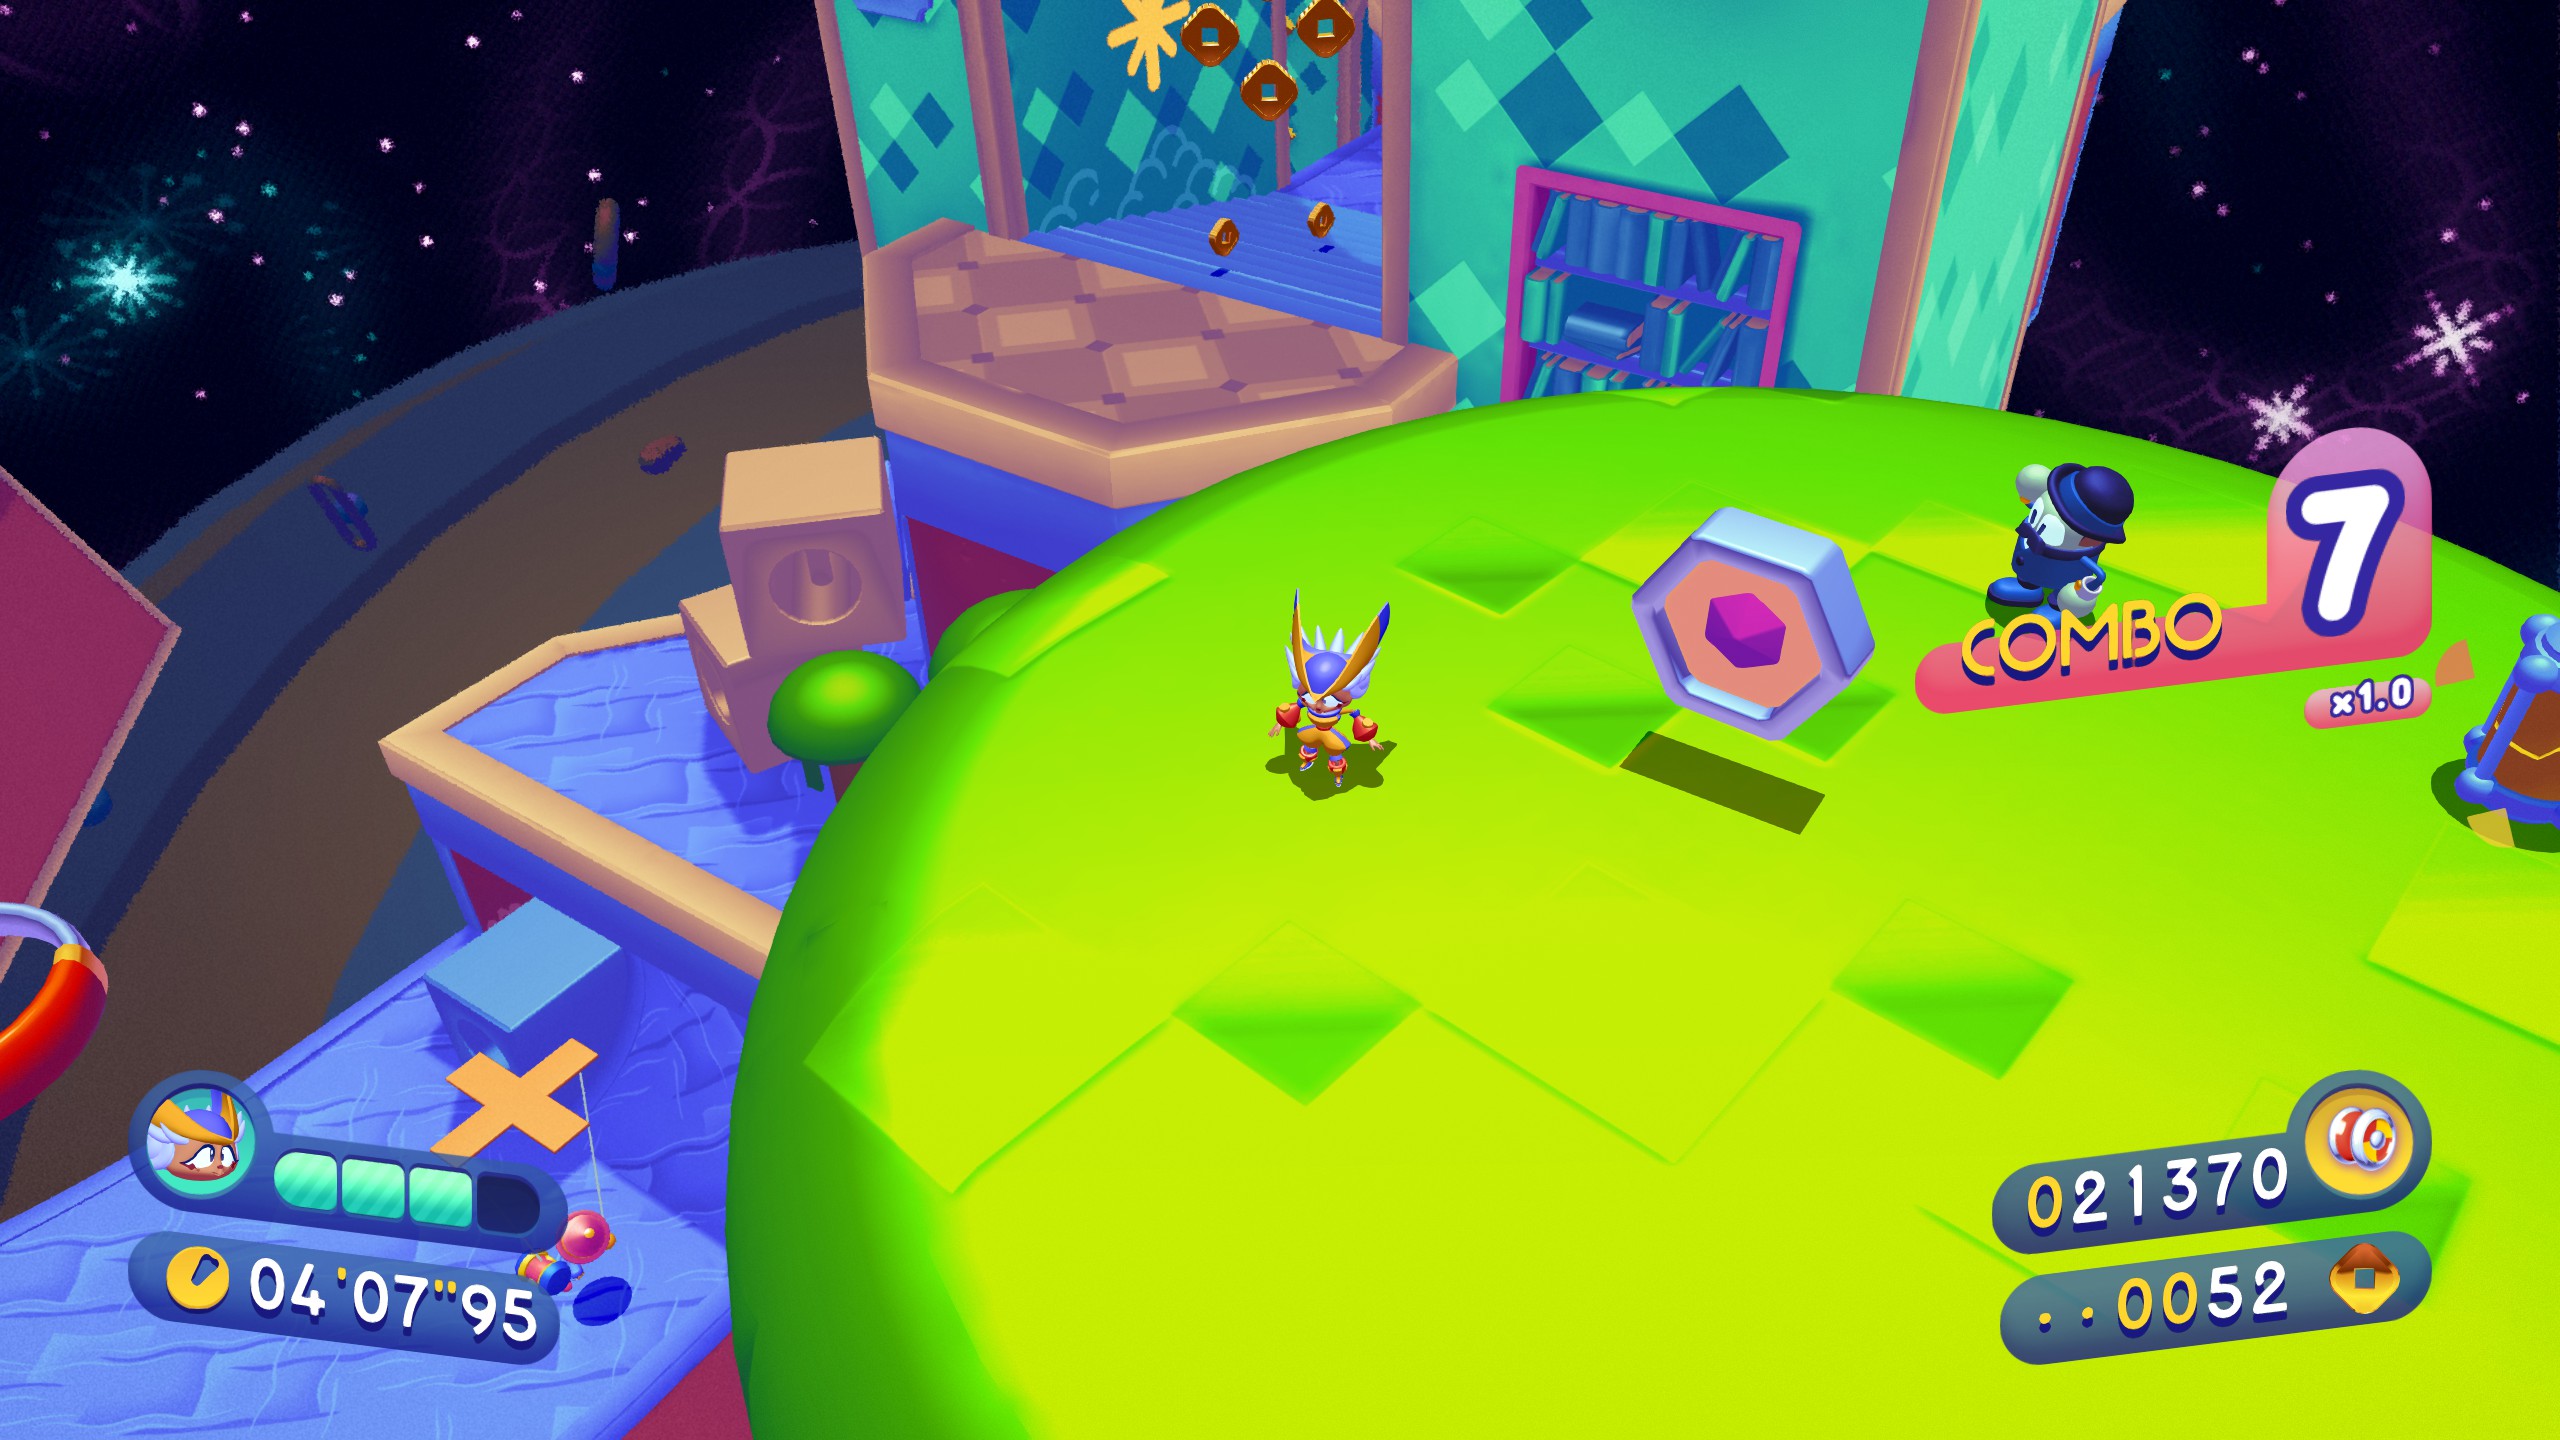
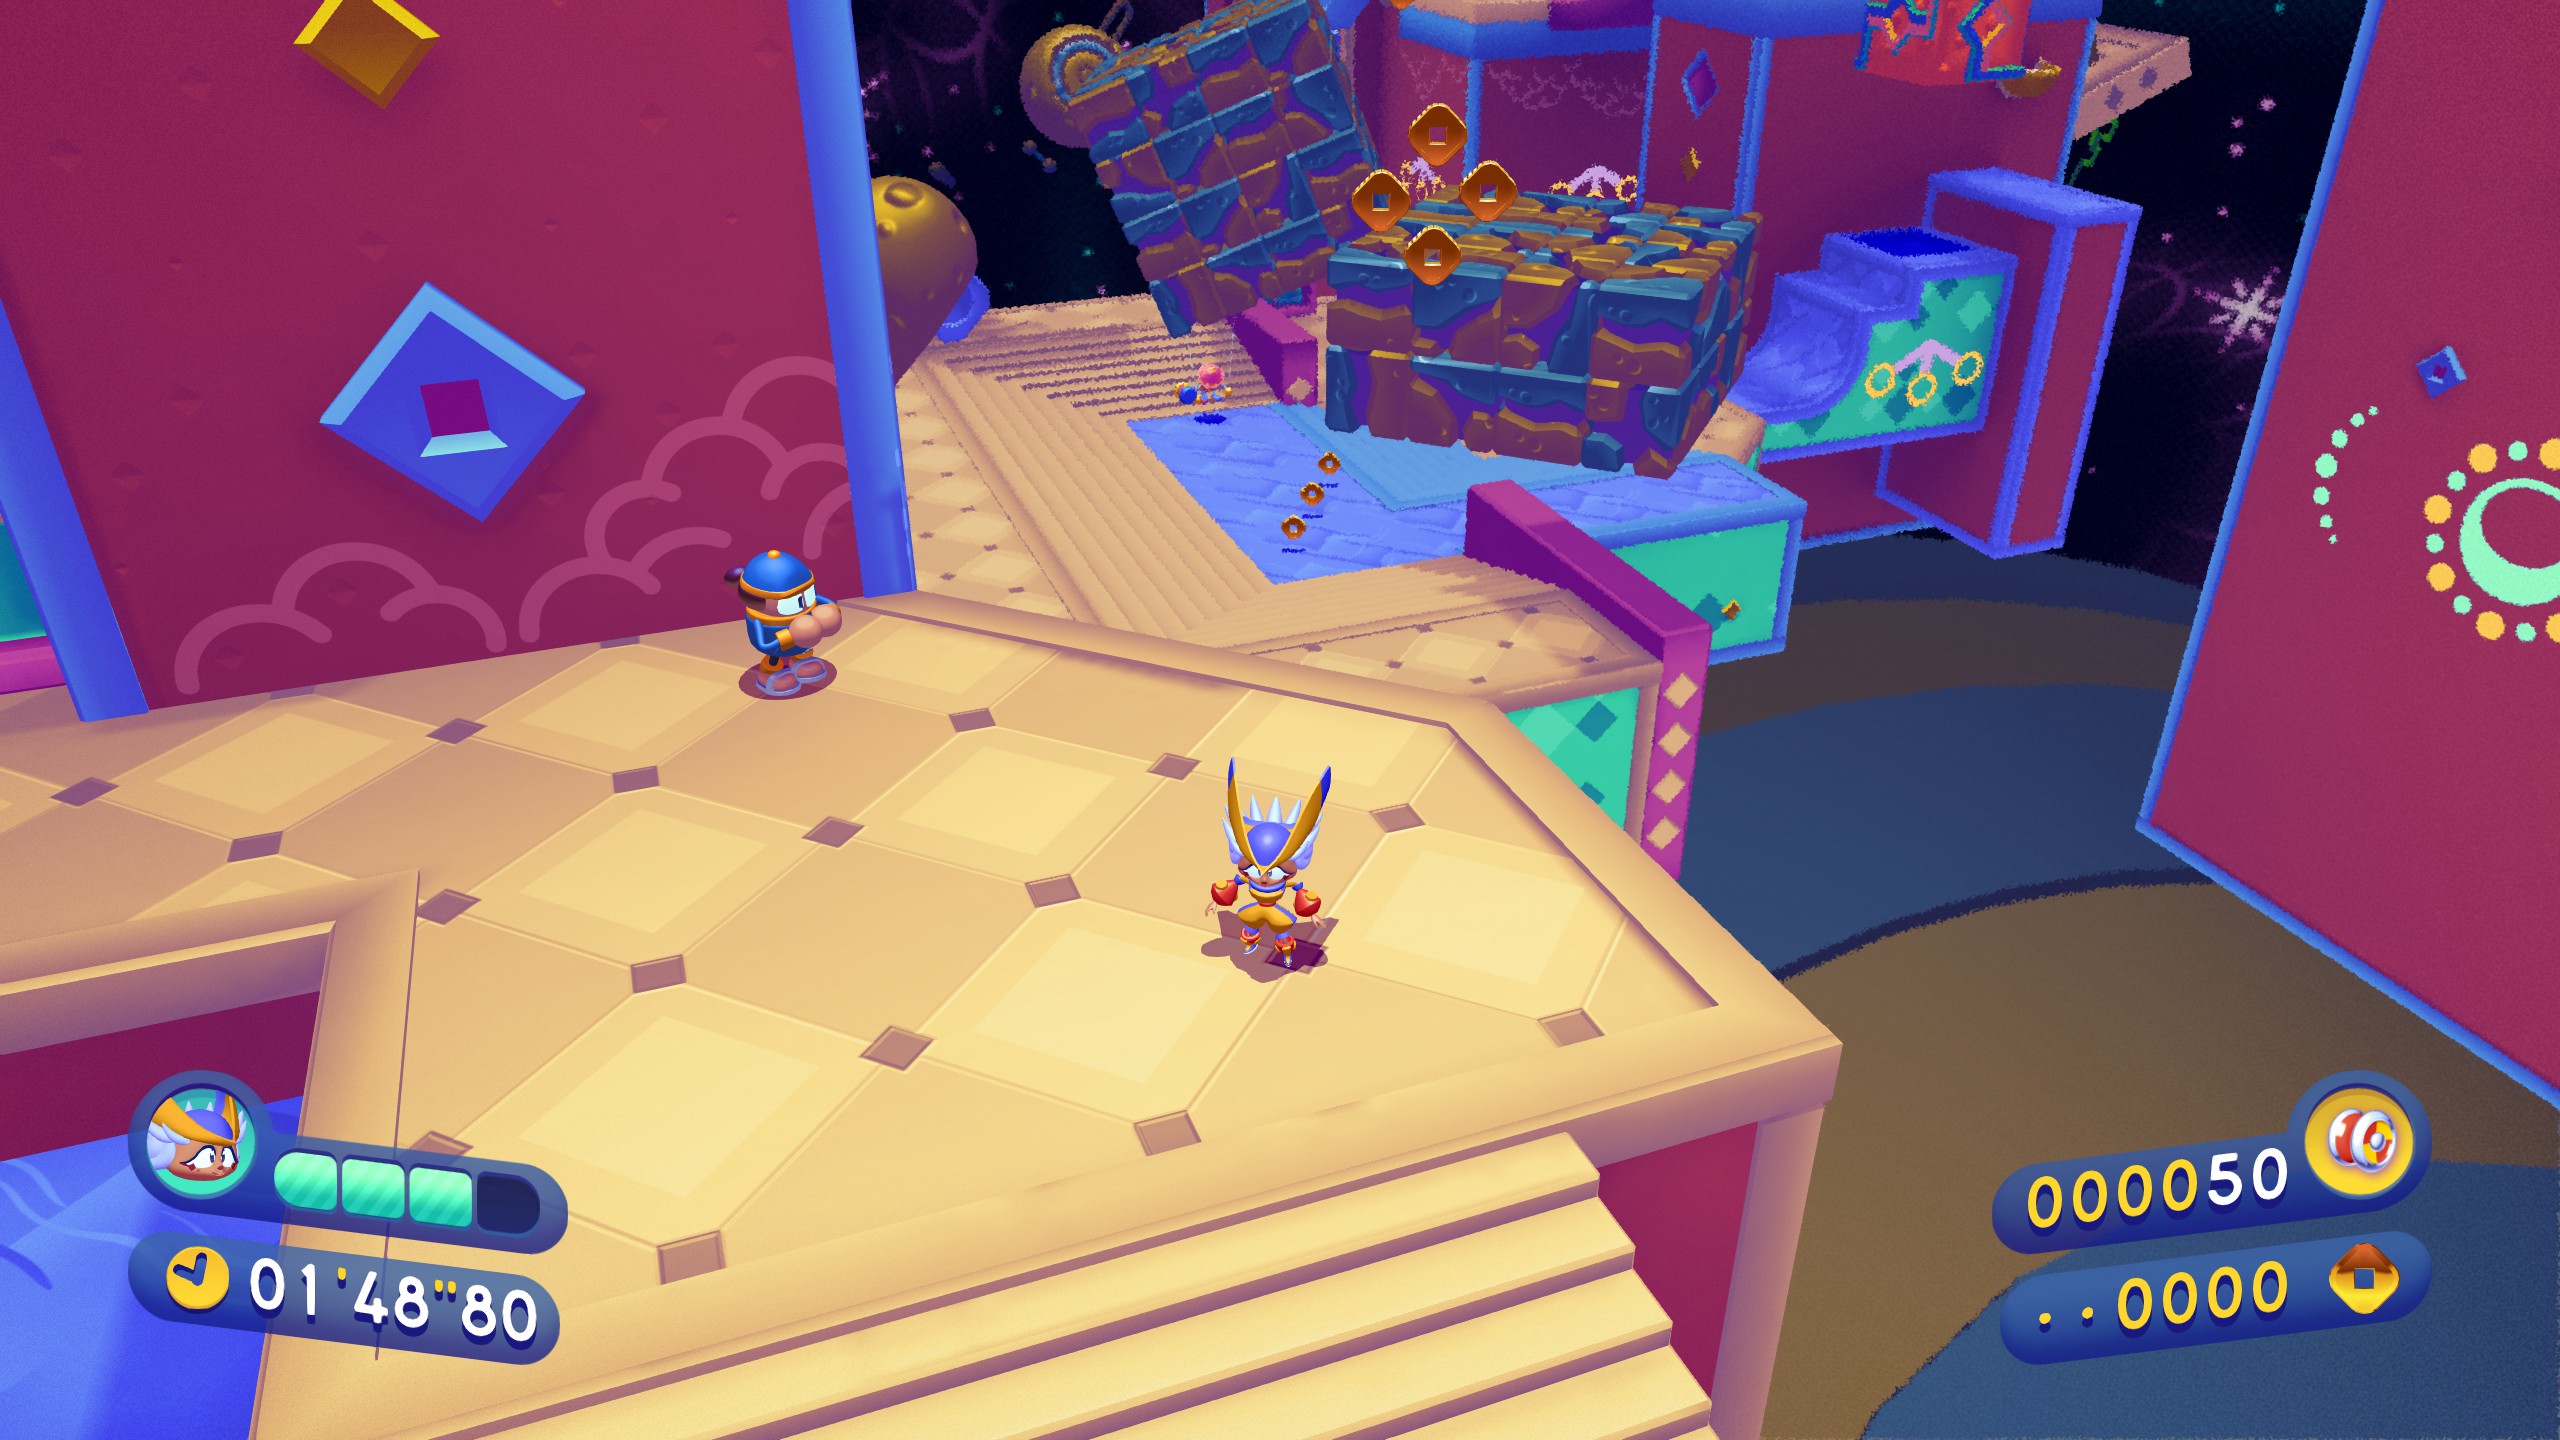
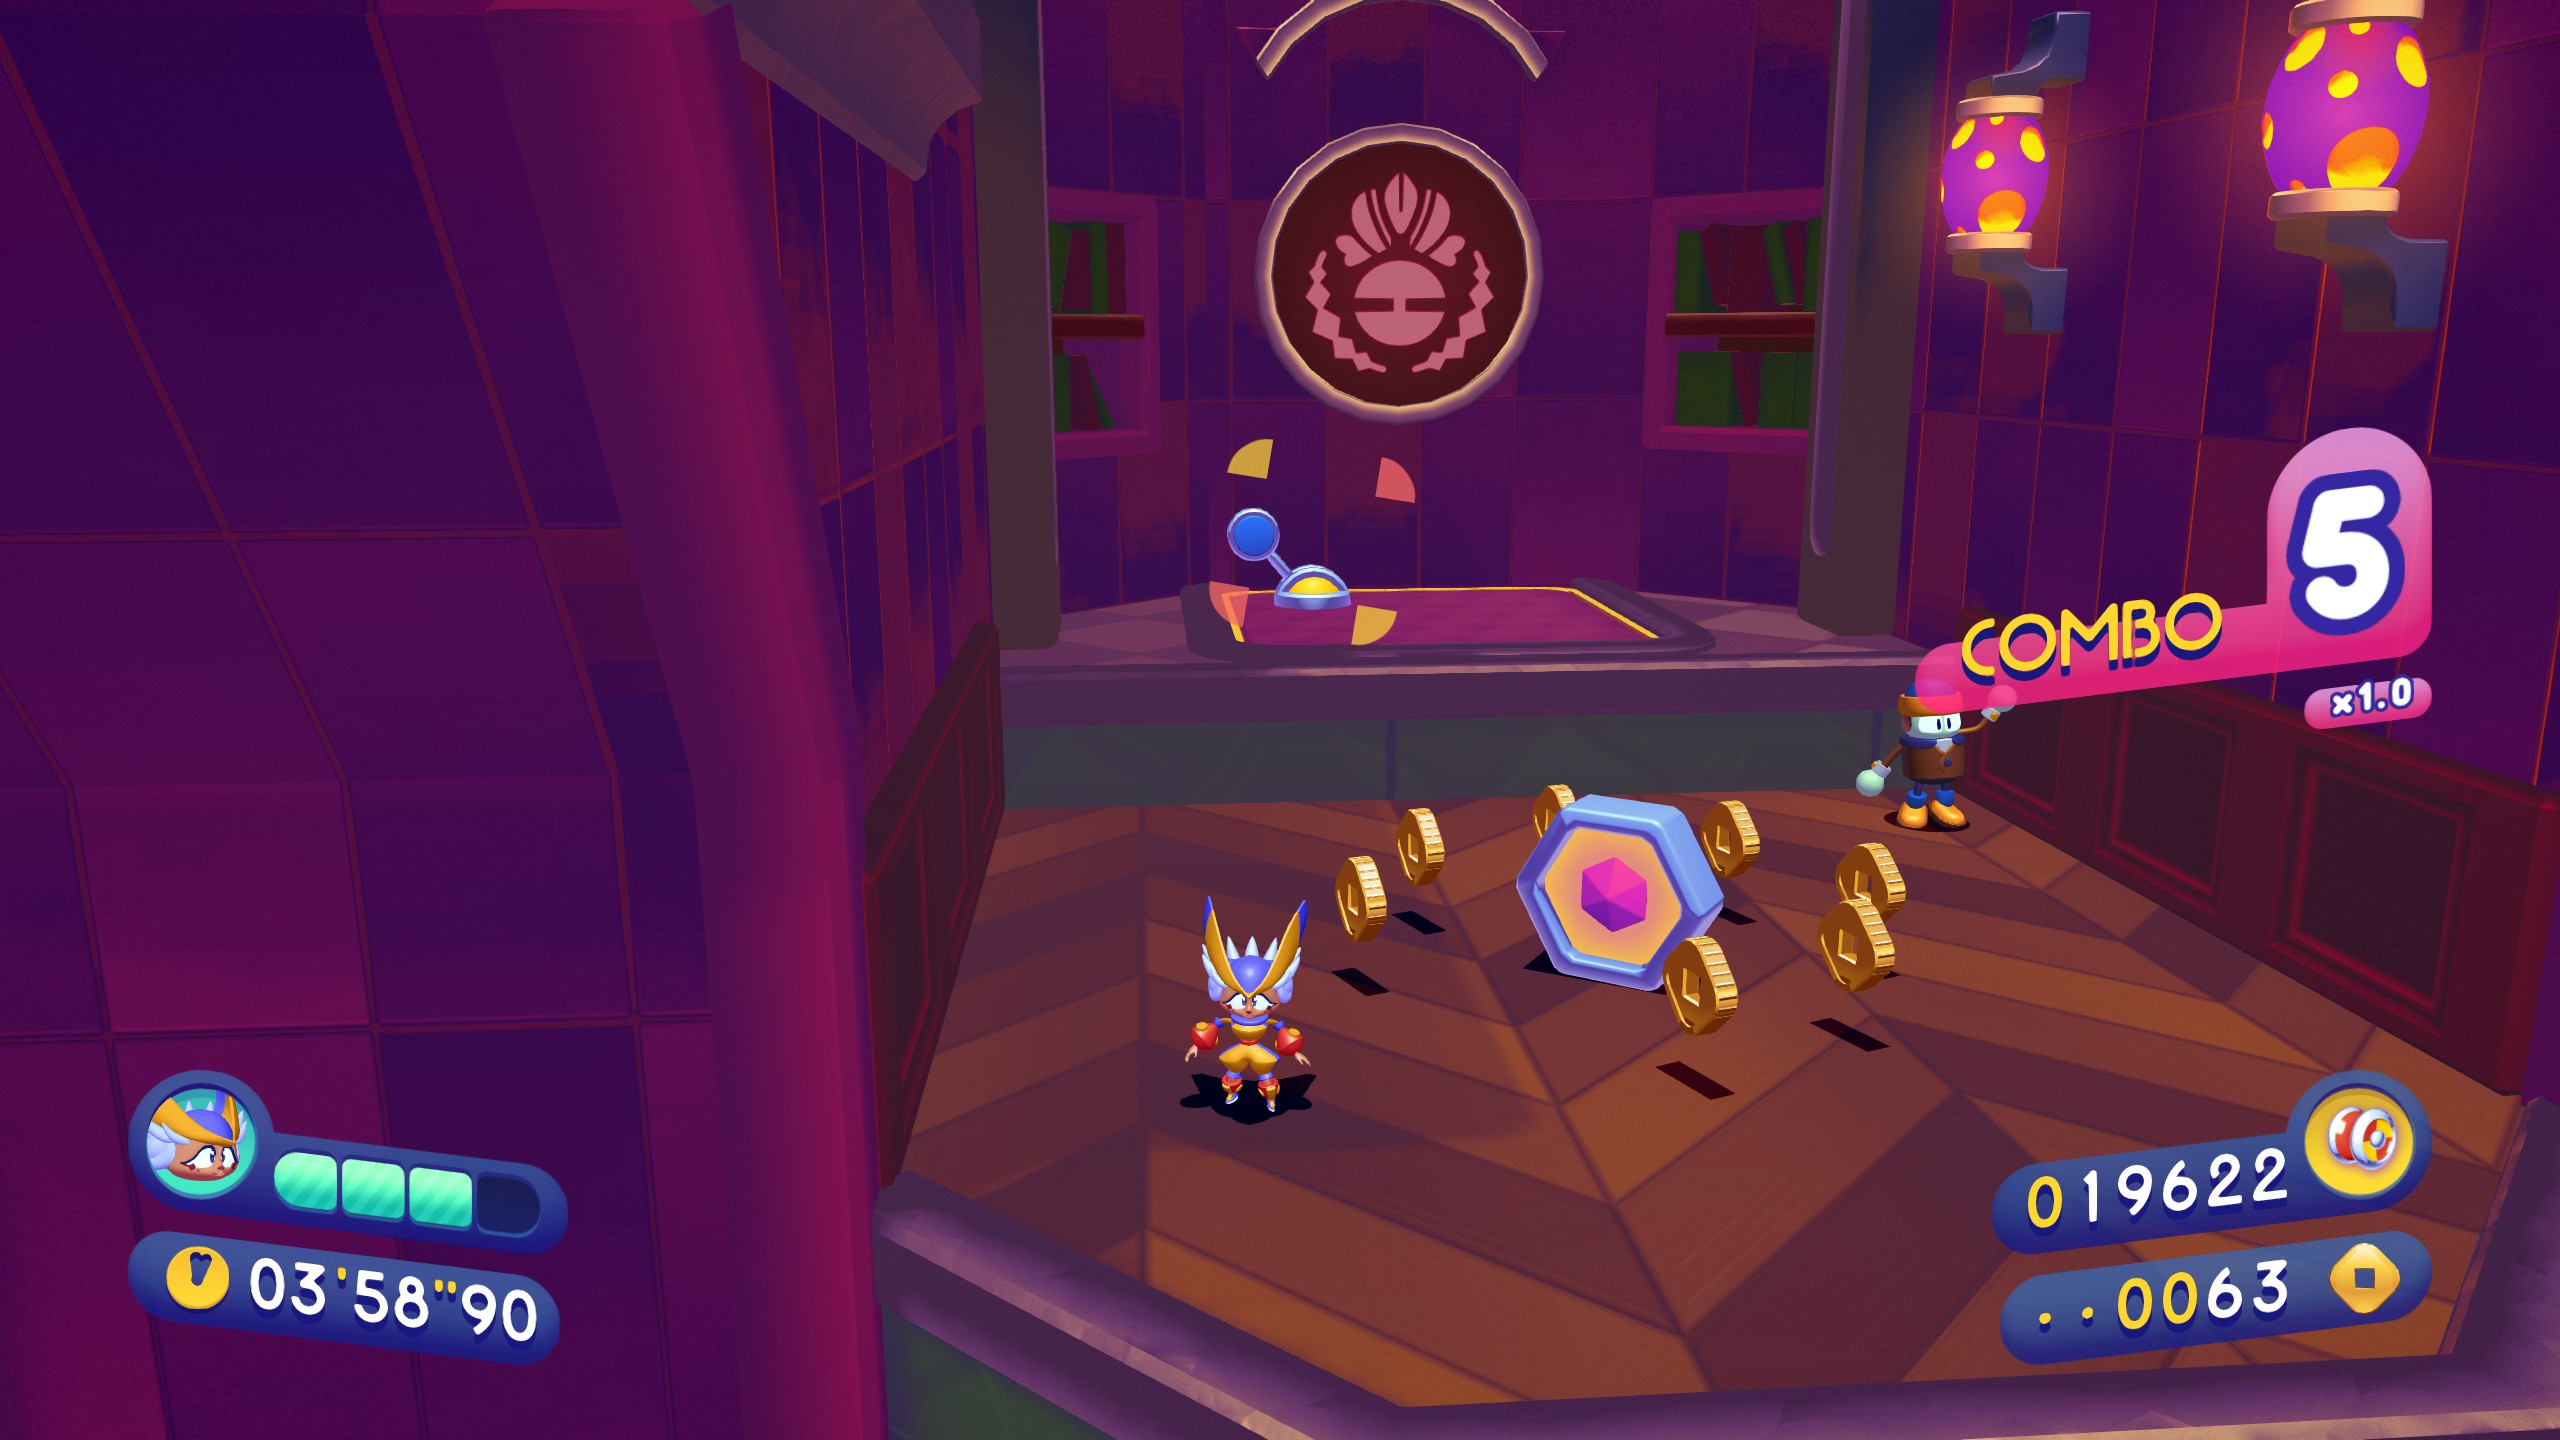
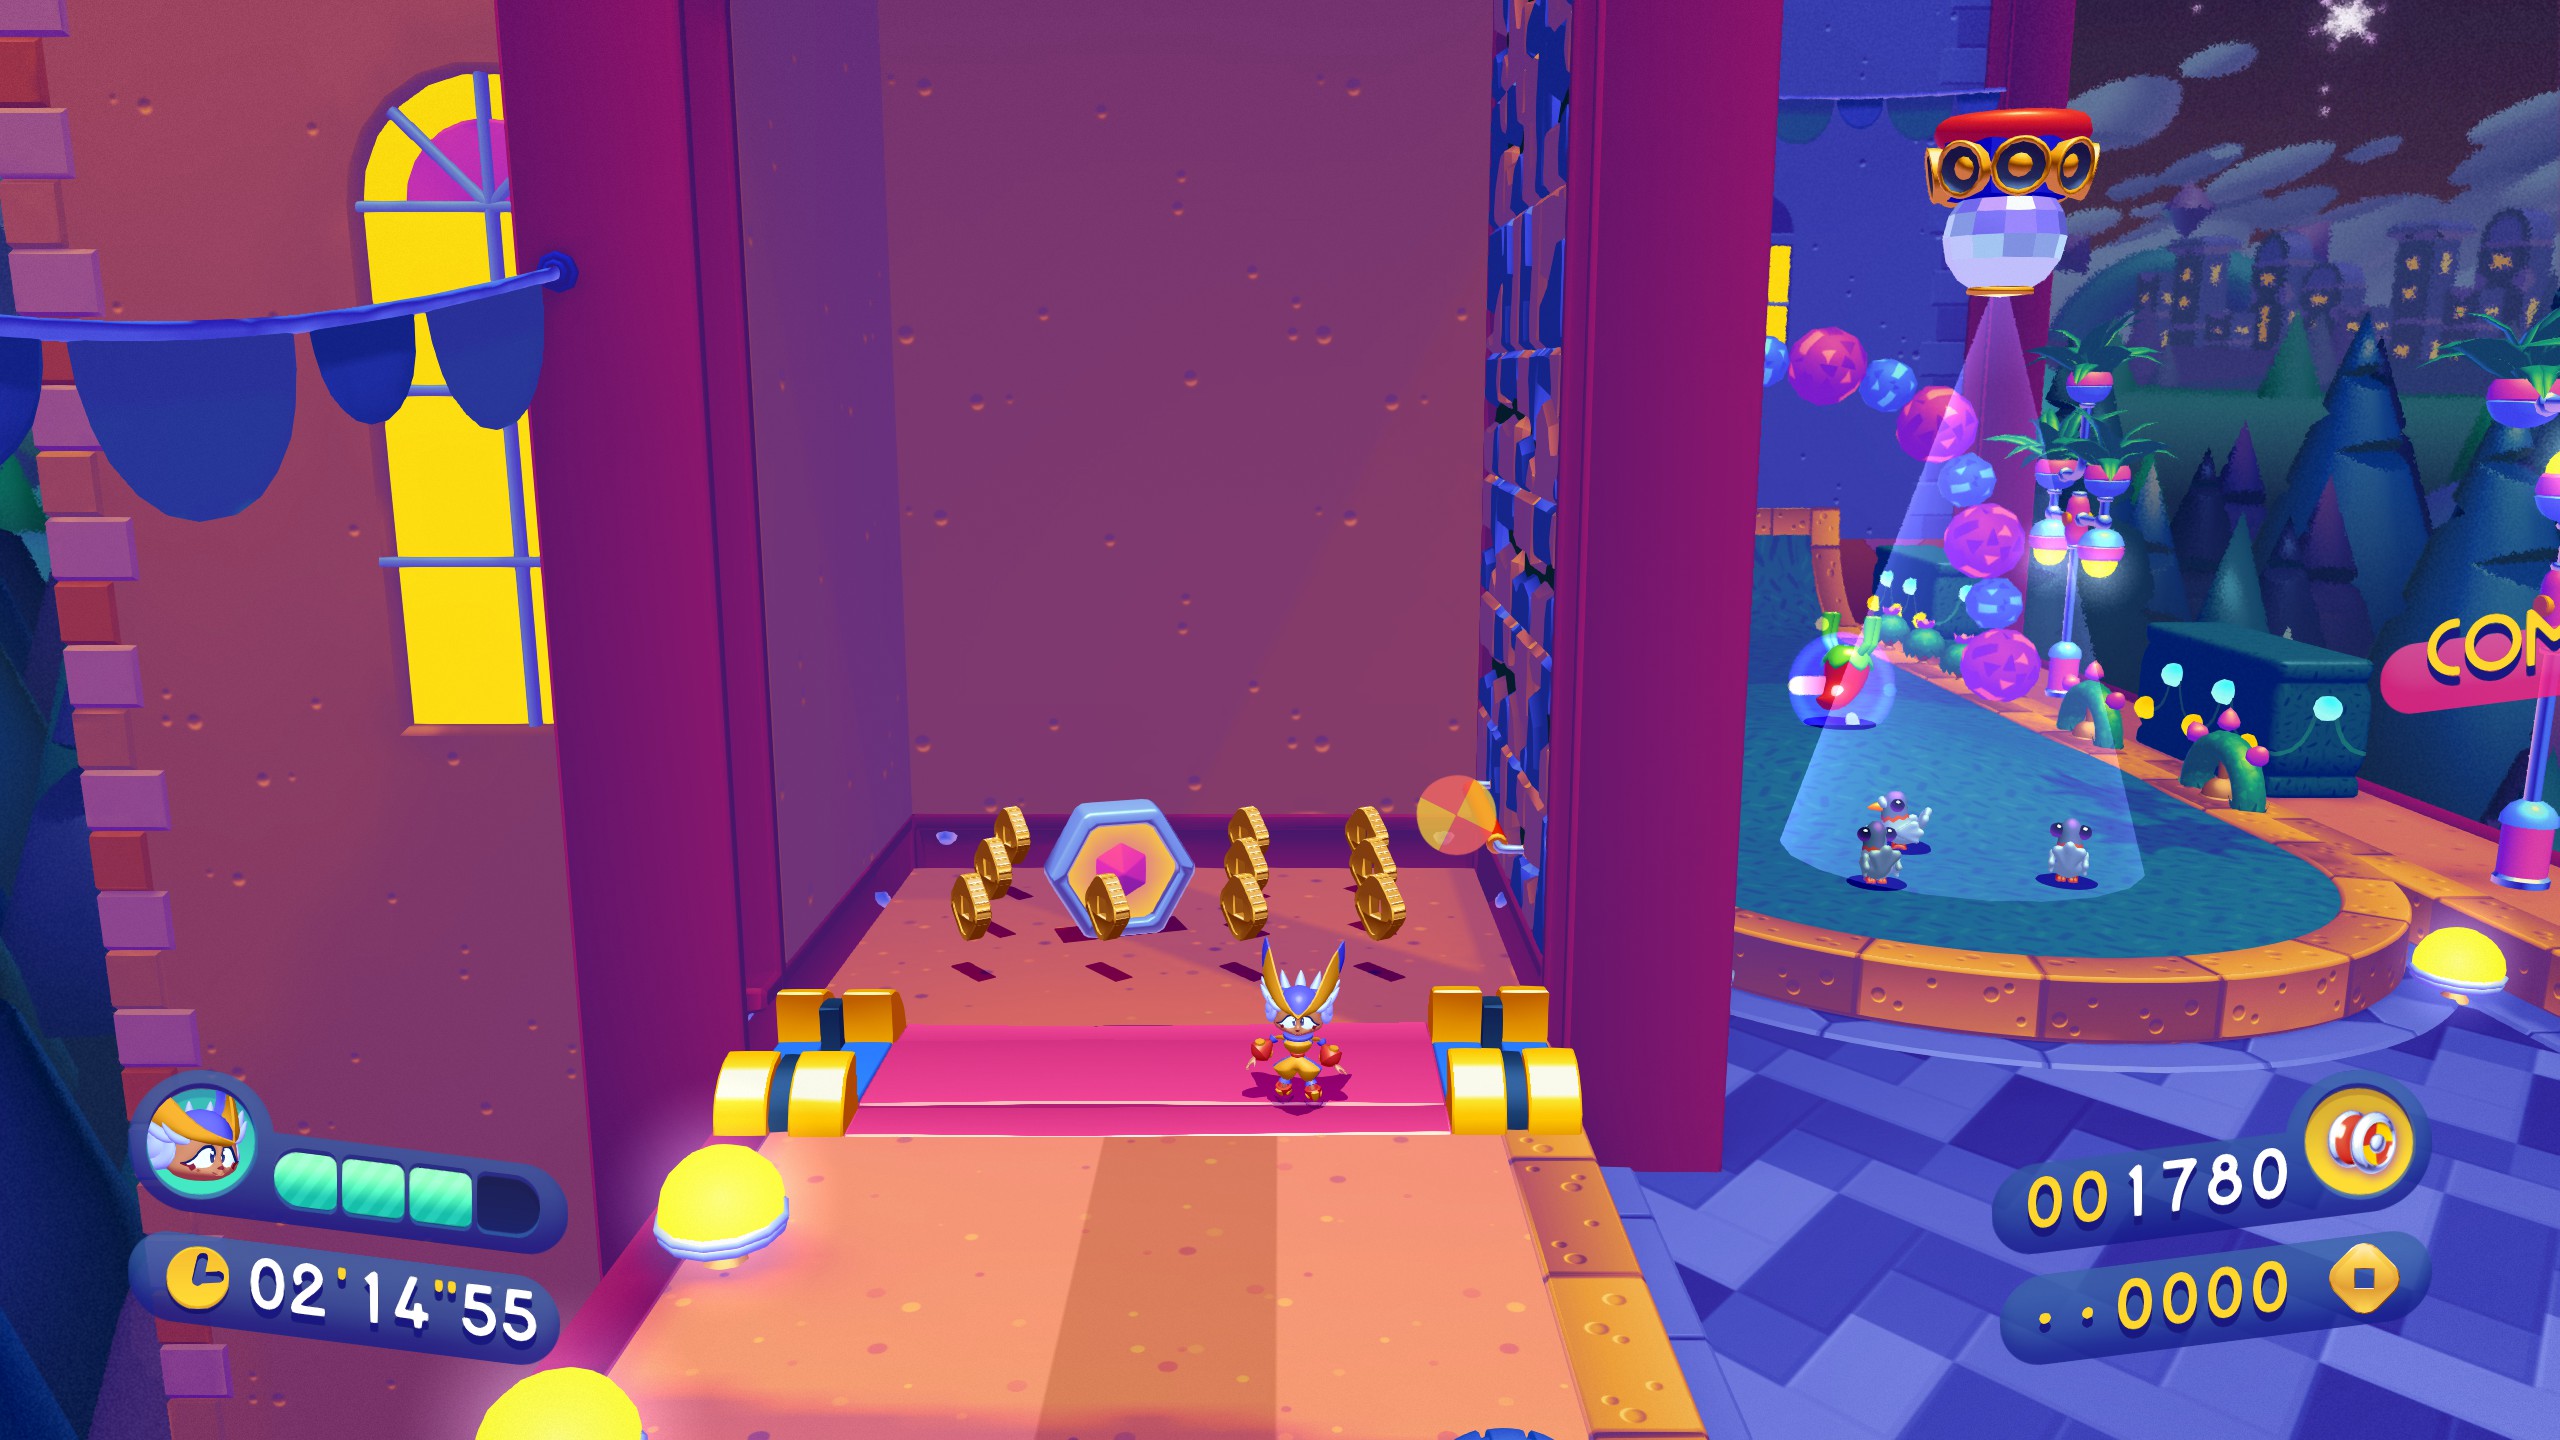
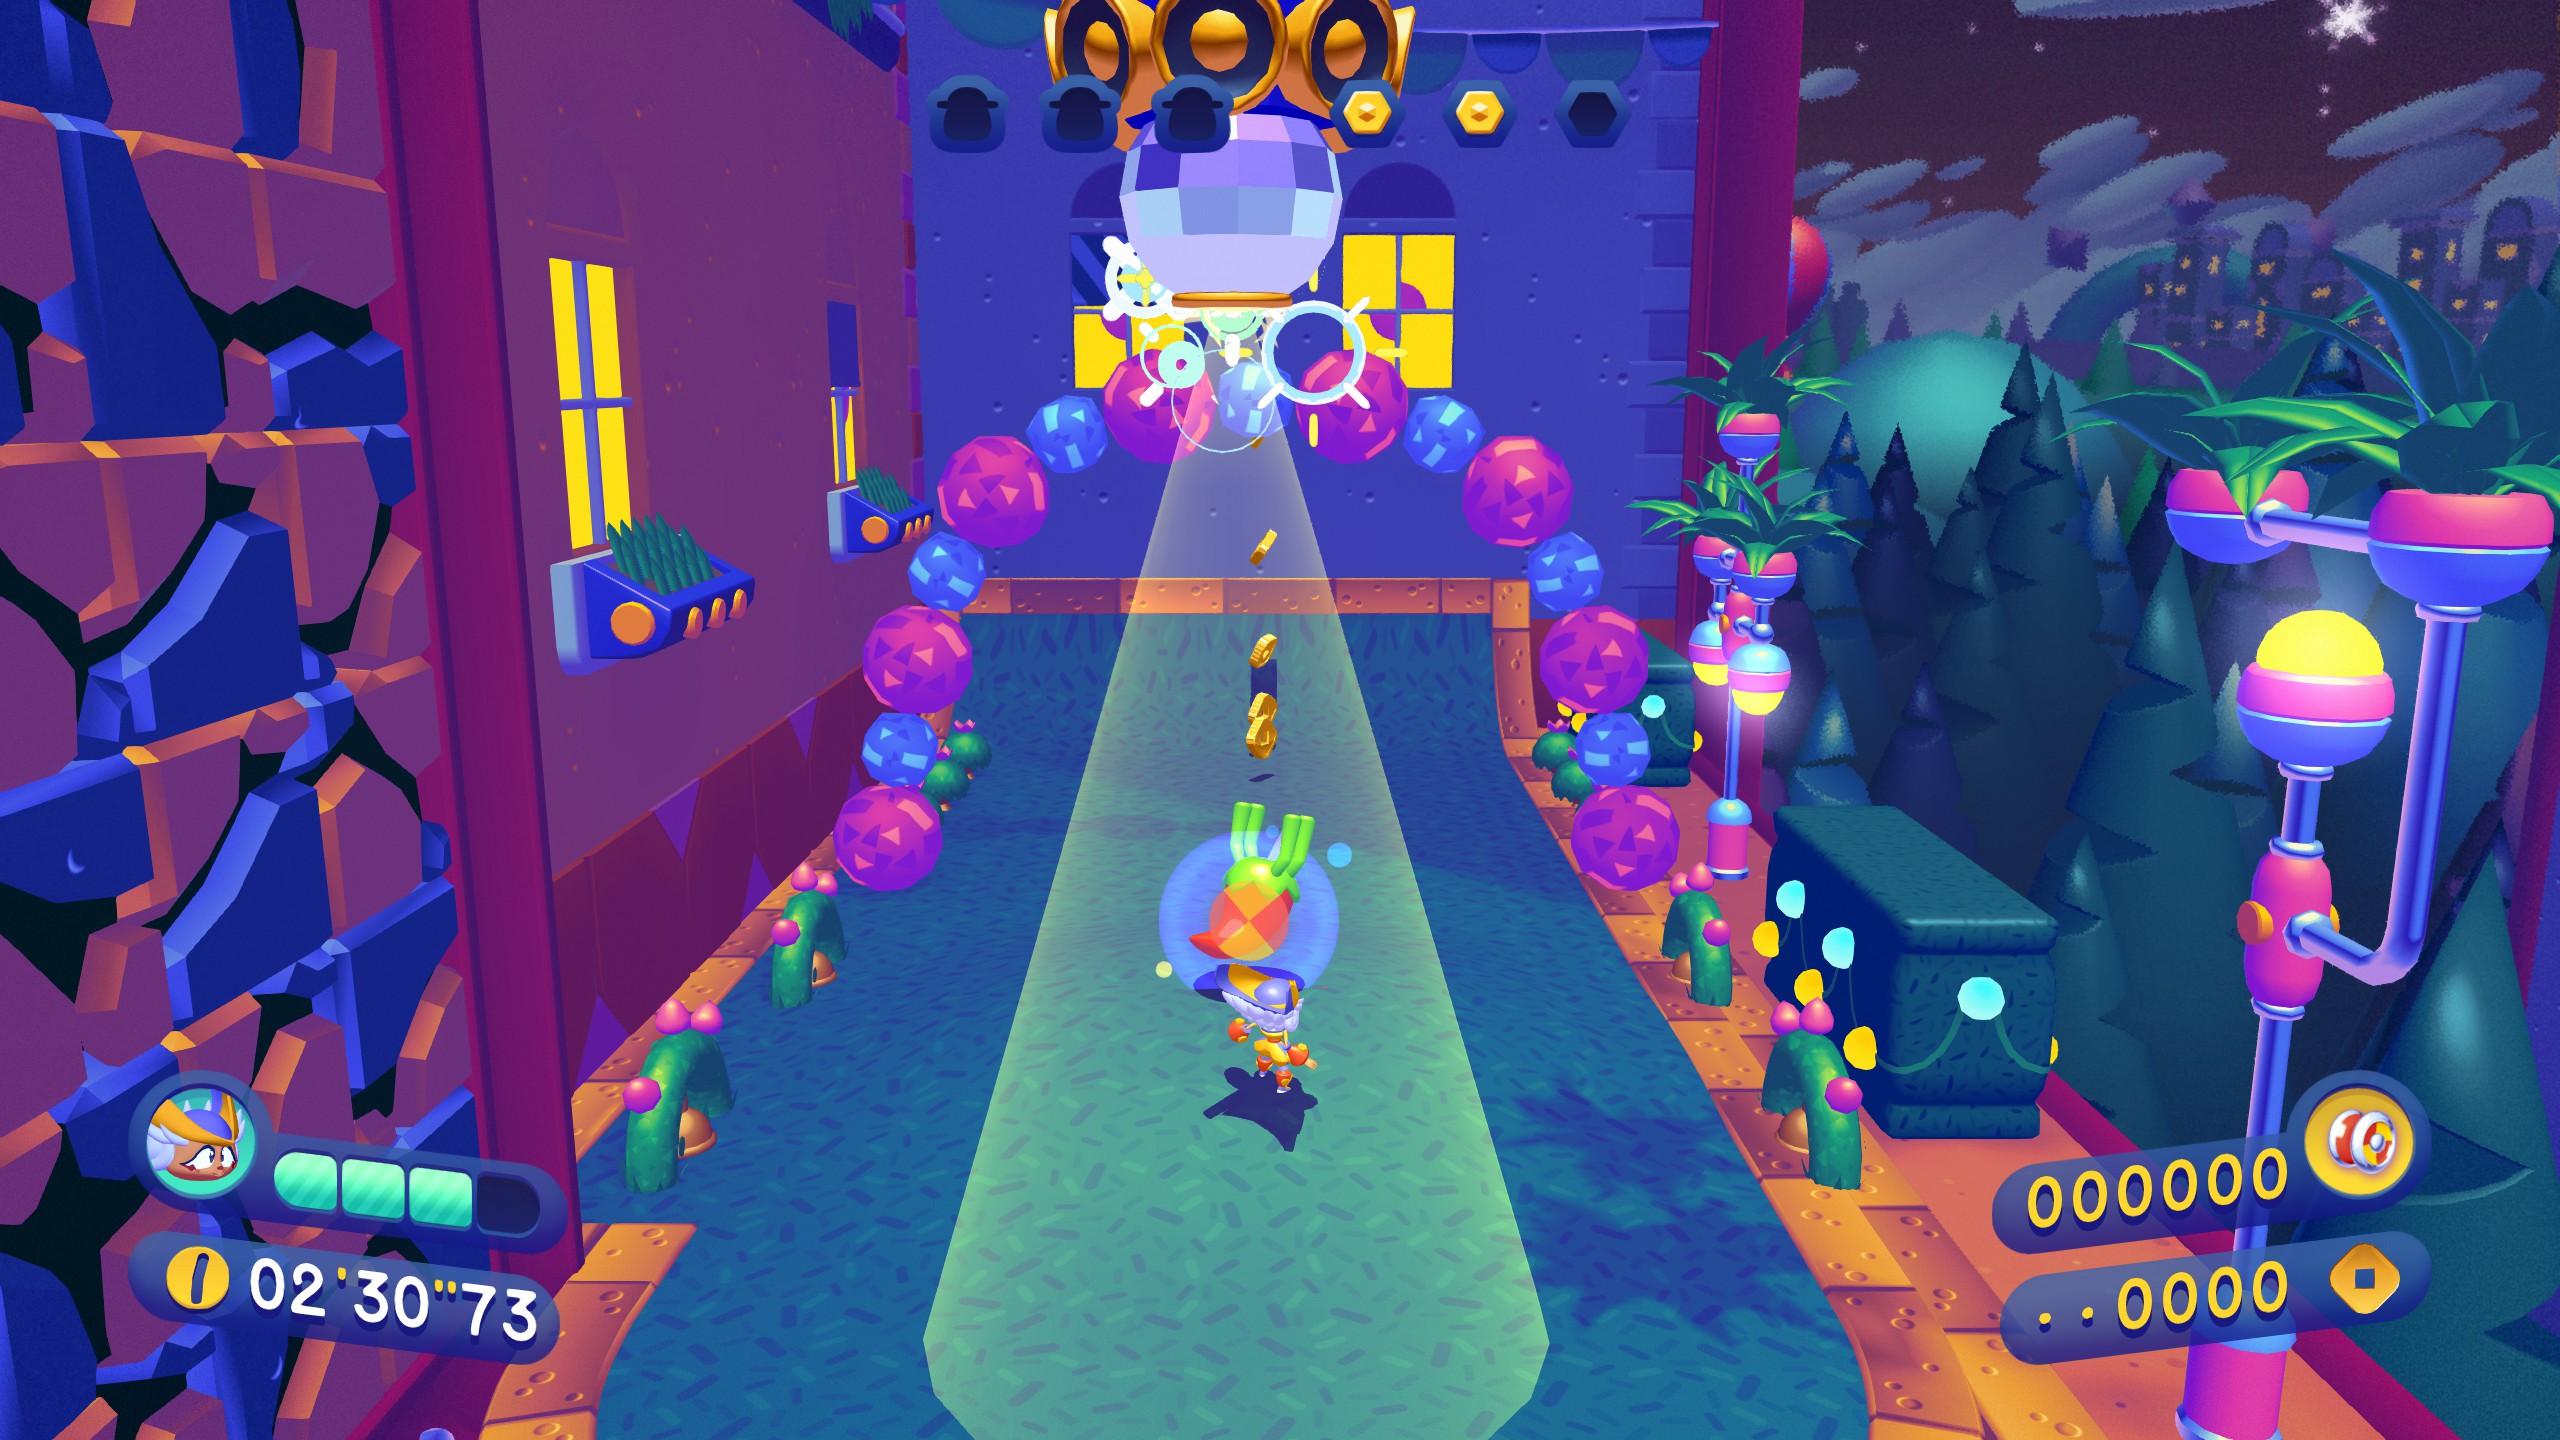
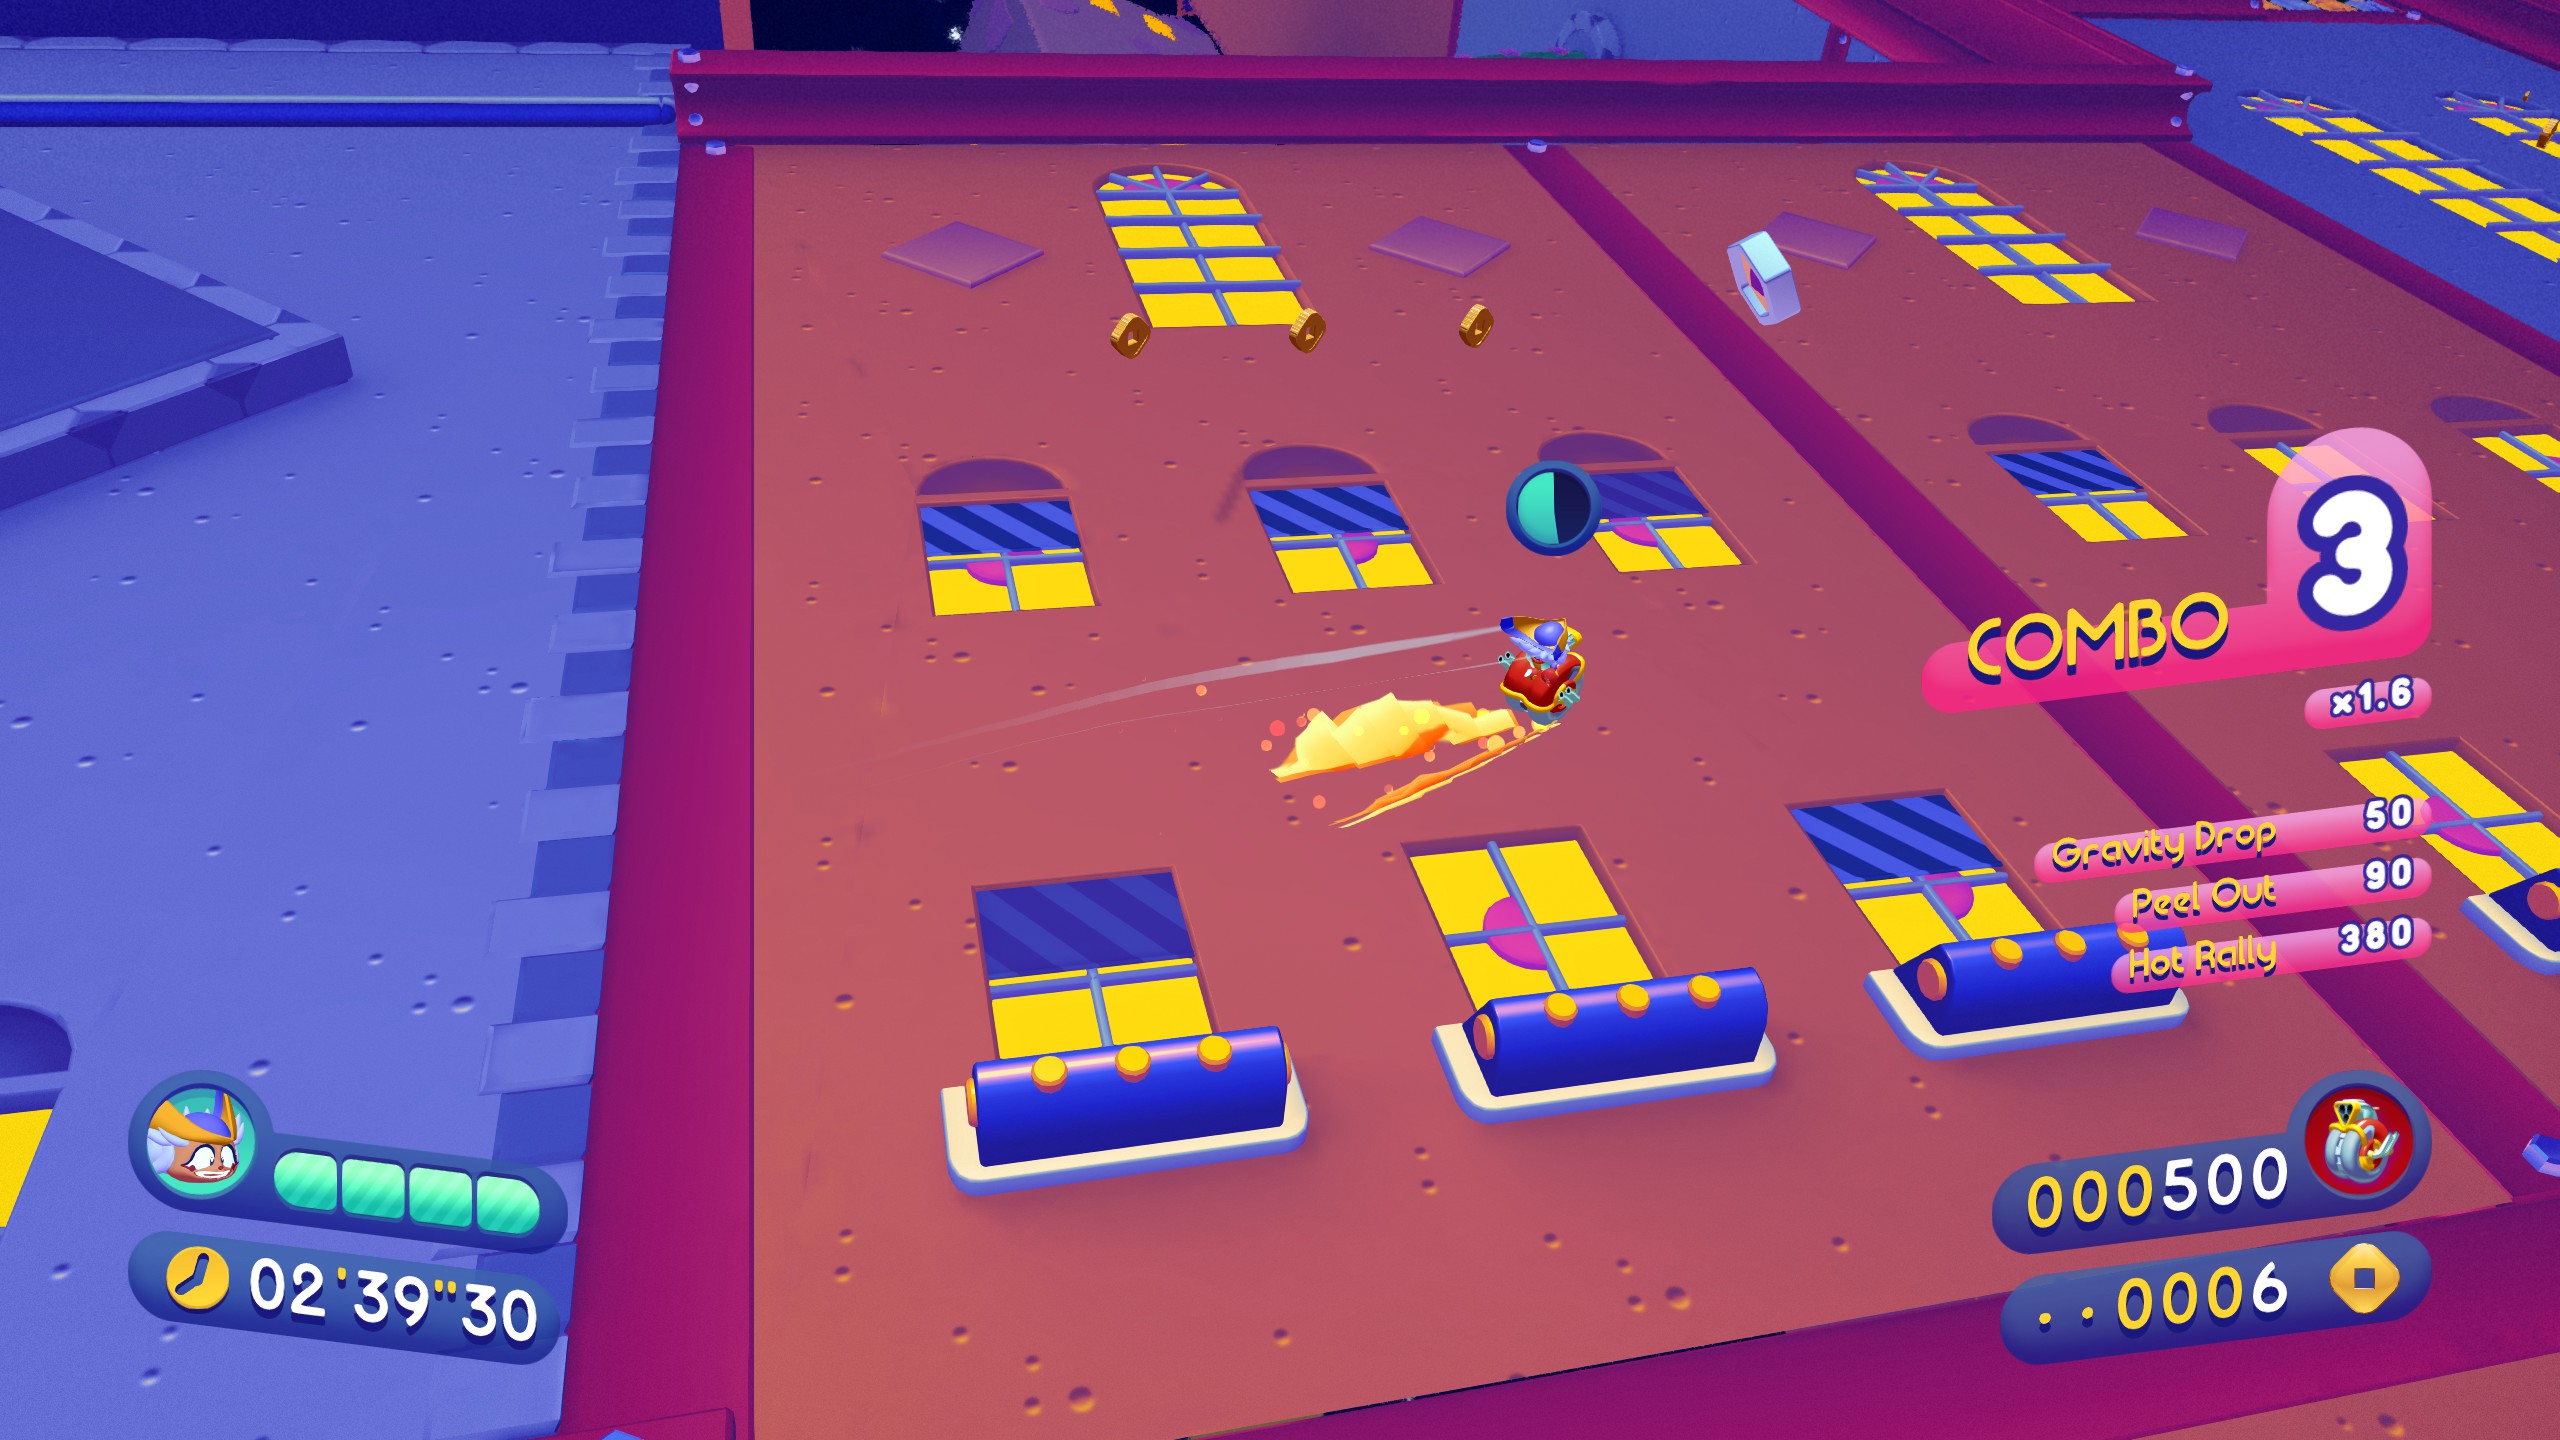
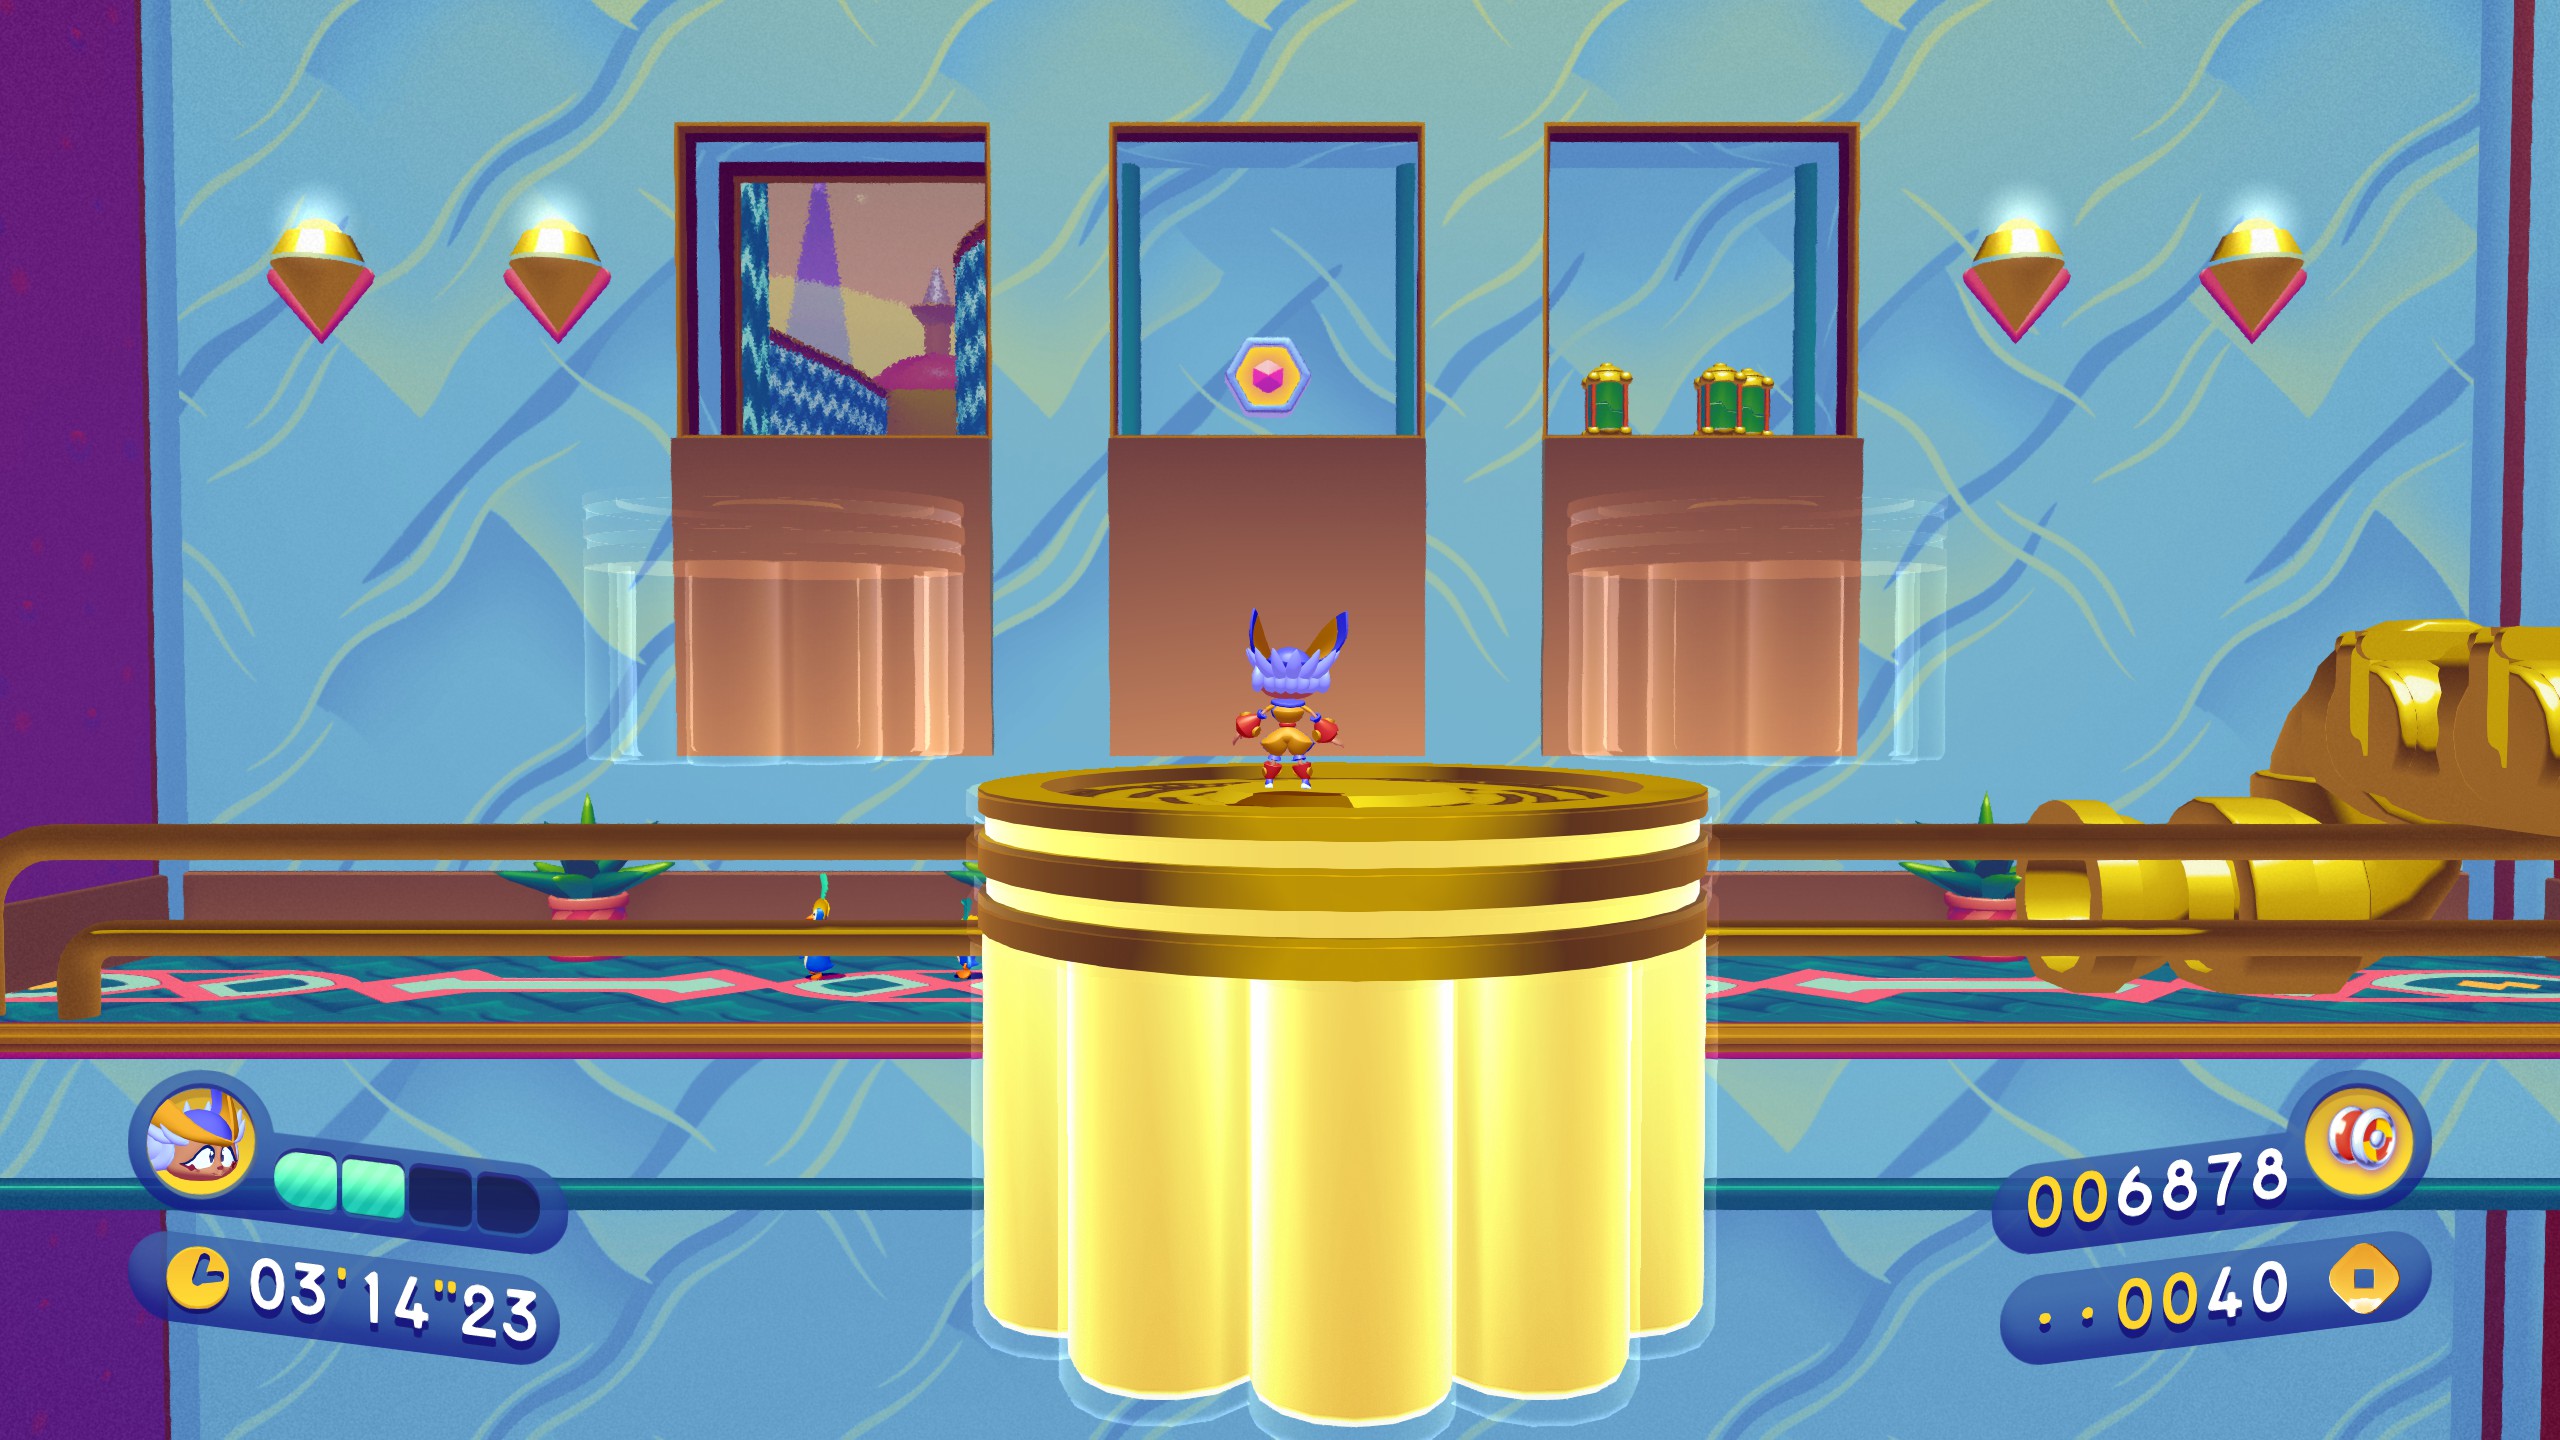
World 1: Vanilla Town
1-1
The first showpiece can be found just ahead of this check point, just bounce on the trampoline a few extra times
And then it’s right up top
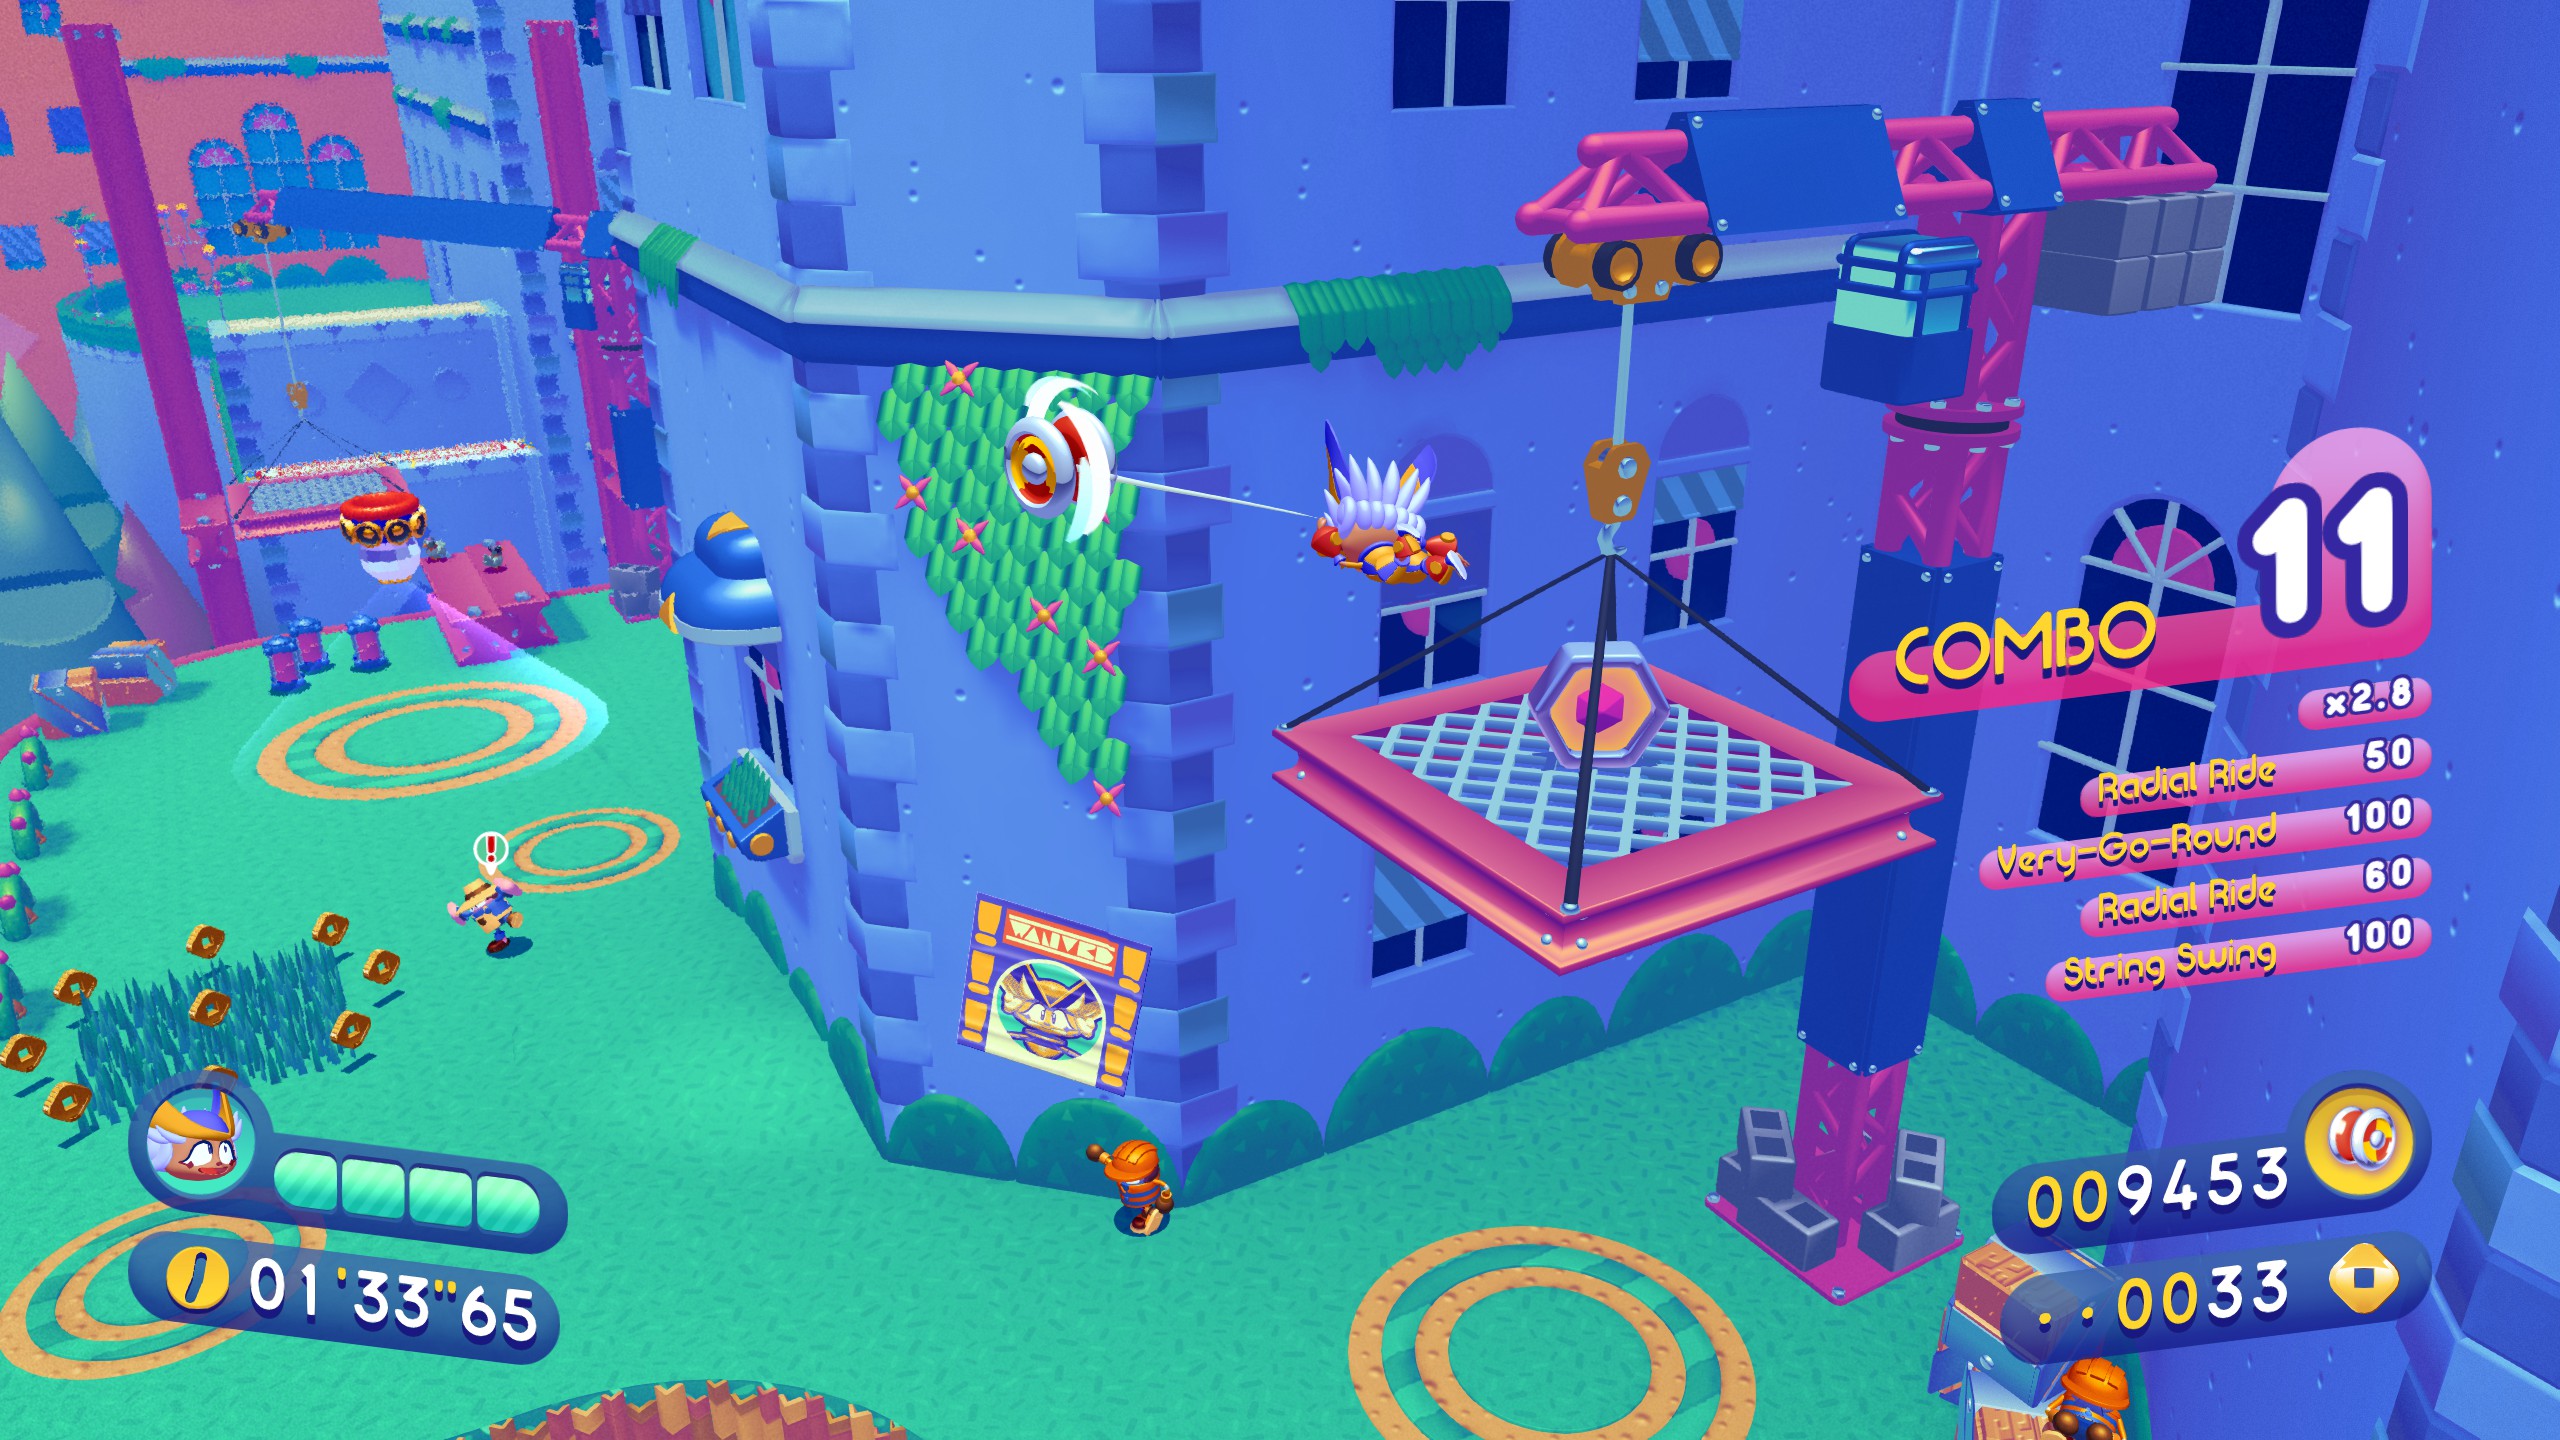
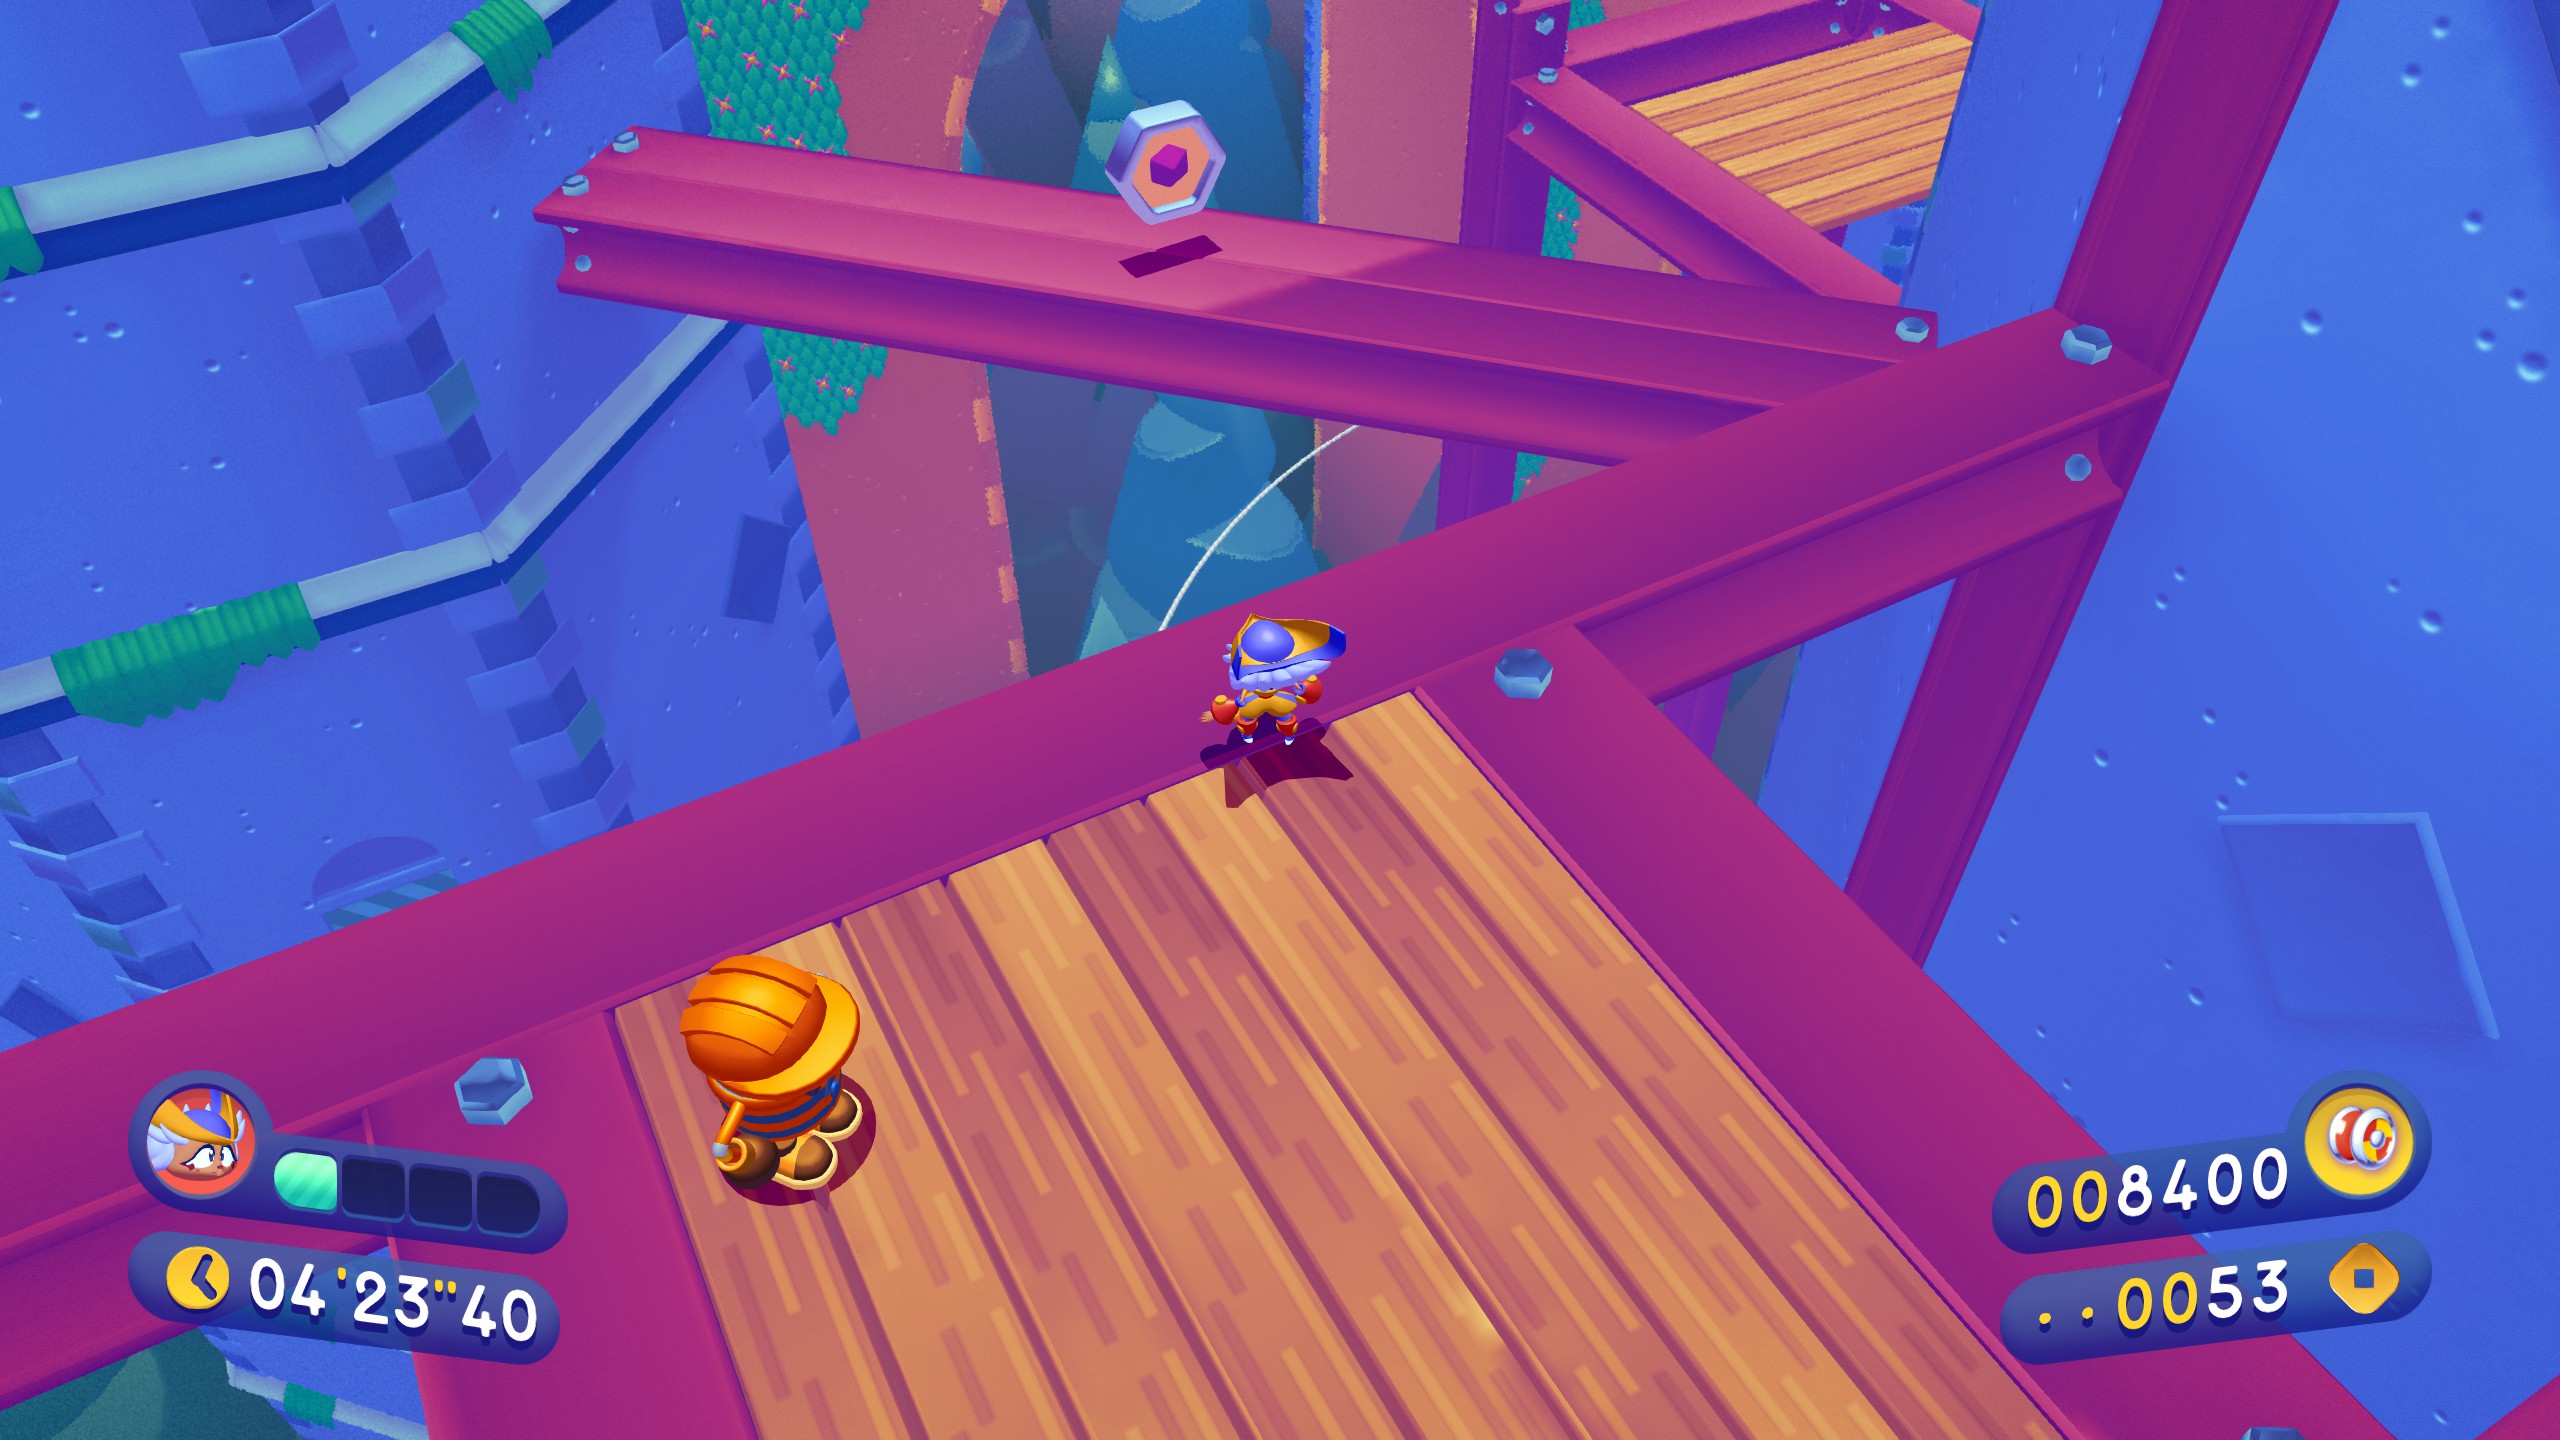
The second piece requires you to take the very-go-round shown here
Once you fly up, just zip or swing over to the platform with the coin
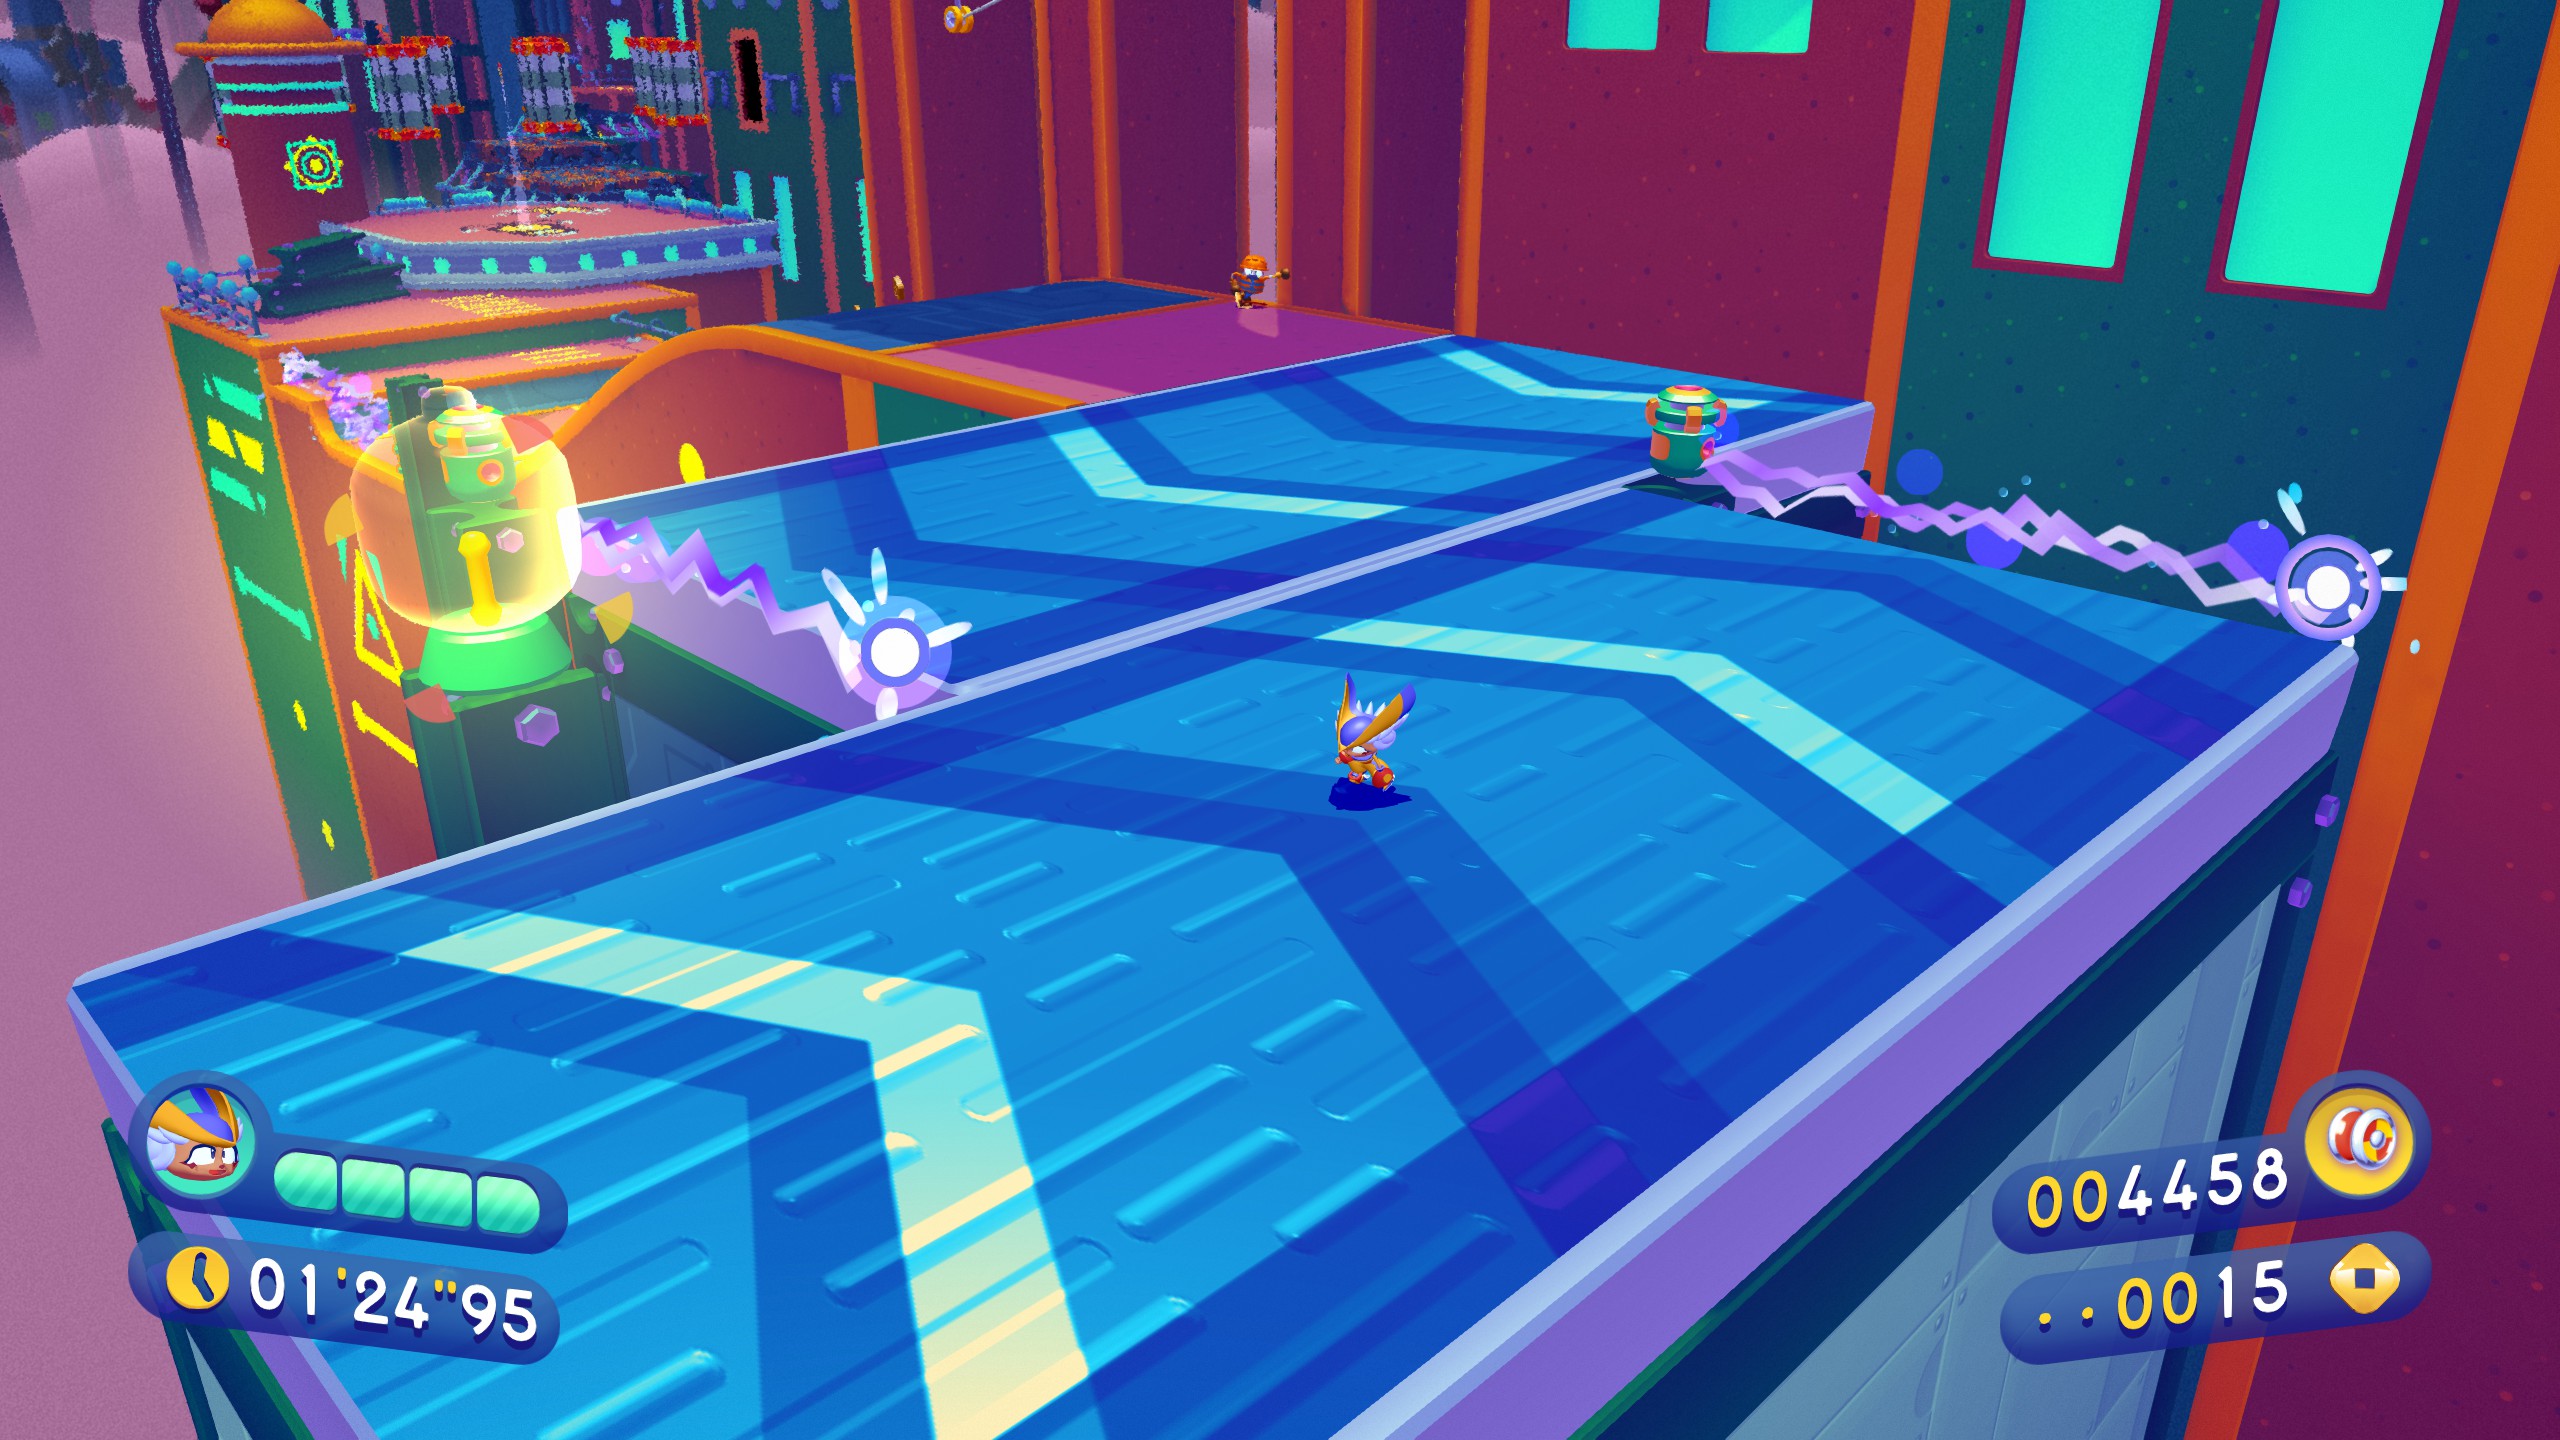
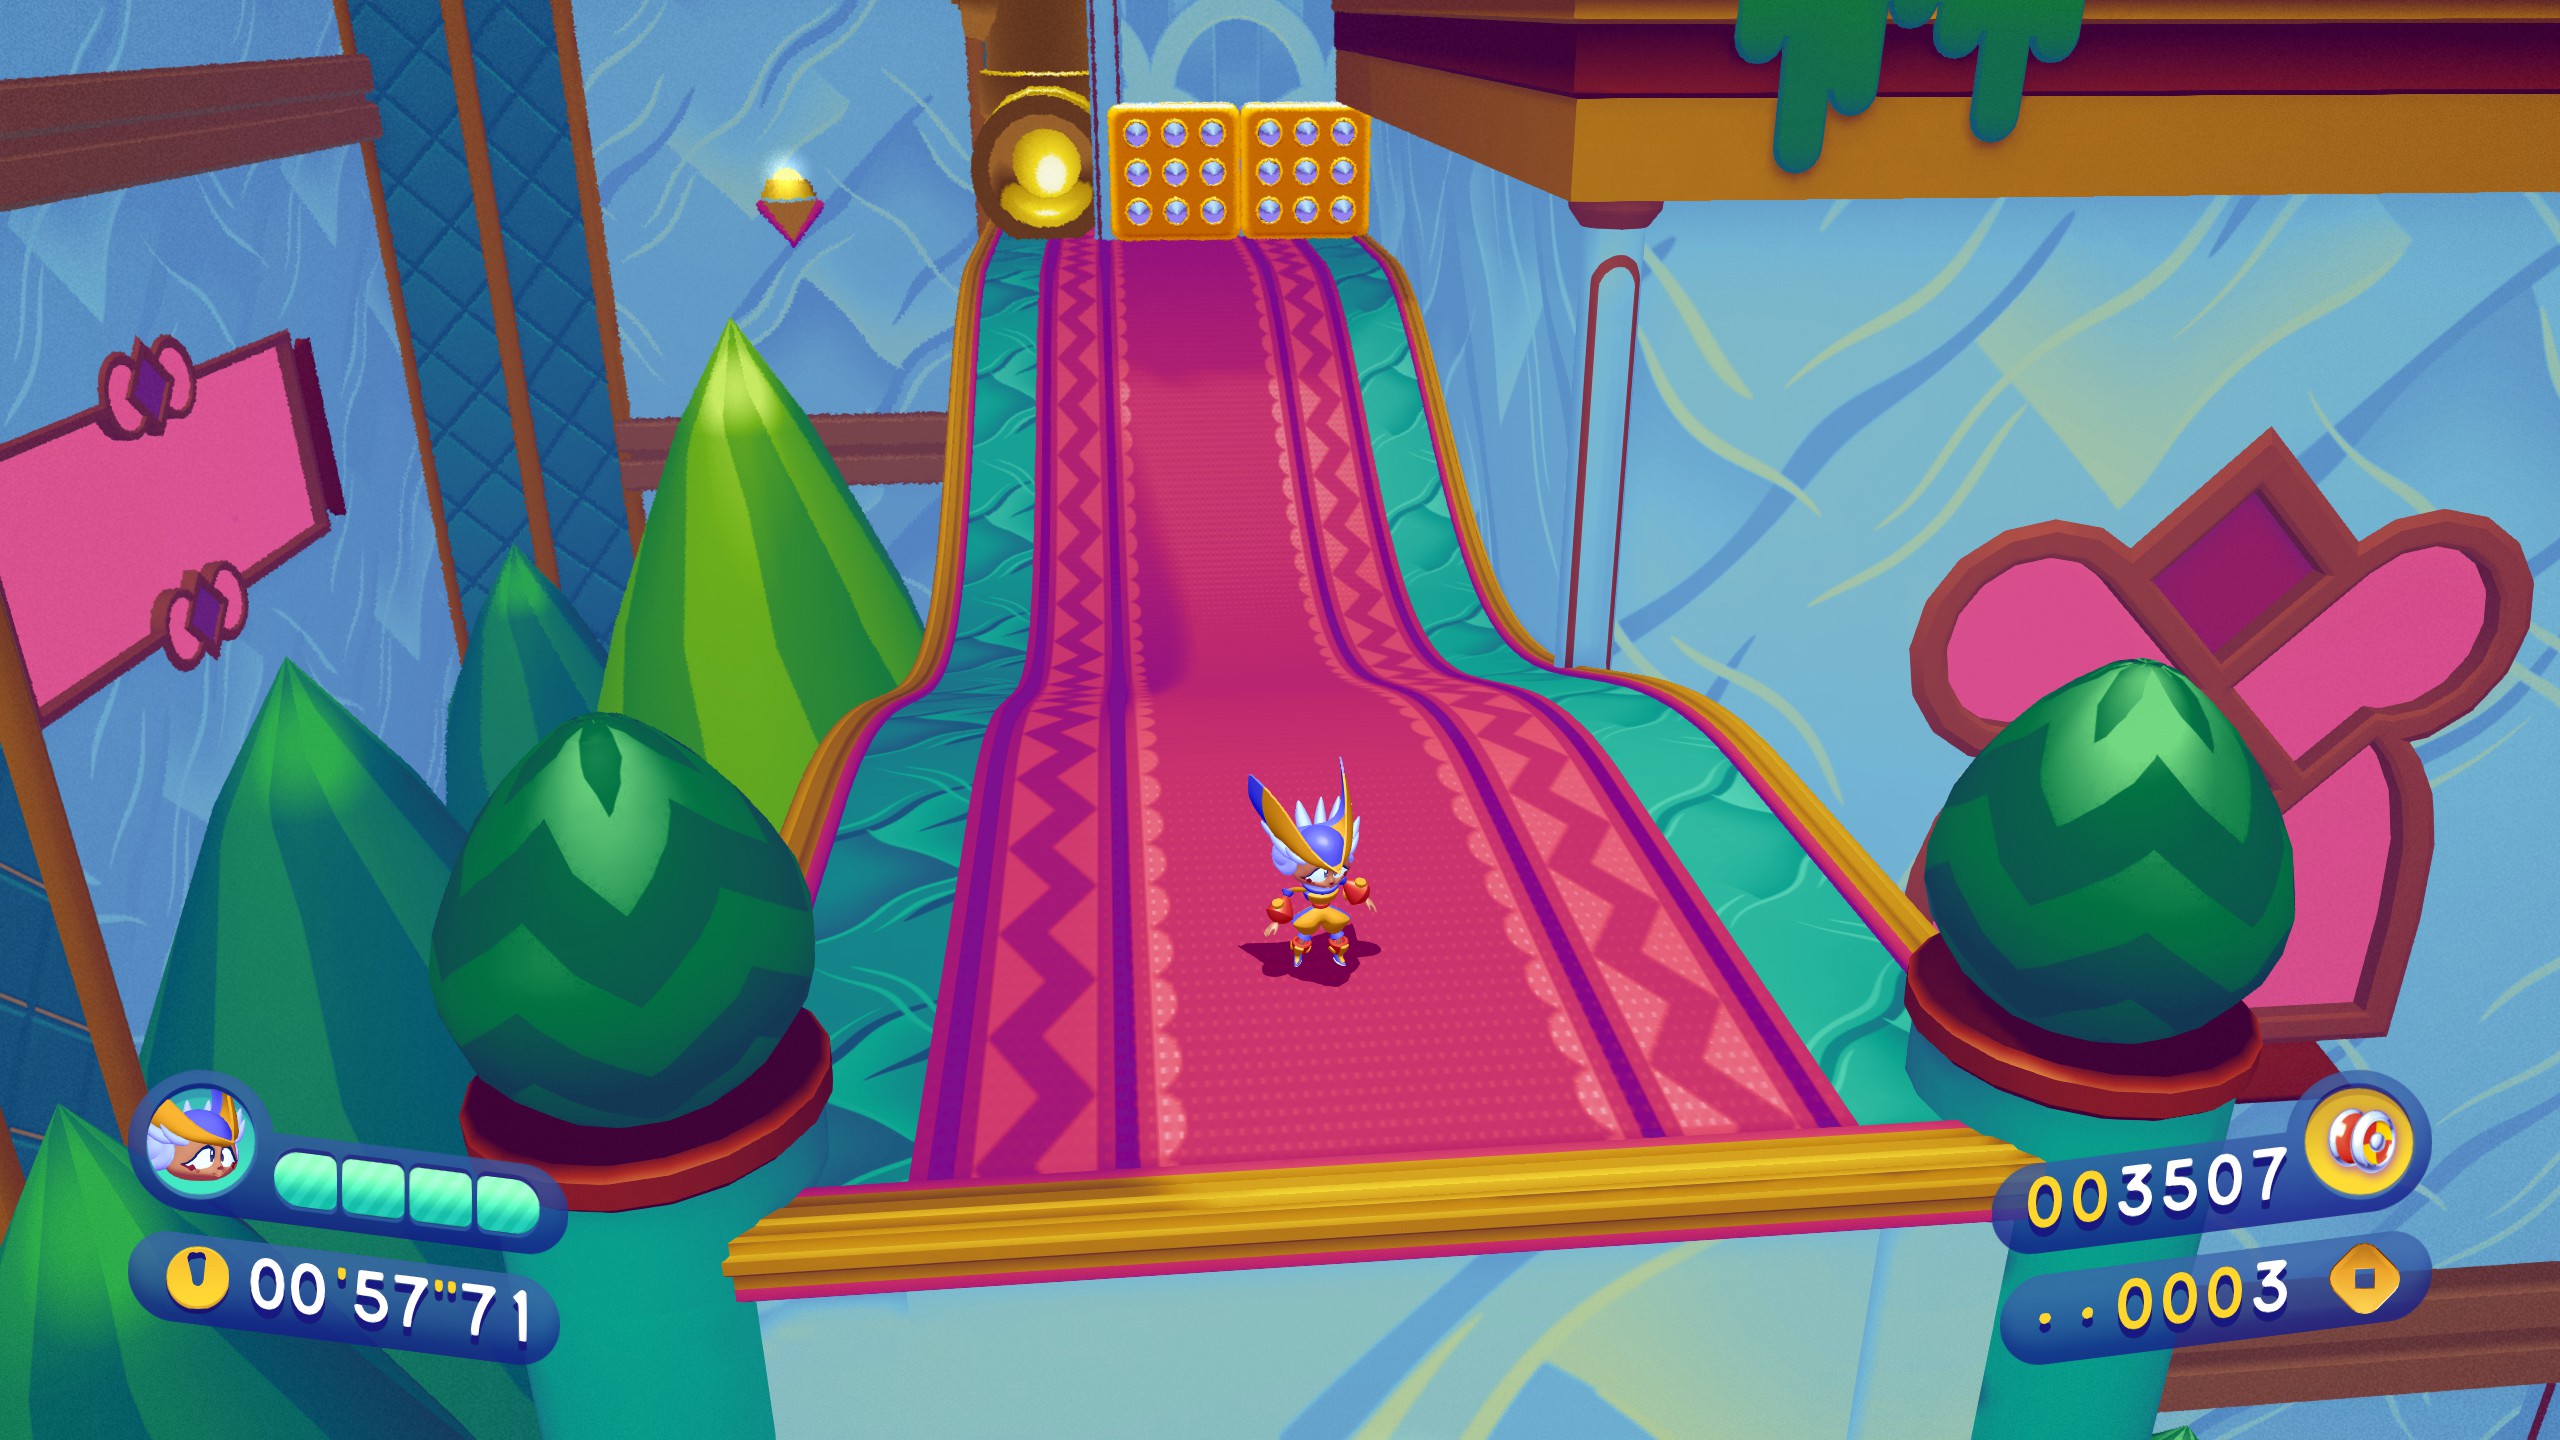
The third piece can be seen just after the next two very-go-rounds, to the right of this final checkpoint.
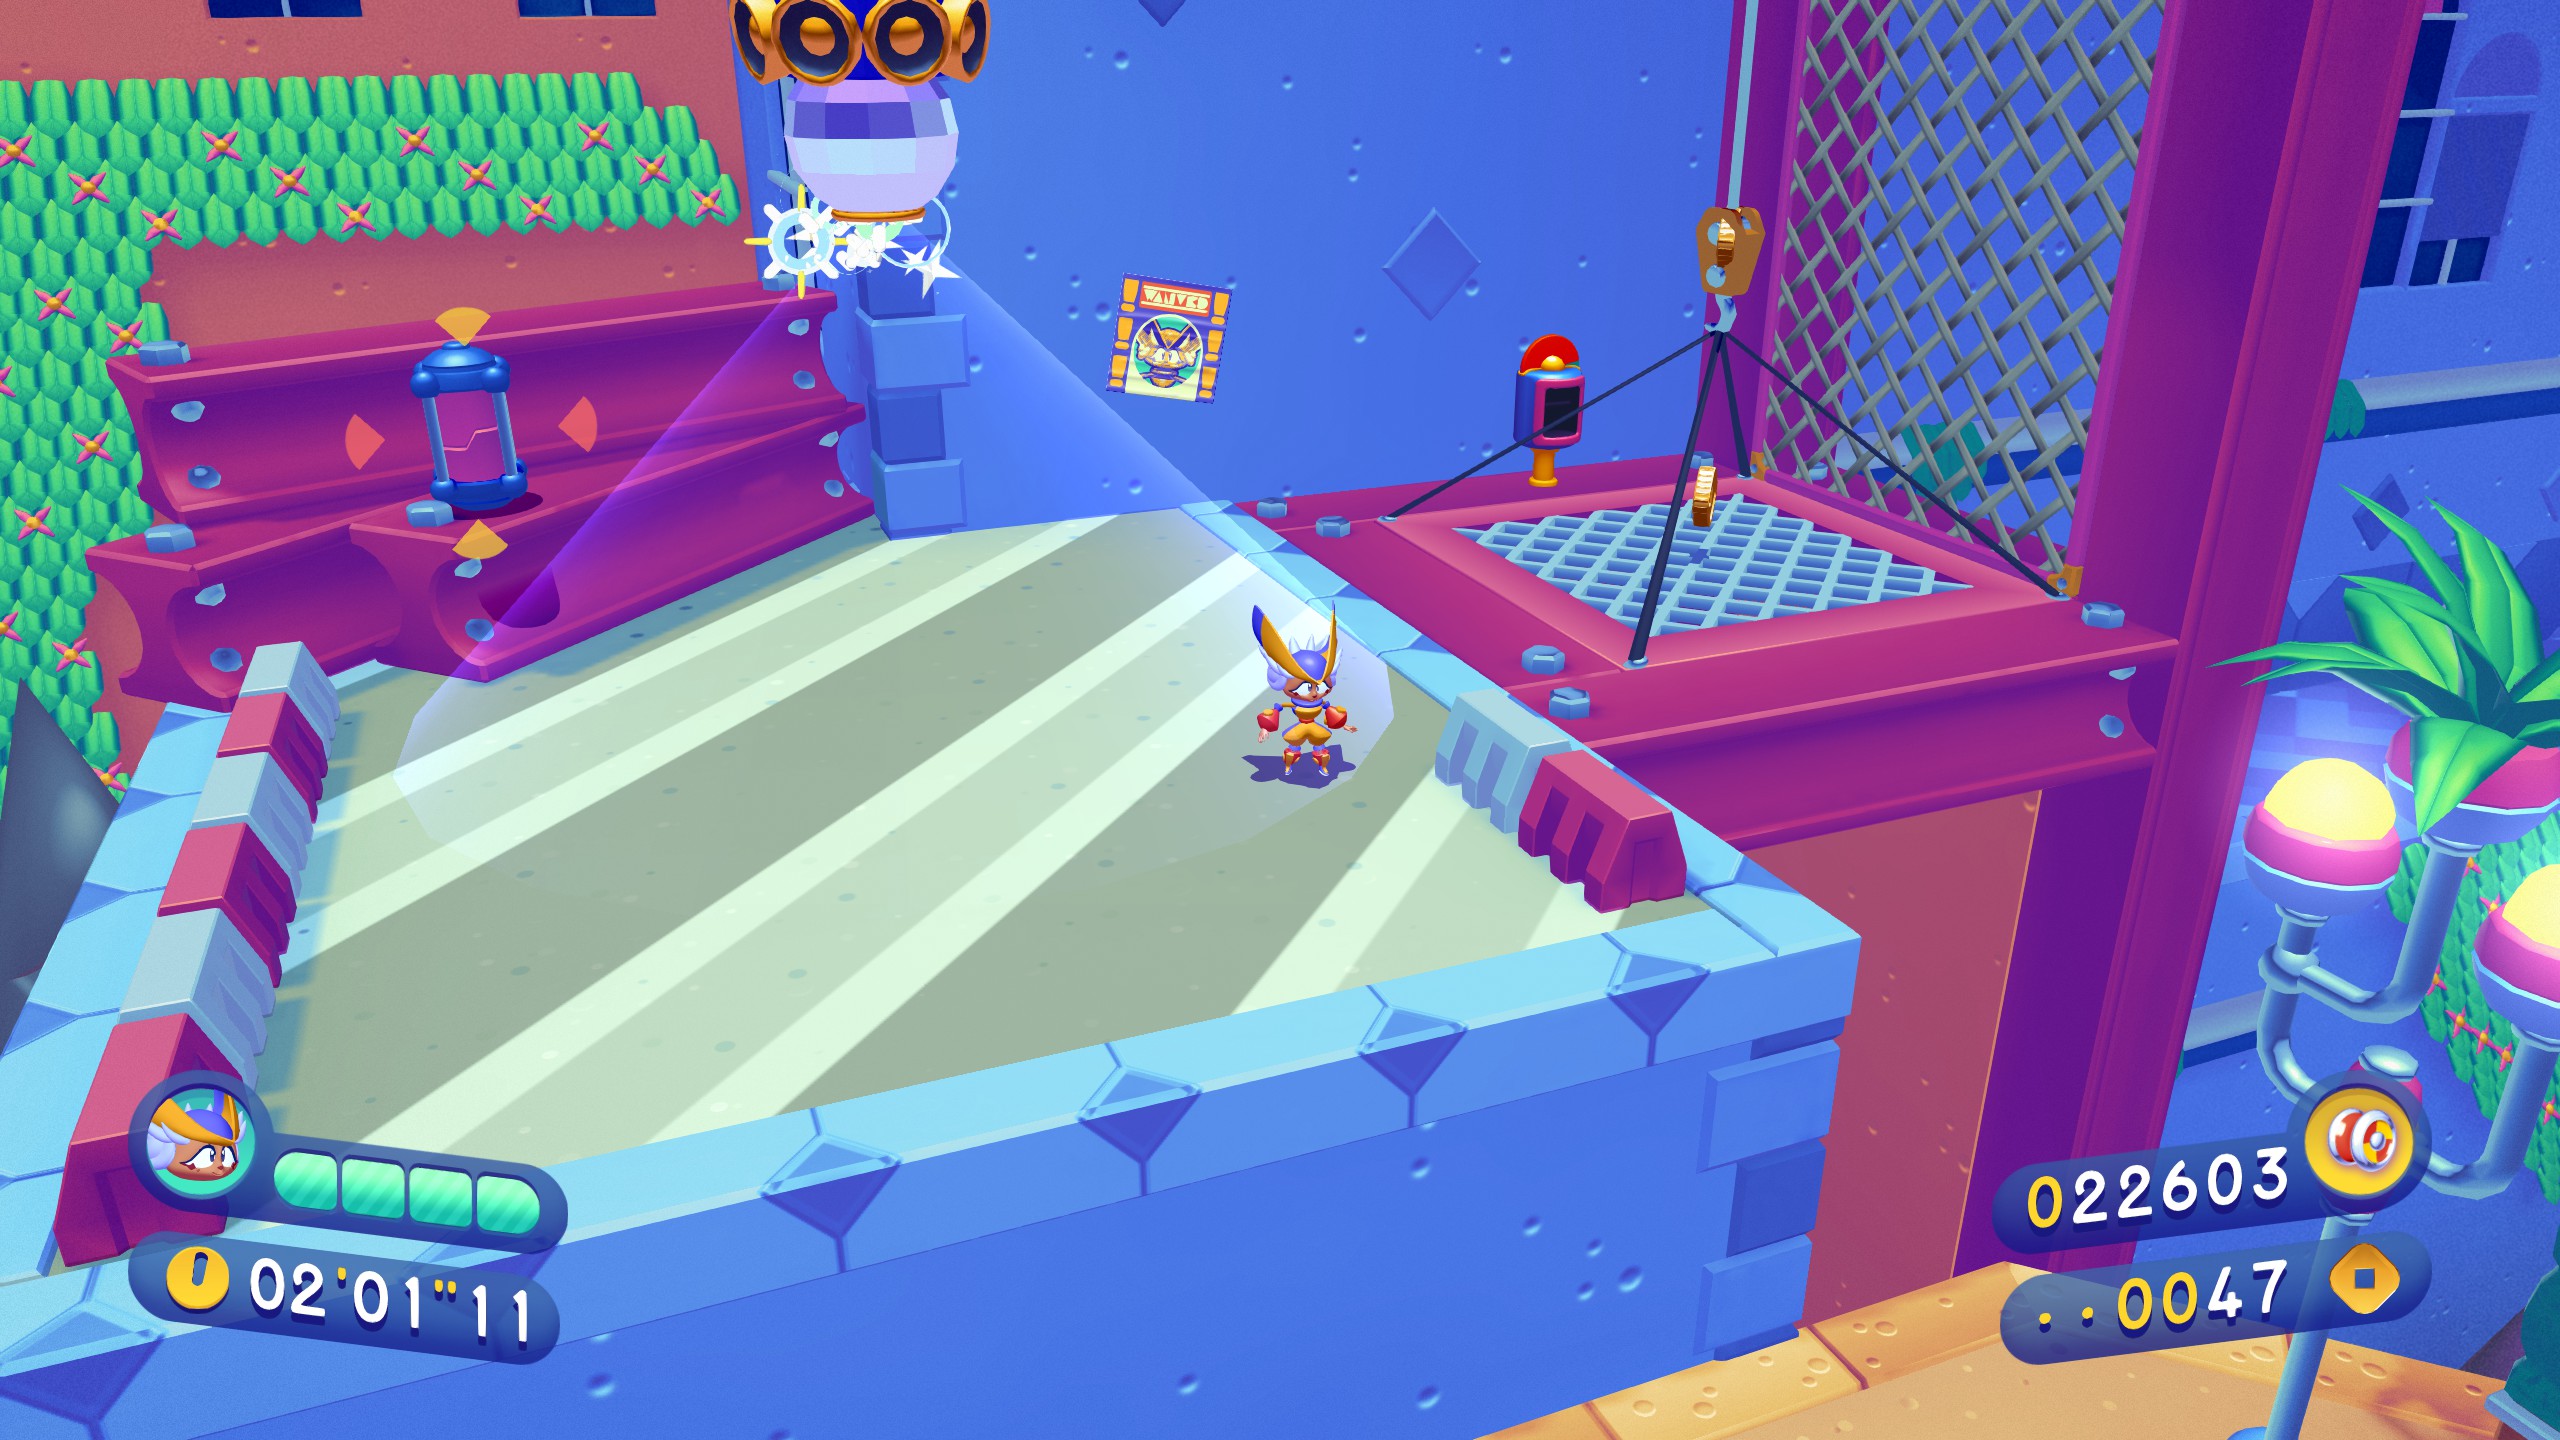
You can either hop and swing around this wall, or head up top, and simply jump down from above. There’s an elevator shaft over here that makes it very easy to do.
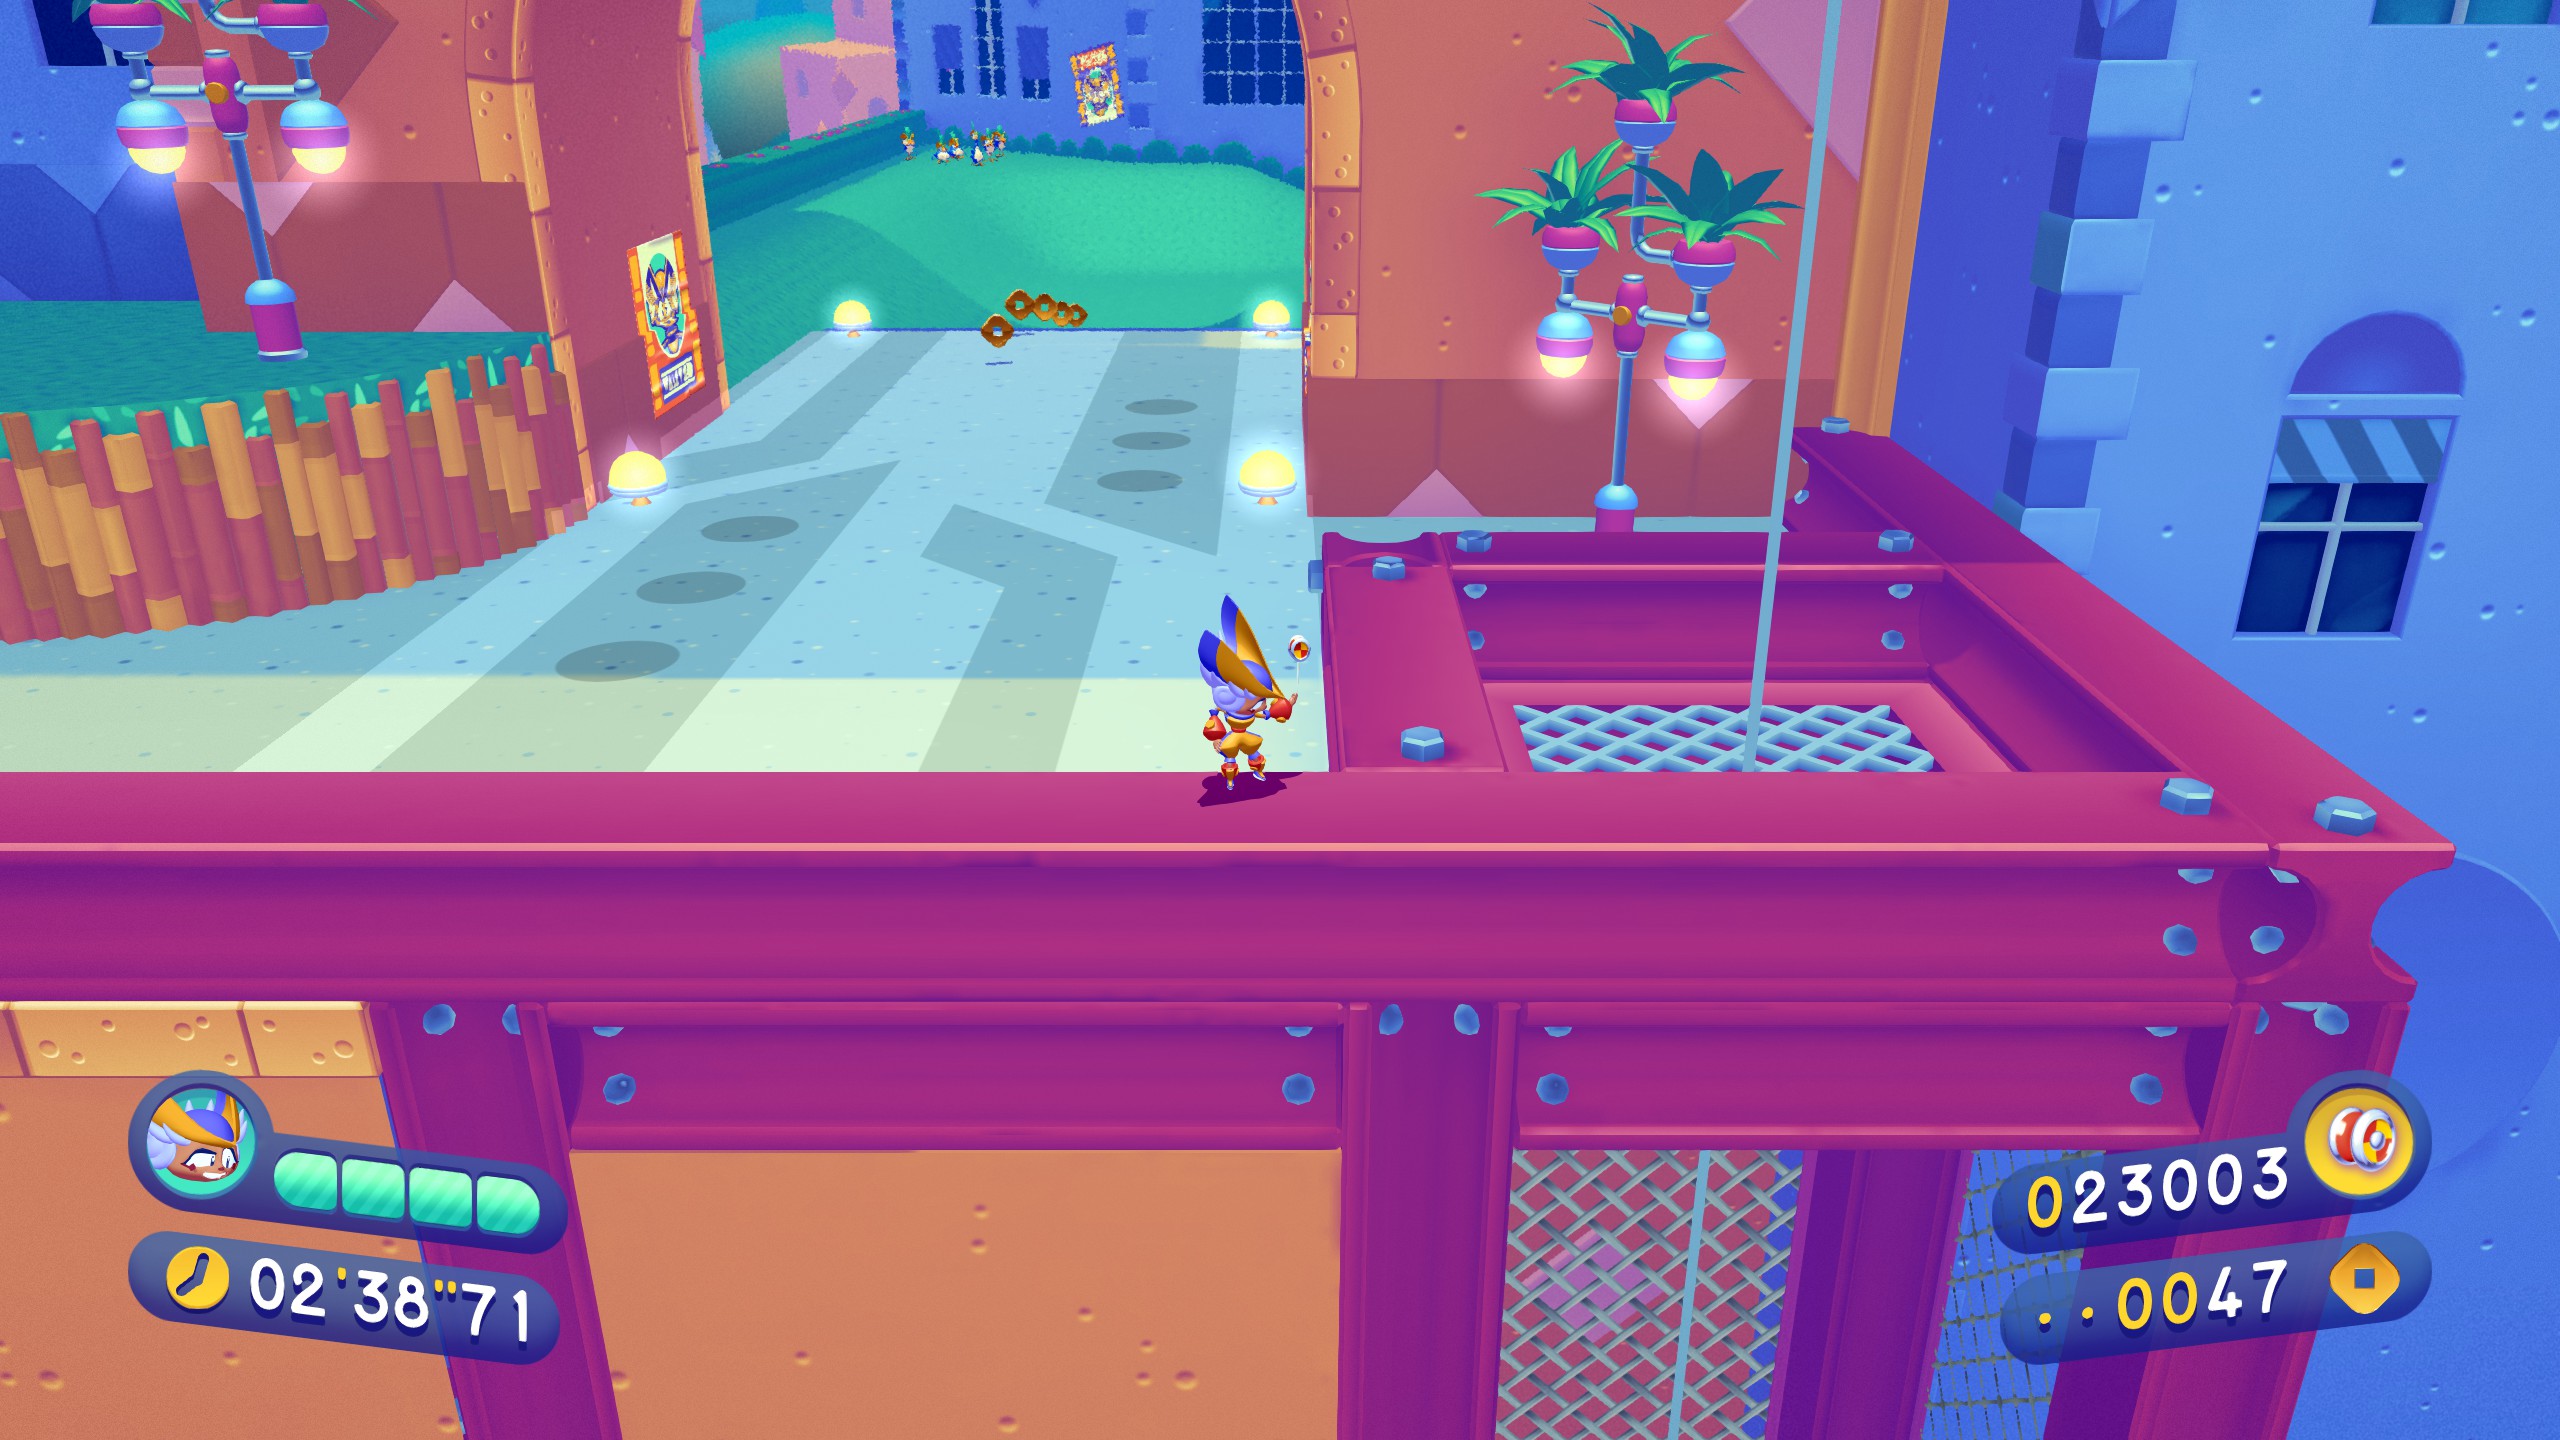
1-2
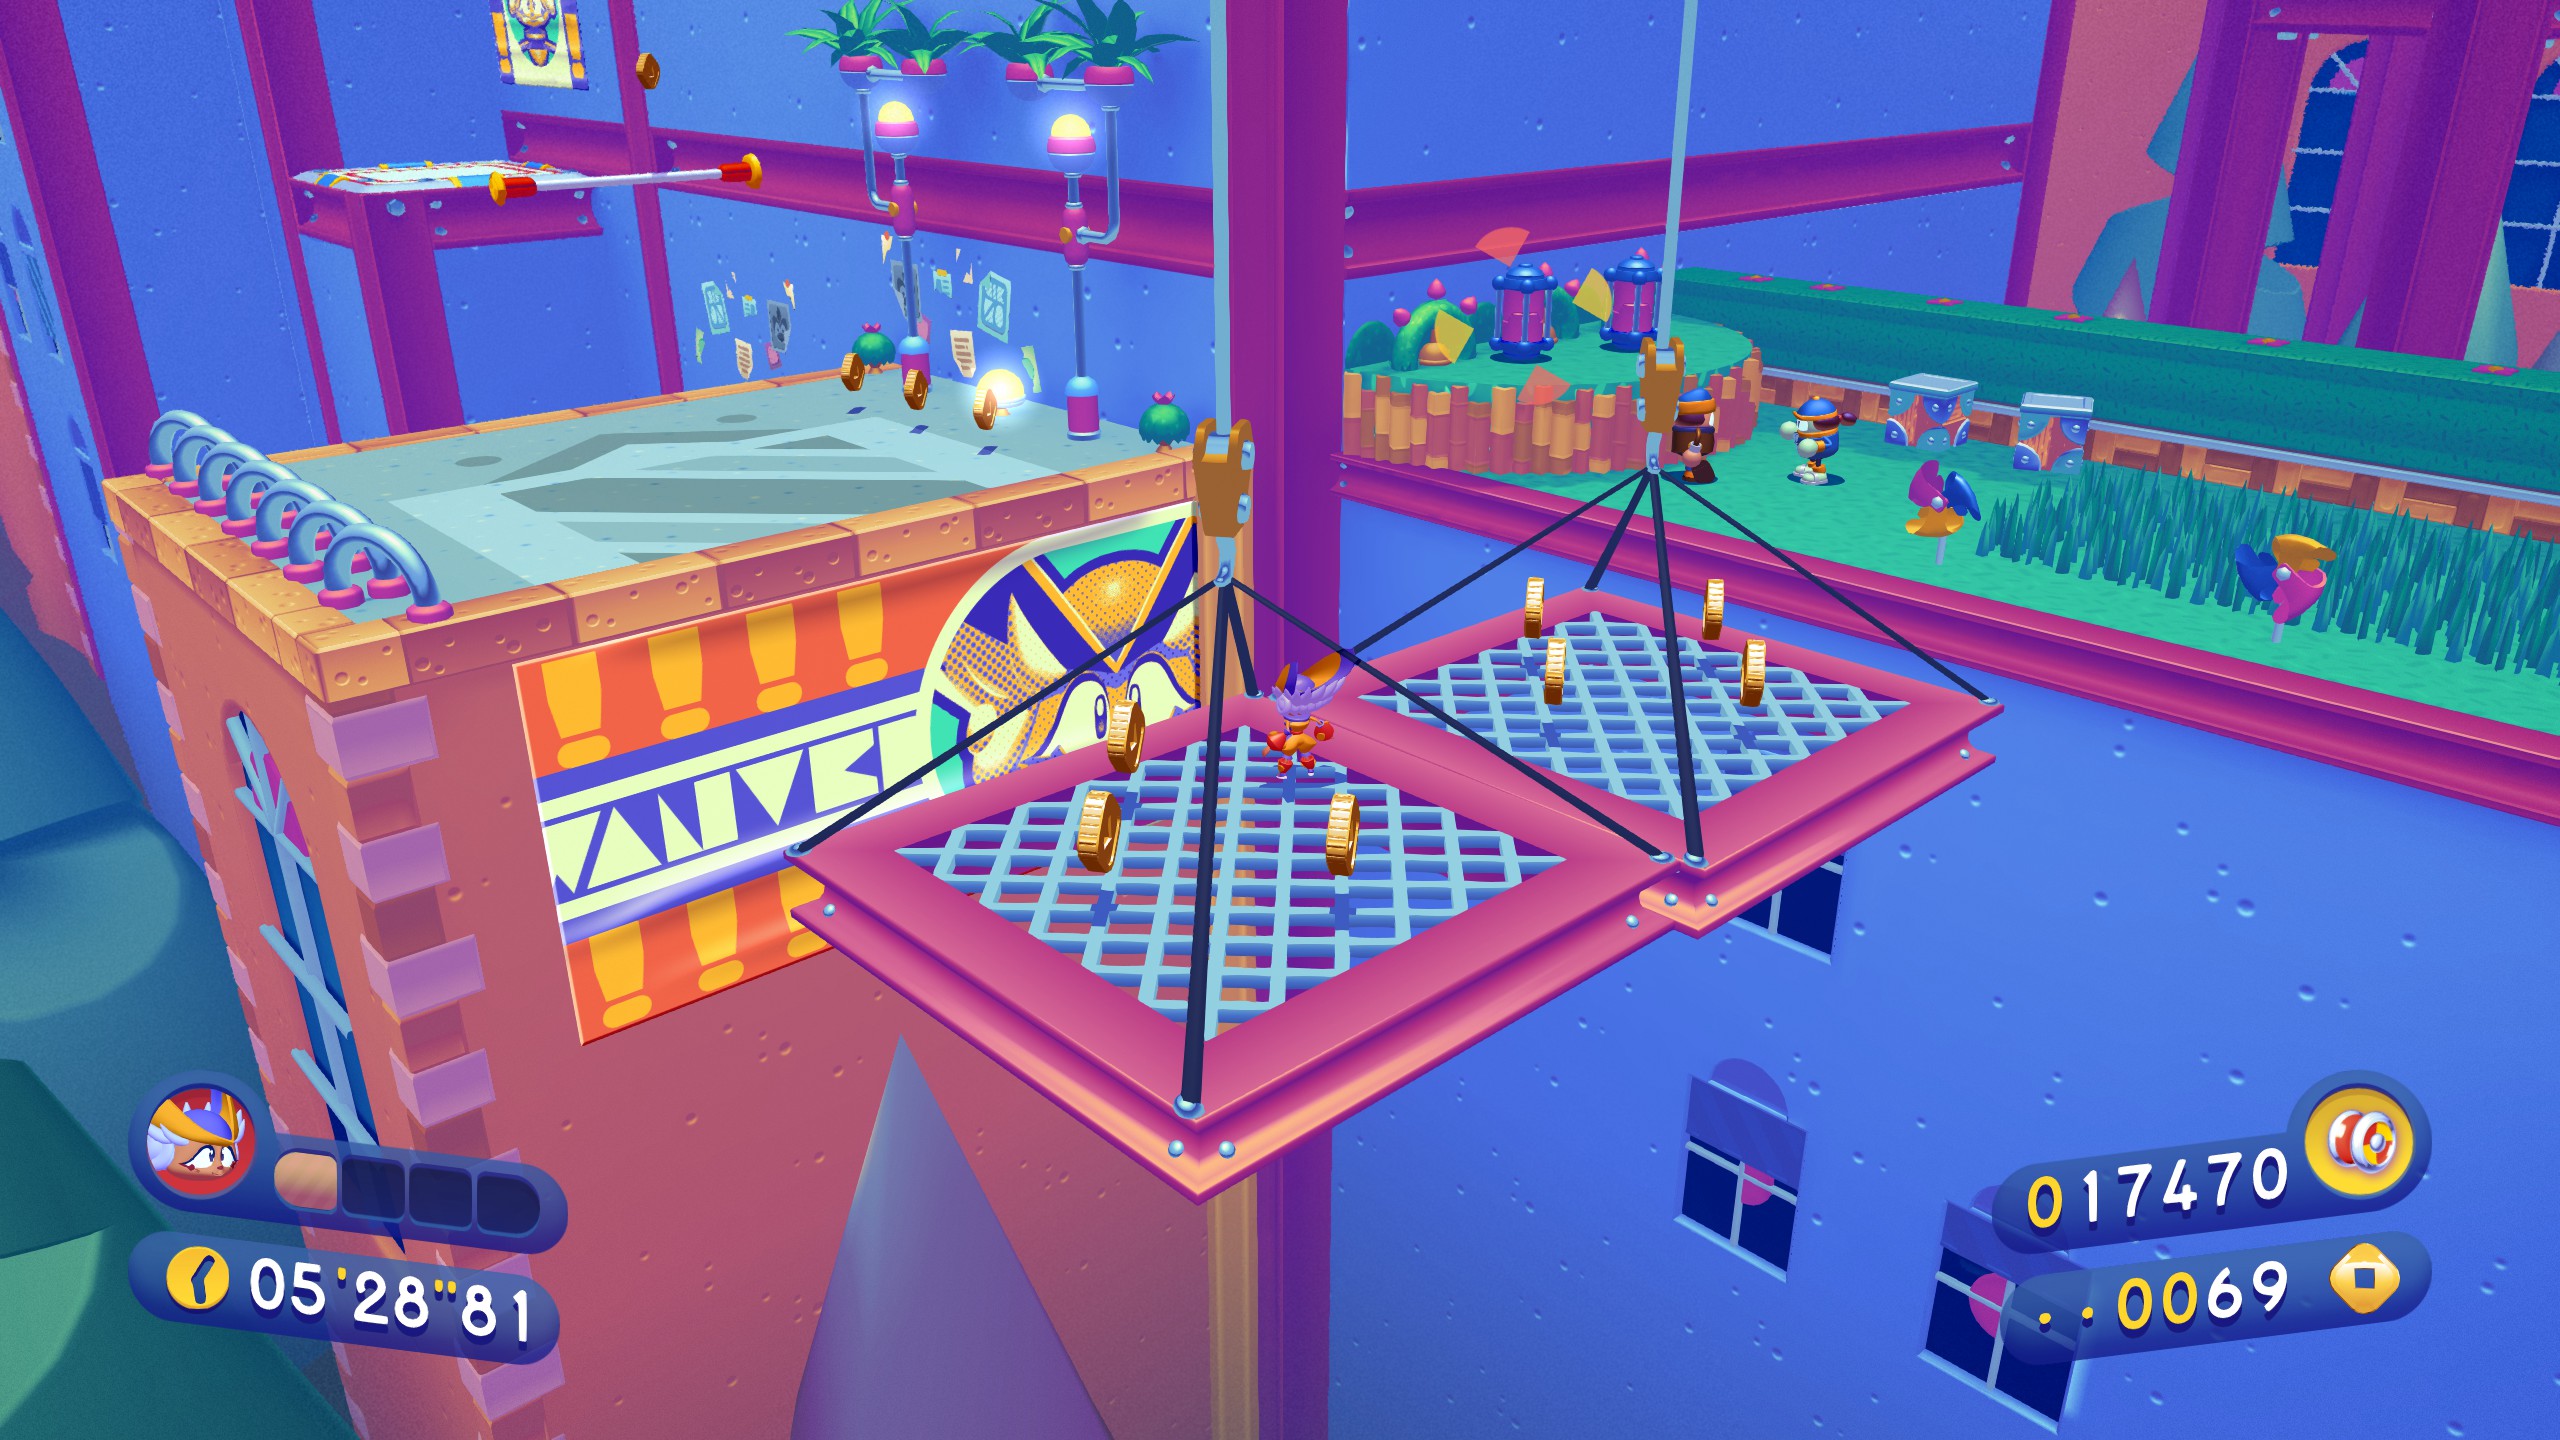
The first piece can be found directly after the two walls burst open with penguins. Take this pole and swing up top (just hold up)
The second piece can be found in this construction site. Once again head for the swing pole up ahead and just hold up.

The third piece is at the very end. Just before the pole ride up, head further left. You’ll find three trampolines. Take them up and the final piece is in a hidden alcove.
1-3
You can actually see this piece directly from the start! Look at the upper left
Easy enough to climb up to, beware of the falling floor before it though.
The second piece can be found just past this little runaway section with the nets. Take the trampoline and bounce a few times to land next to it.
The final piece is just up this pole, just hop off early into the alcove to the right and it’s right there.
1-4
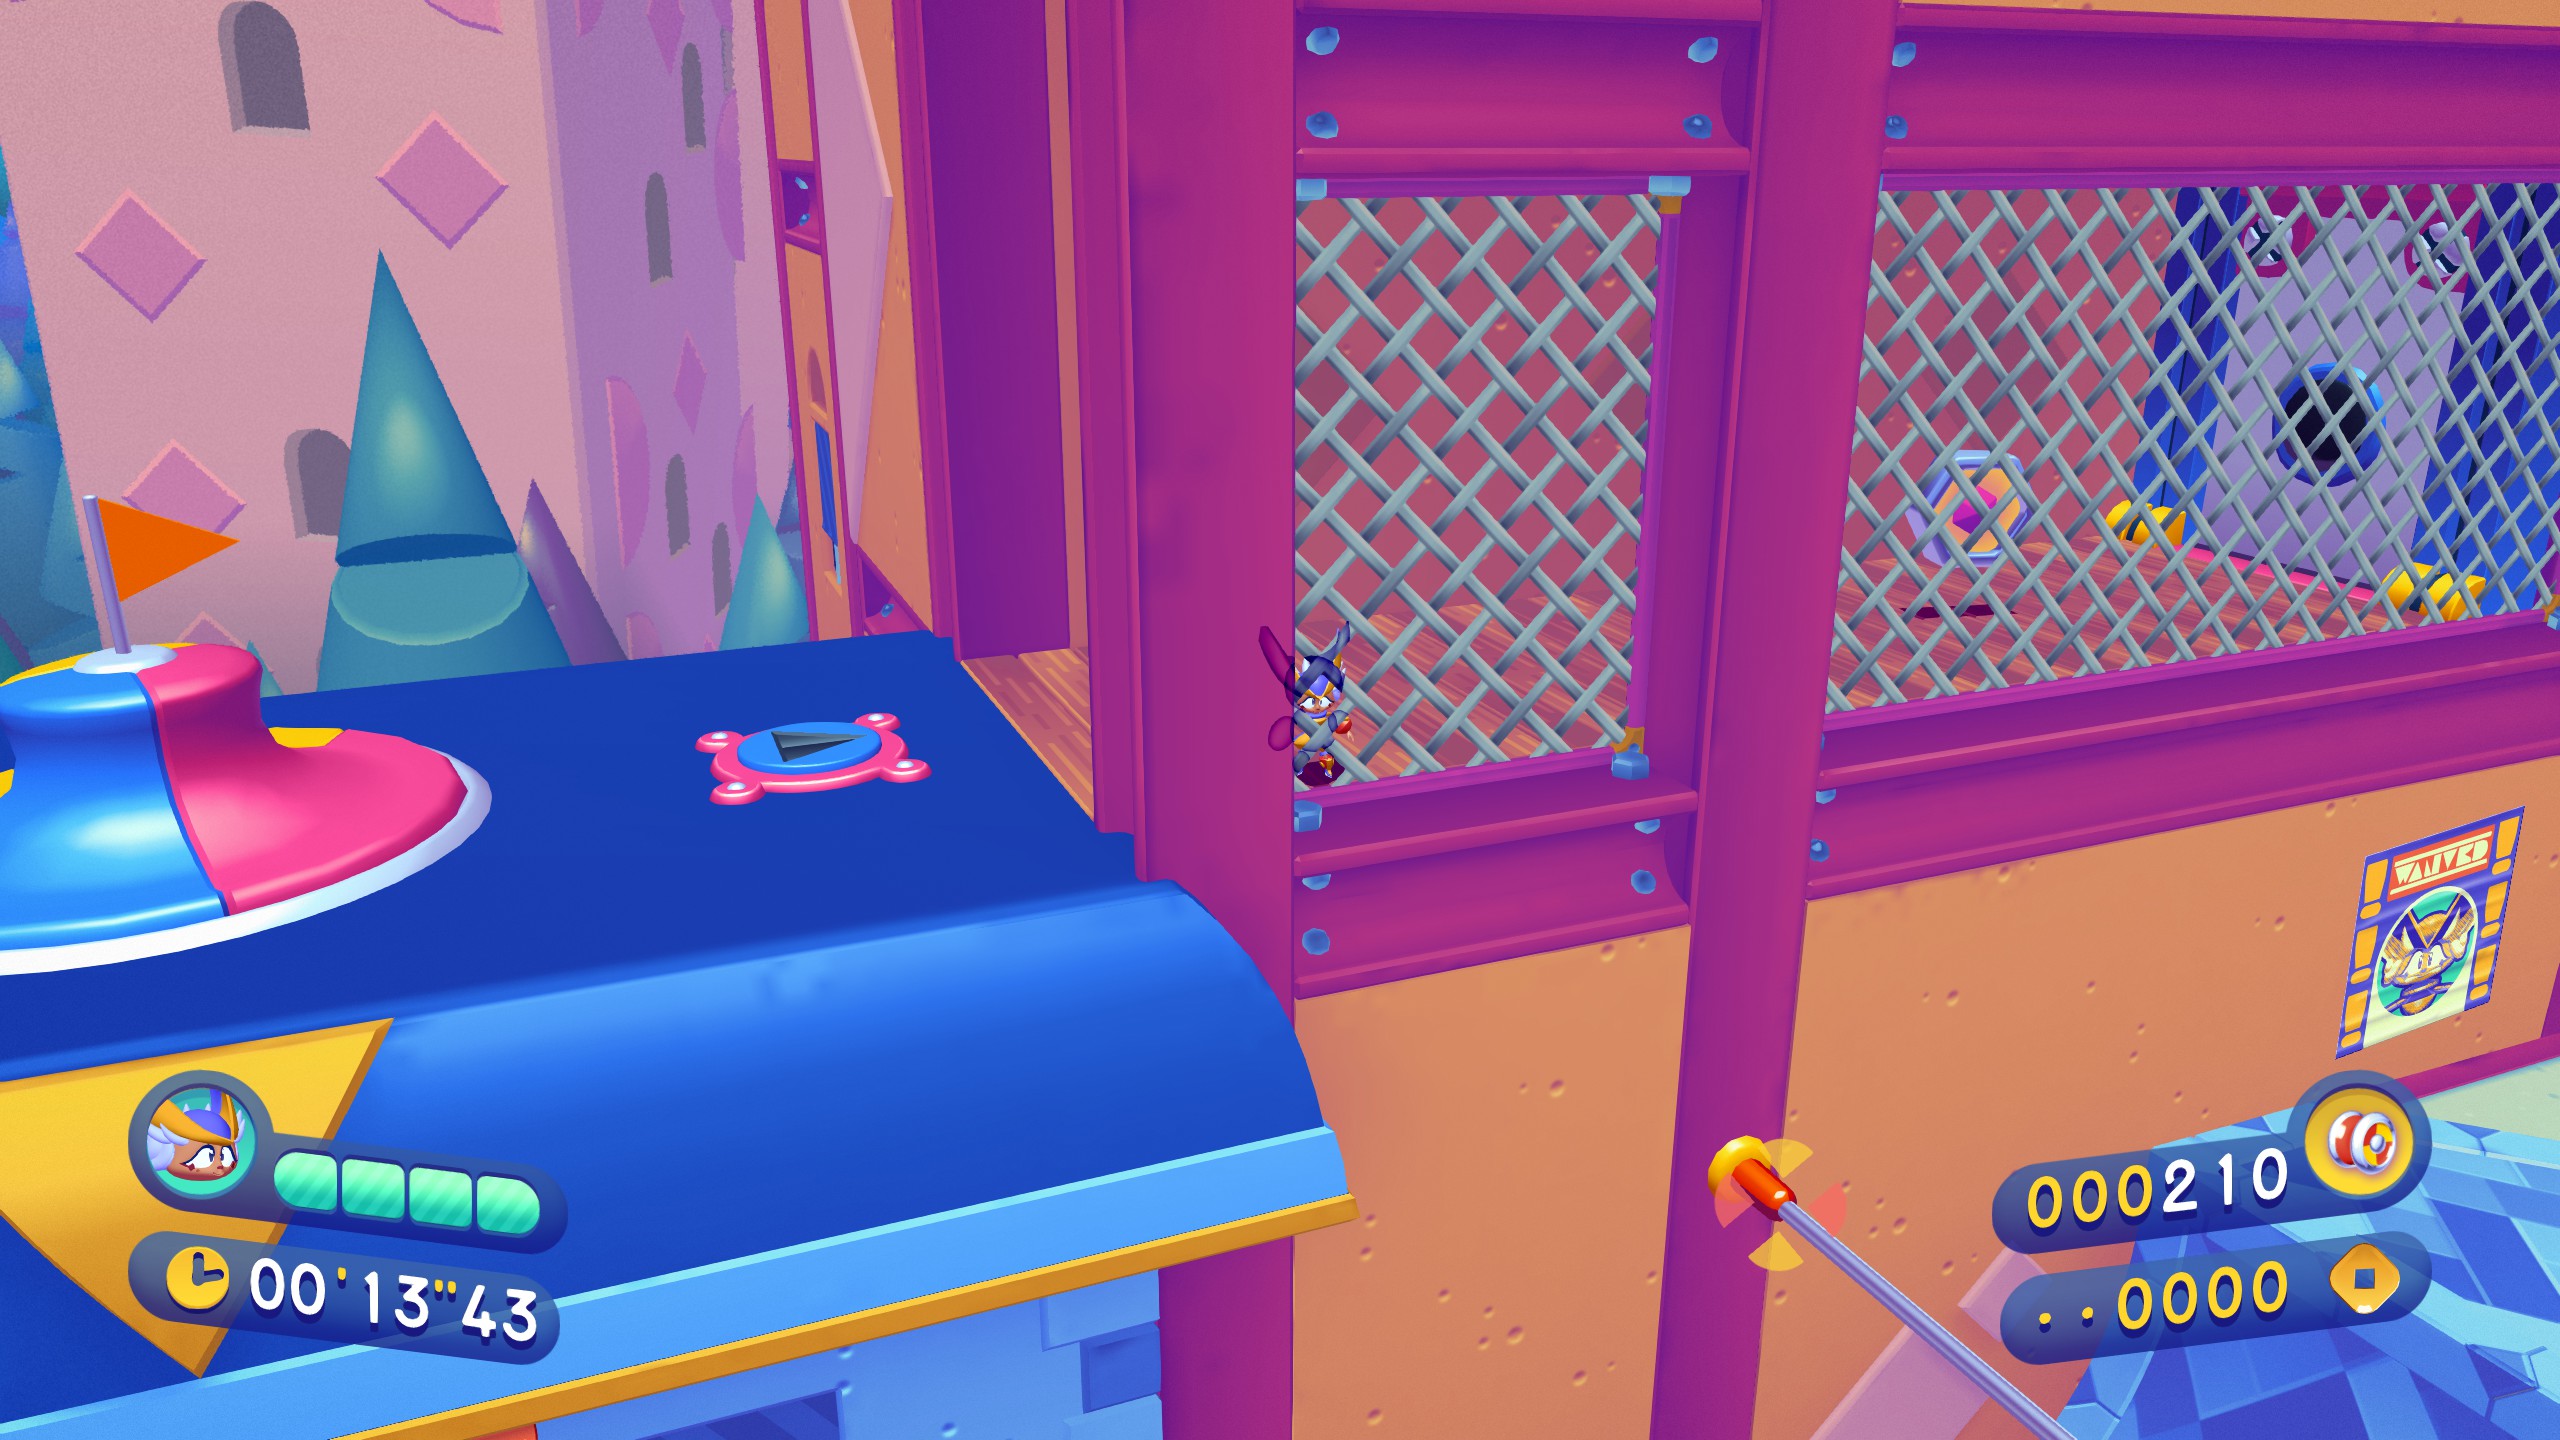
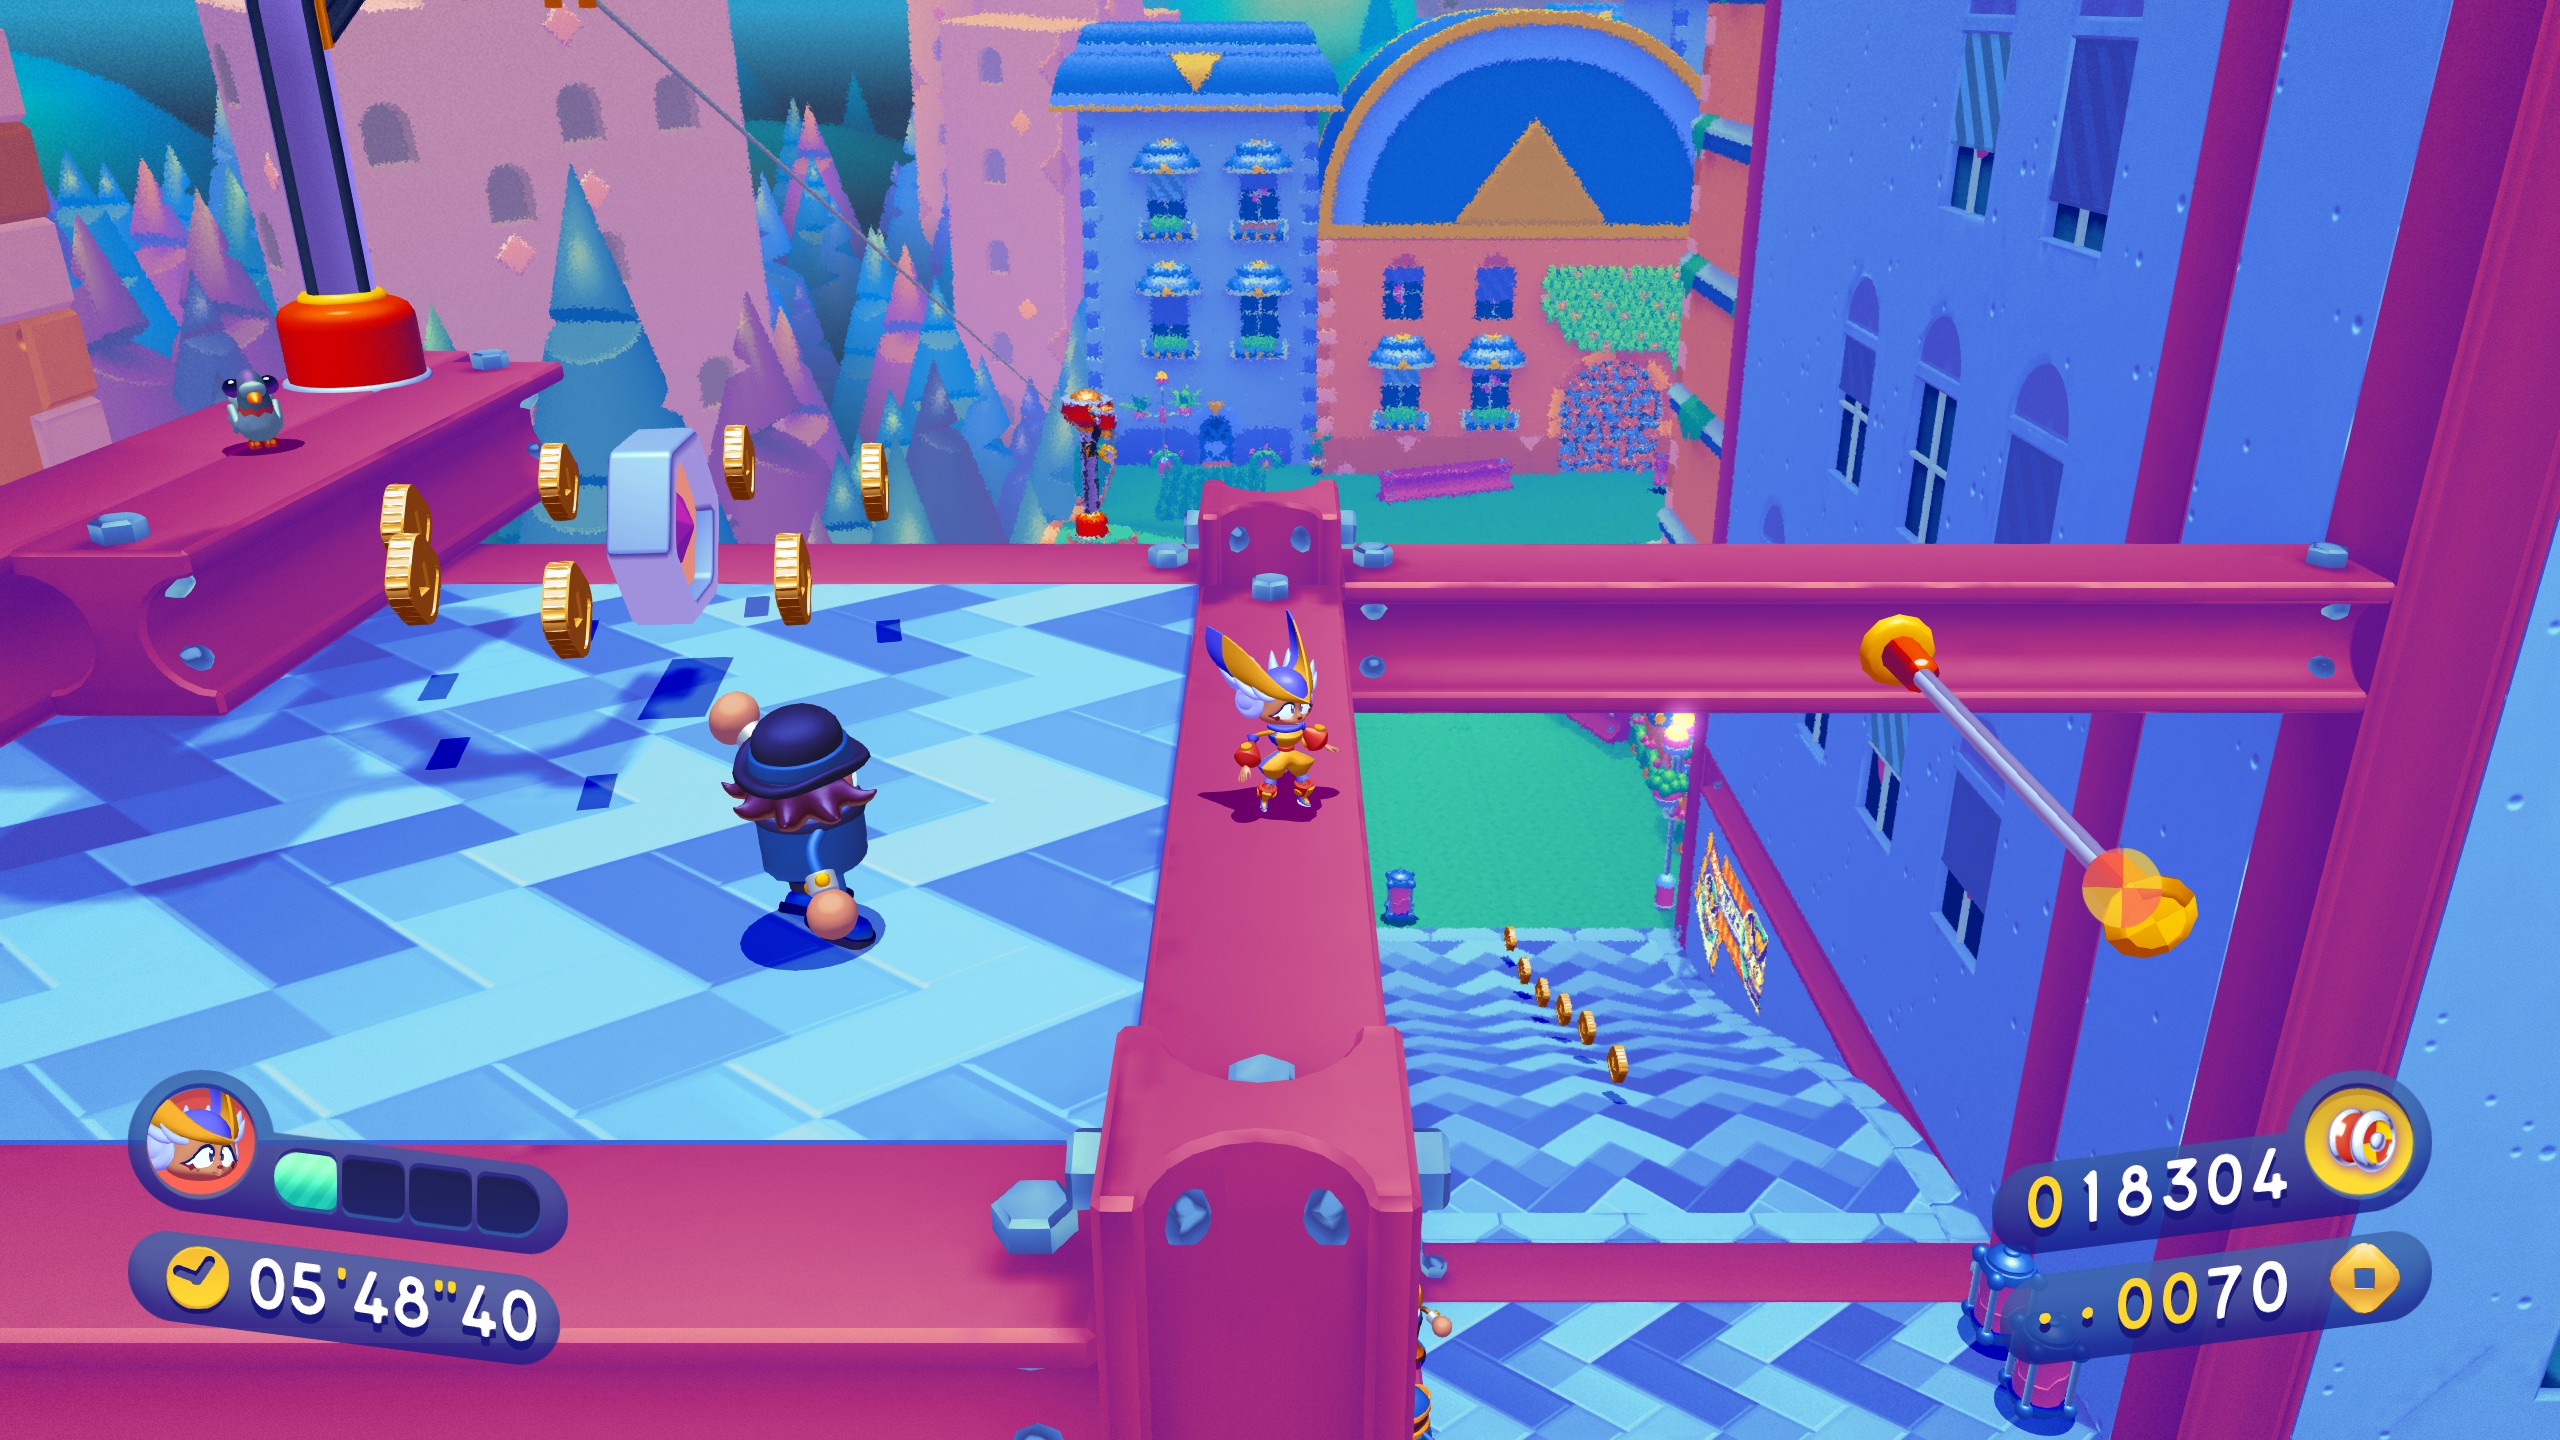
Another first piece that can sorta be seen from the starting point. Get up on top of the blue building and it’s behind the grating to the right
For the next piece, be sure not to take this zipline! Use the trampoline below, pop up through the flipping floor and swing ahead to this platform then hop onto the piece.
For the final piece of world 1, once again we come up to some trampolines. Just bounce on the higher one a couple extra times and there you have it.
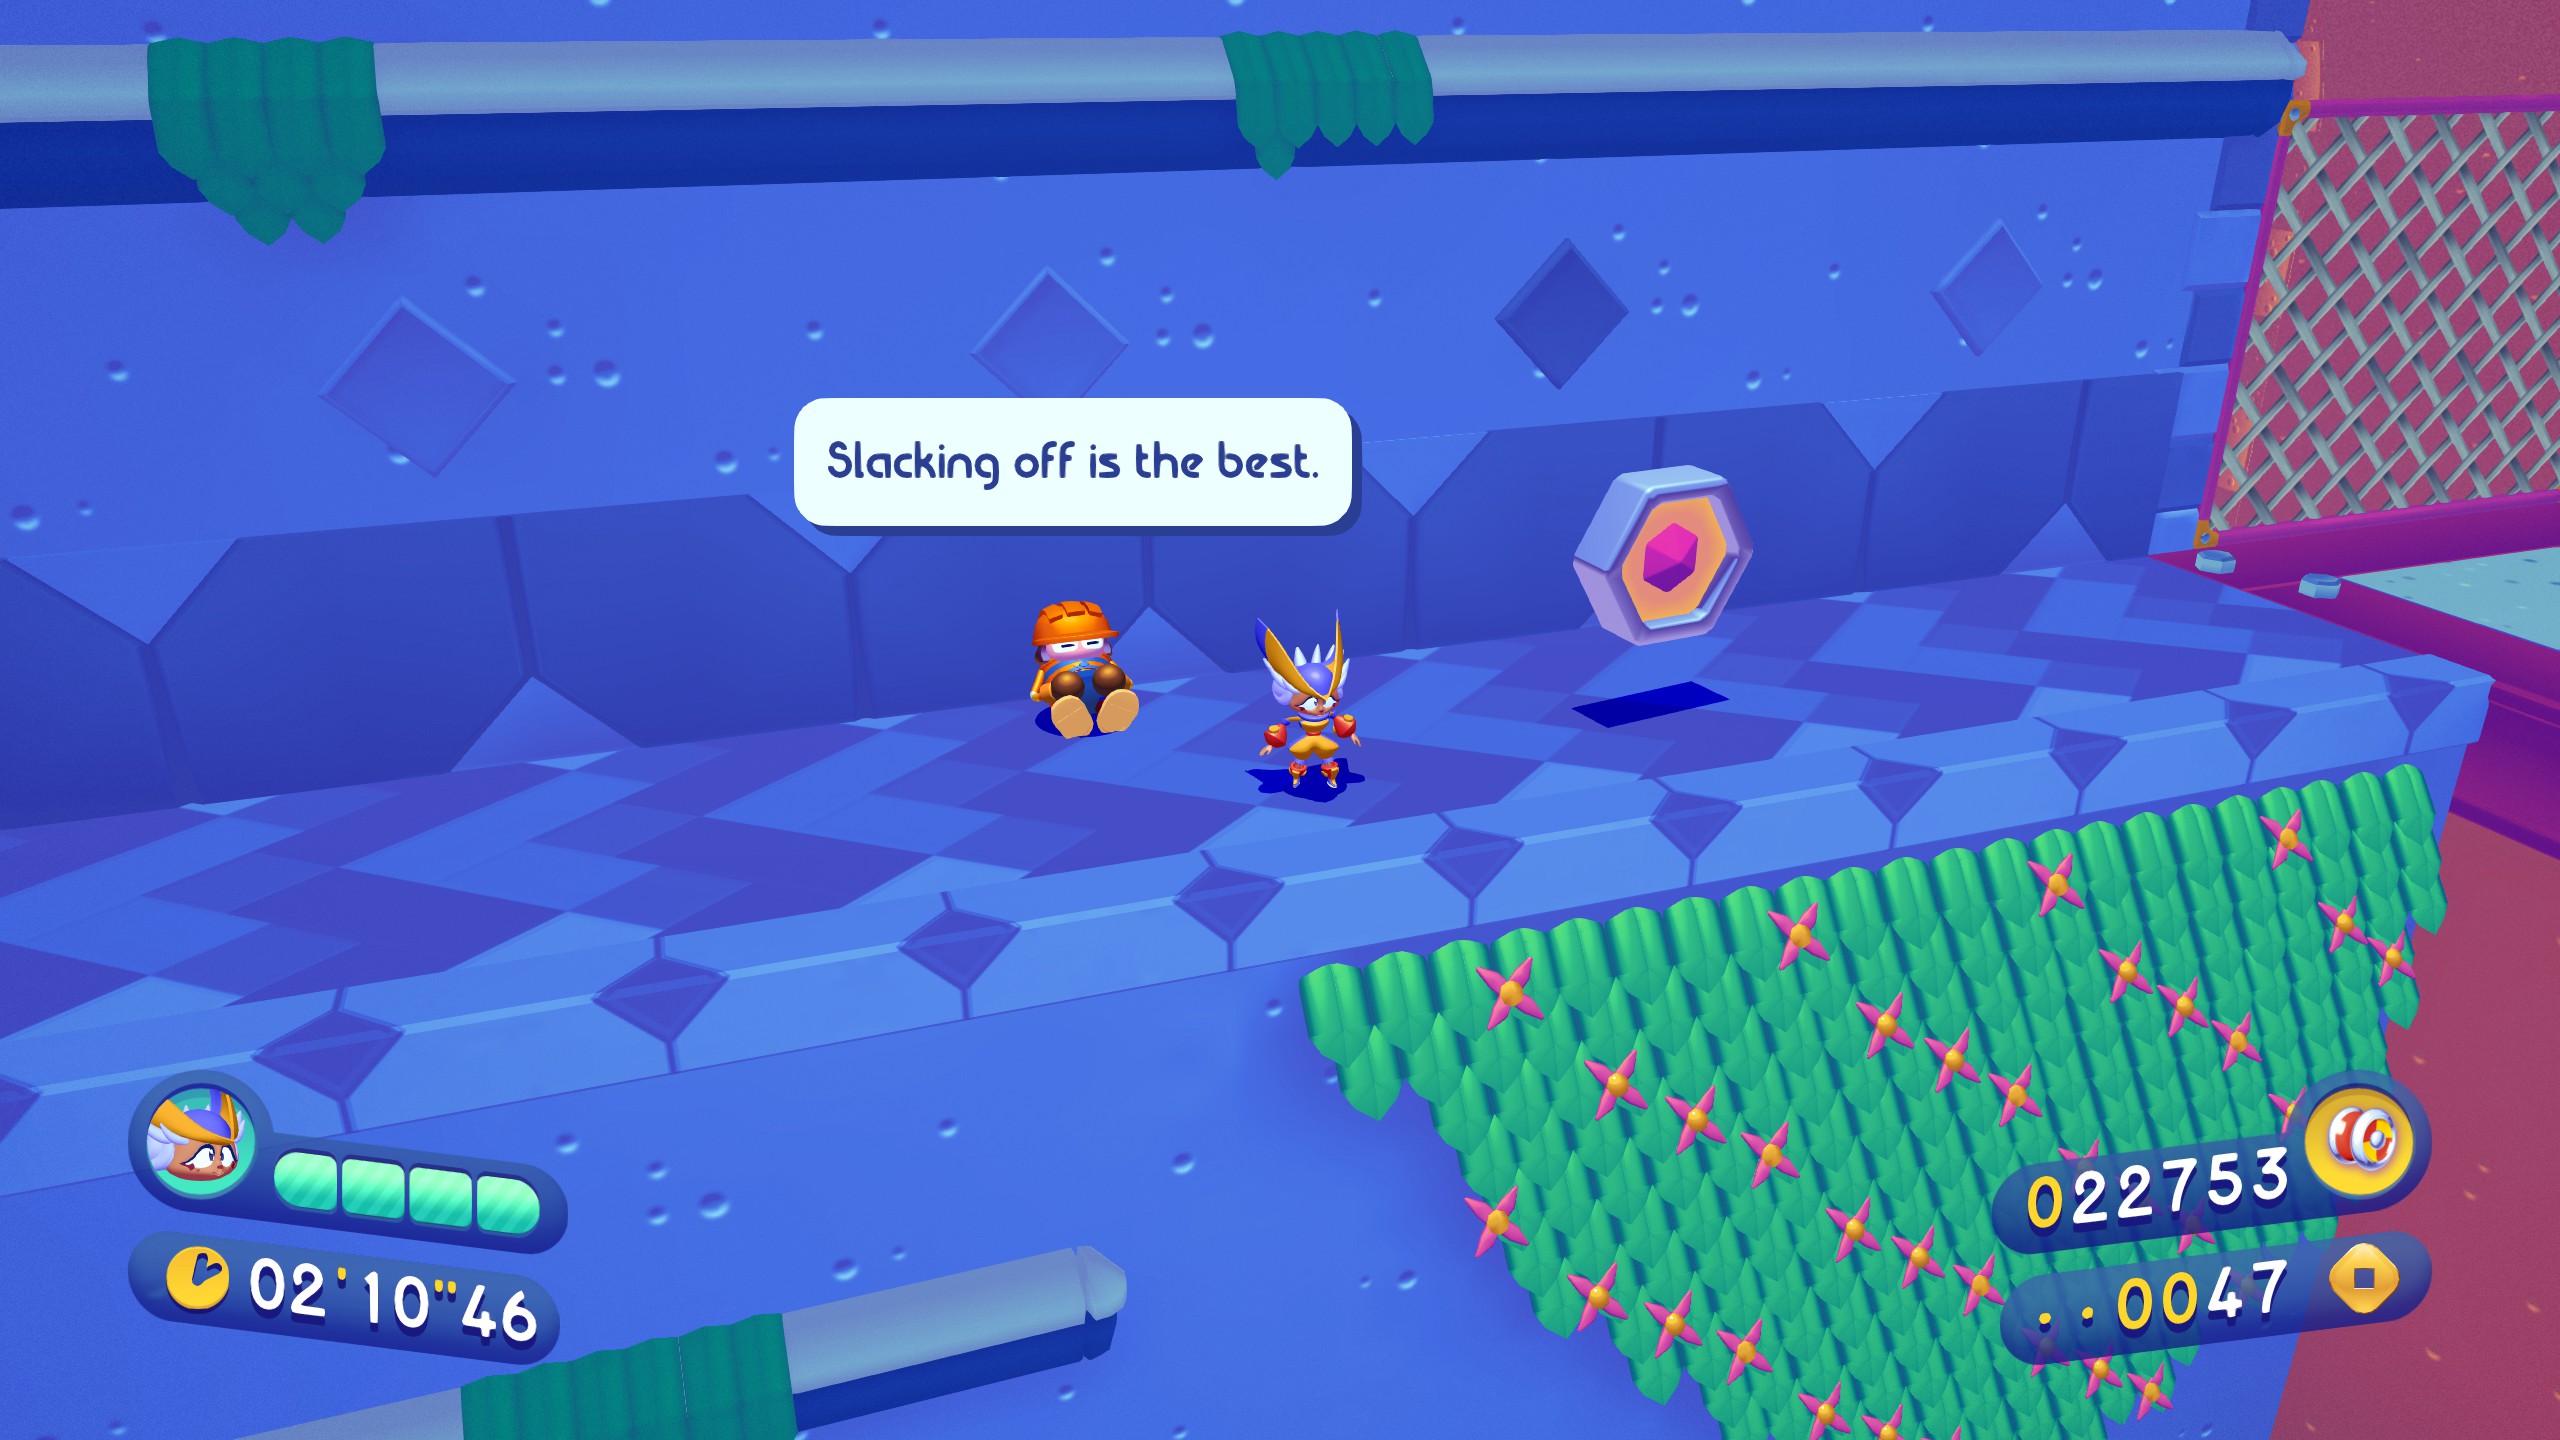
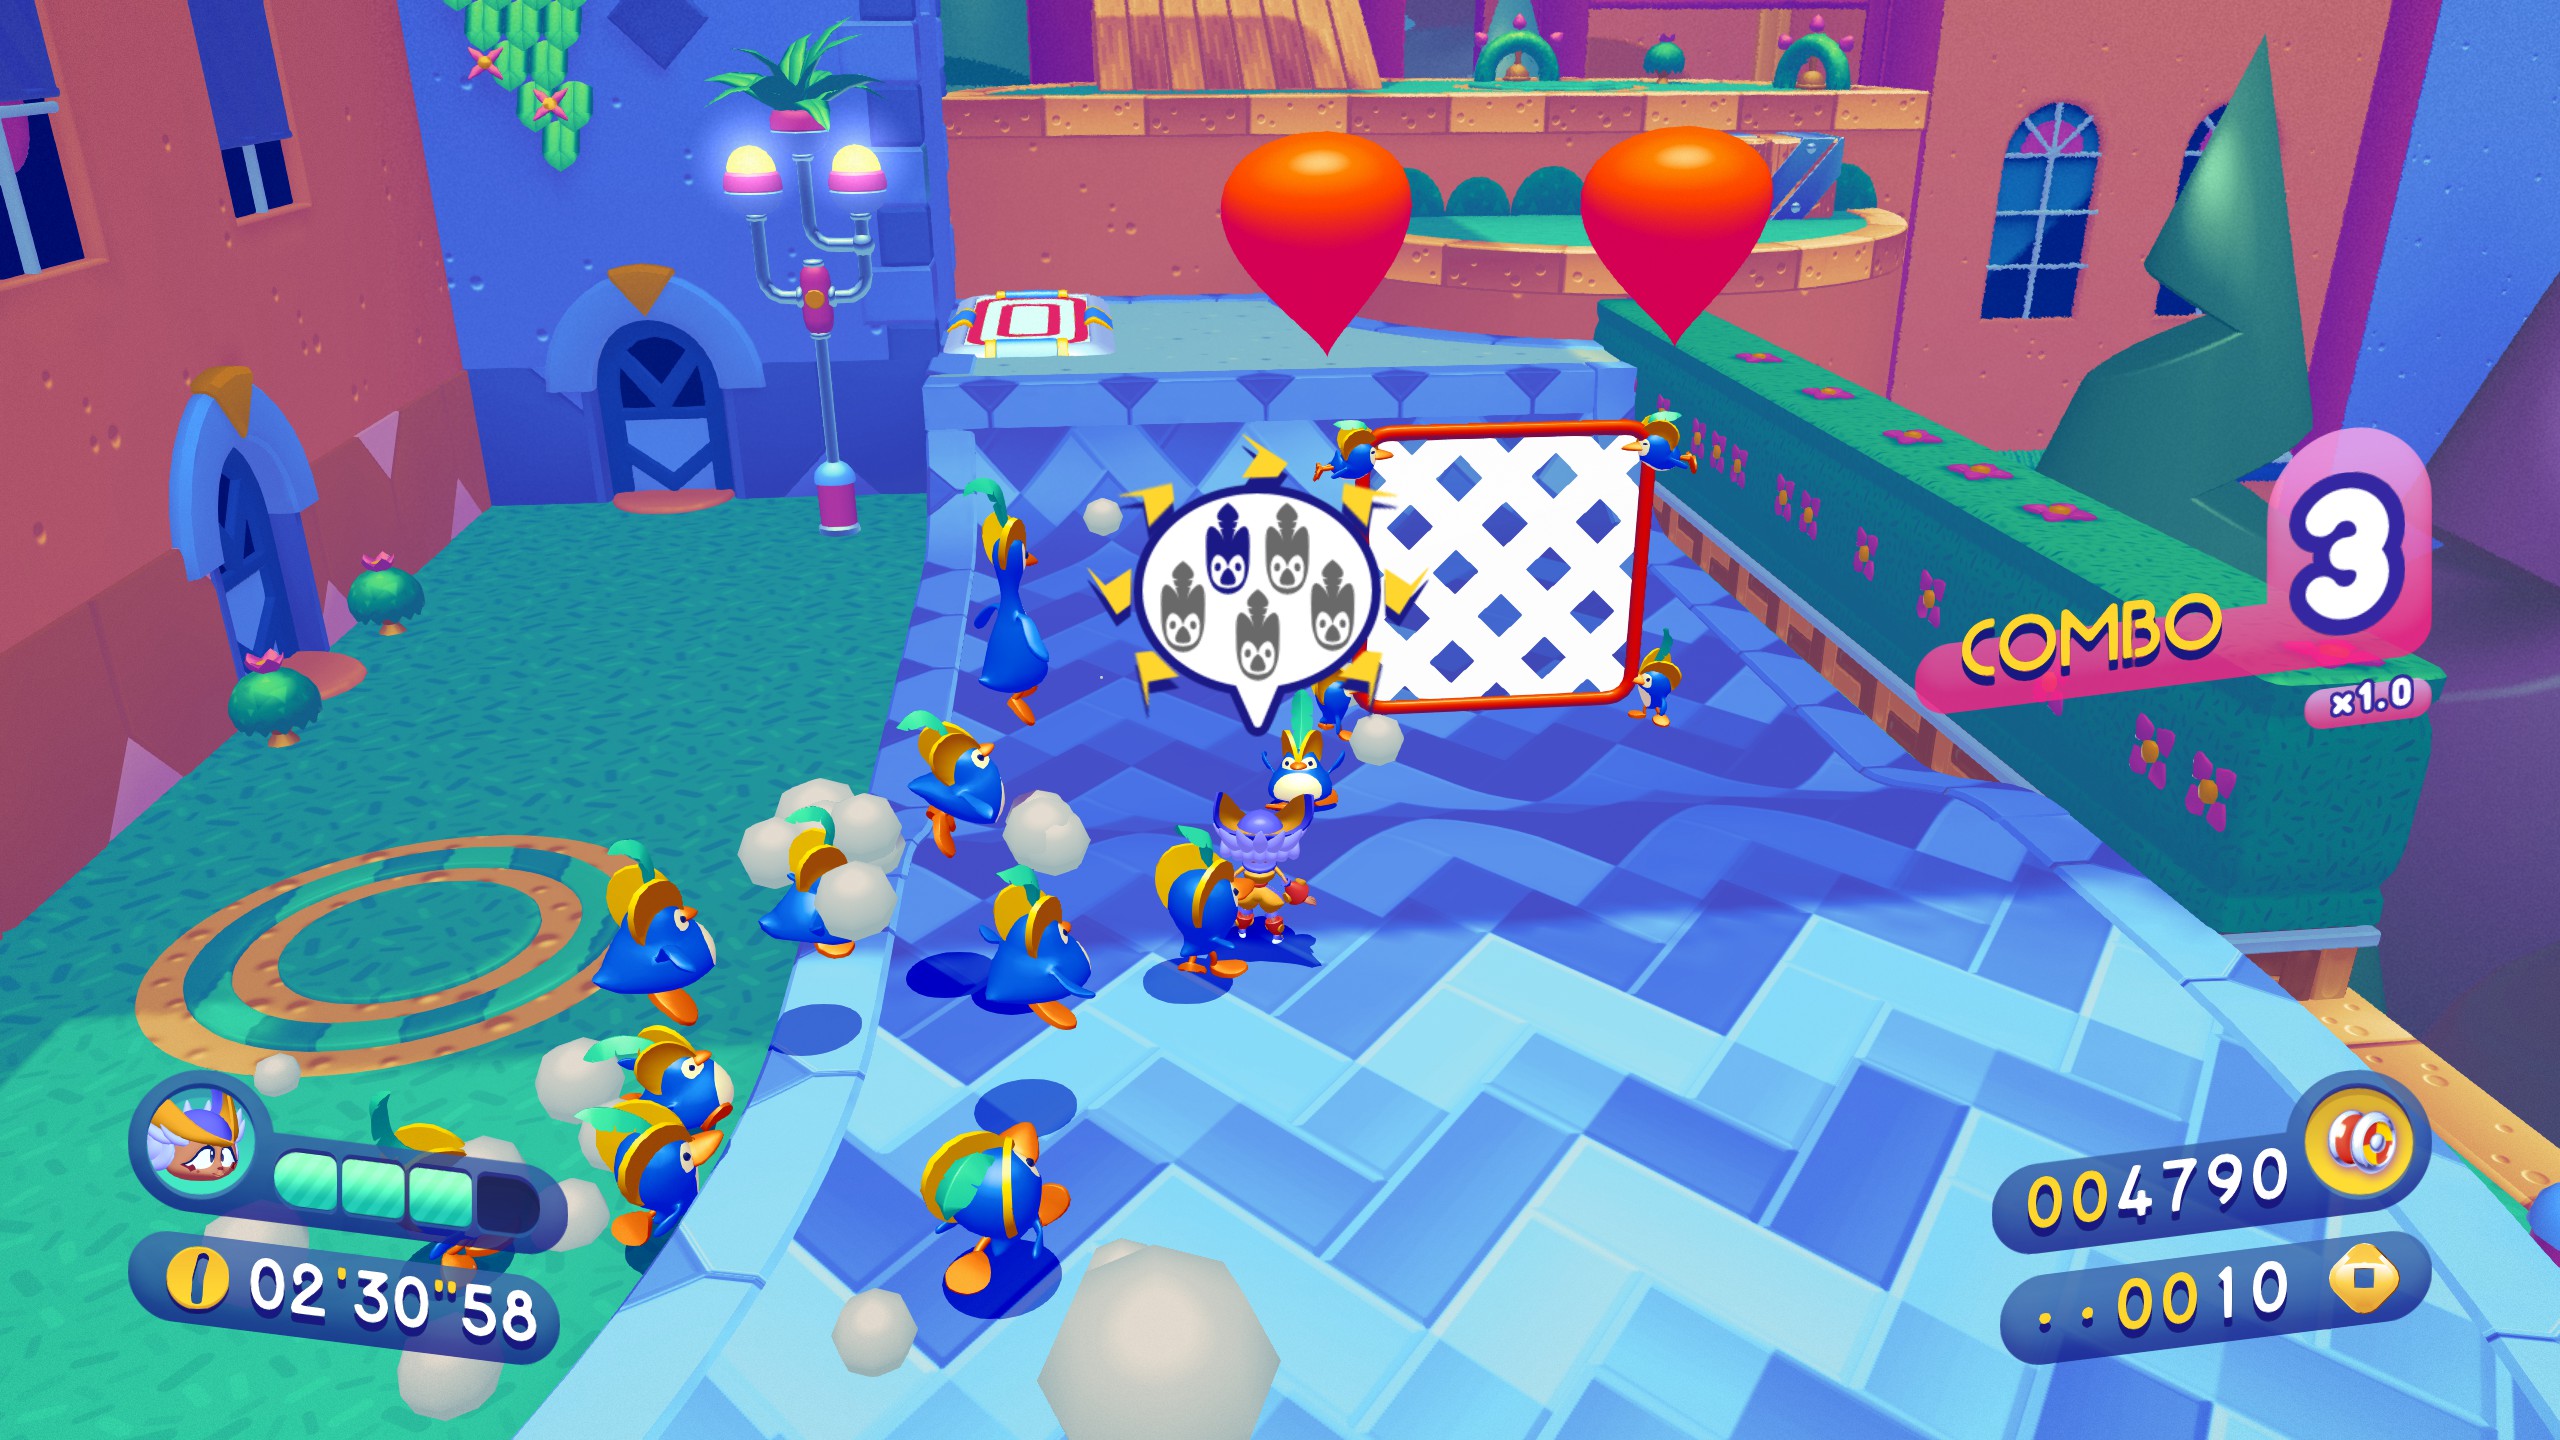
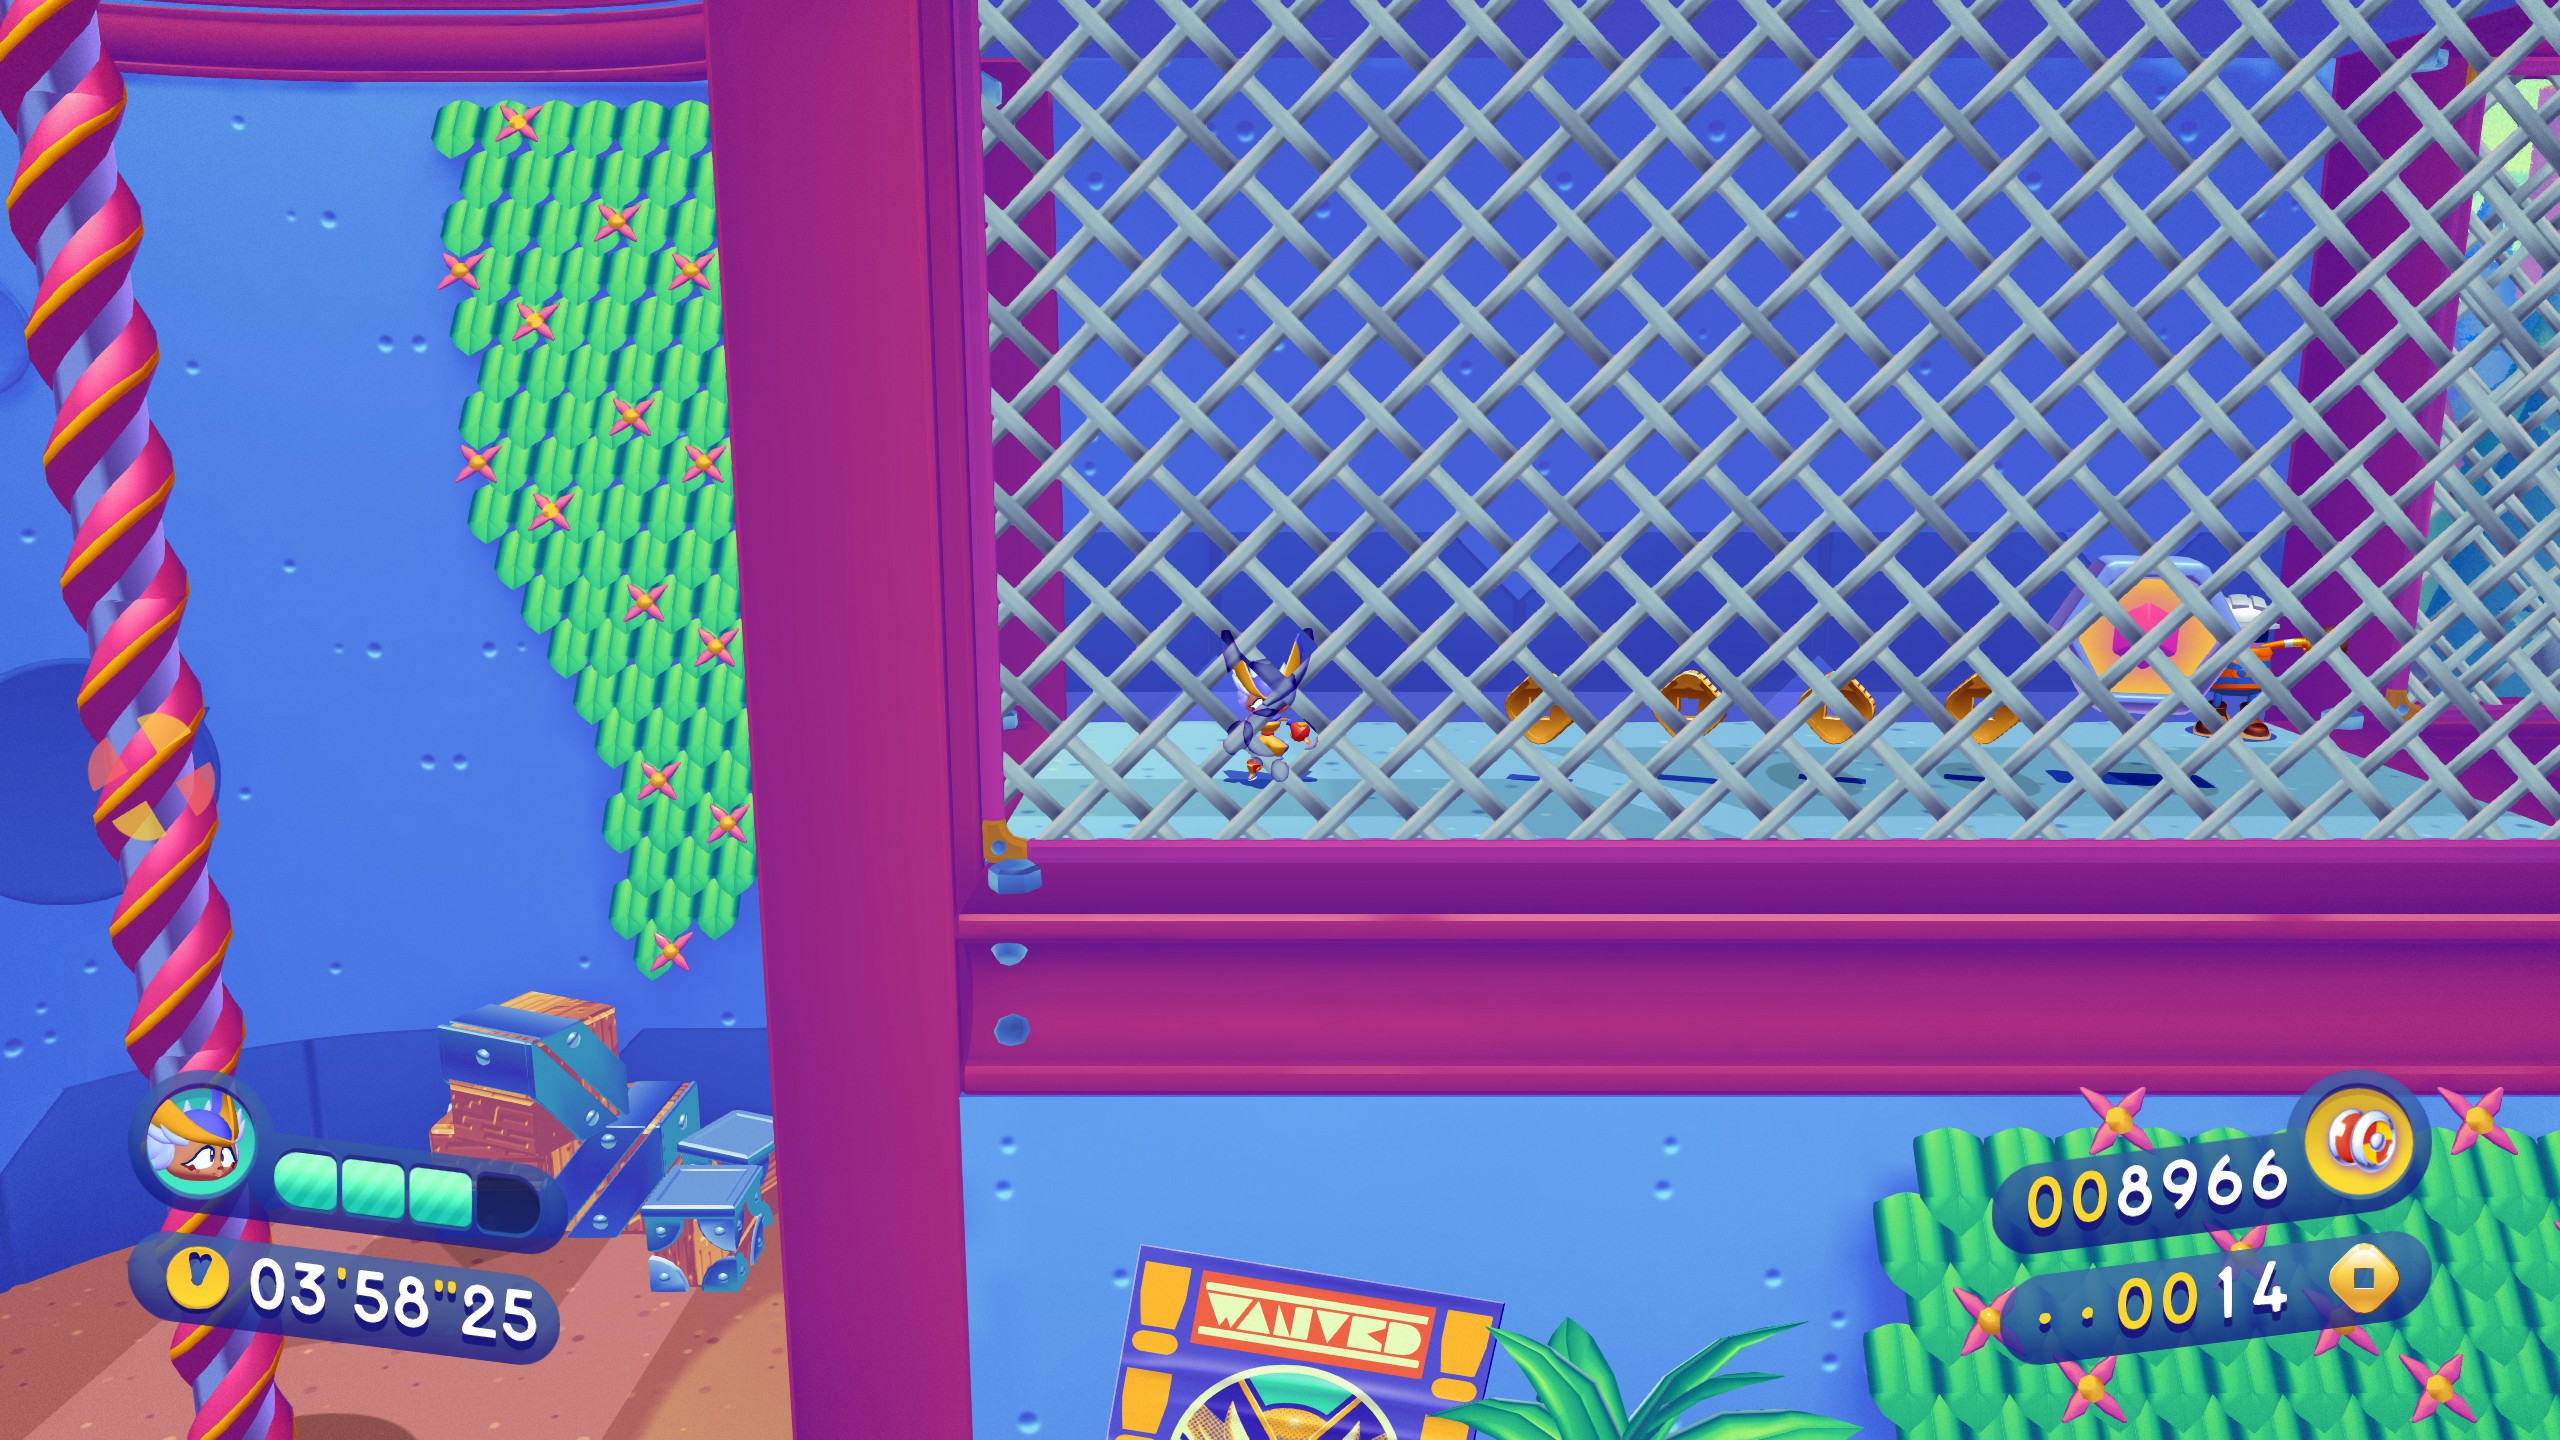
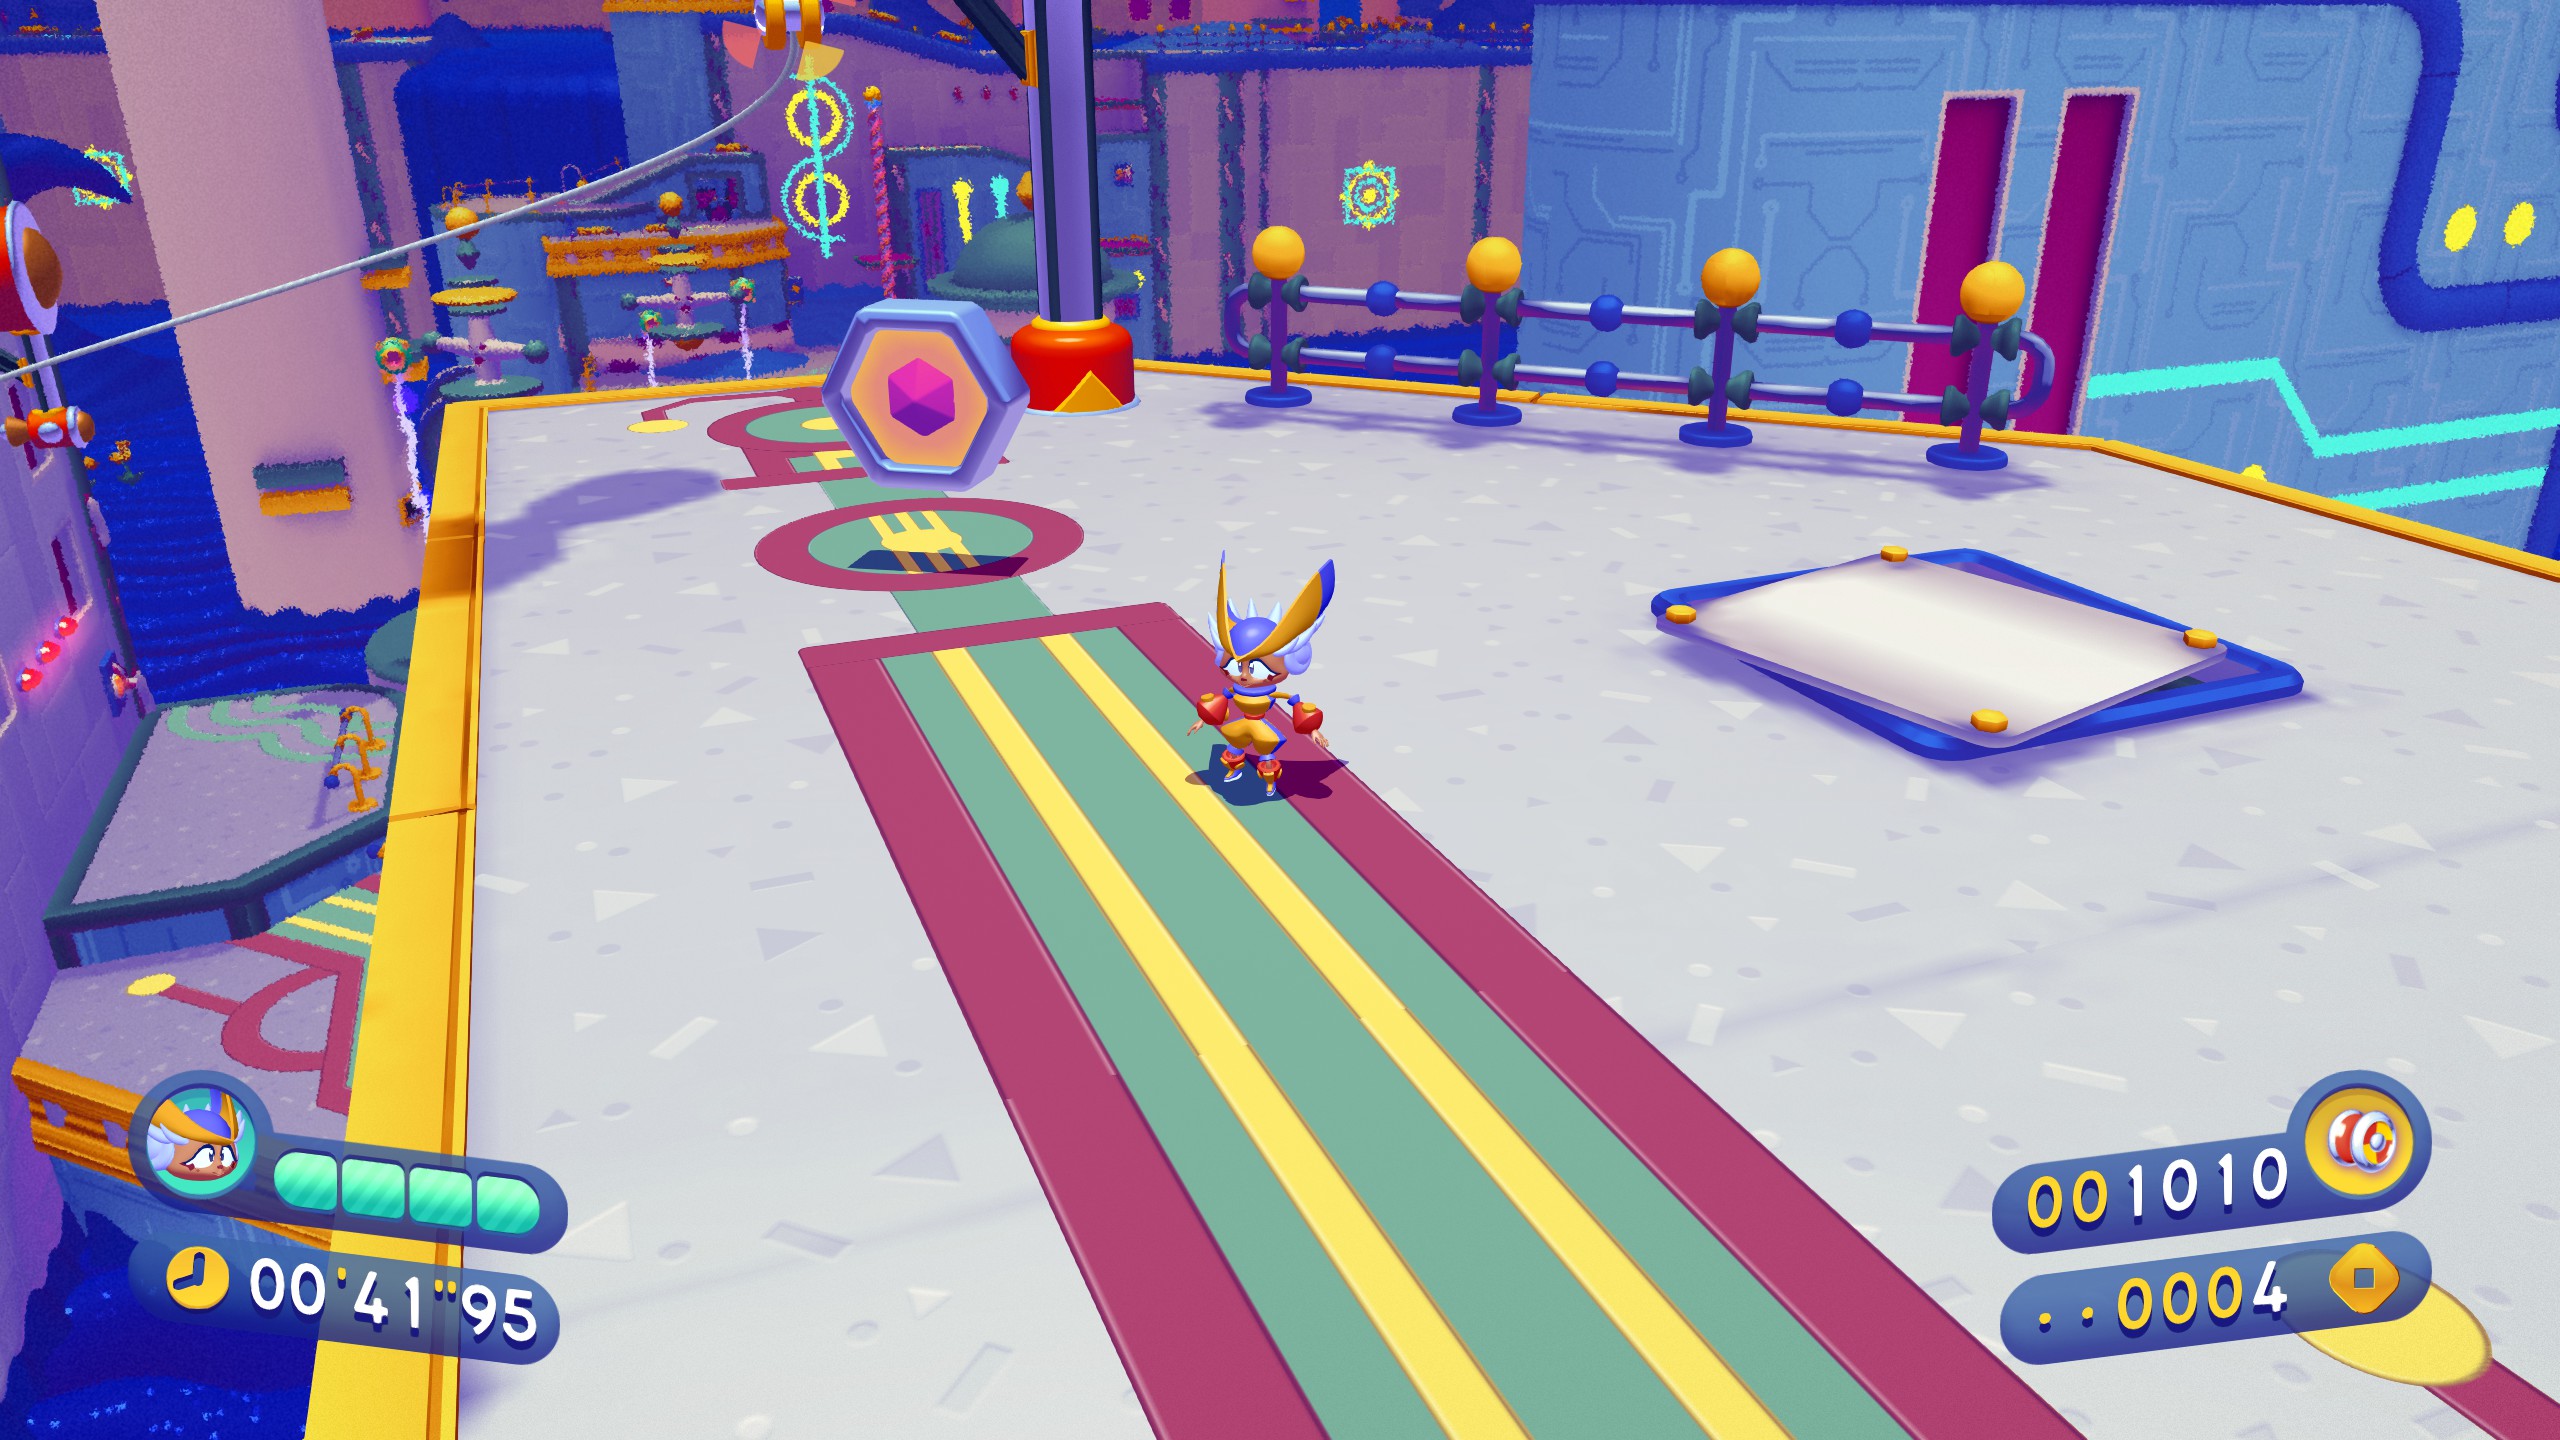
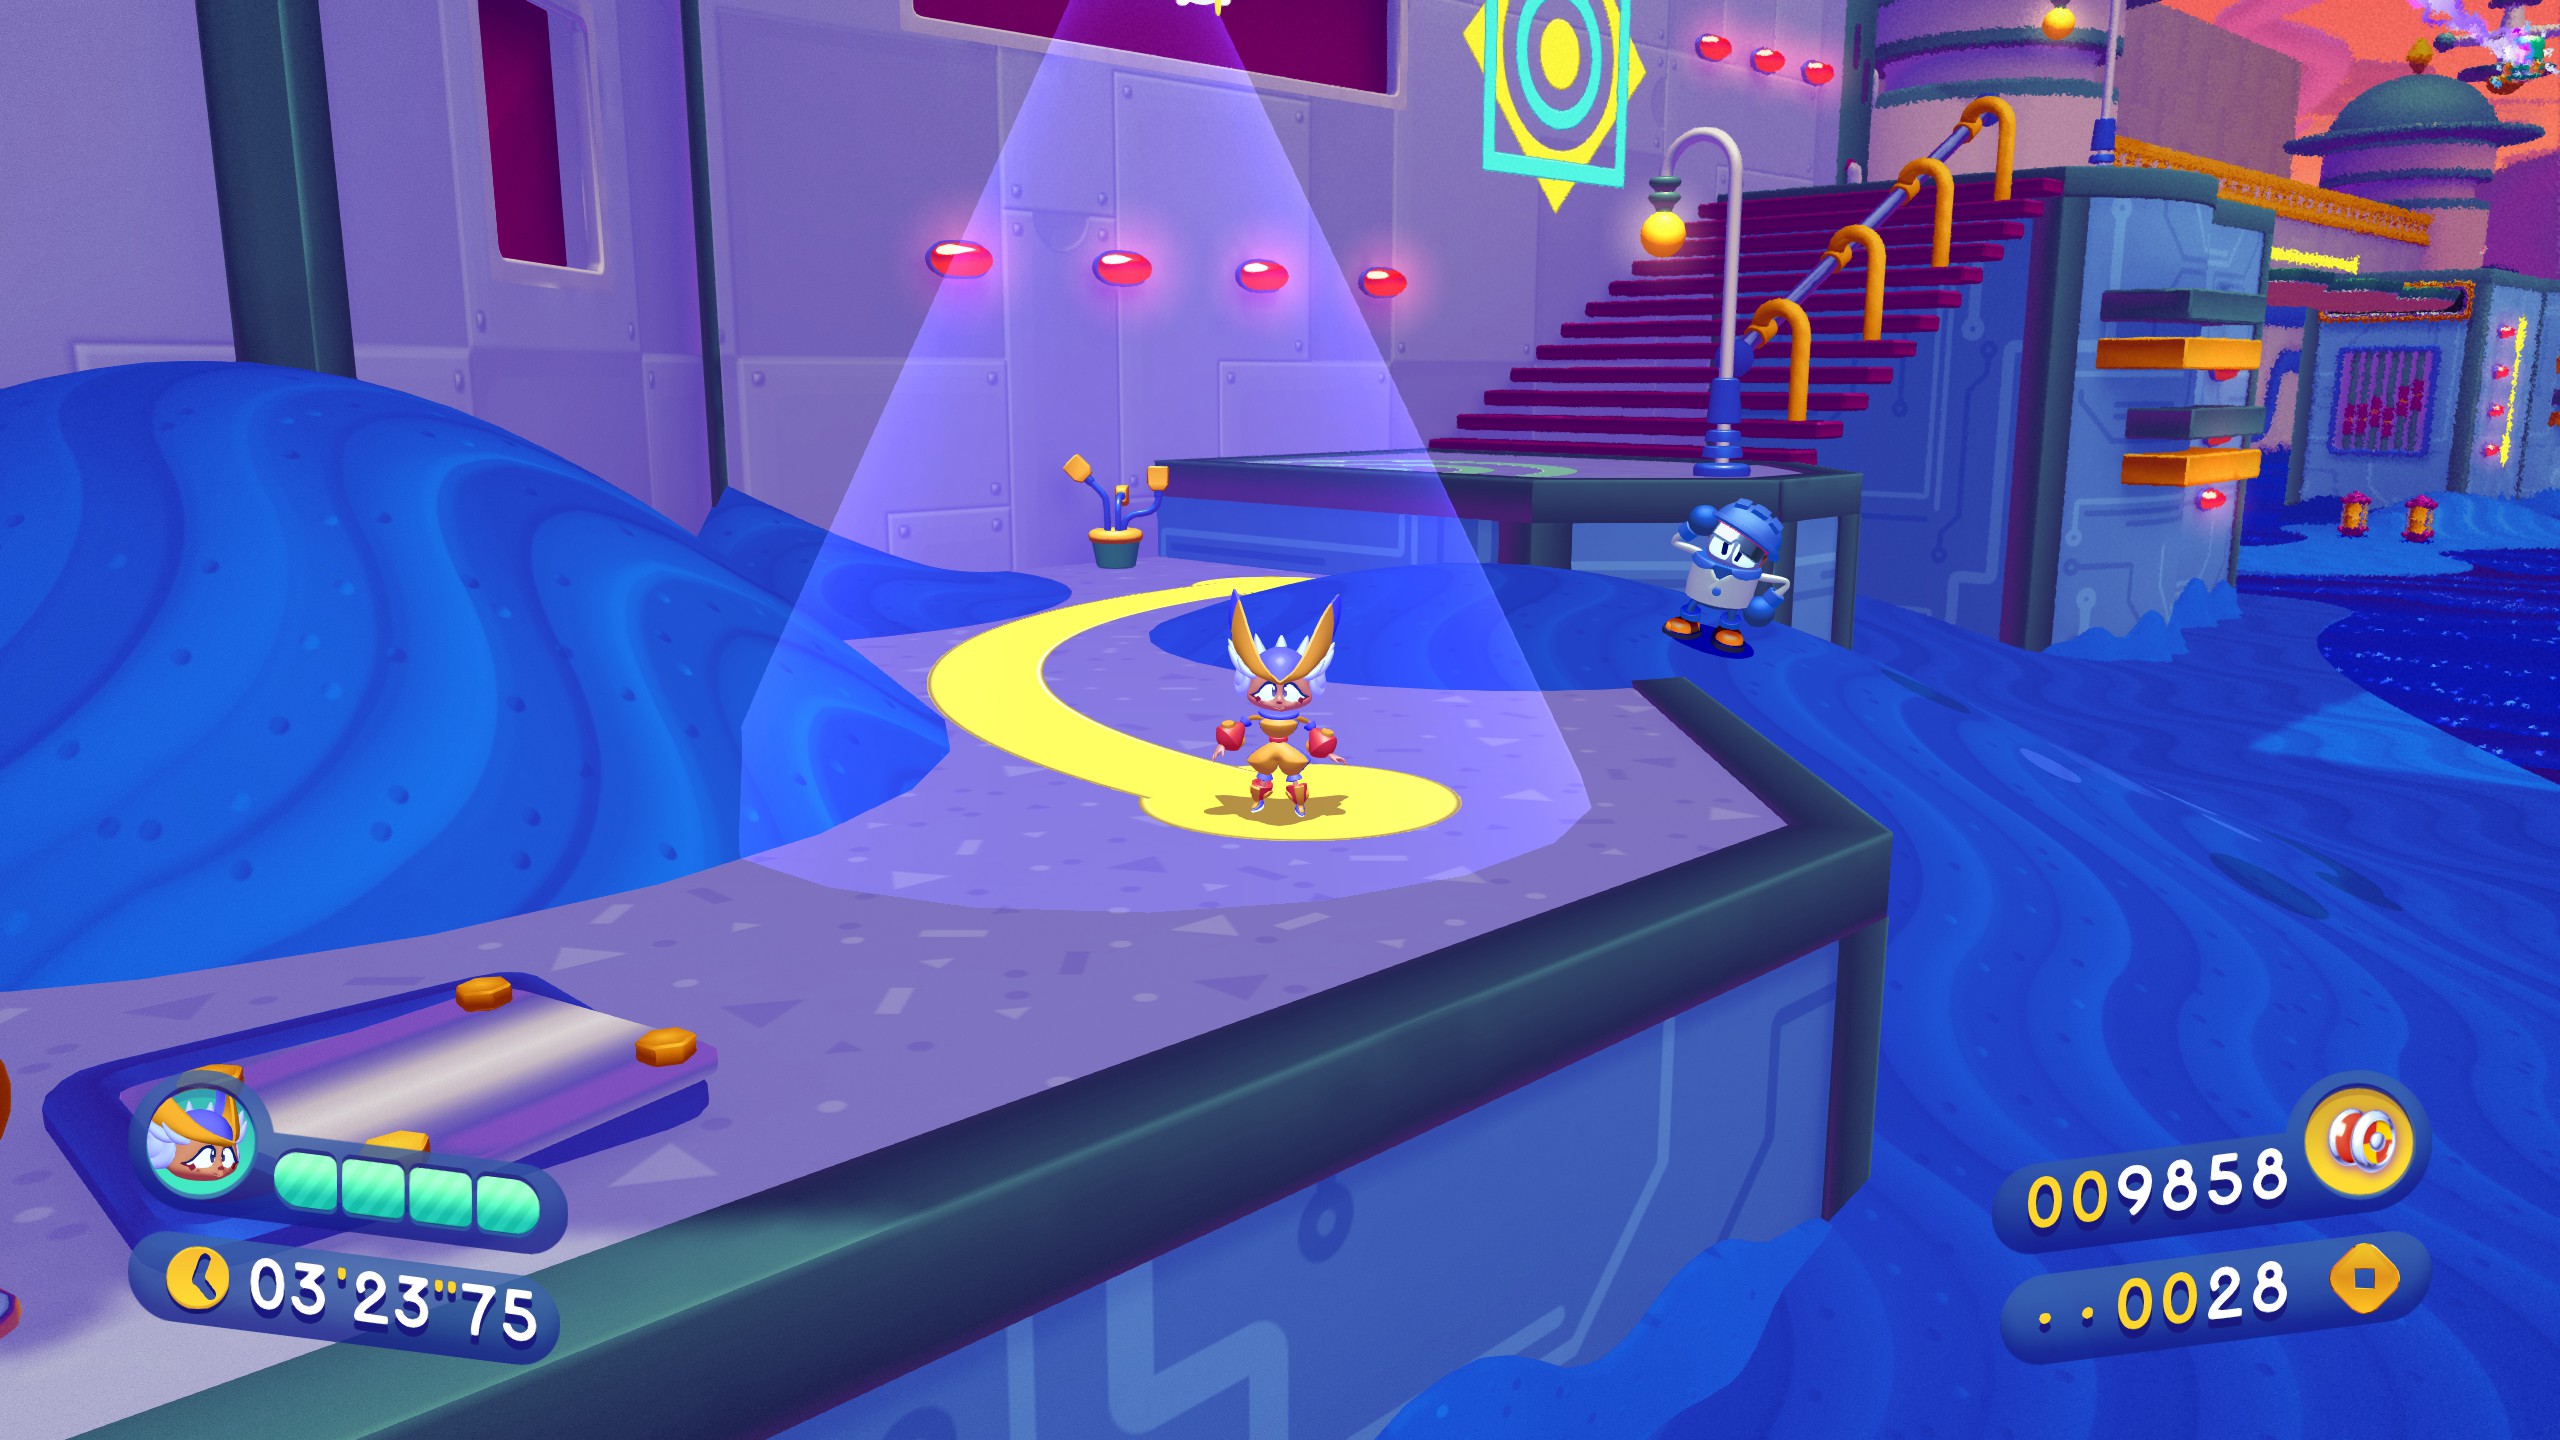
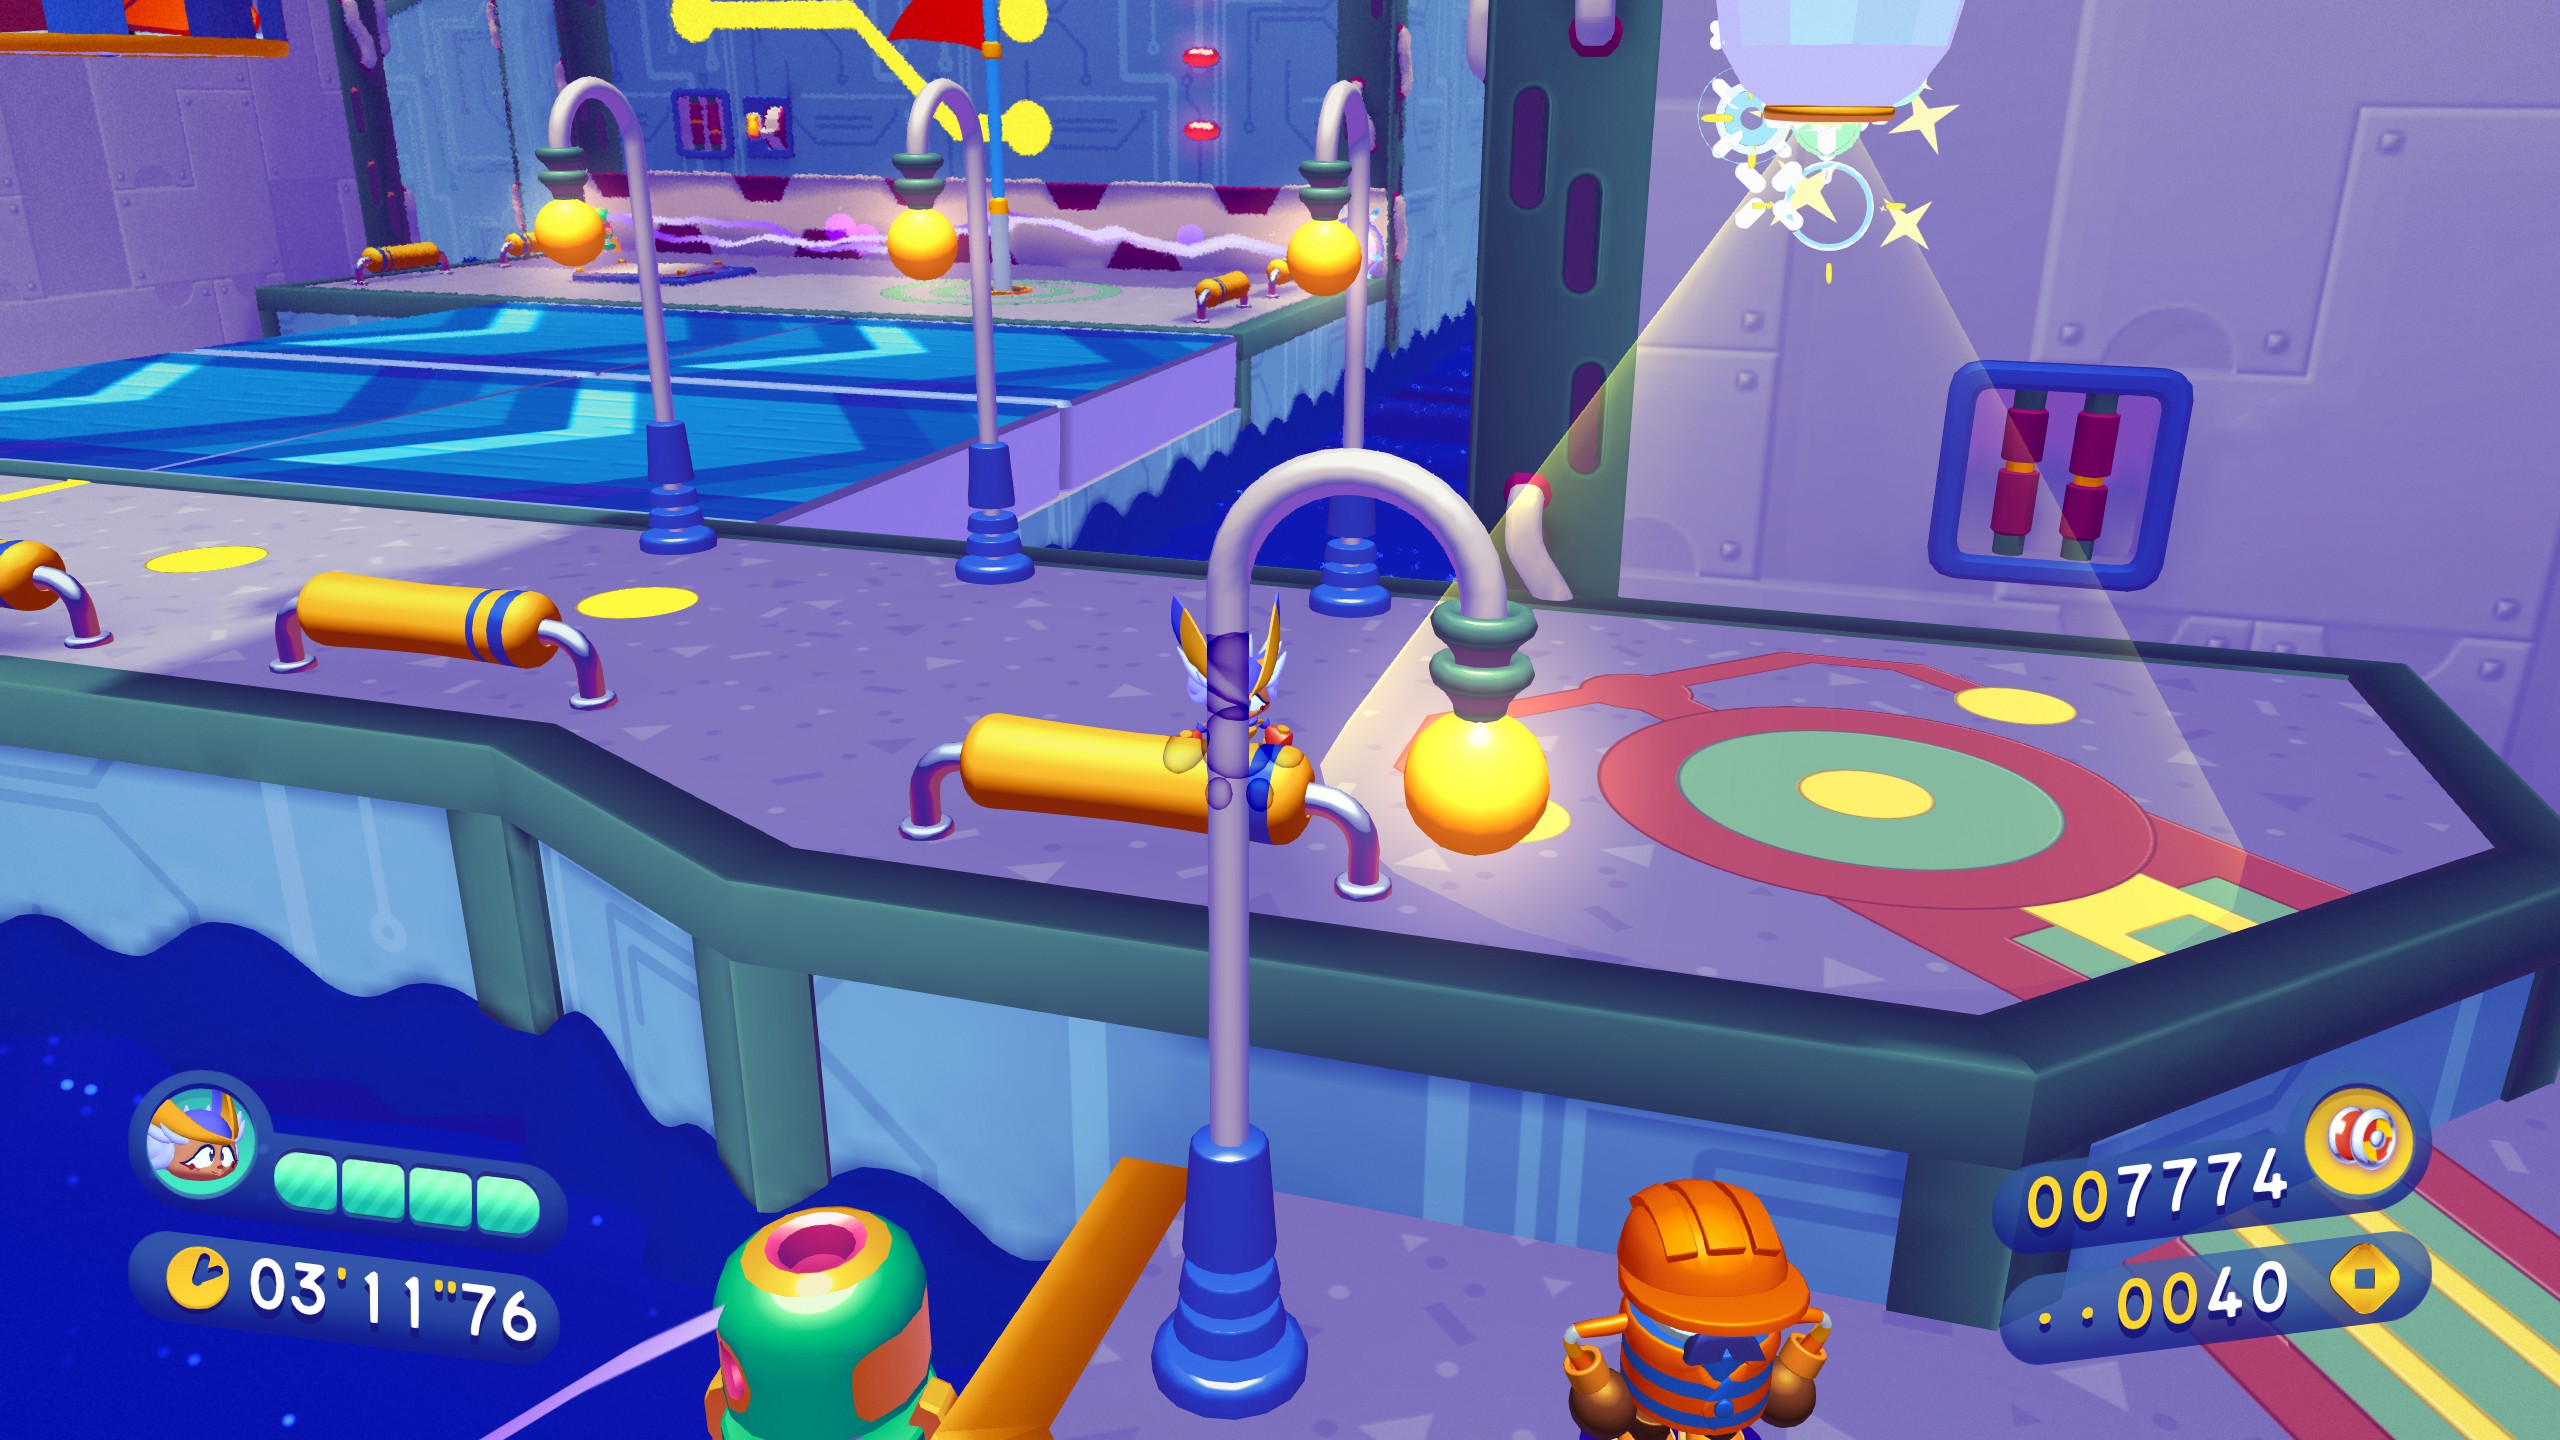
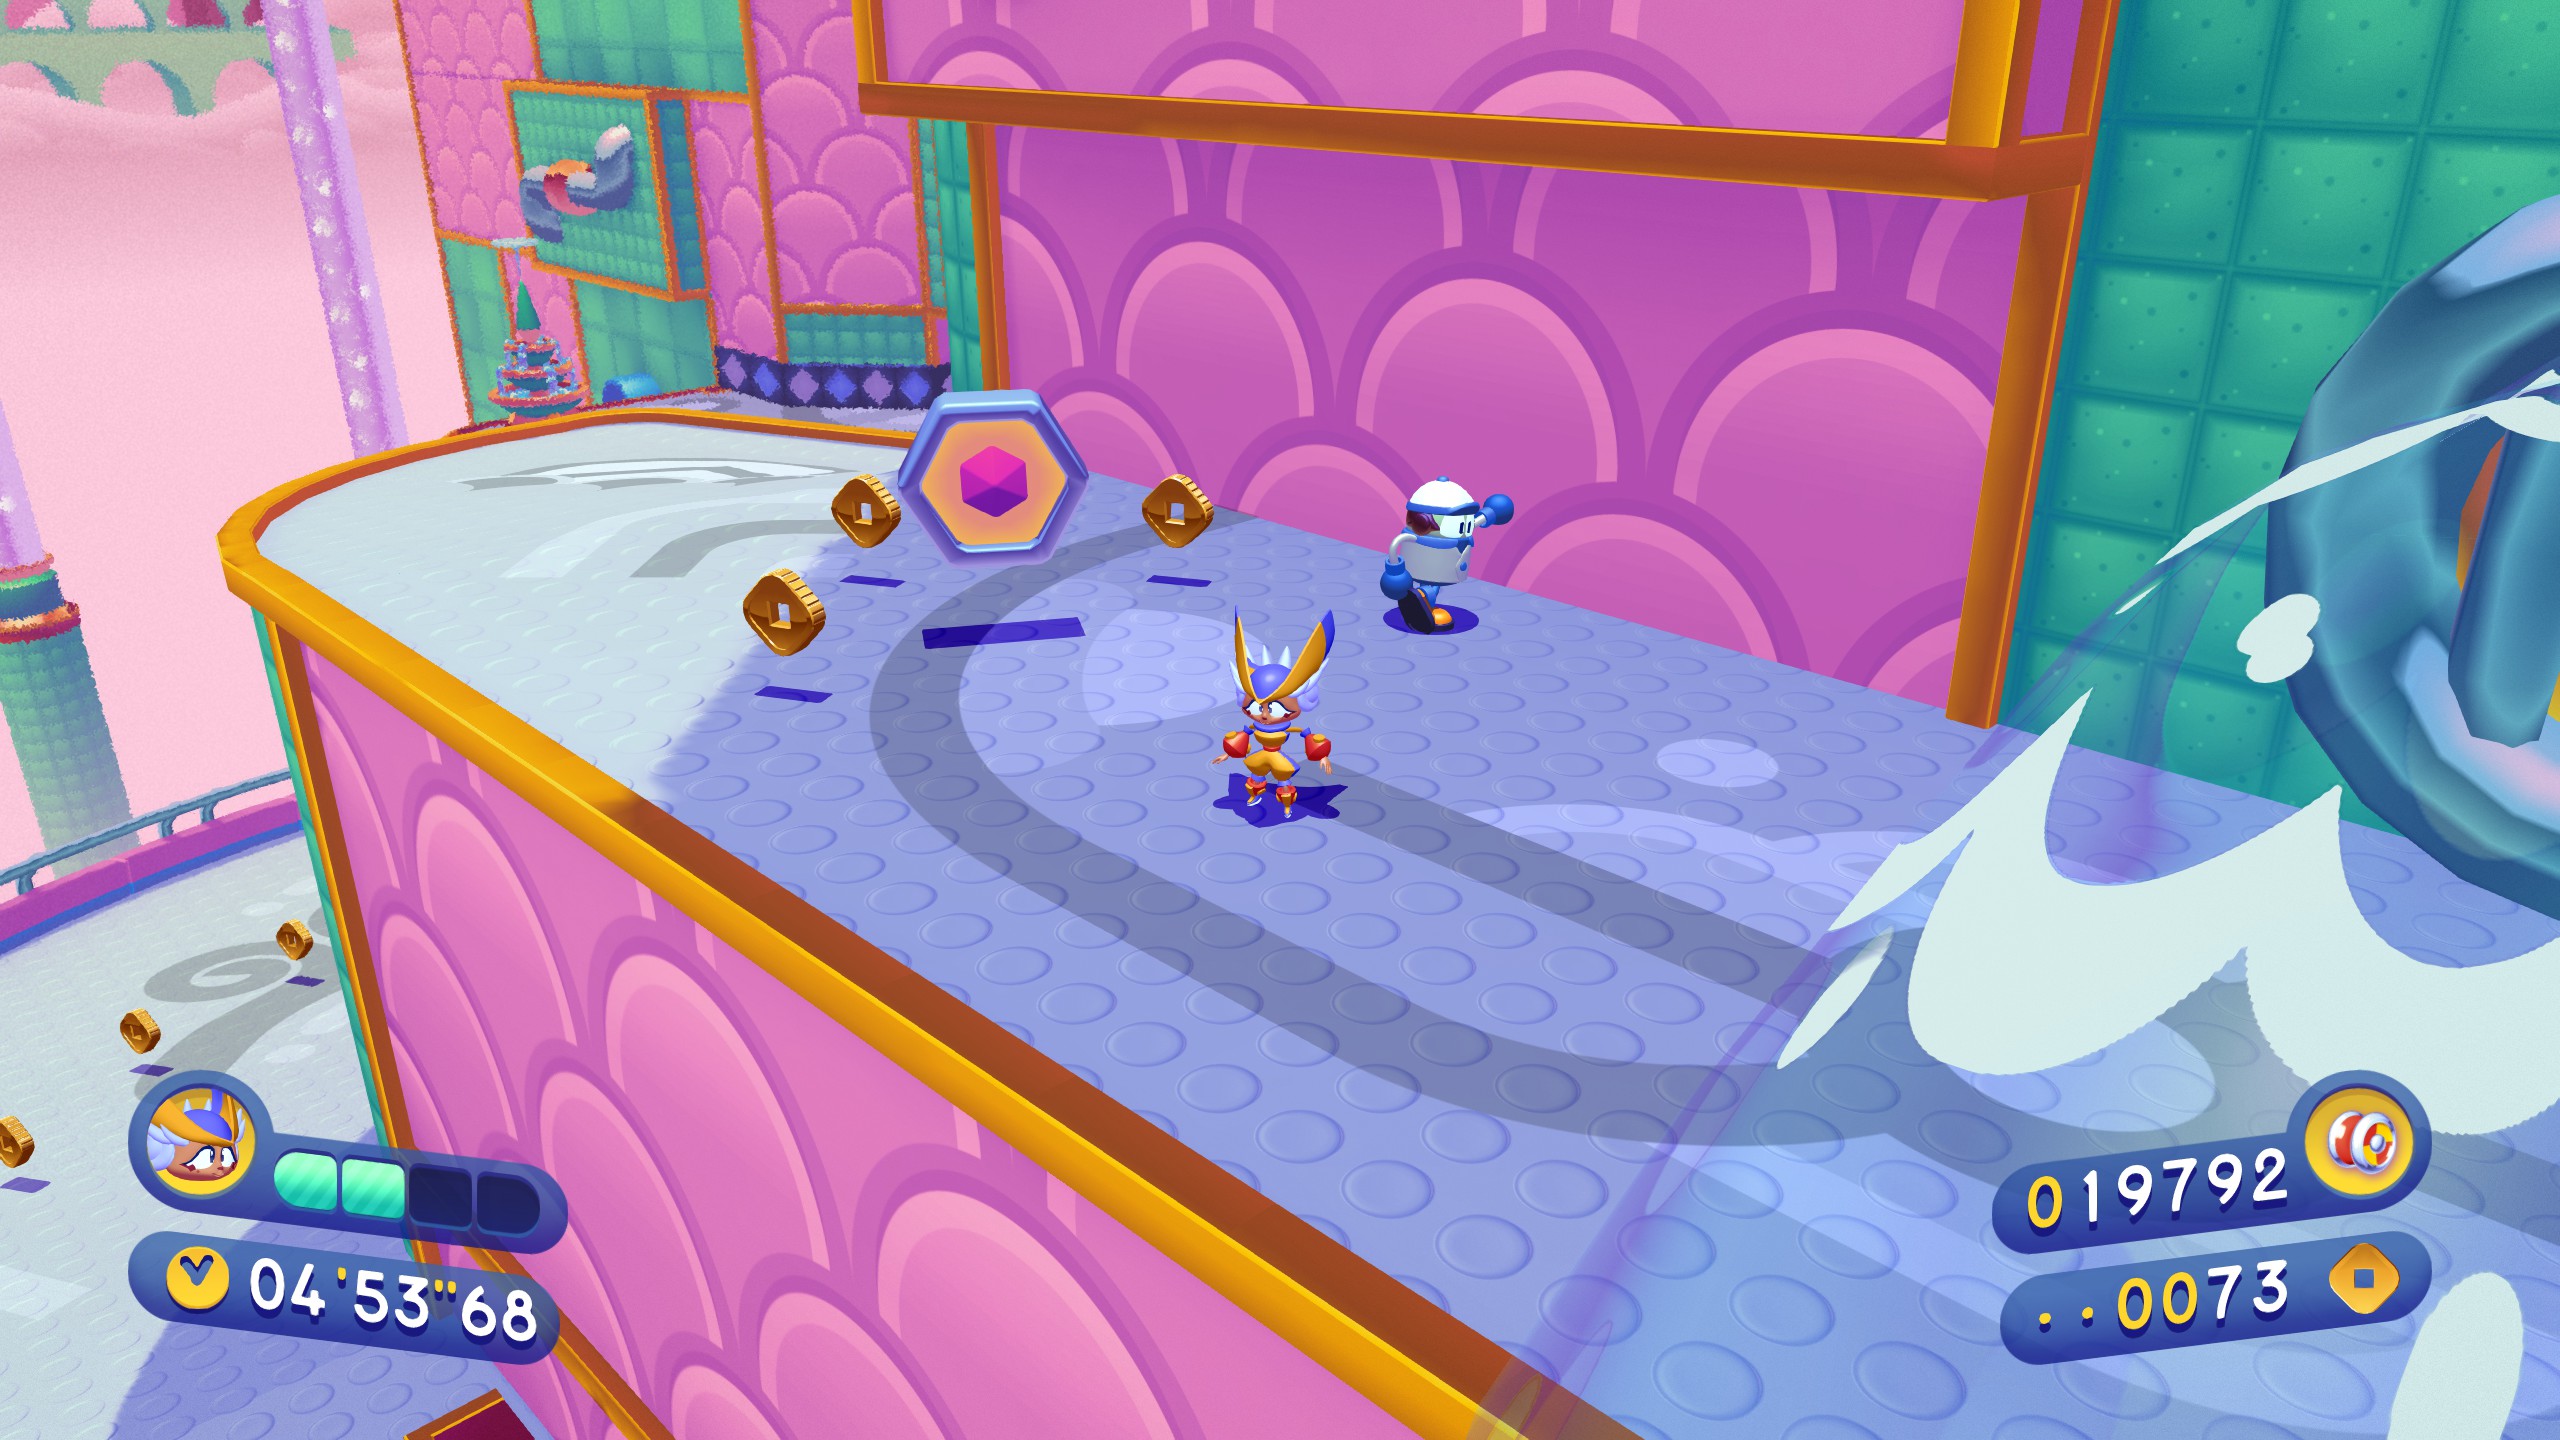
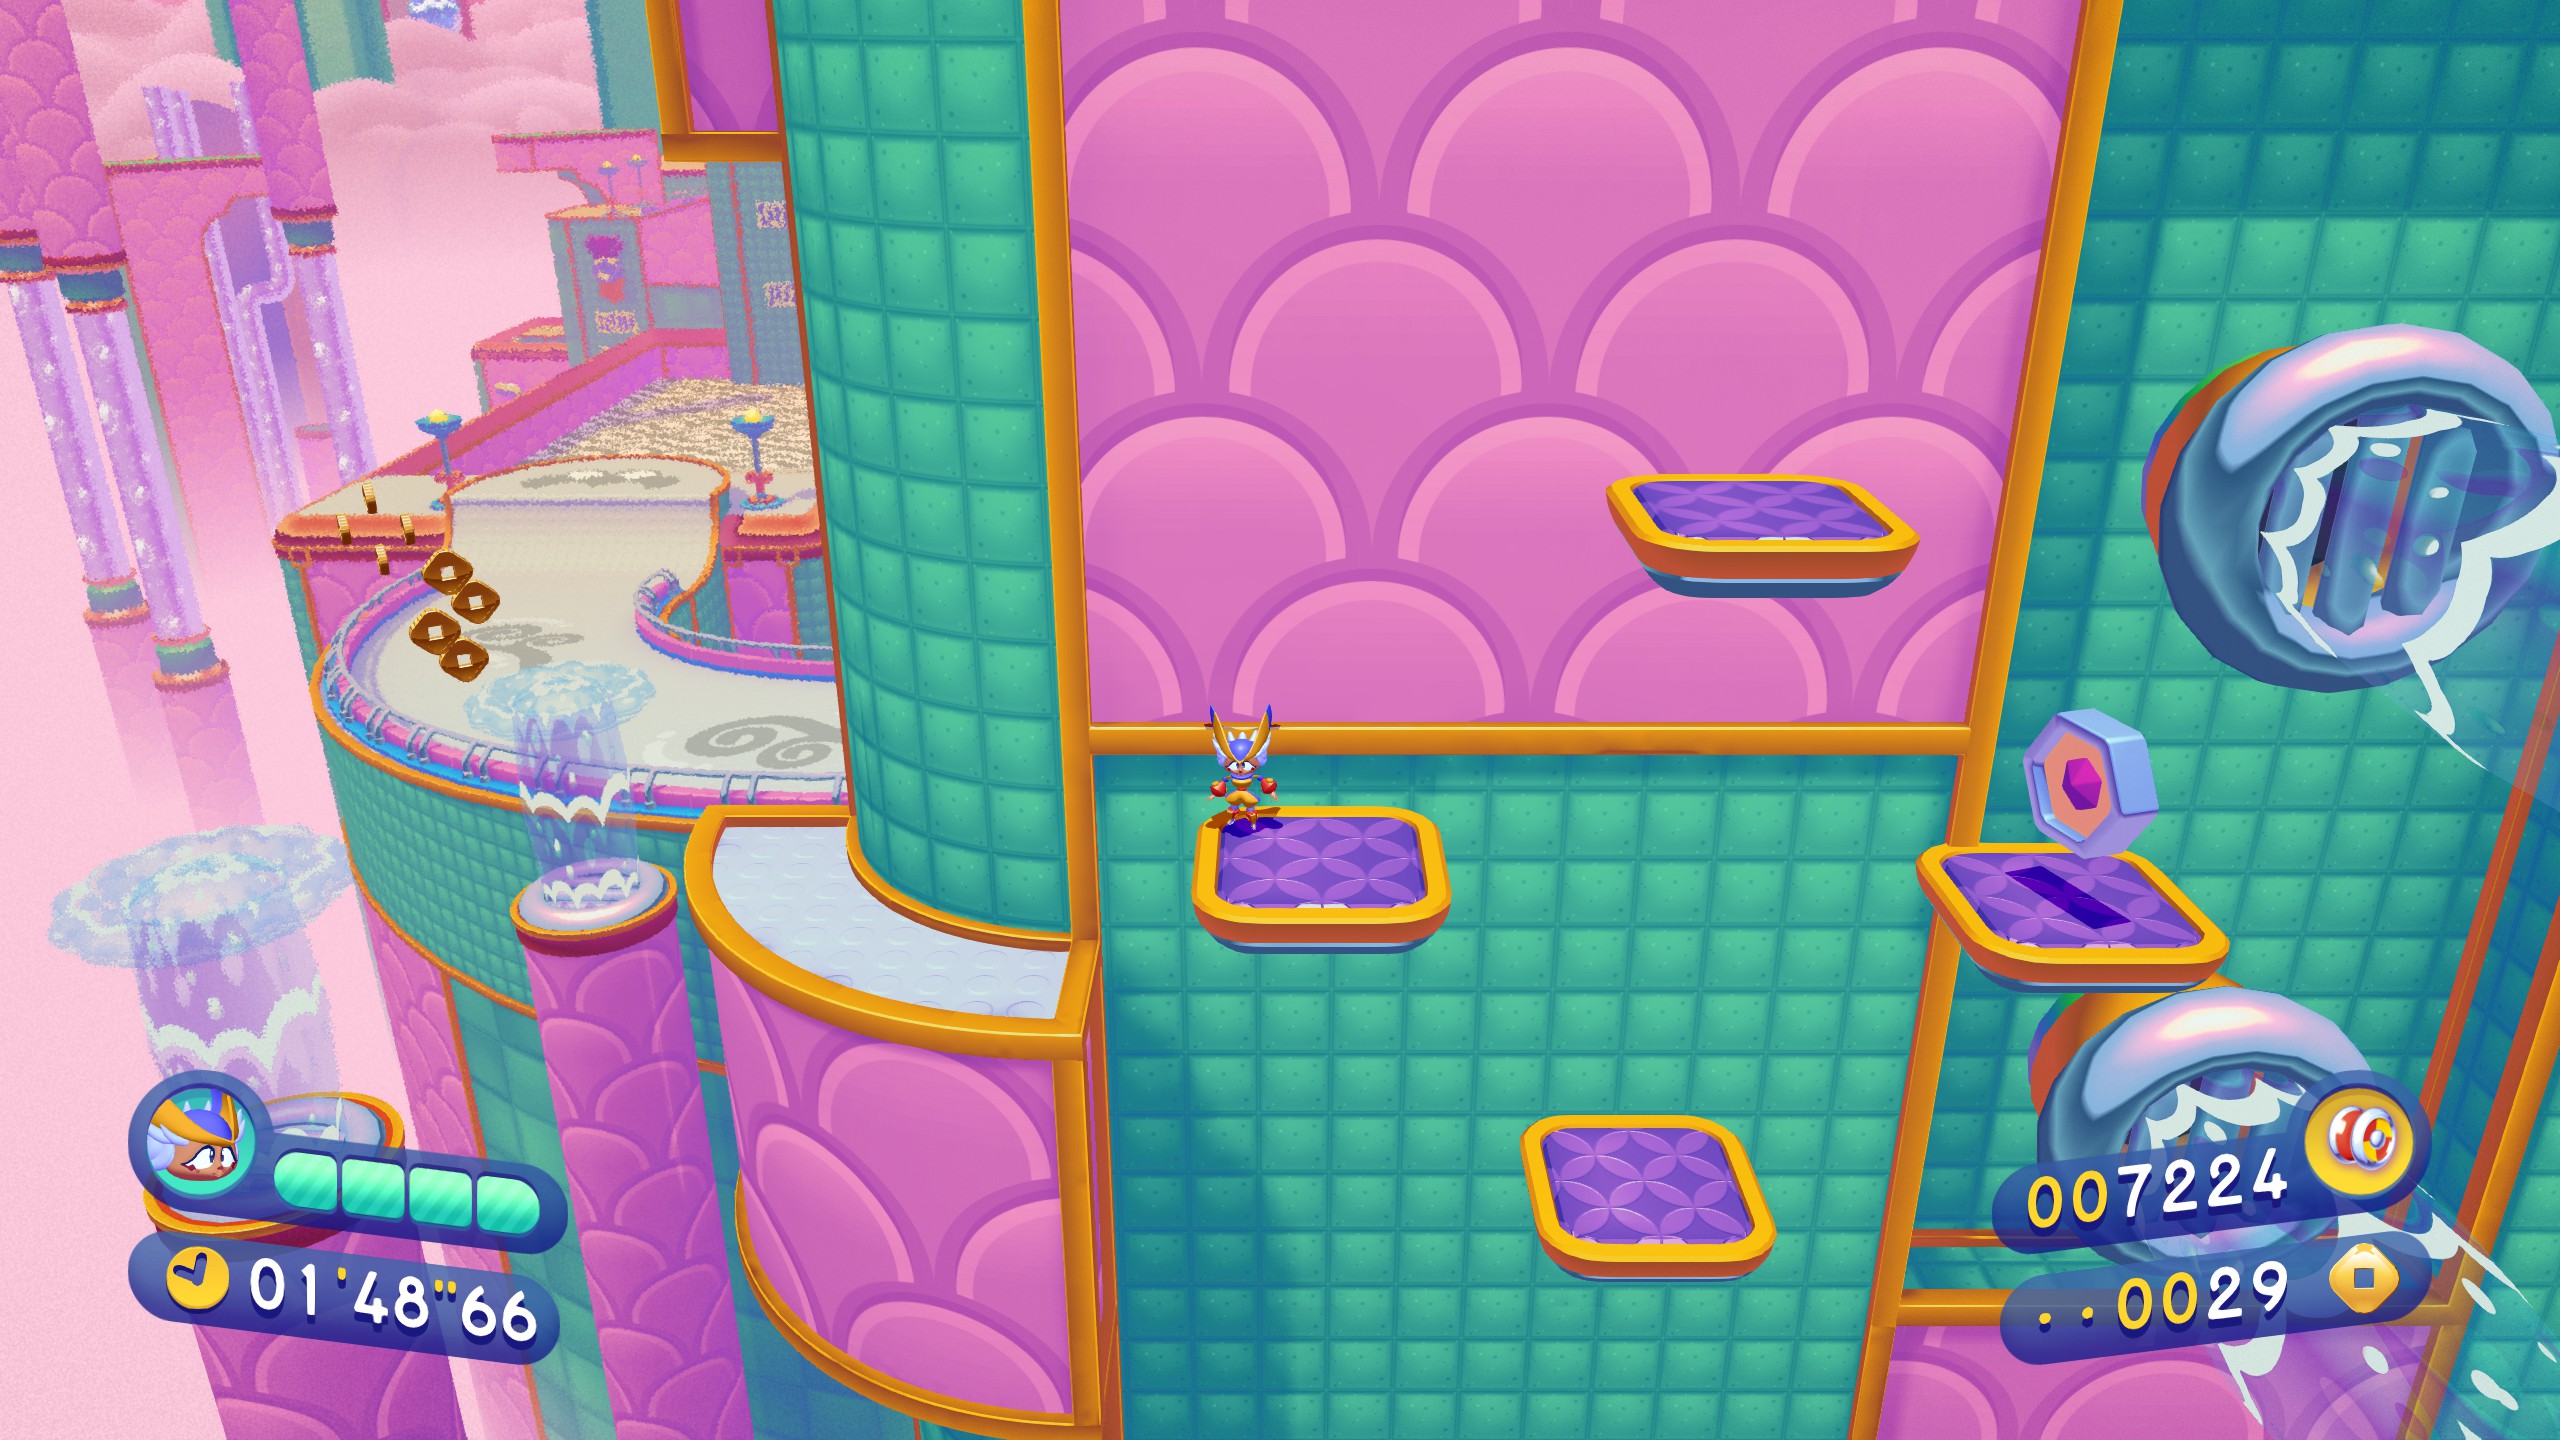
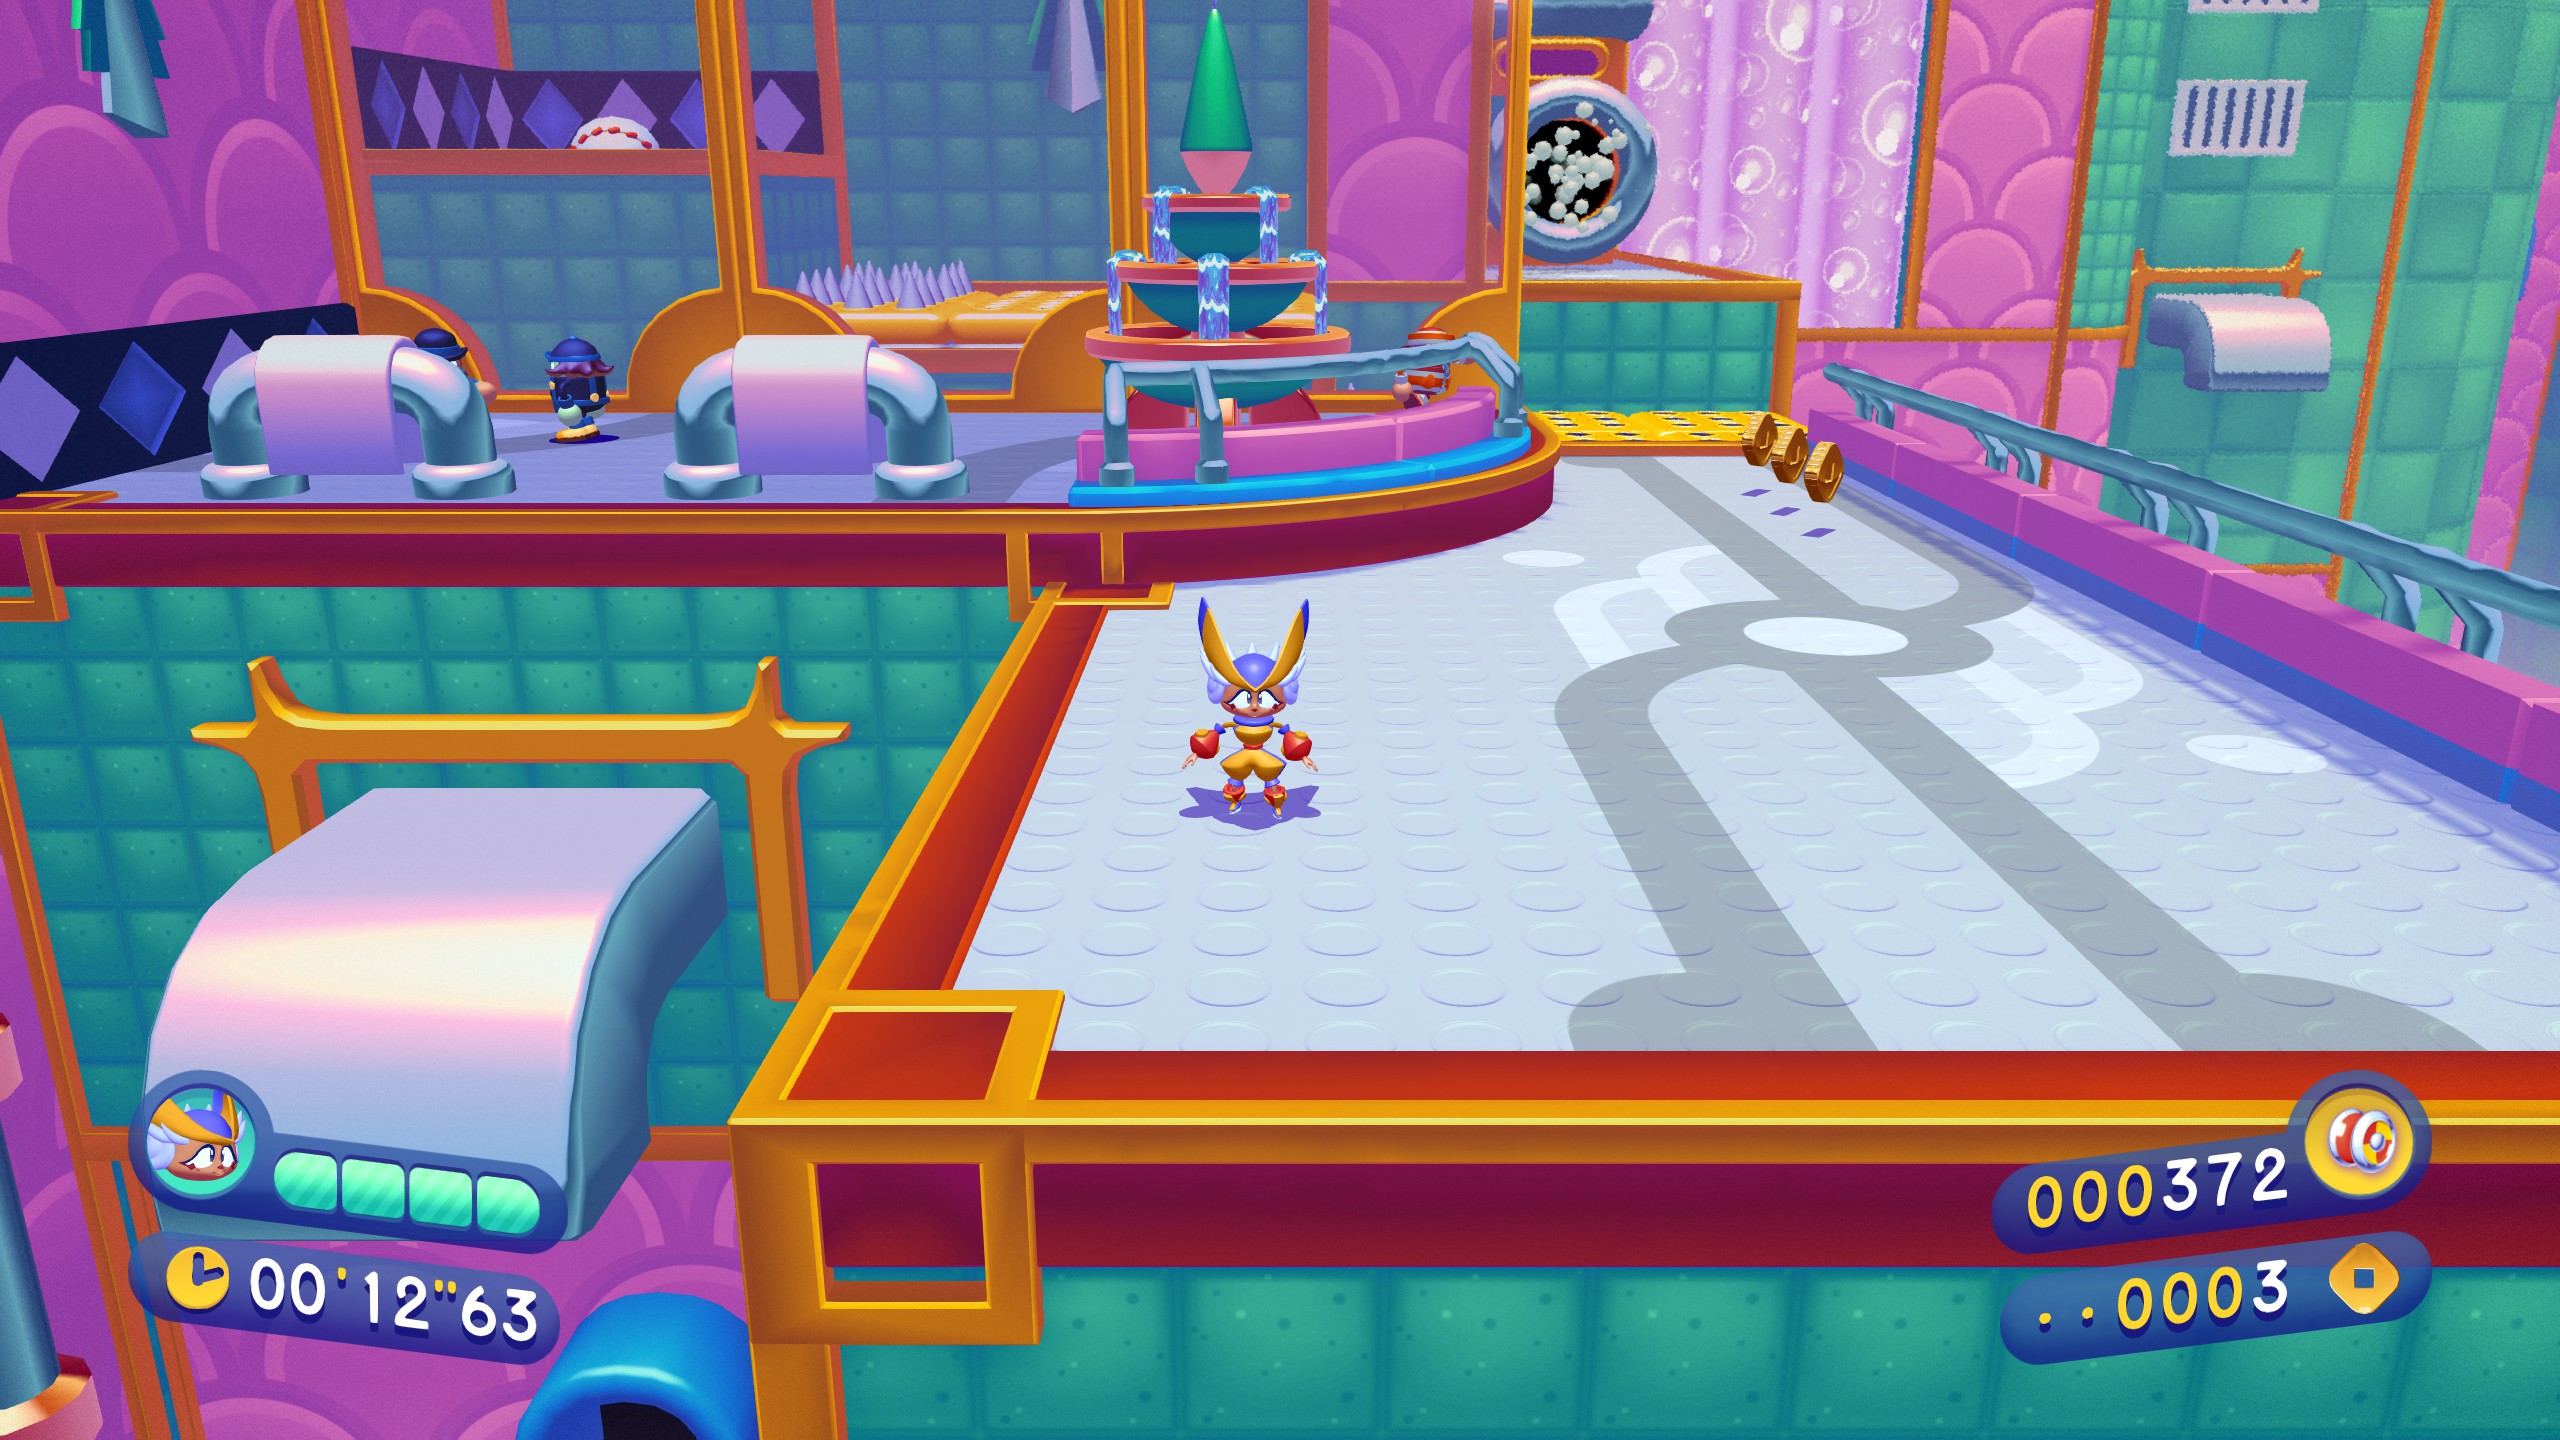
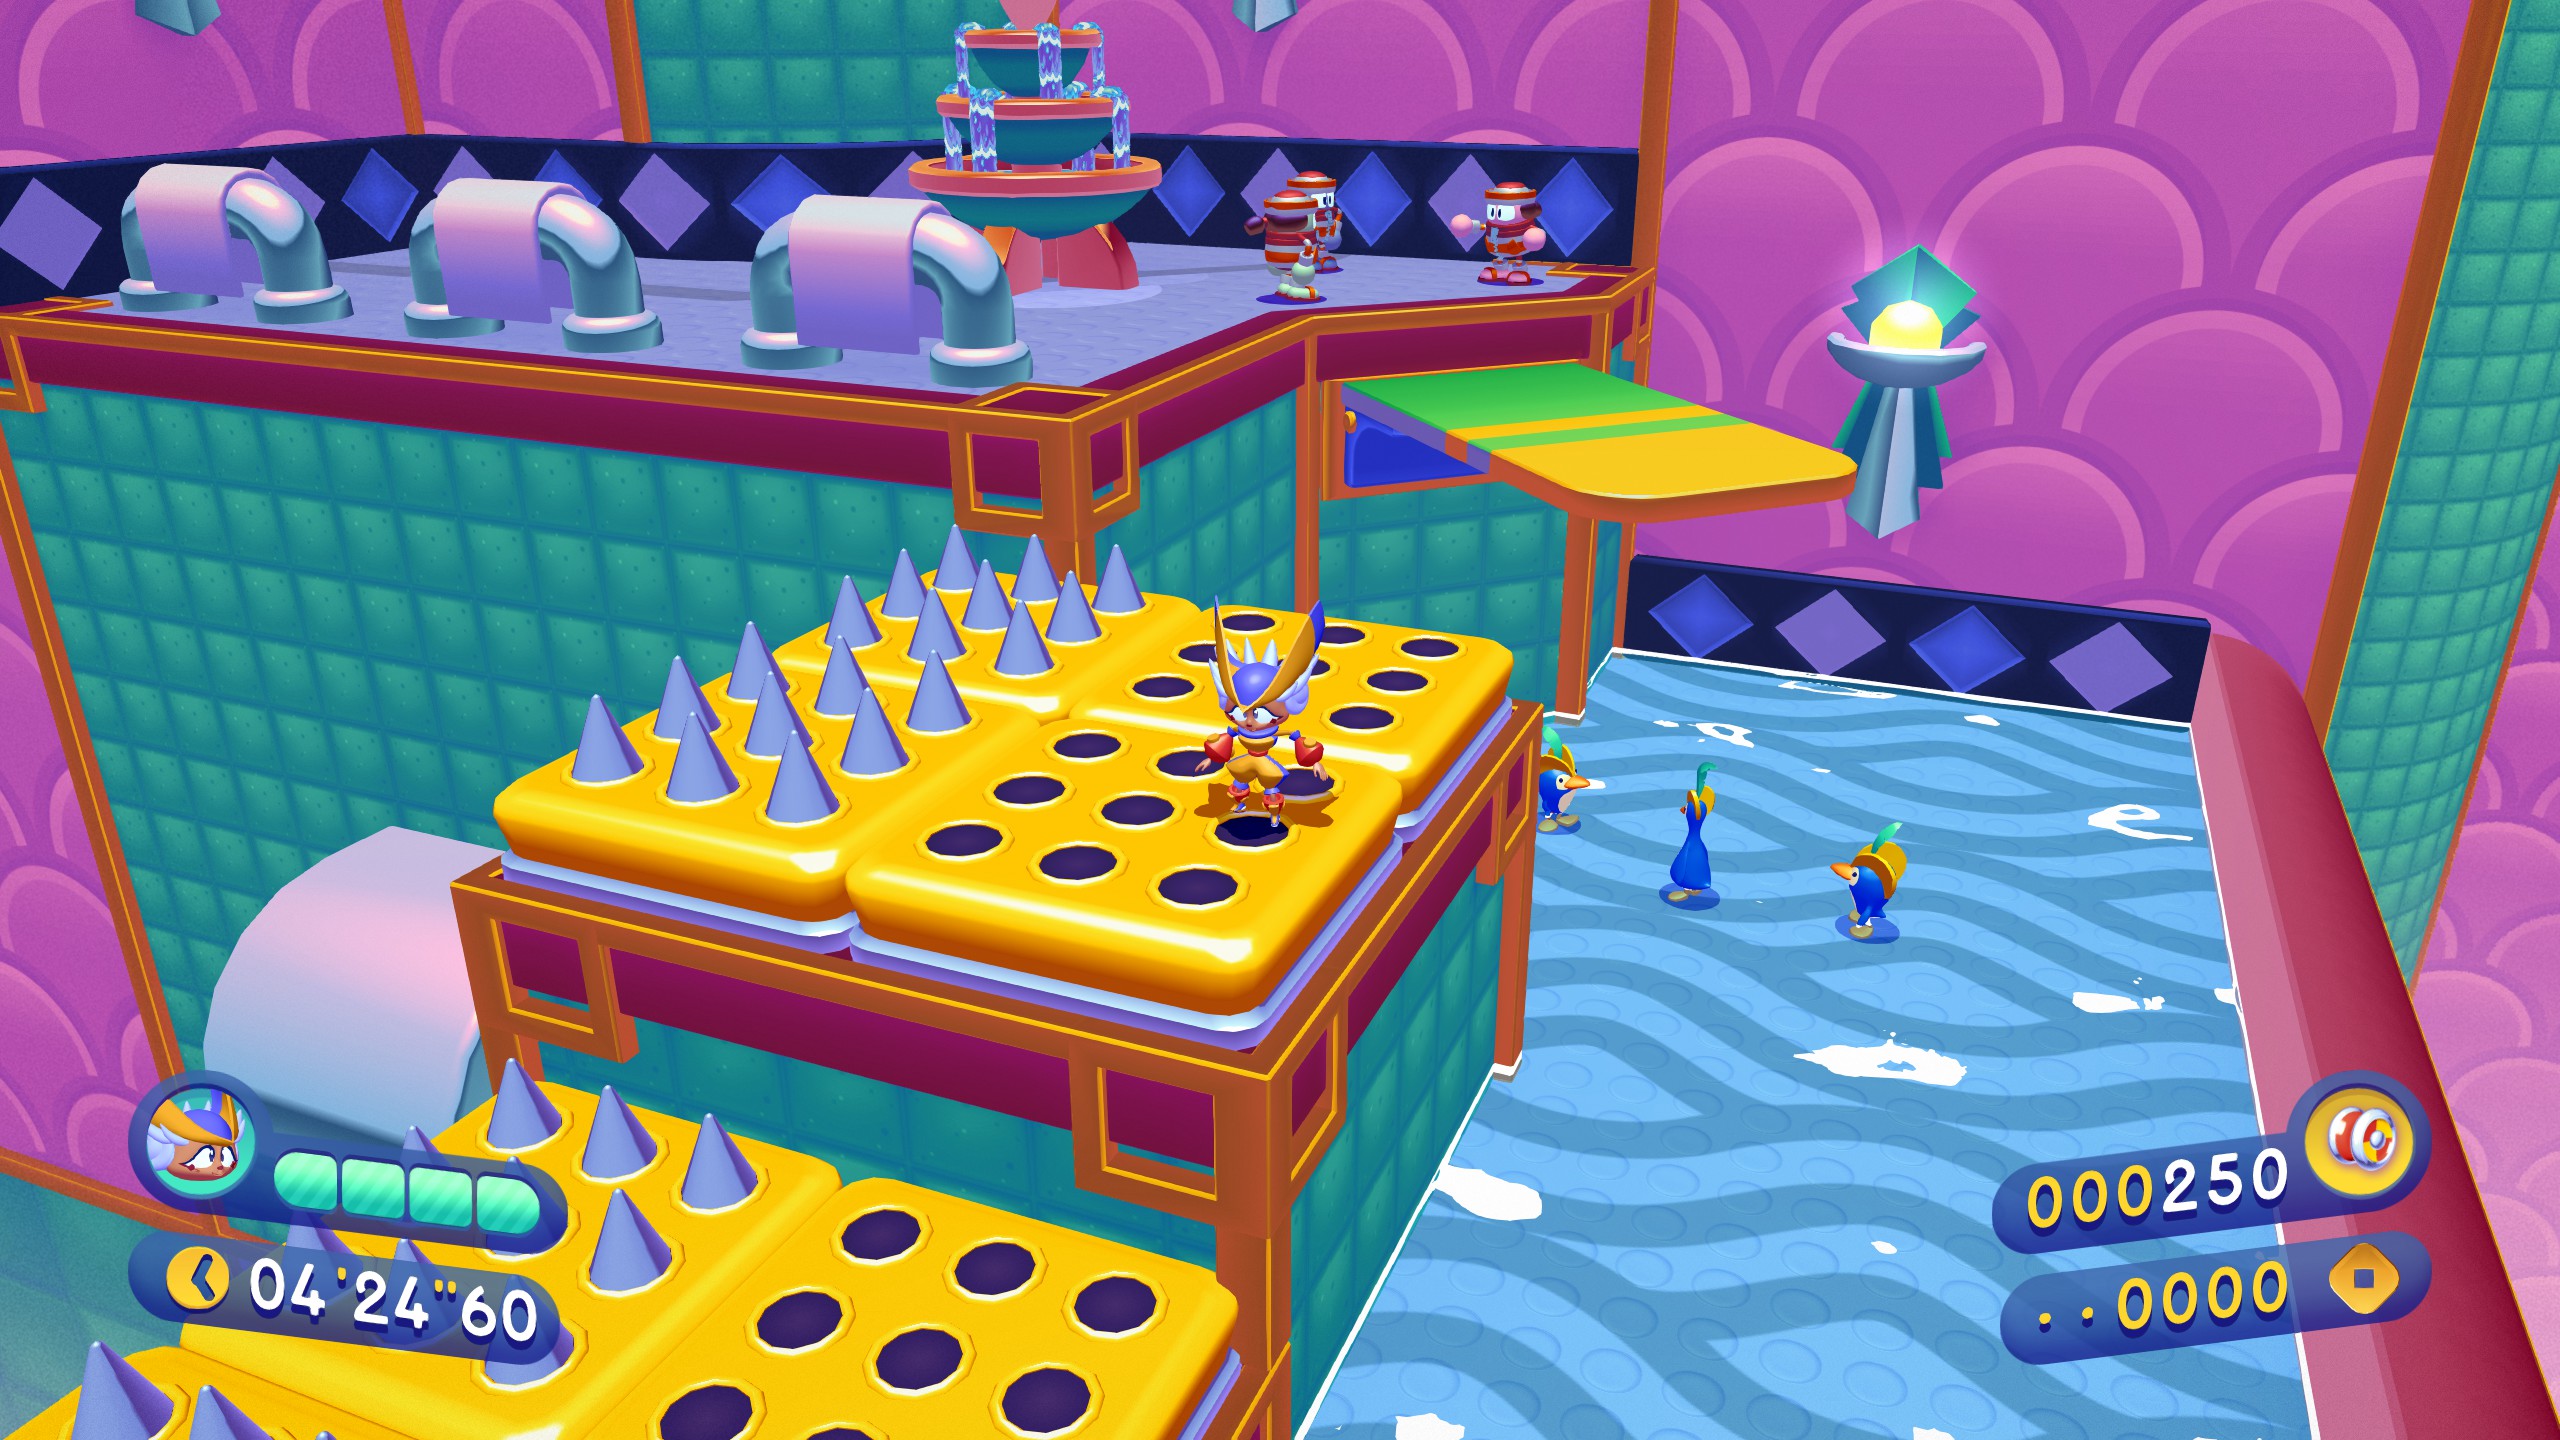
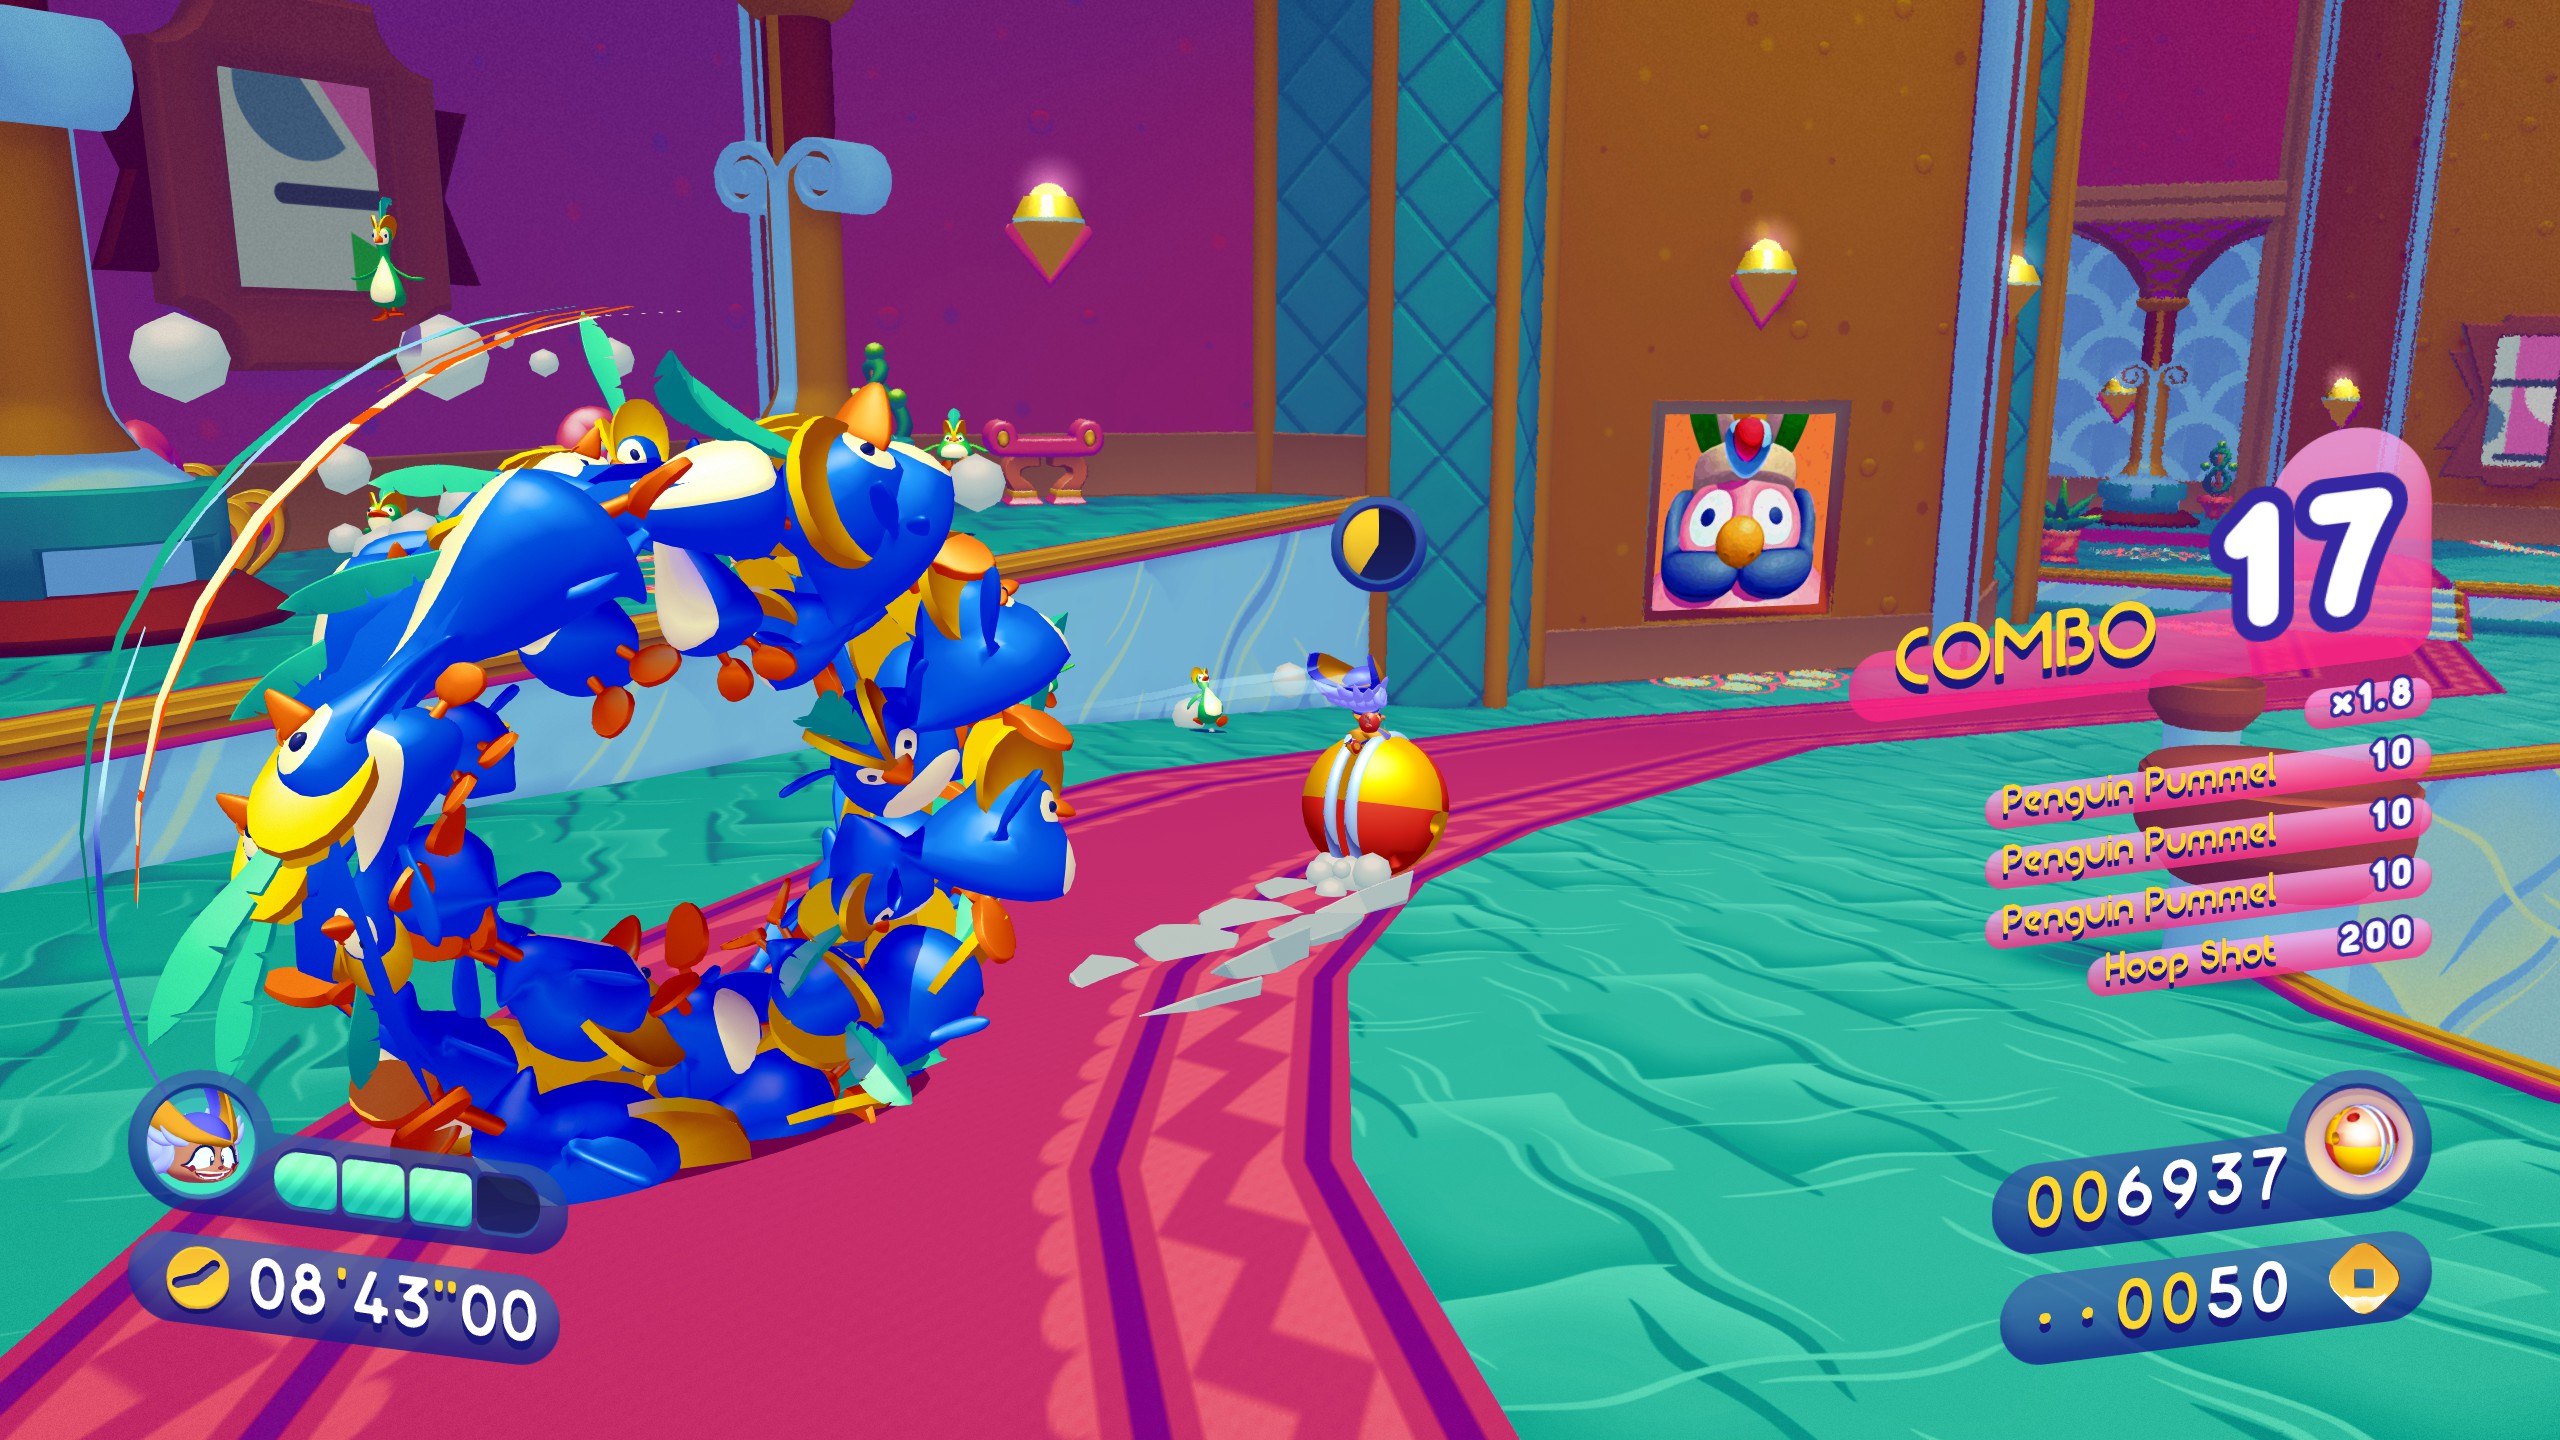
World 2: Tideswell
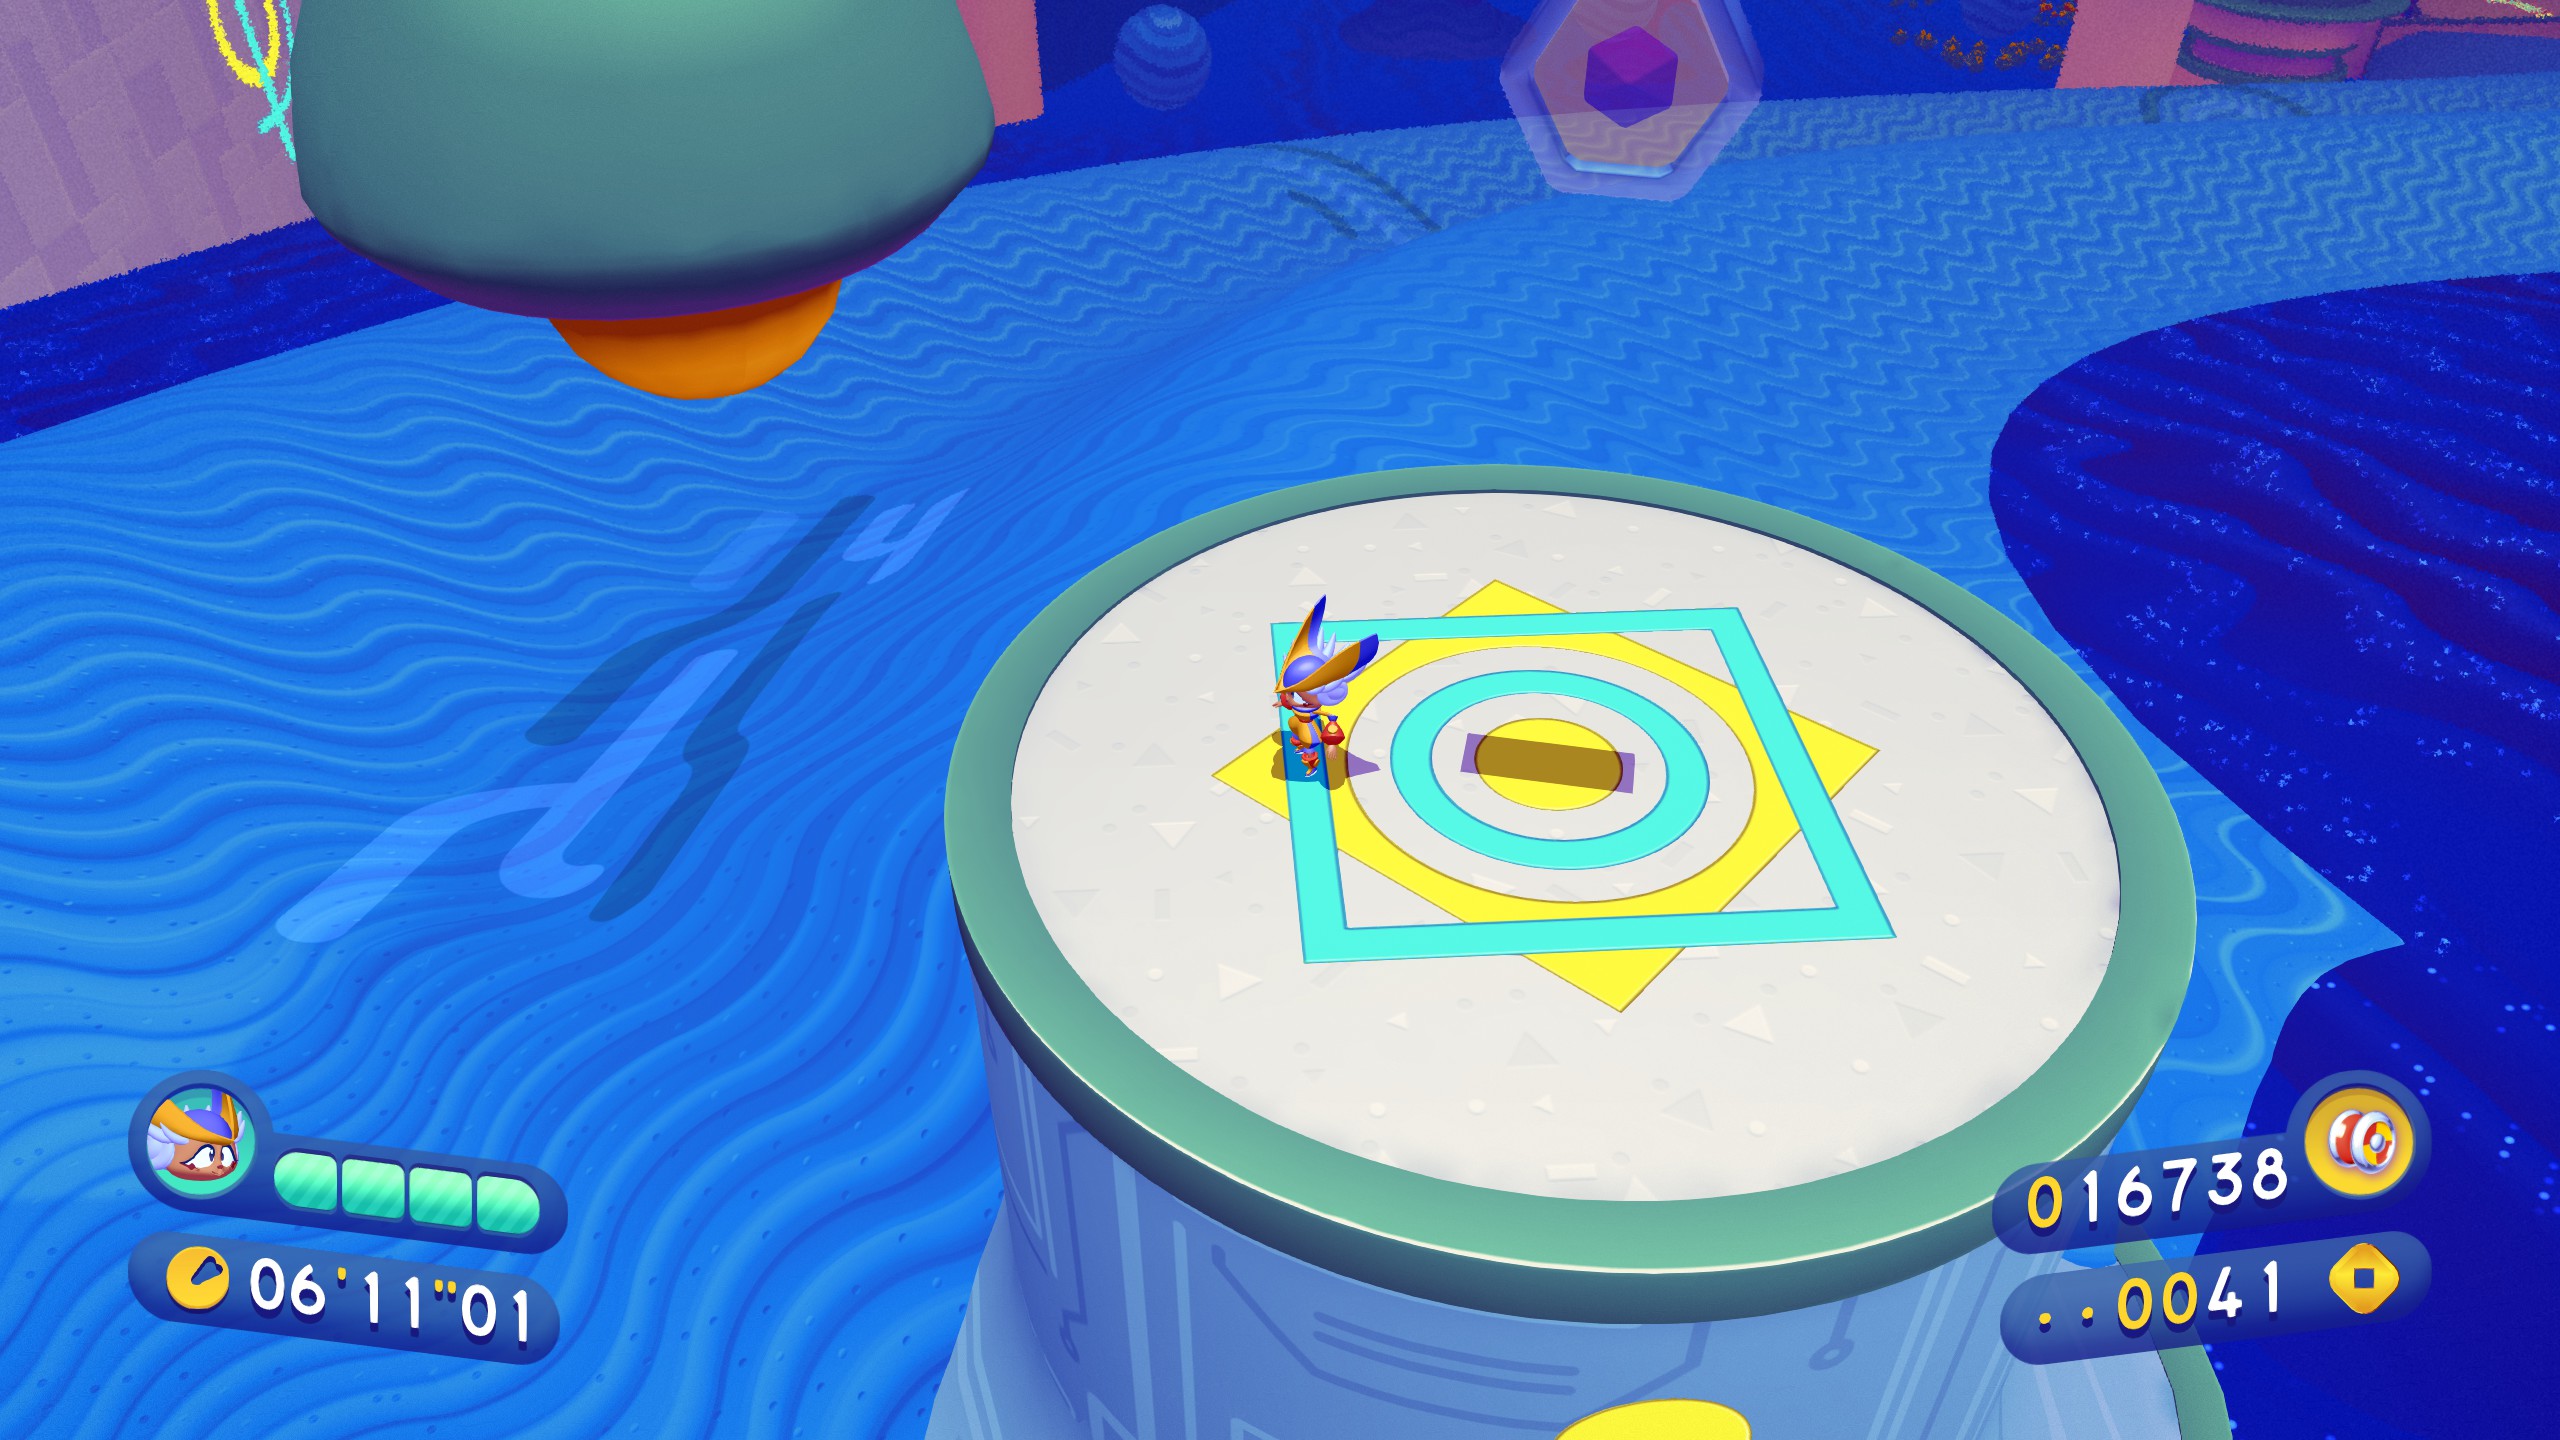
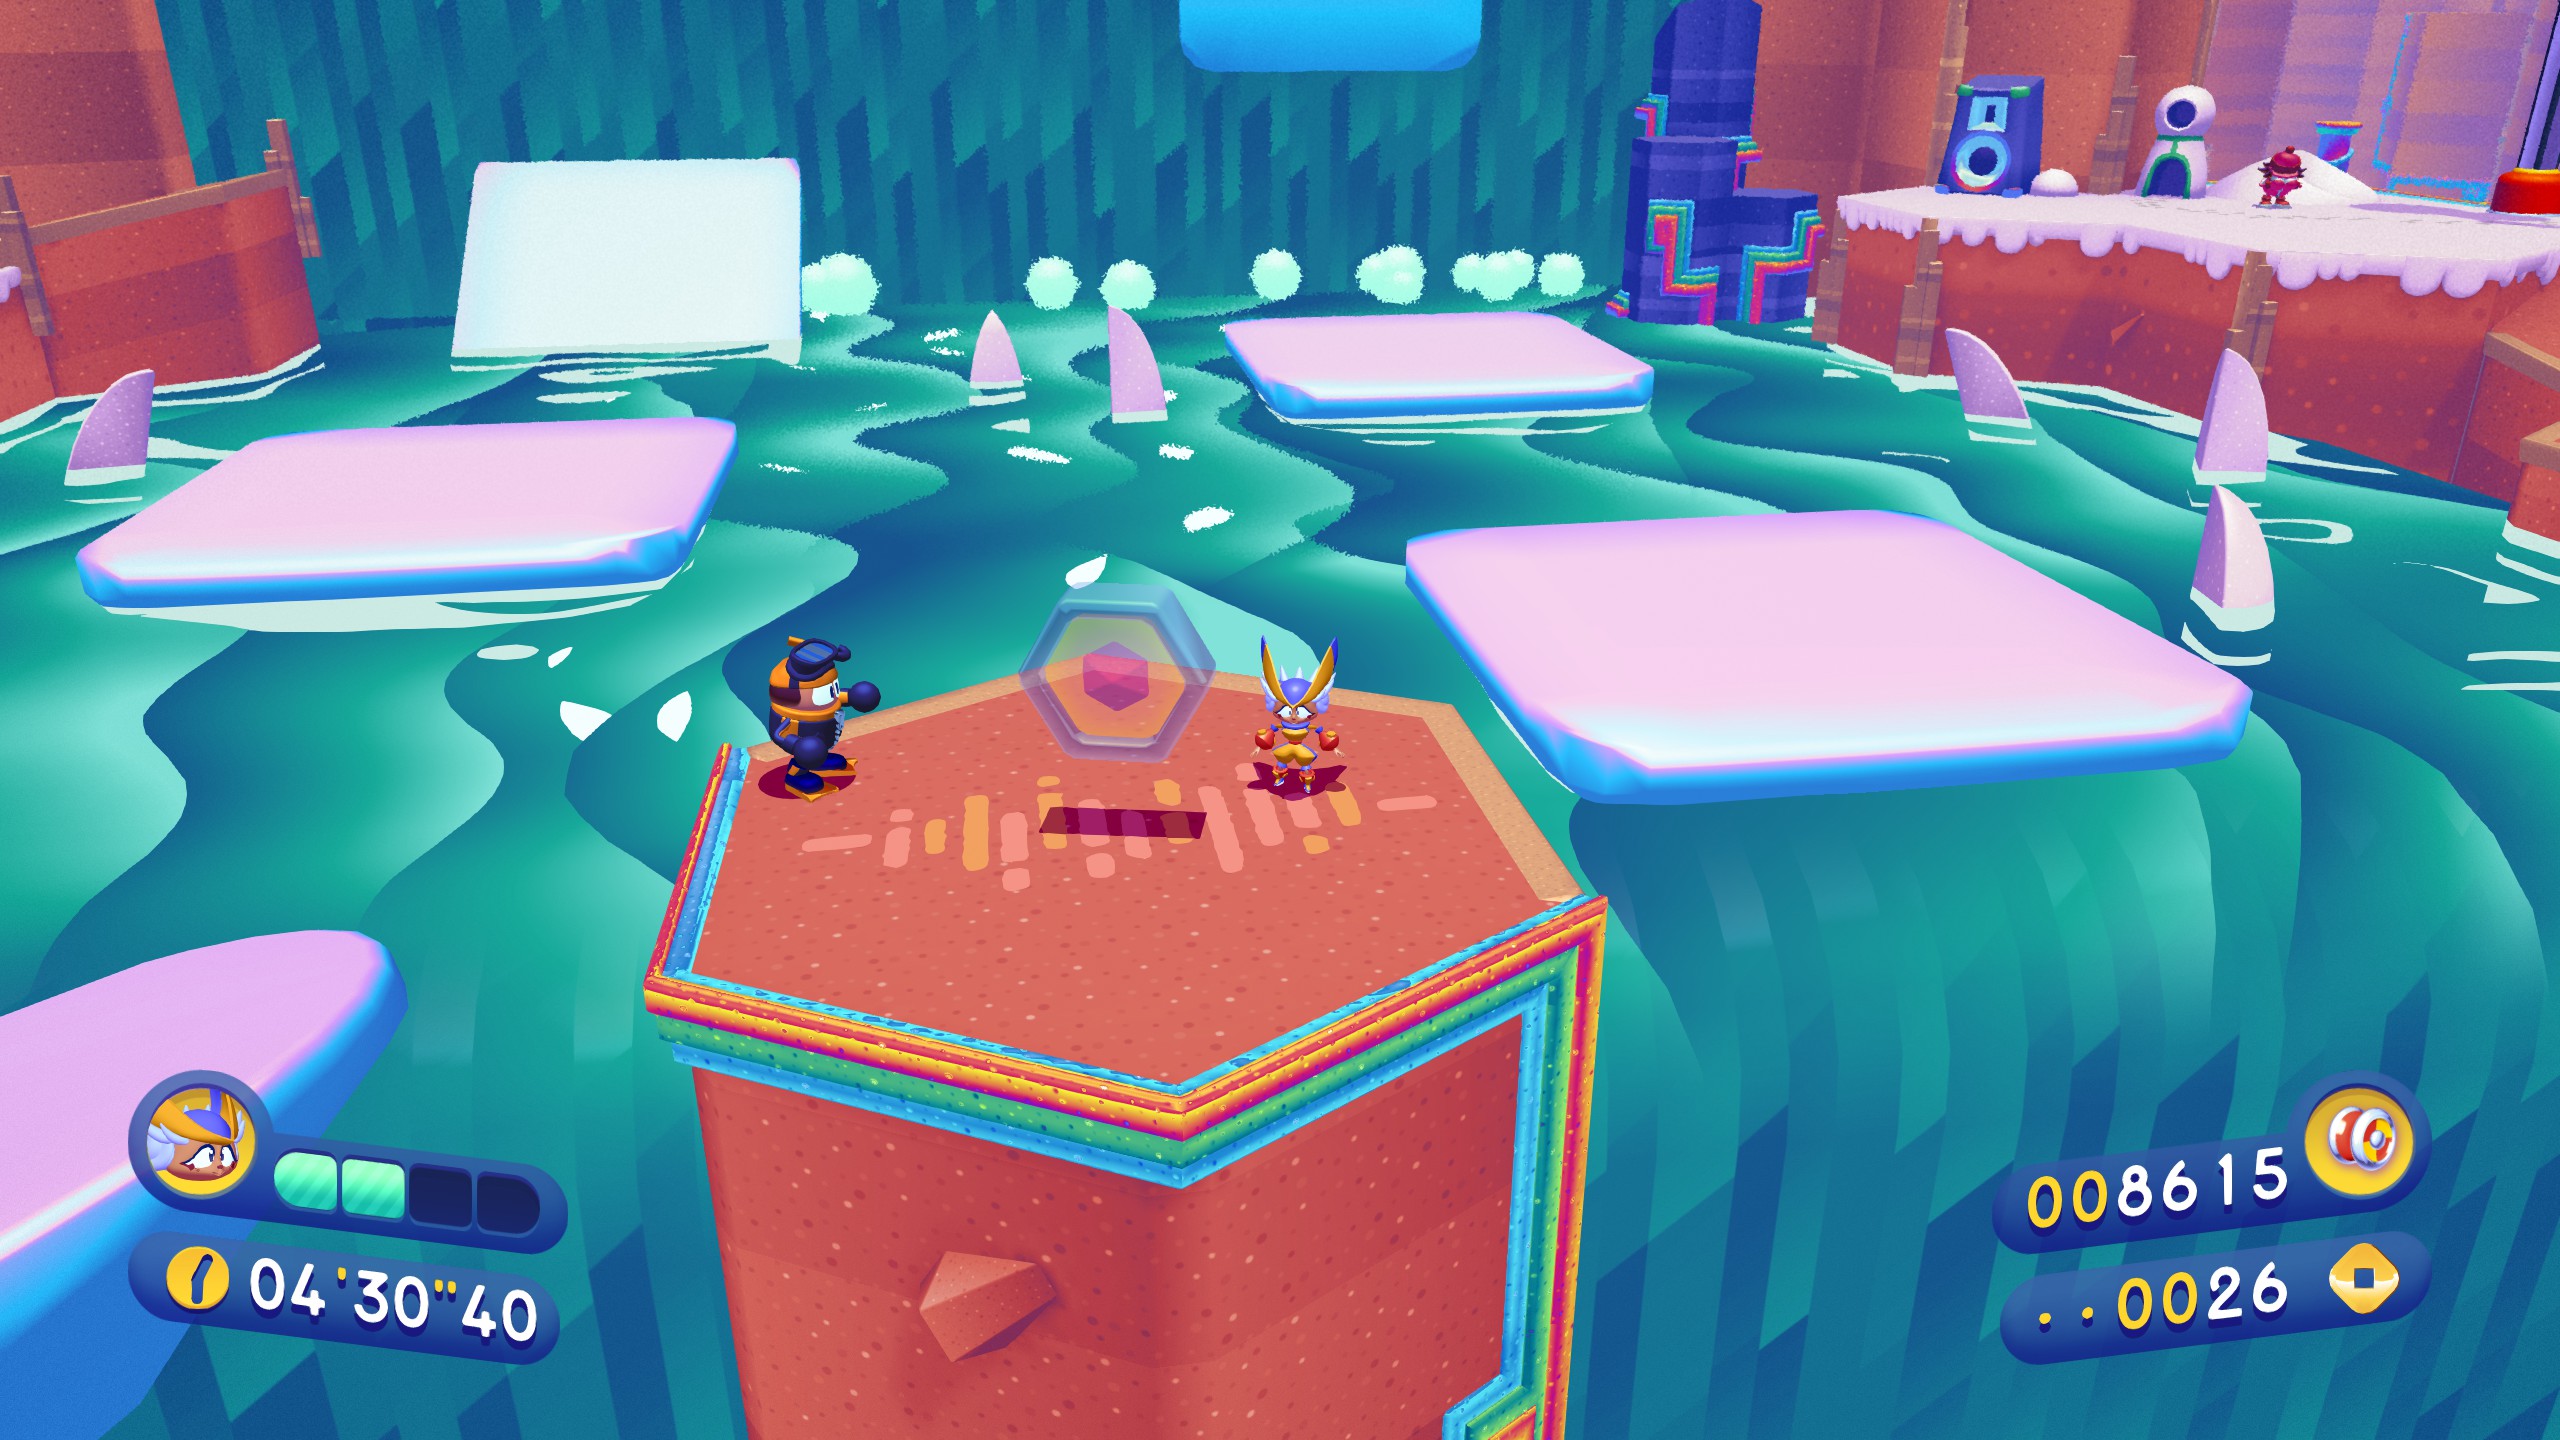
2-1
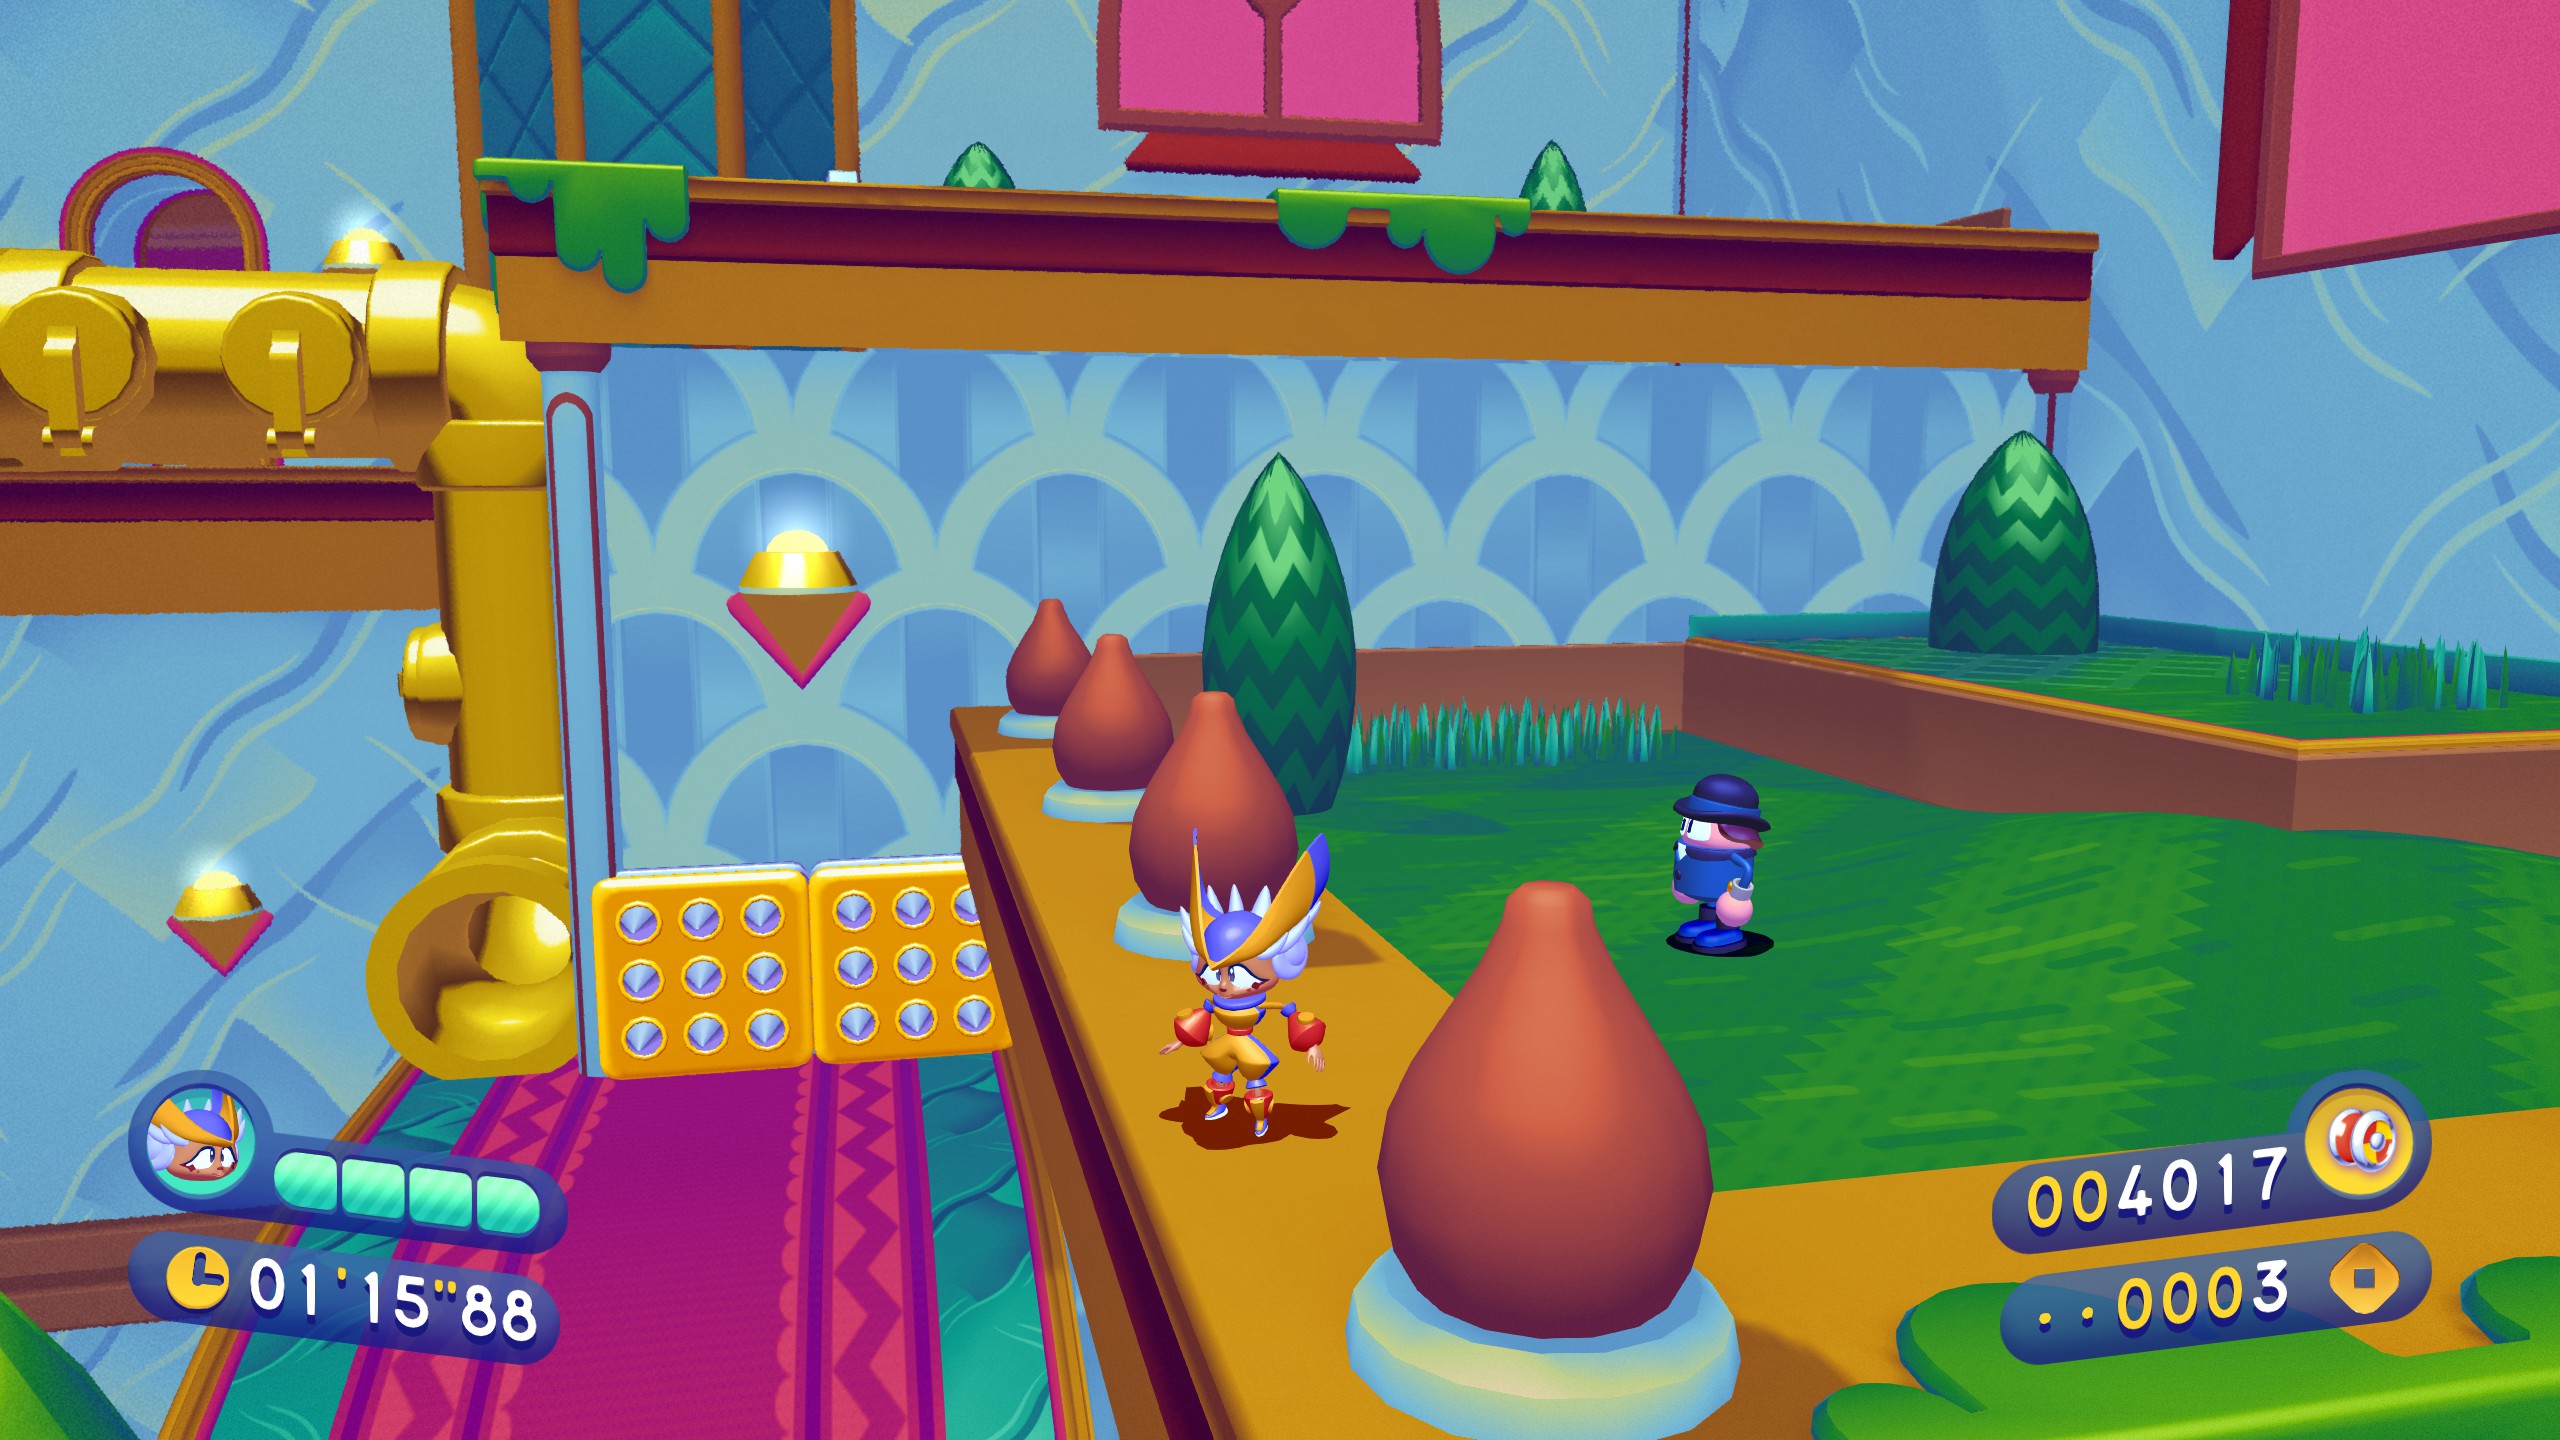
Piece 1 is up in an alcove to the right here. You can either launch straight to it and swing over, or go to the island to the right, and launch from there.
Piece 2 can be seen to the upper right. Enter the pipe, launch up, and either land on the platform or swing directly to it.
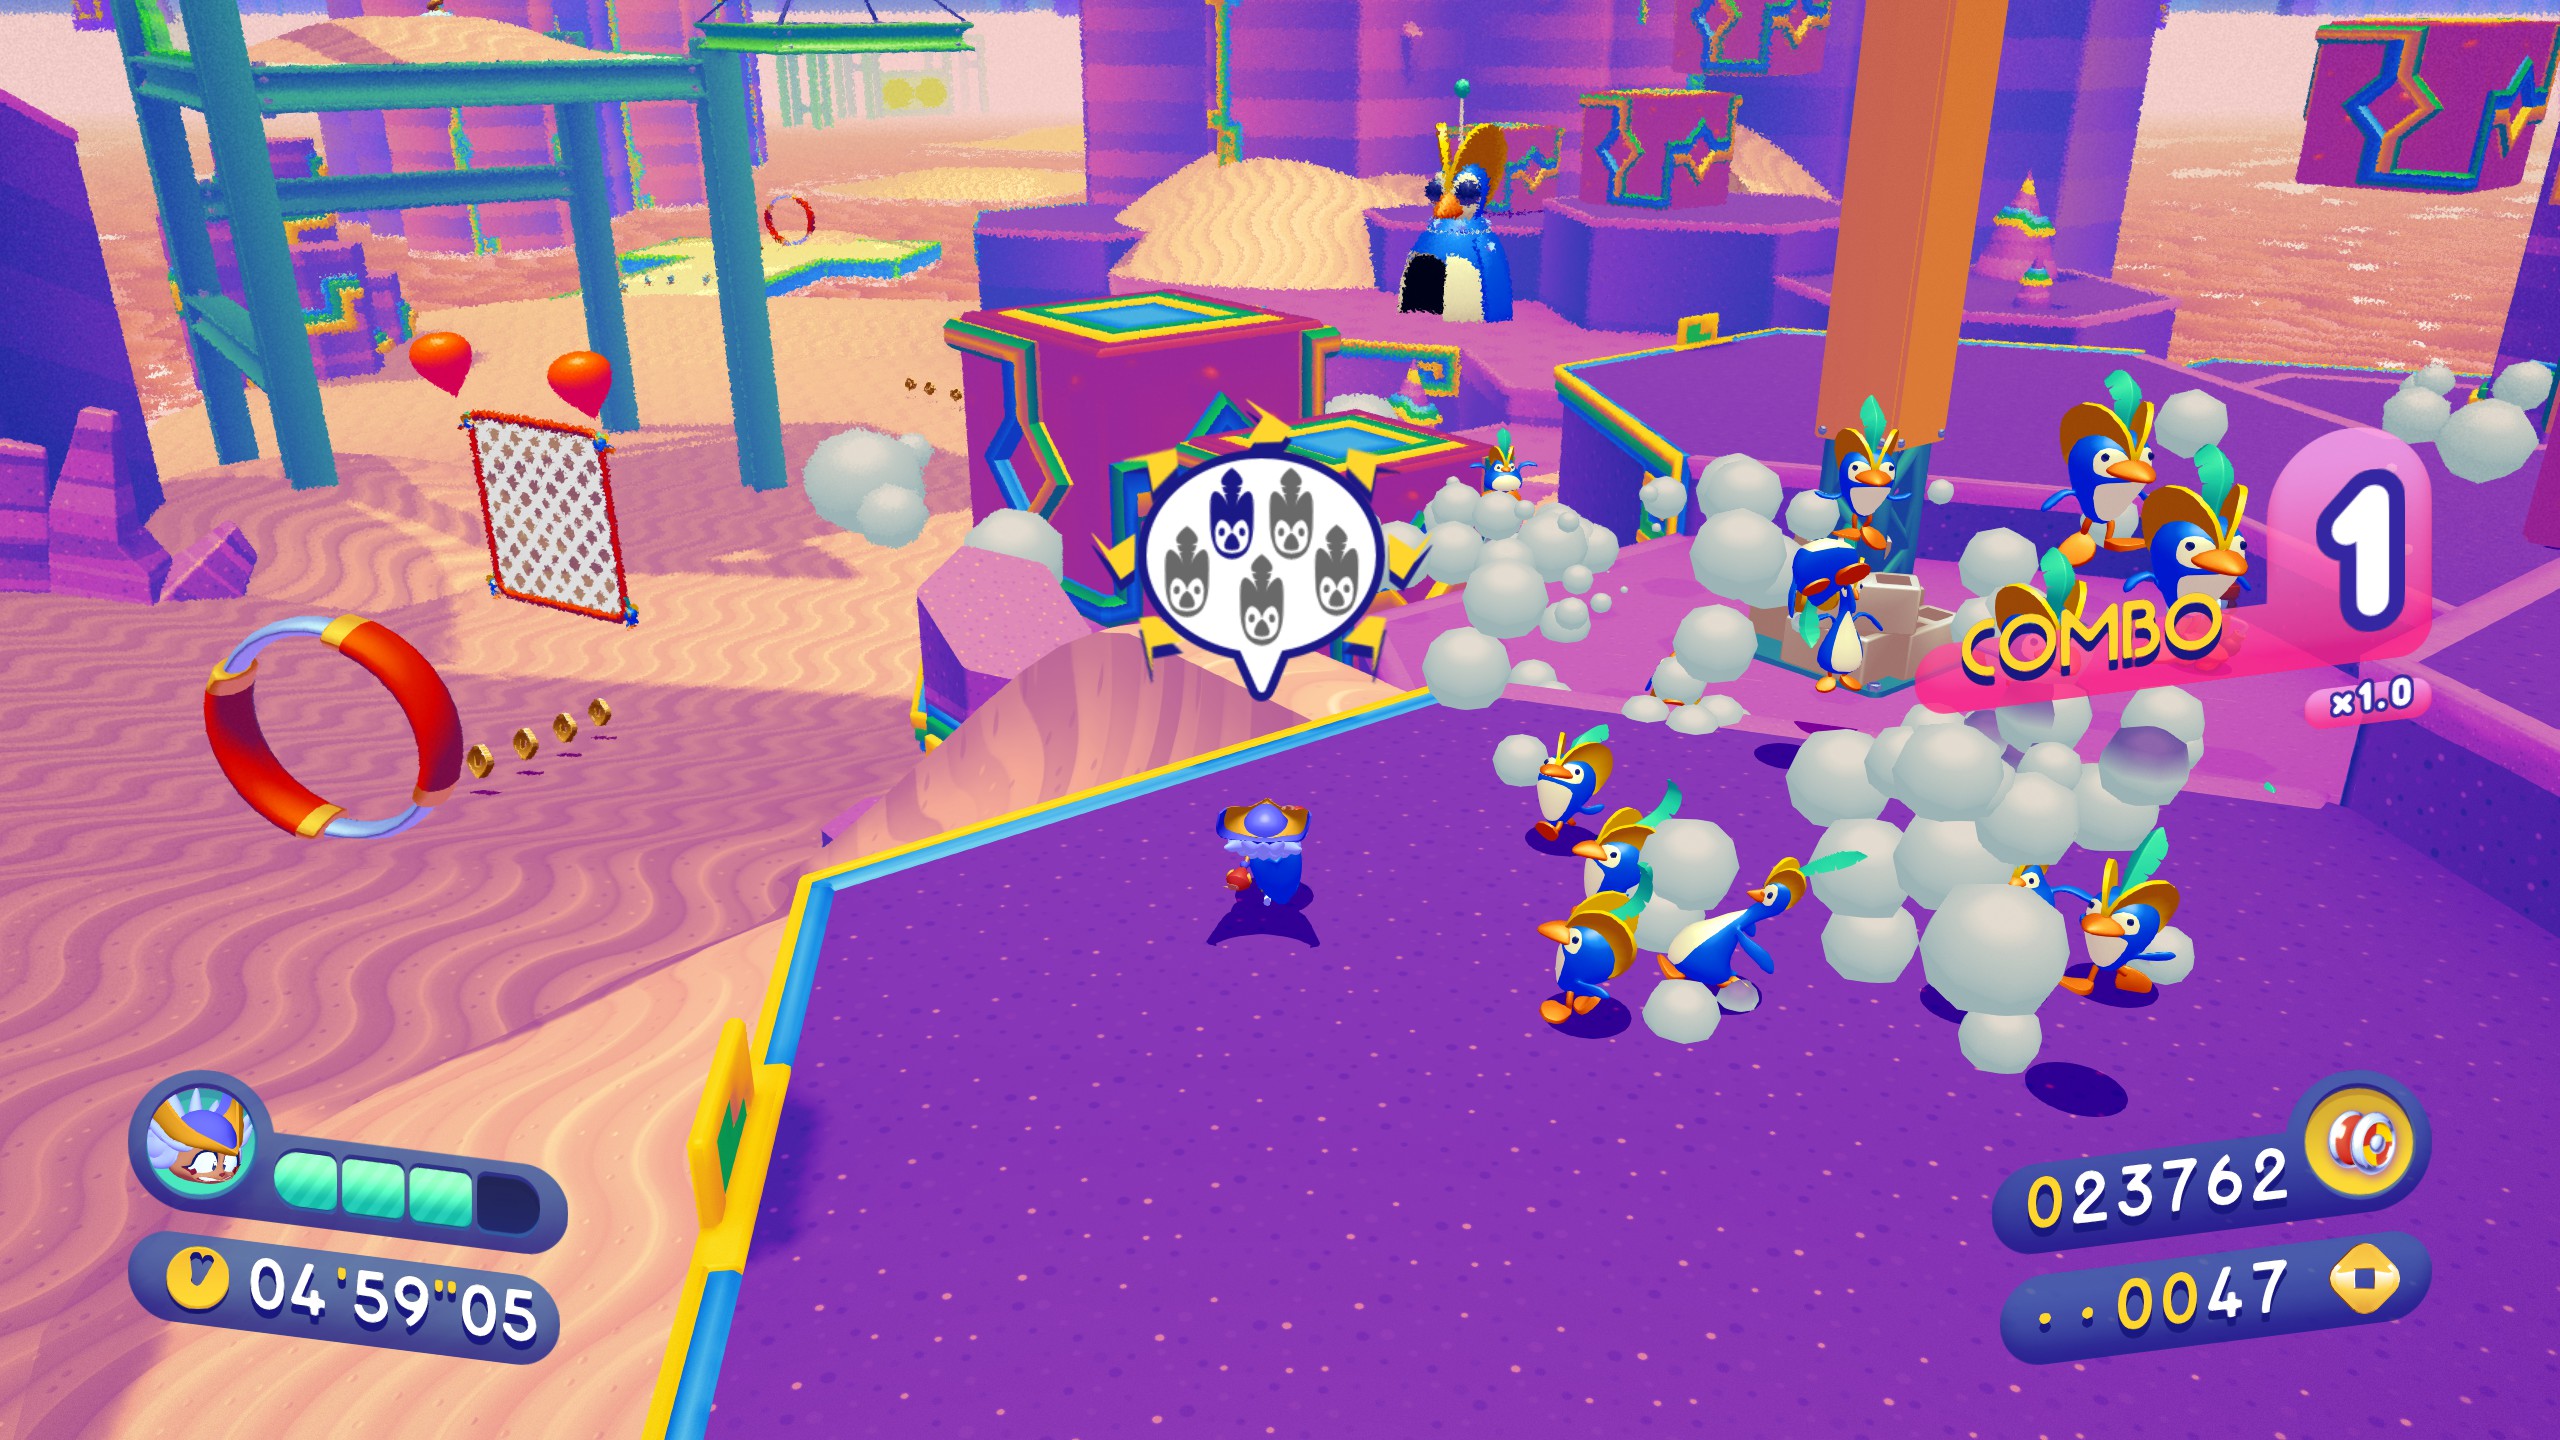
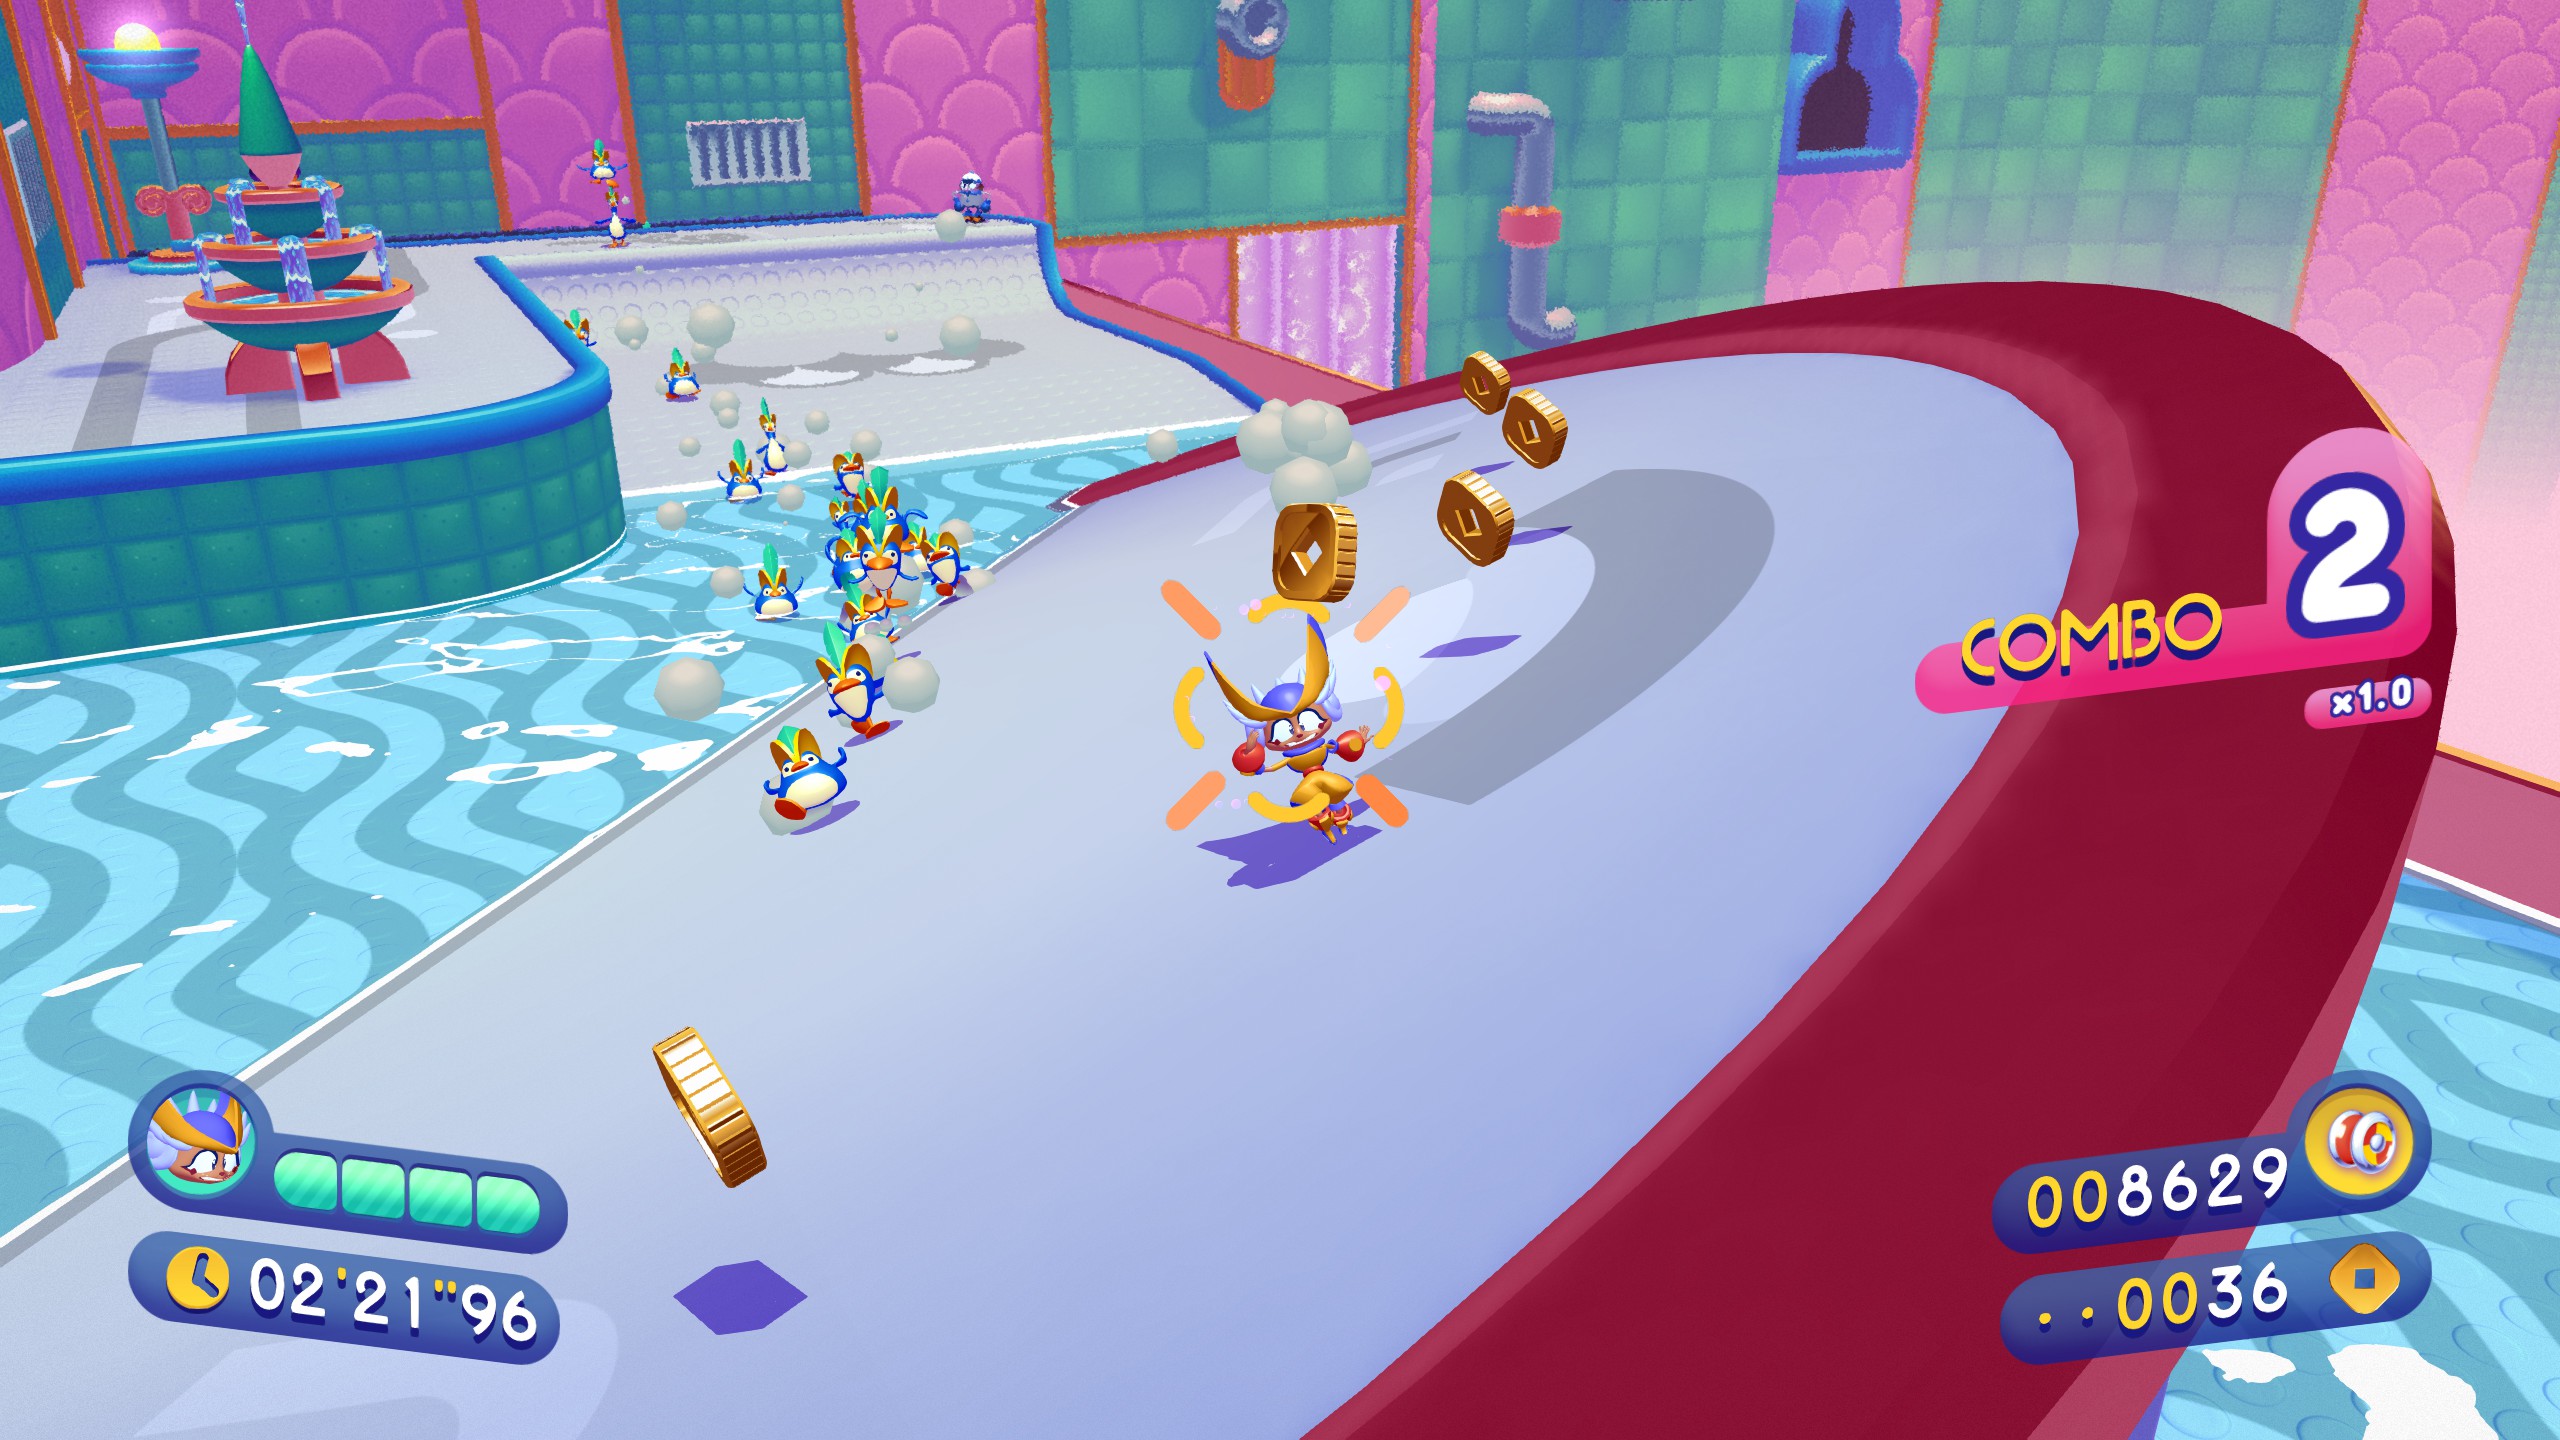
Piece 3 can be found after locking up these smelly flightless birds and taking the very-go-round. Follow the path on the right side into the ramp and keep going that way.

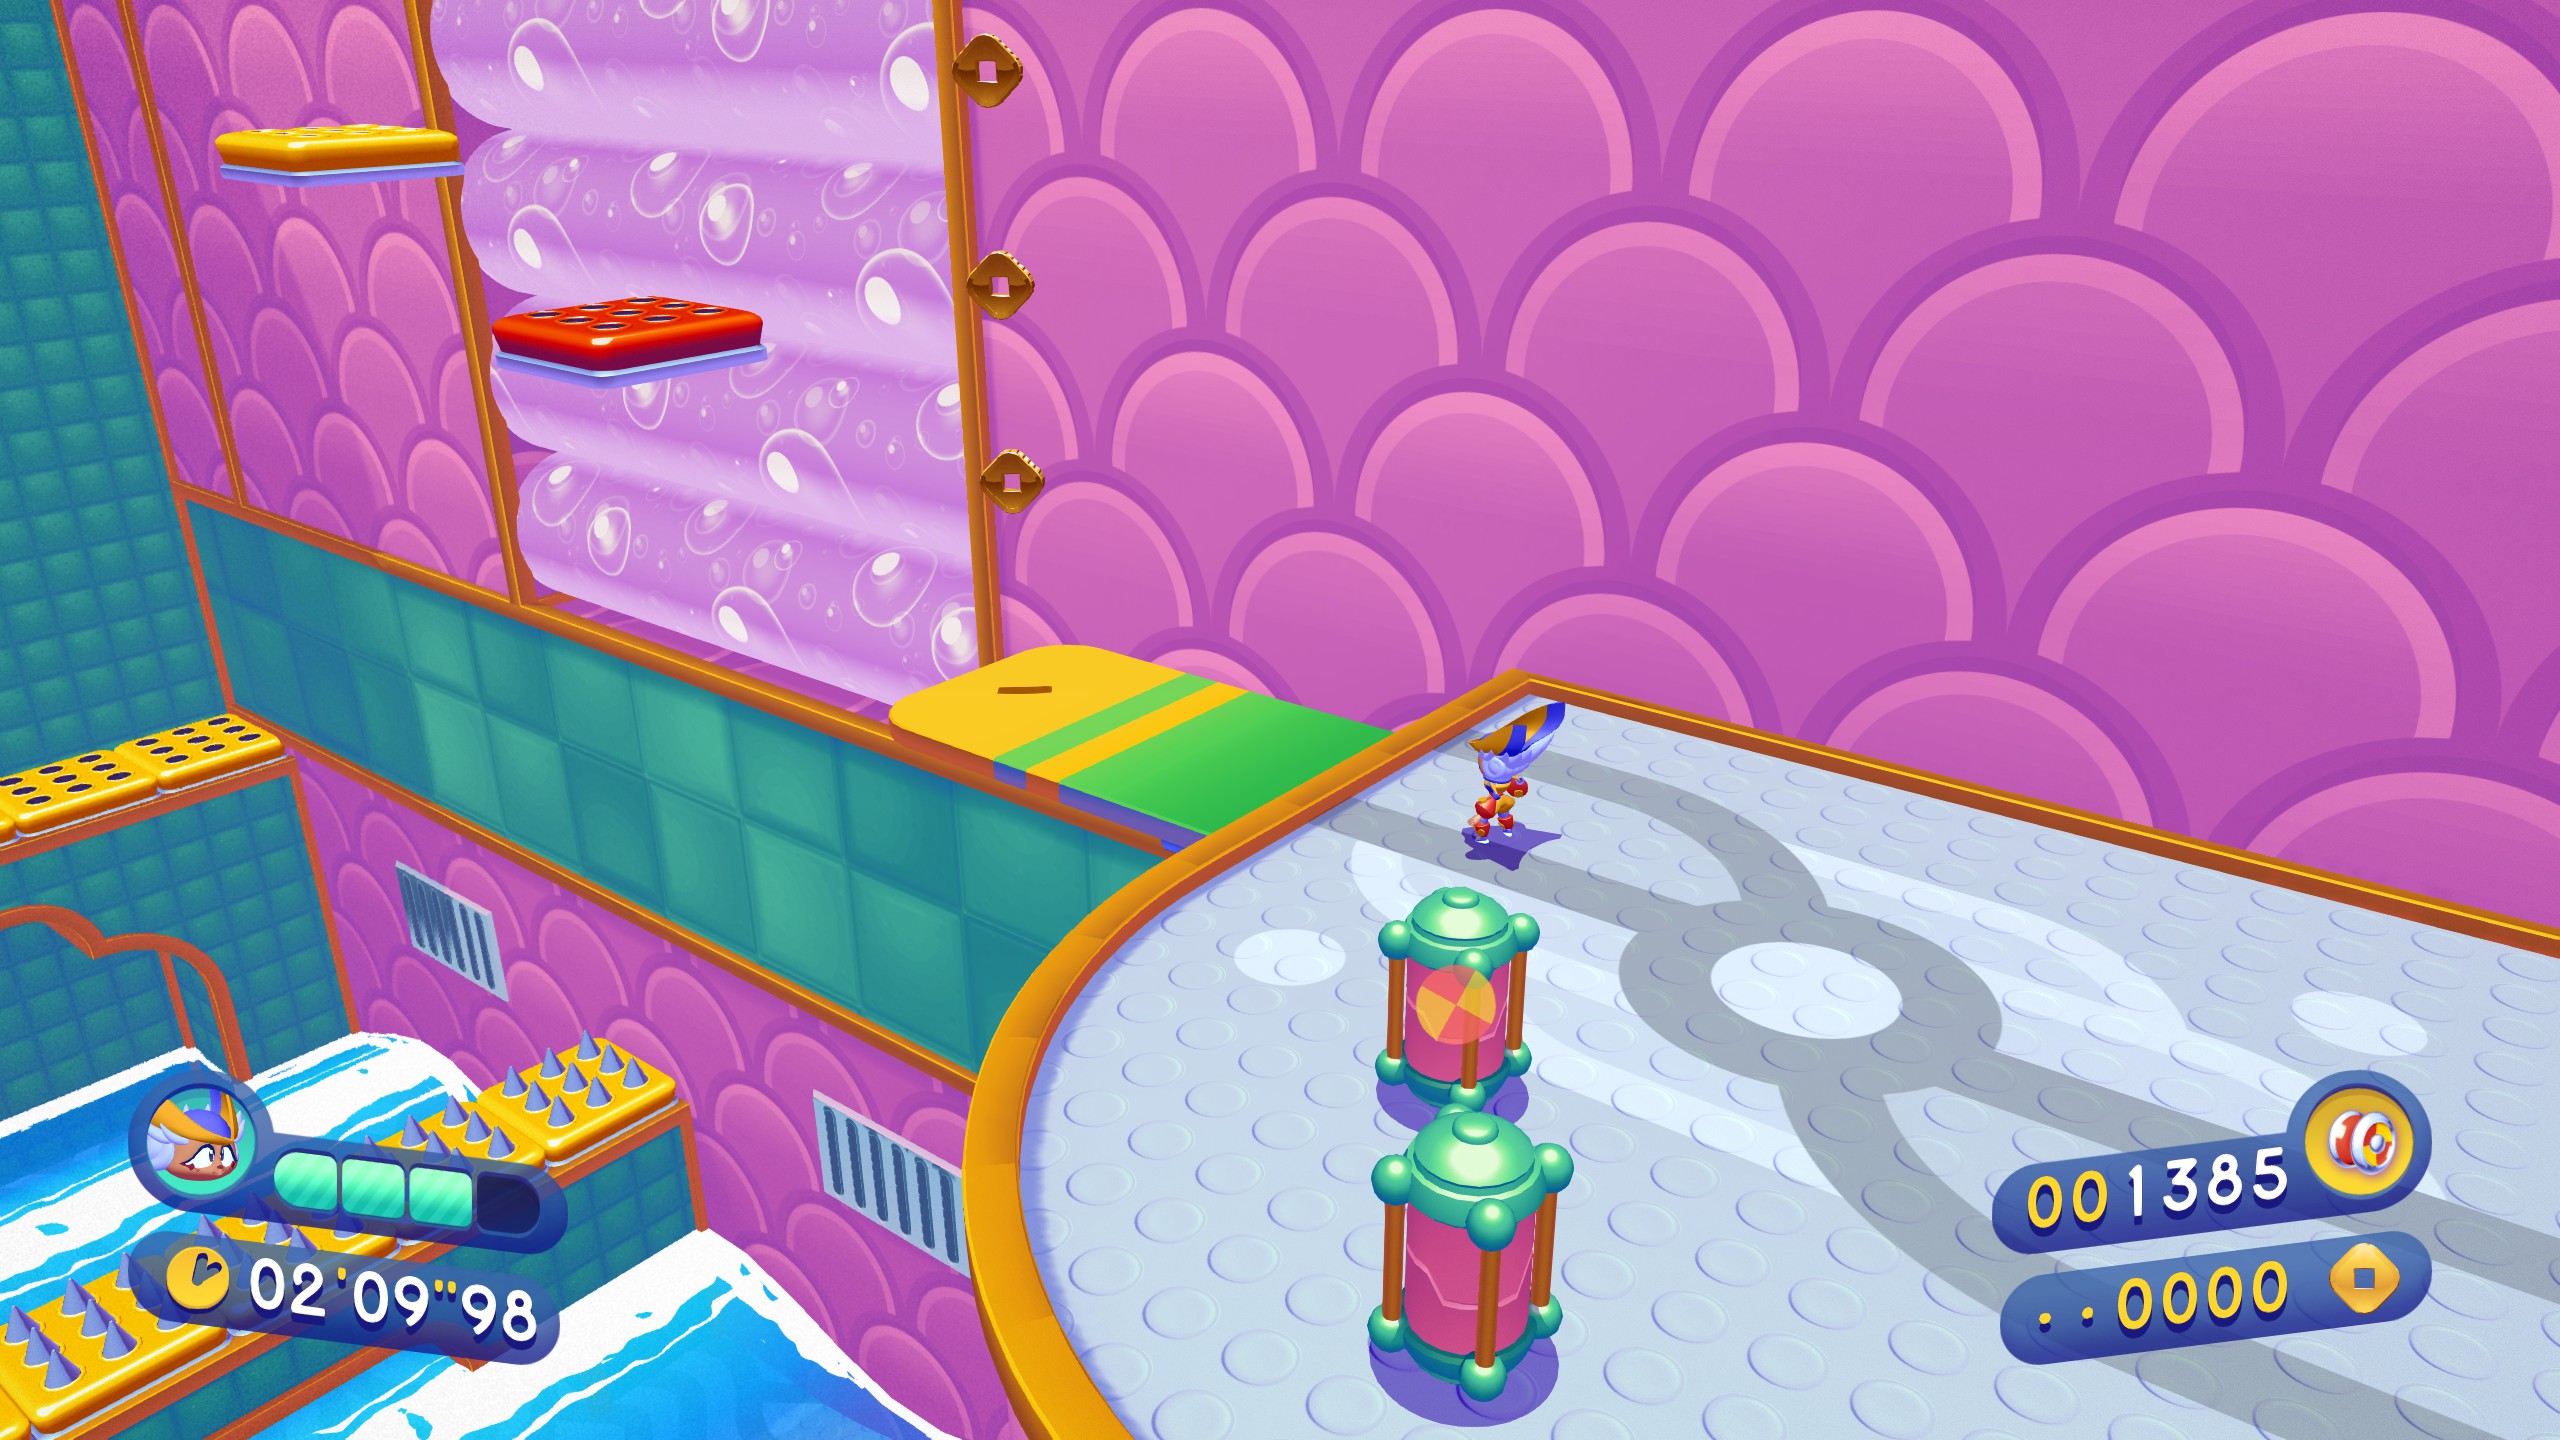
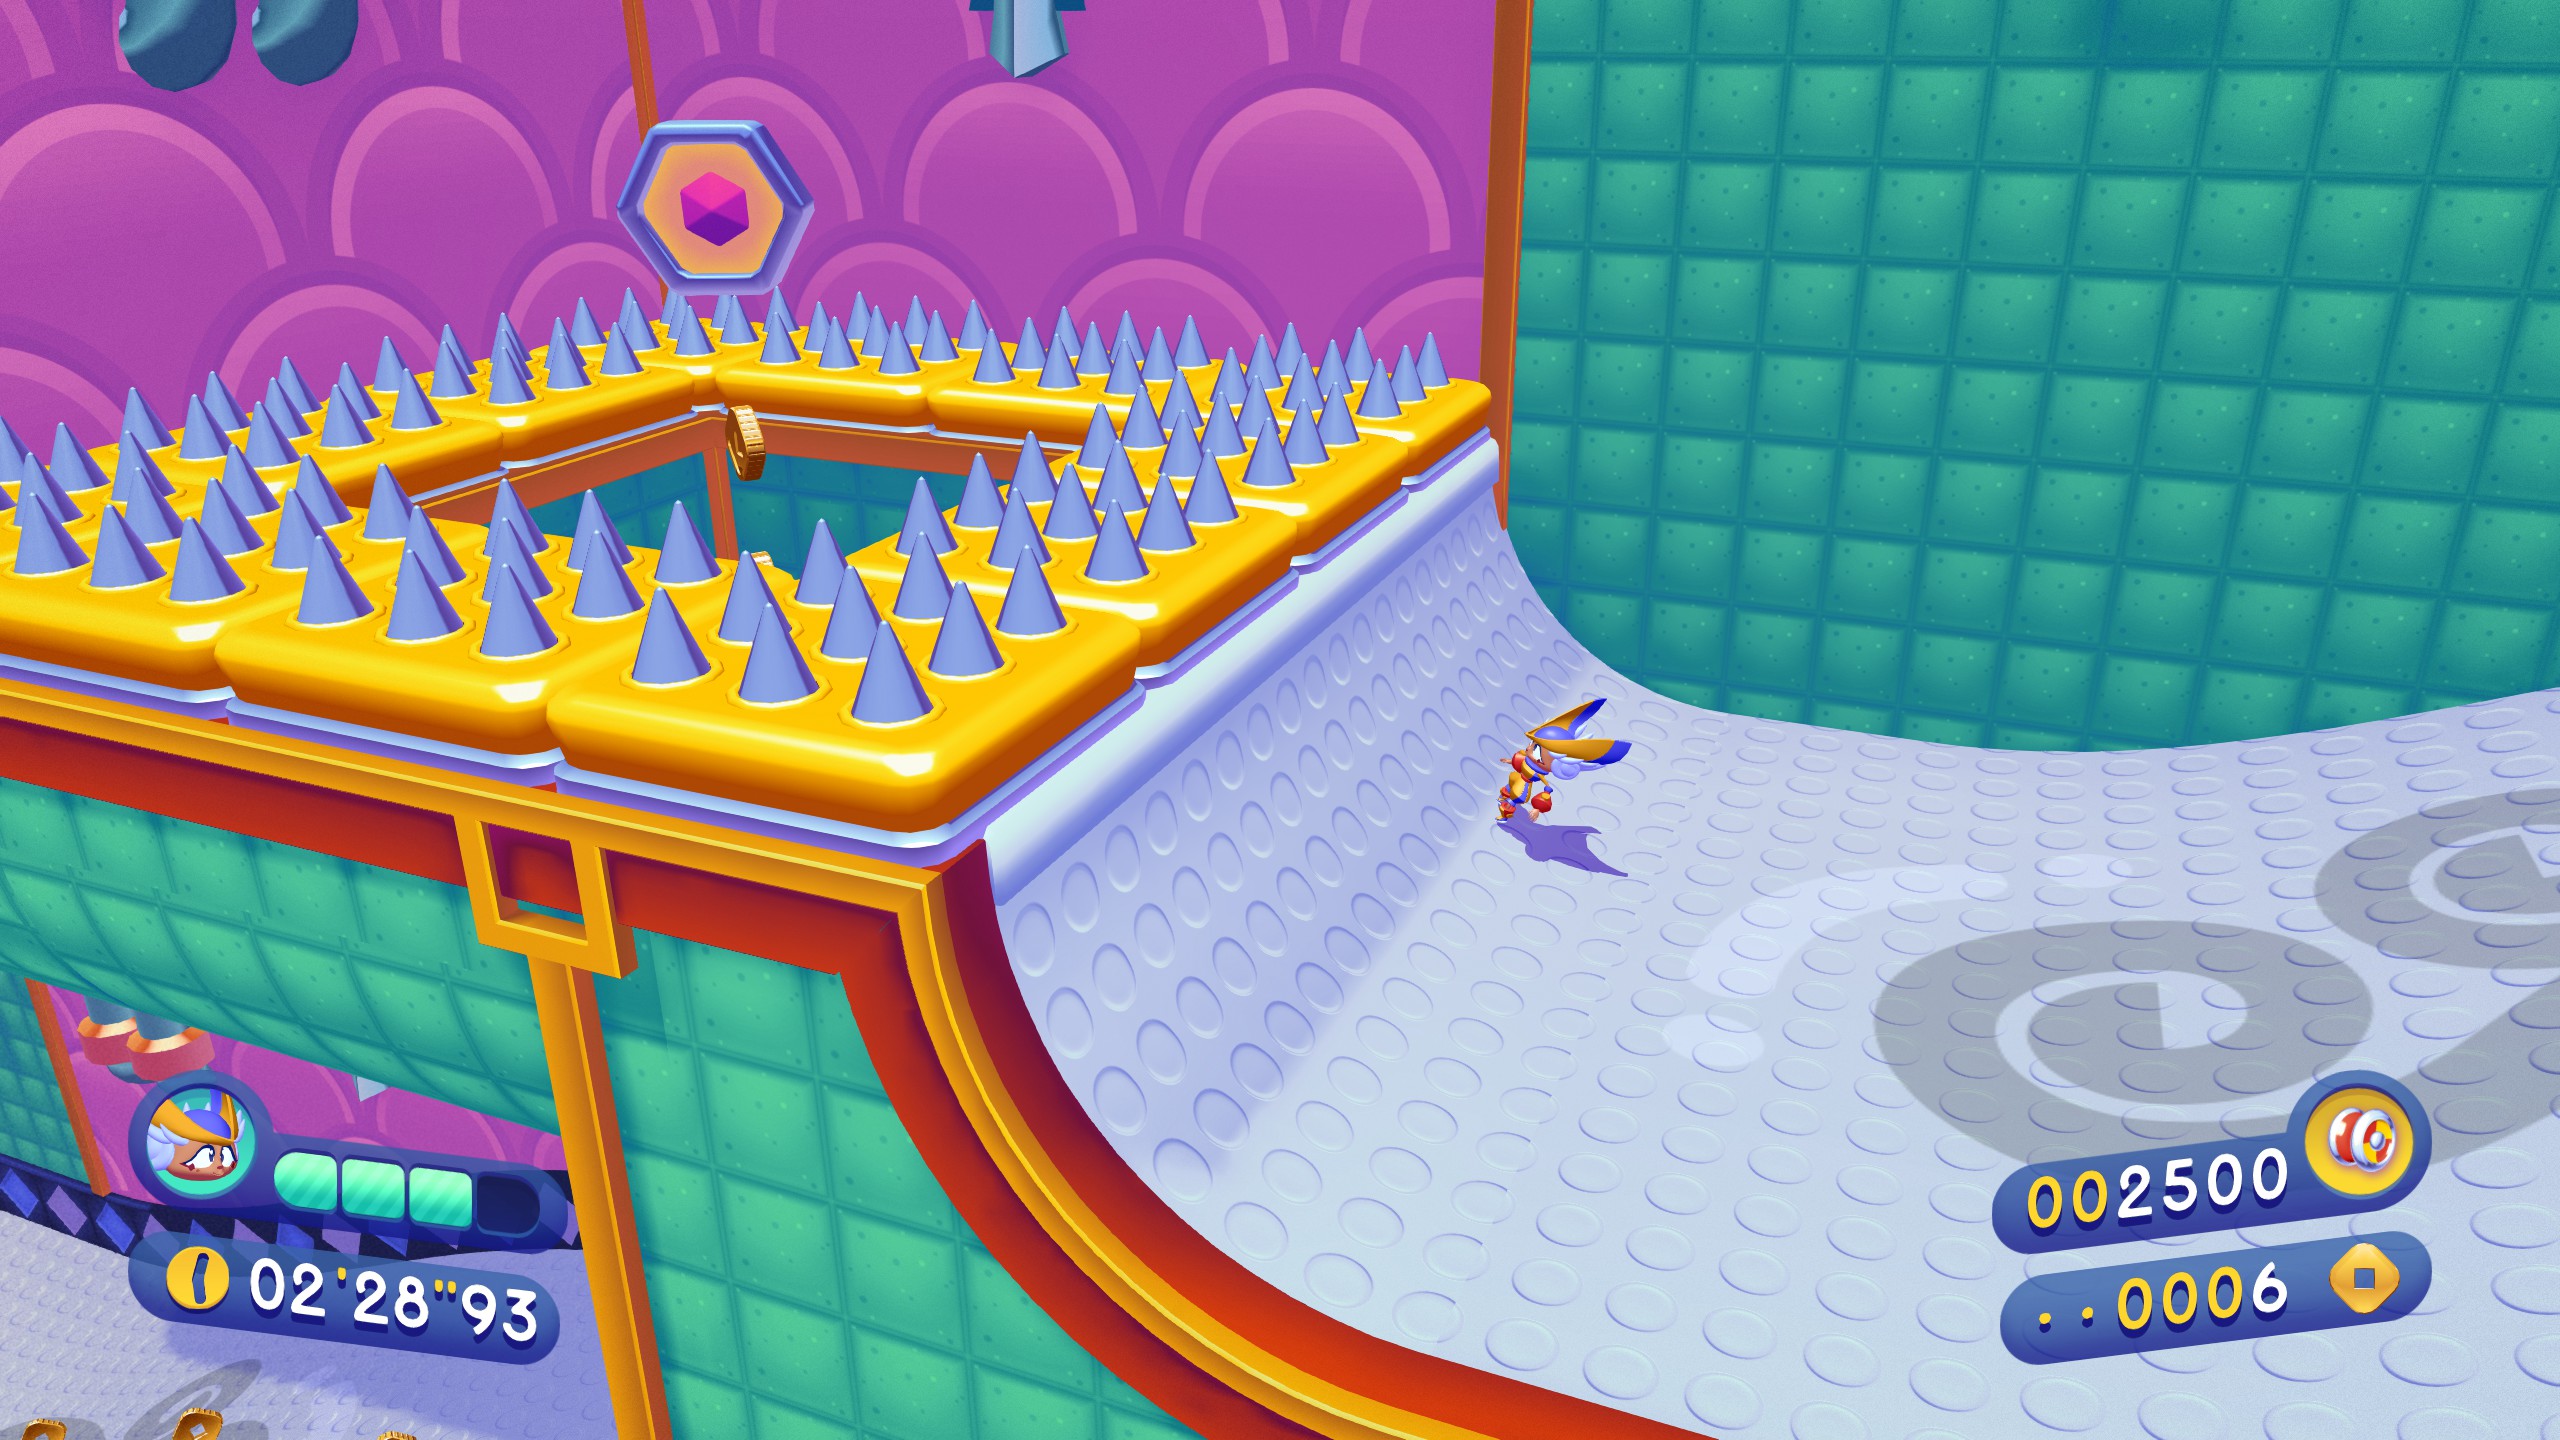
2-2
Piece 1 can be found after this checkpoint. Use the powerup to fly upwards.
Head to the left for the platform with the green penguins. Head further left off that platform and you’ll find a path leading to the piece.
Piece 2 can be found straight ahead from this checkpoint.
Climb up the two crushing blocks here and platform ahead to the piece.
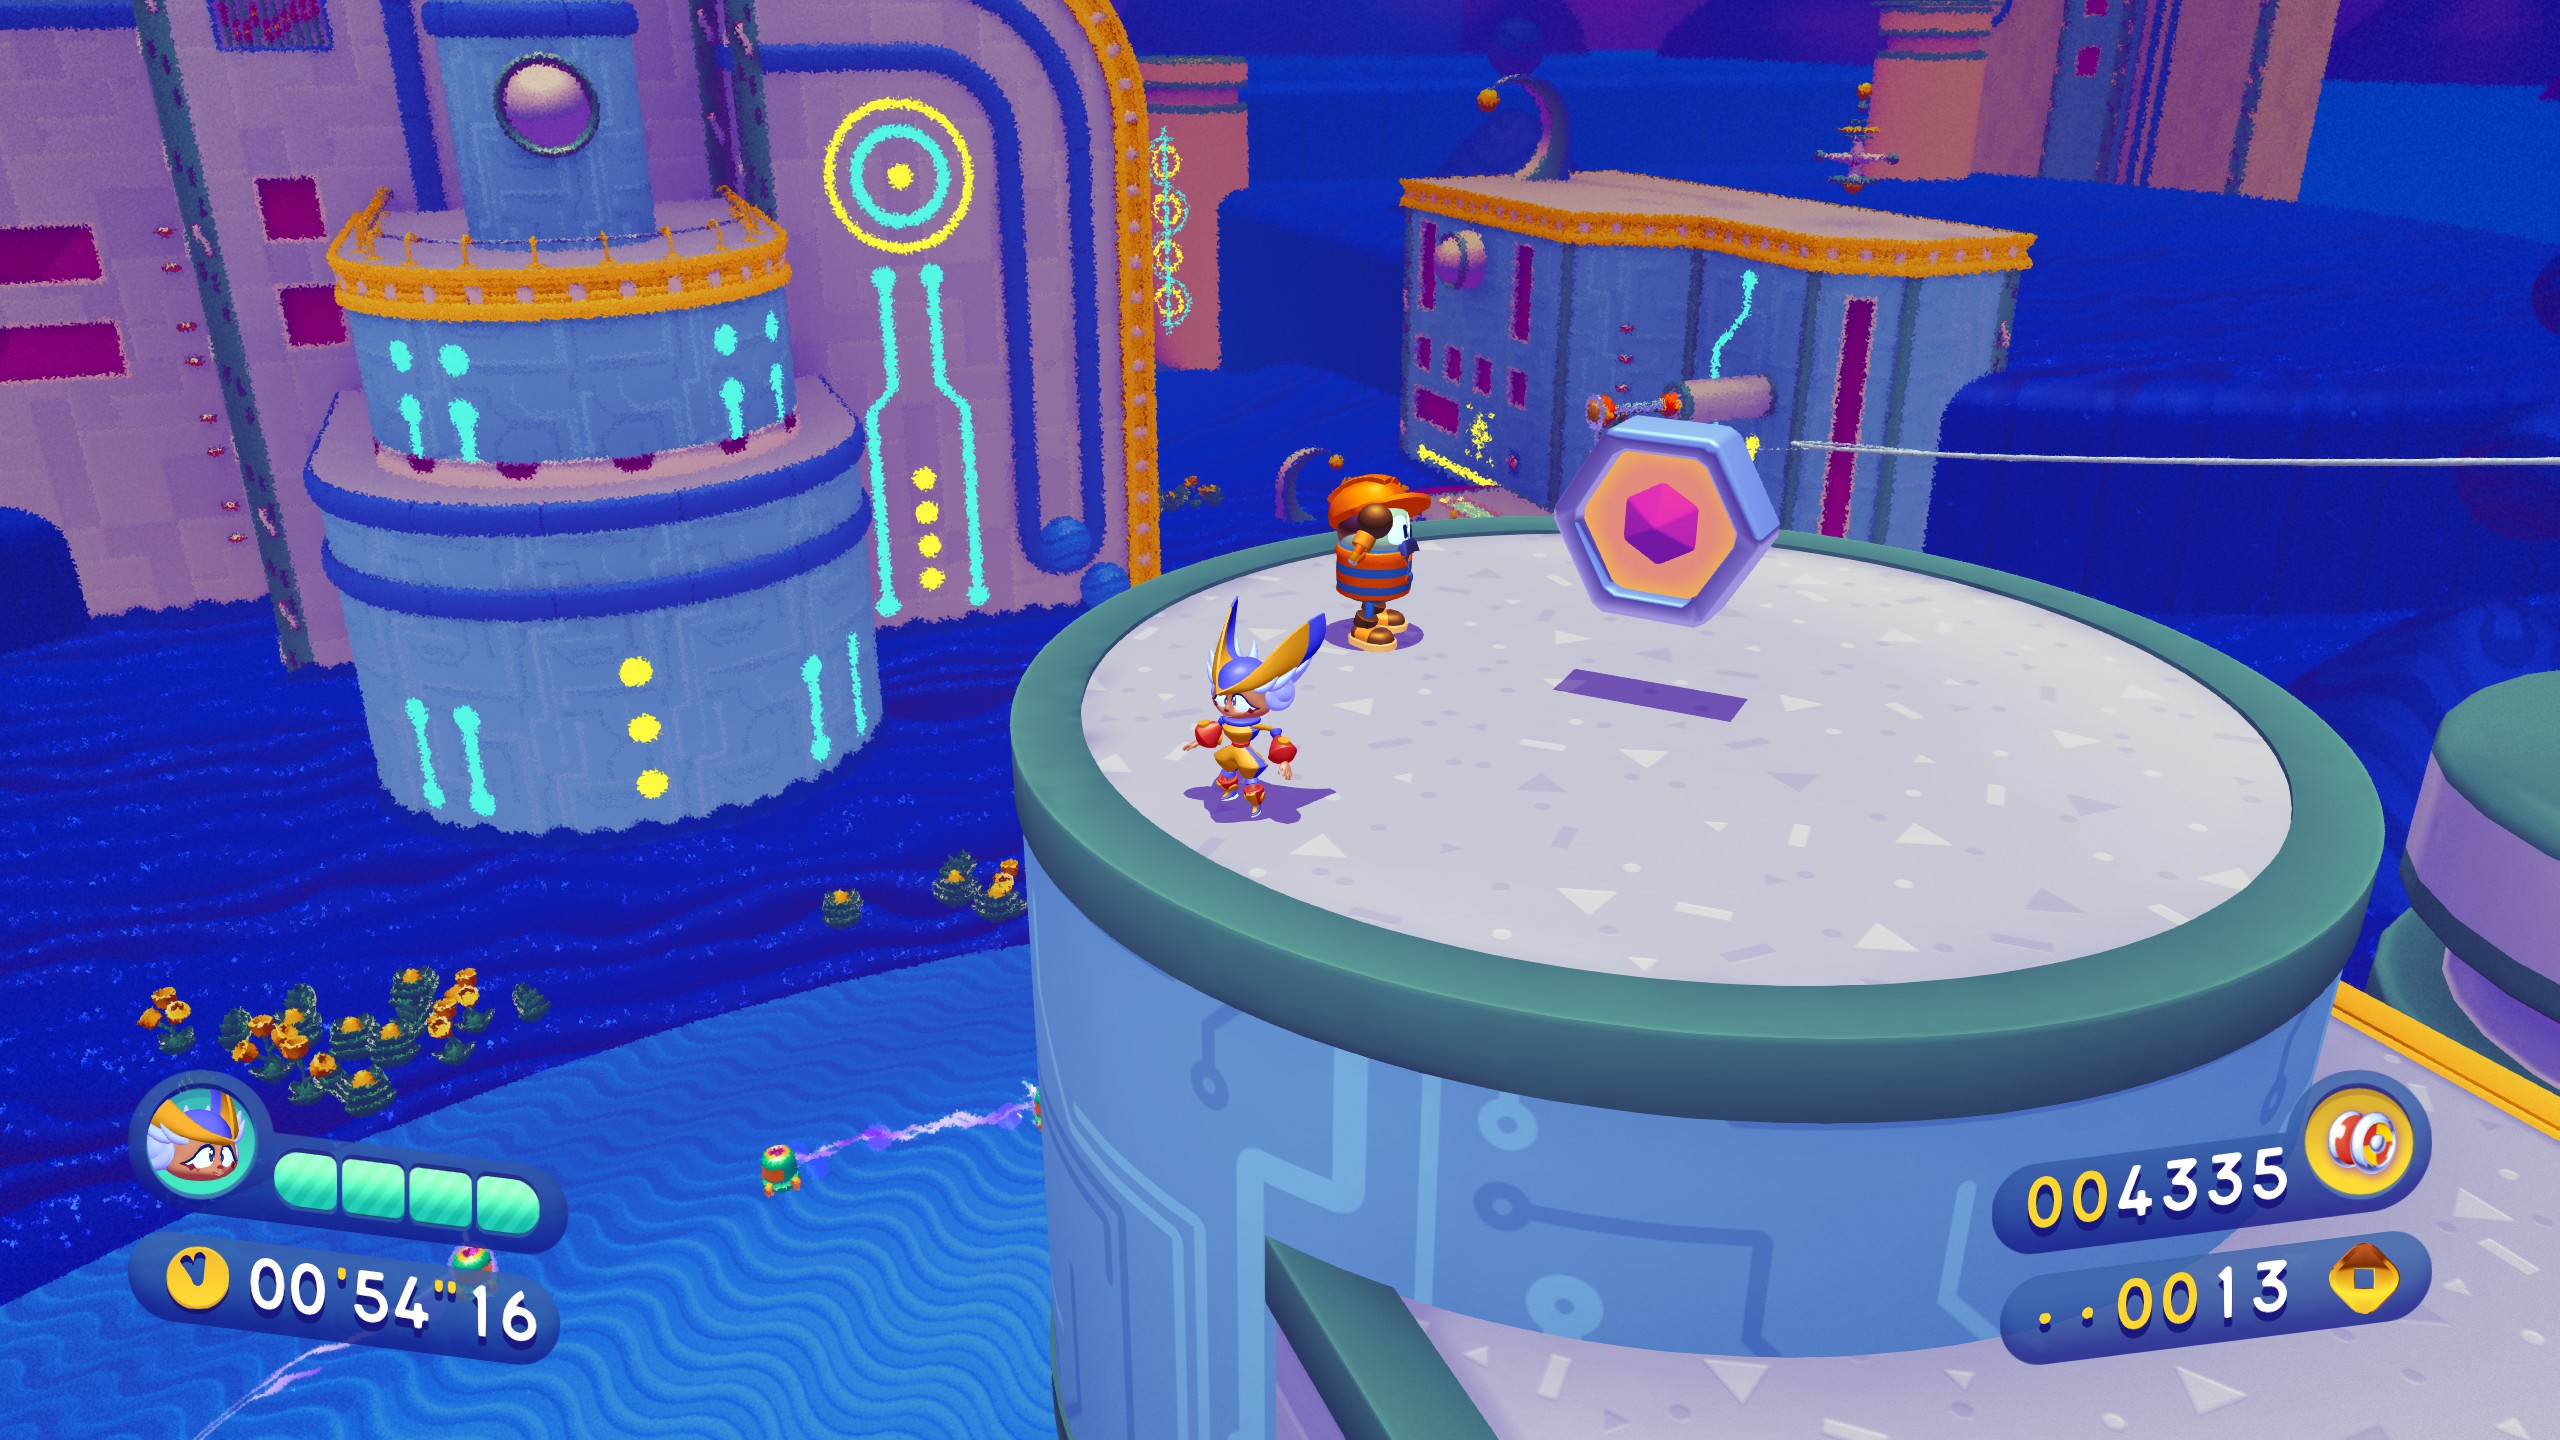
The very last piece of world 2 can be seen directly from this checkpoint. Simply take the lower path, avoiding the crushing rocks, and ride the pipes back out to the finish!
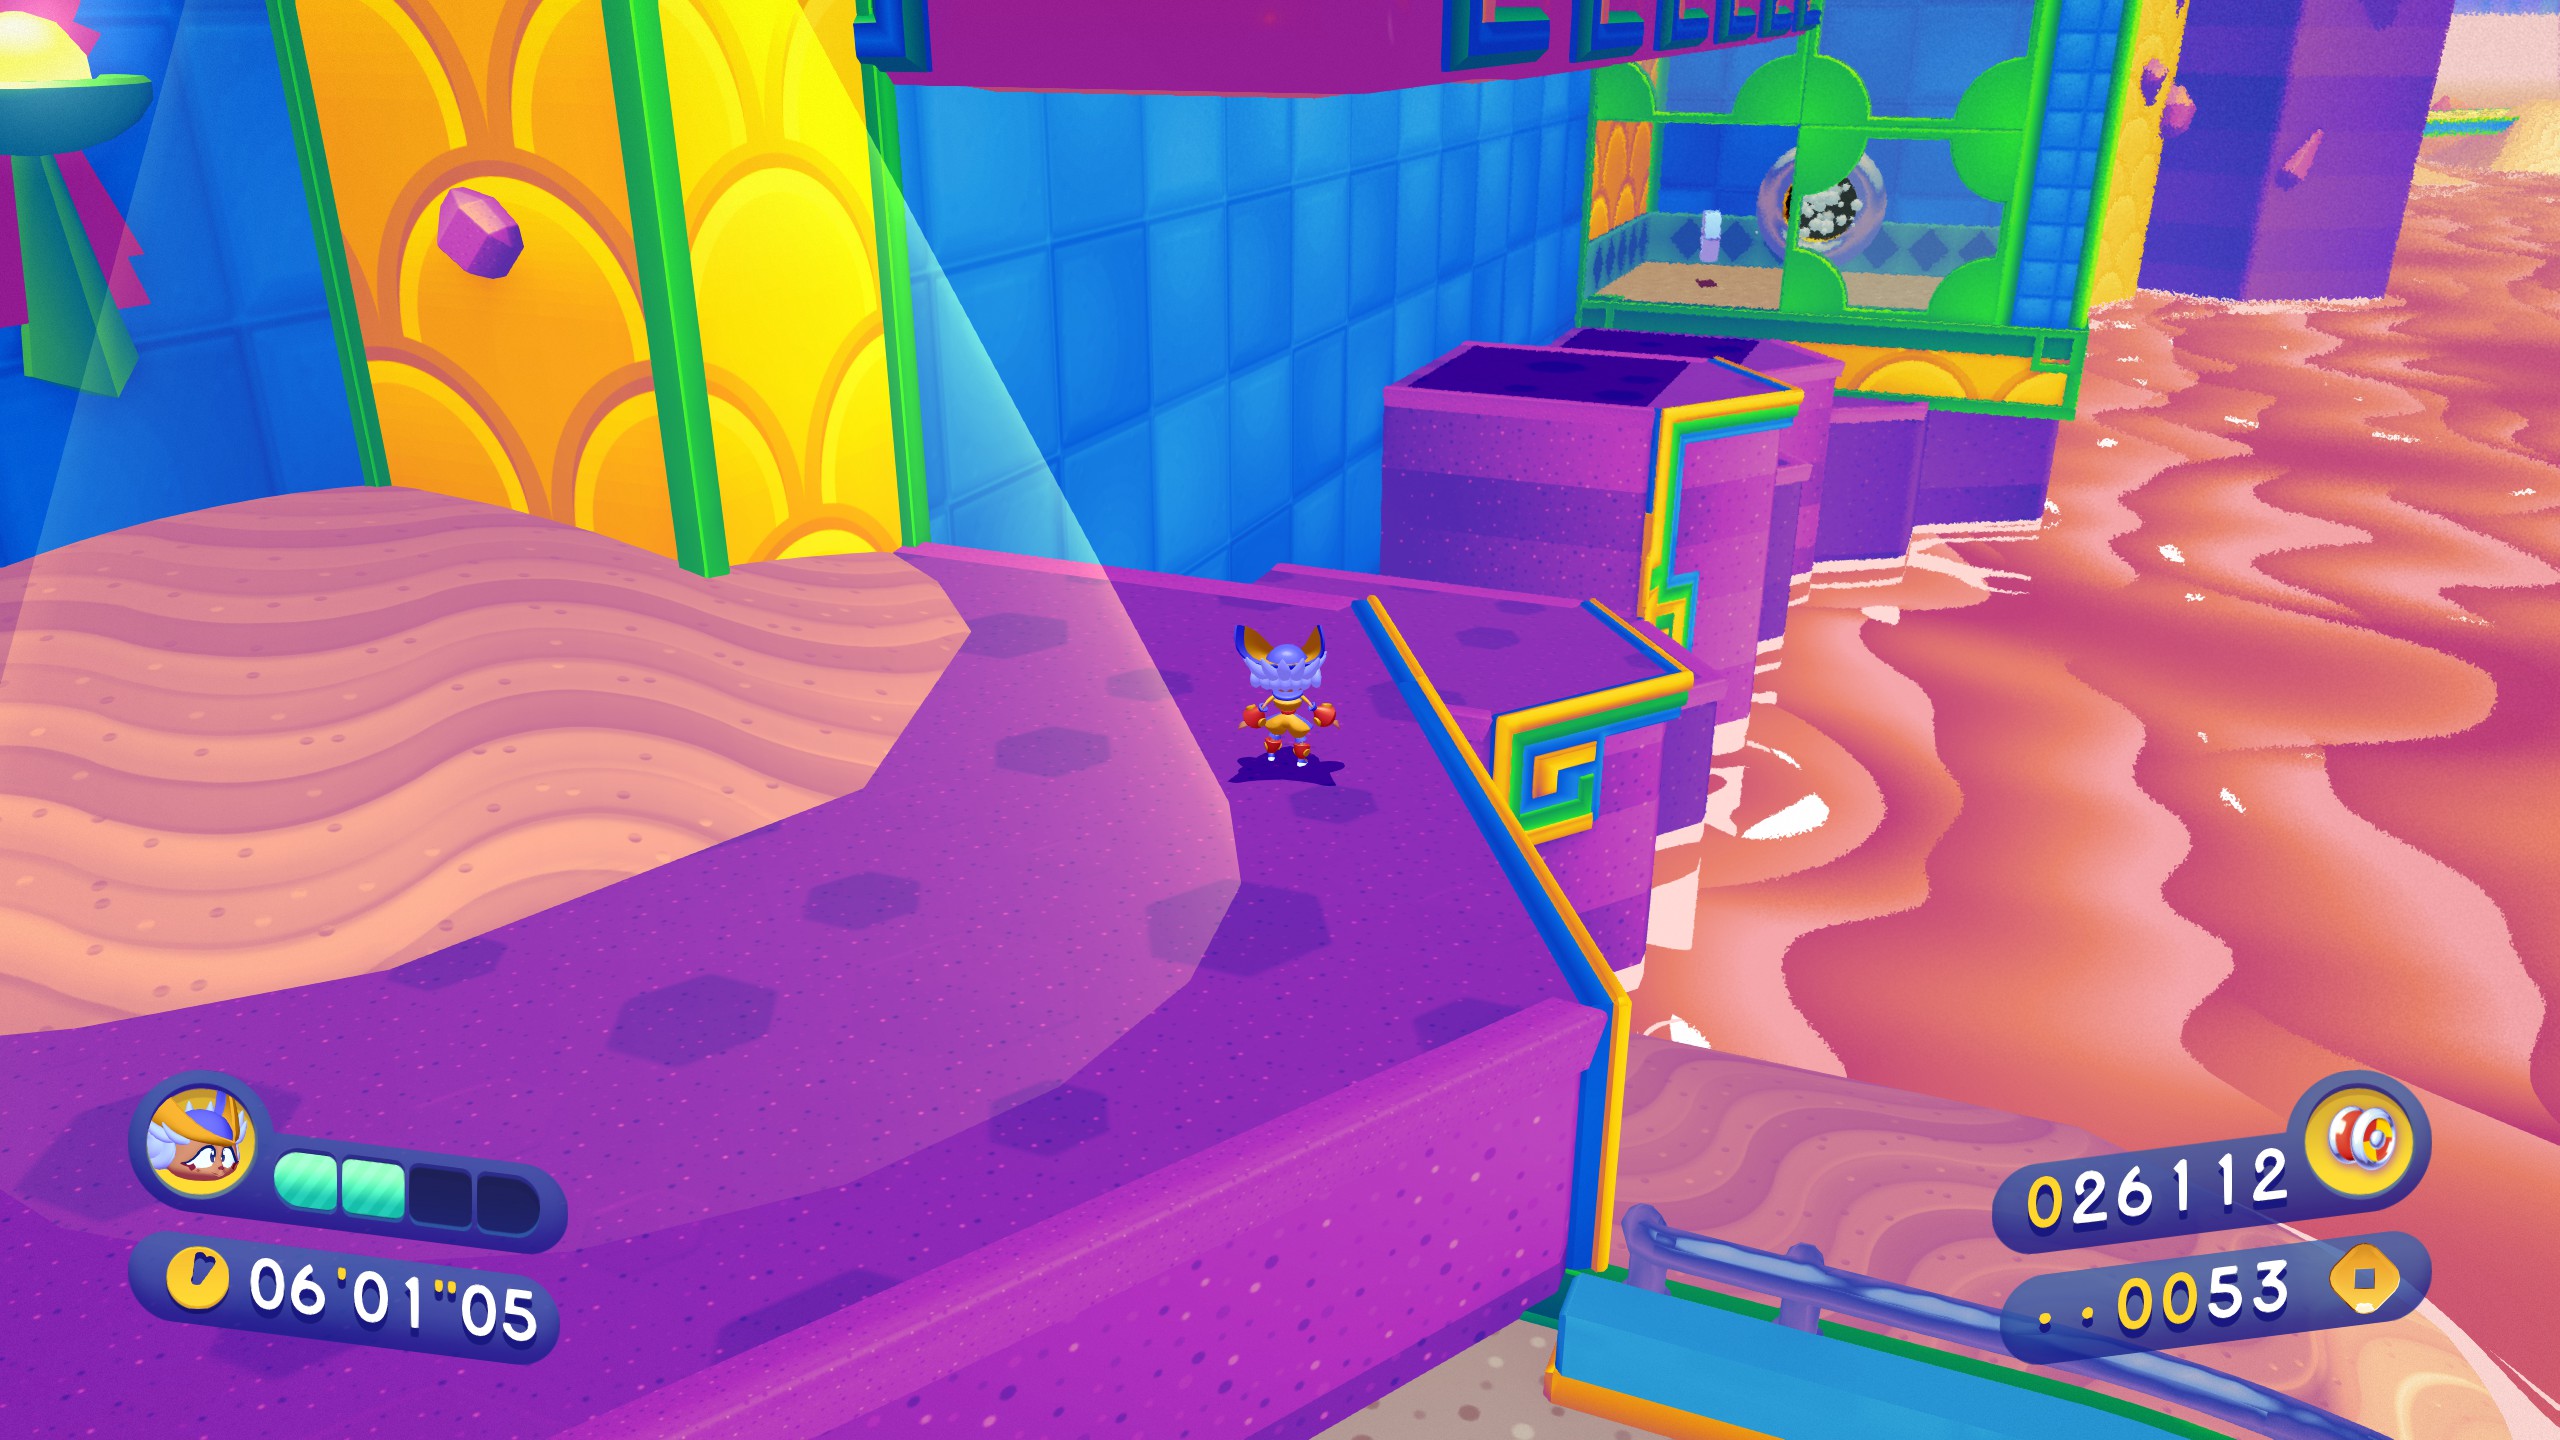
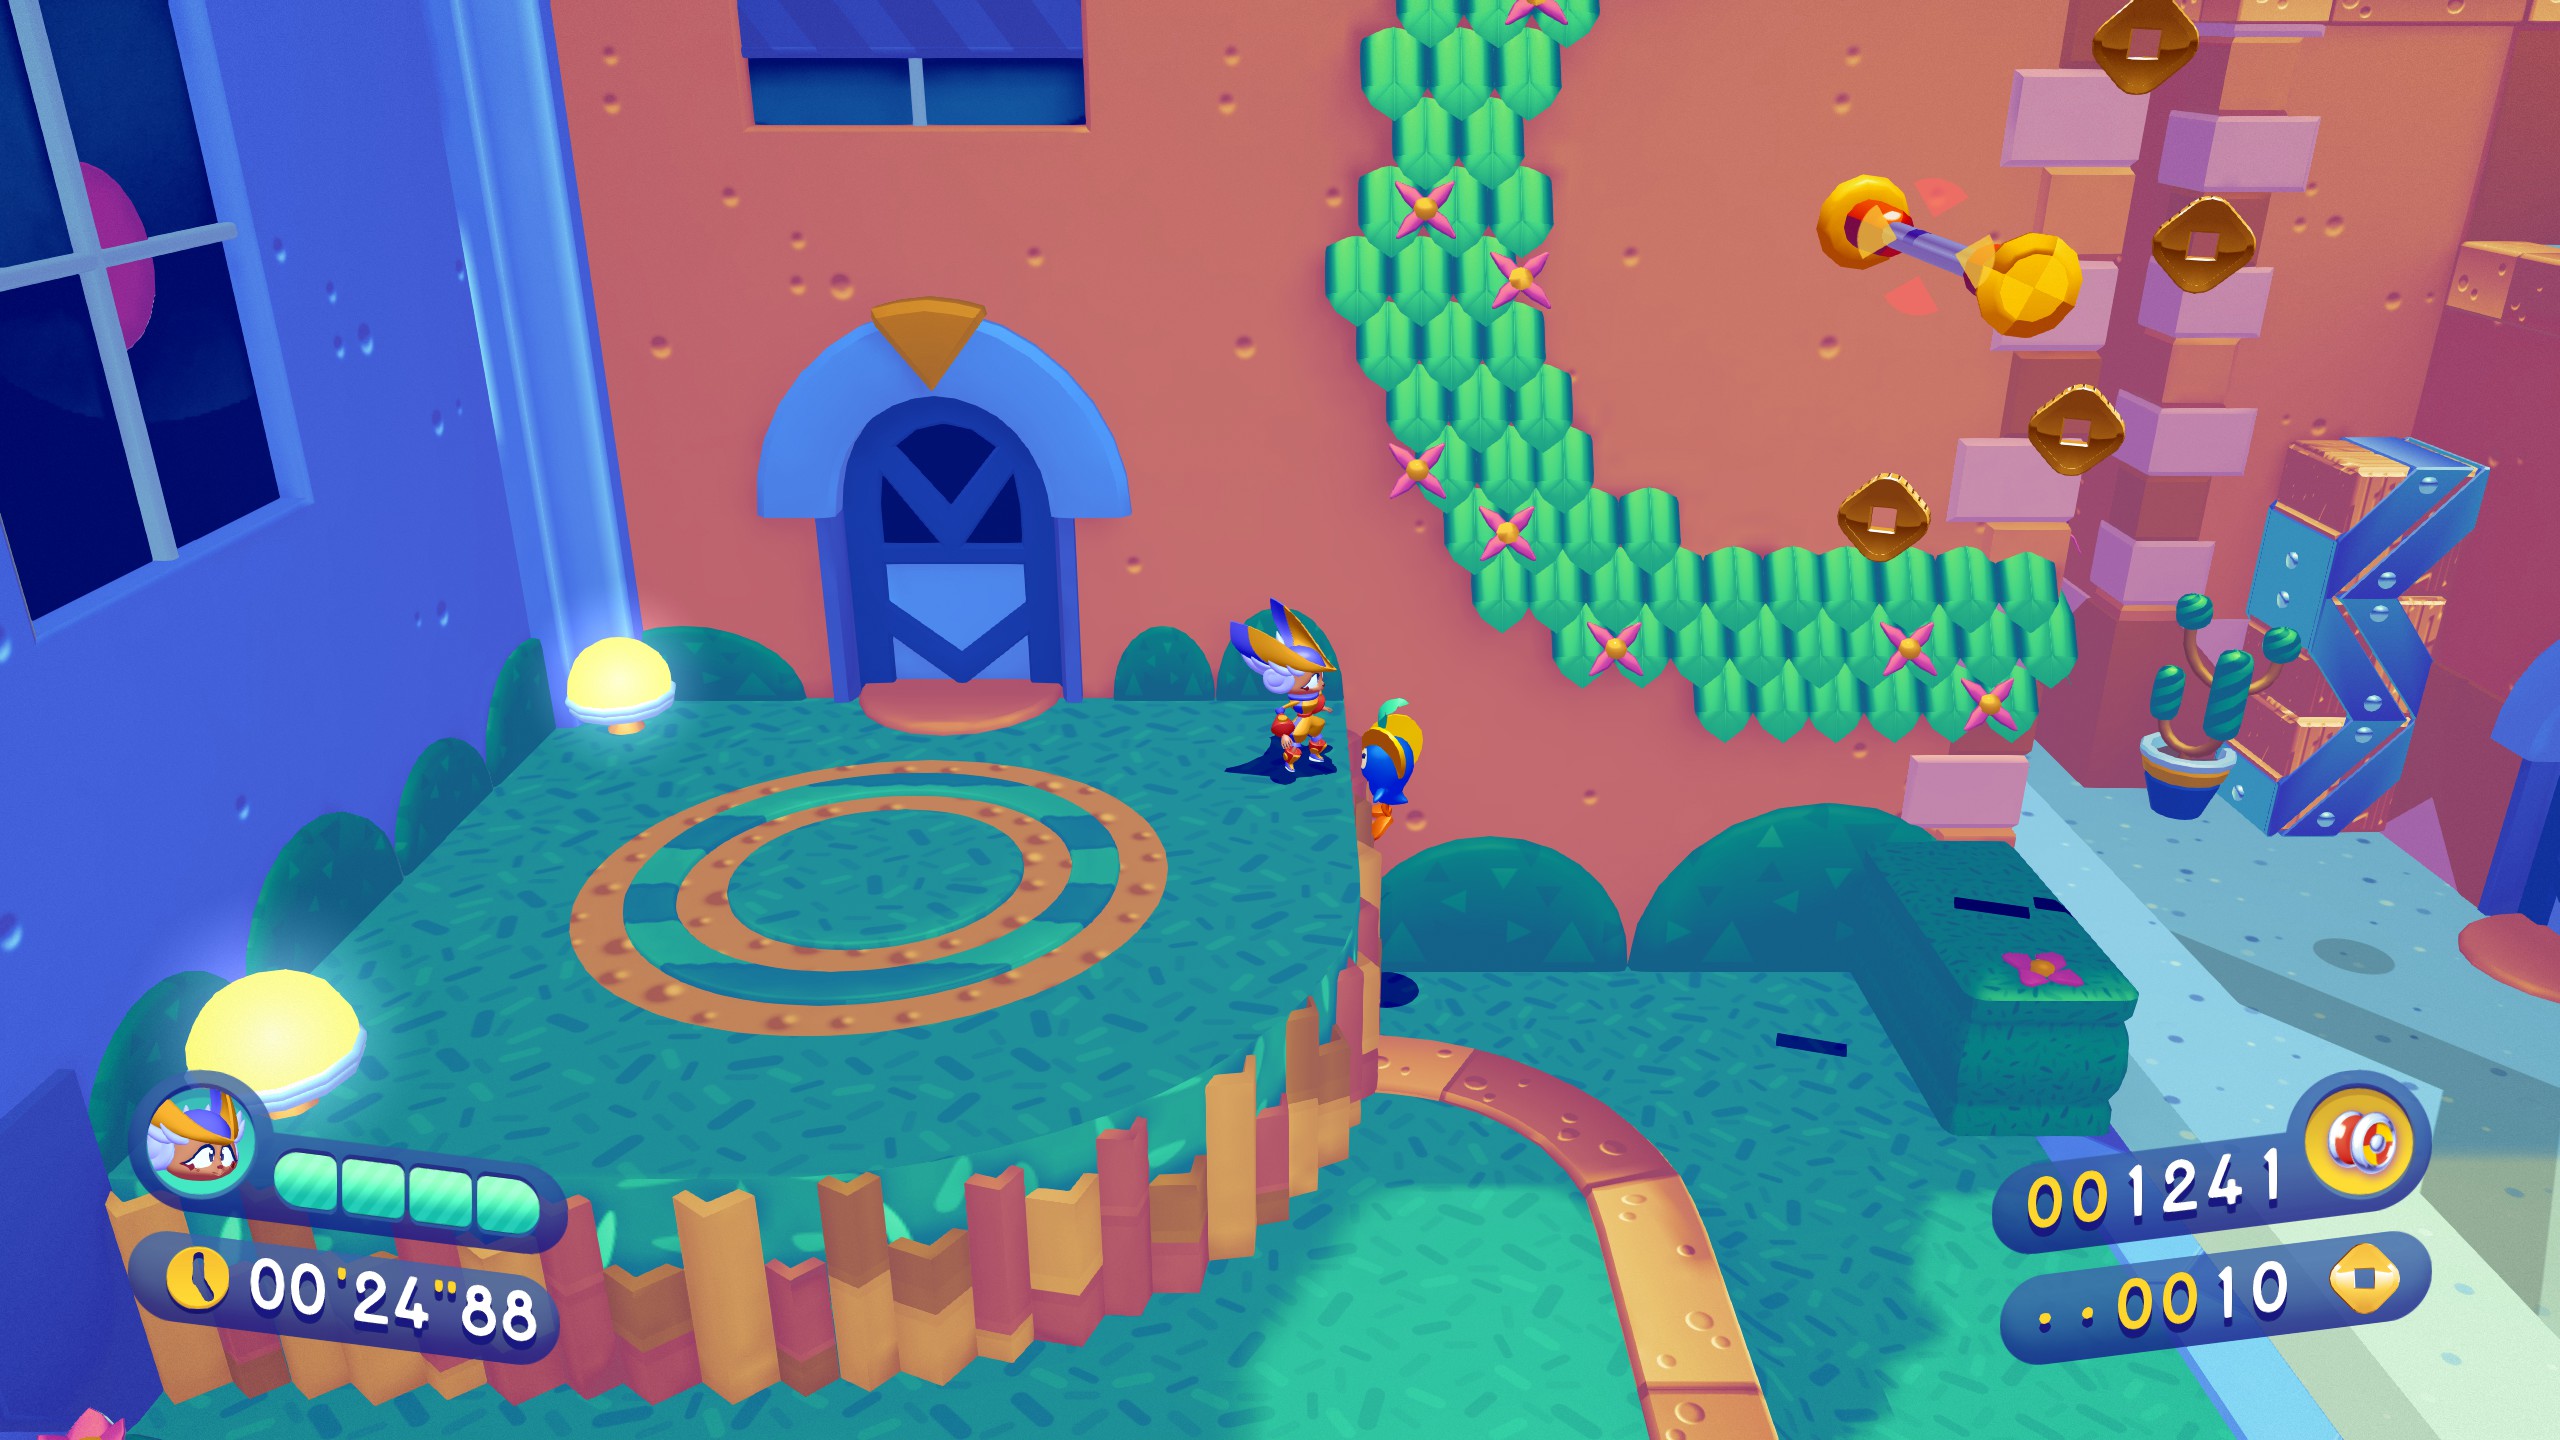
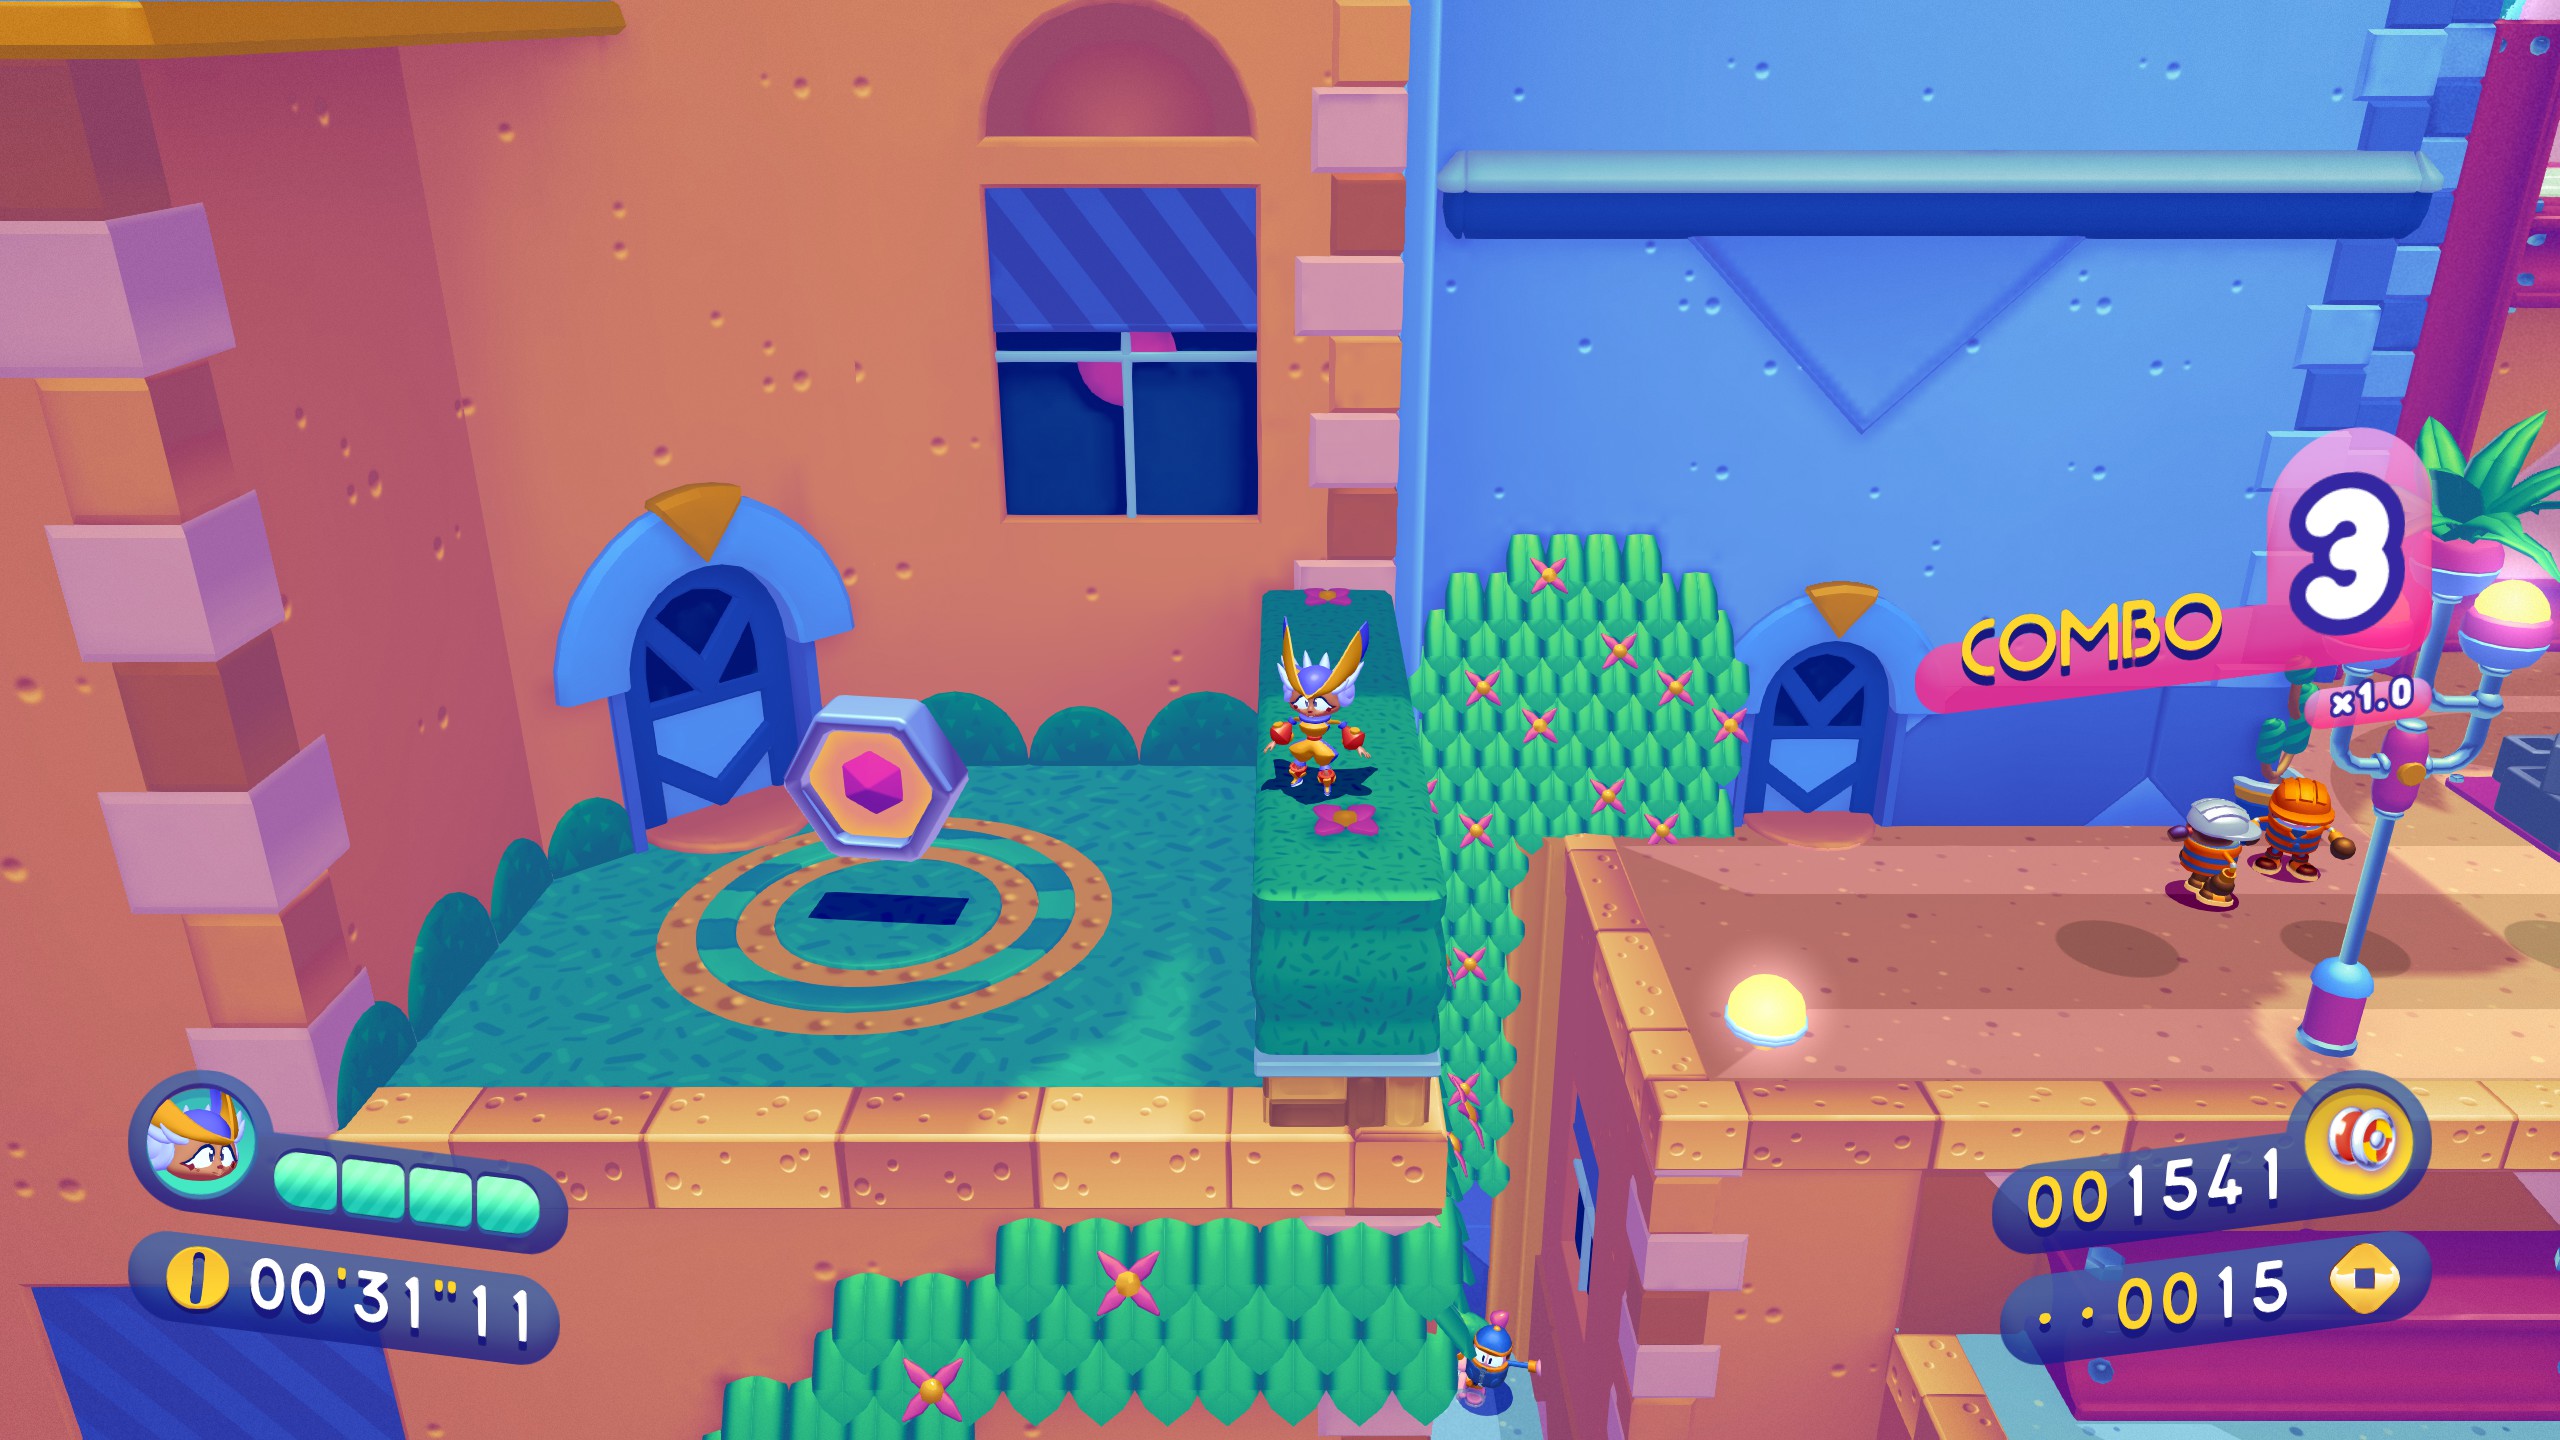
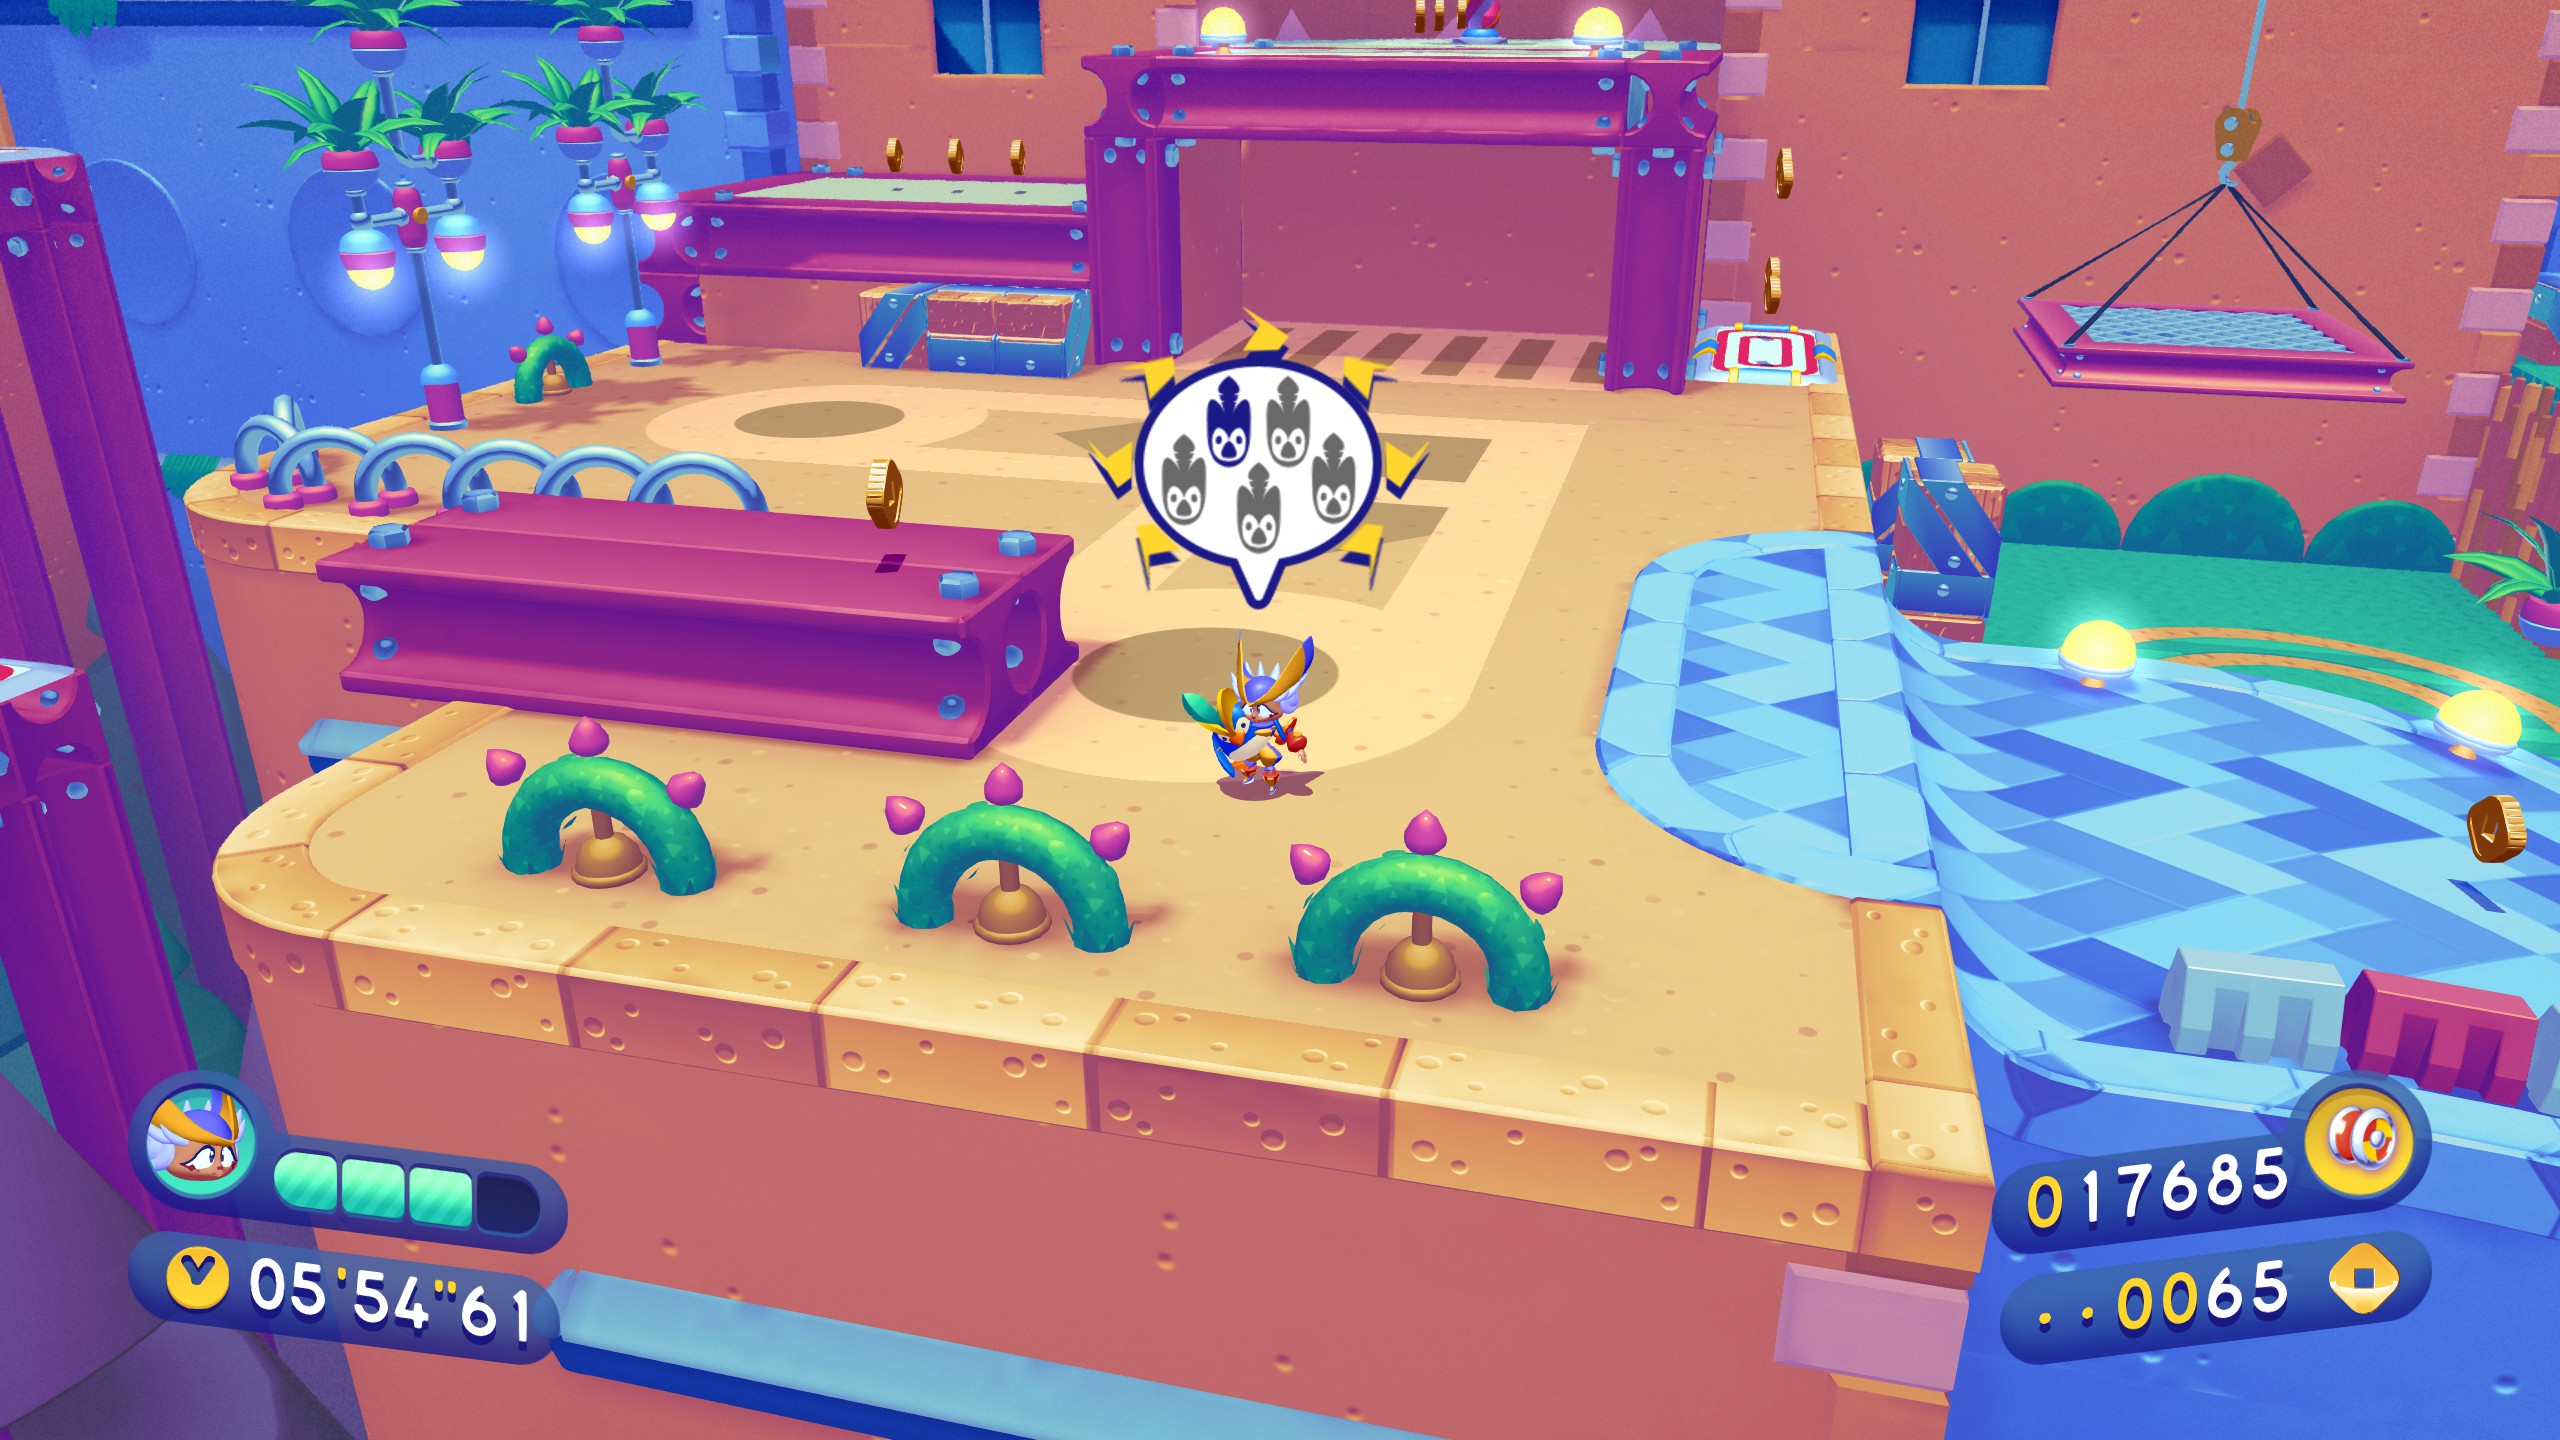
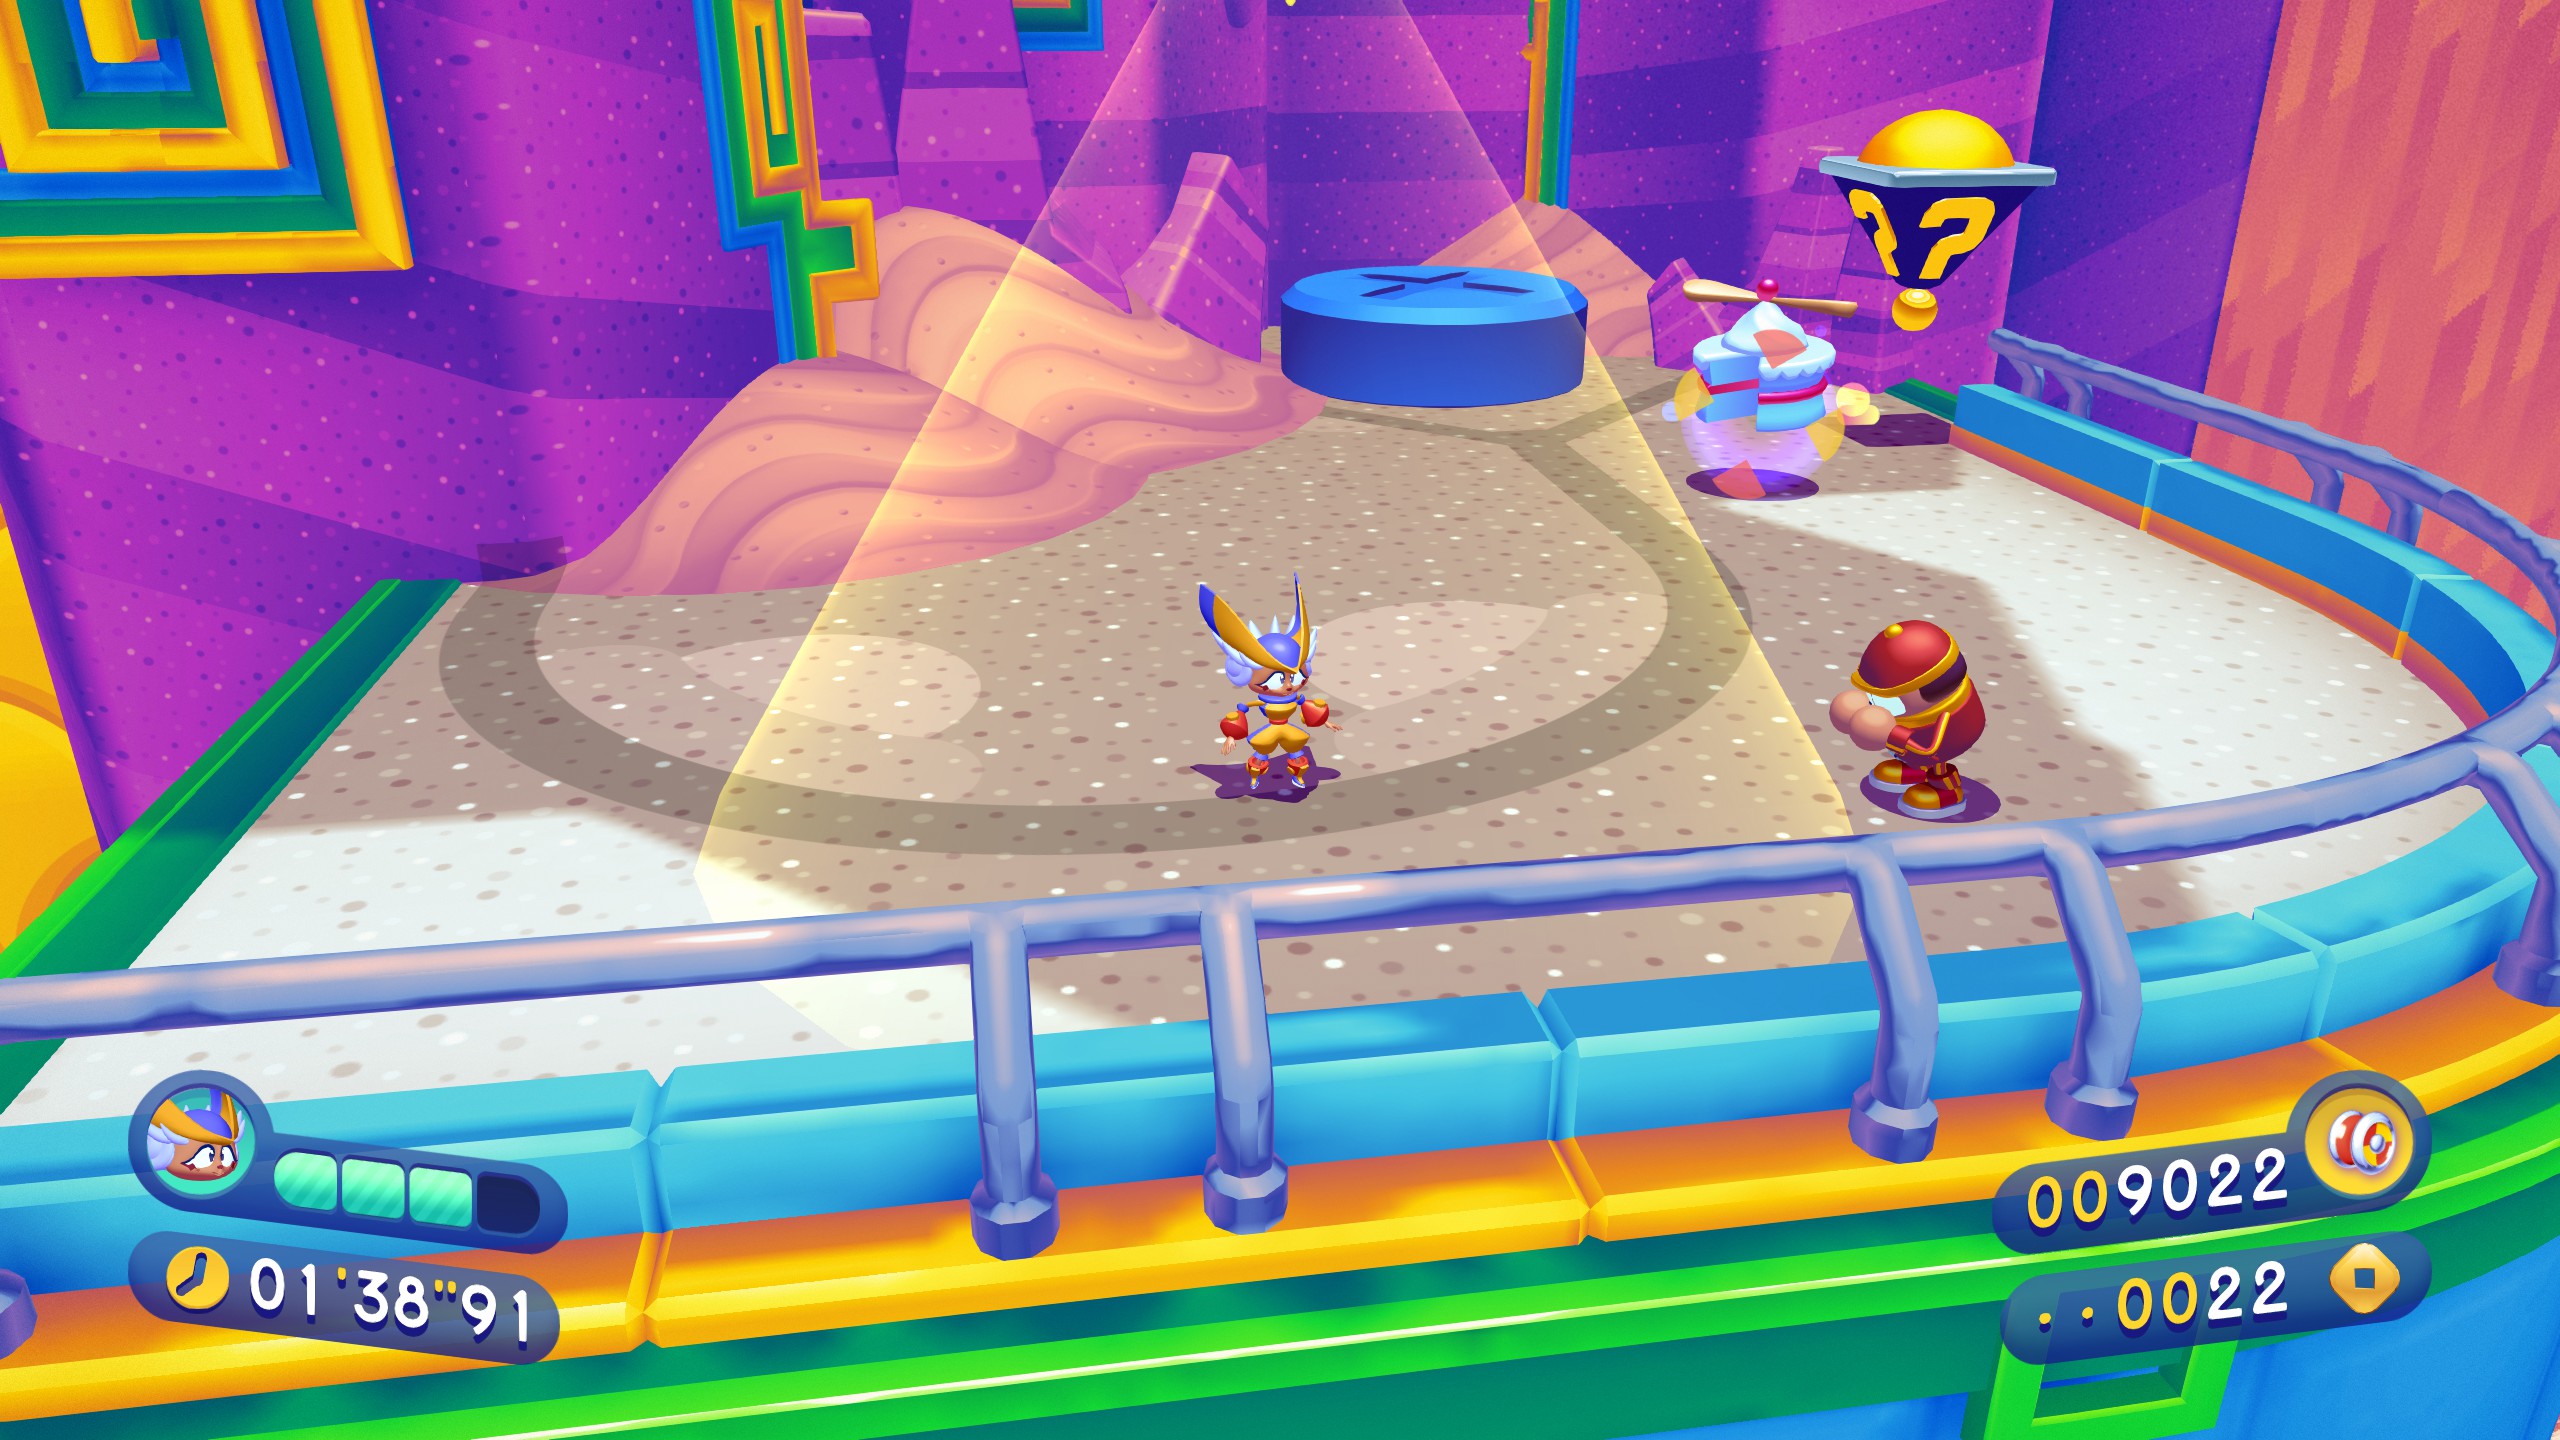
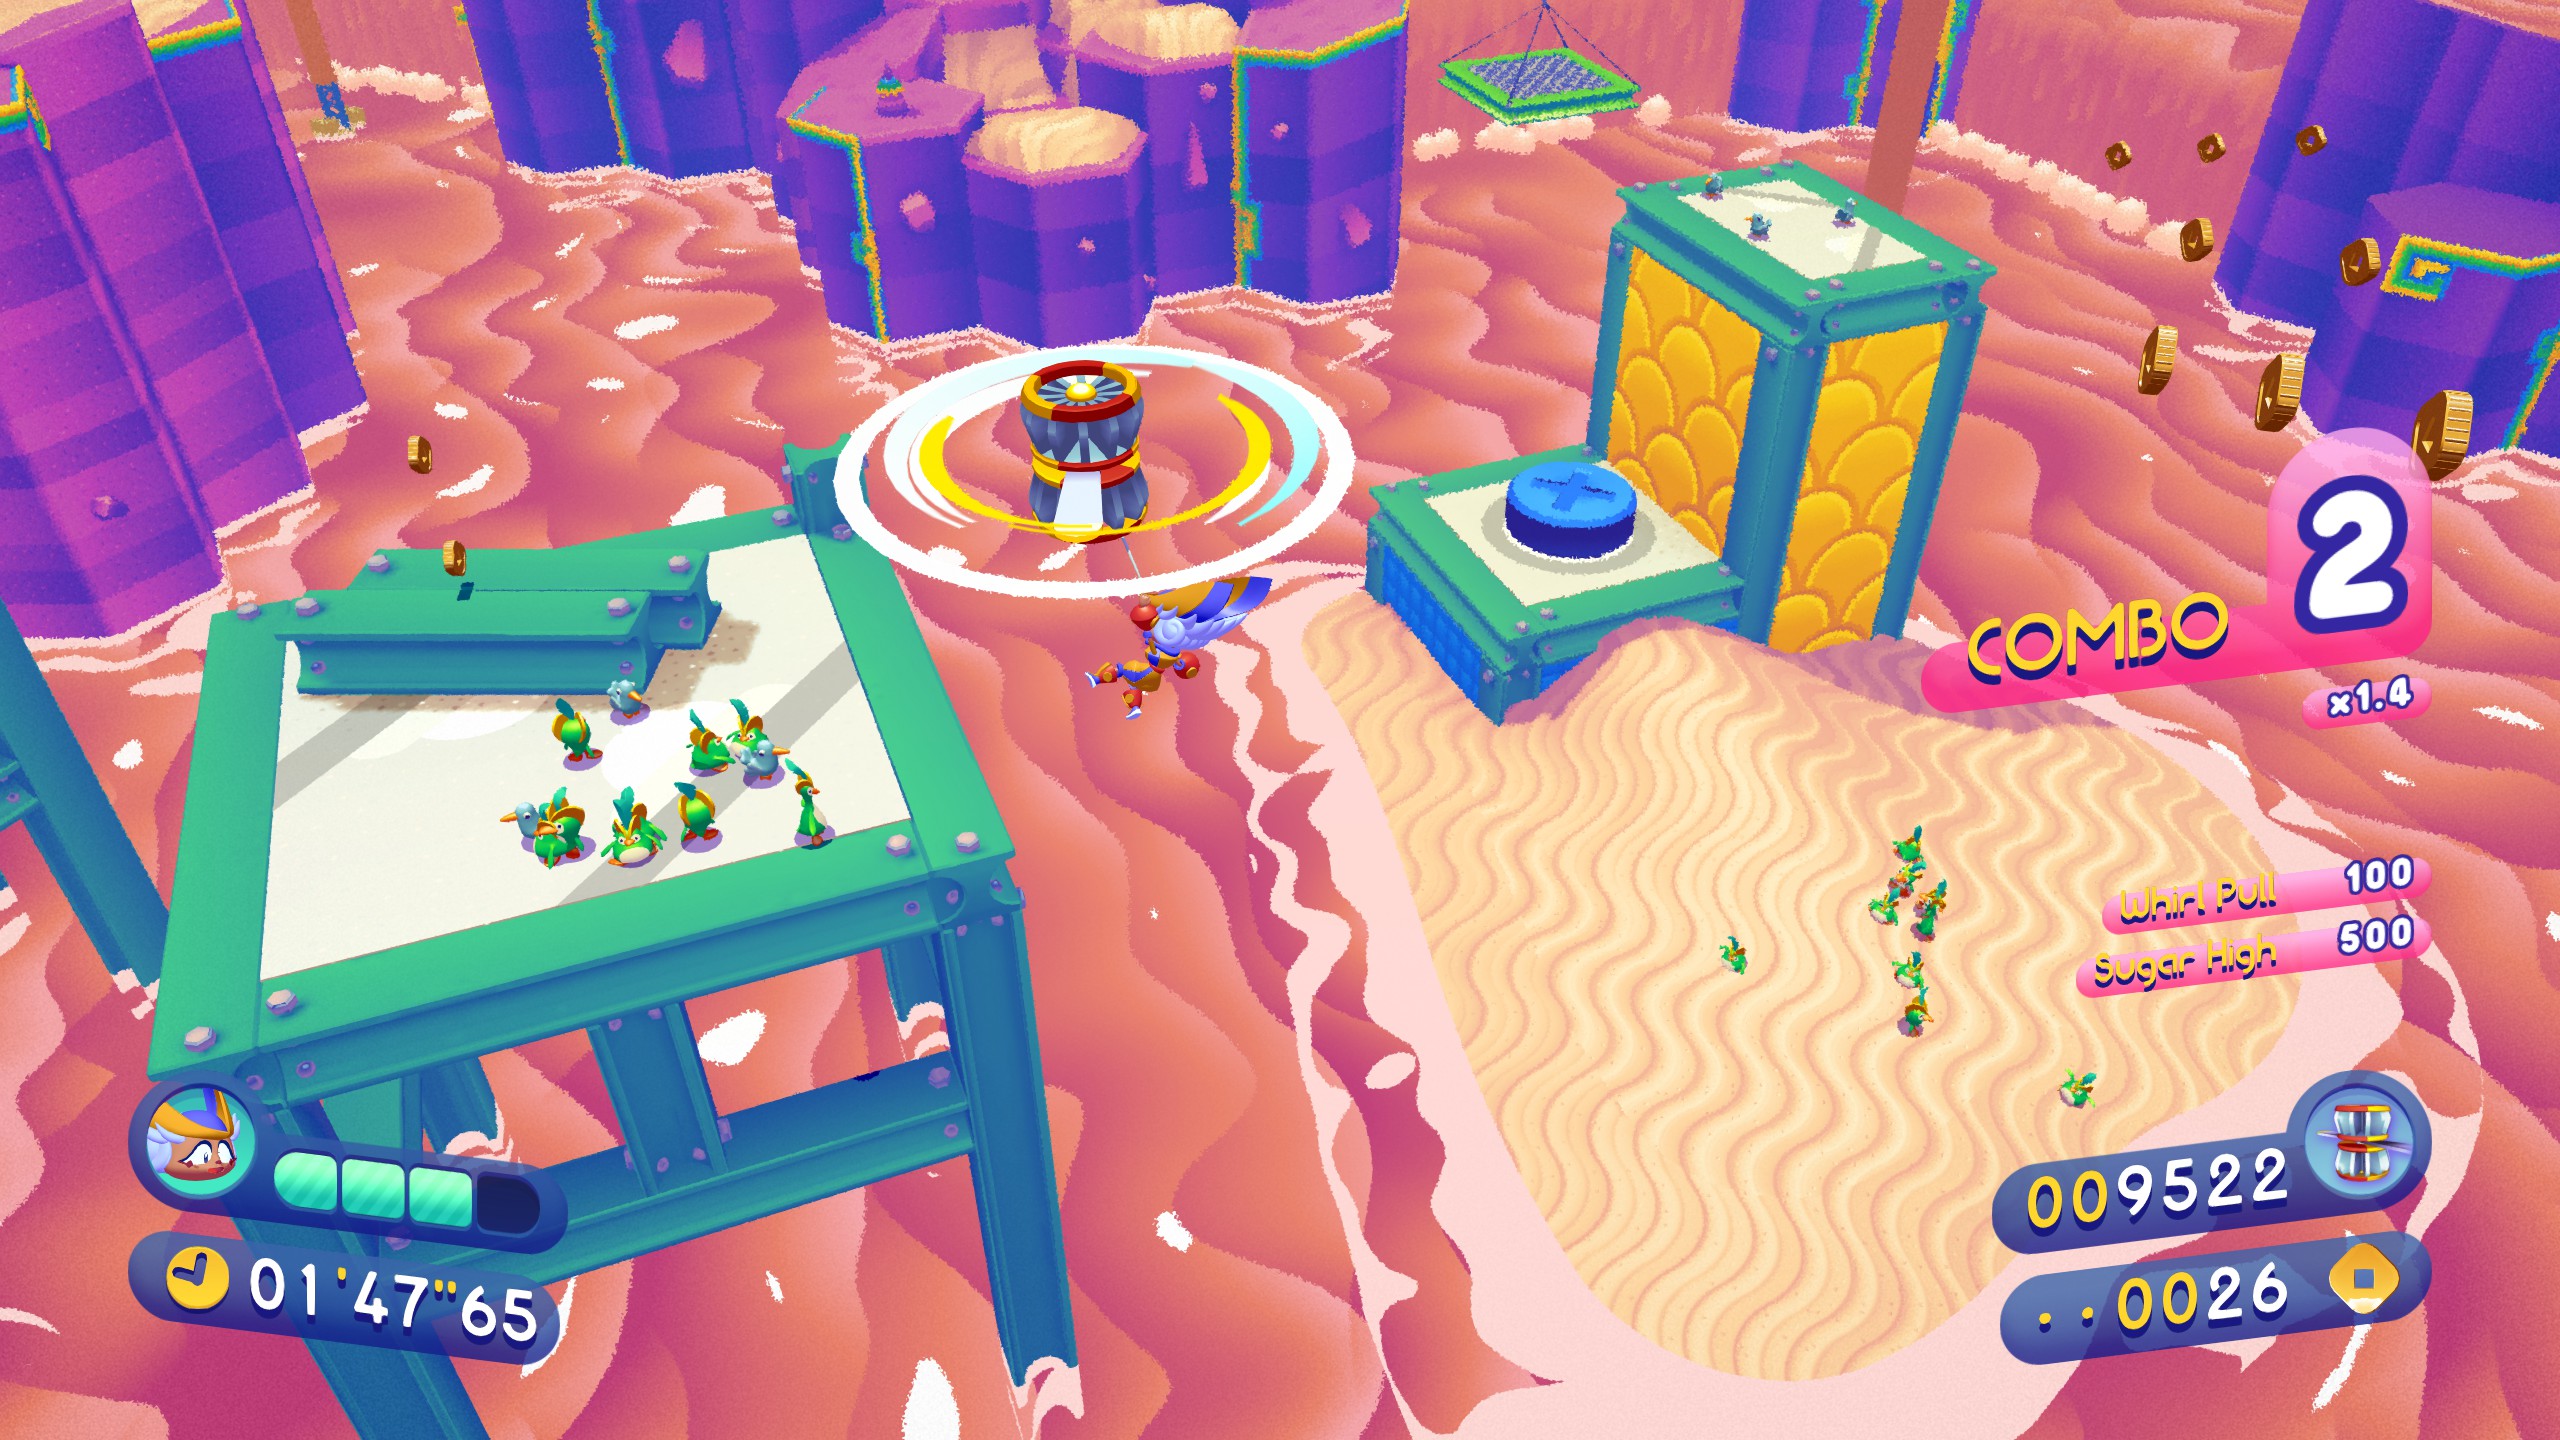
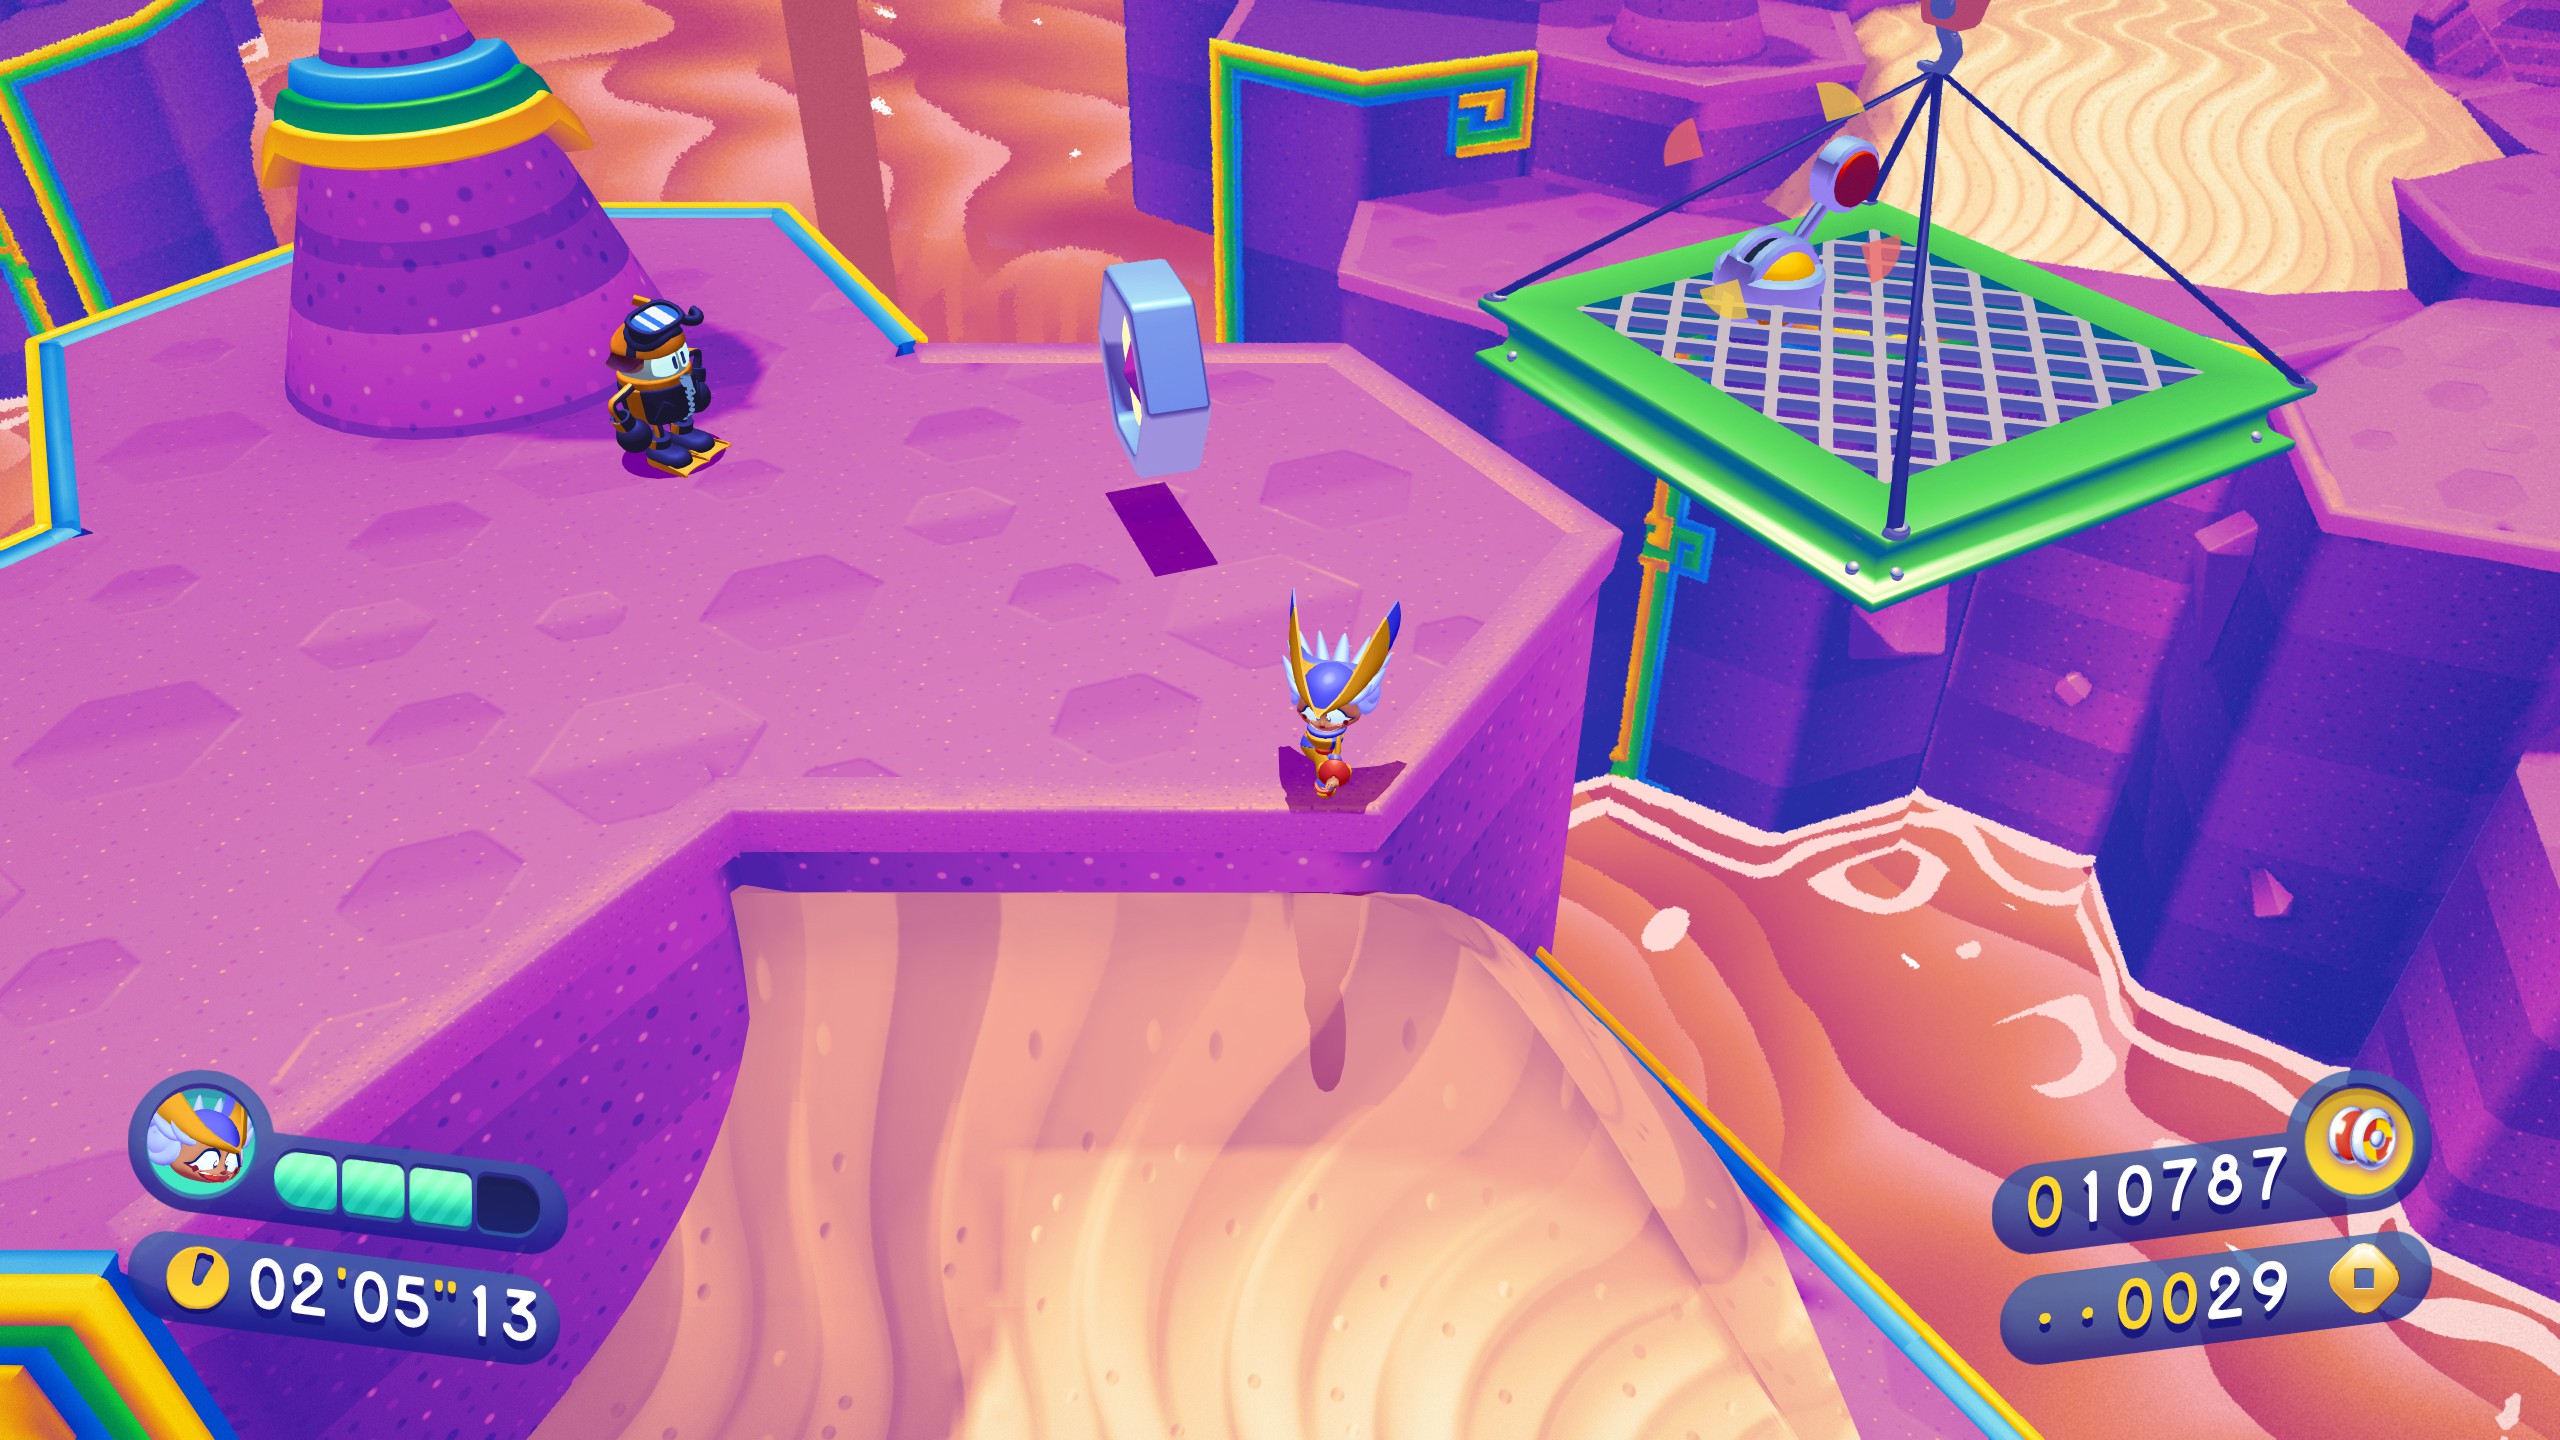
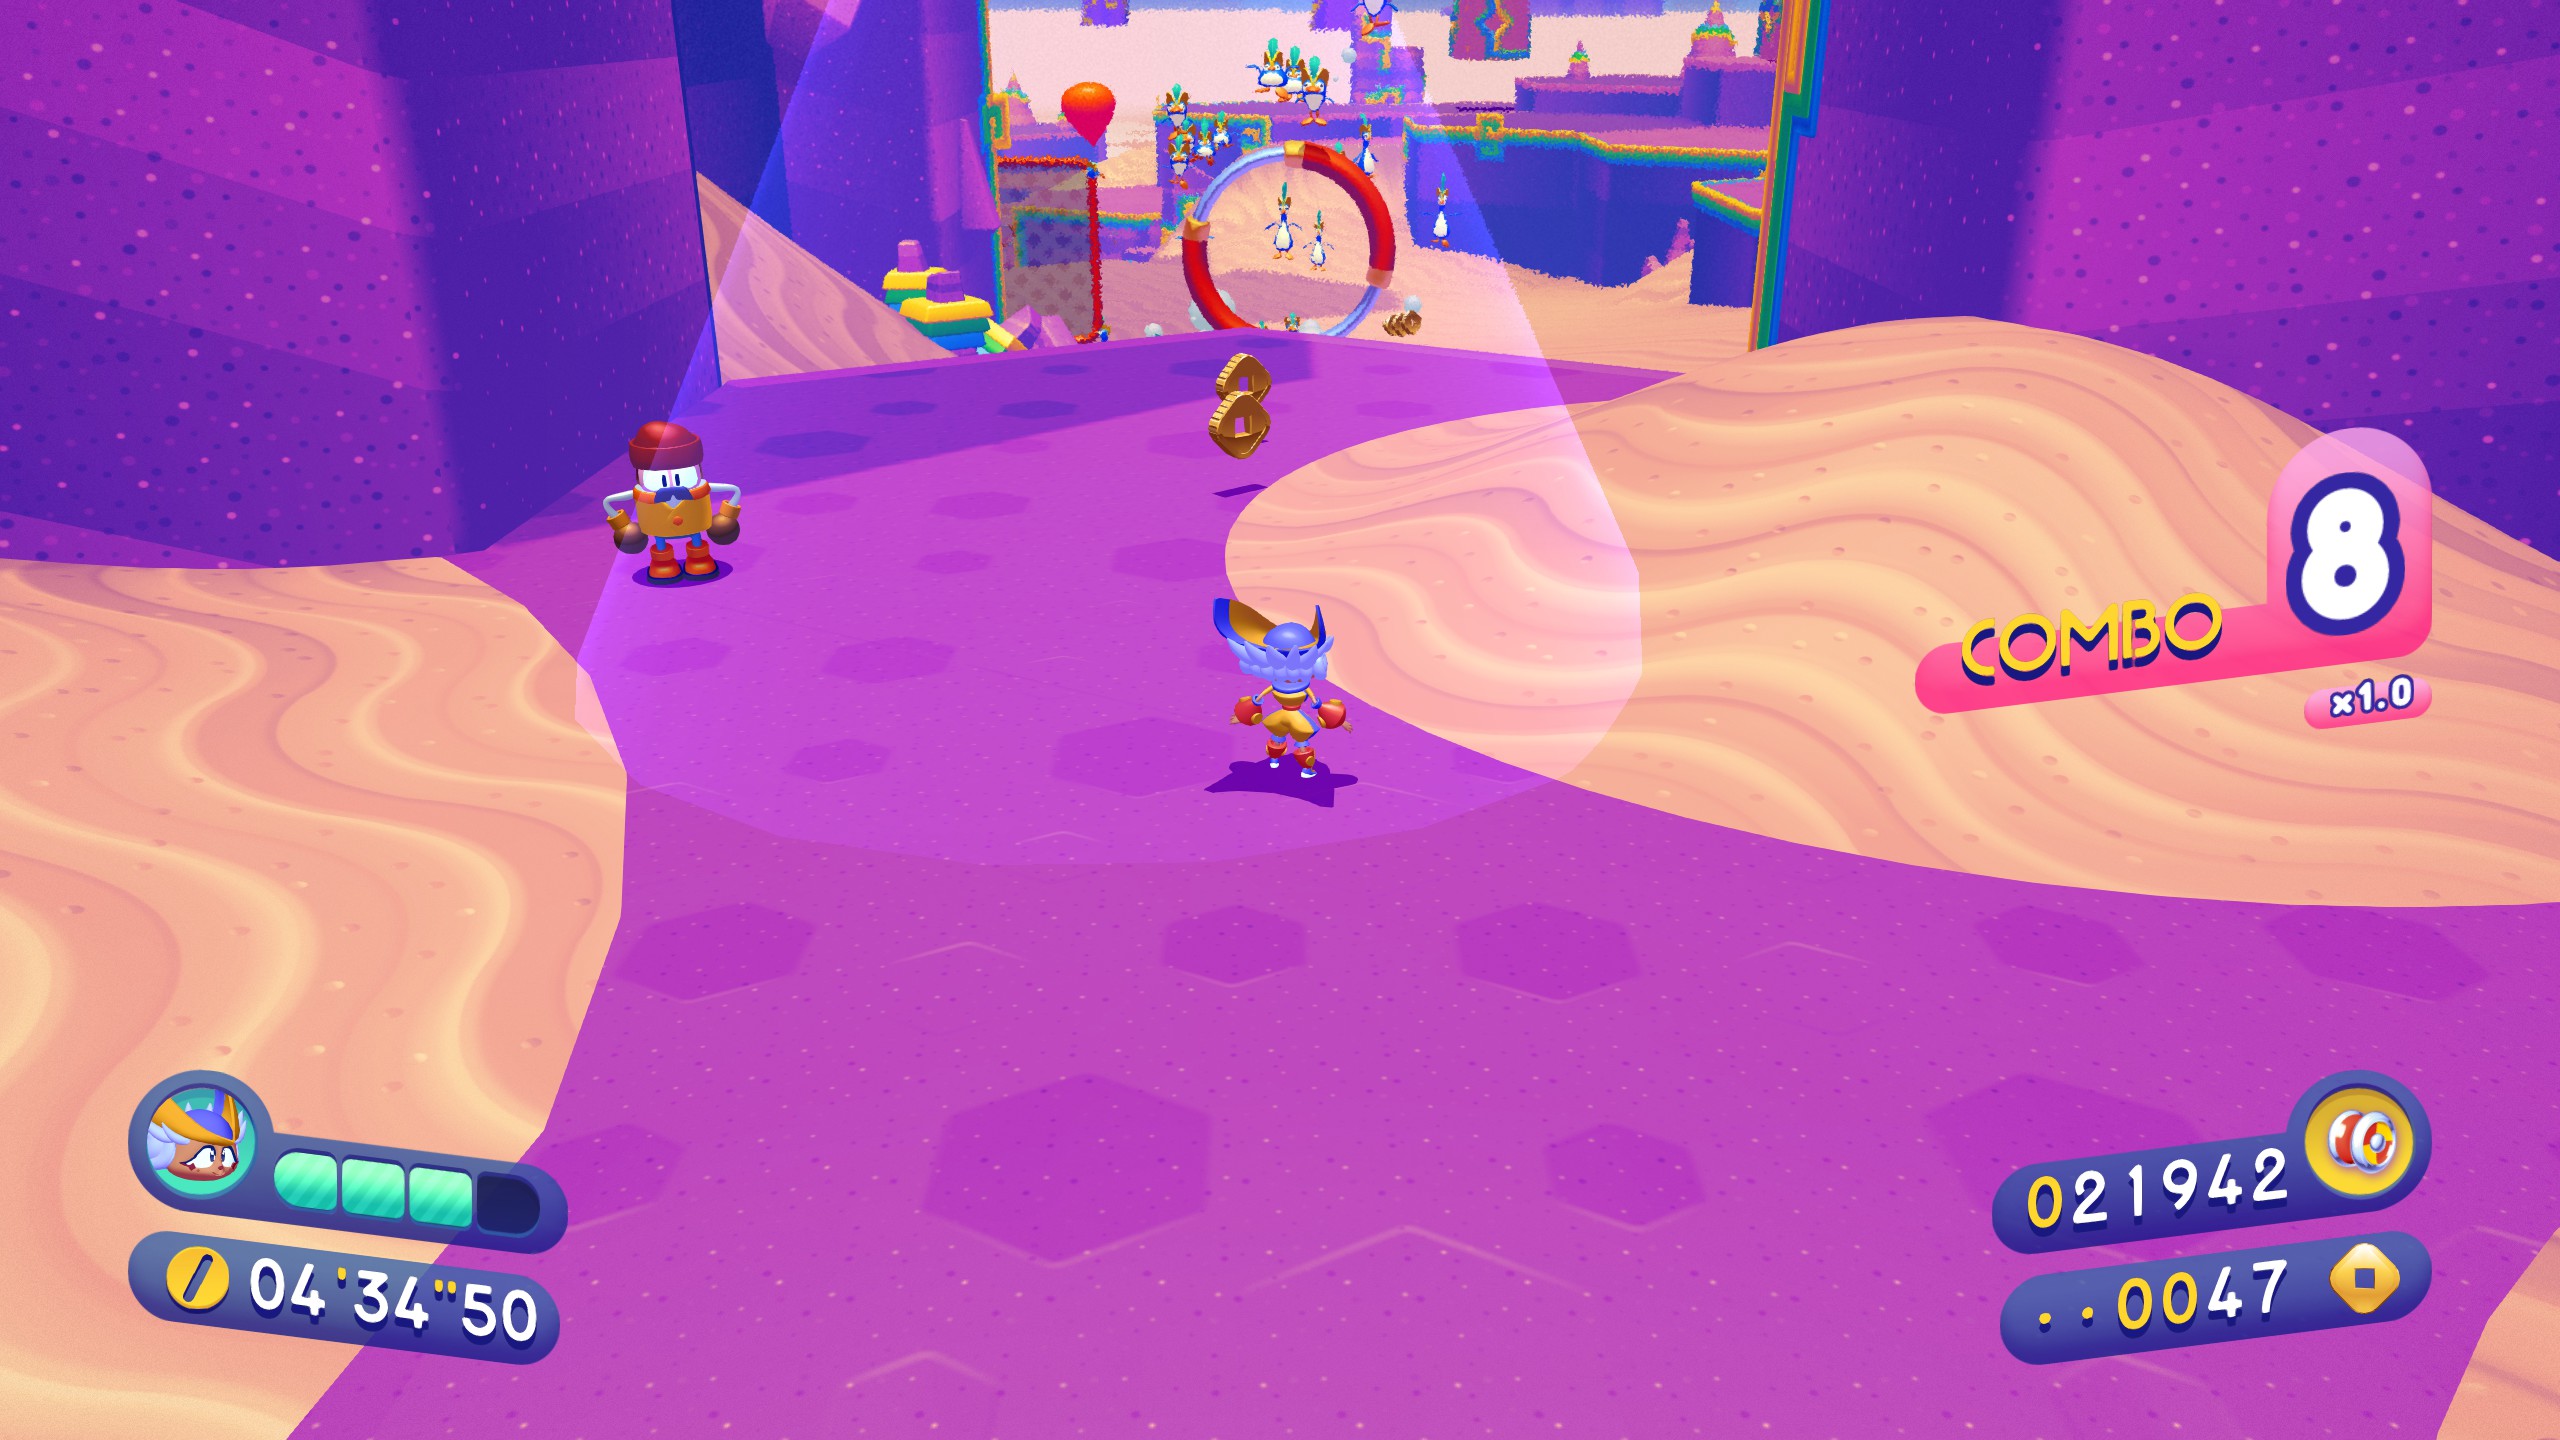
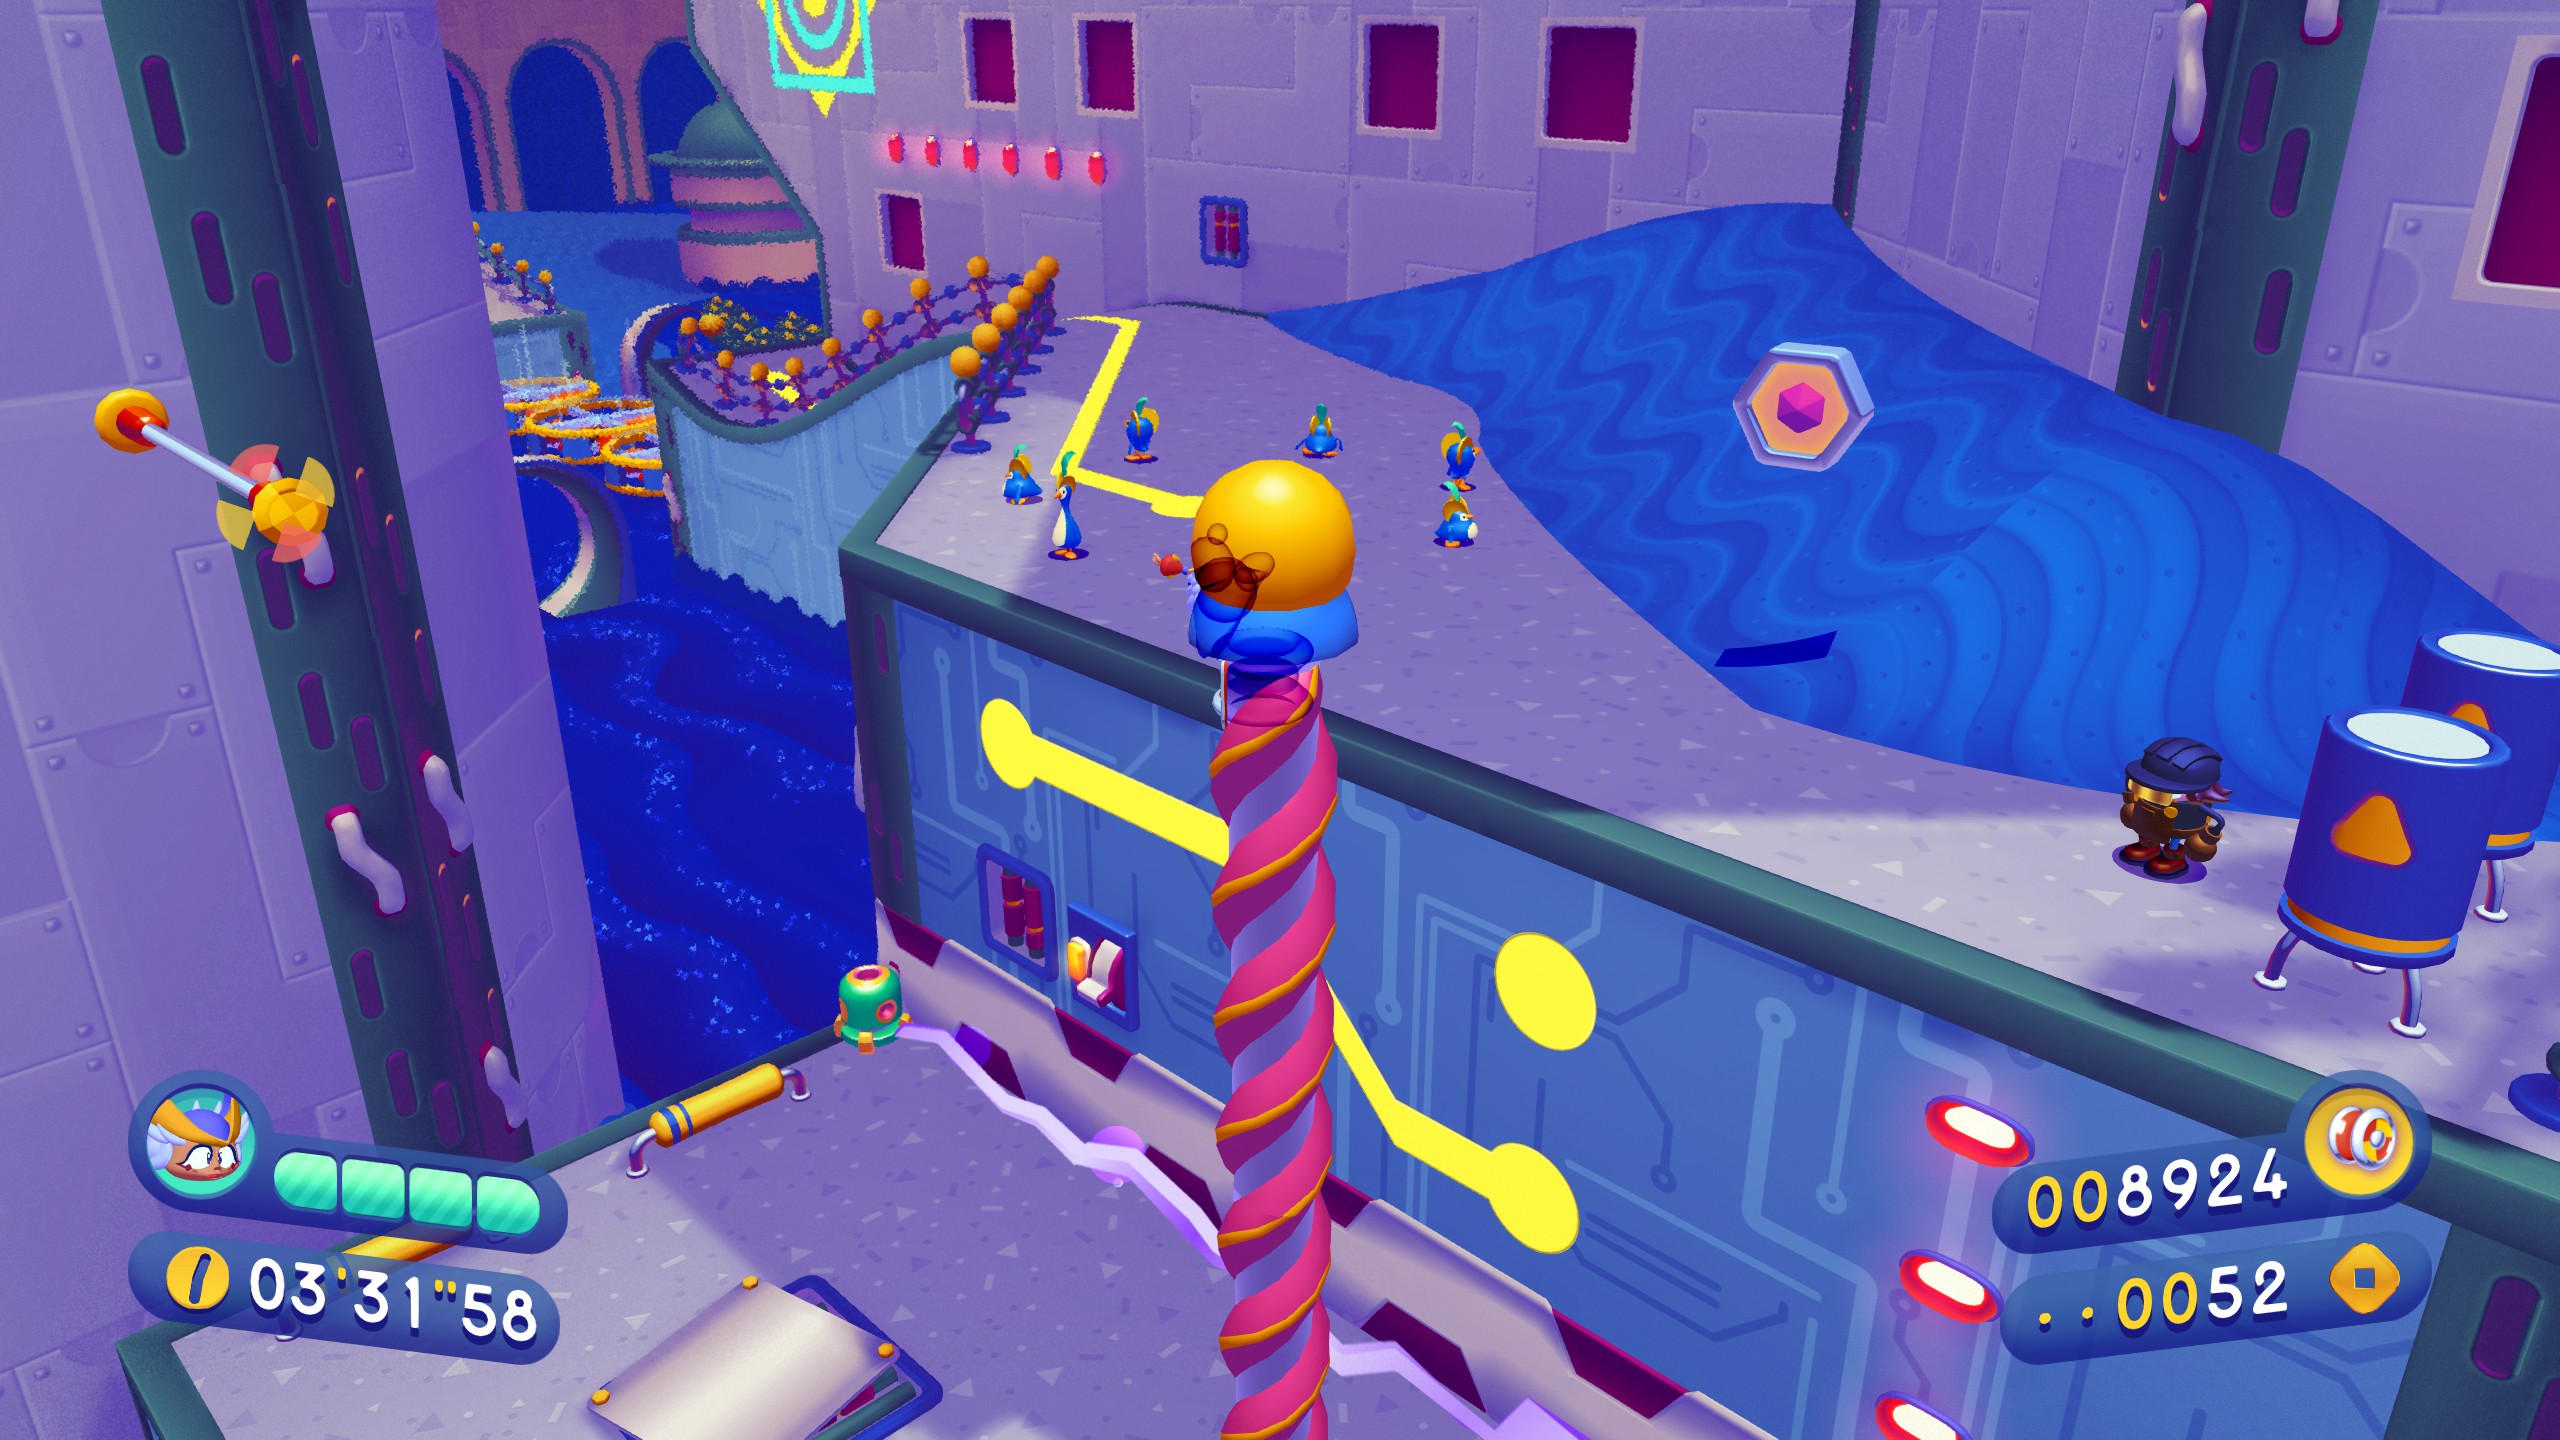
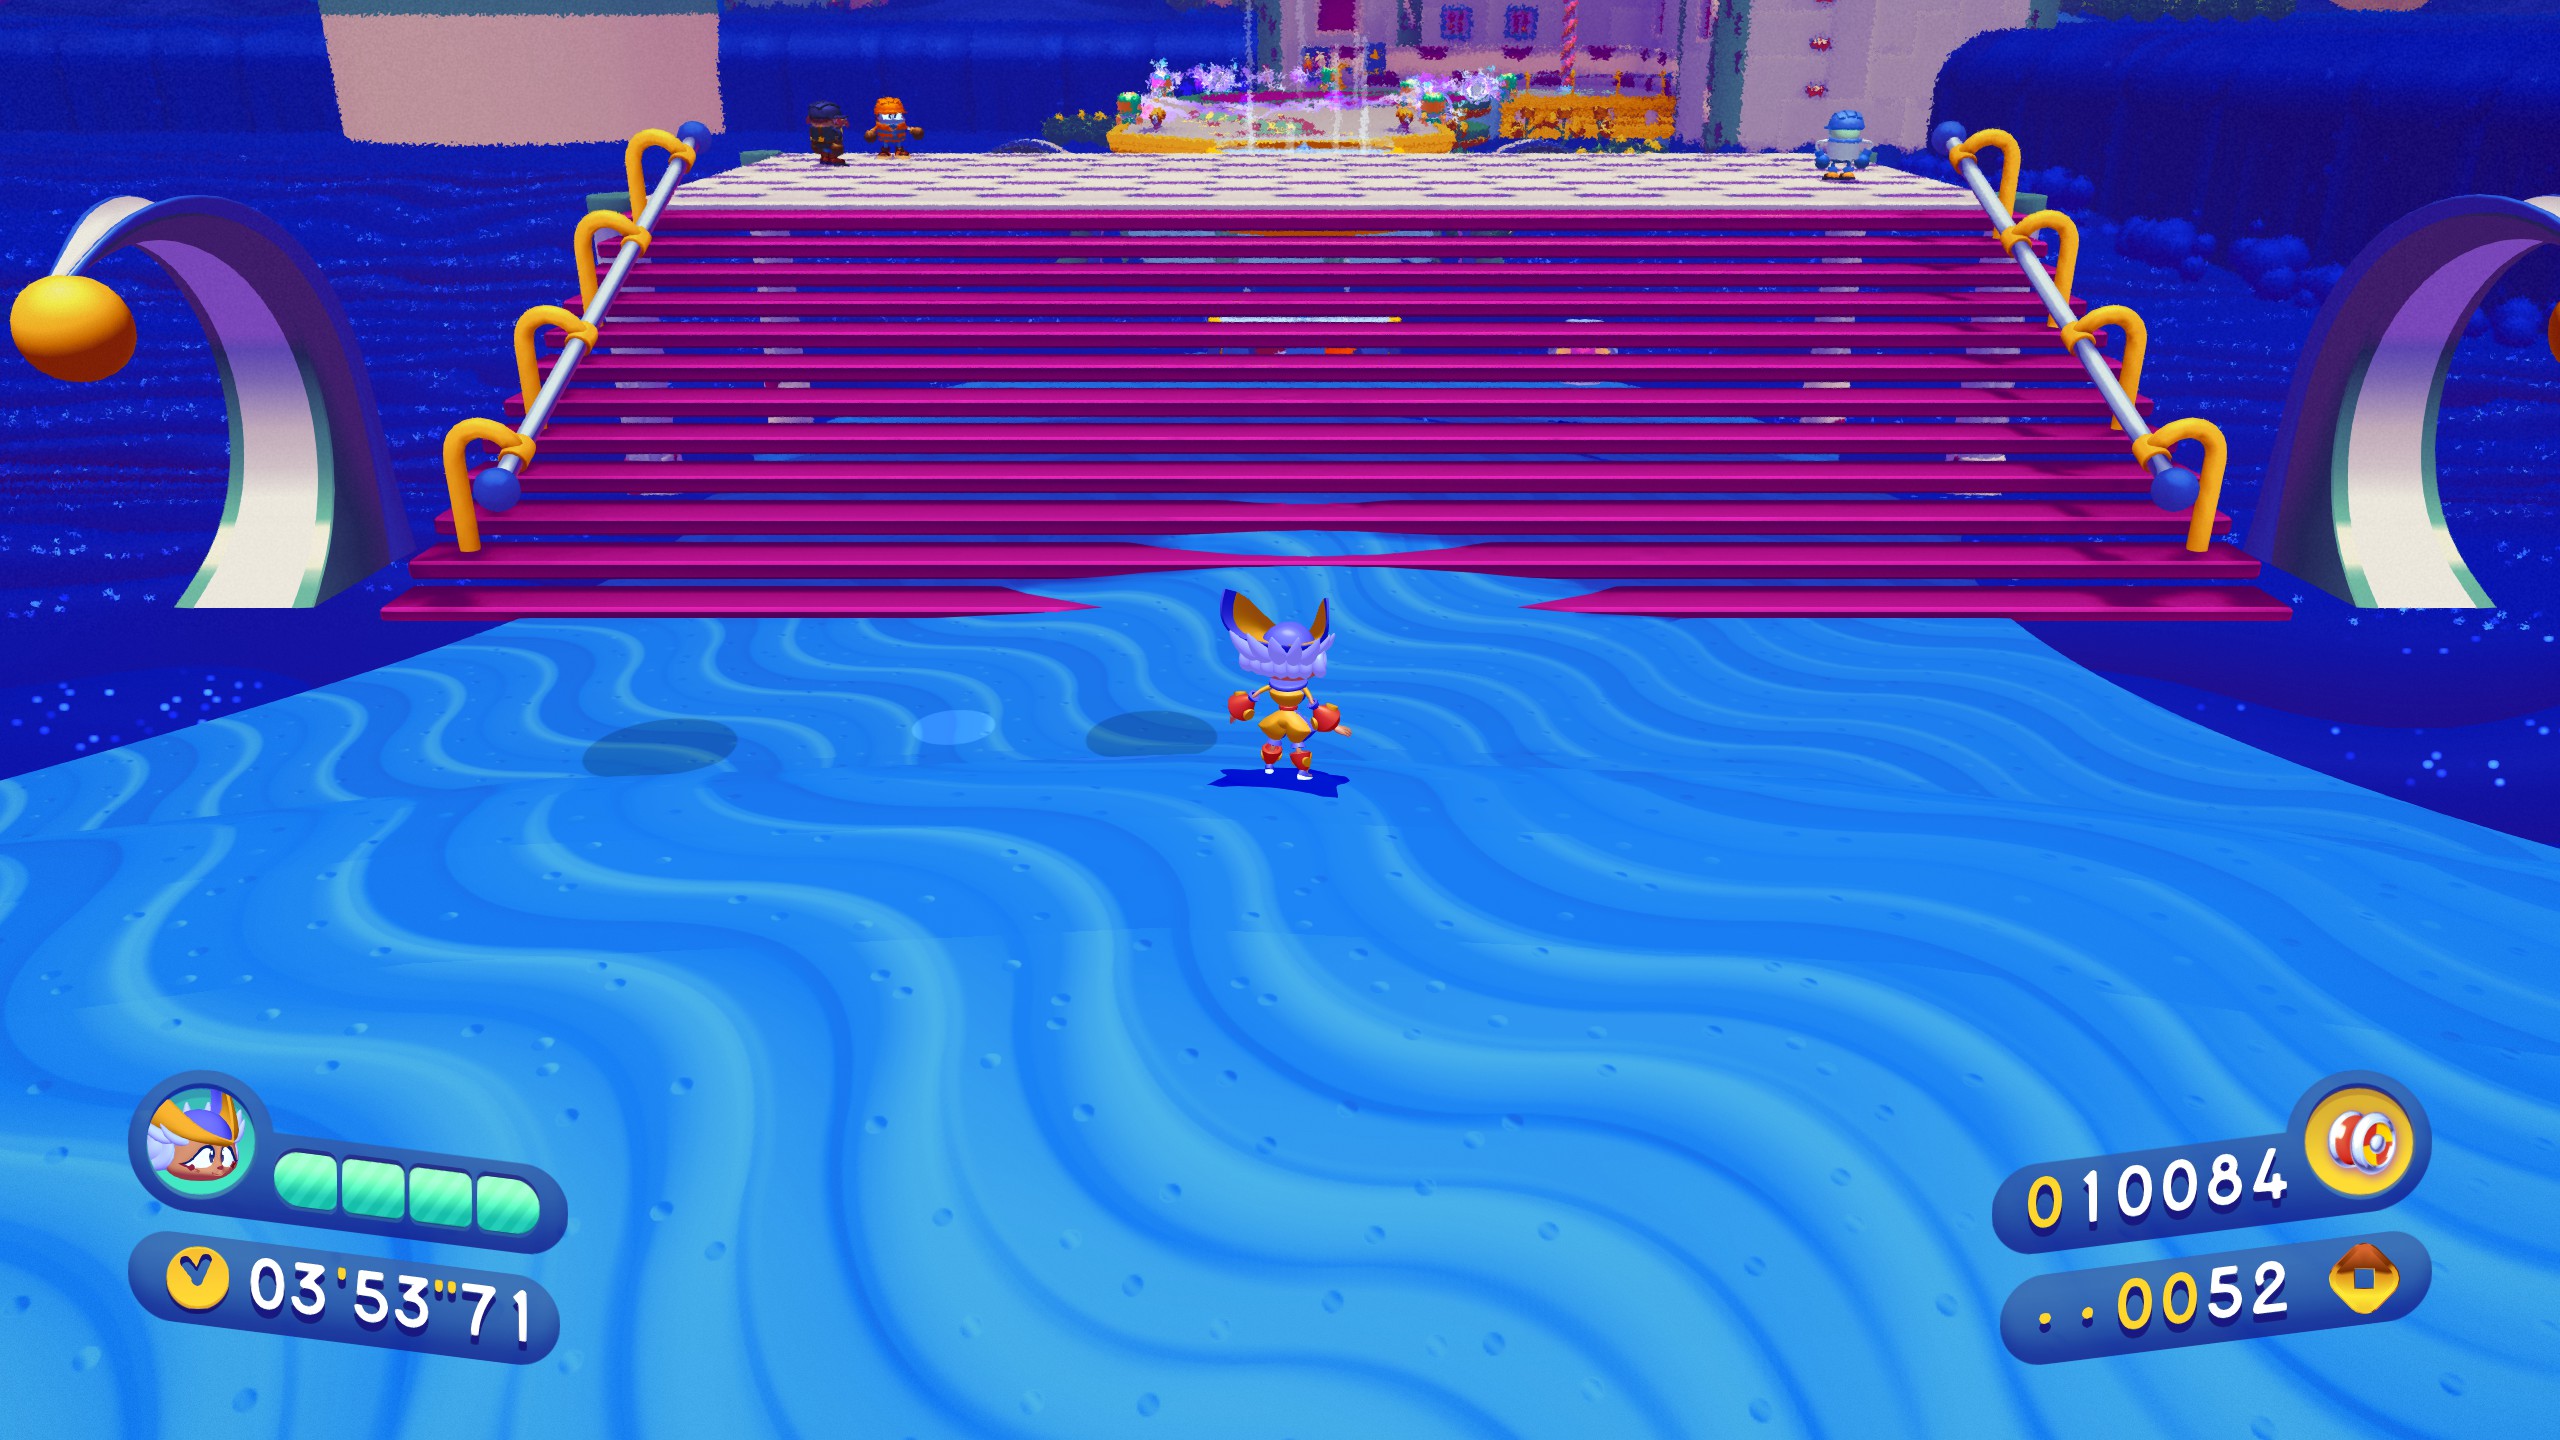
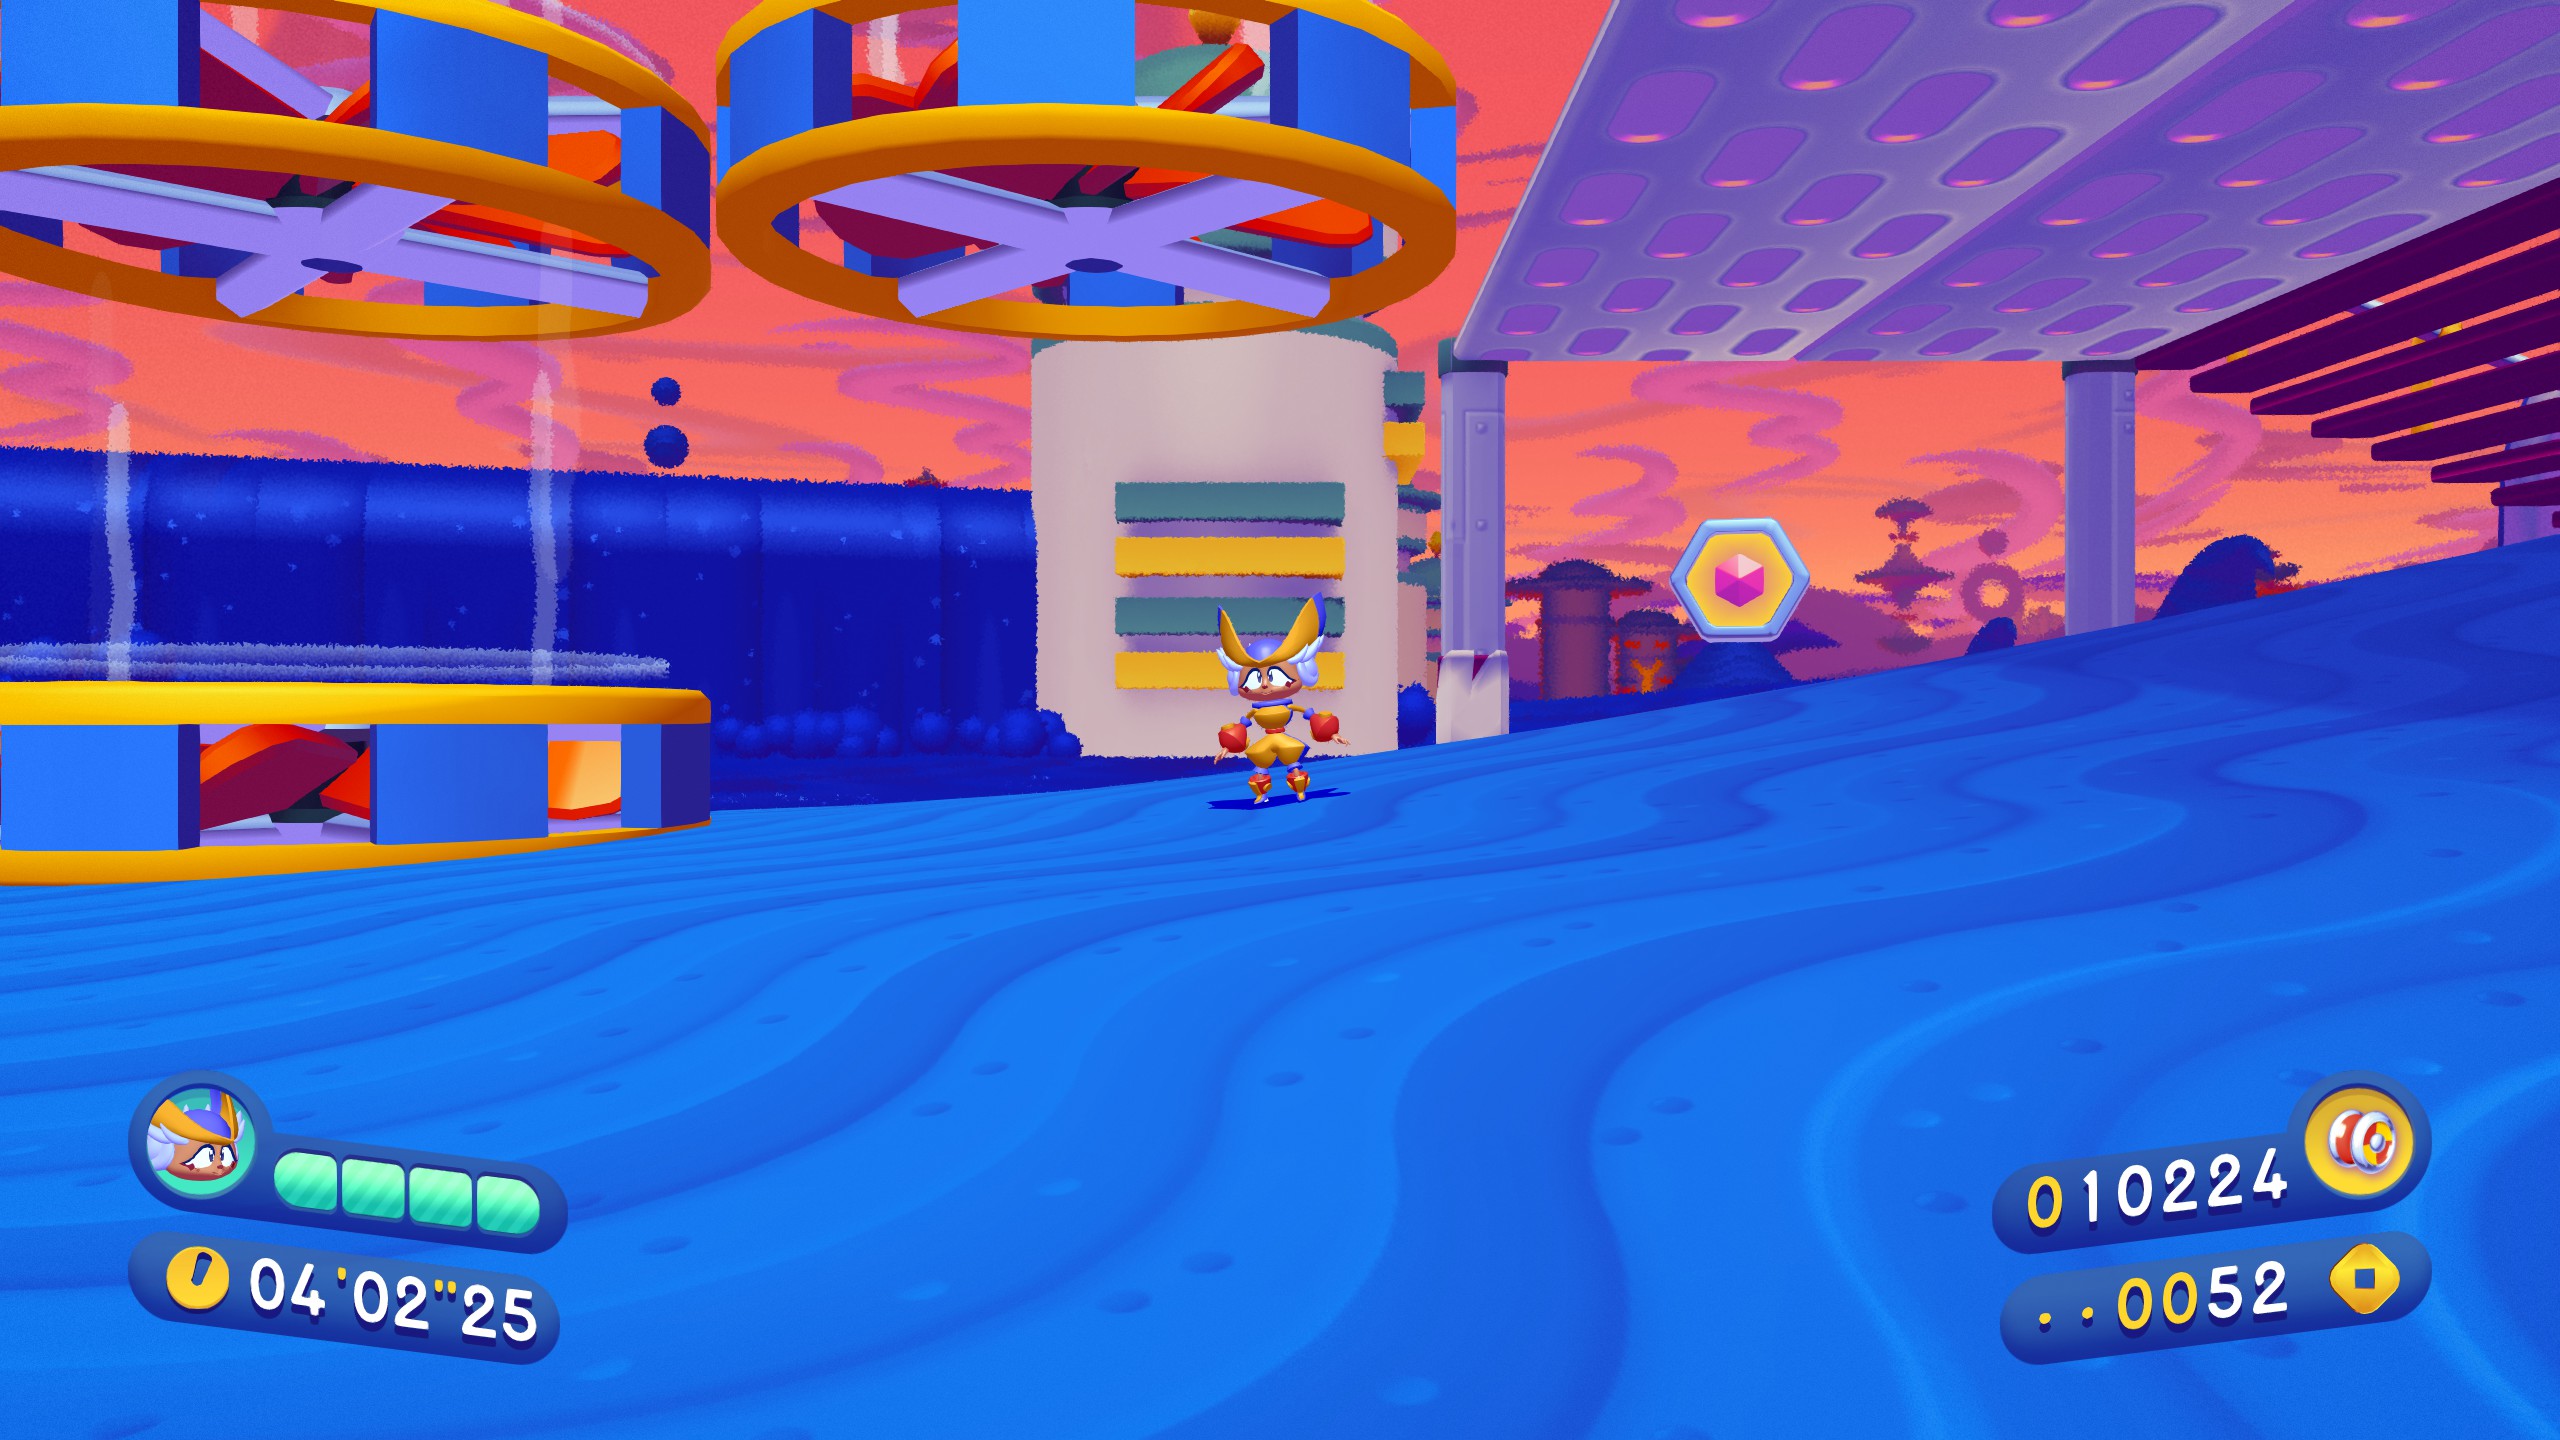
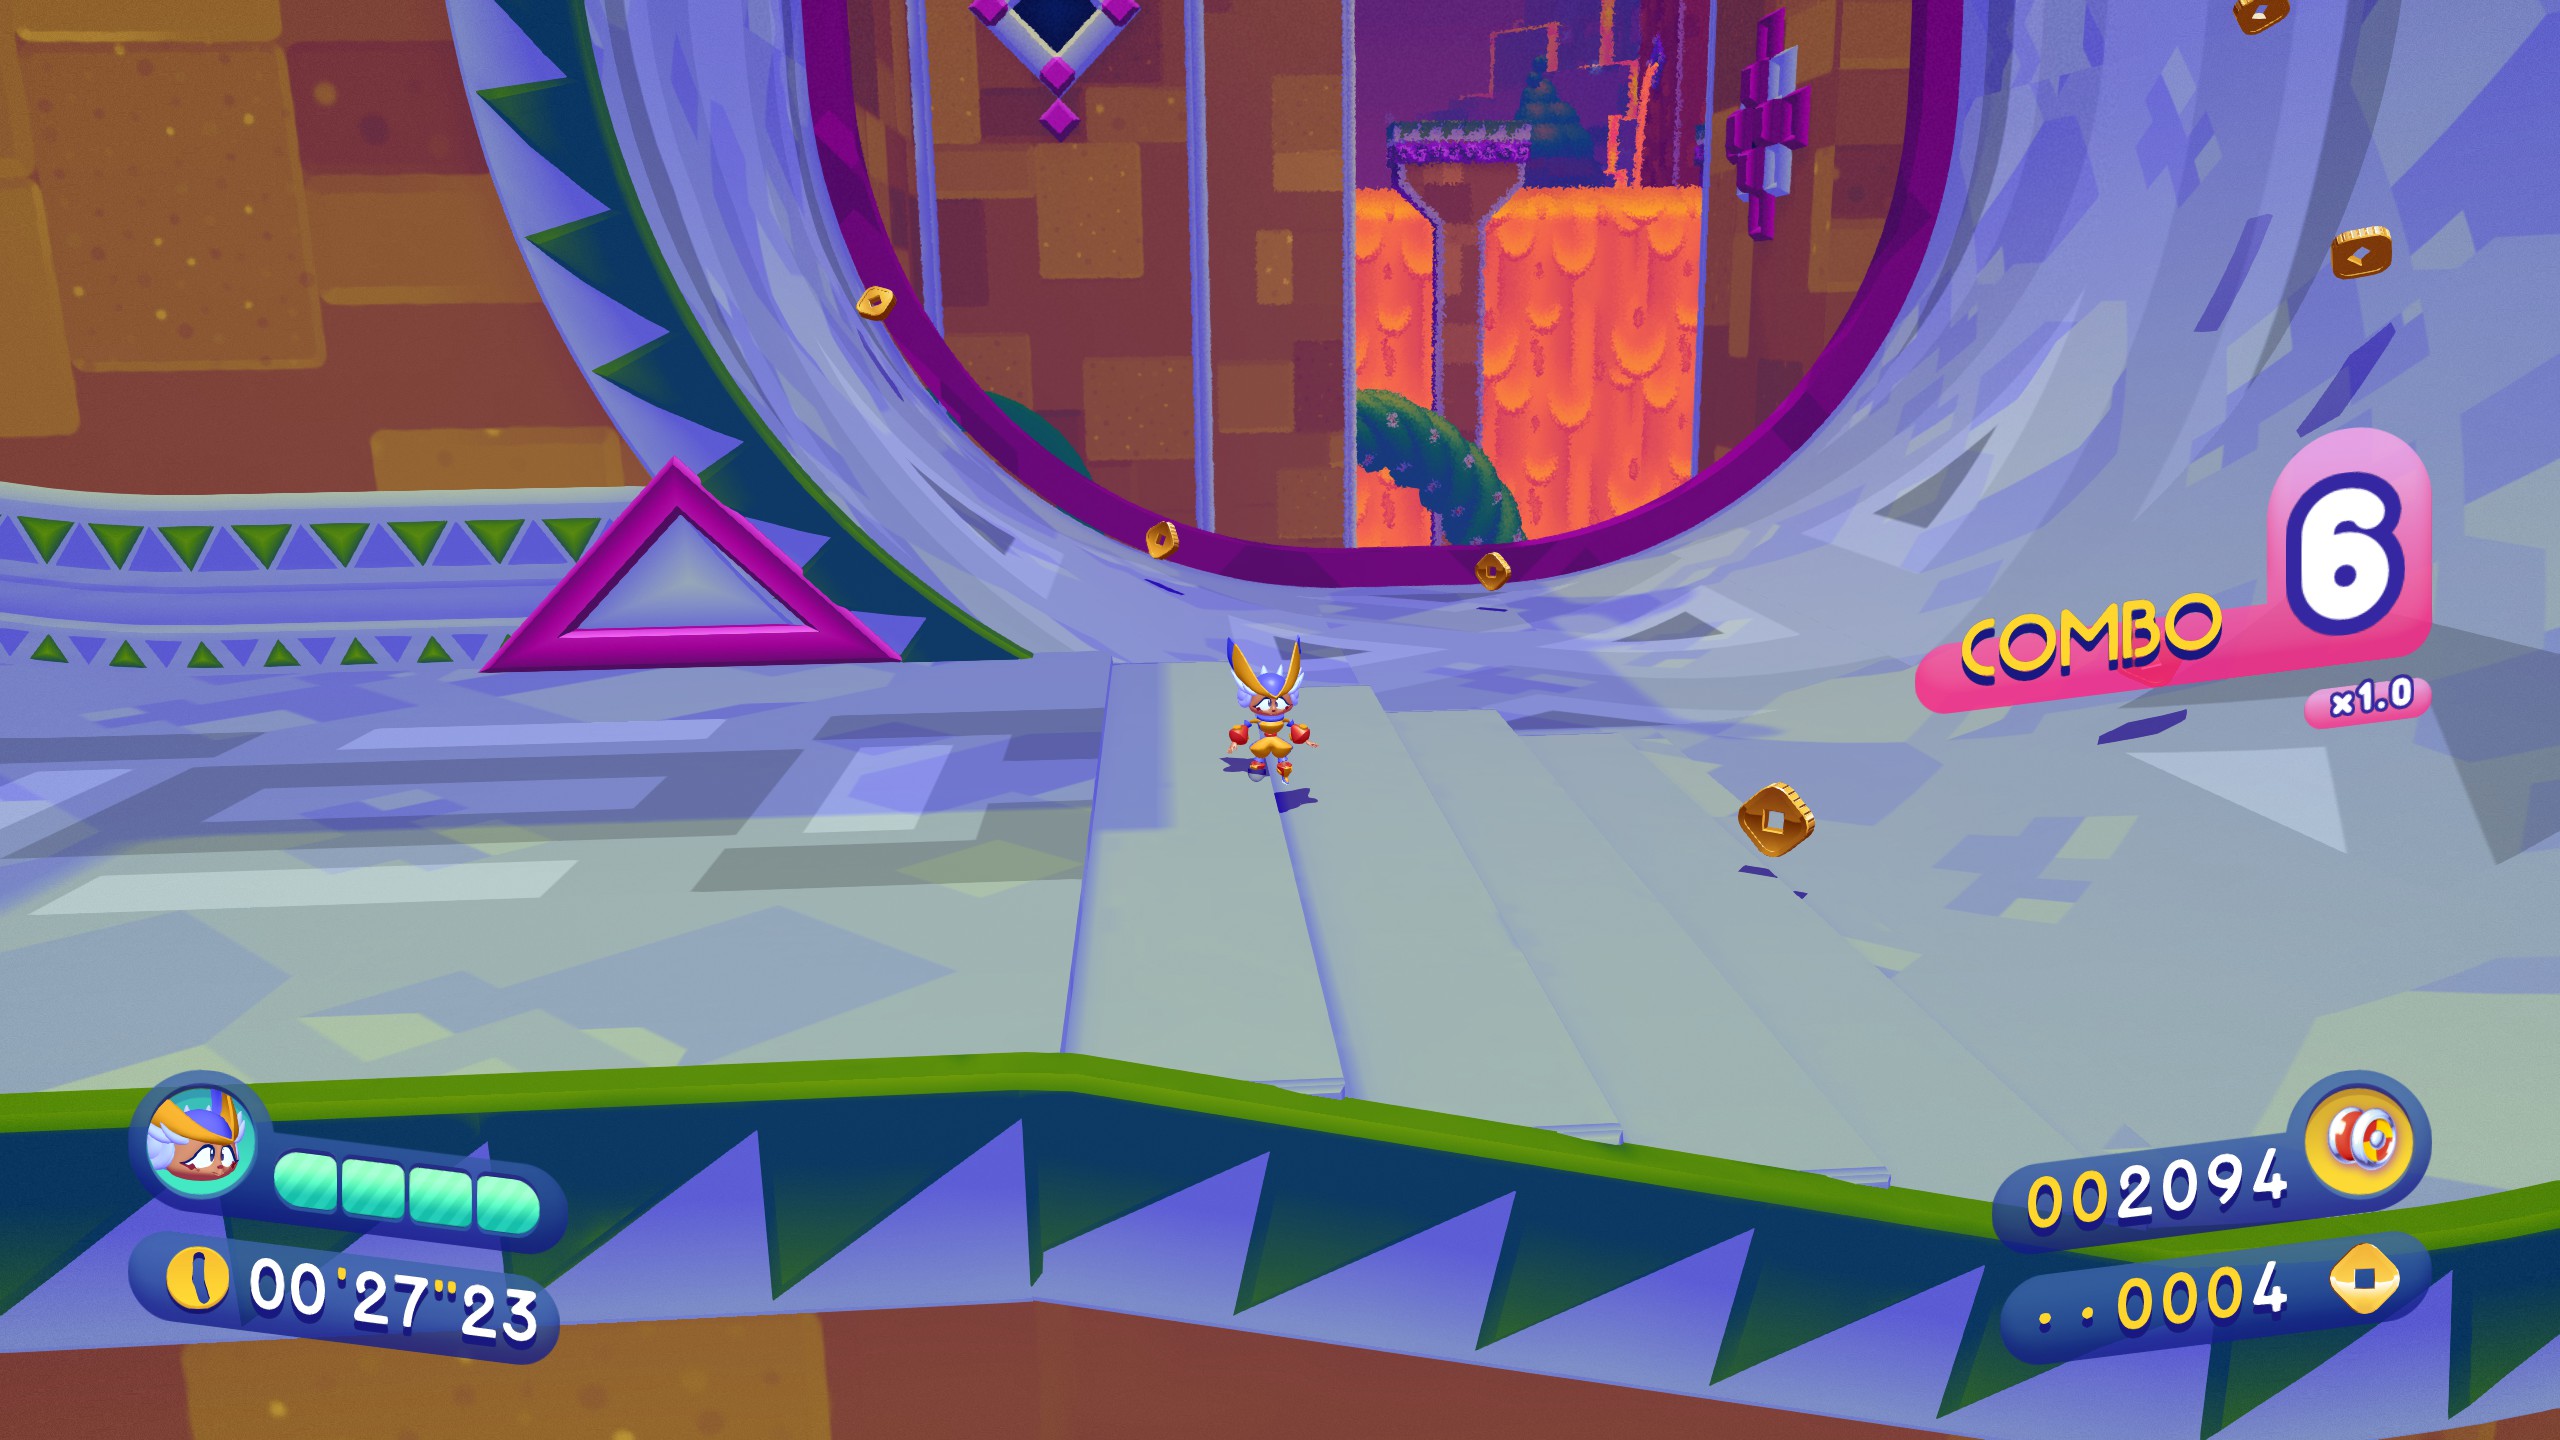
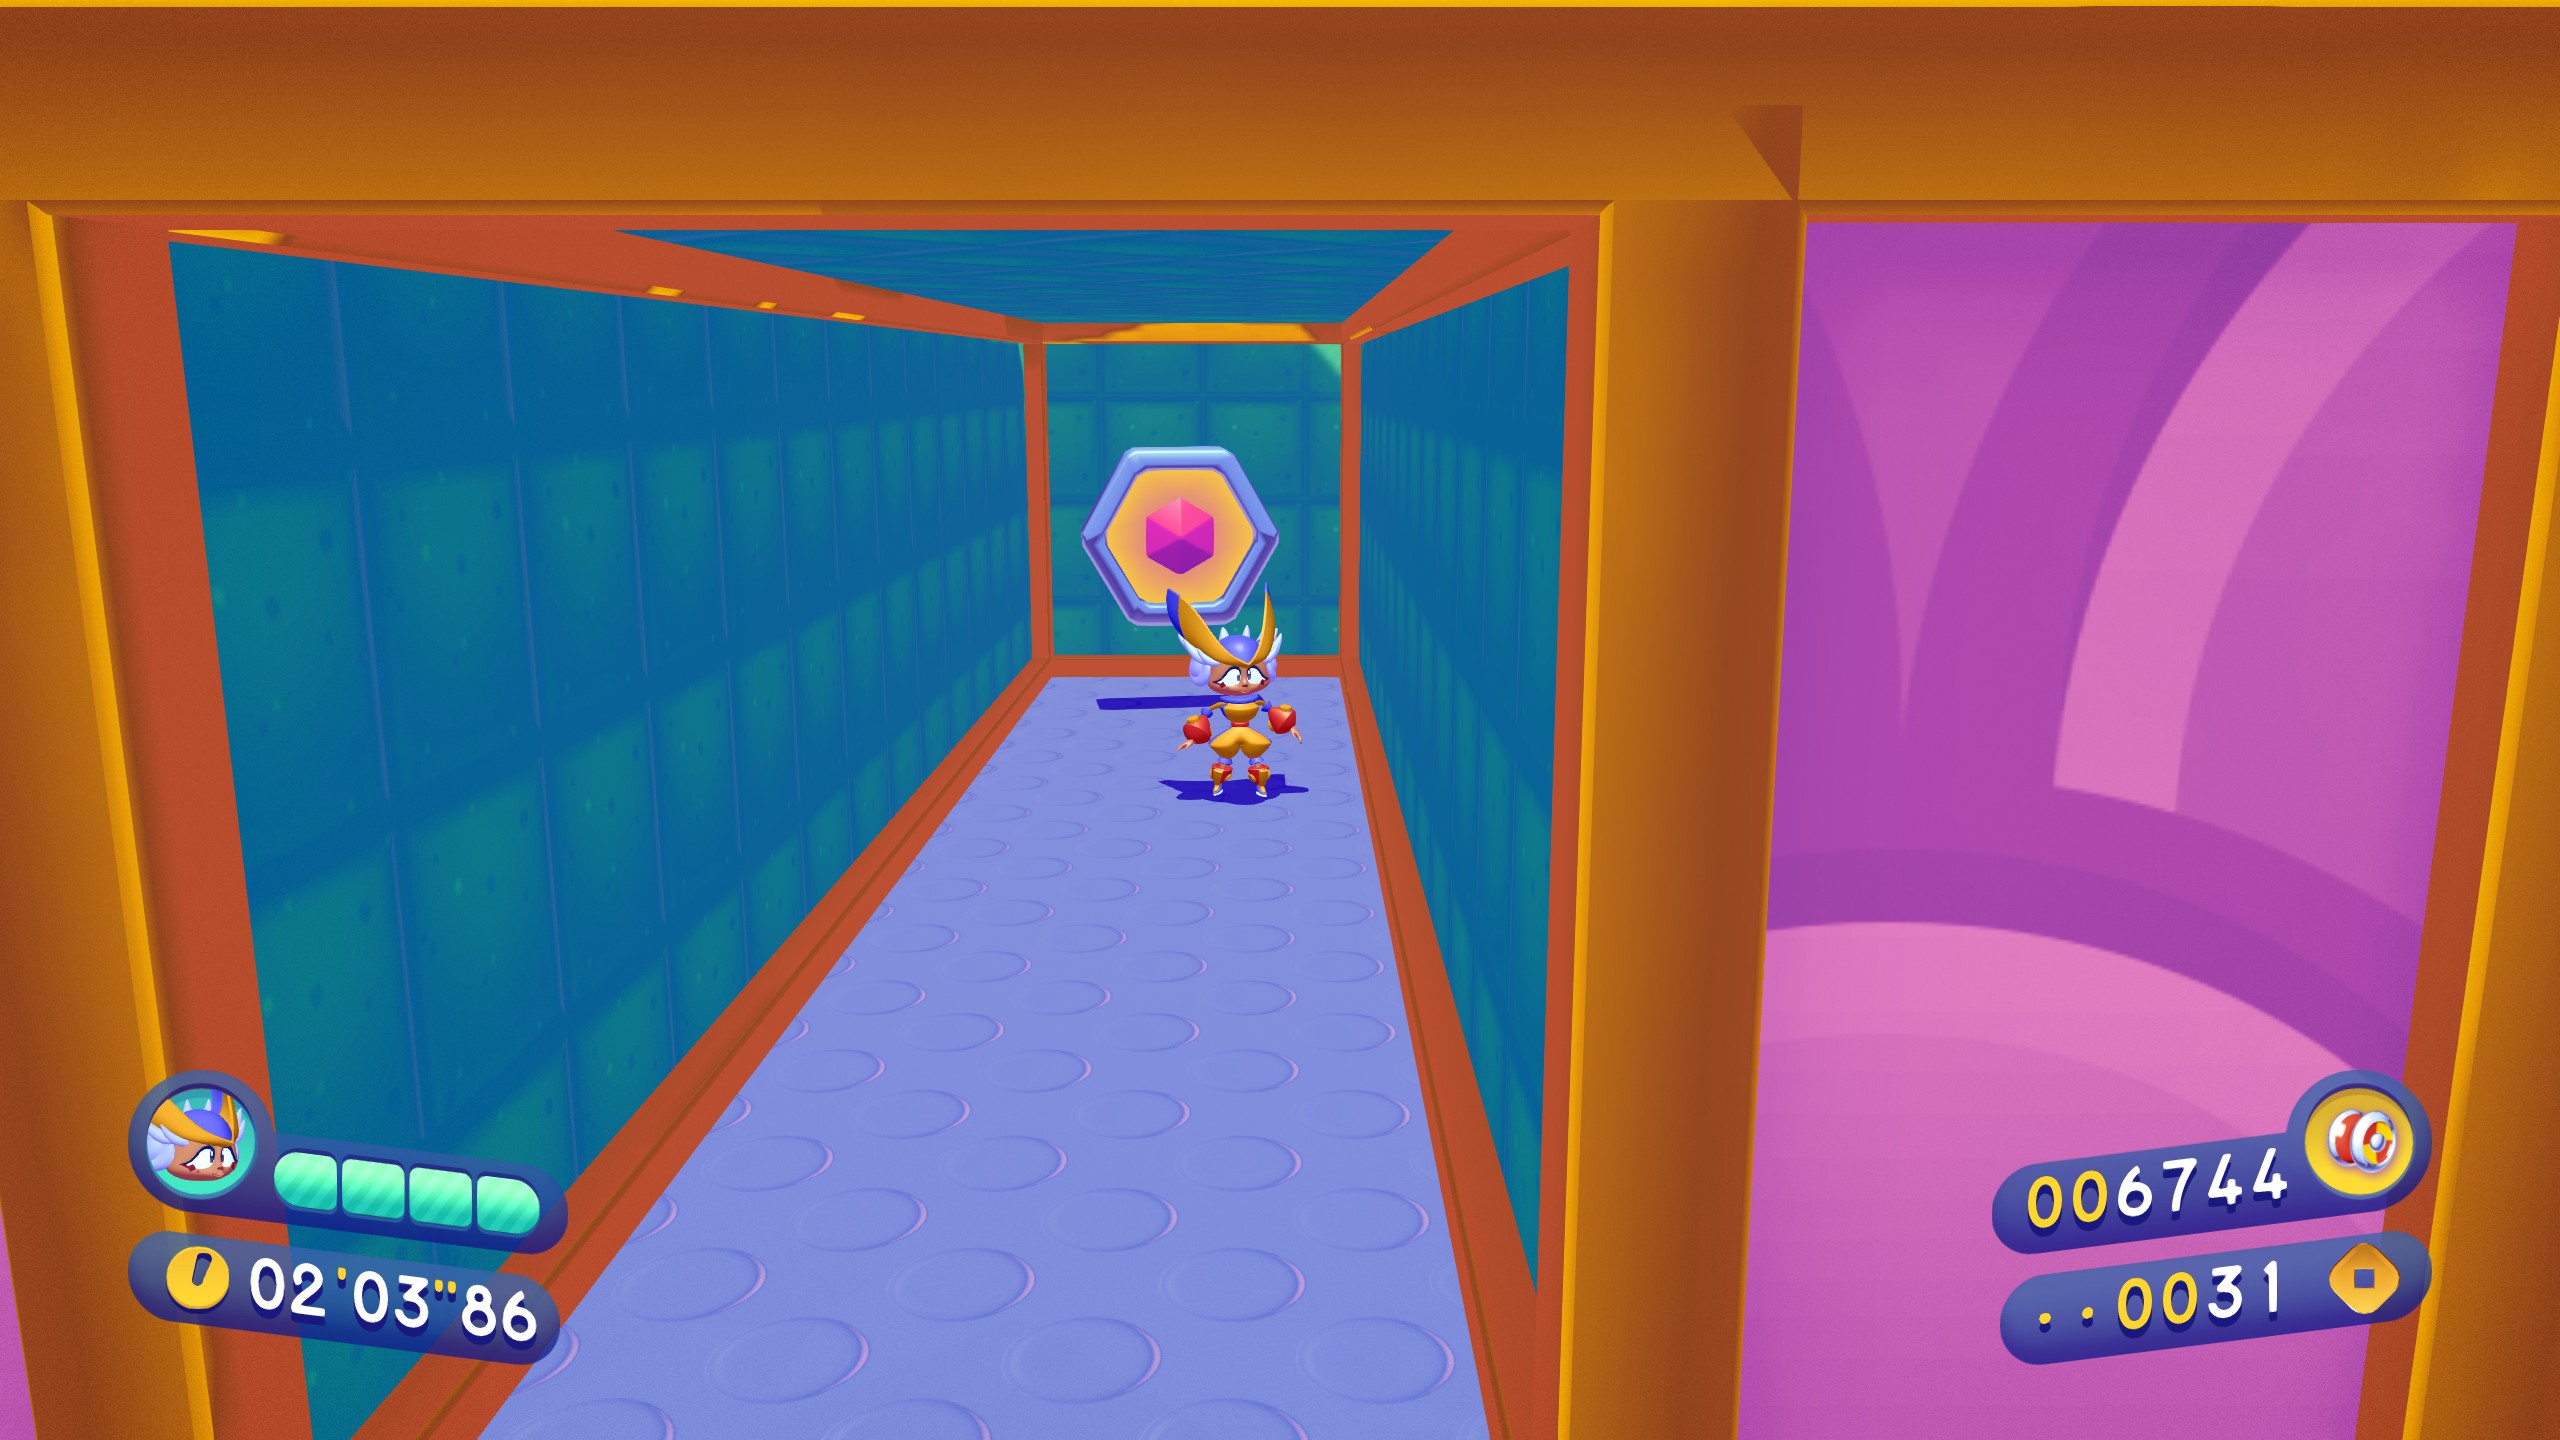
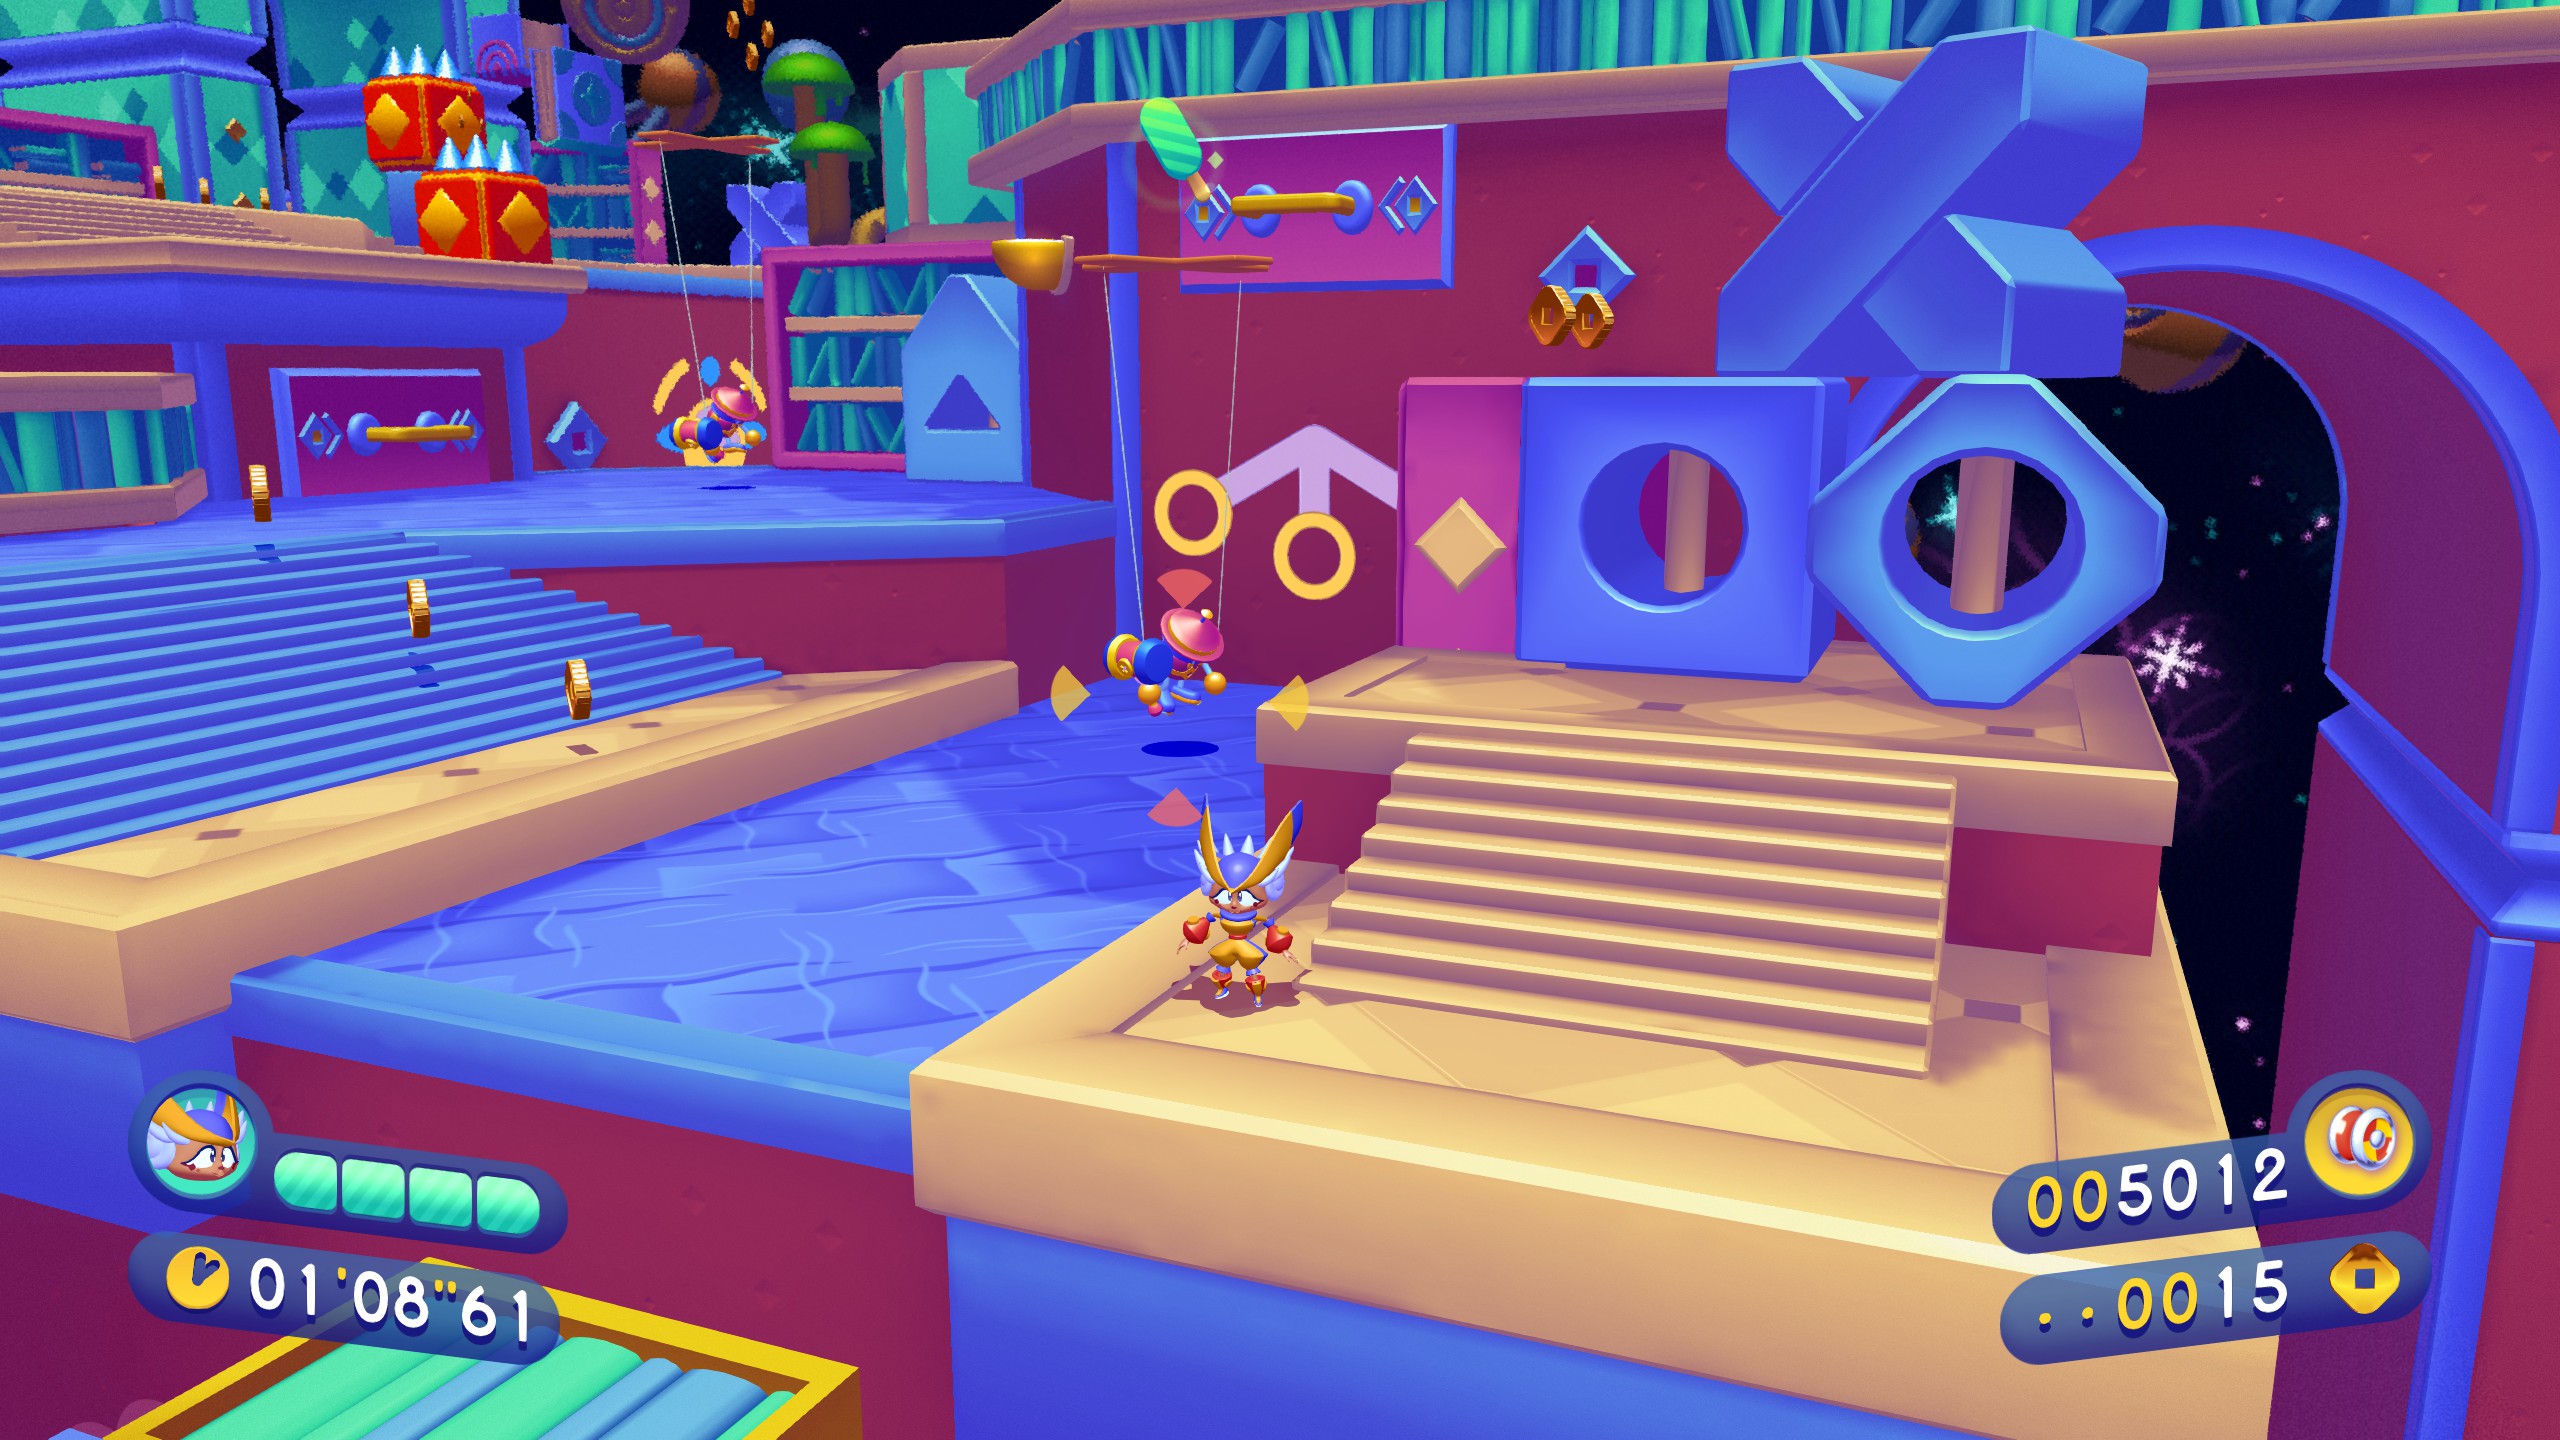
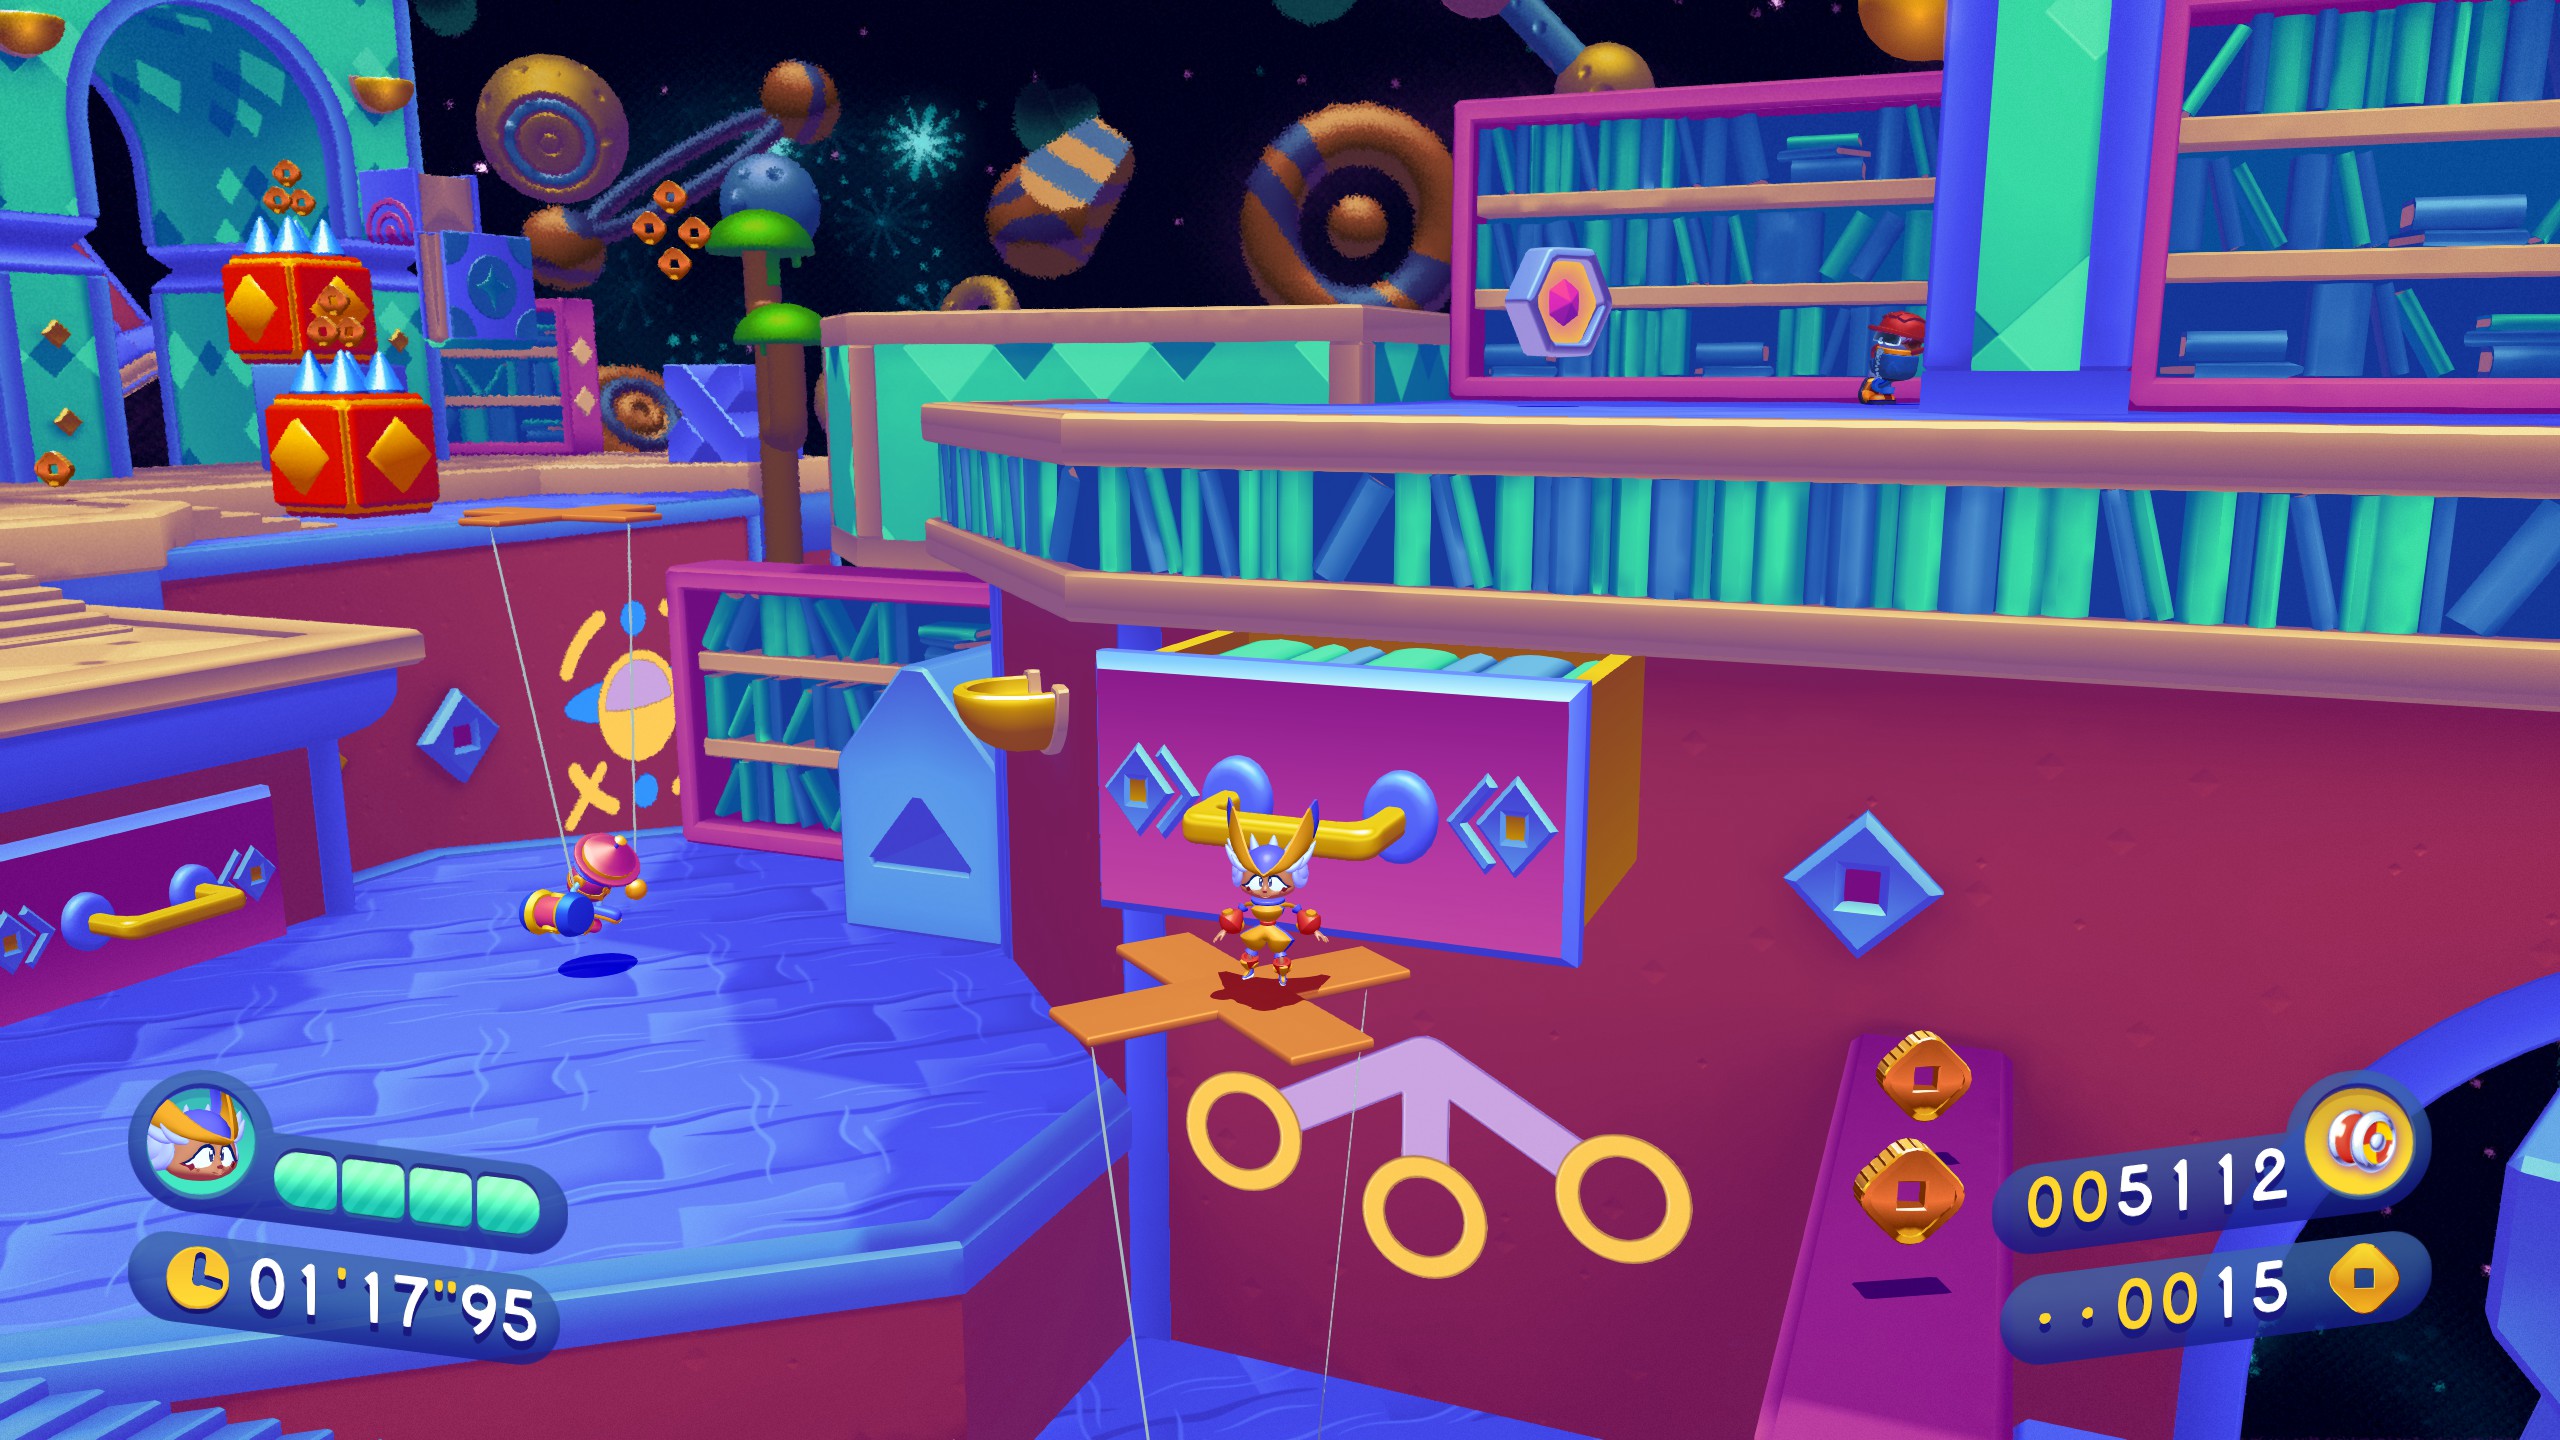
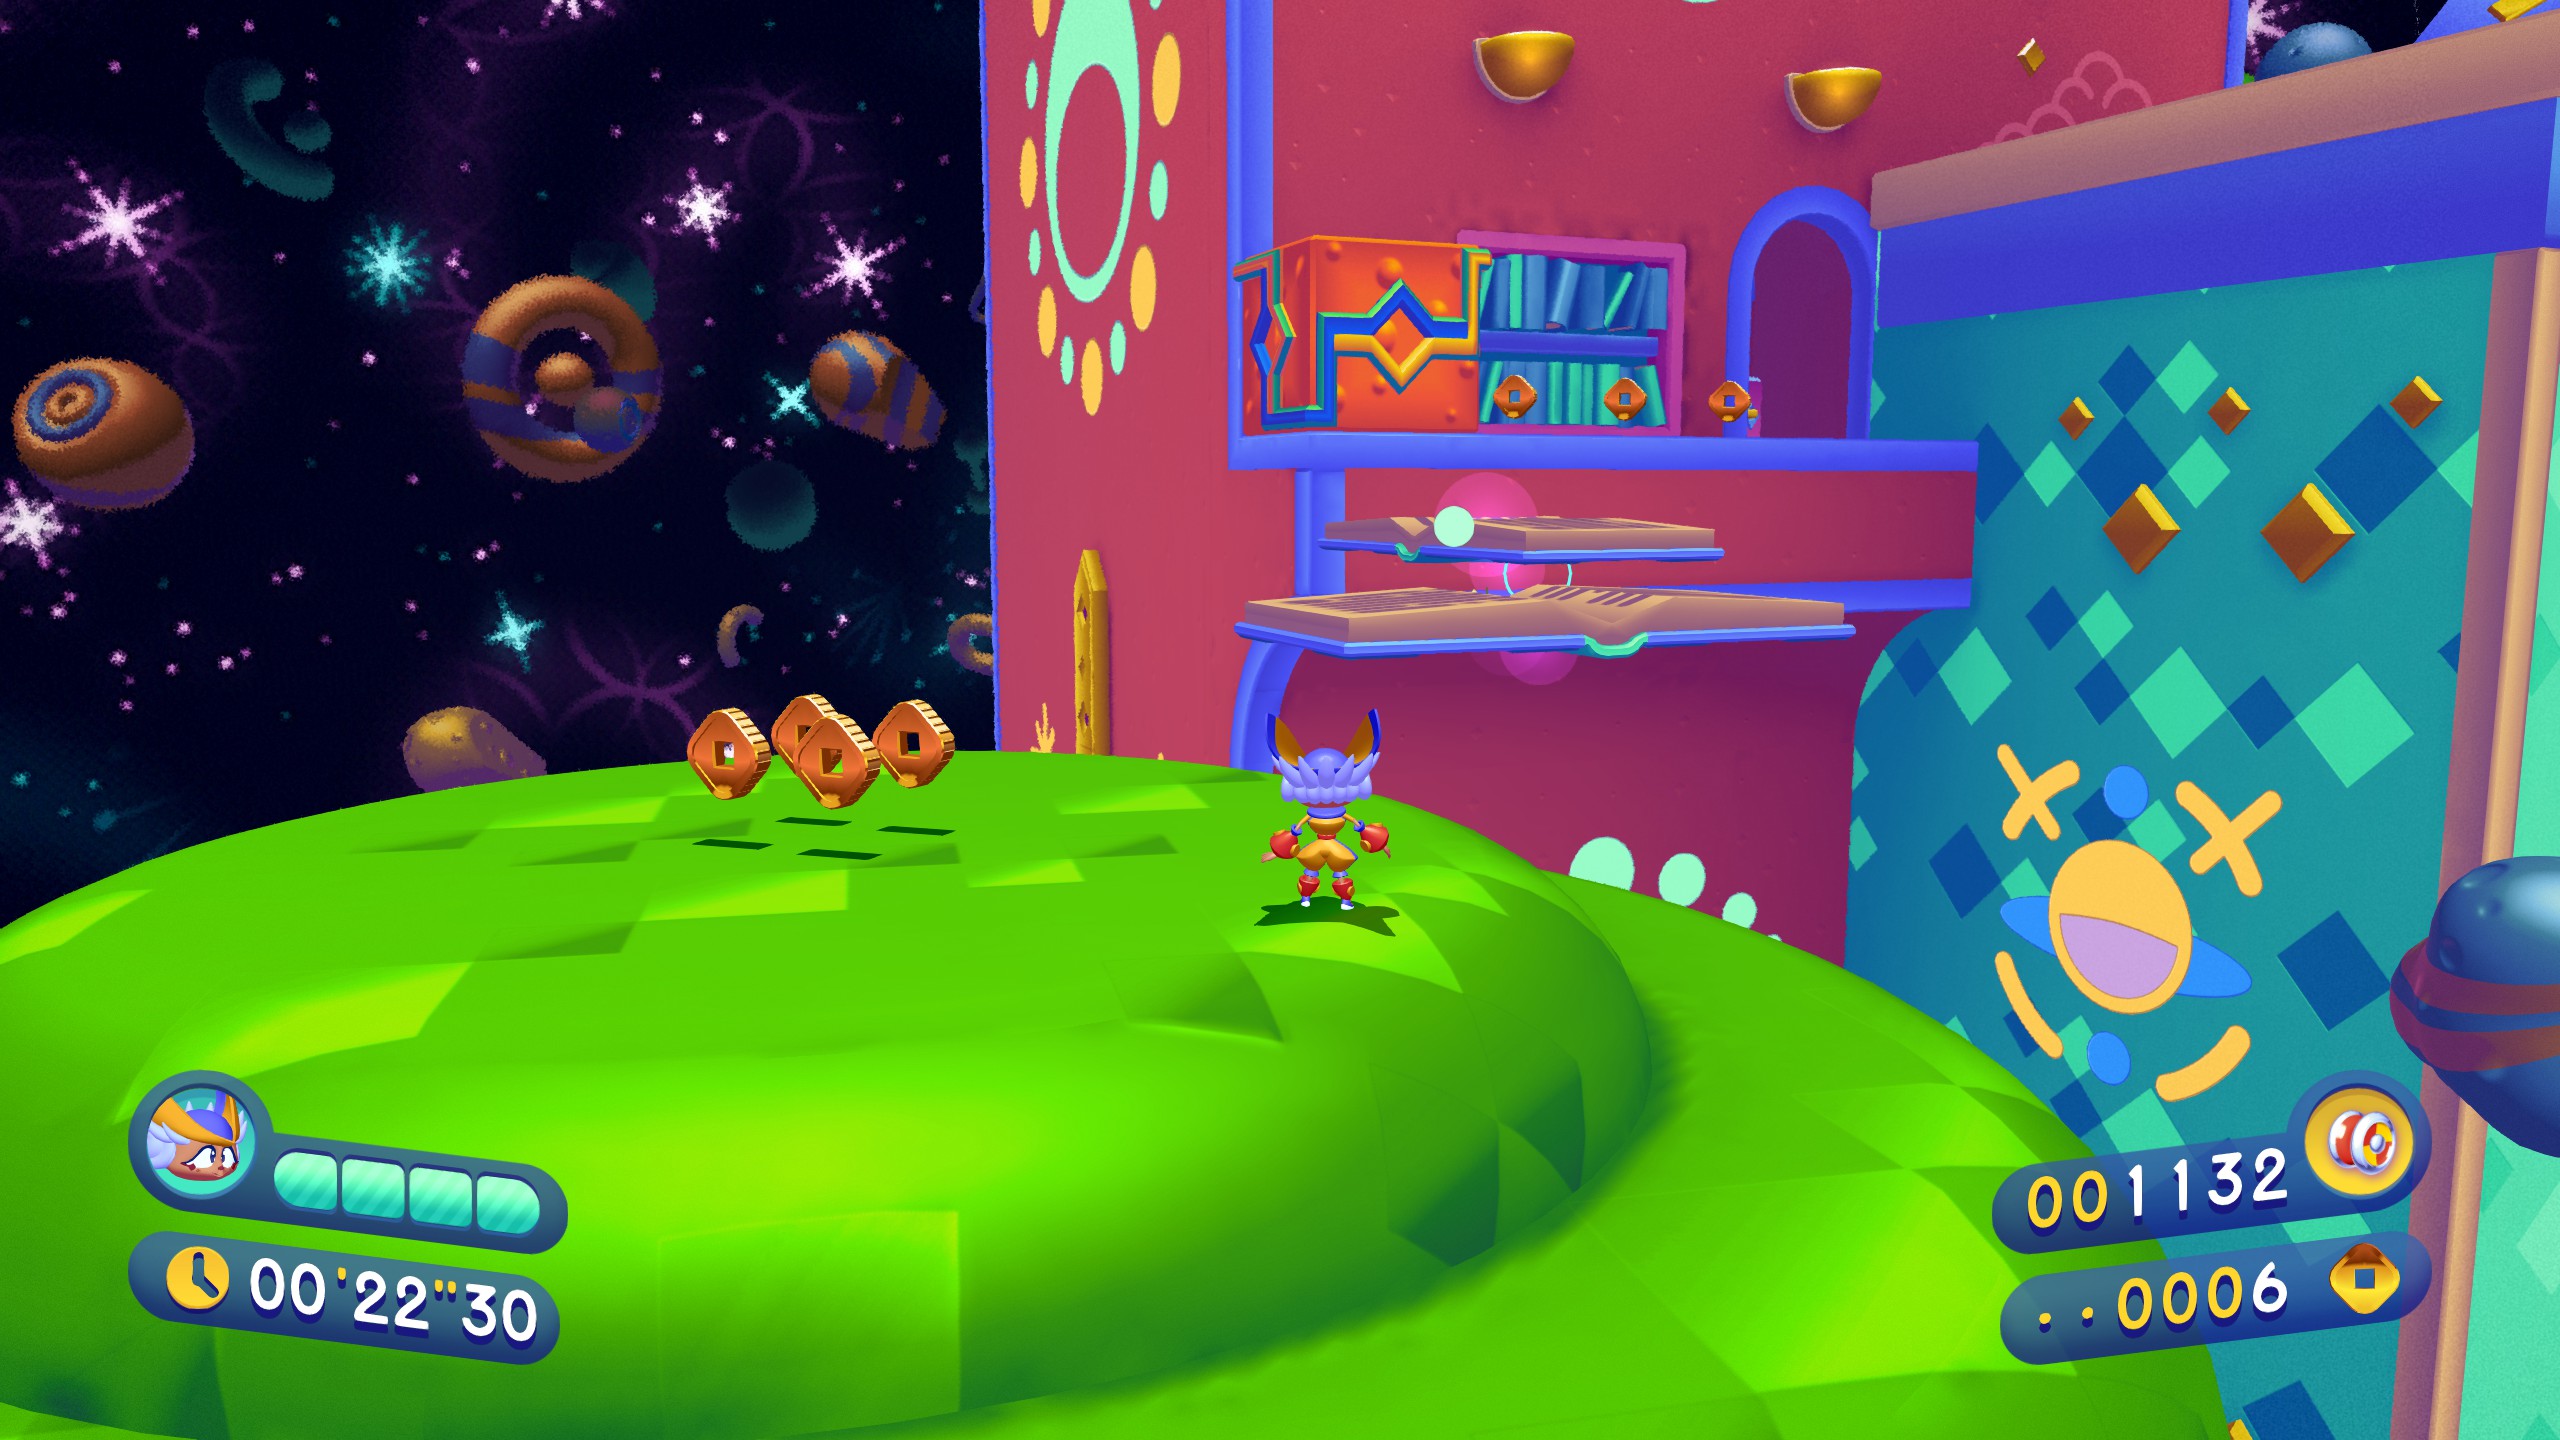
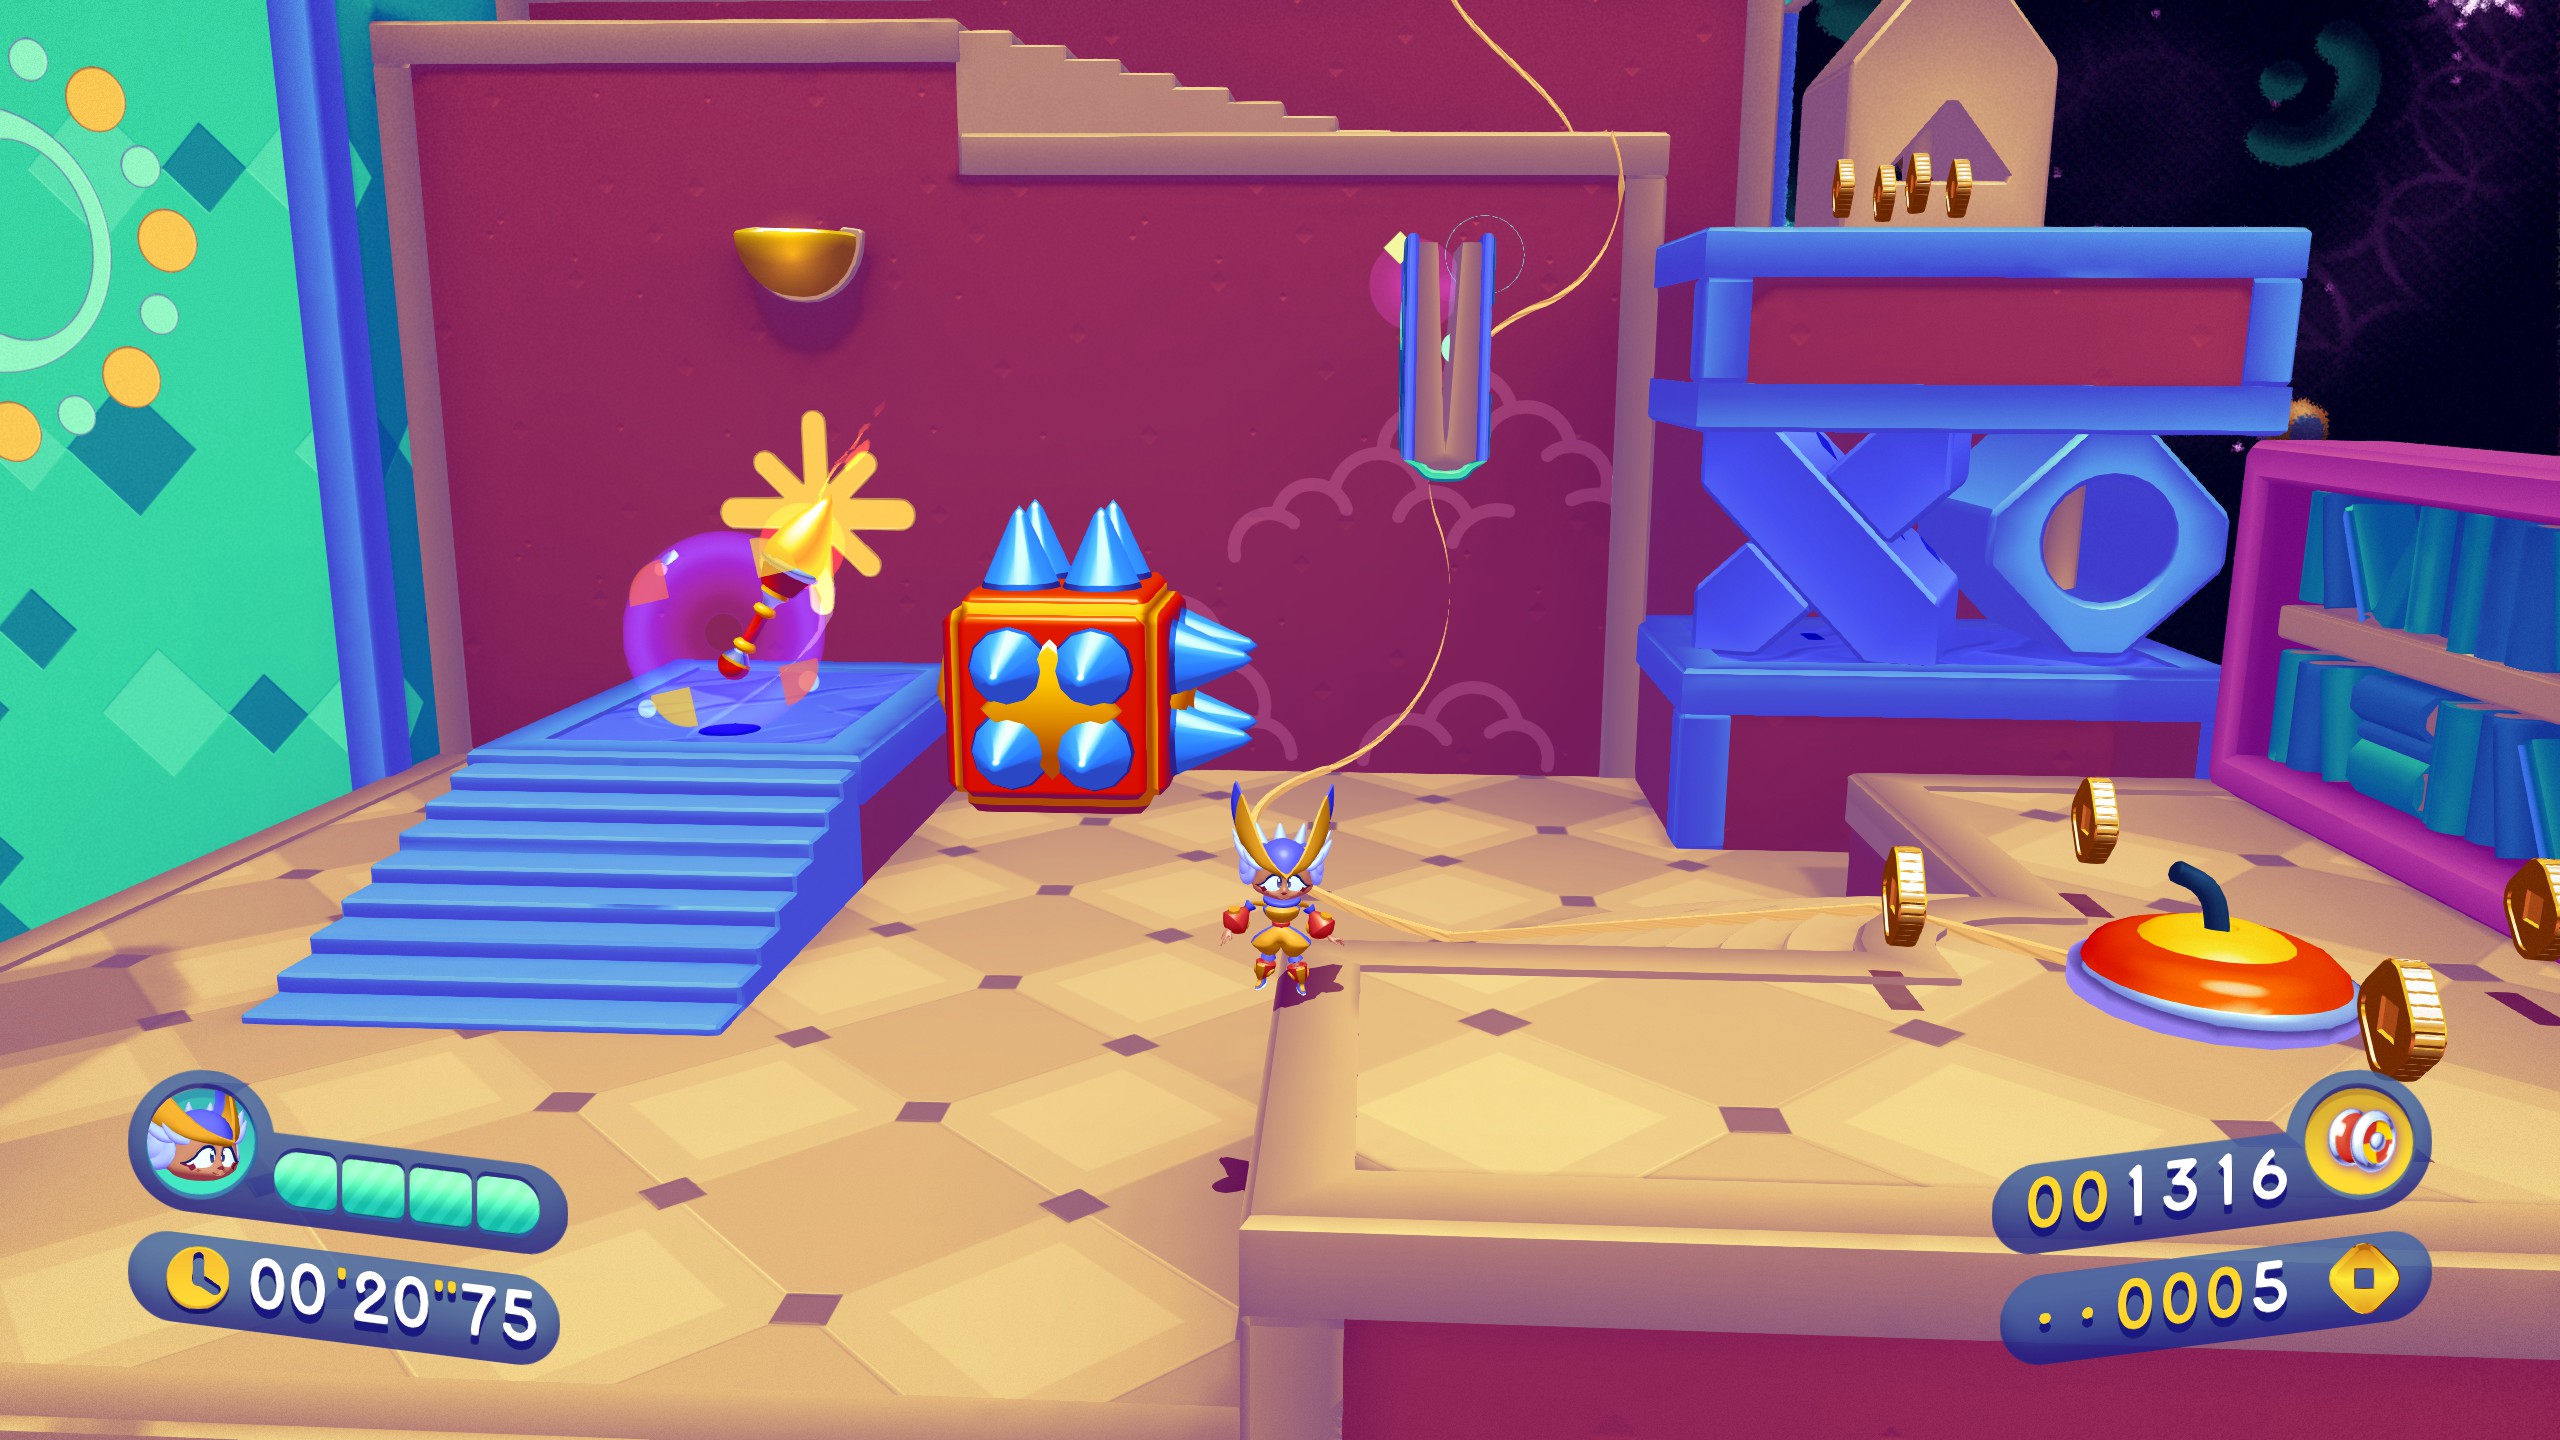
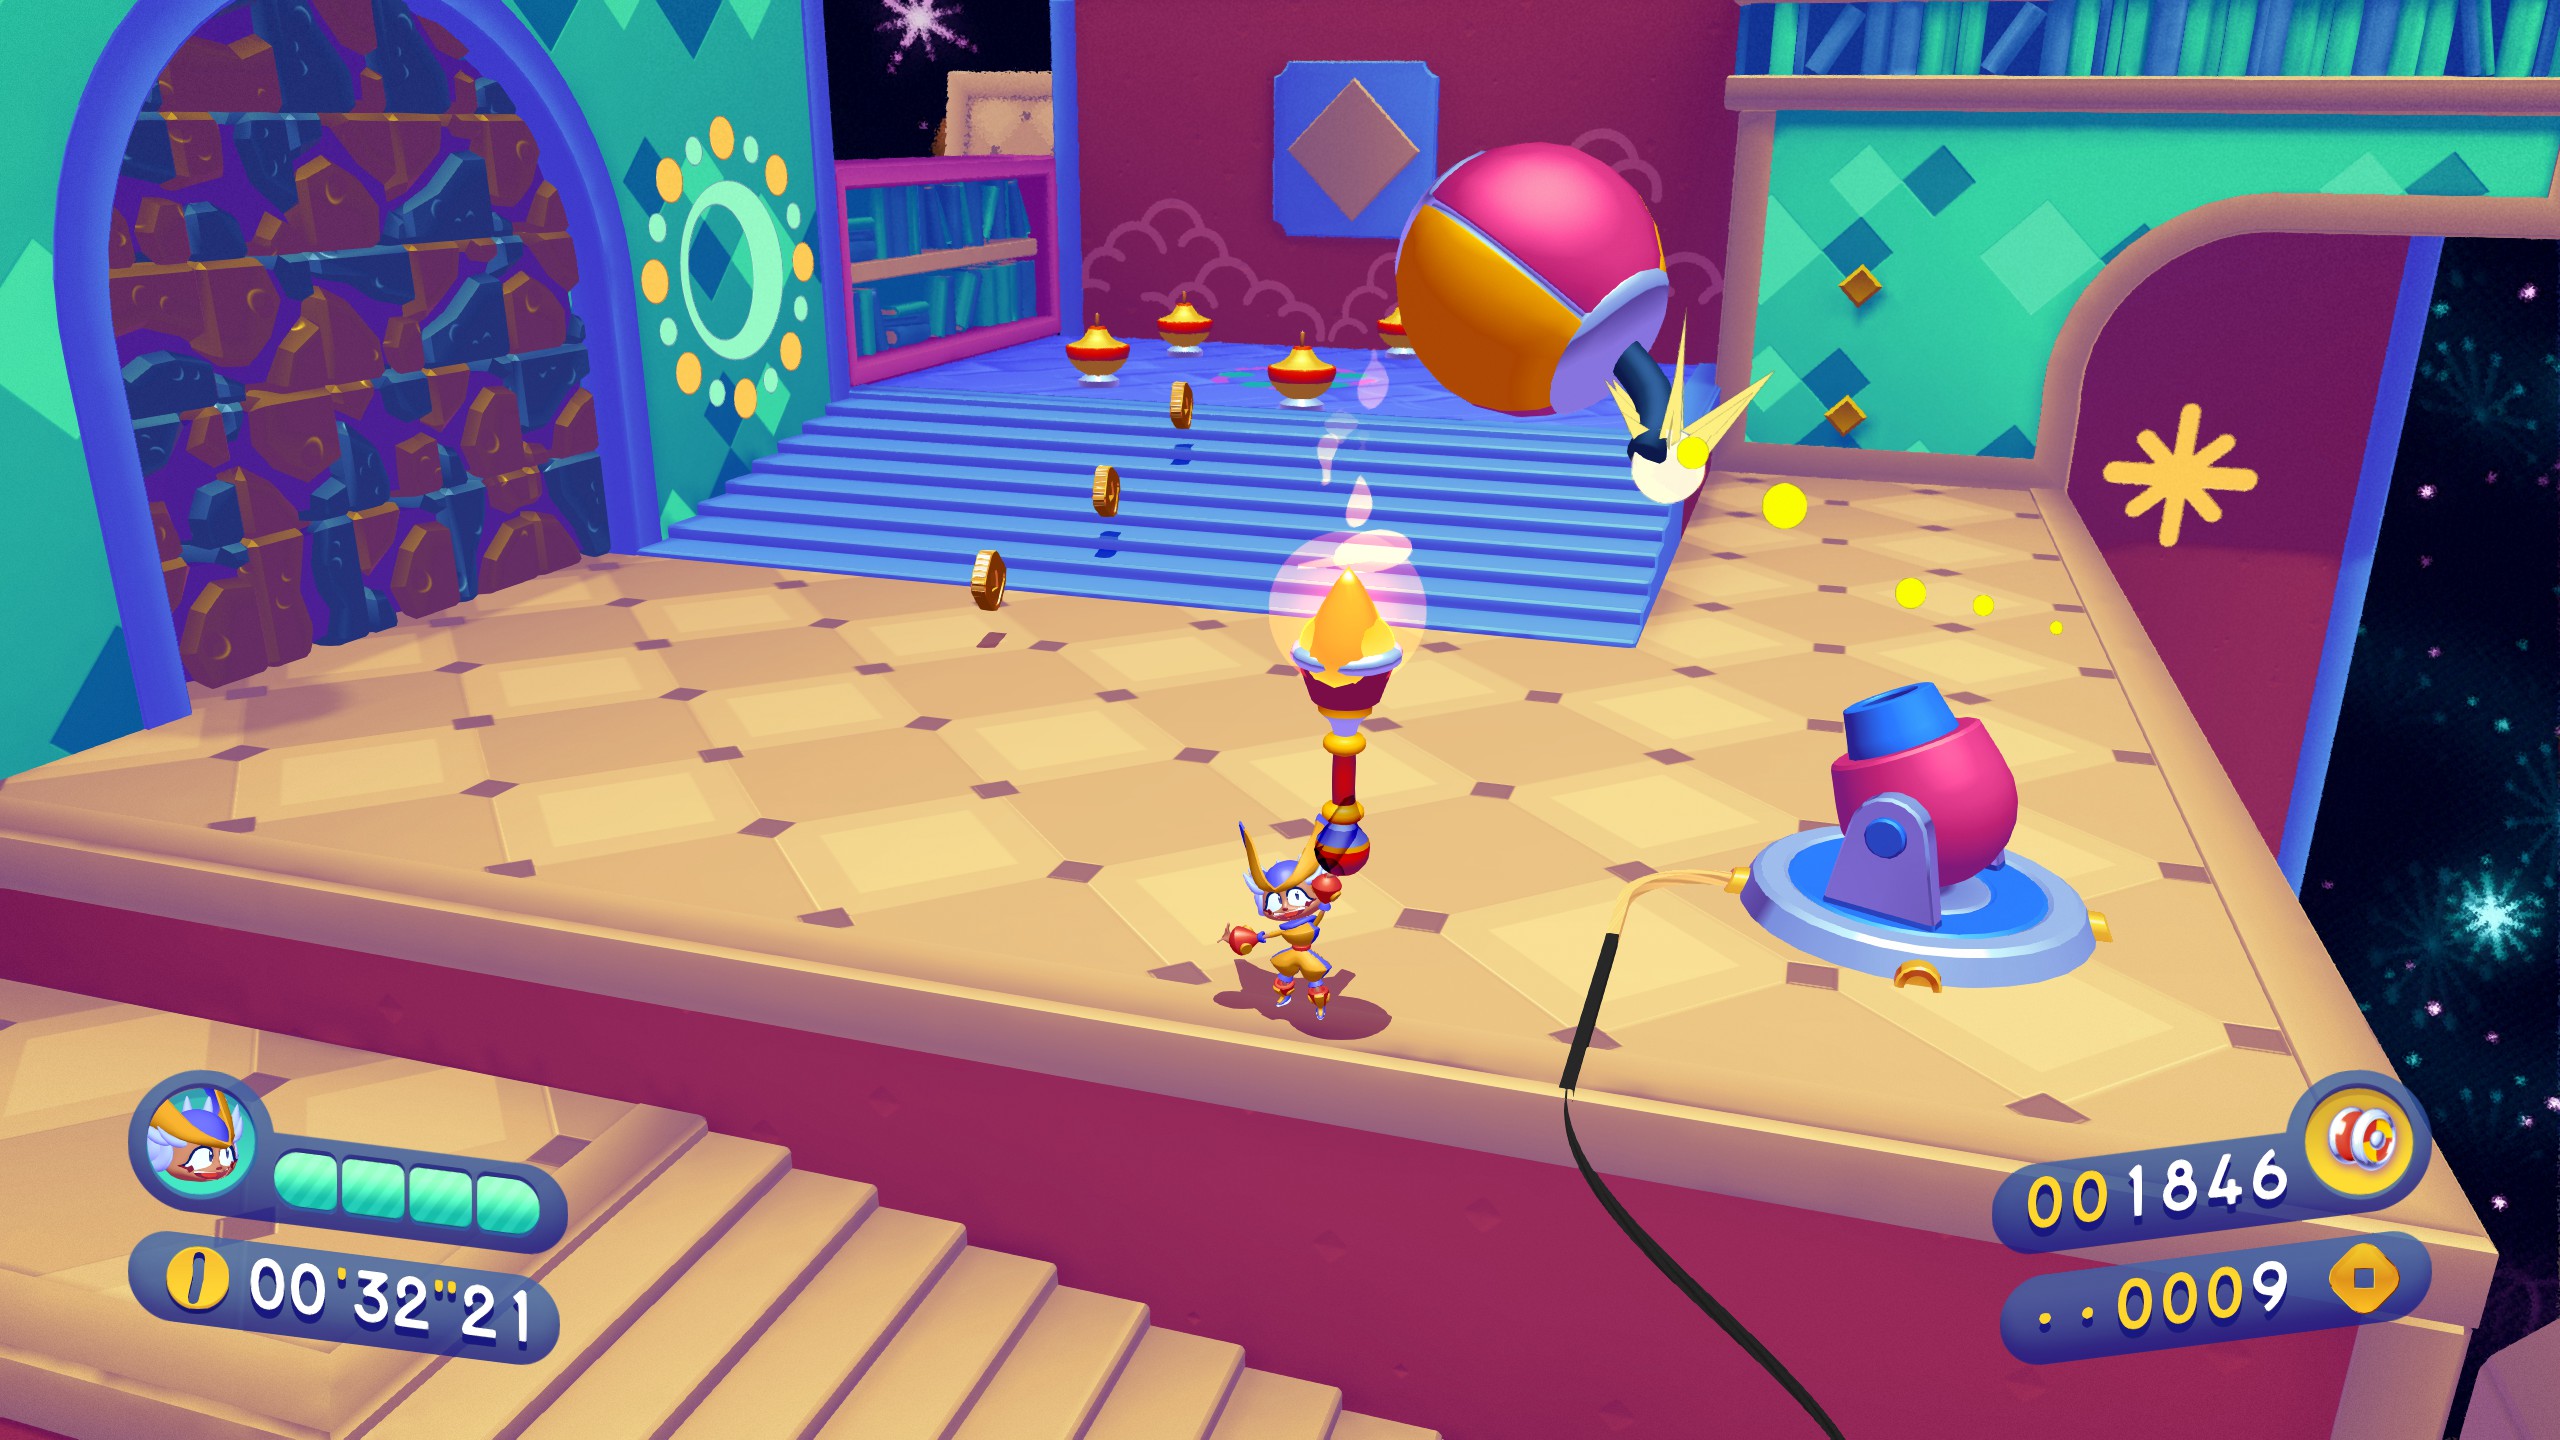
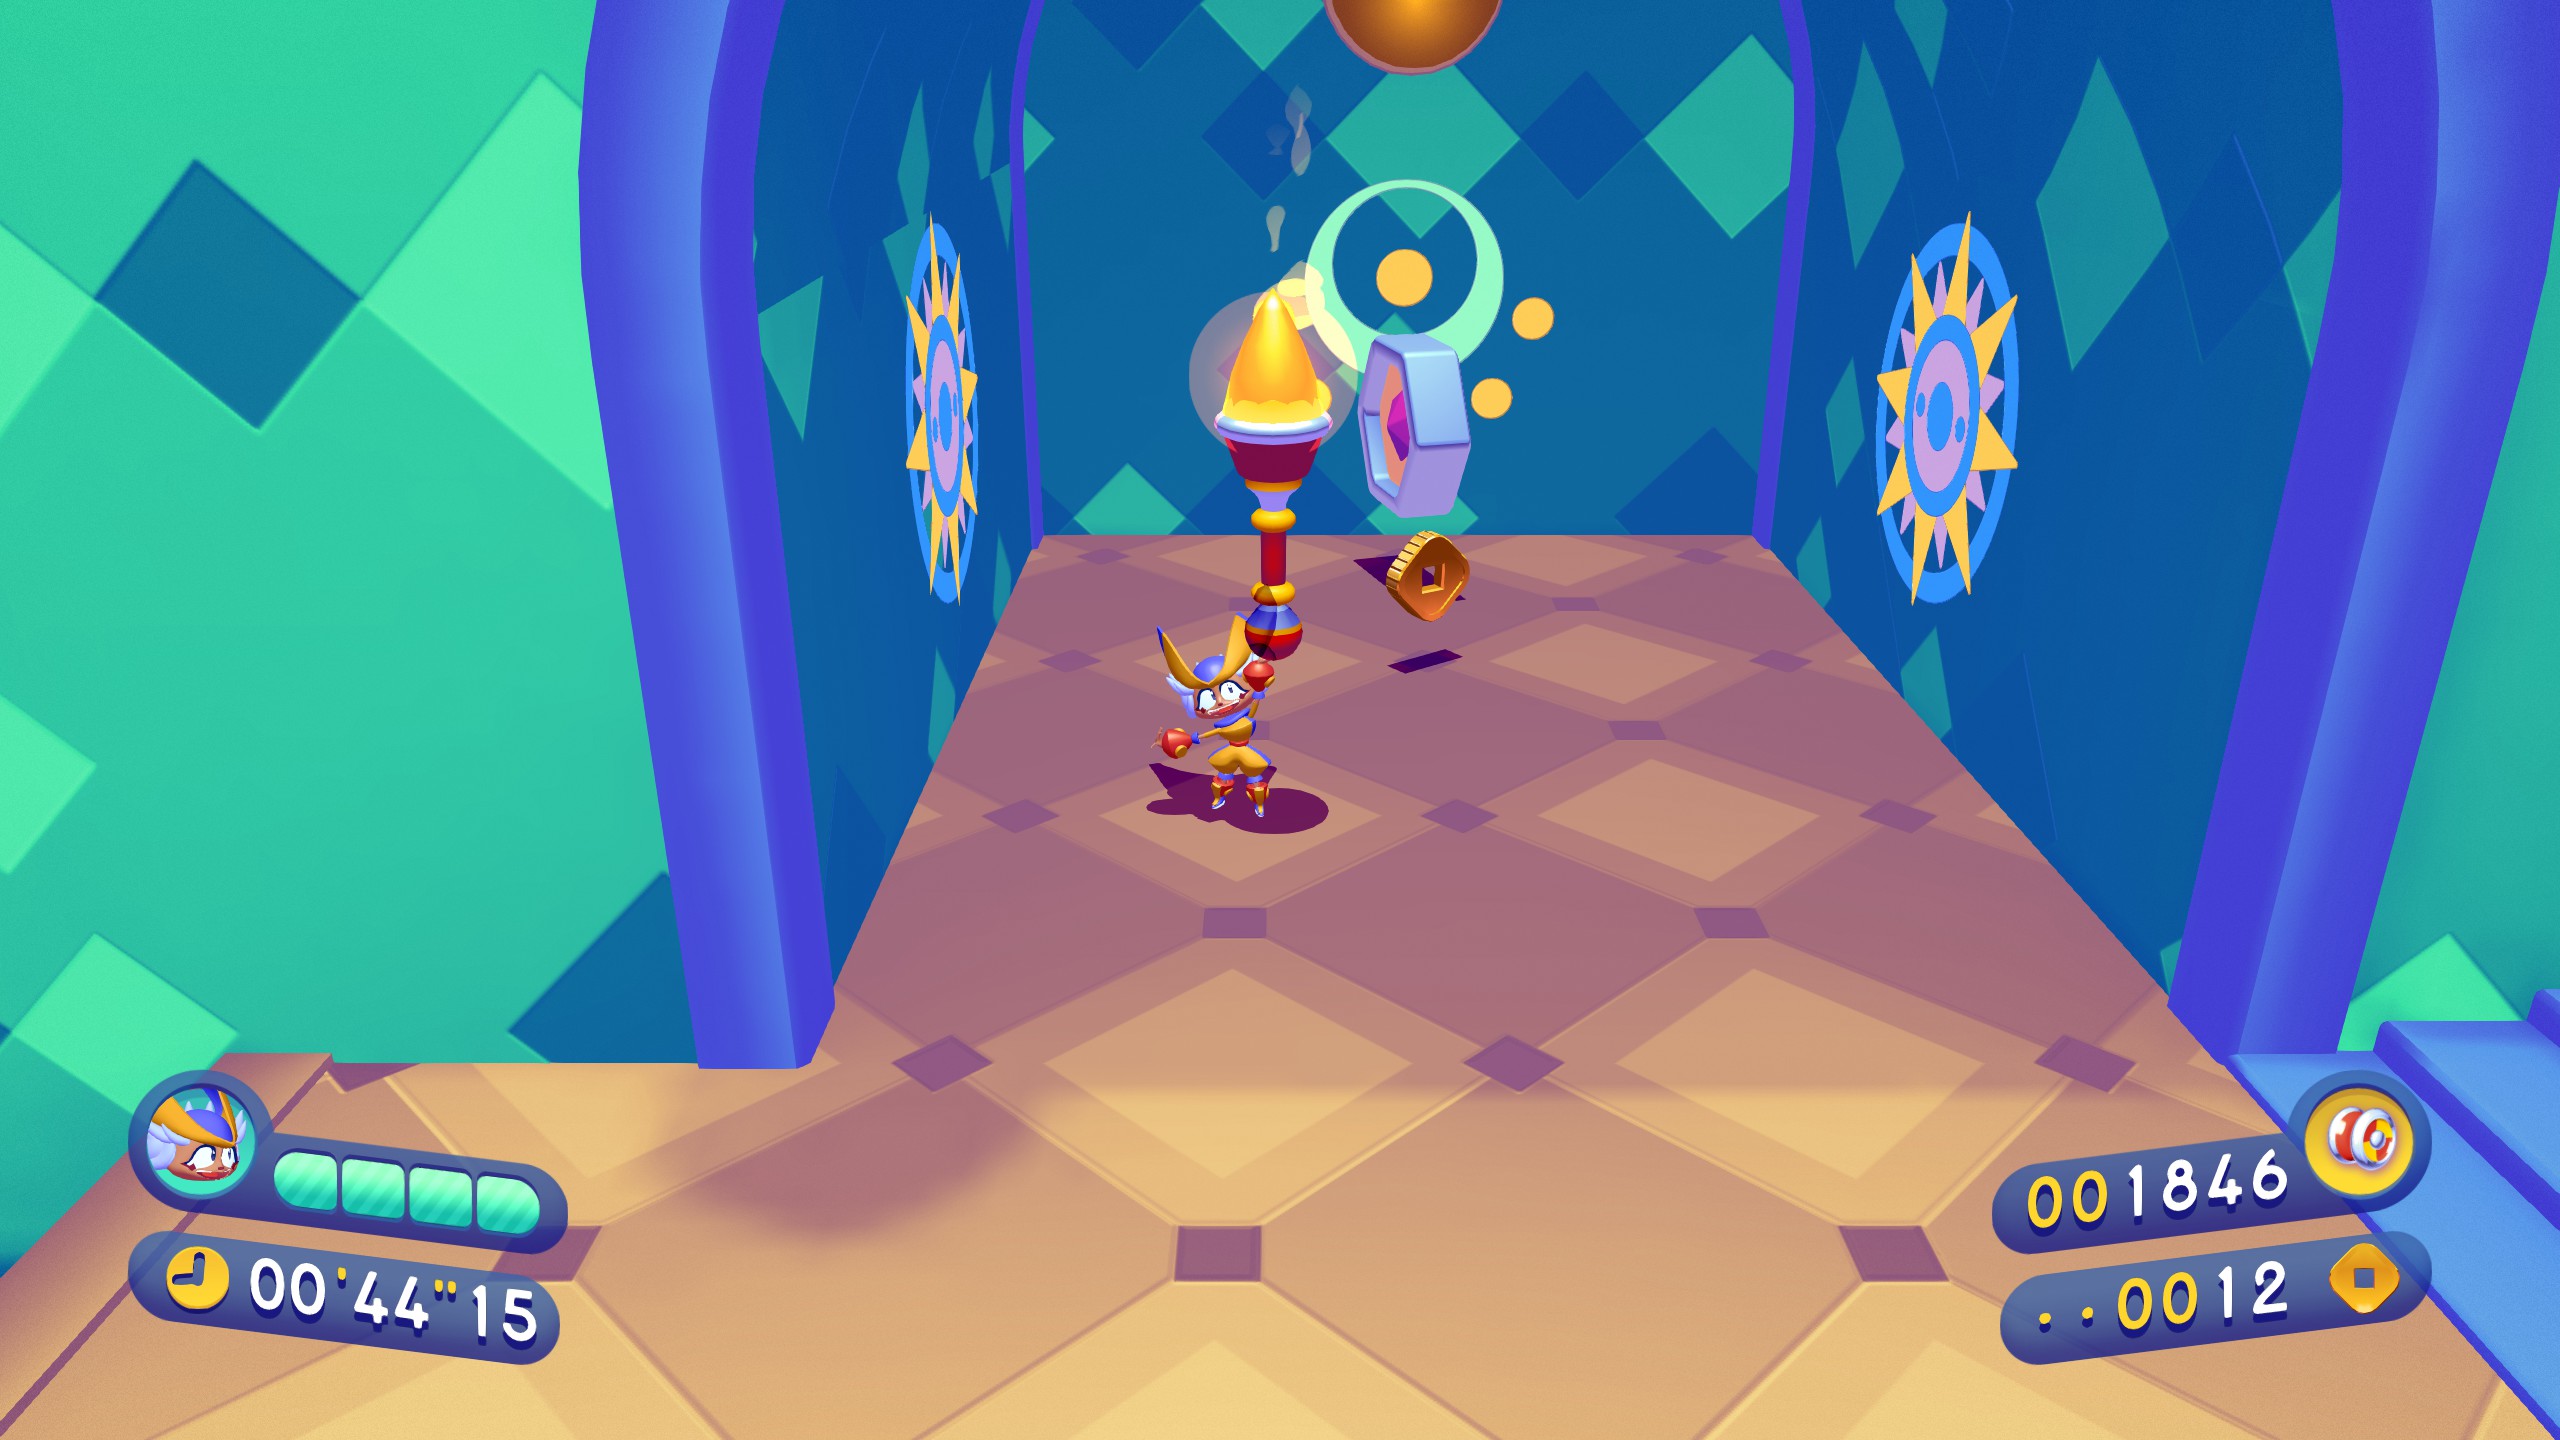
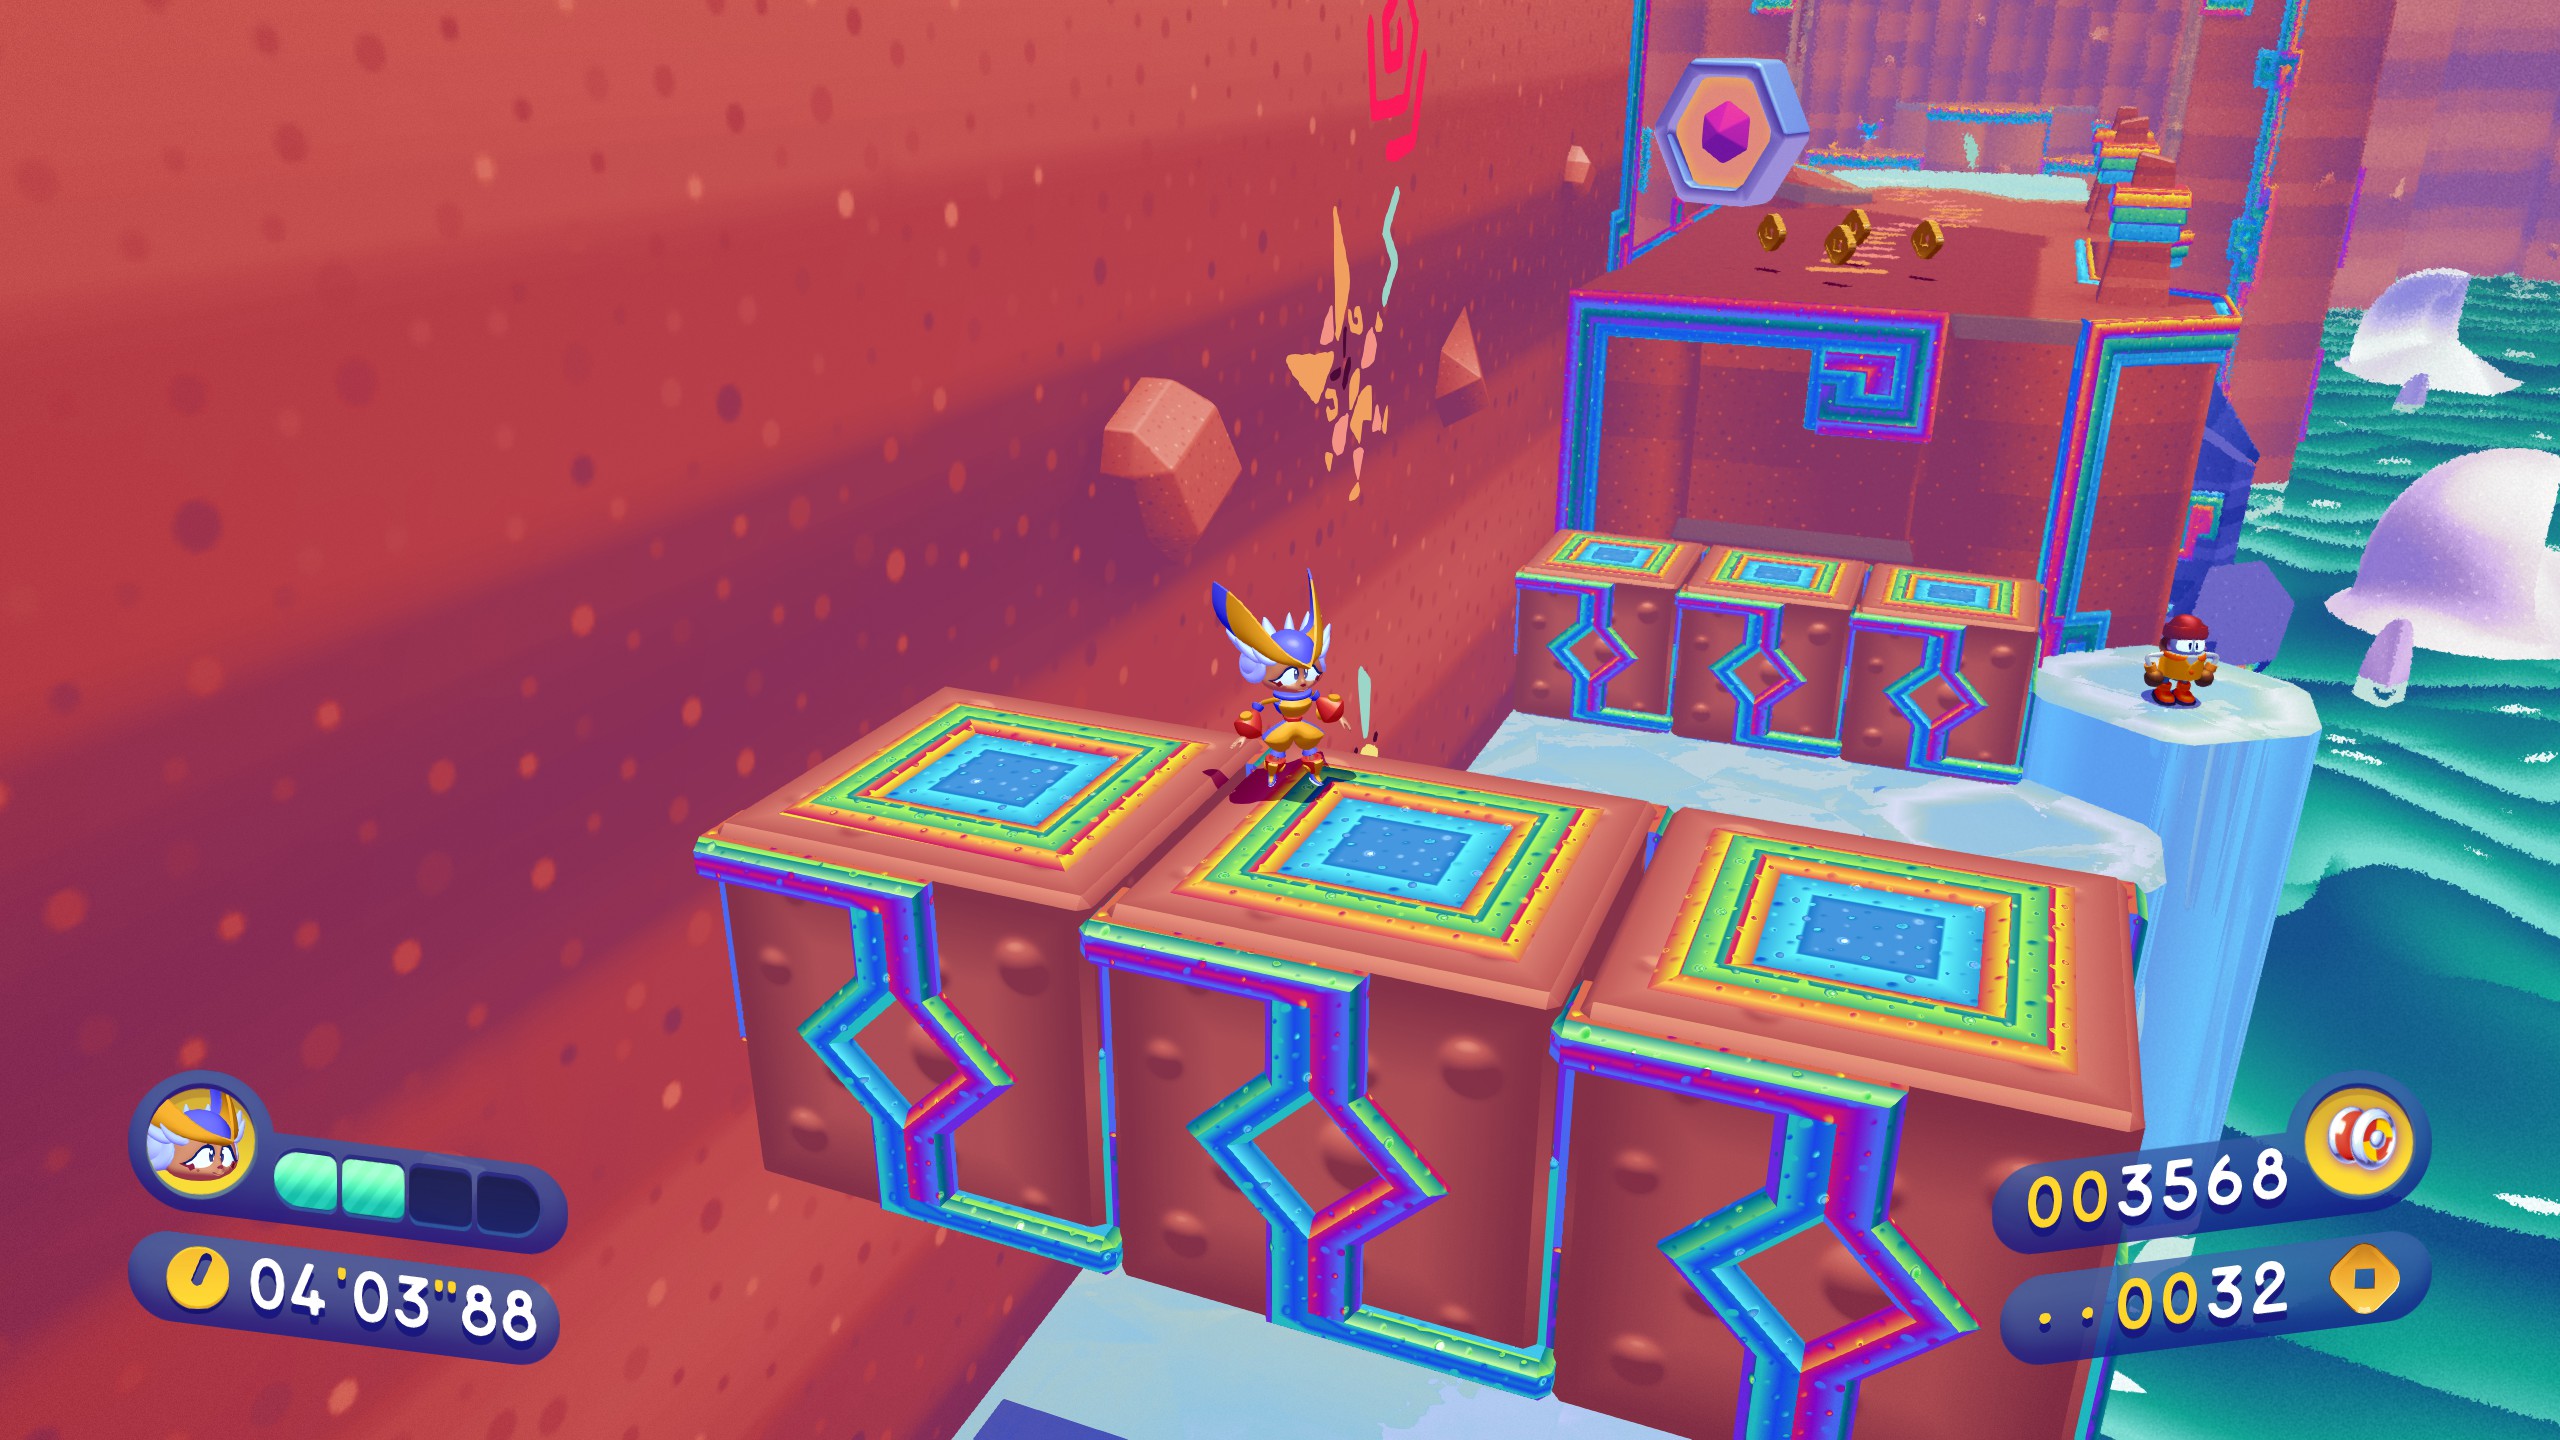
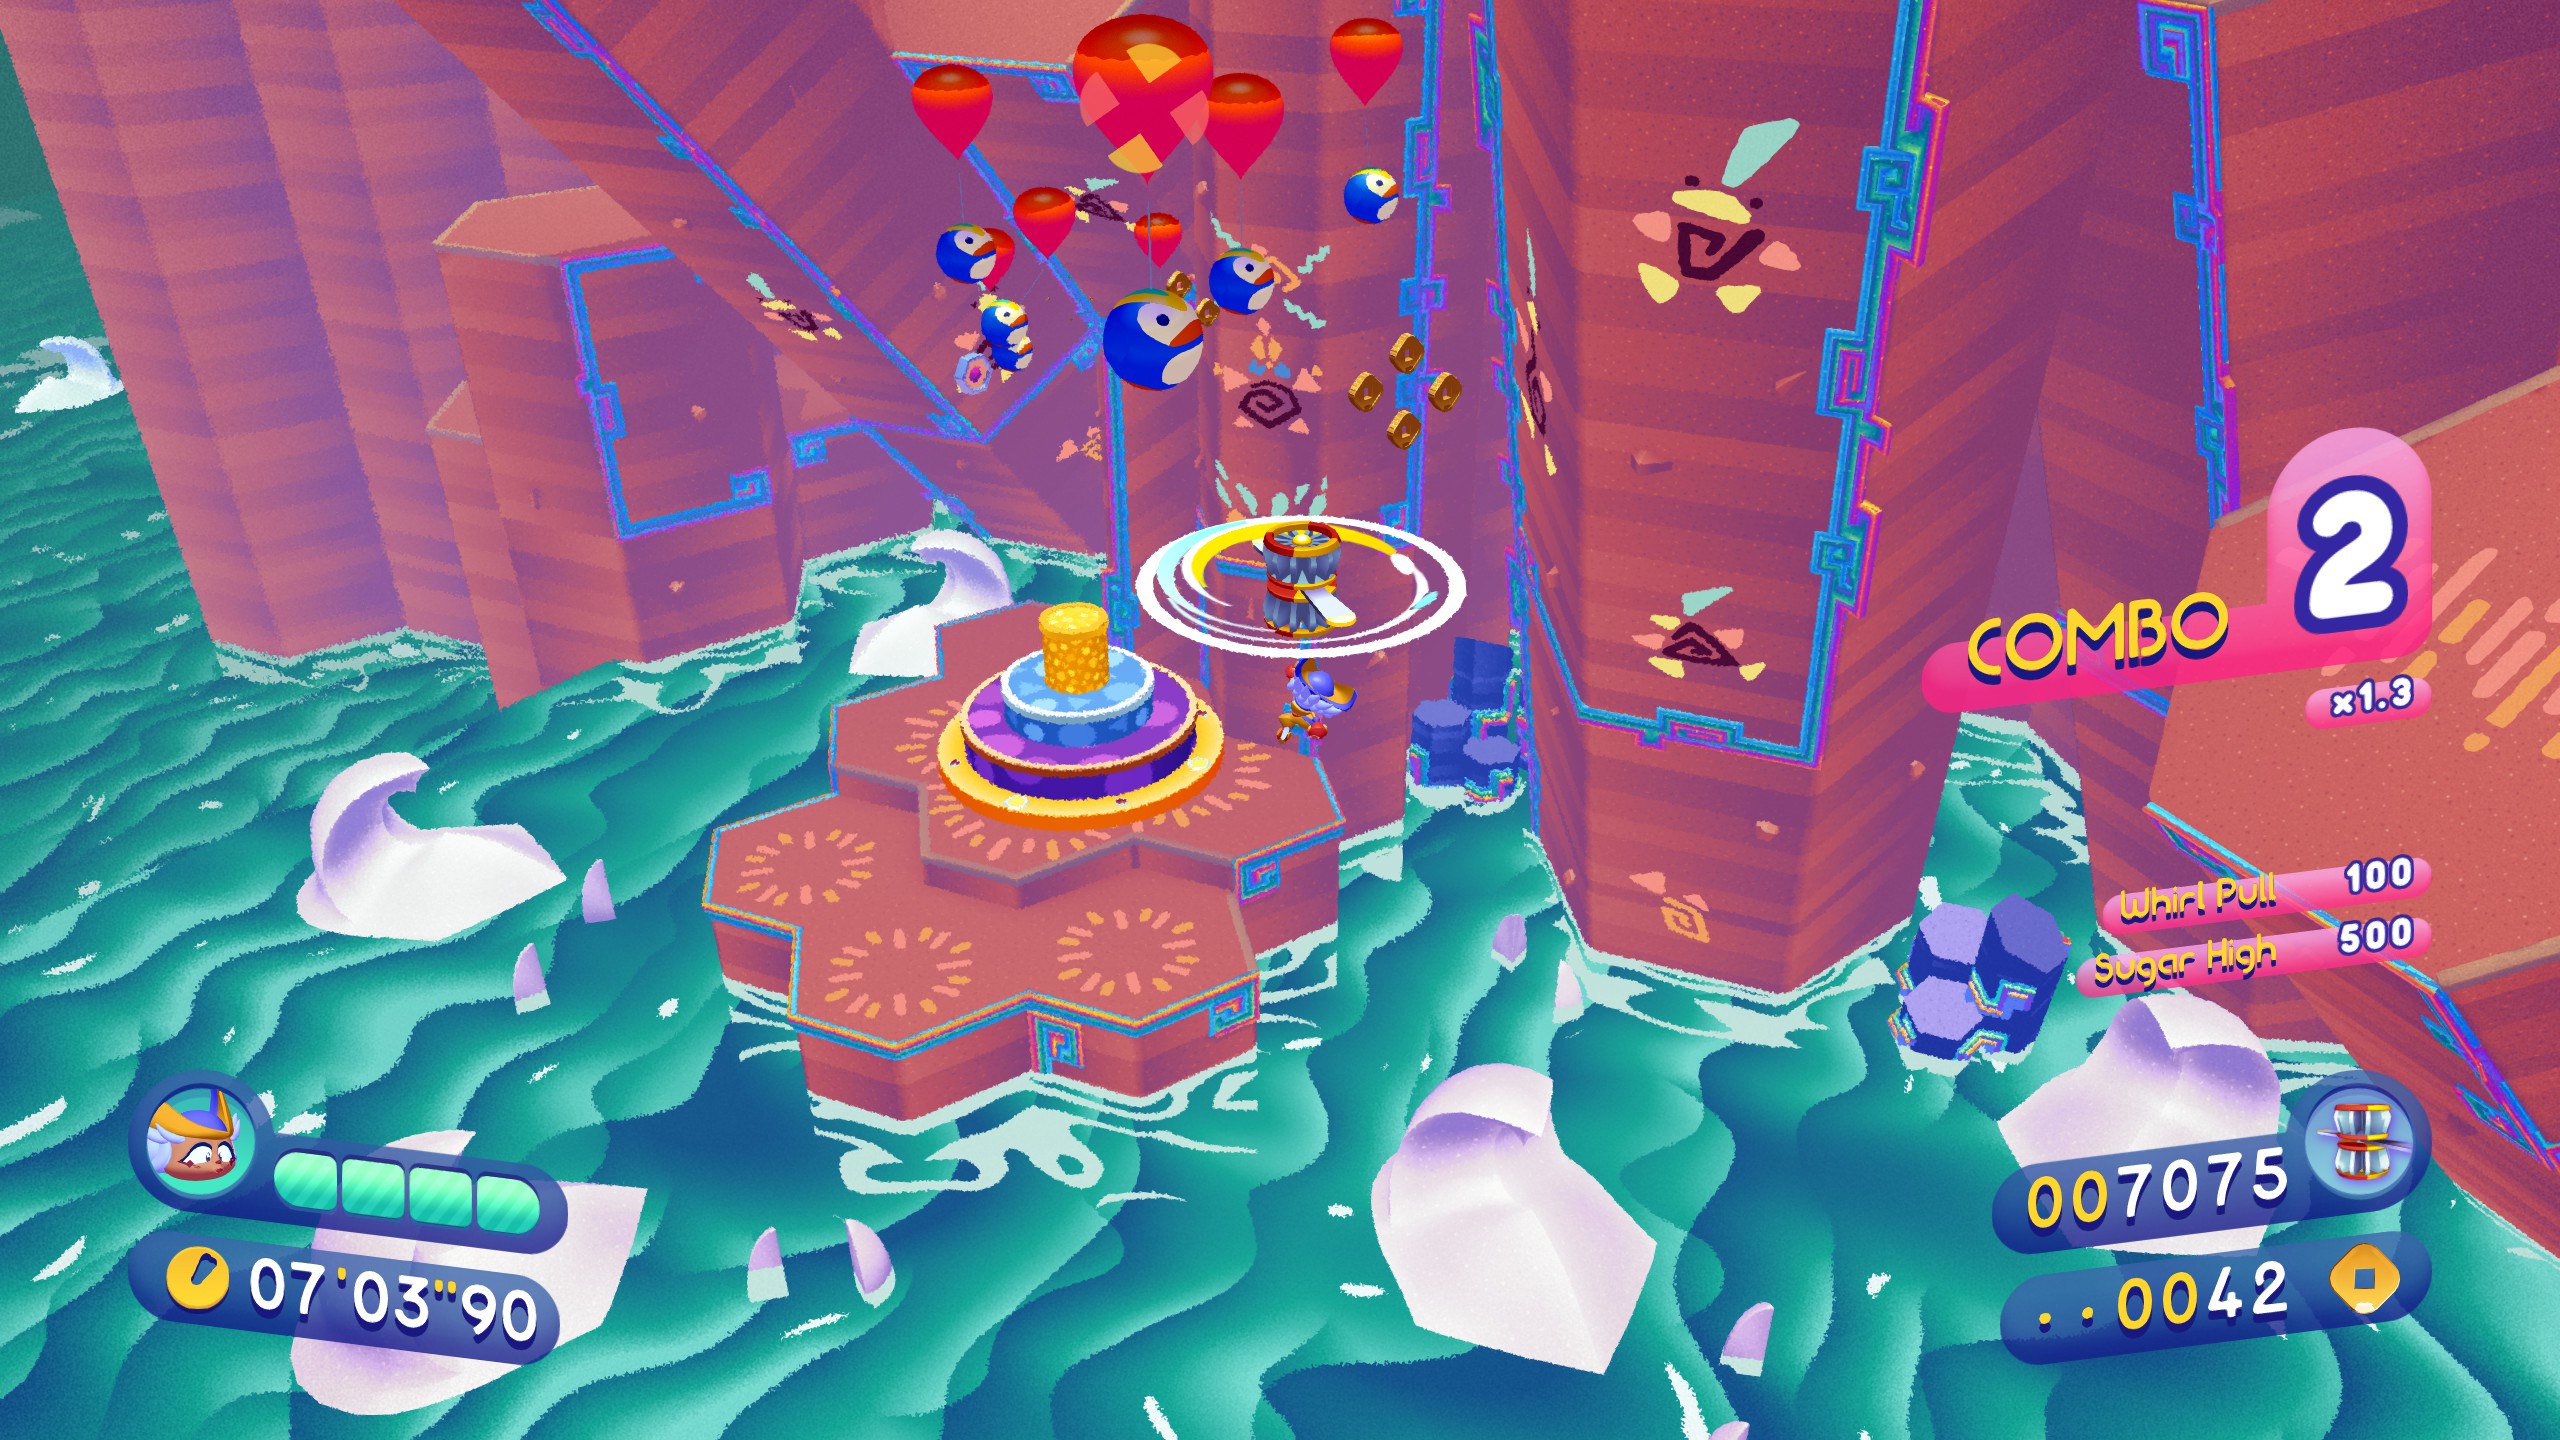
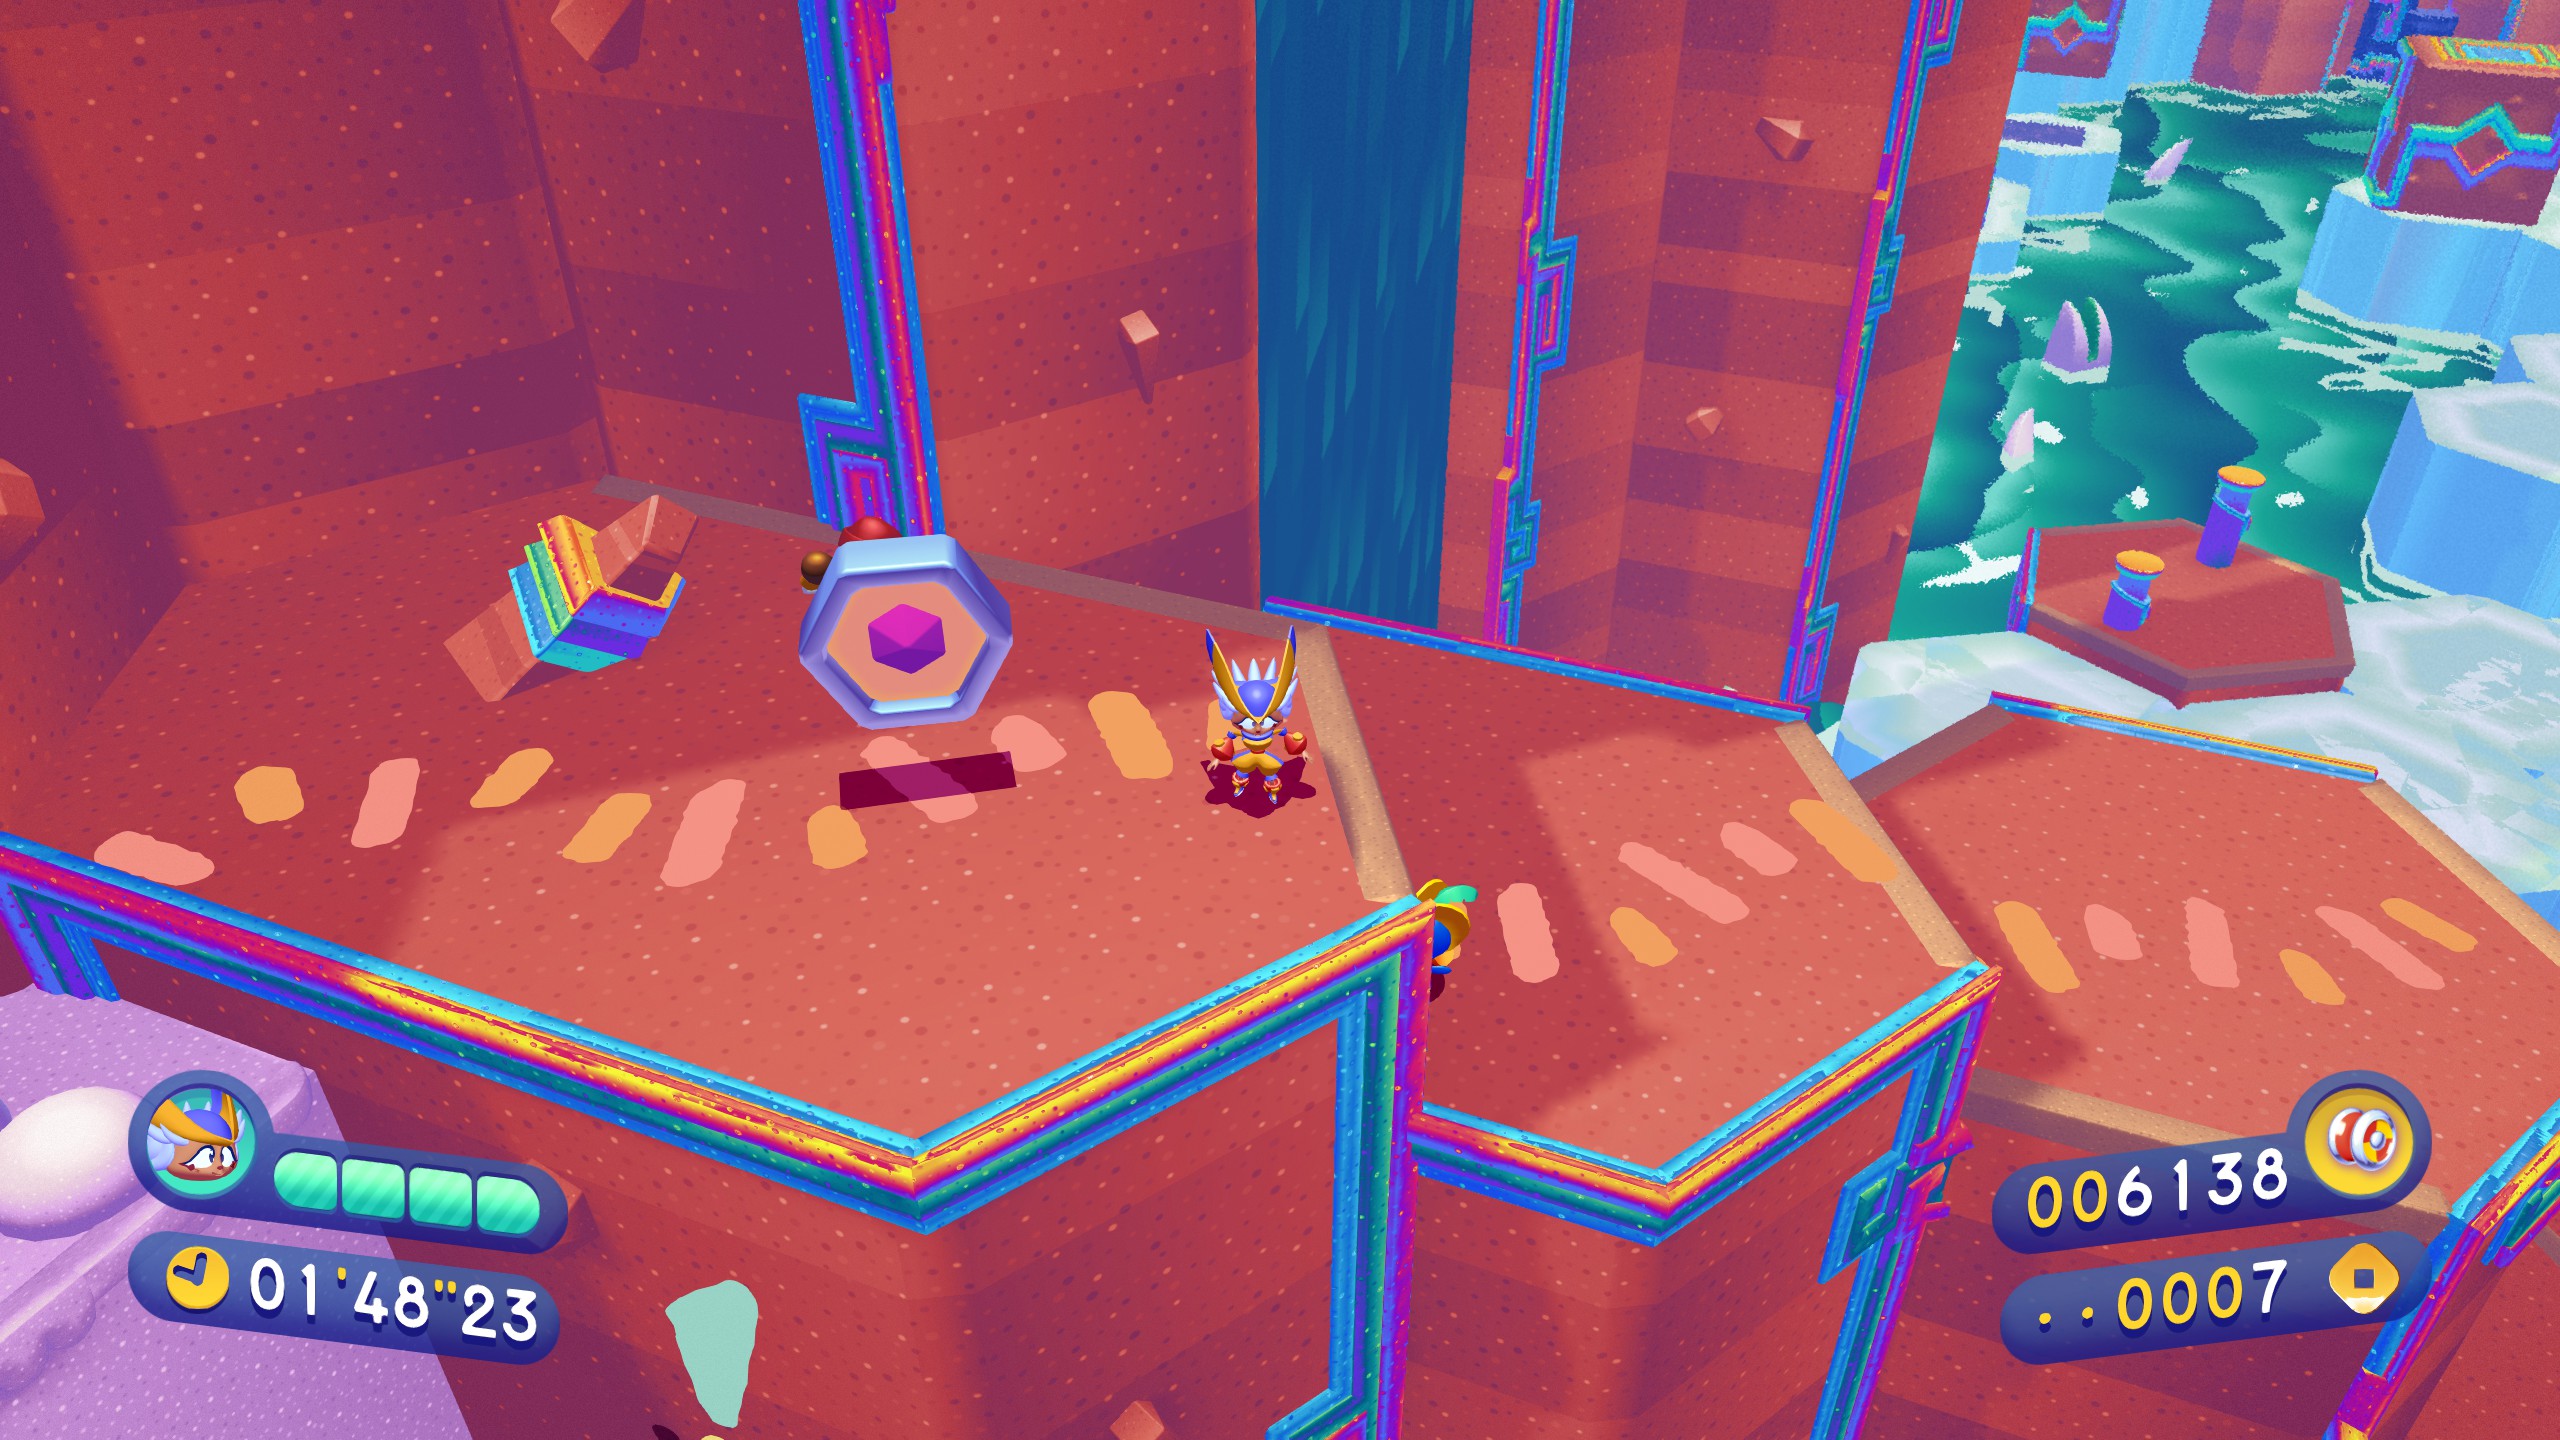
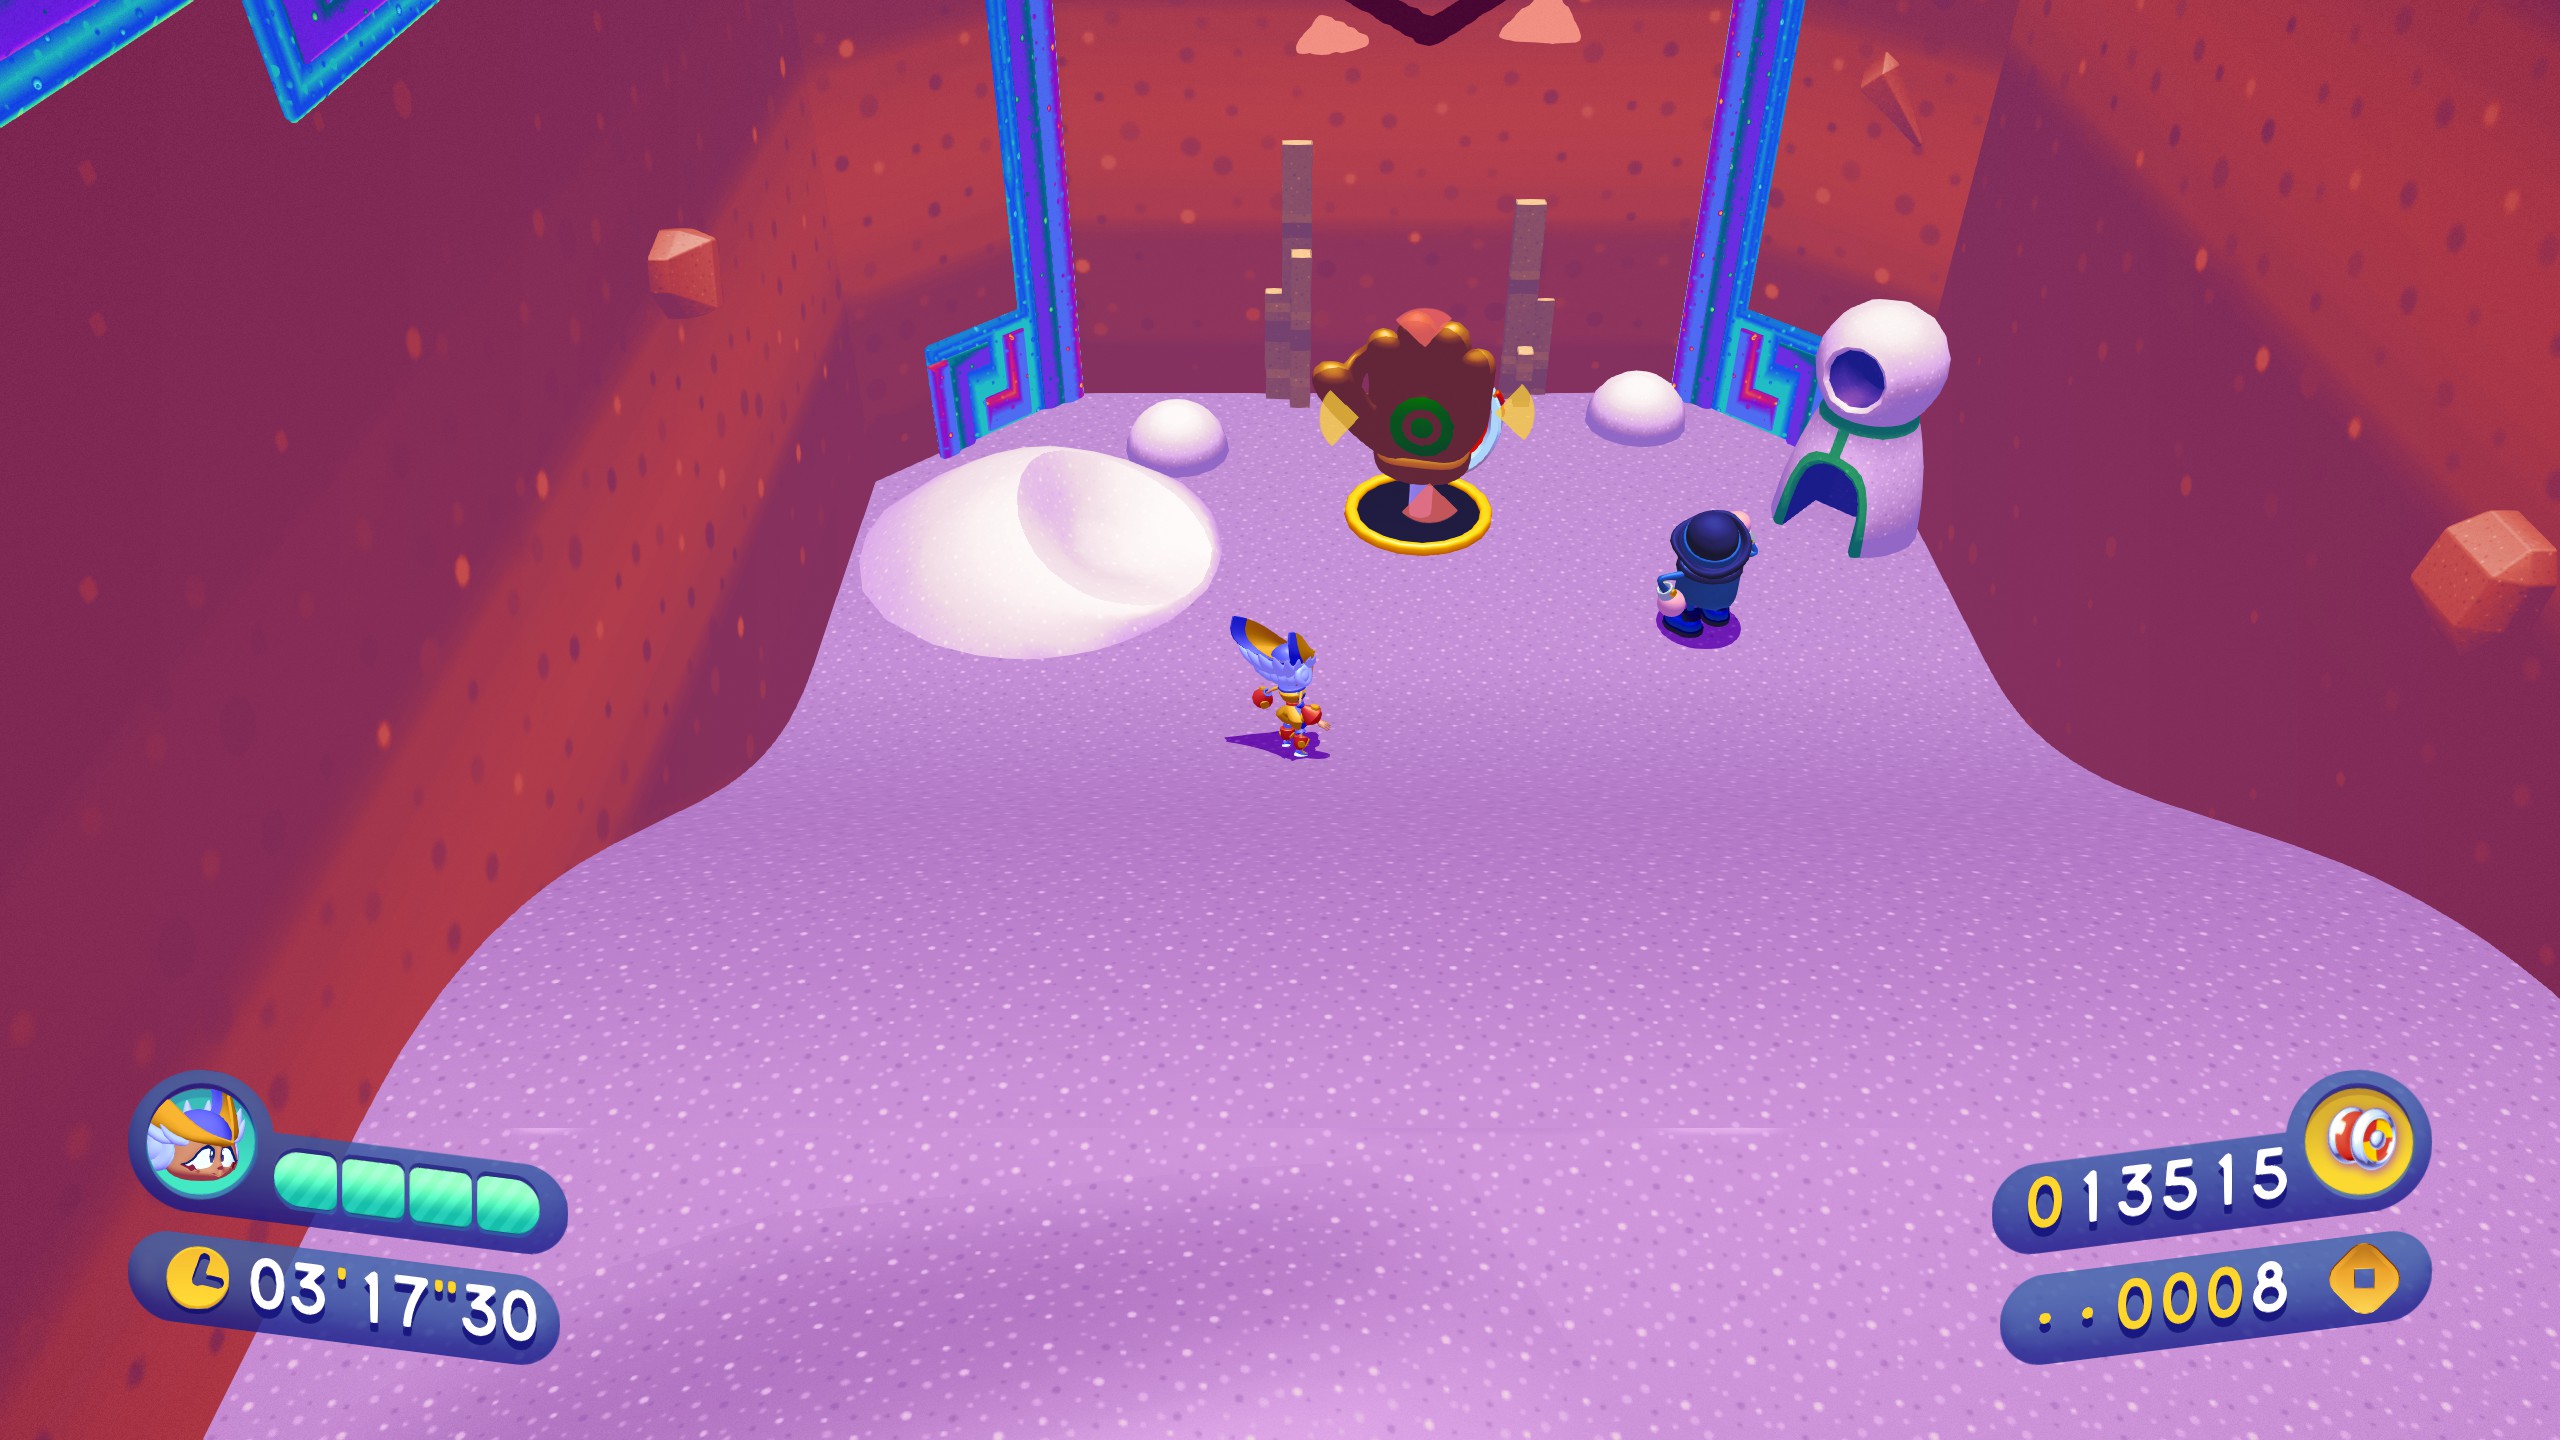
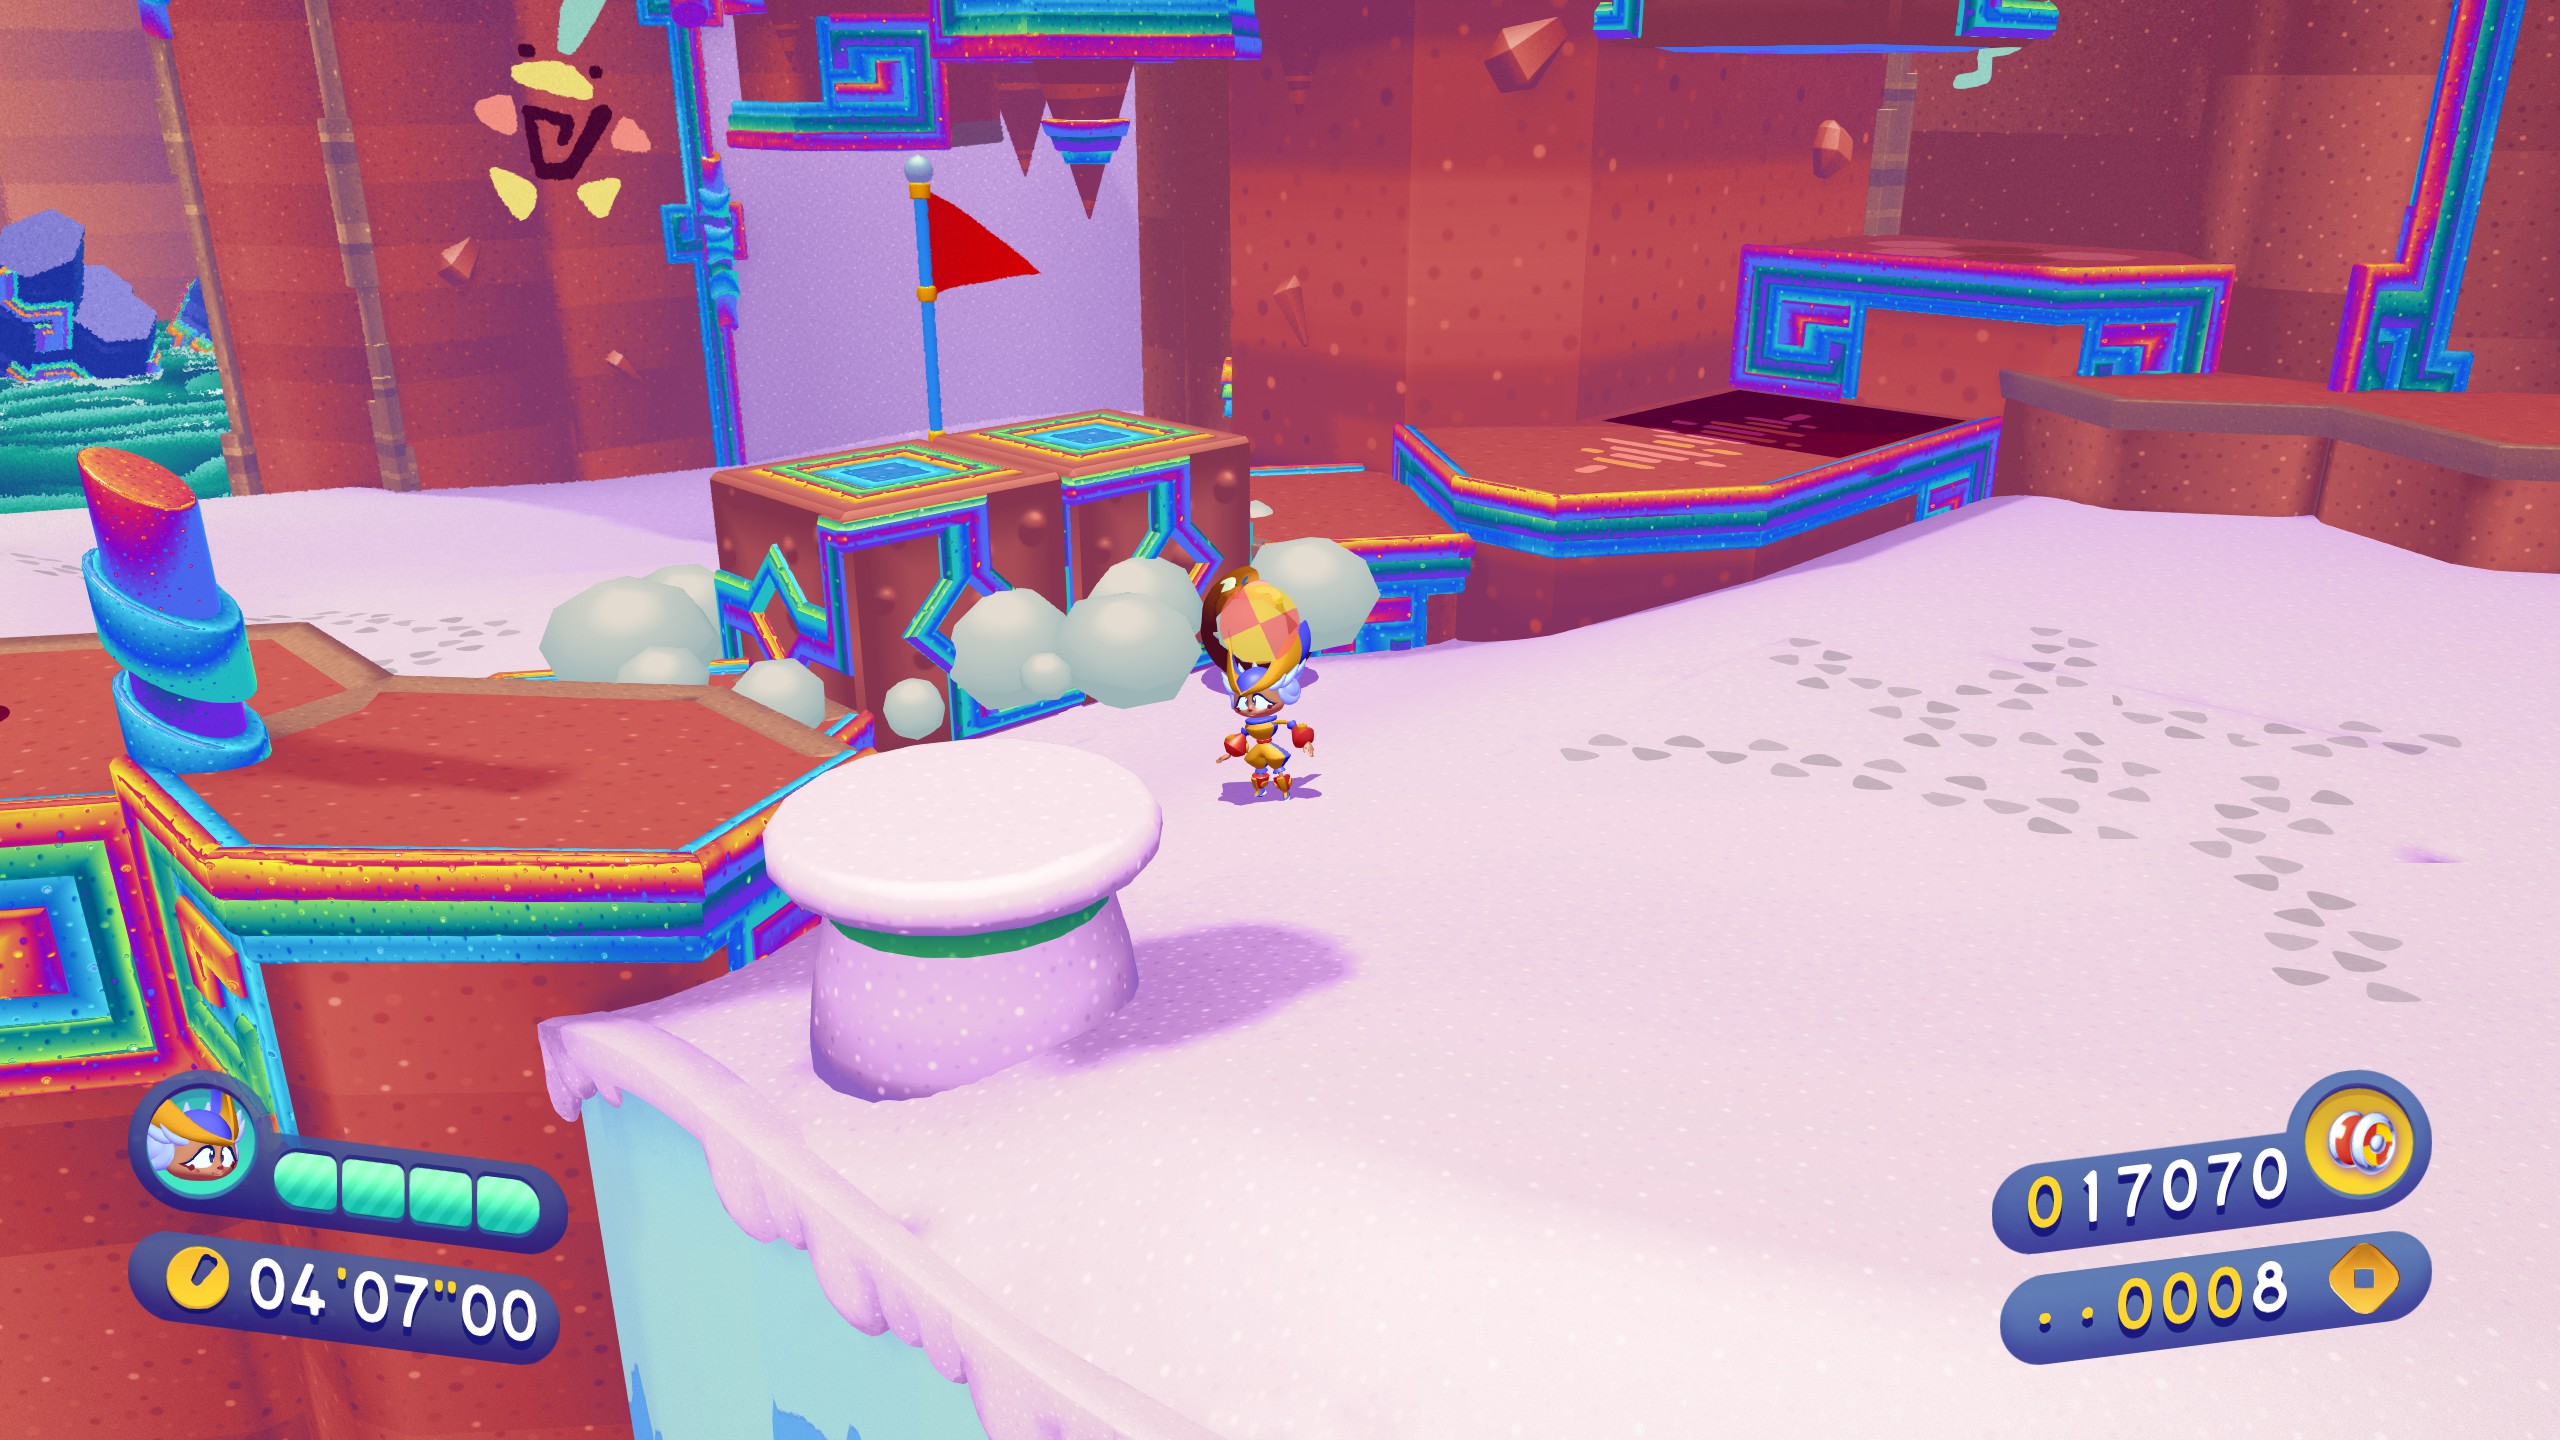
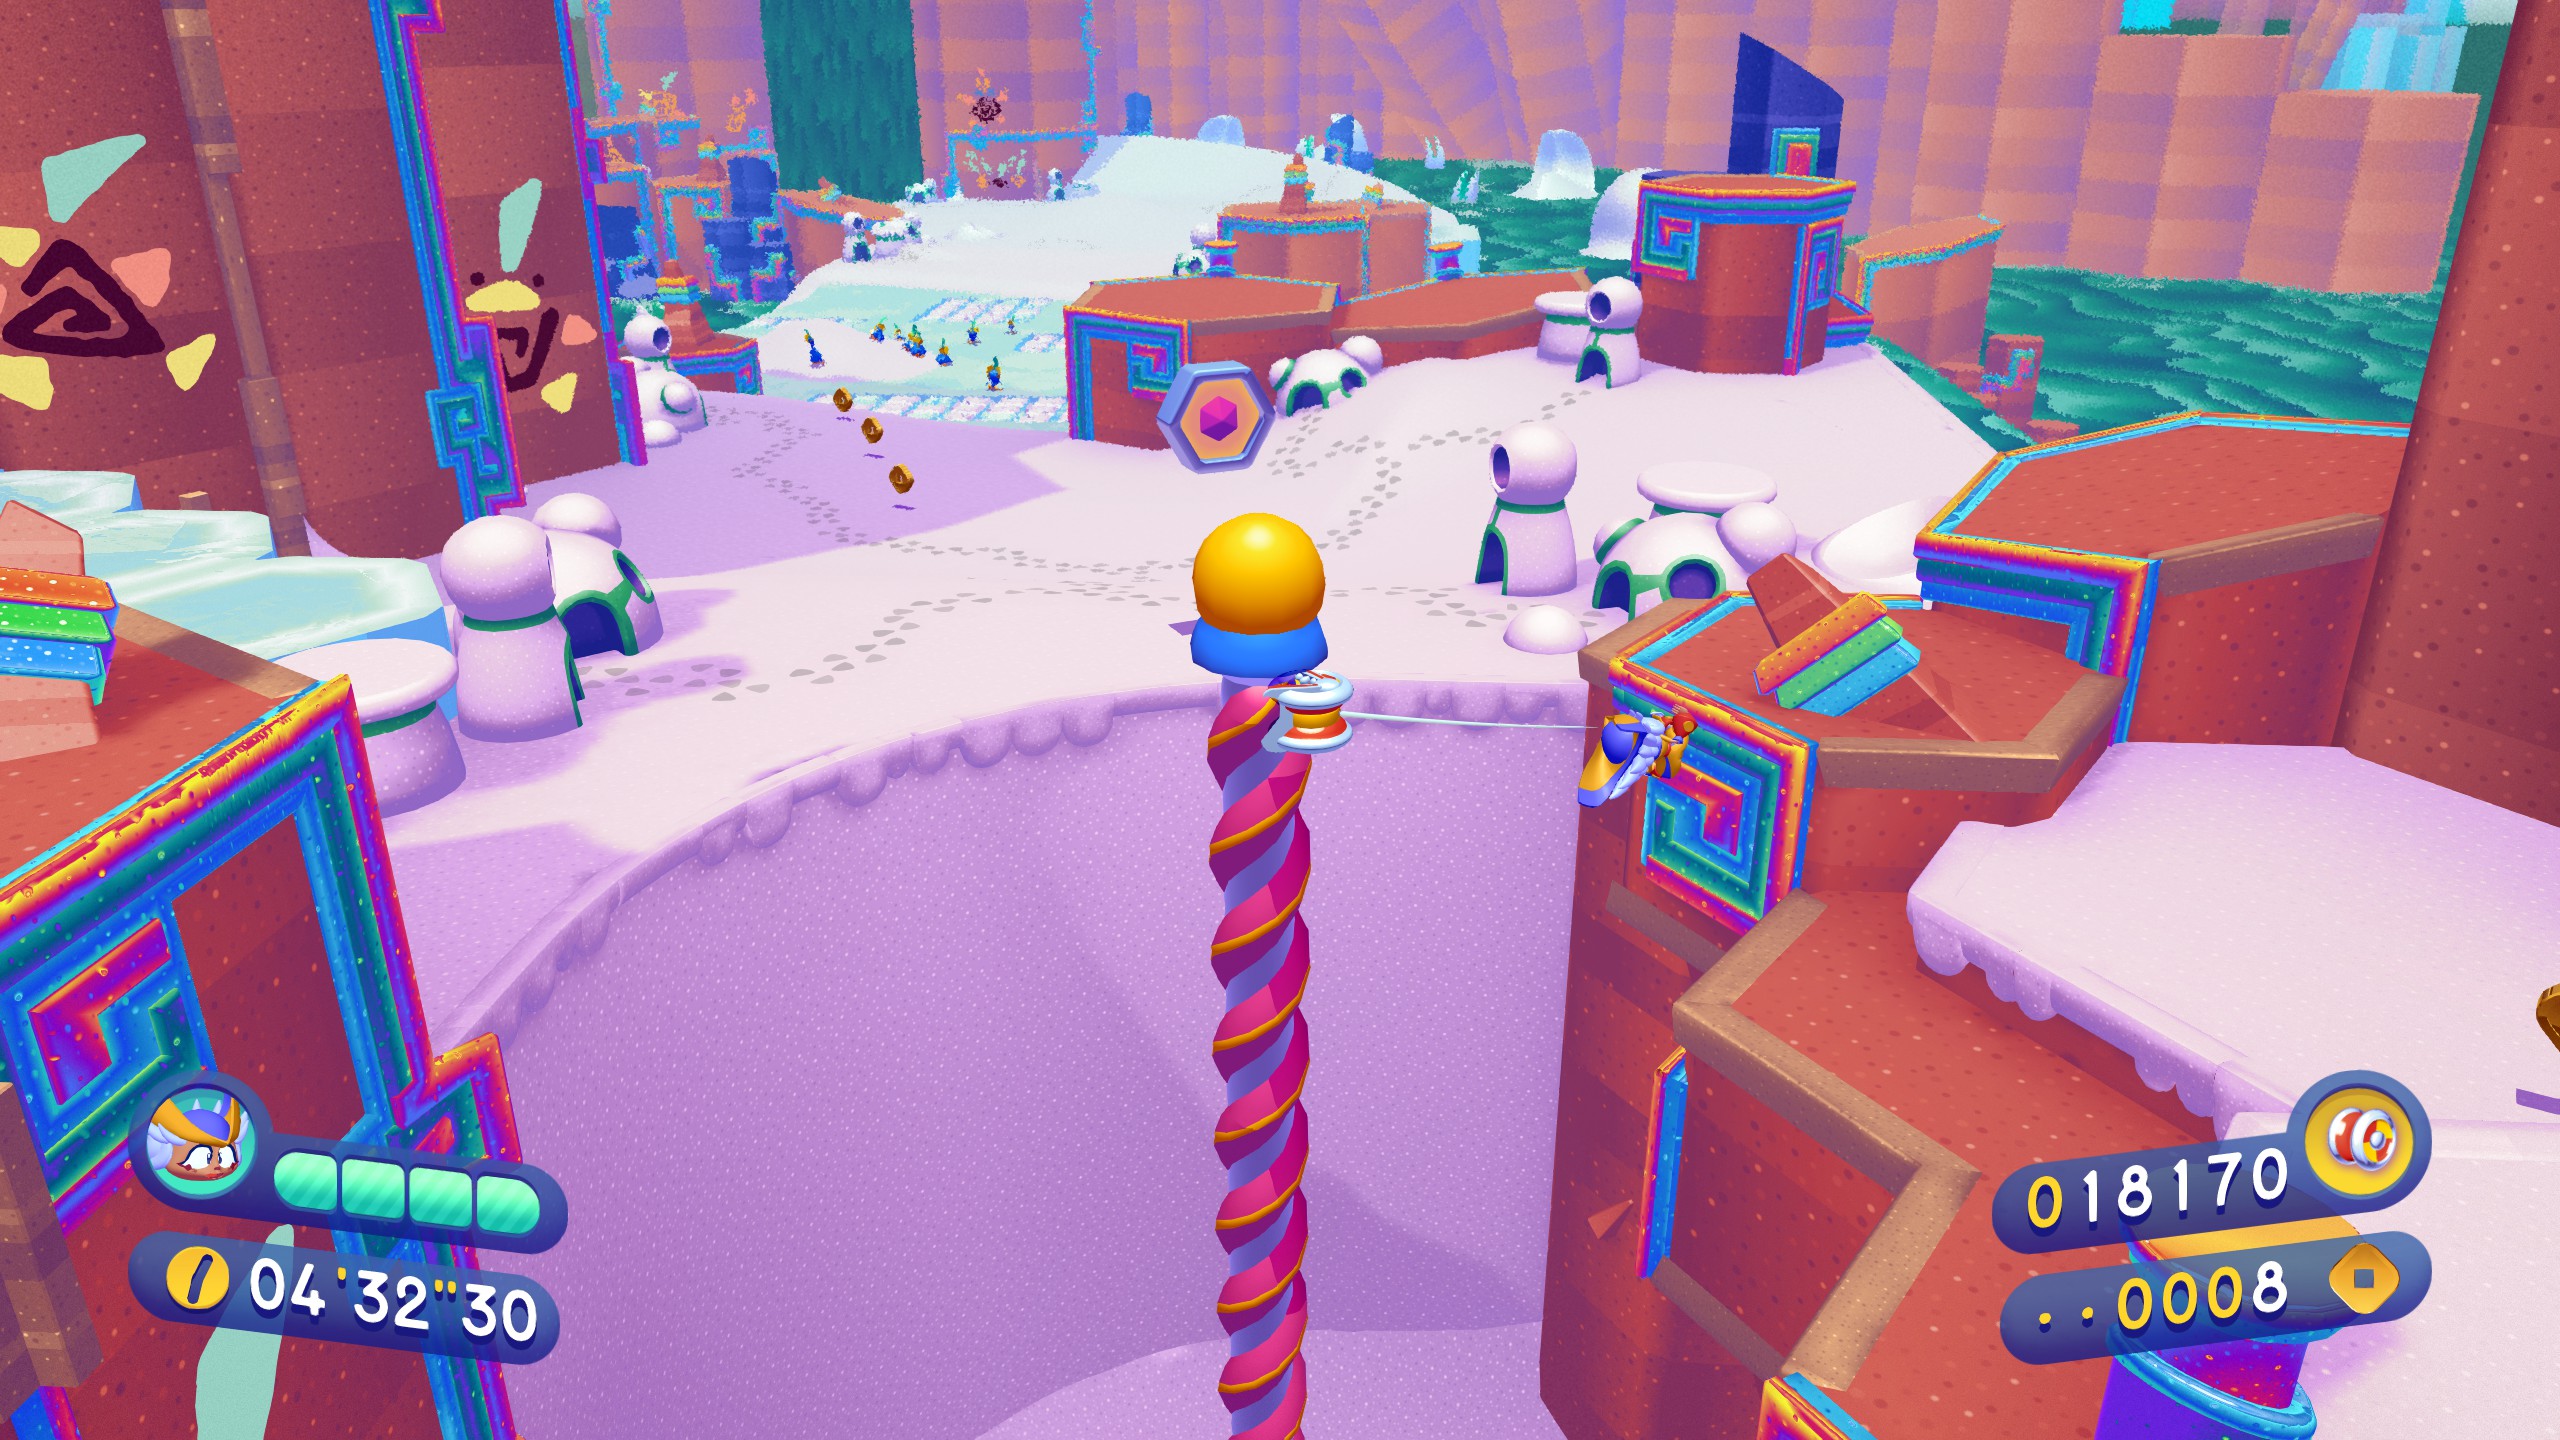
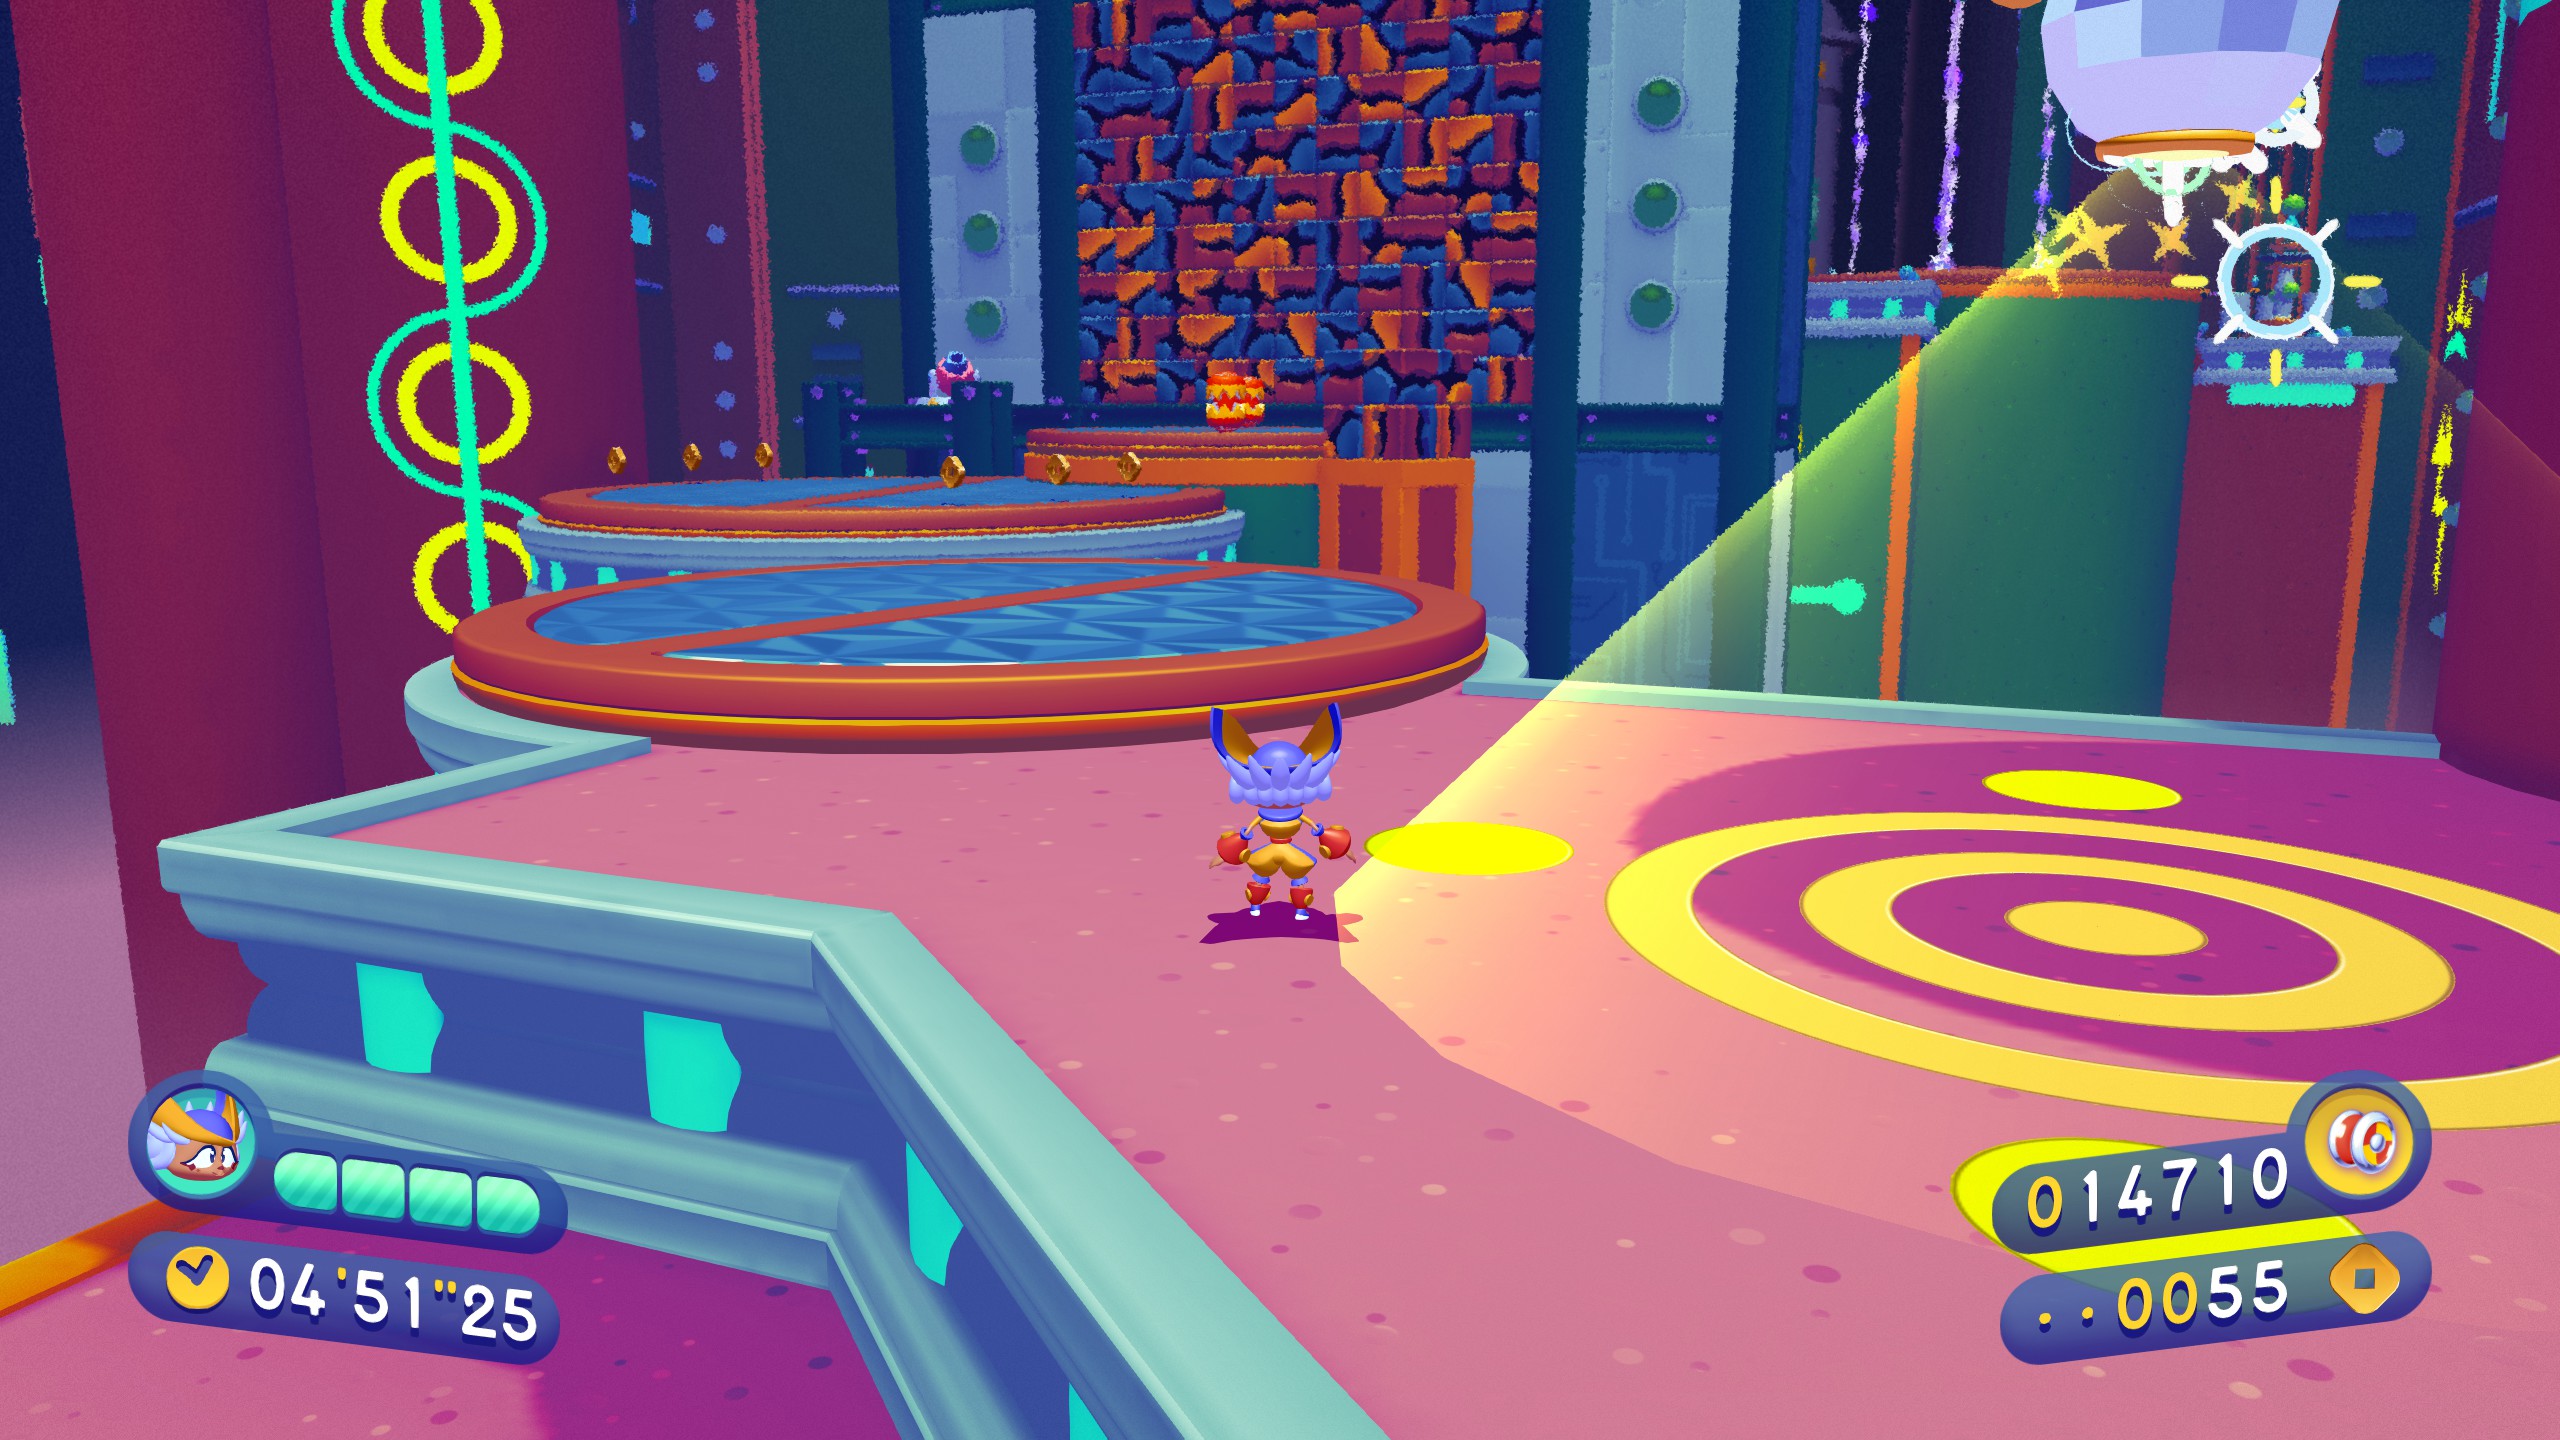
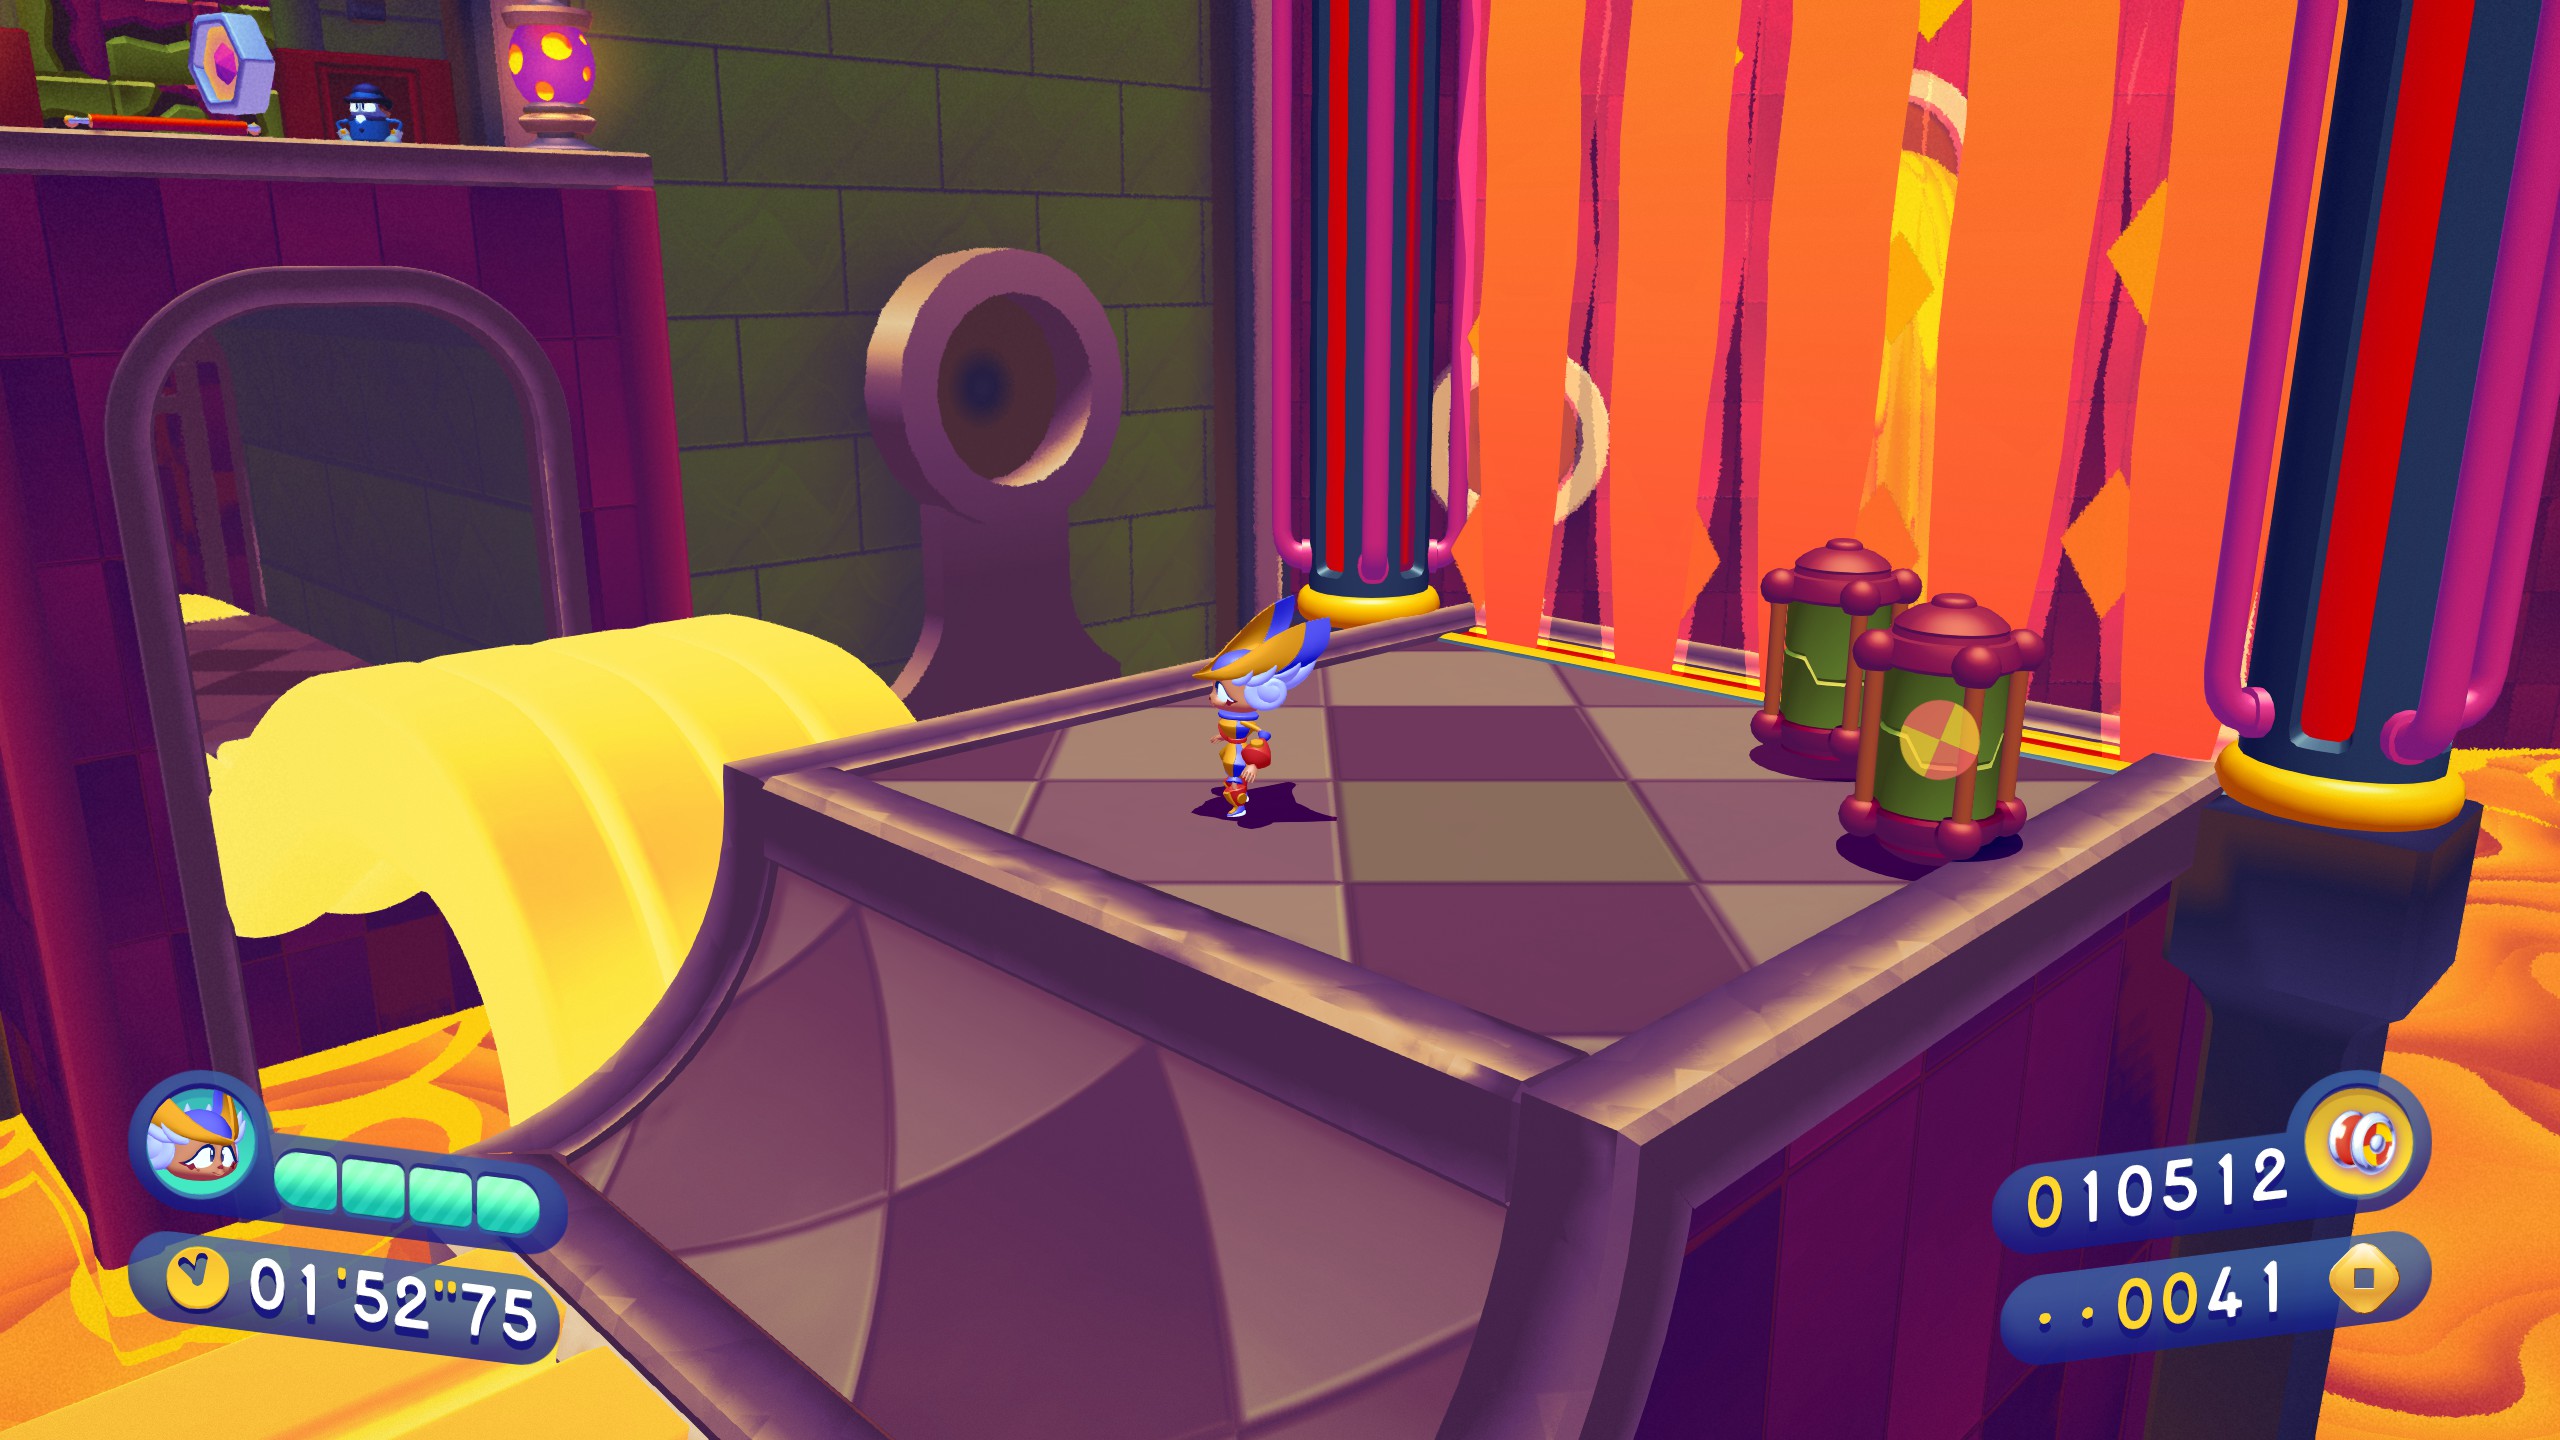
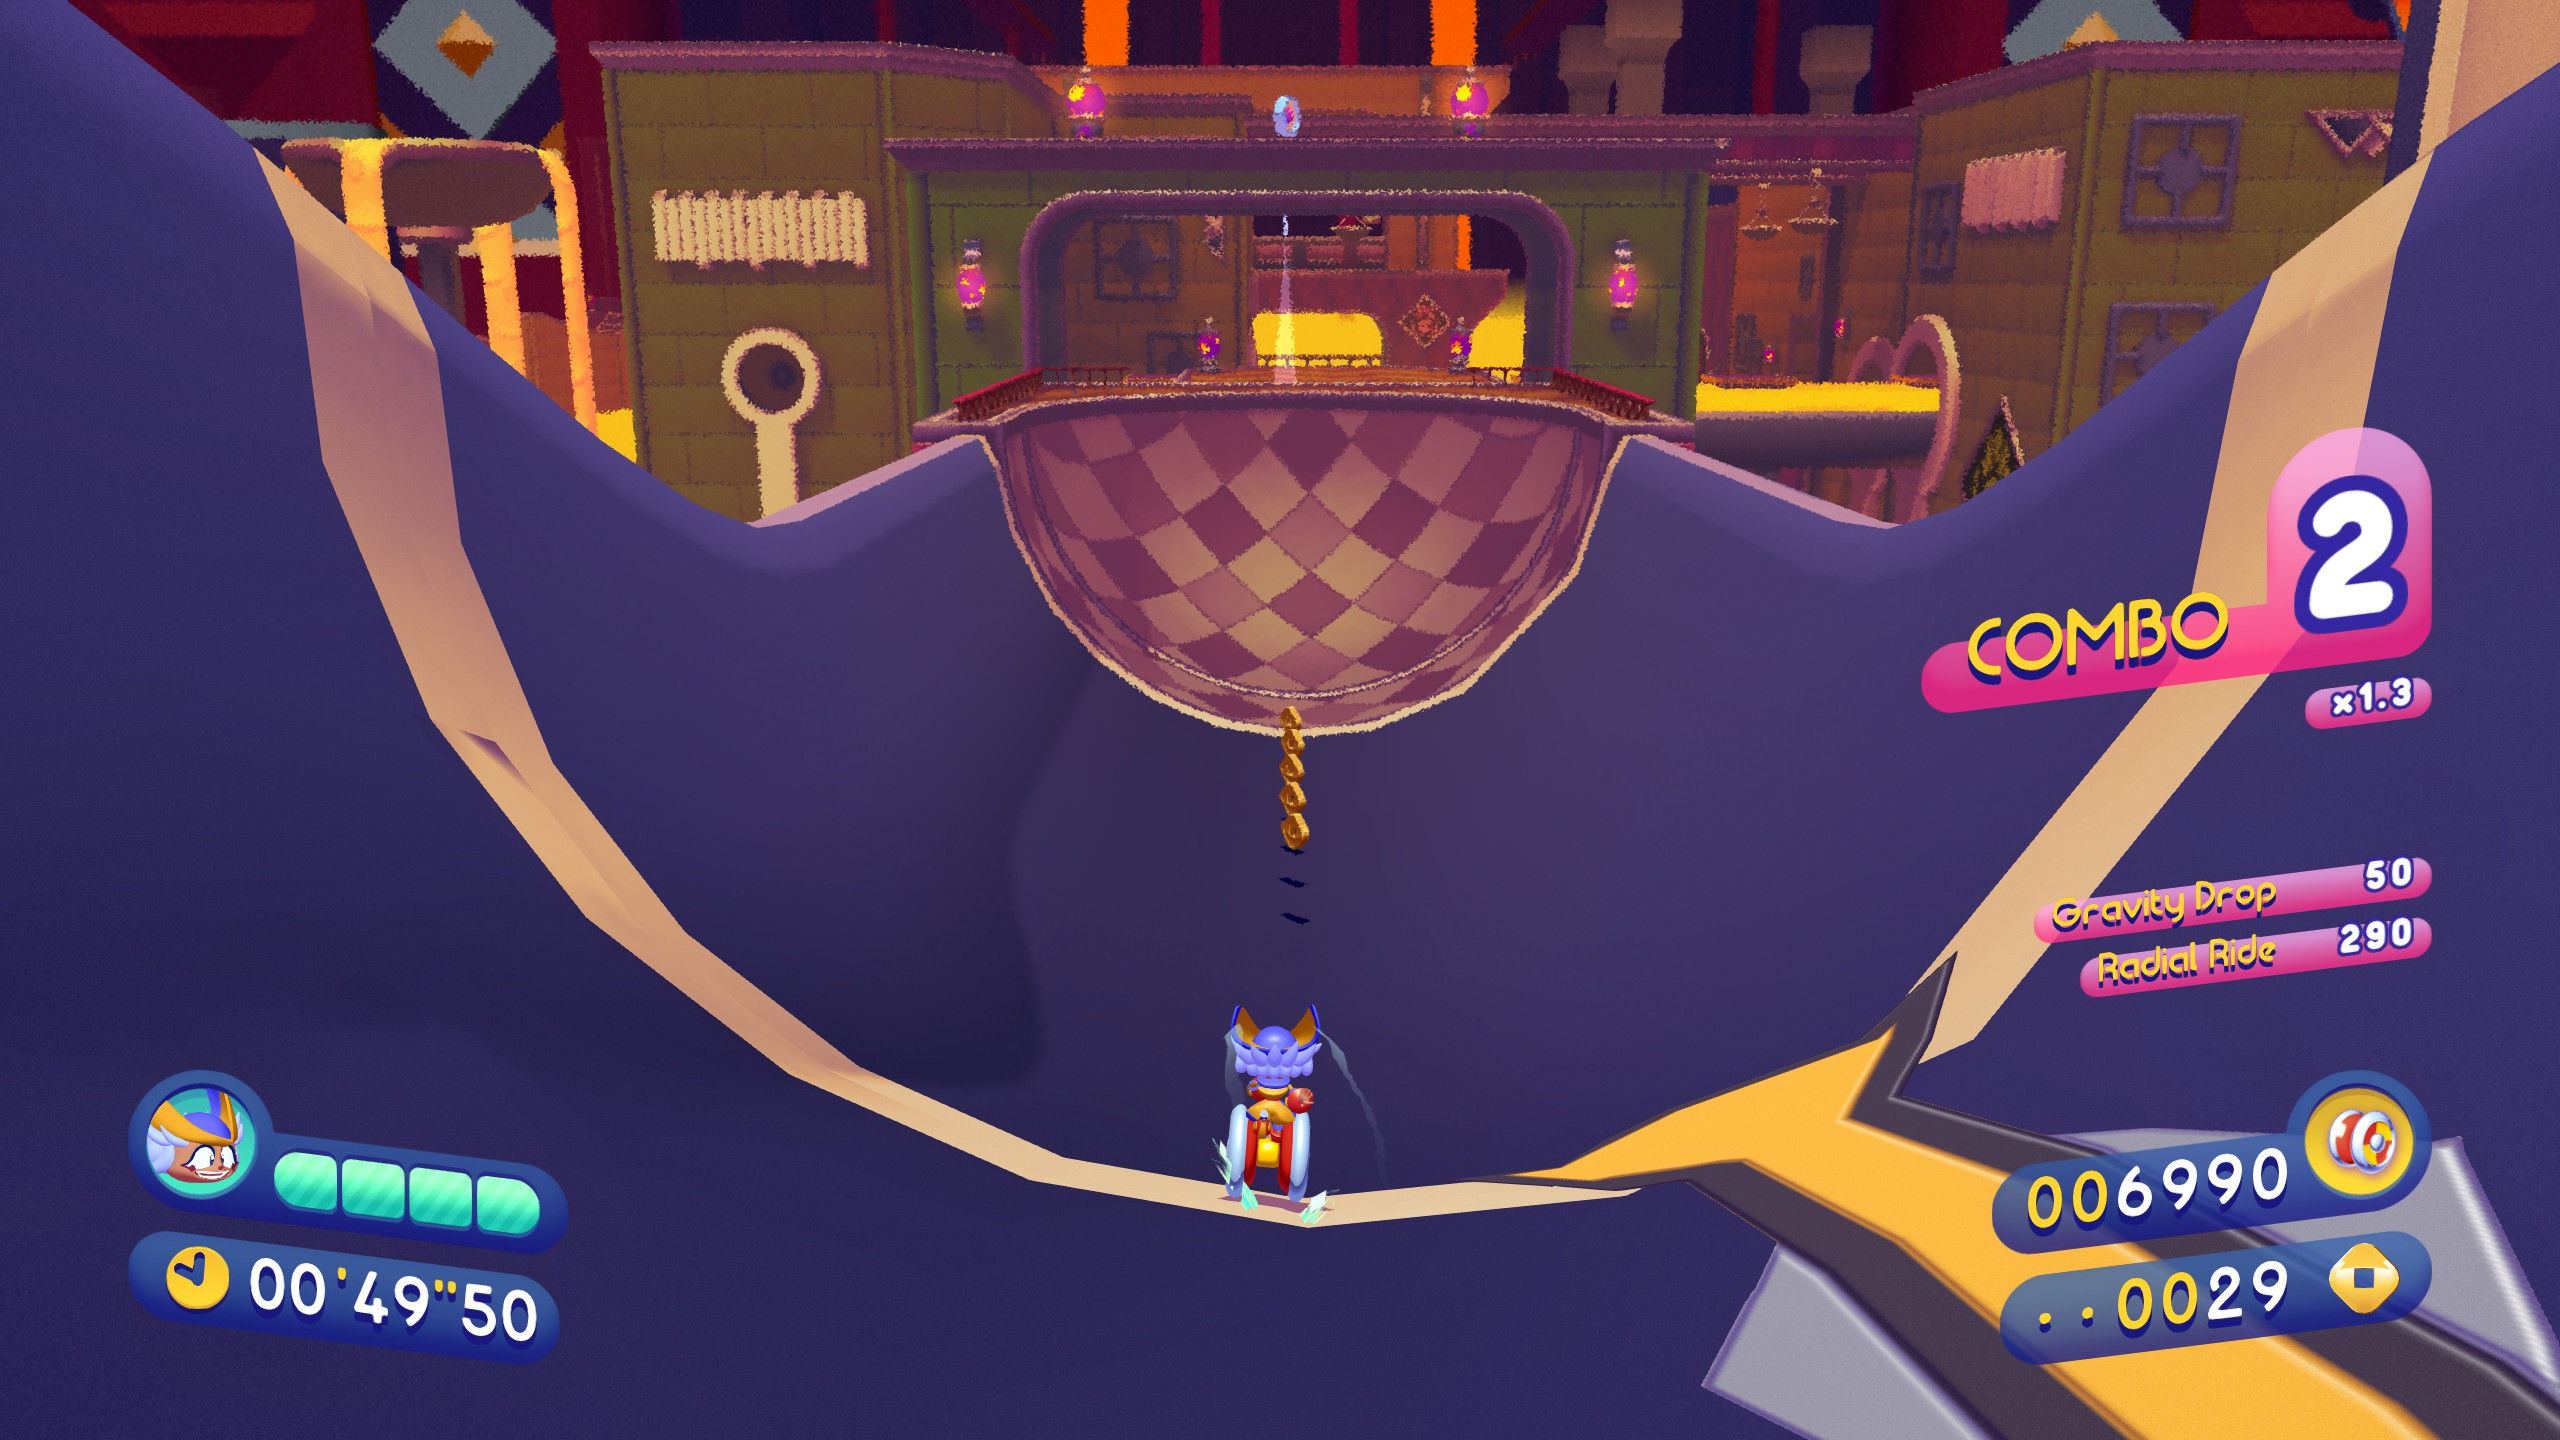
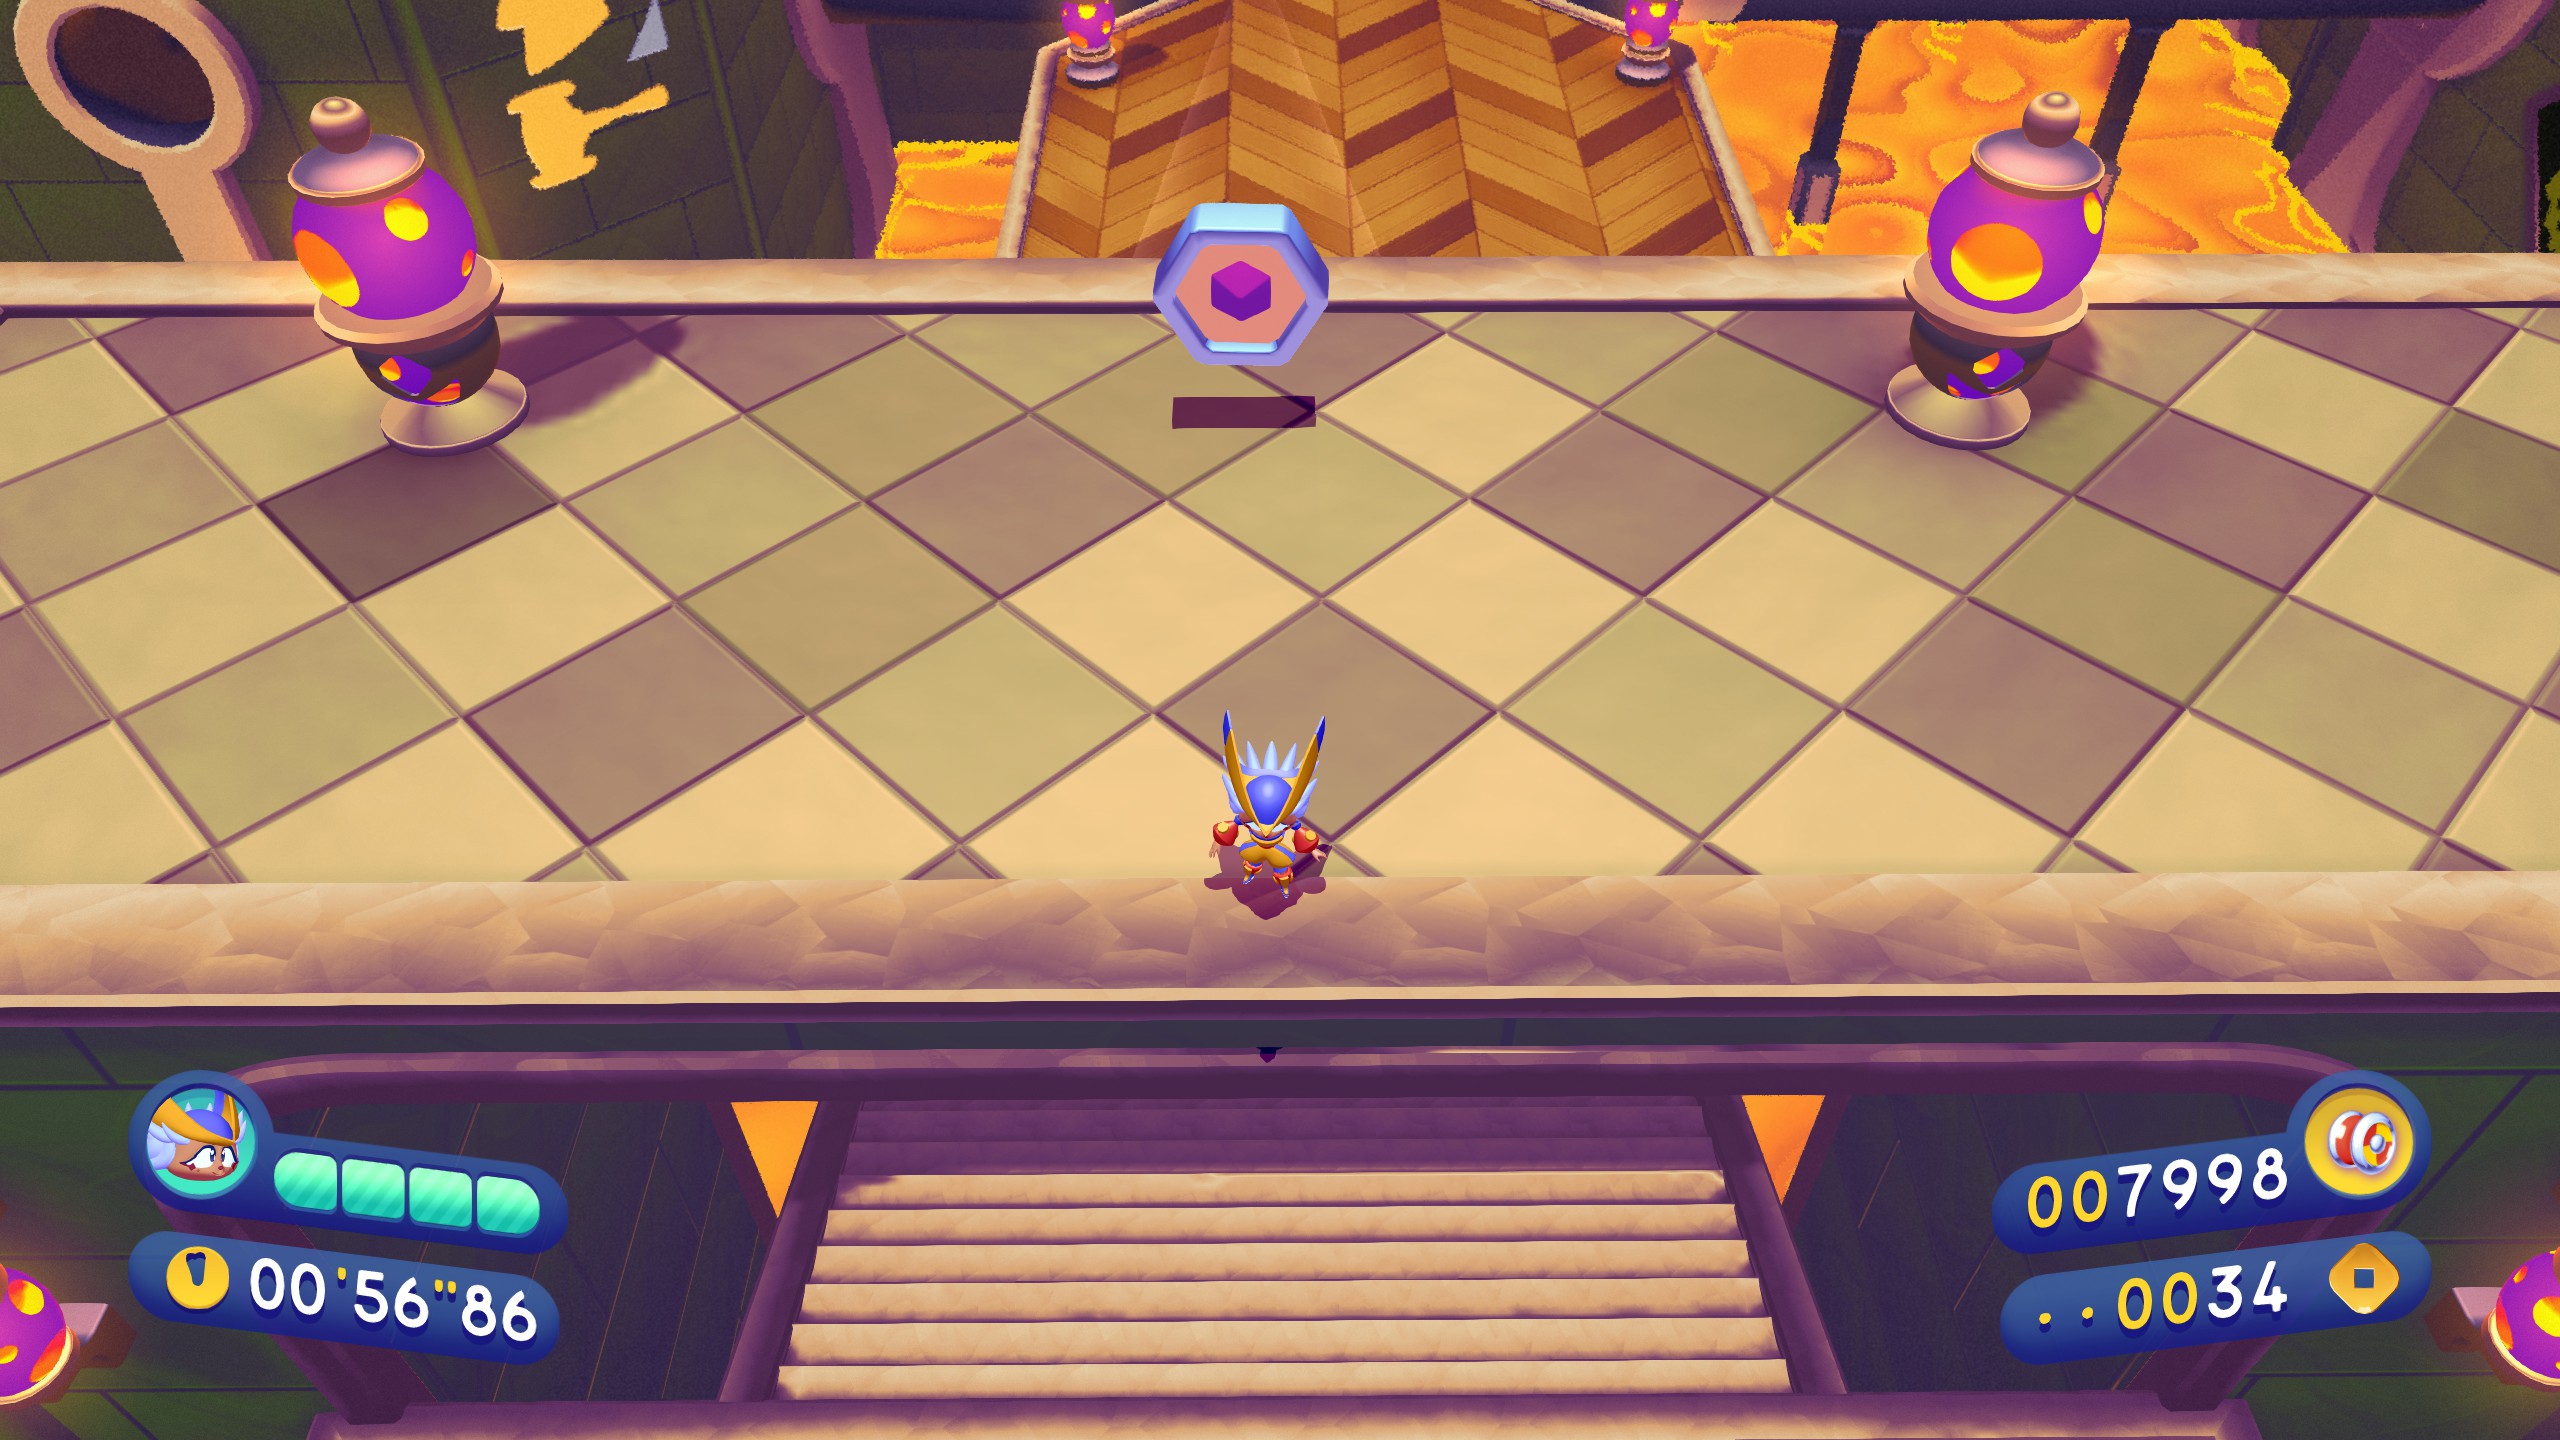
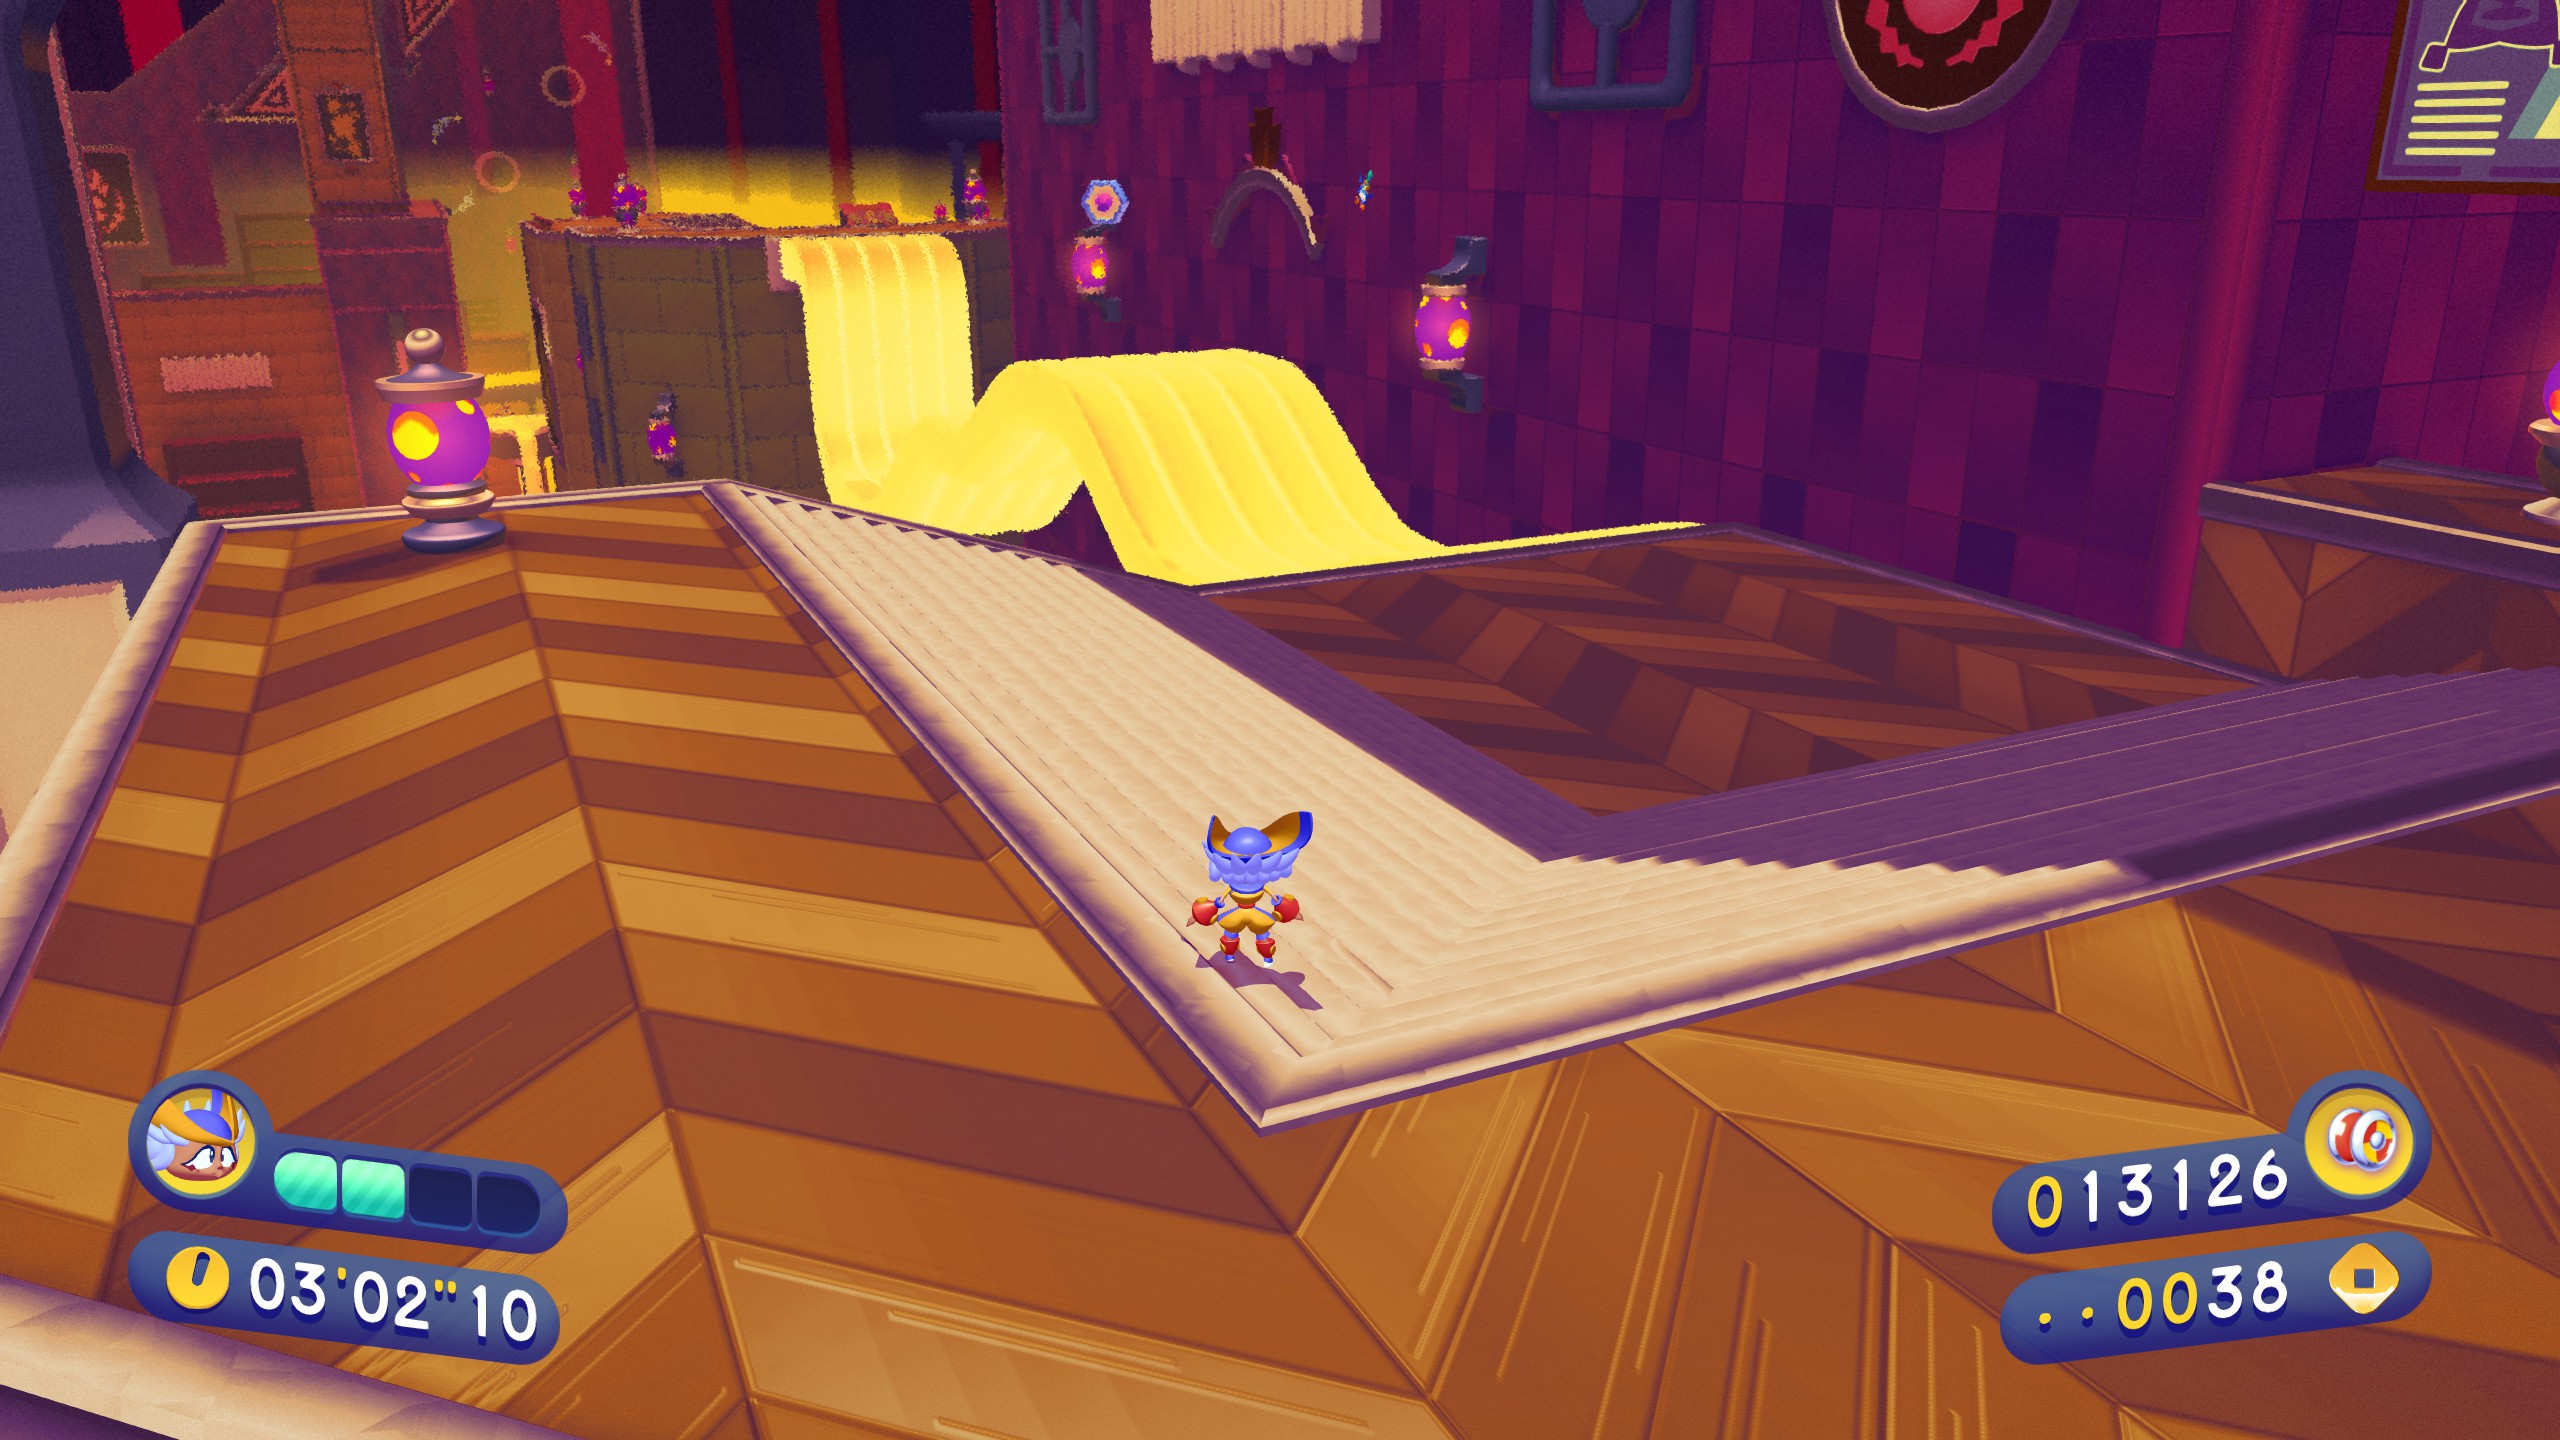
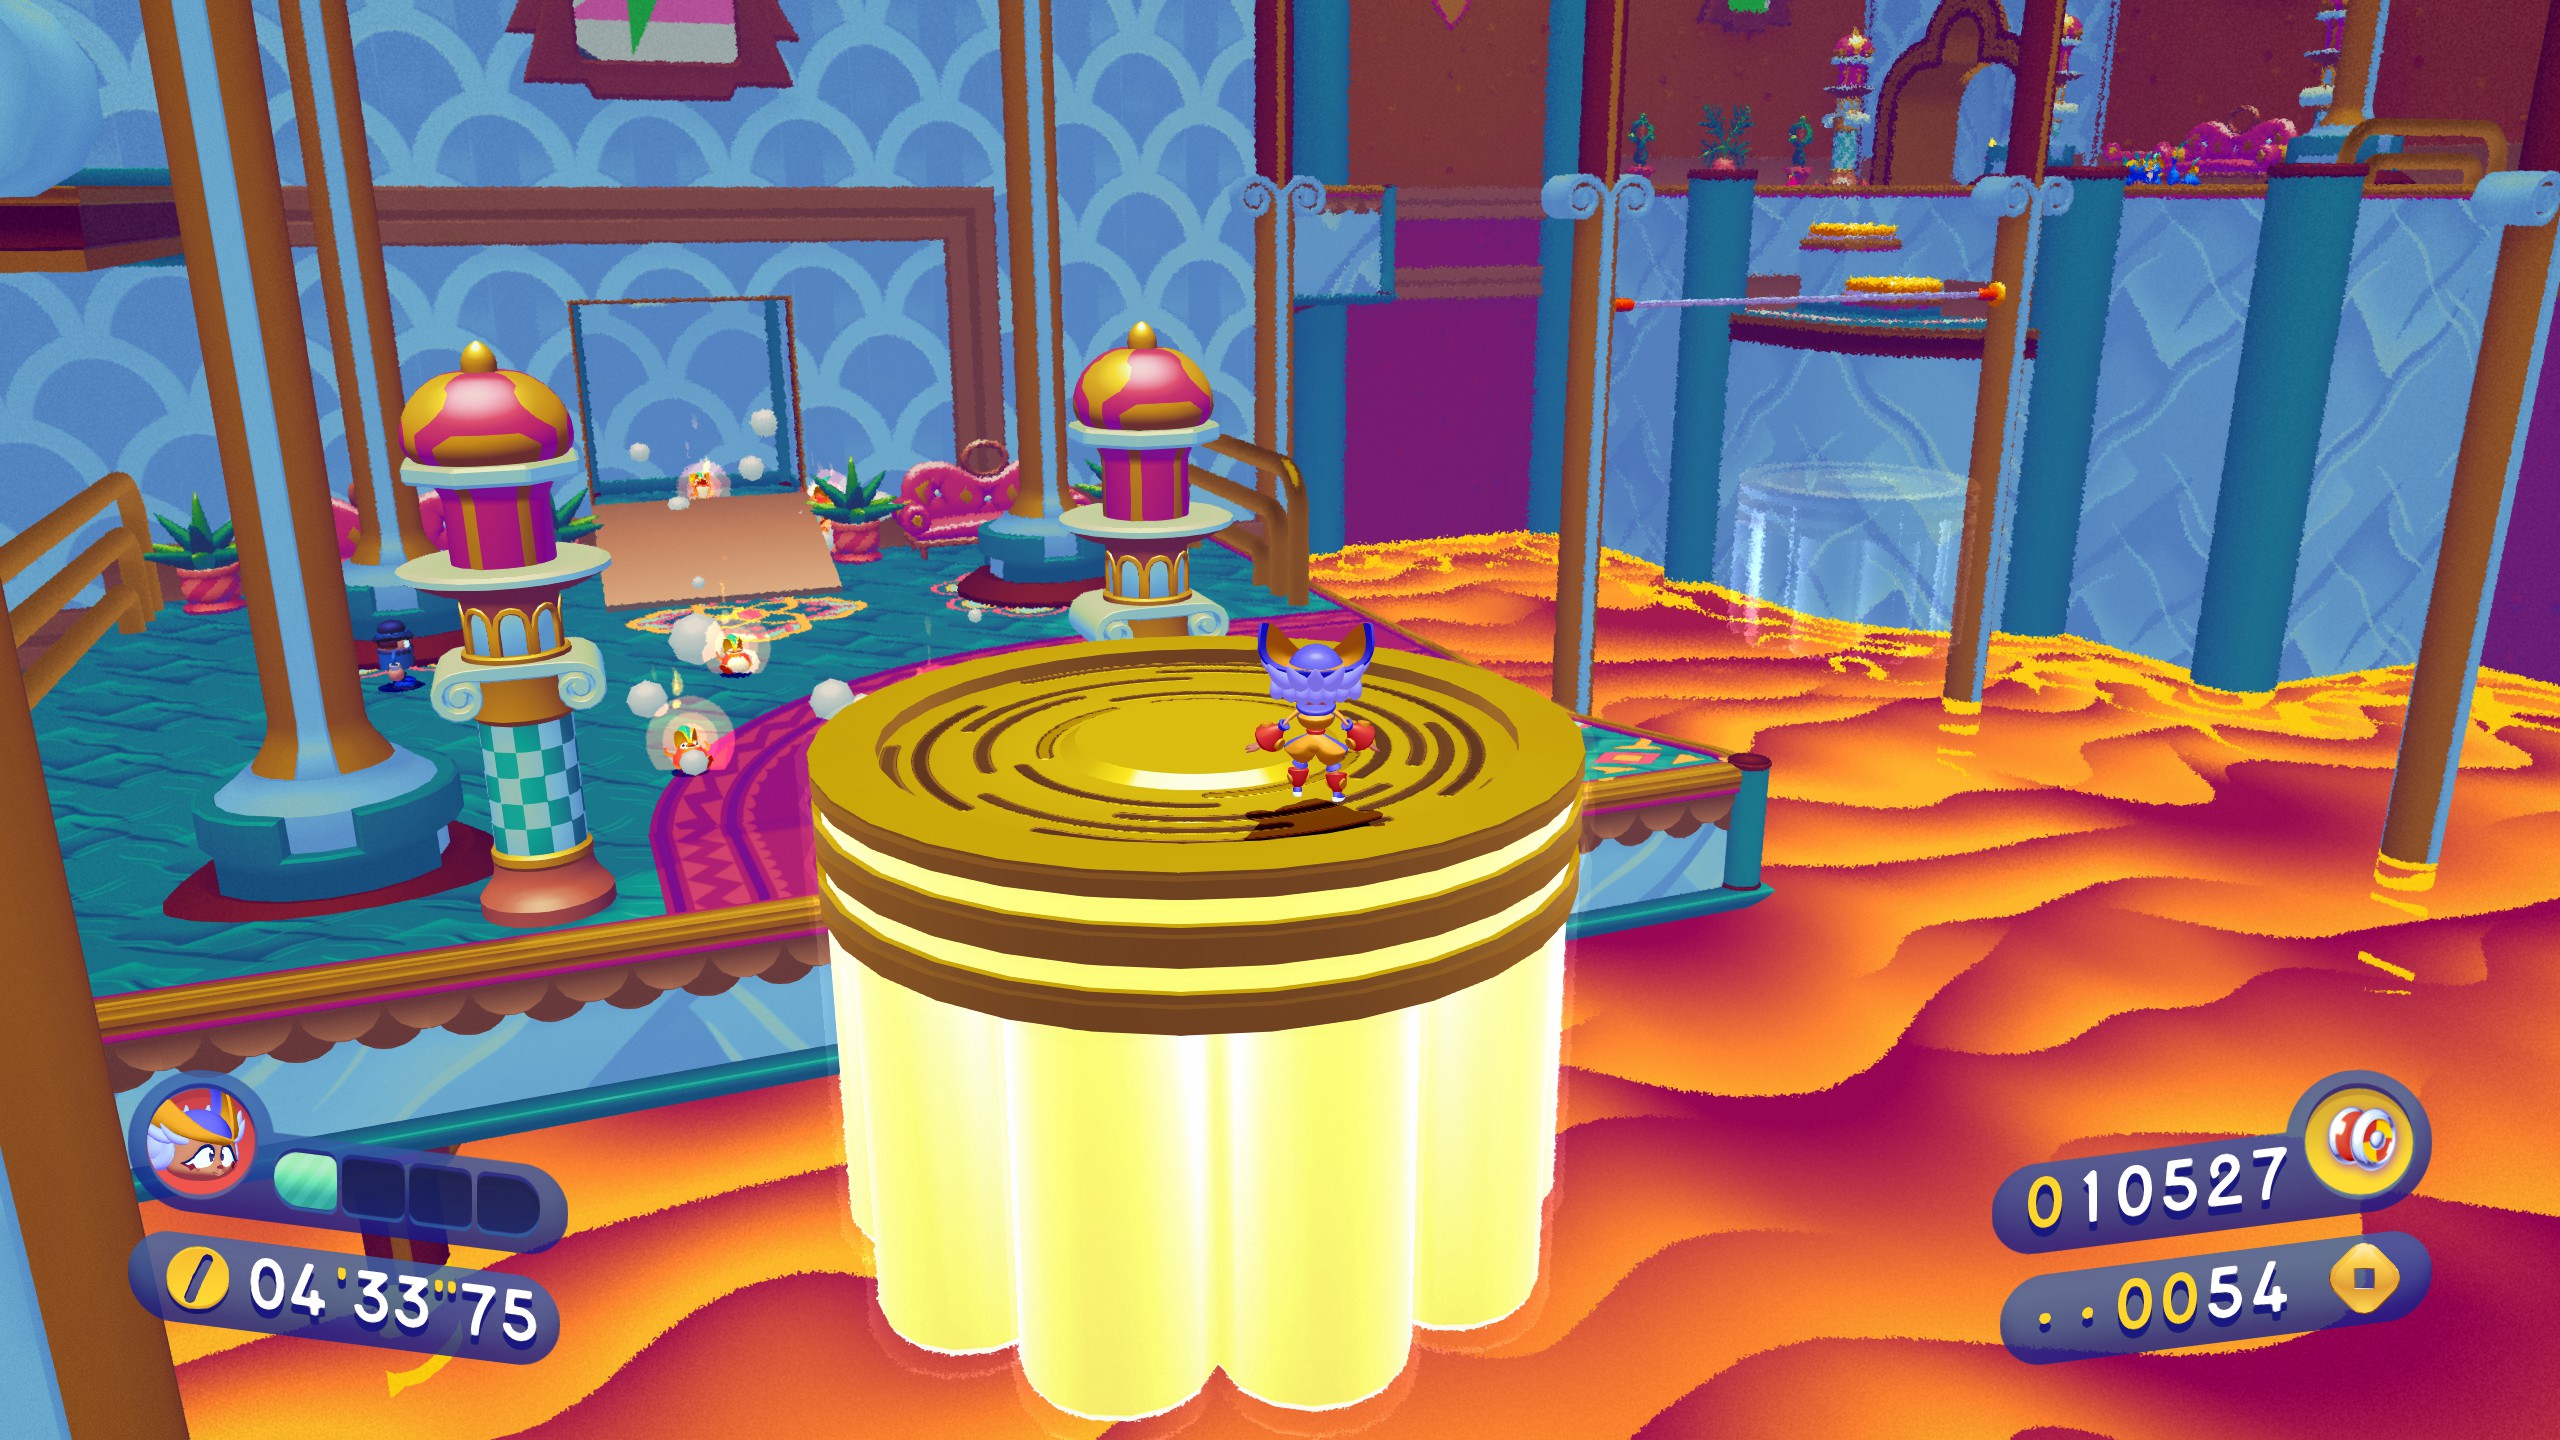
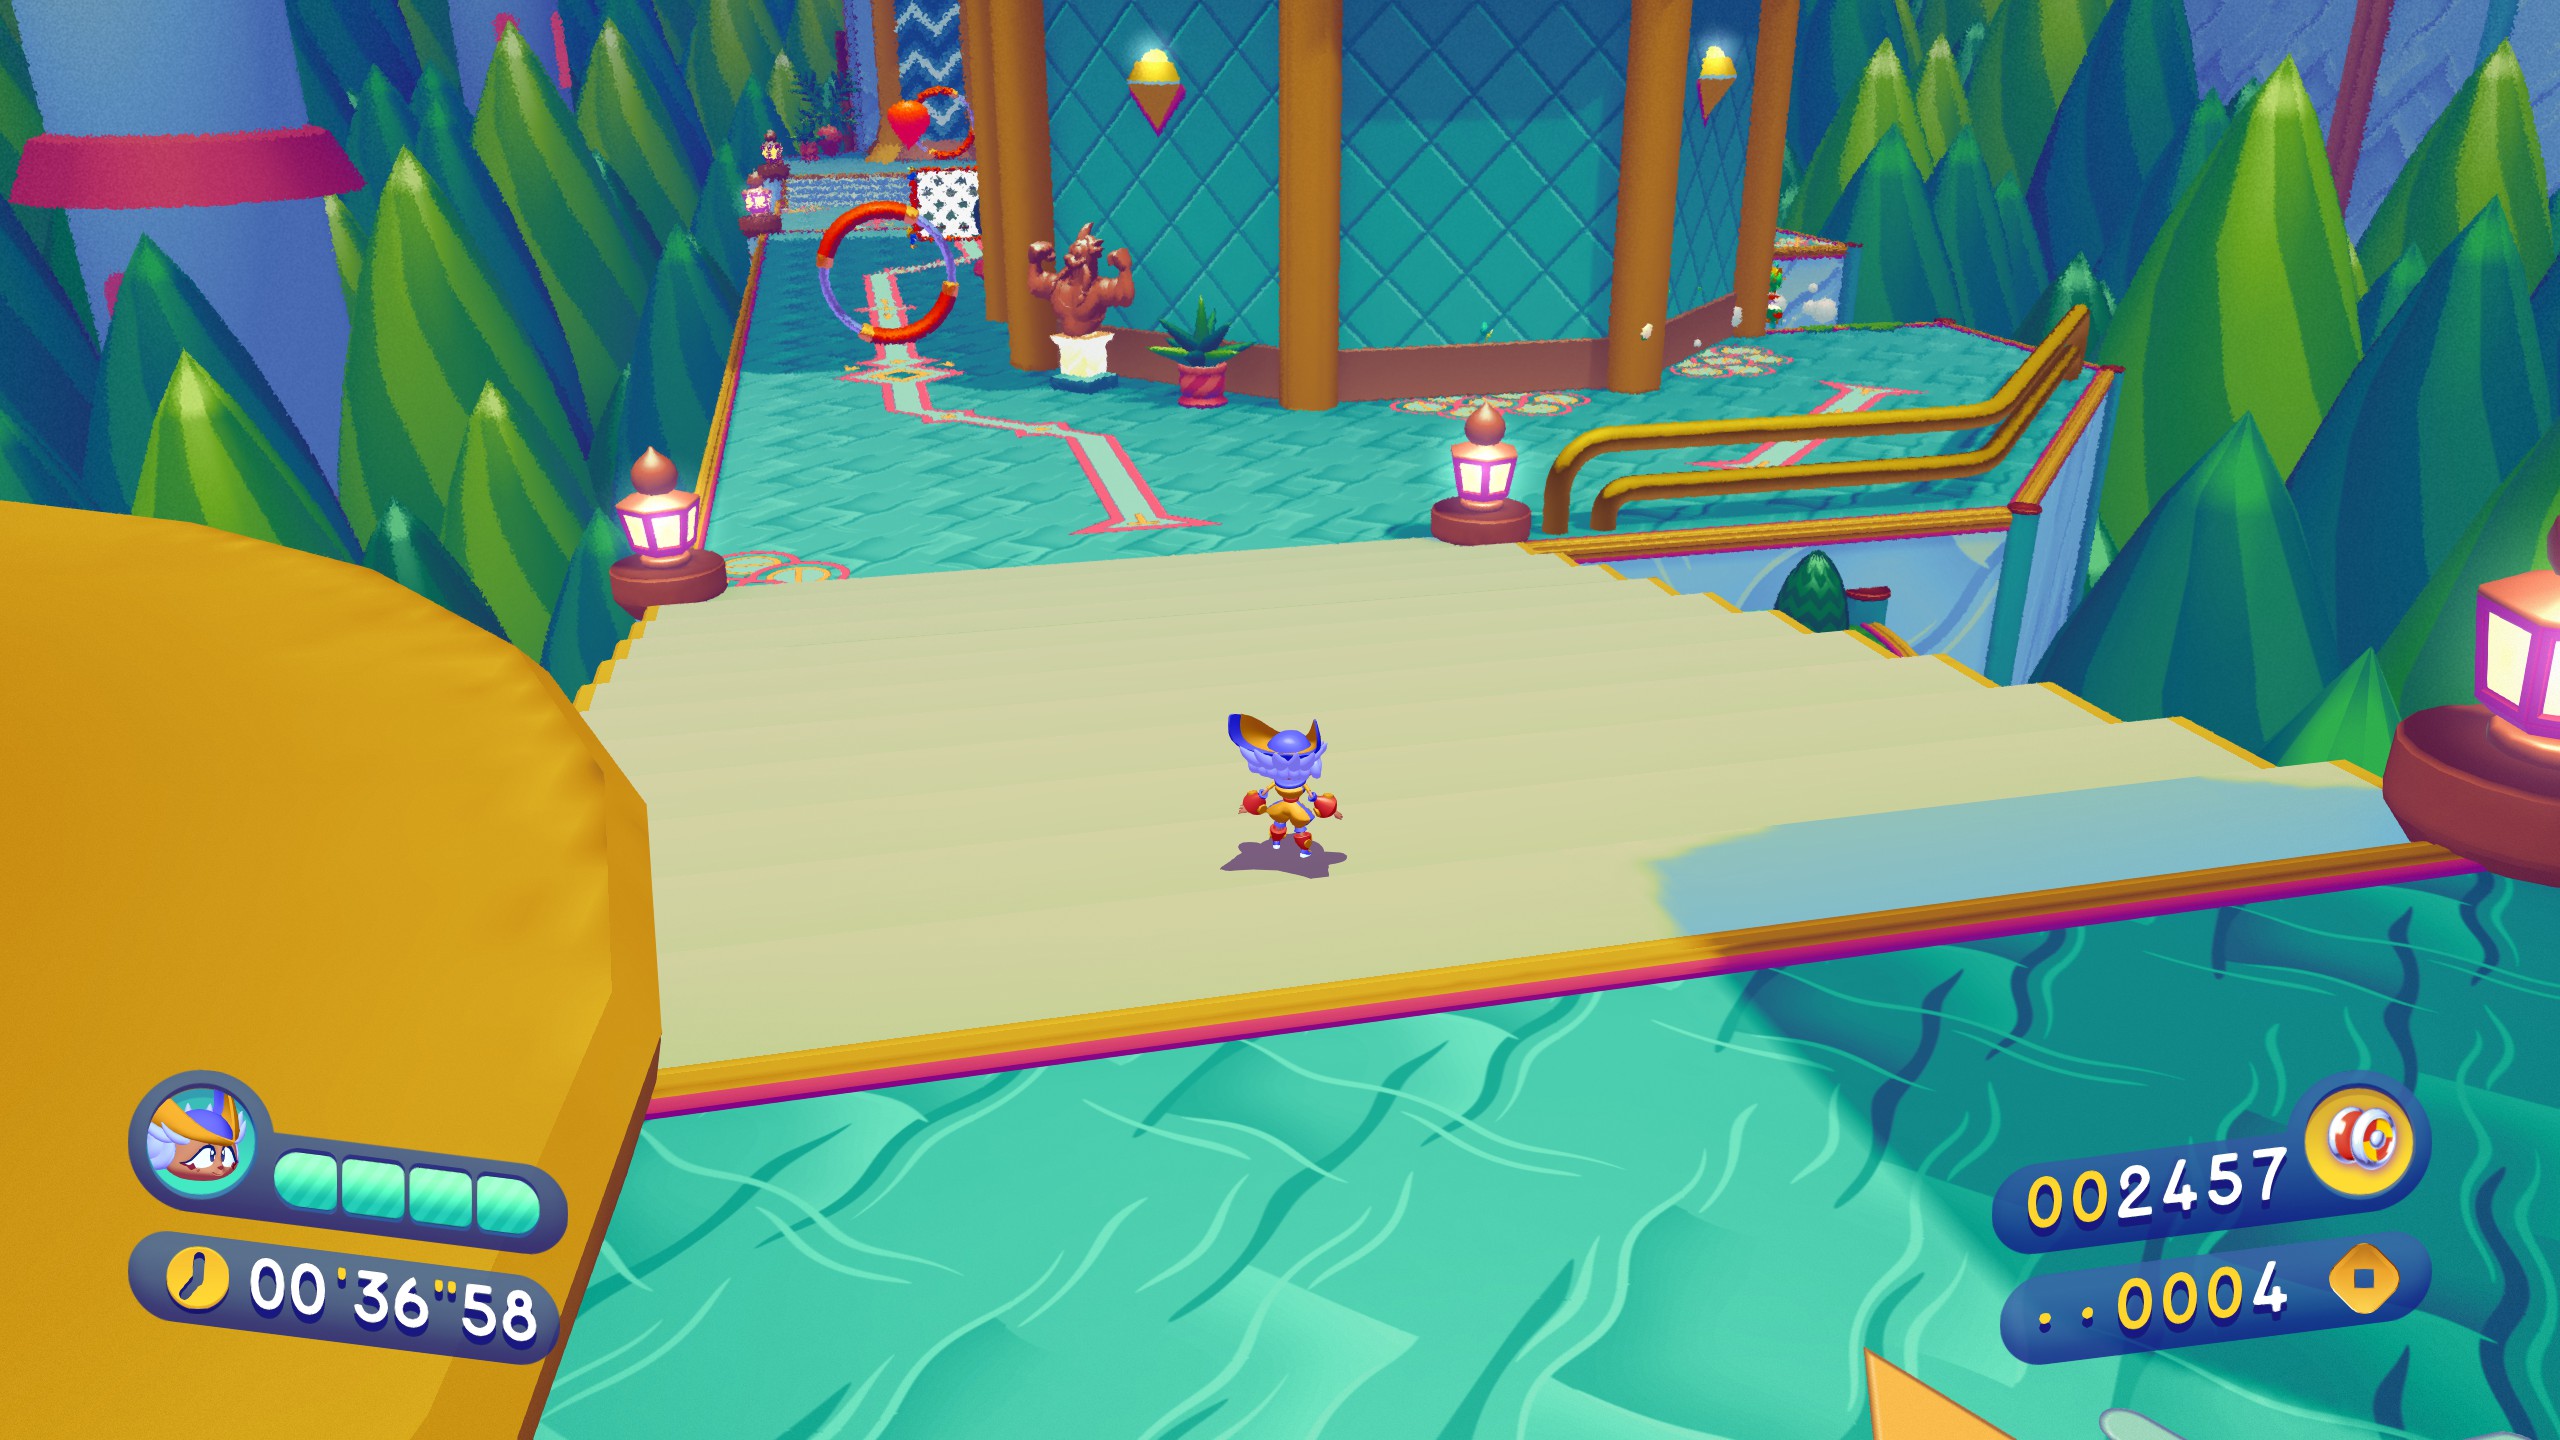
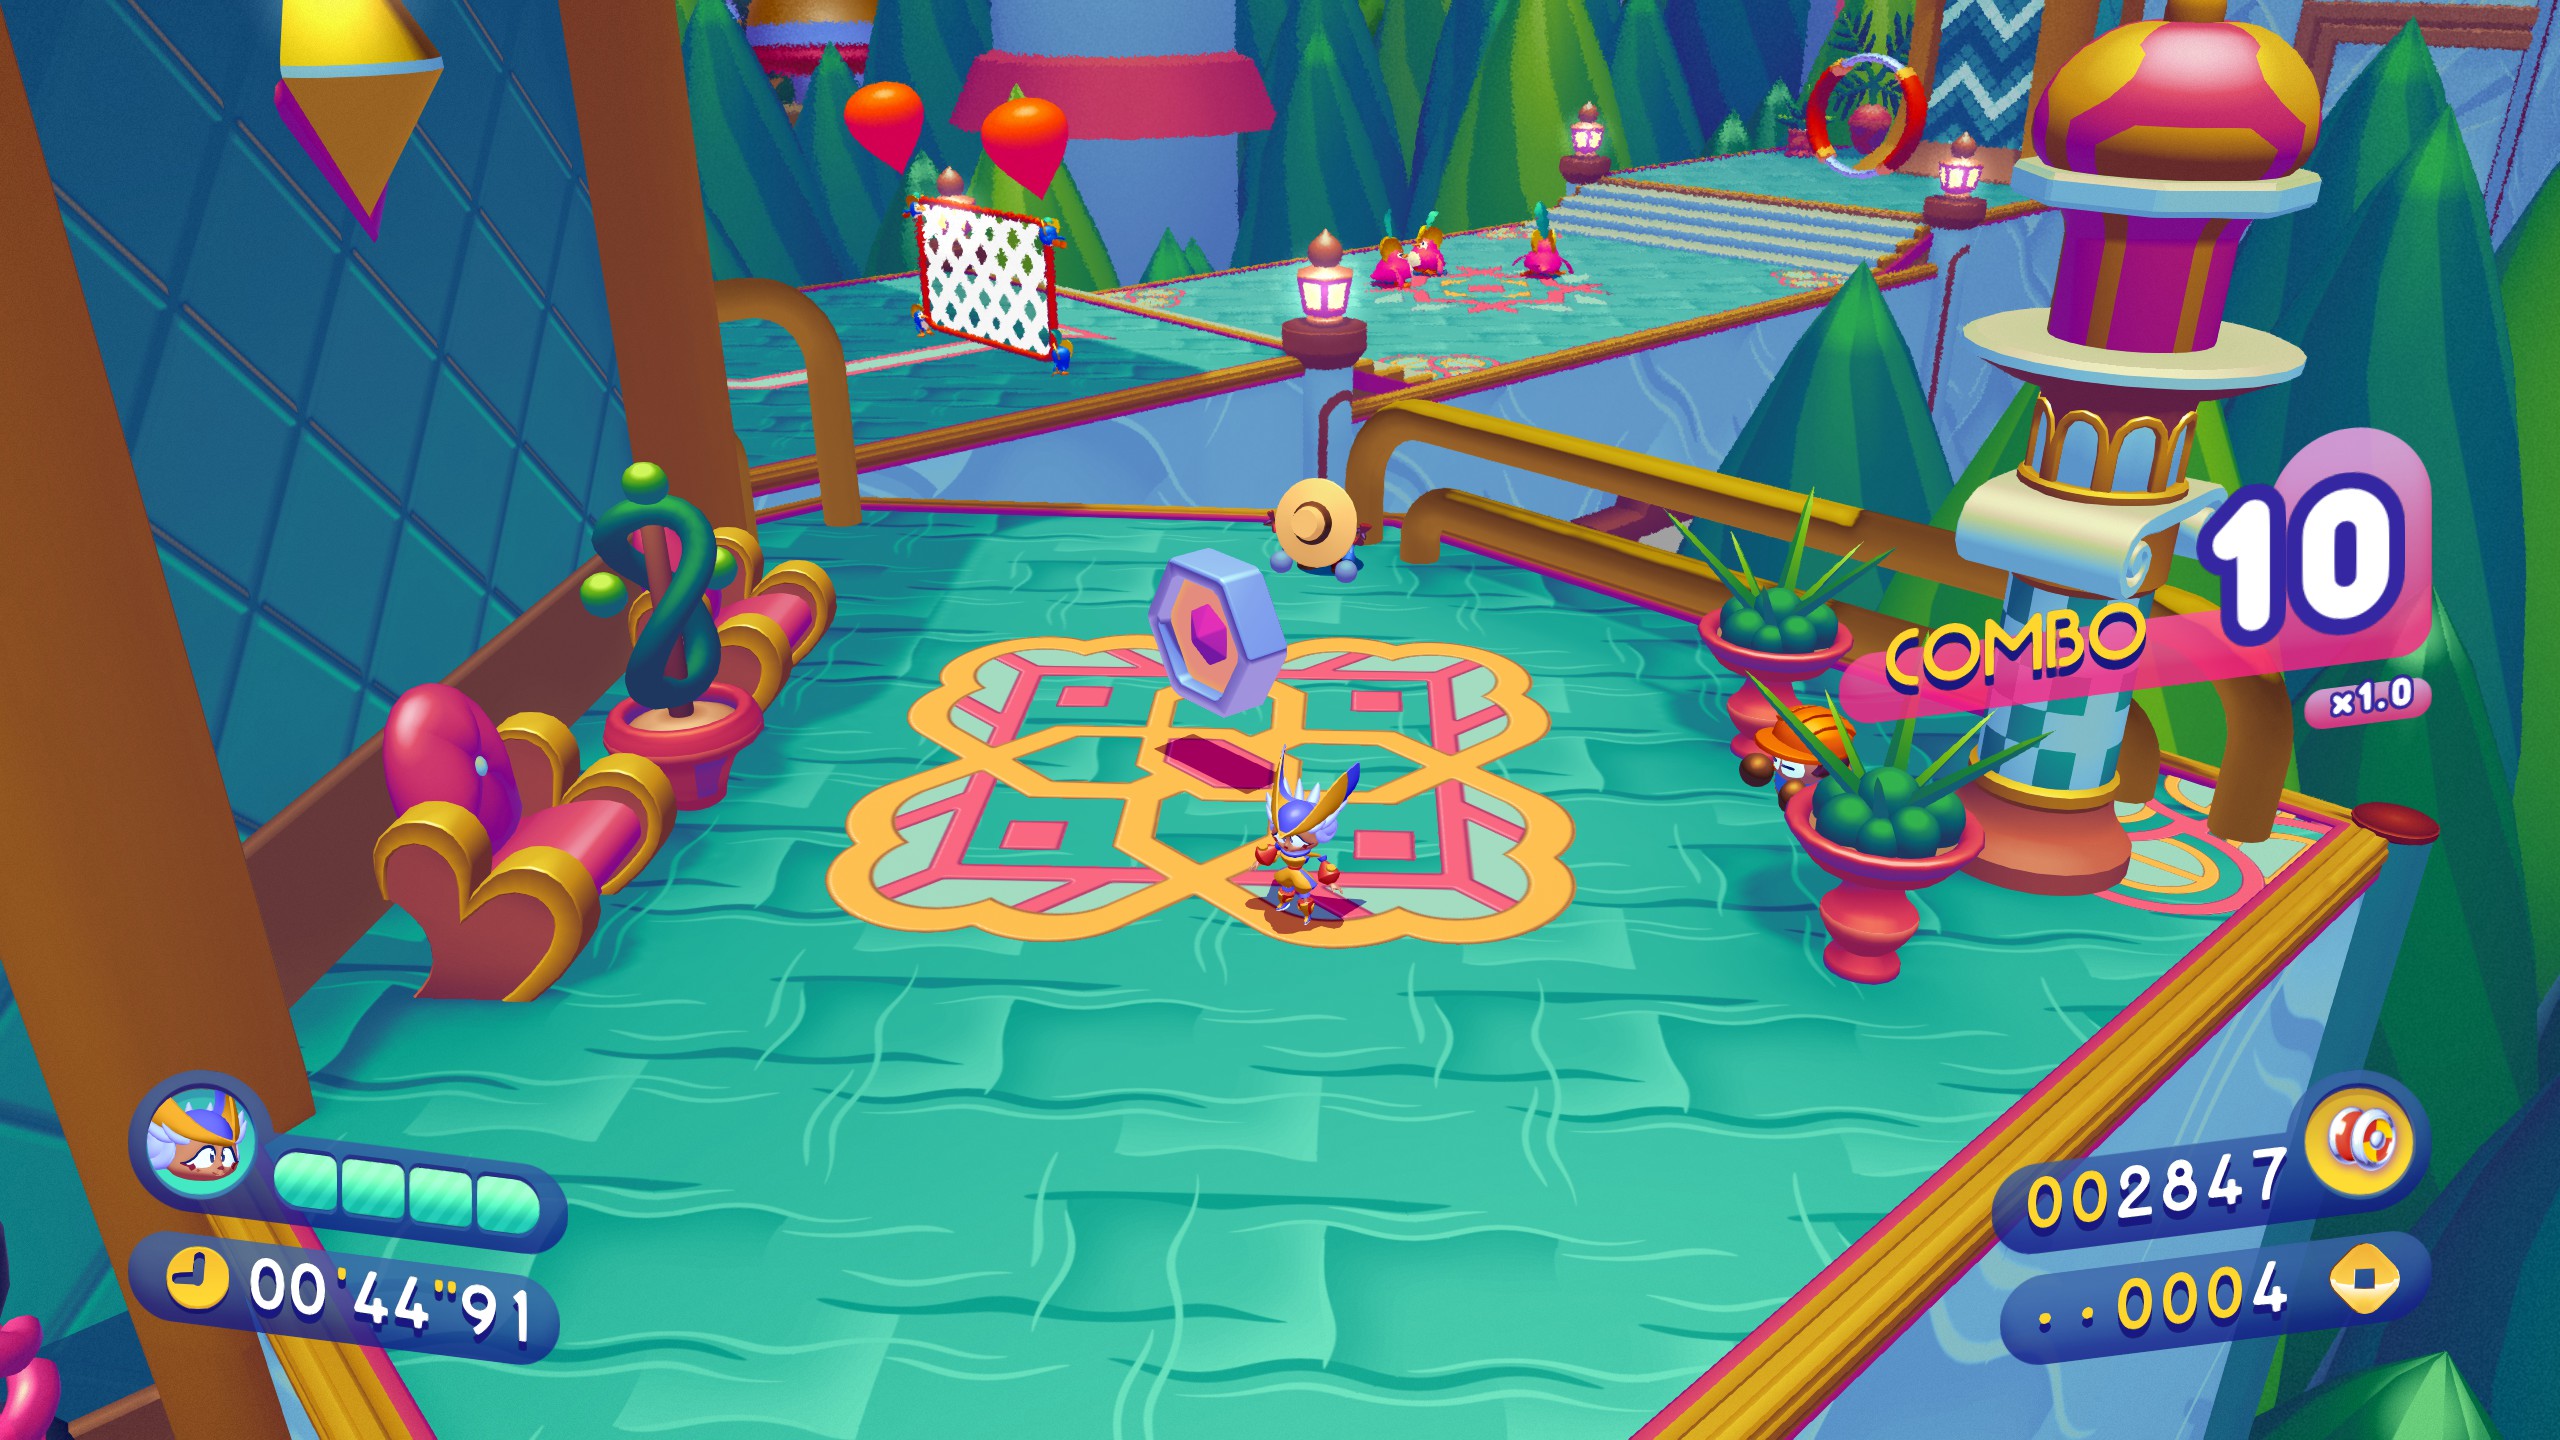
World 3: Zaphara
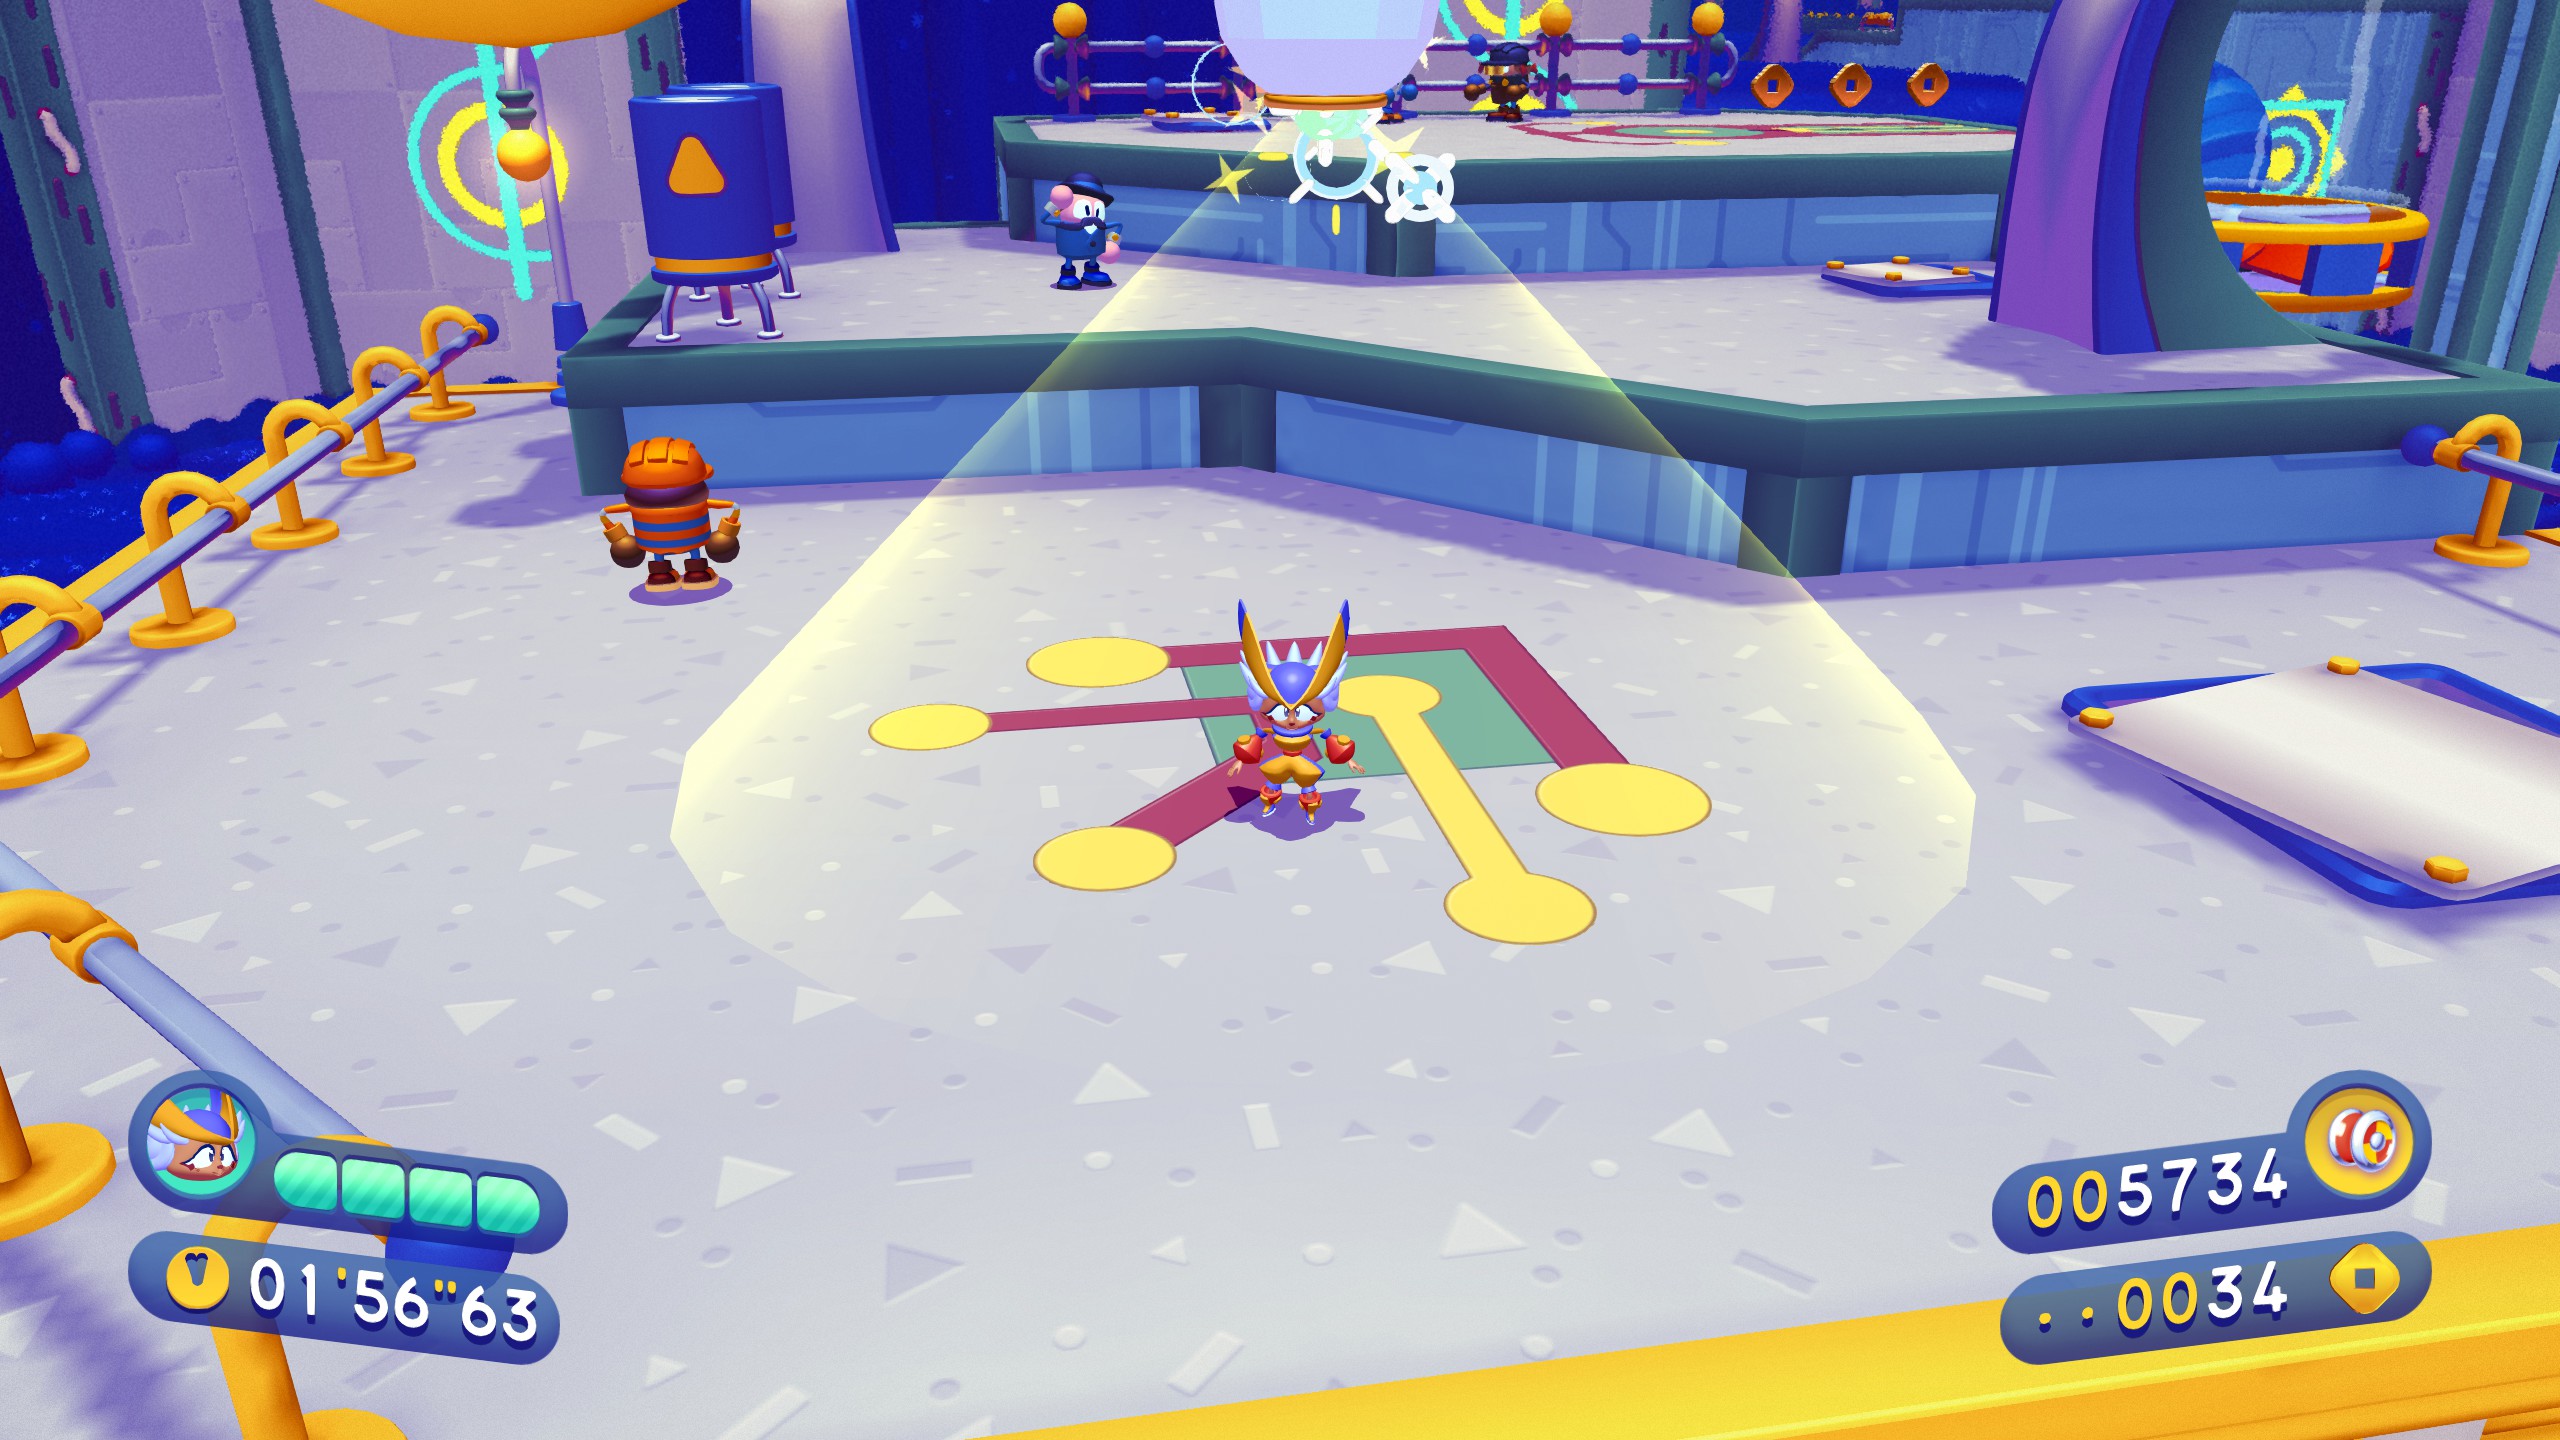
3-1
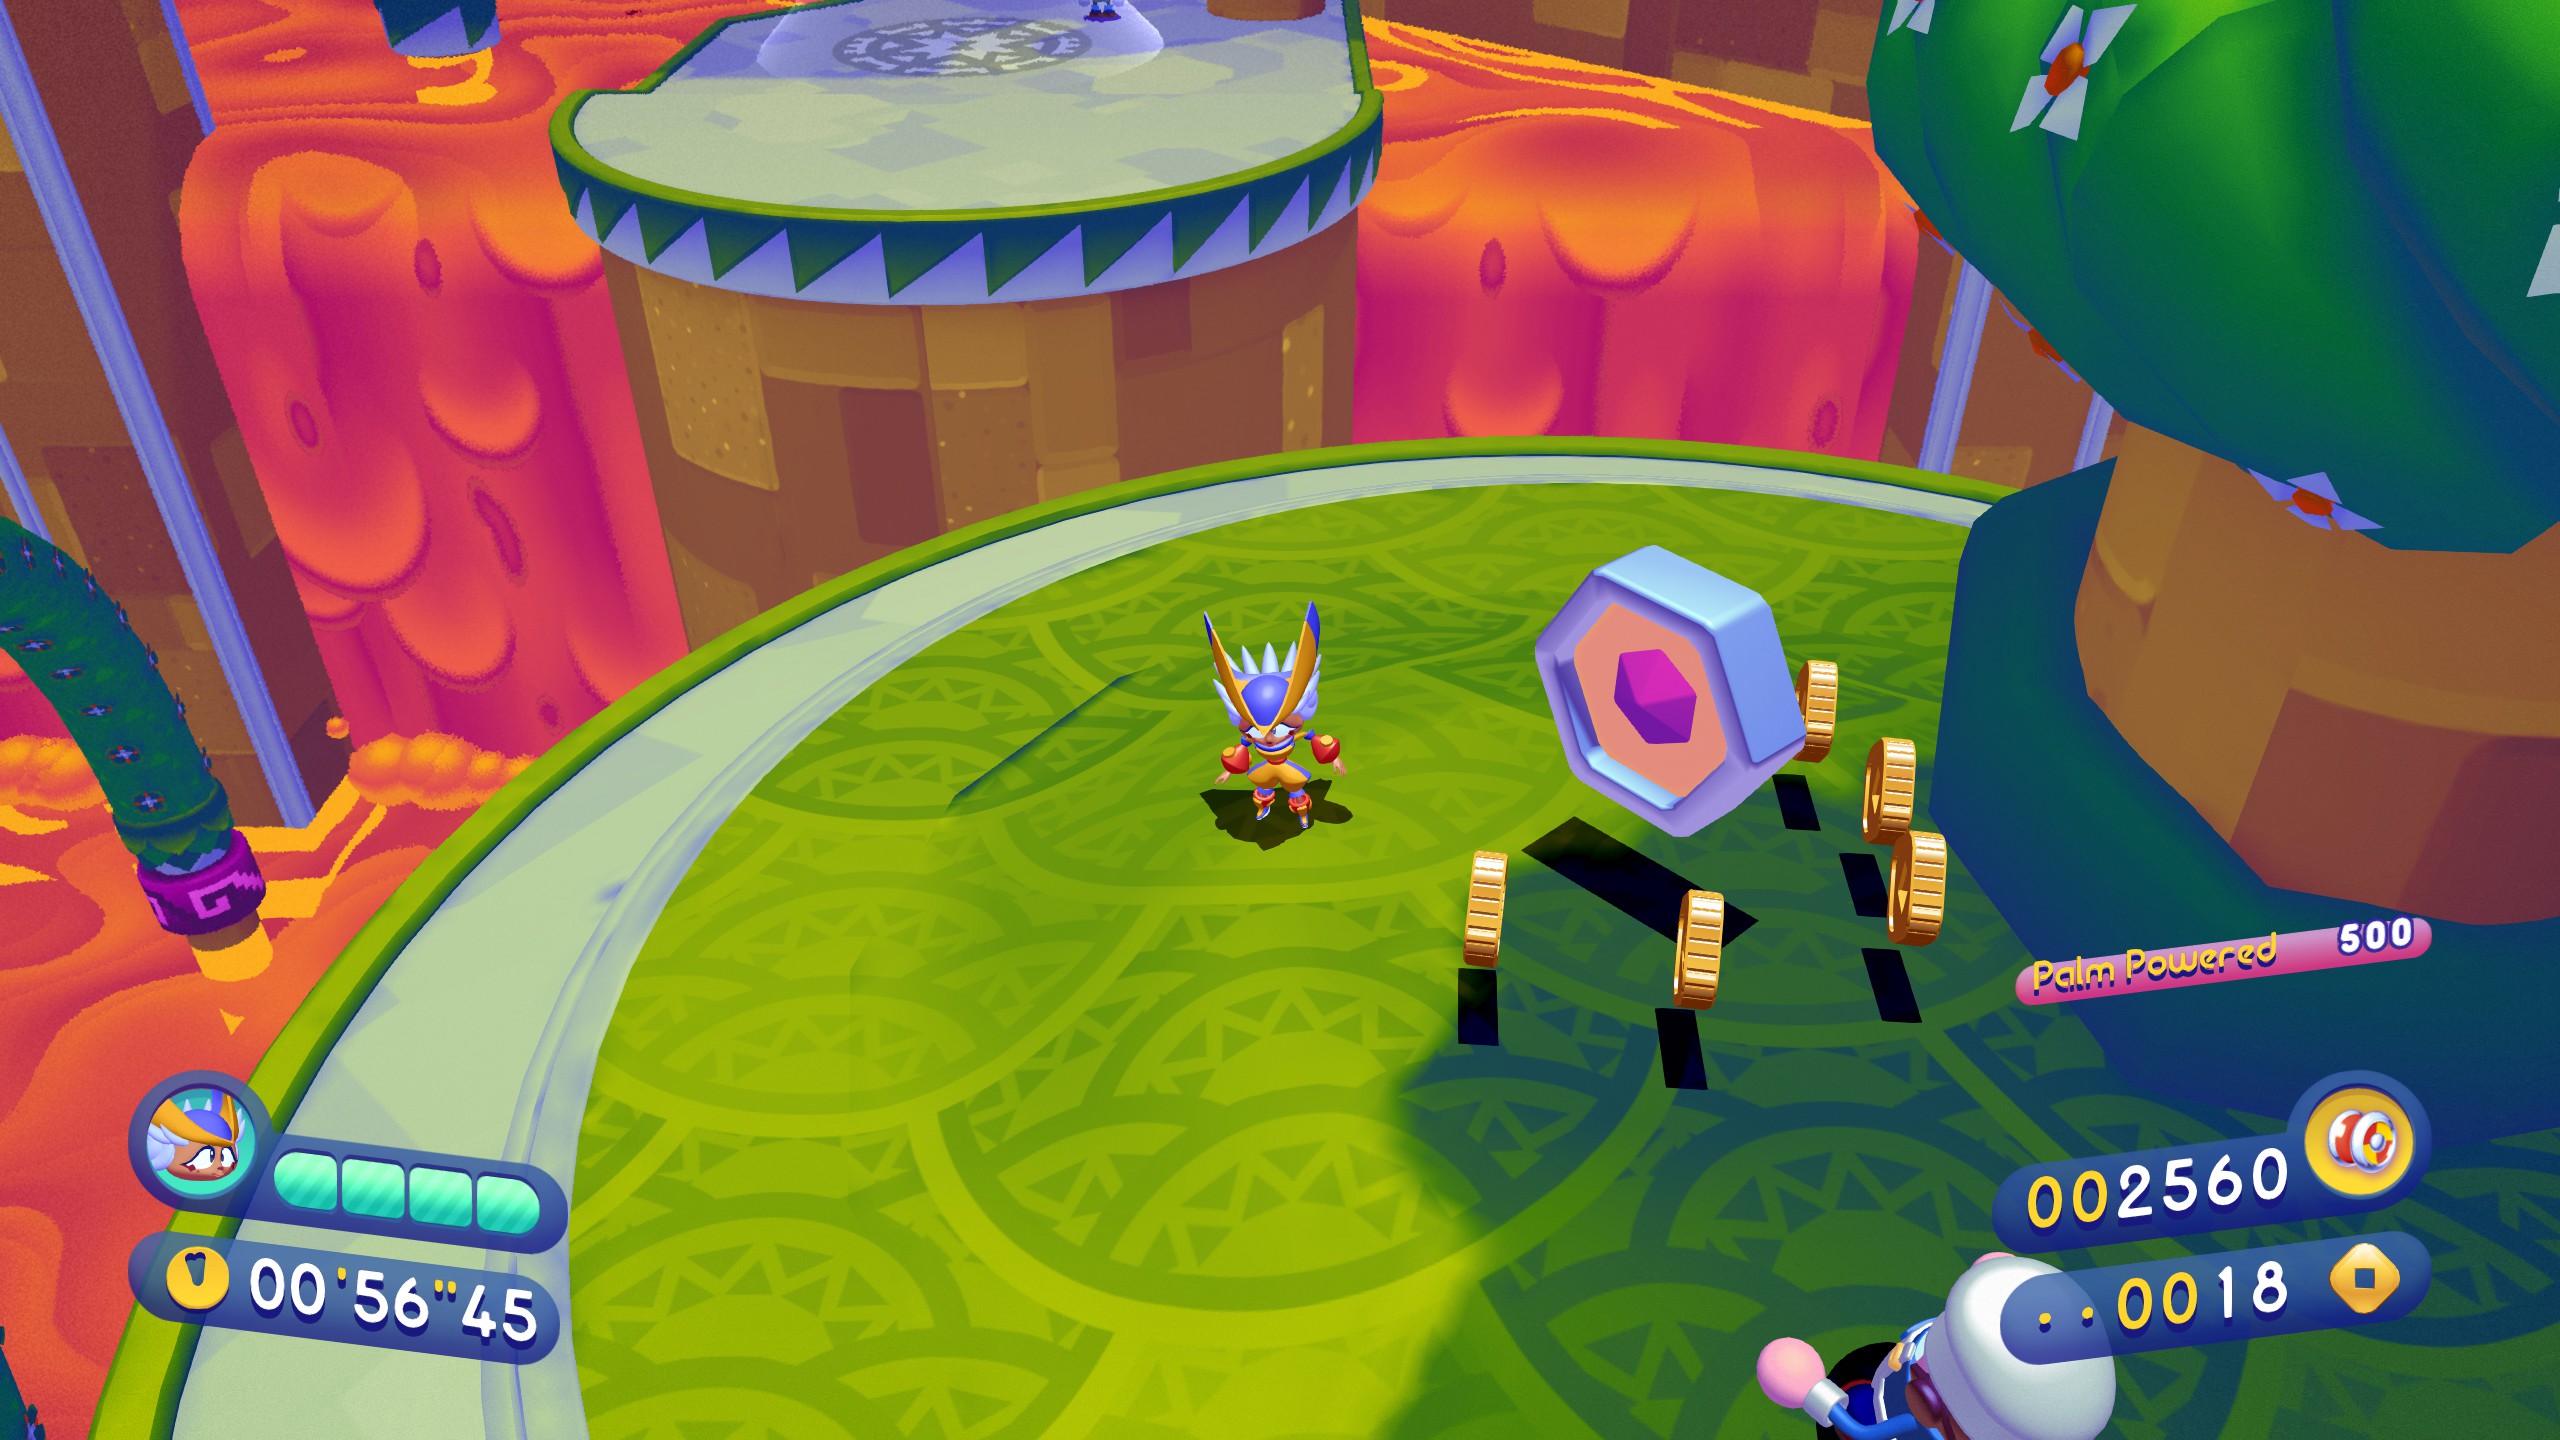
Piece 1 is very early. From the start head forward and head left, up these pillars.
Ride up this pole and hop off to your right, there’s your piece.
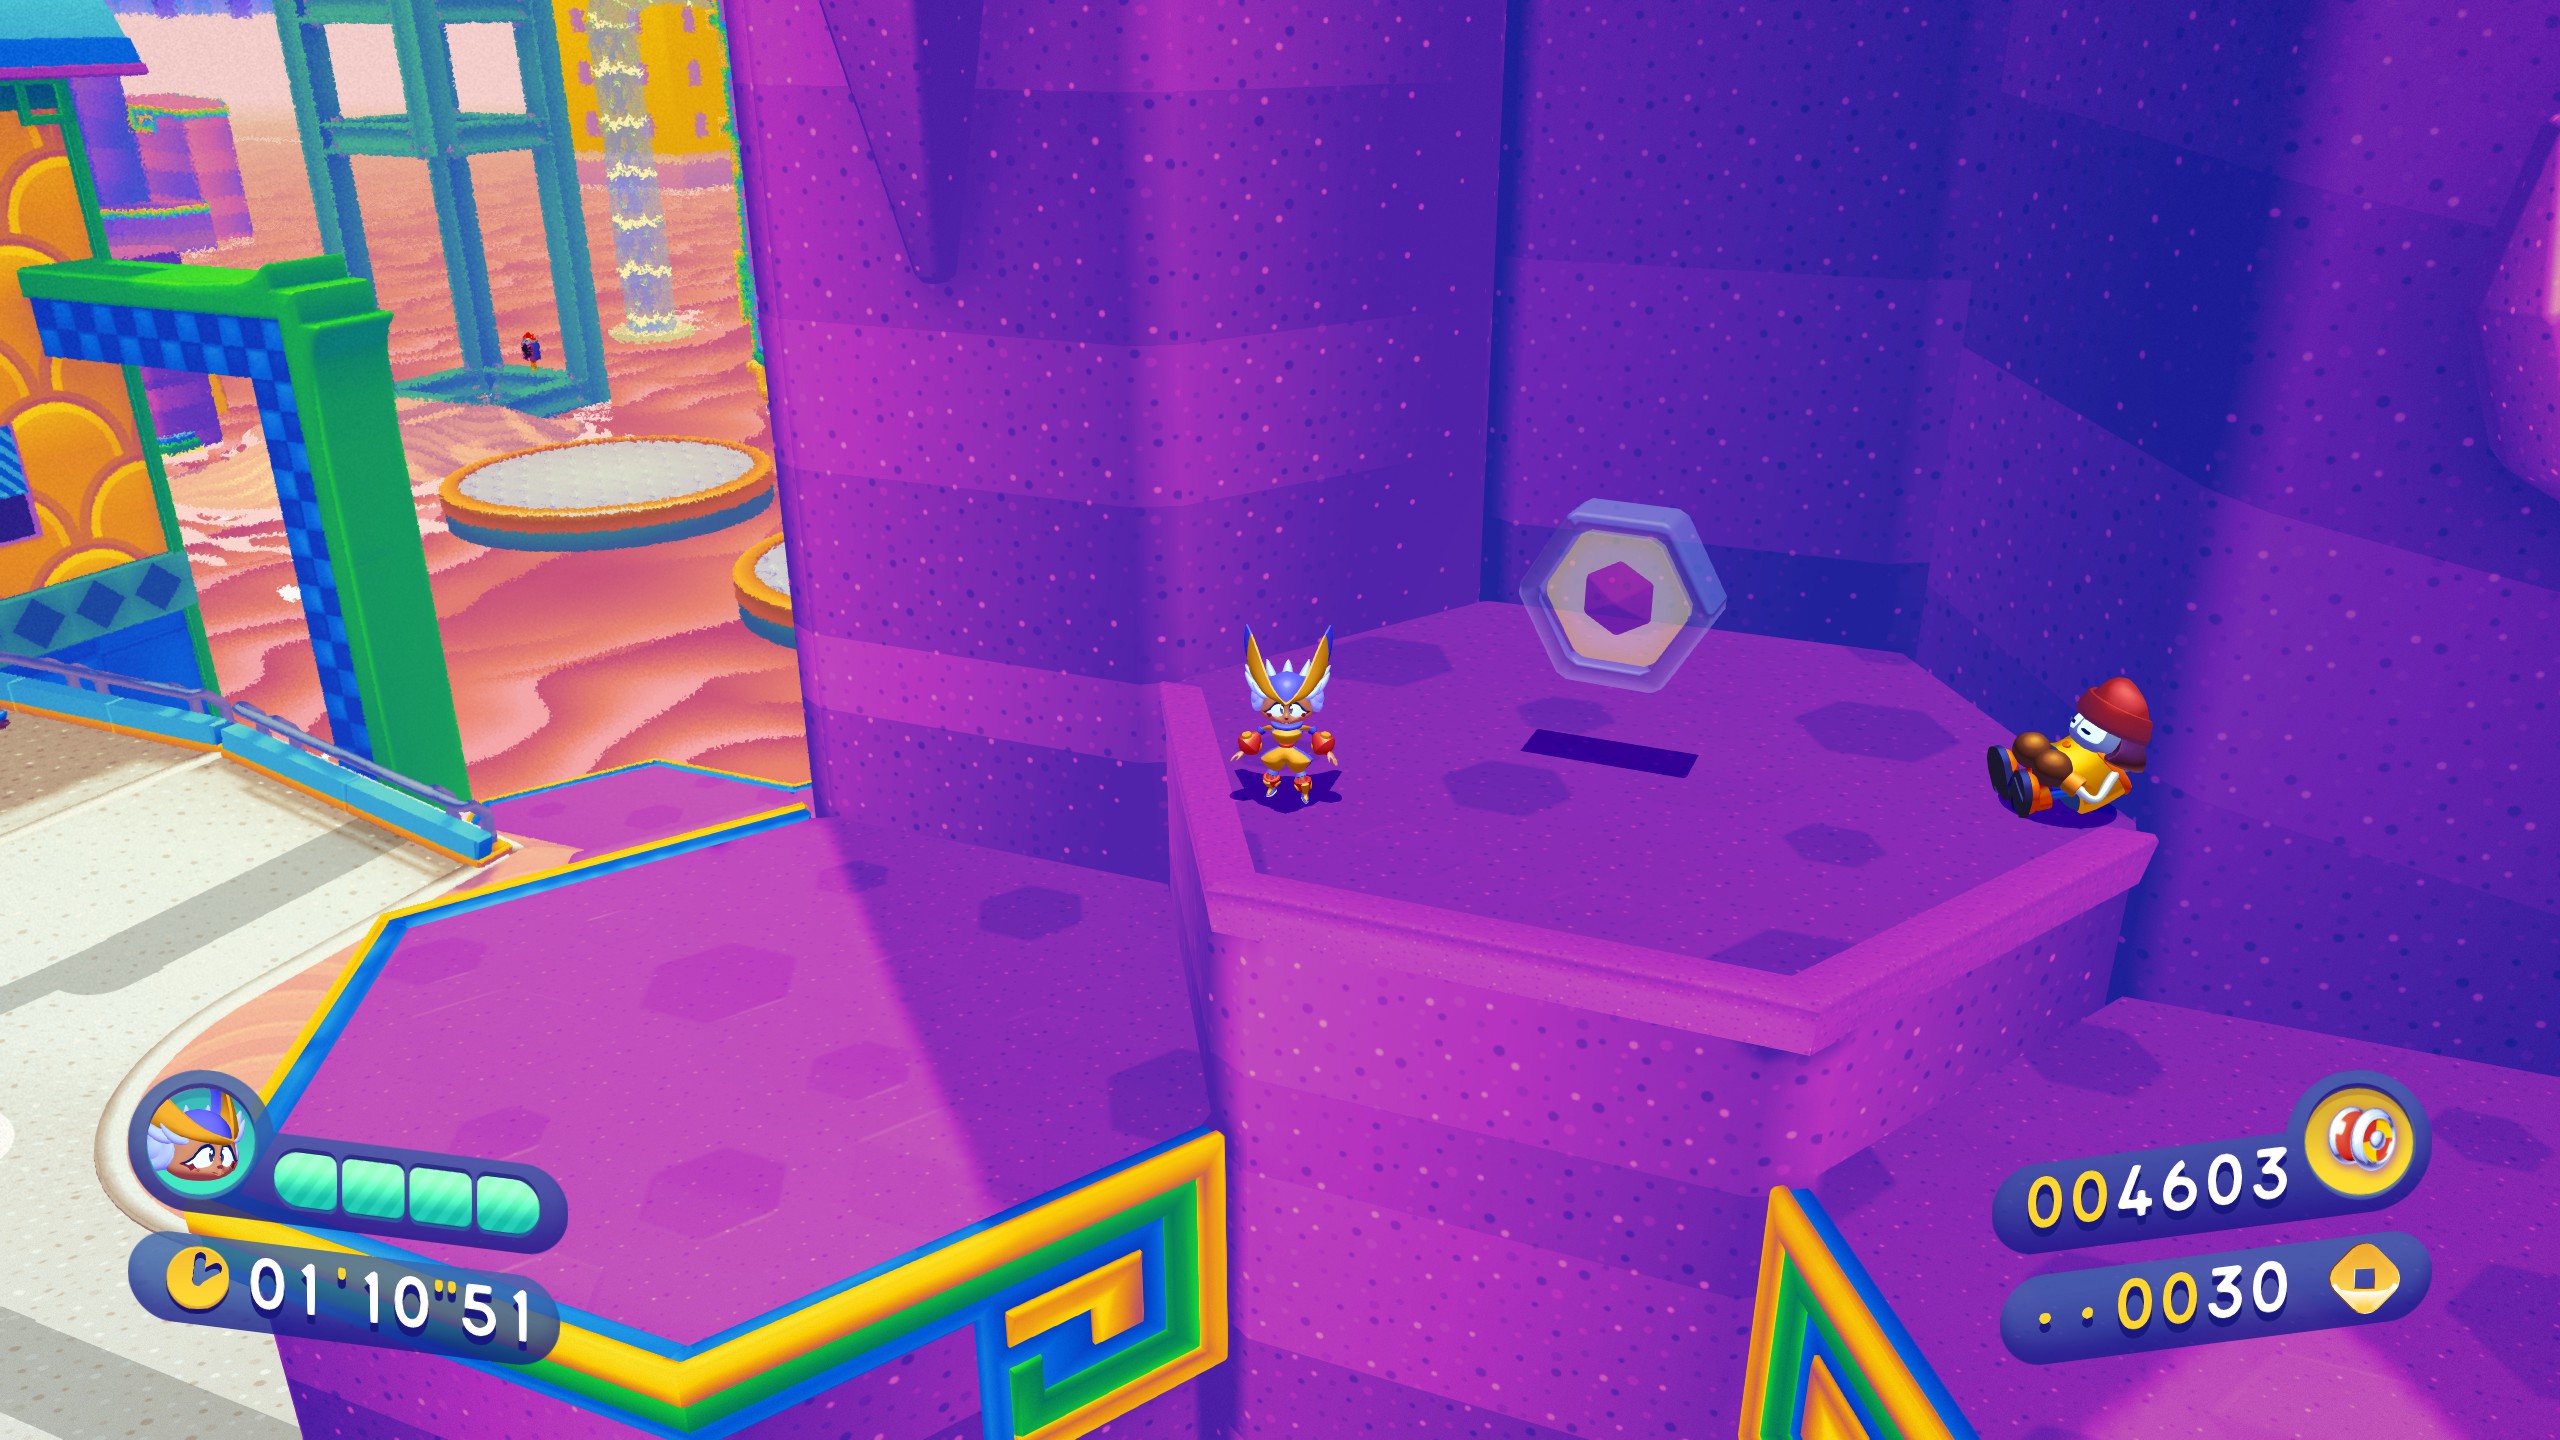
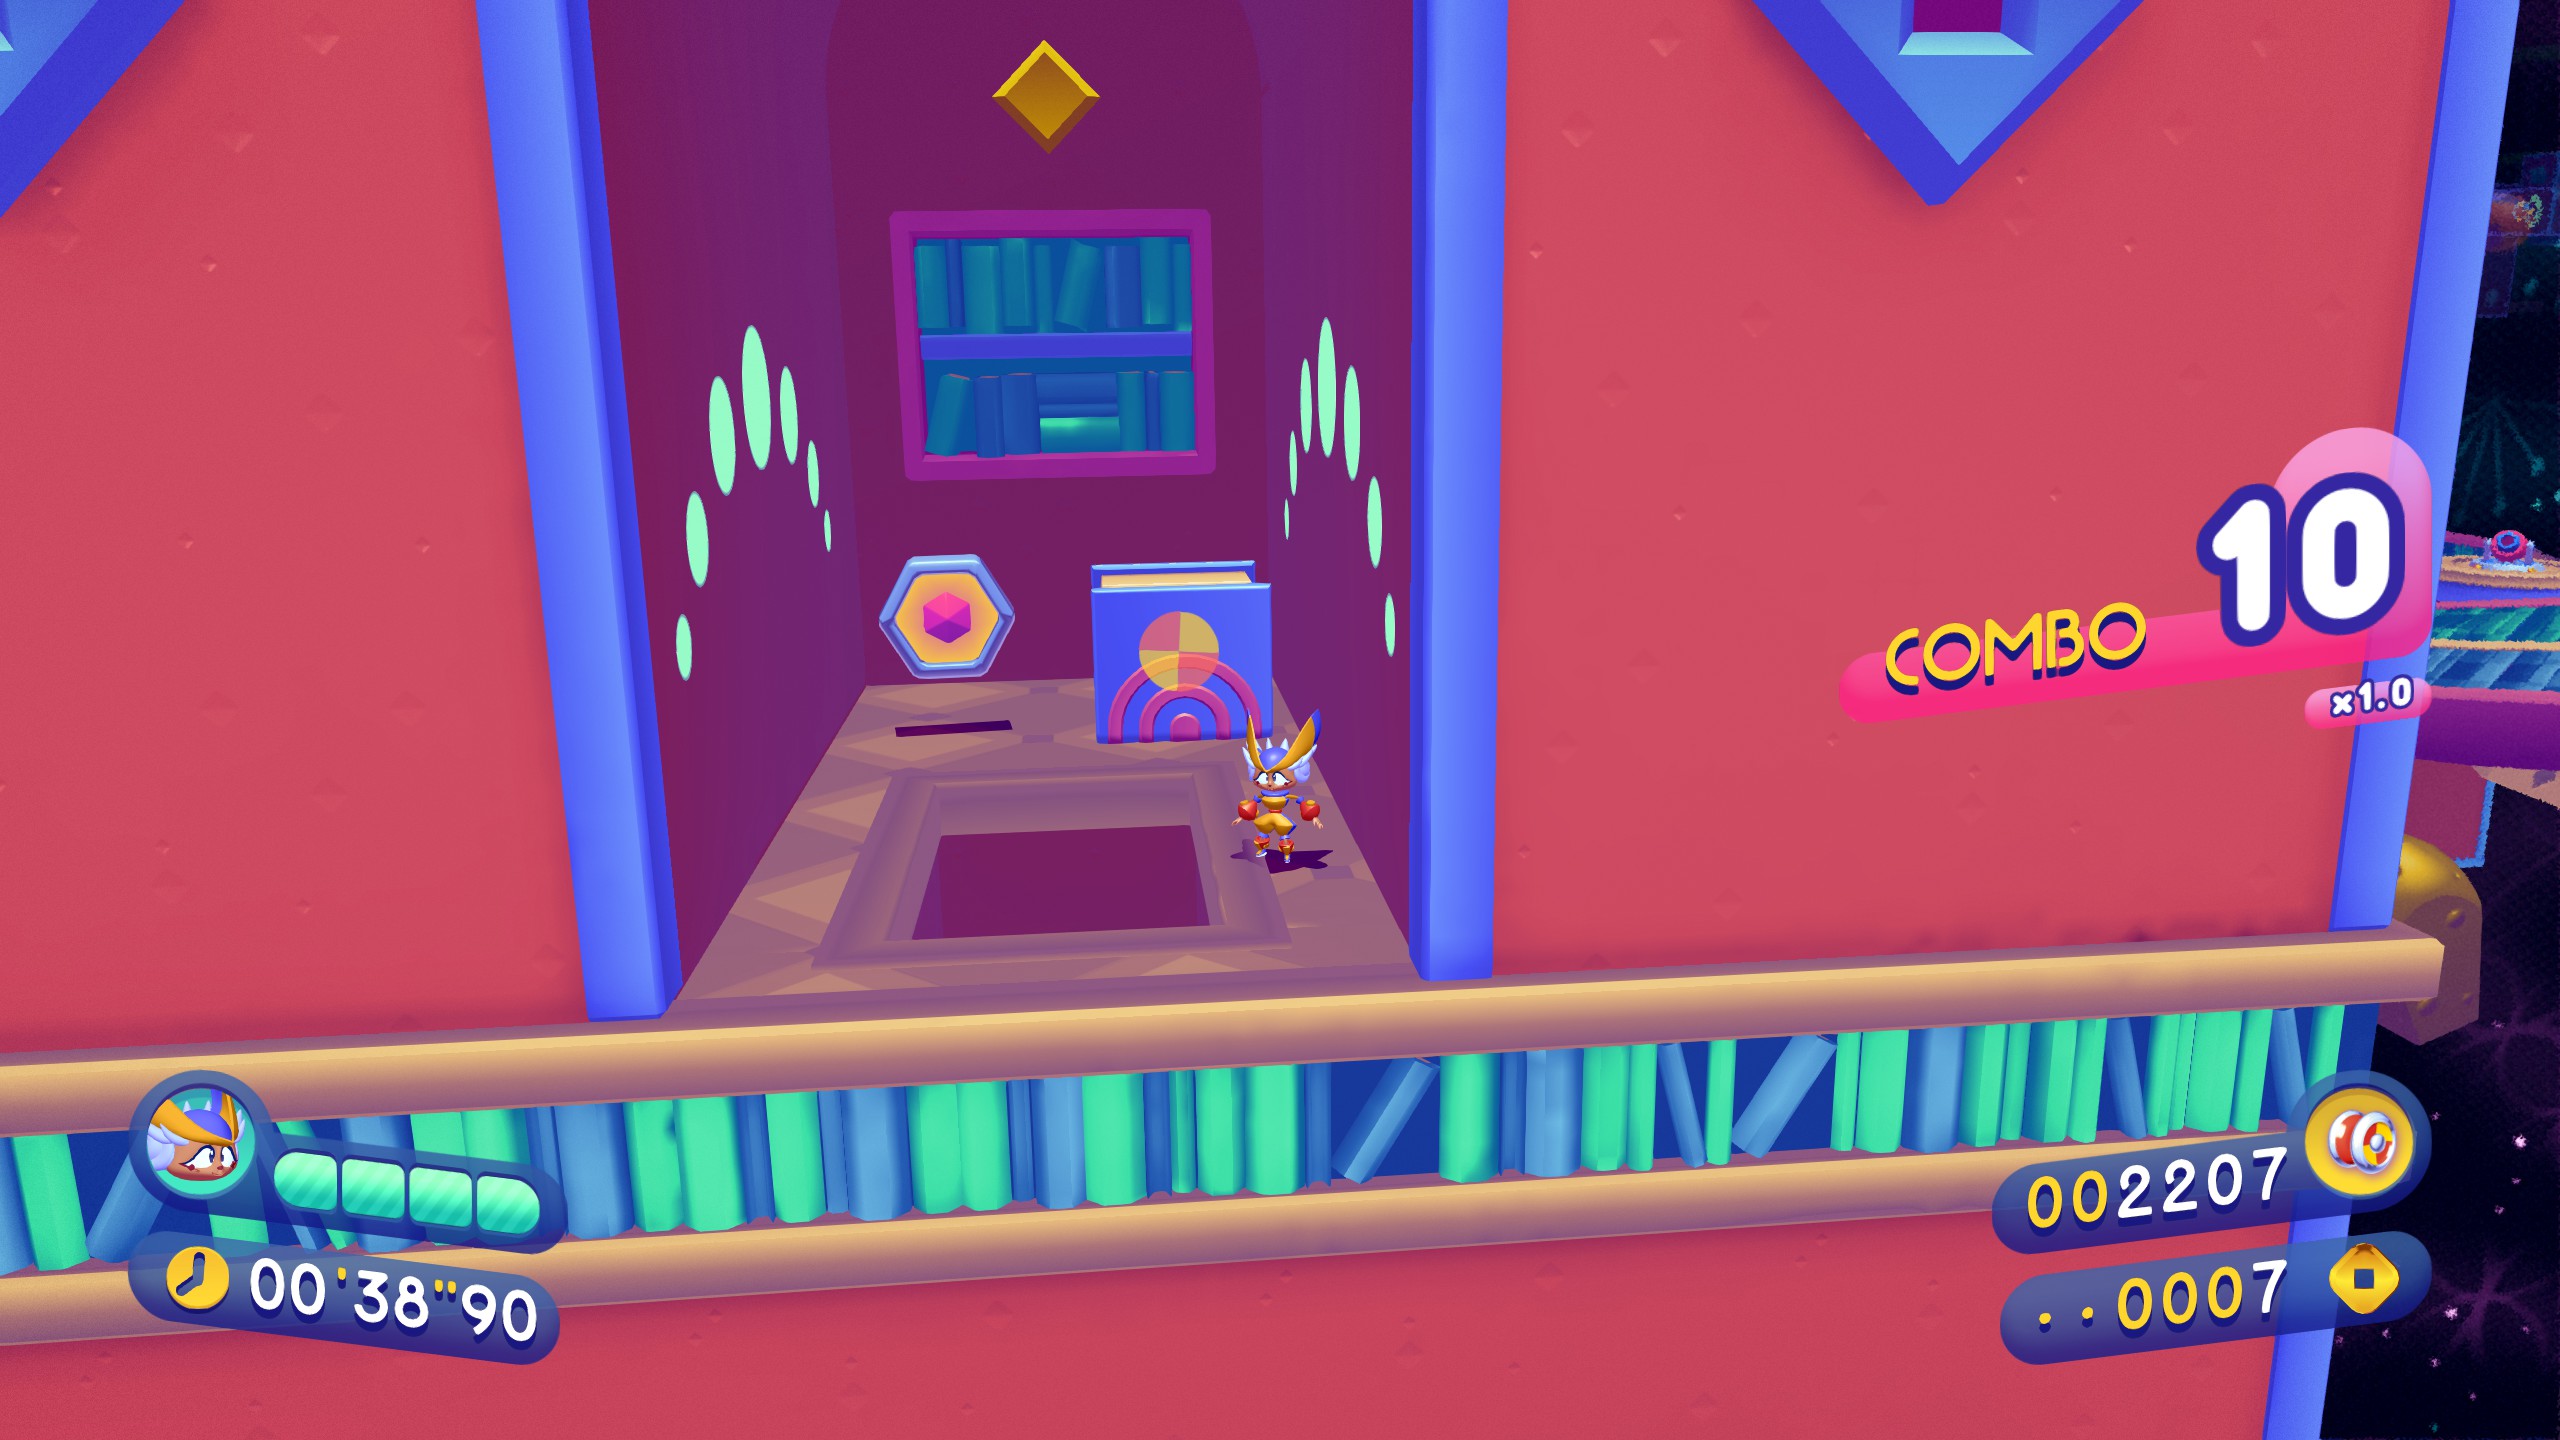
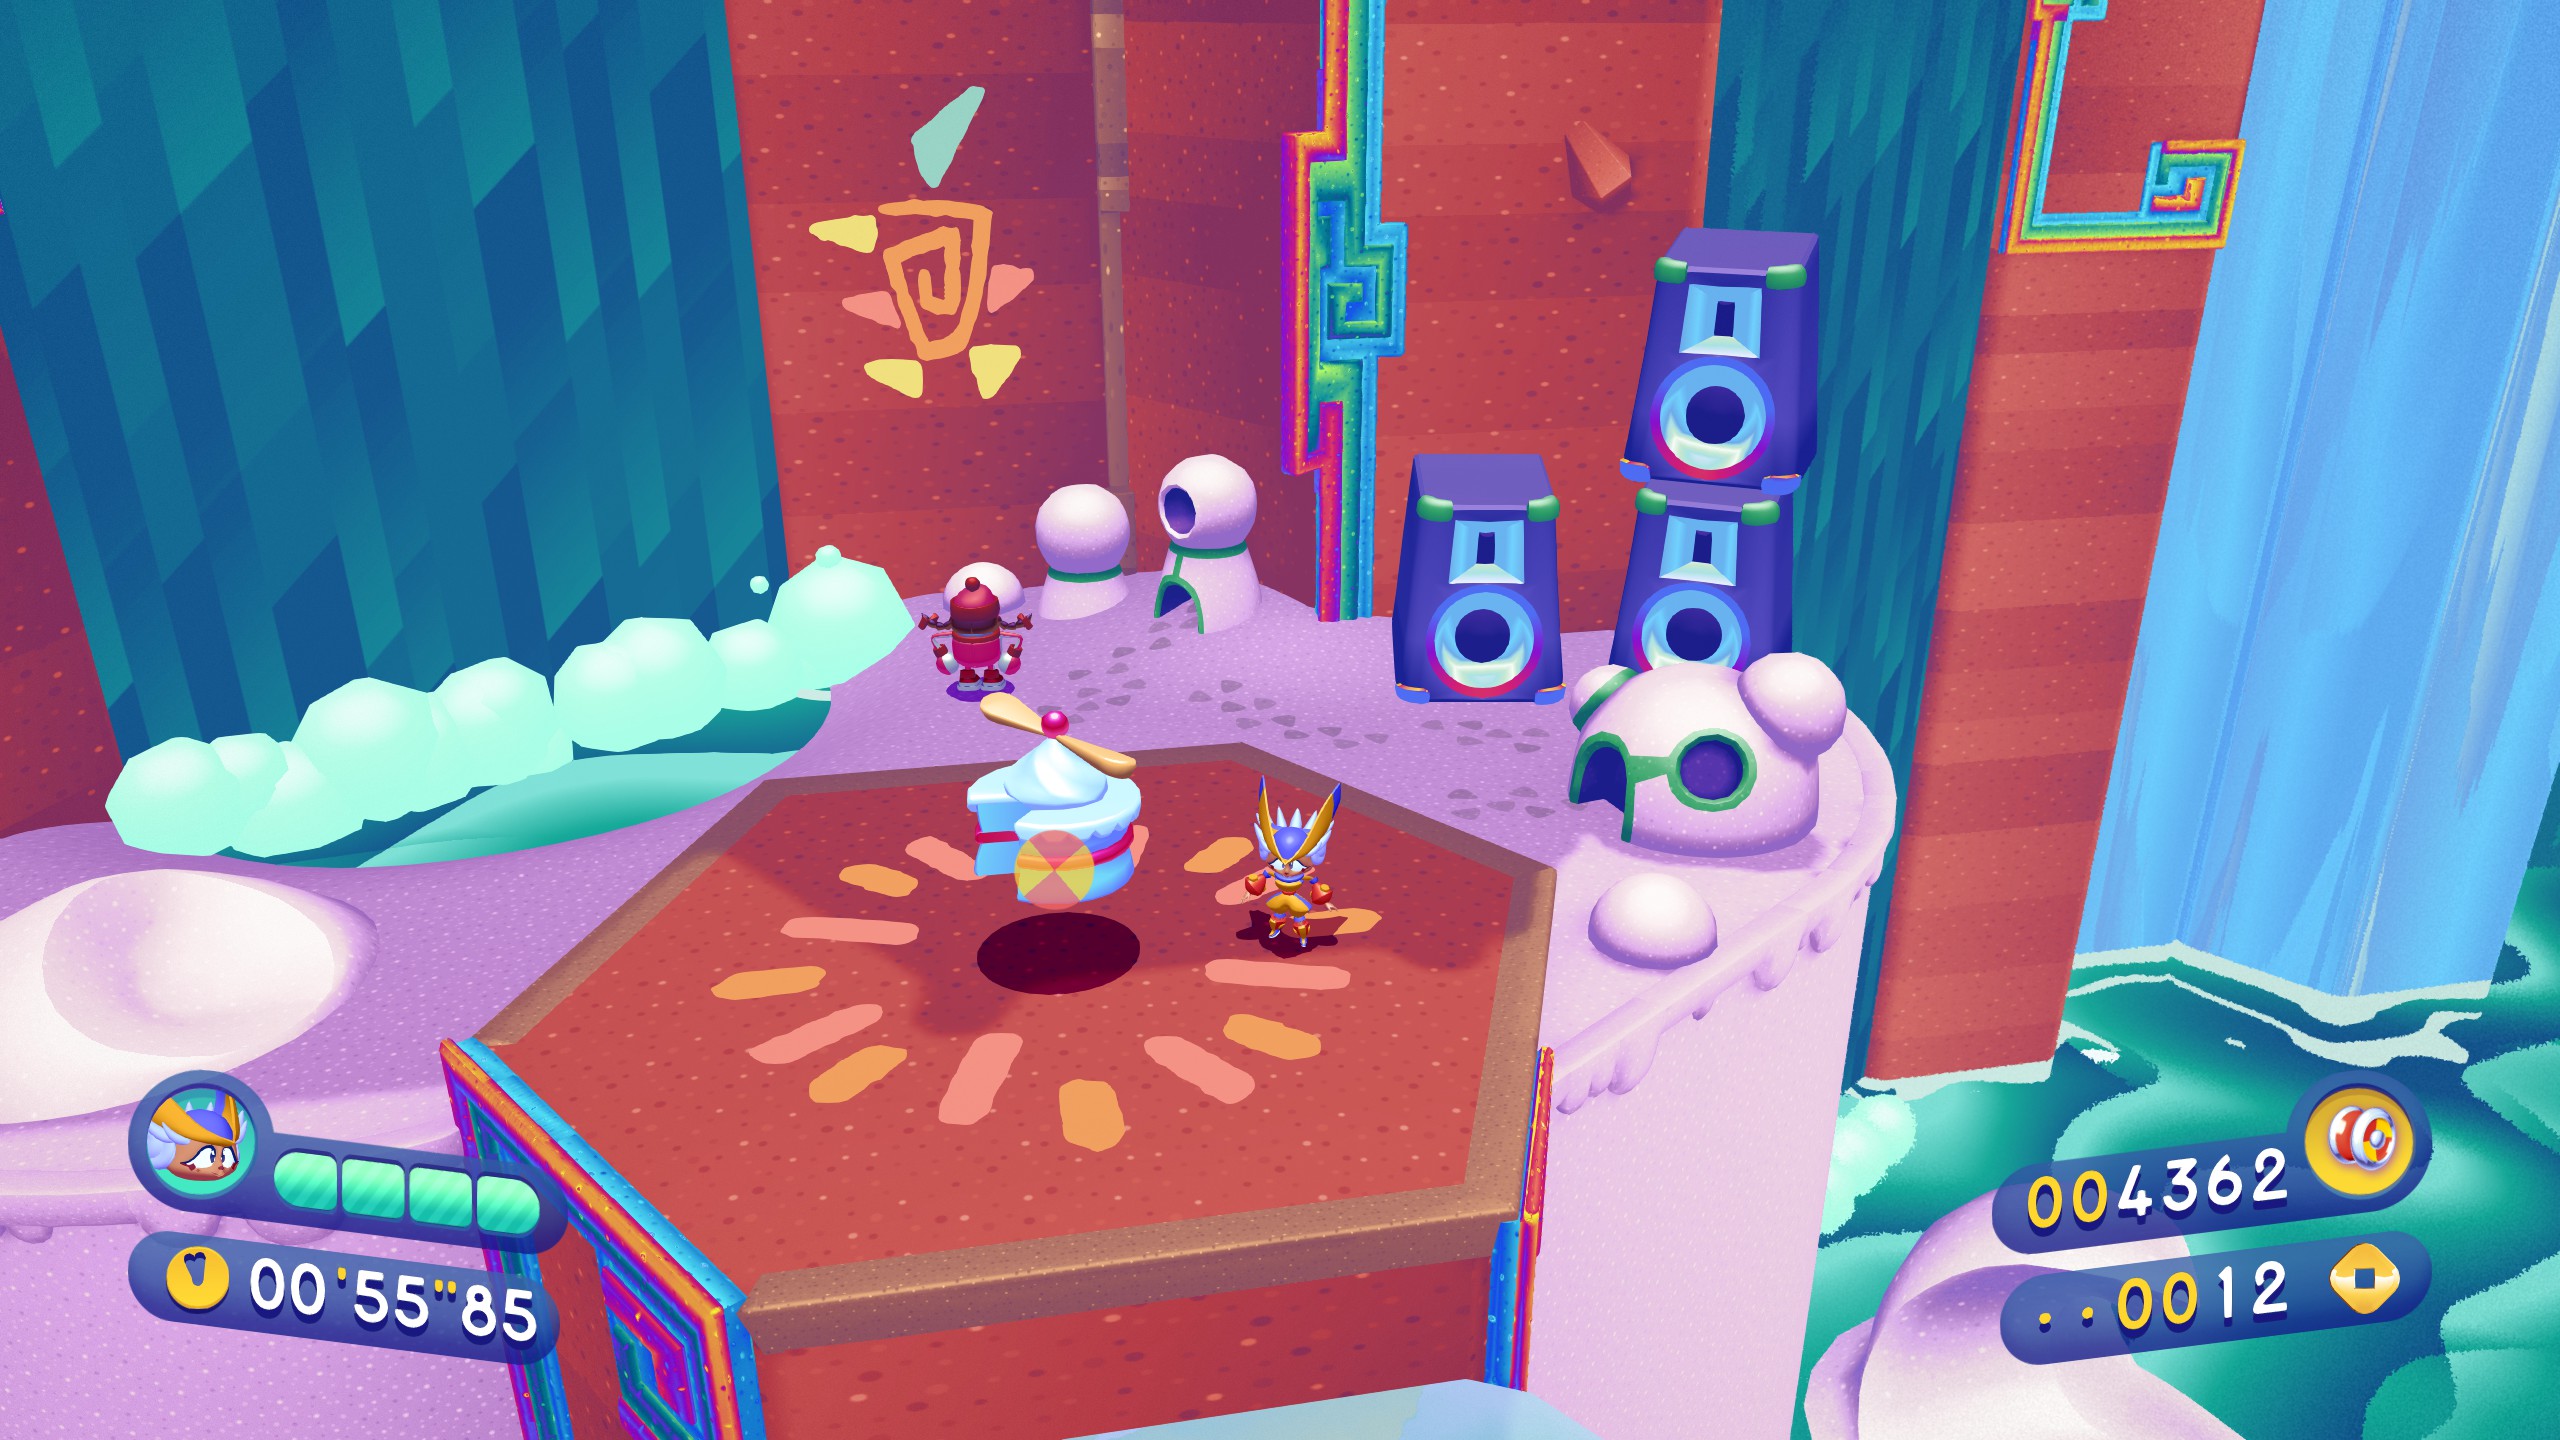
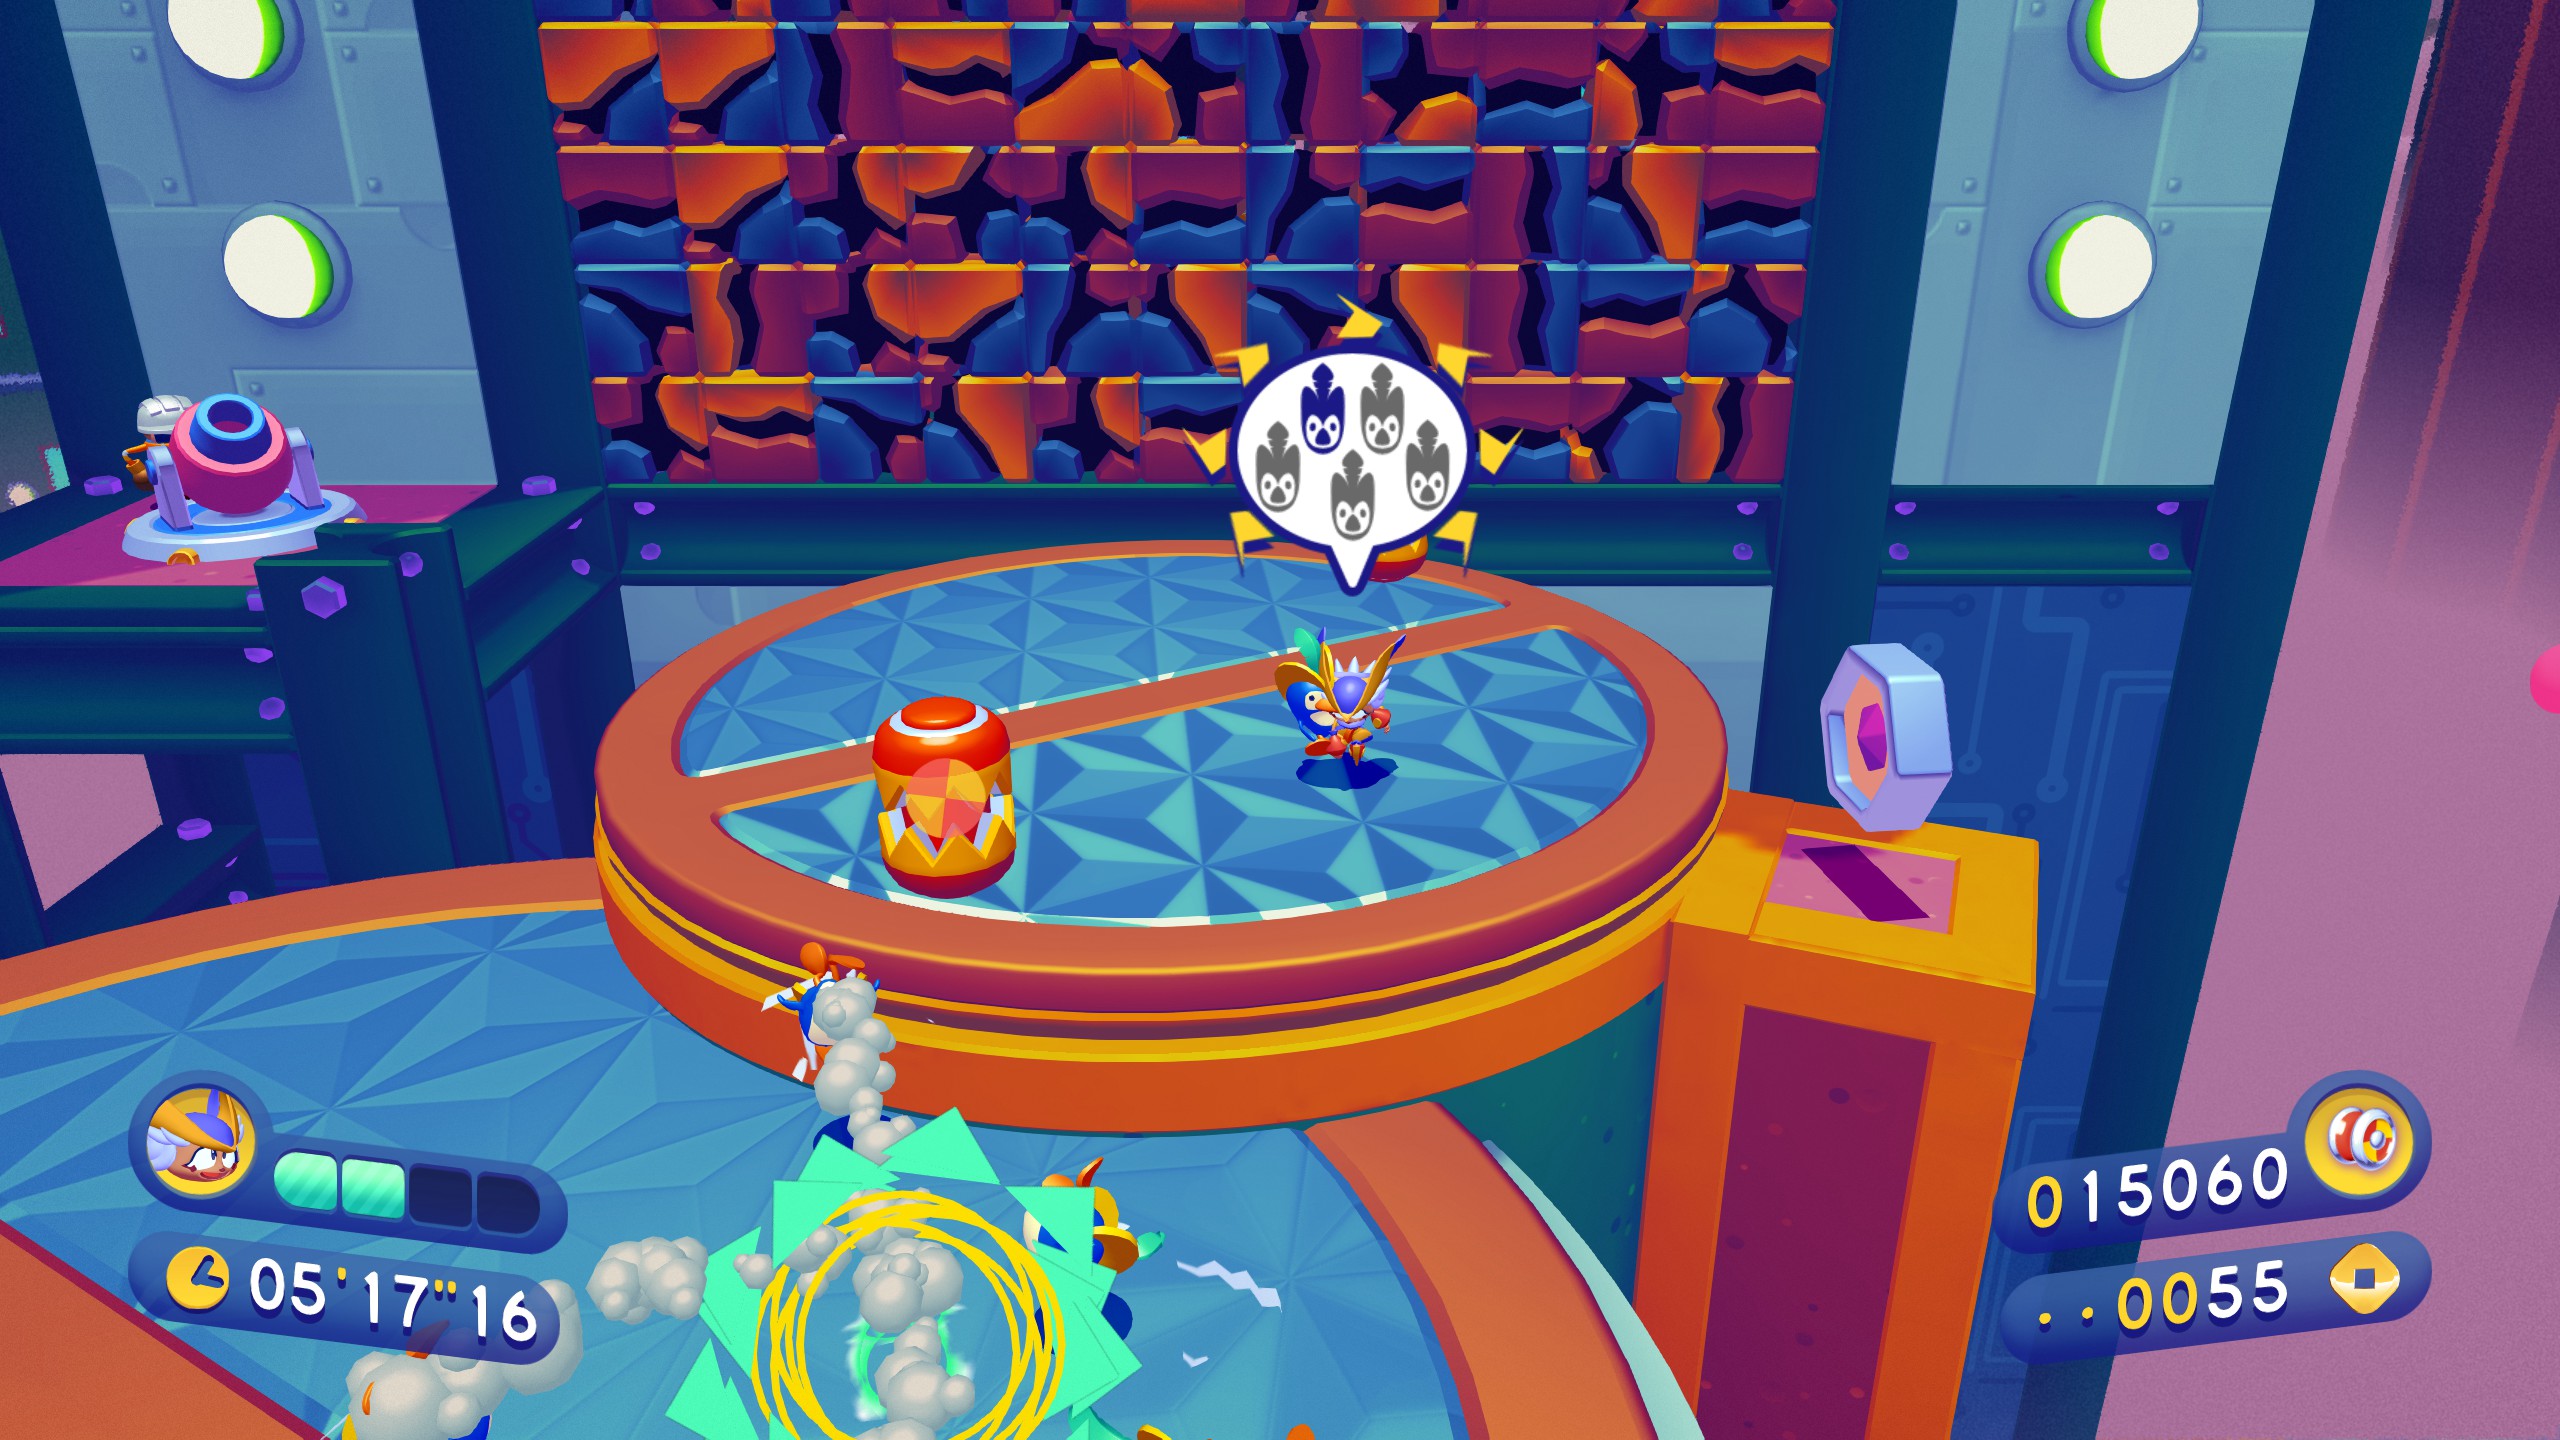
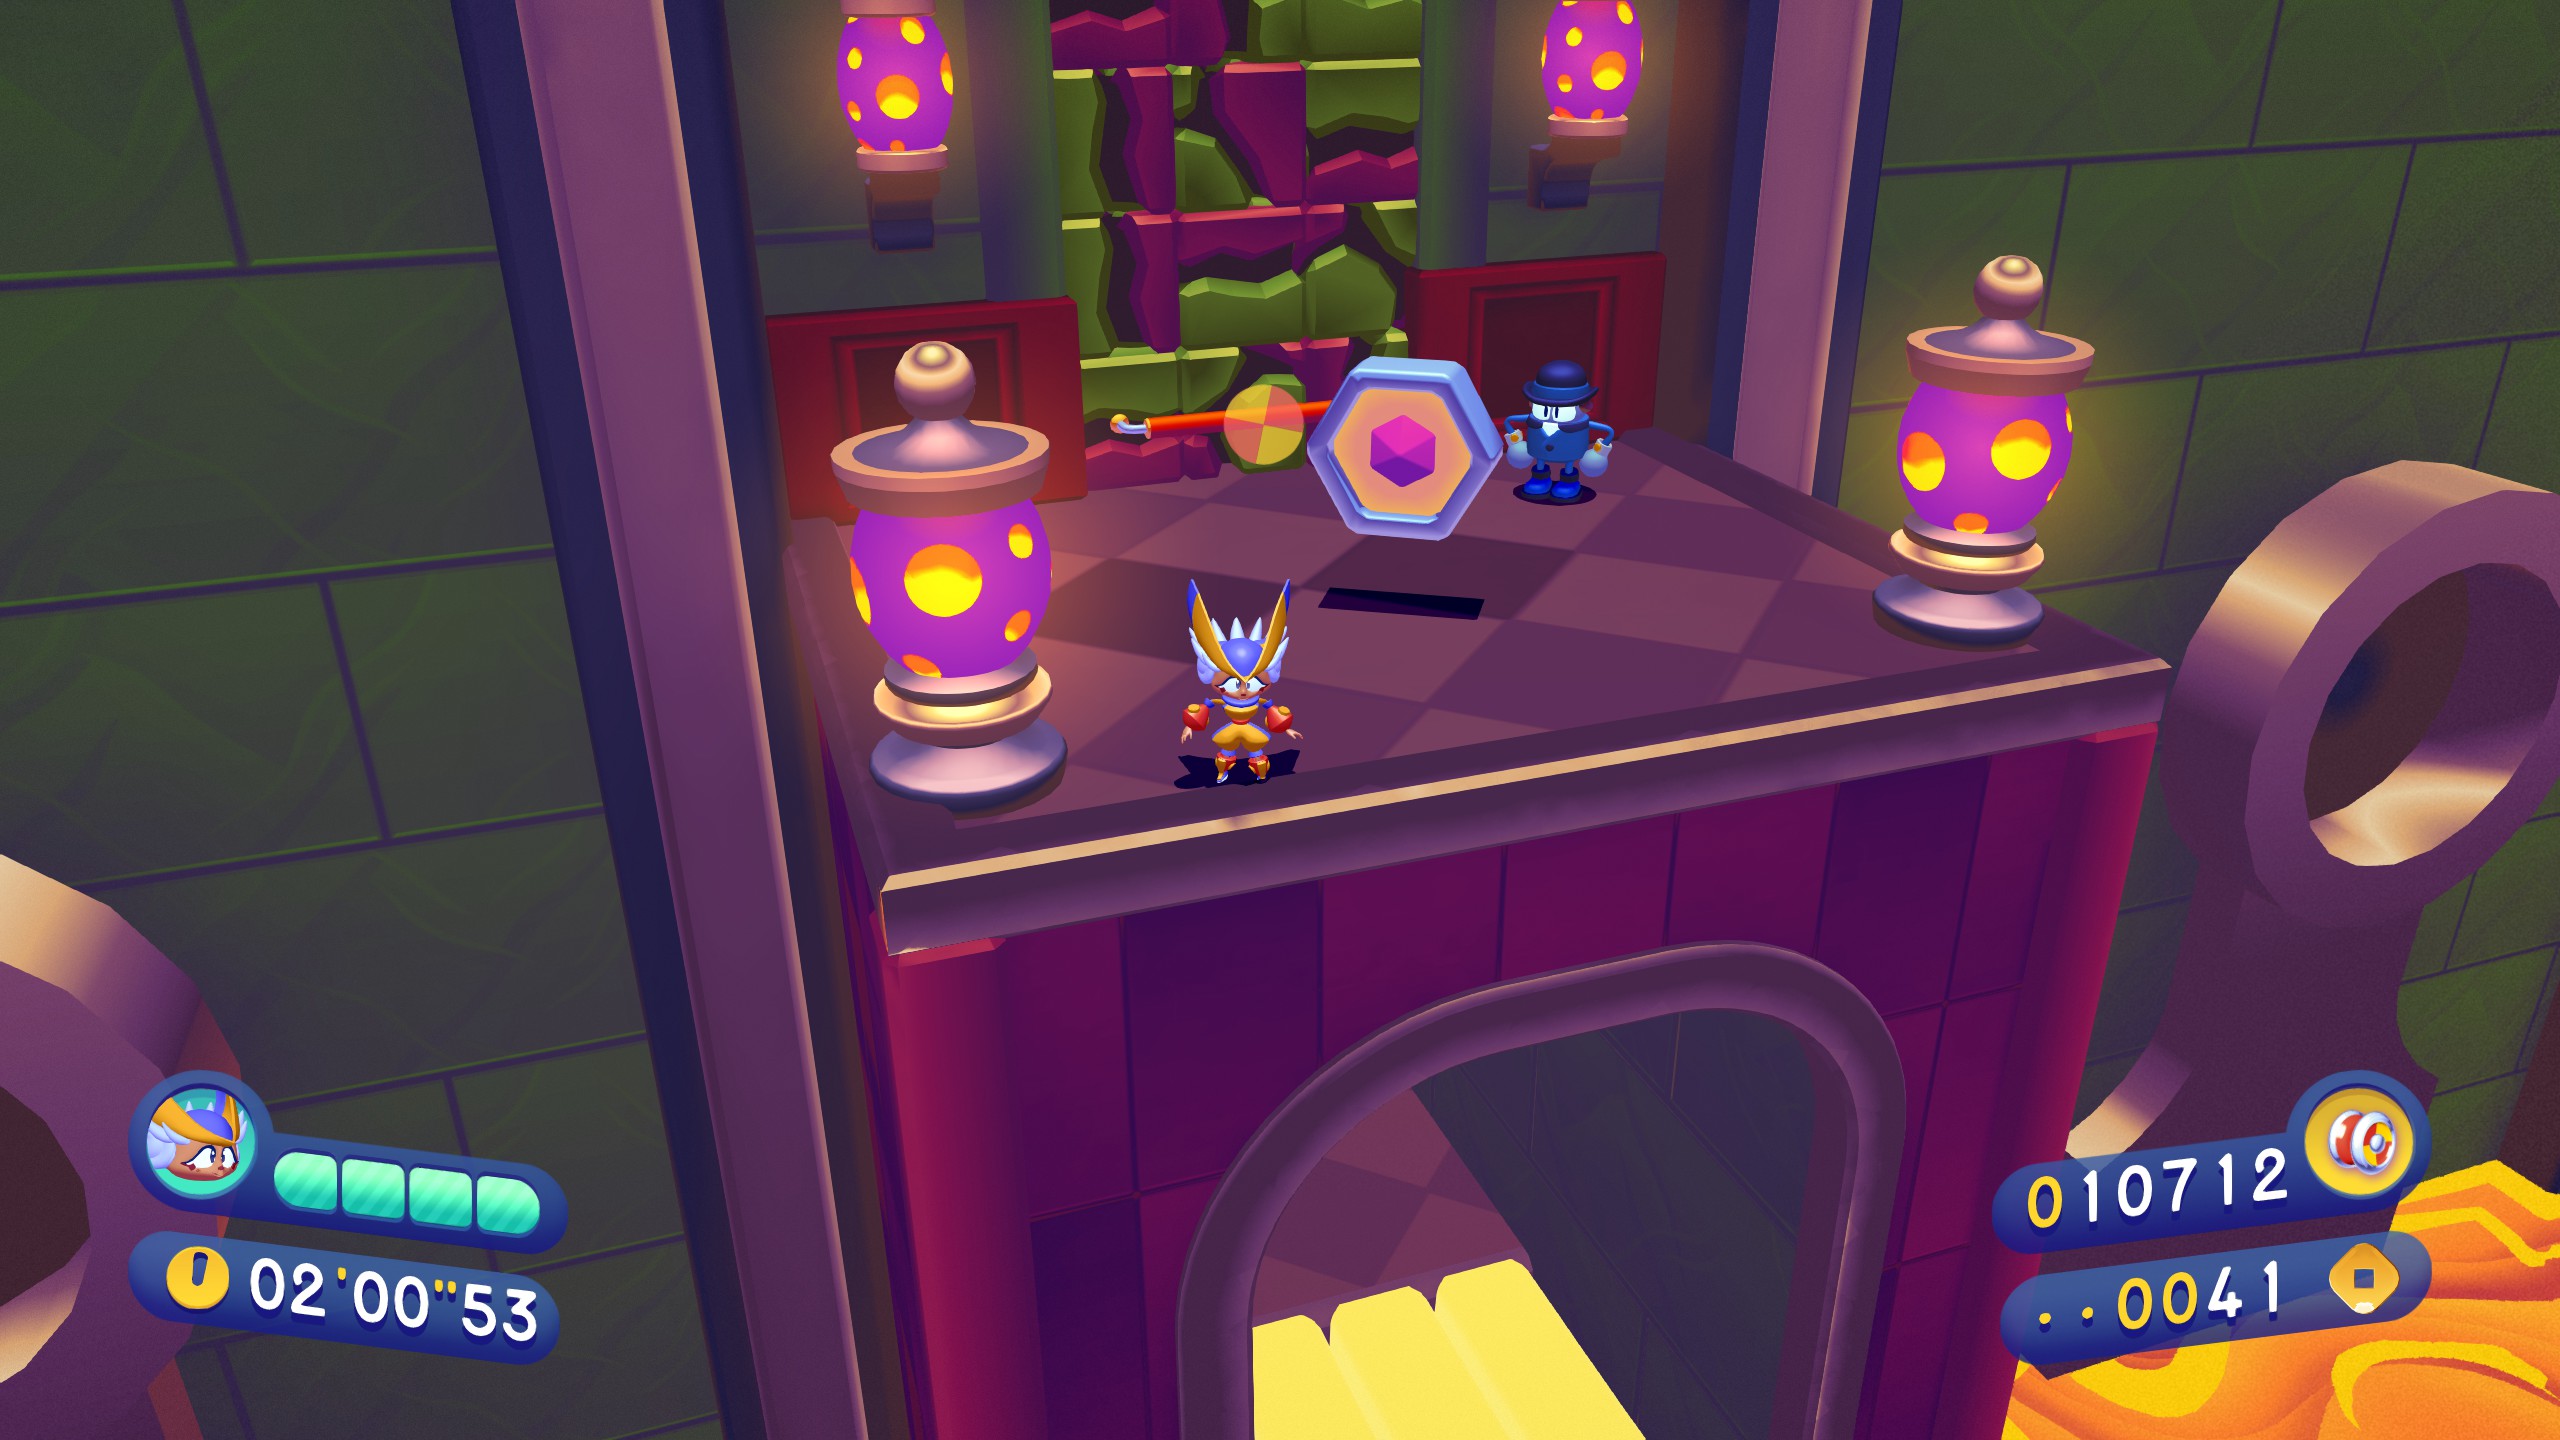
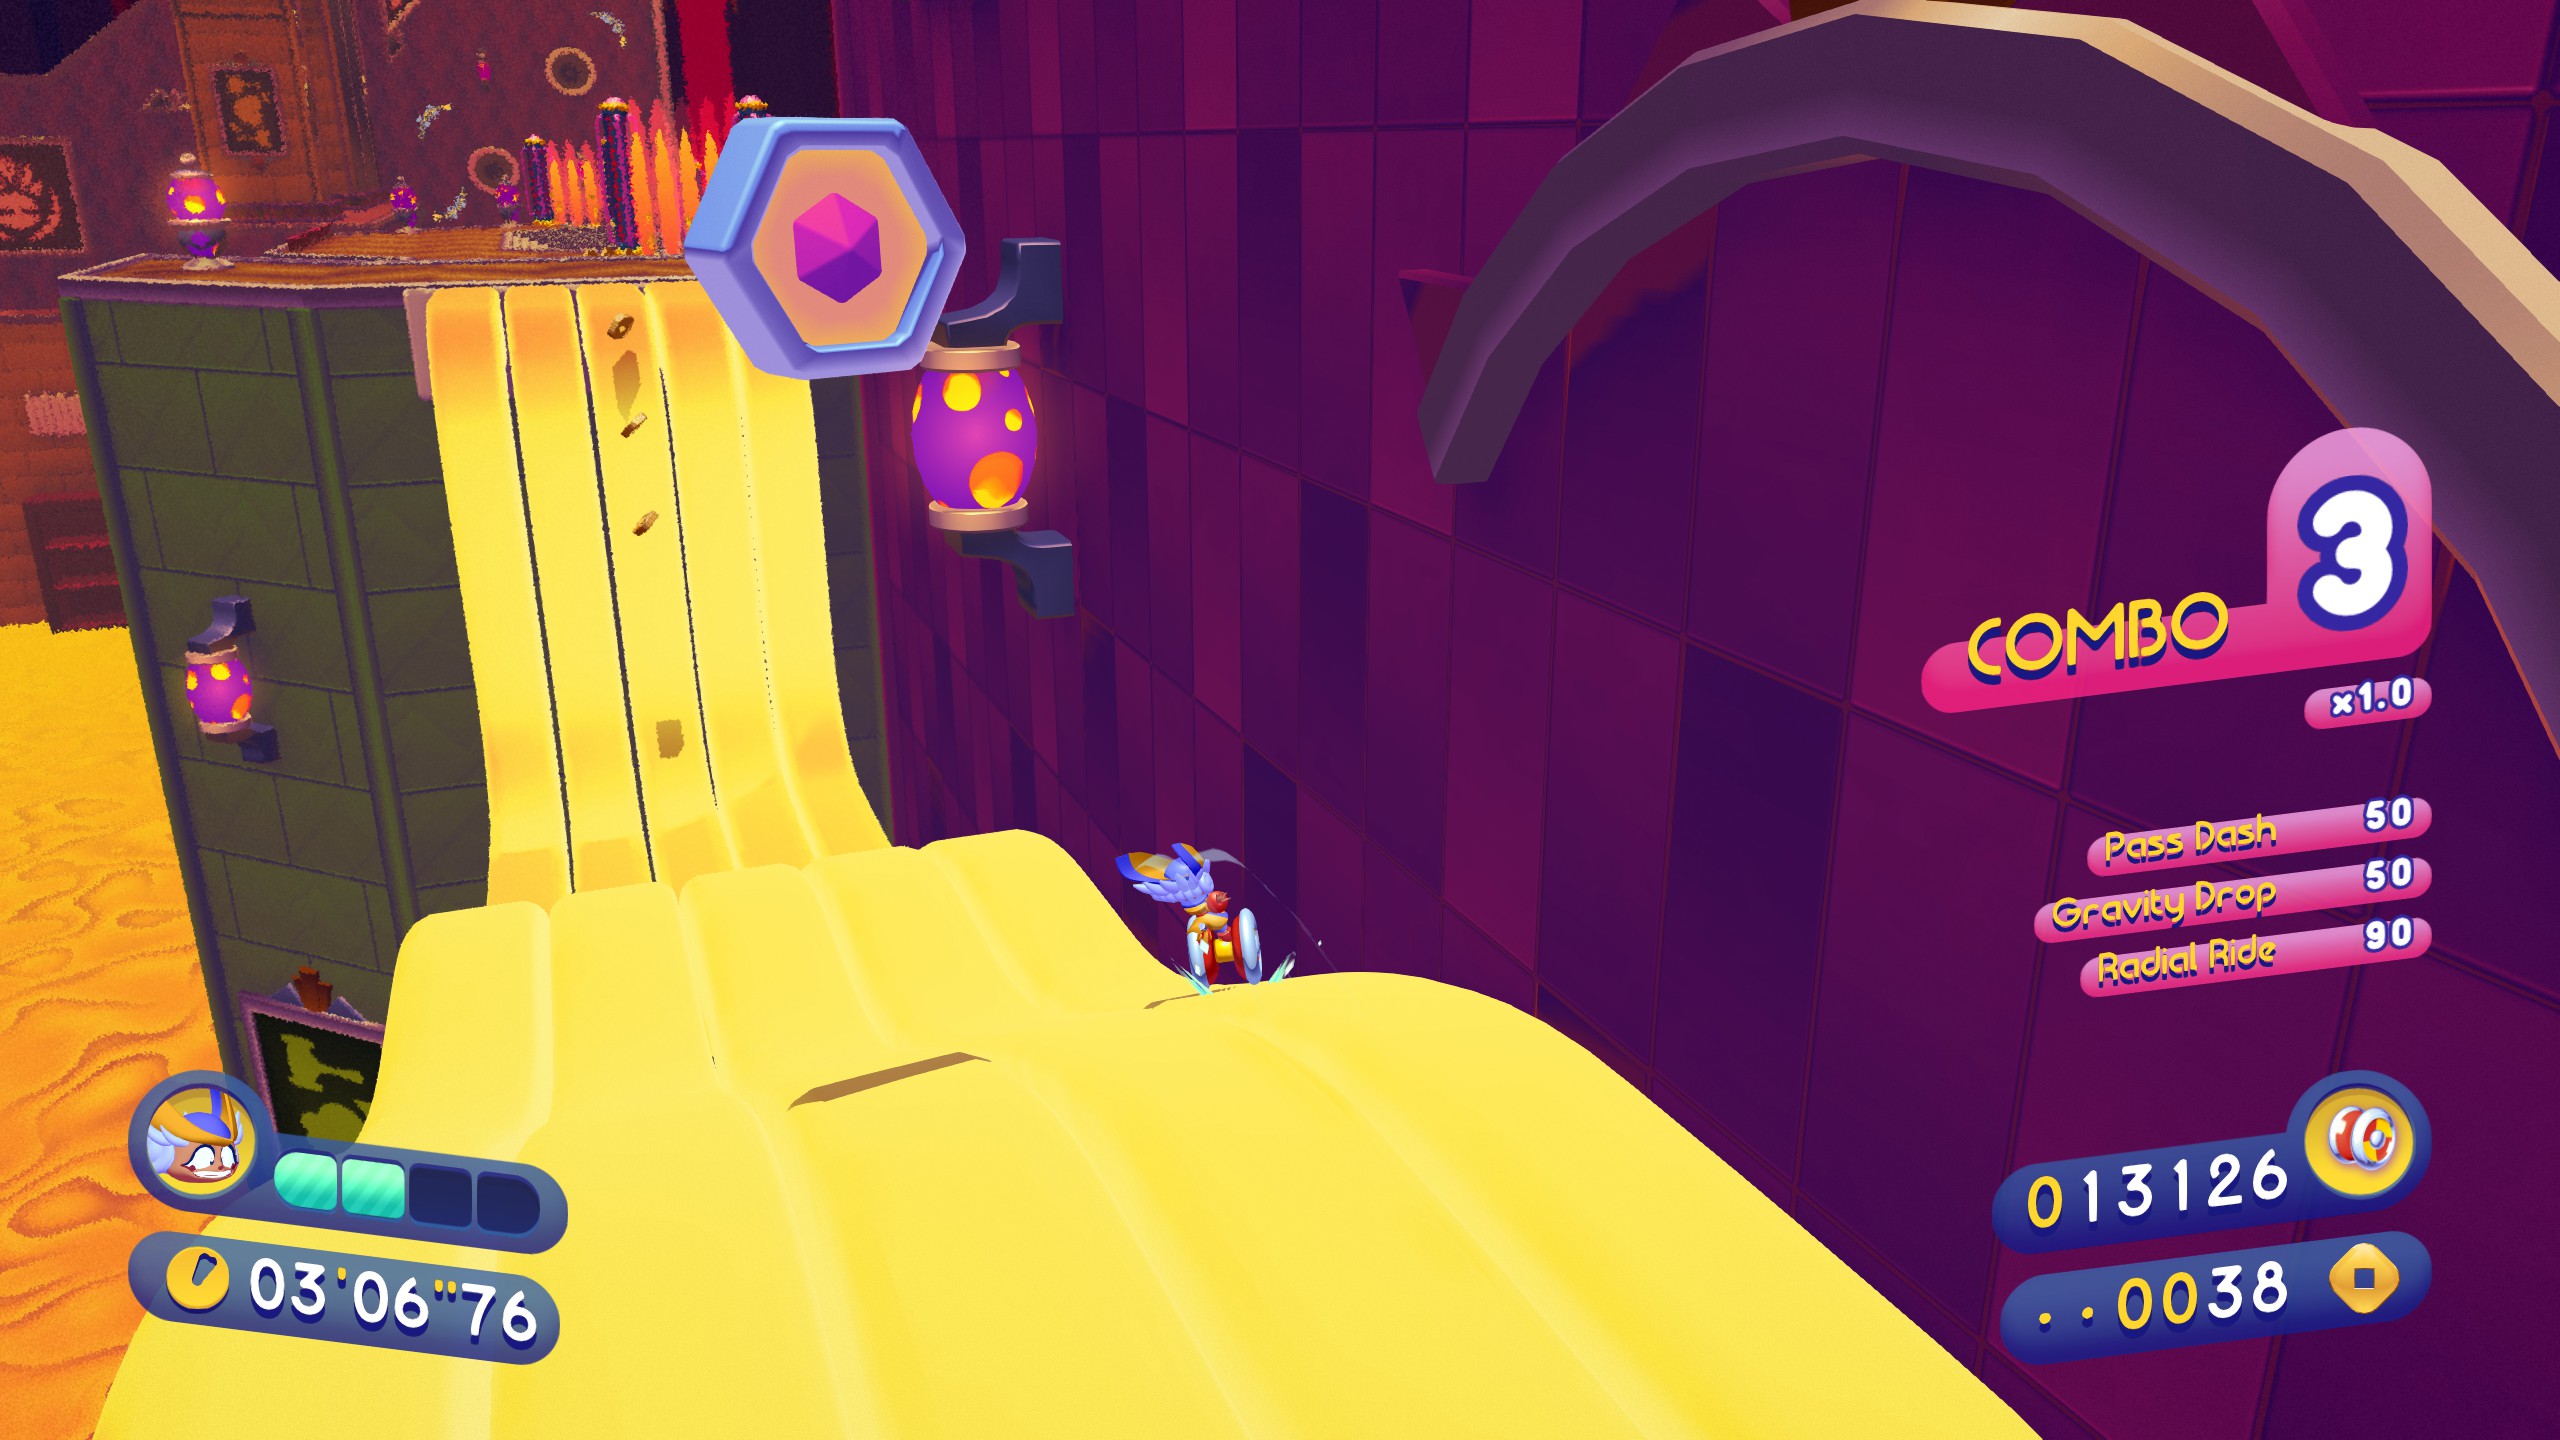
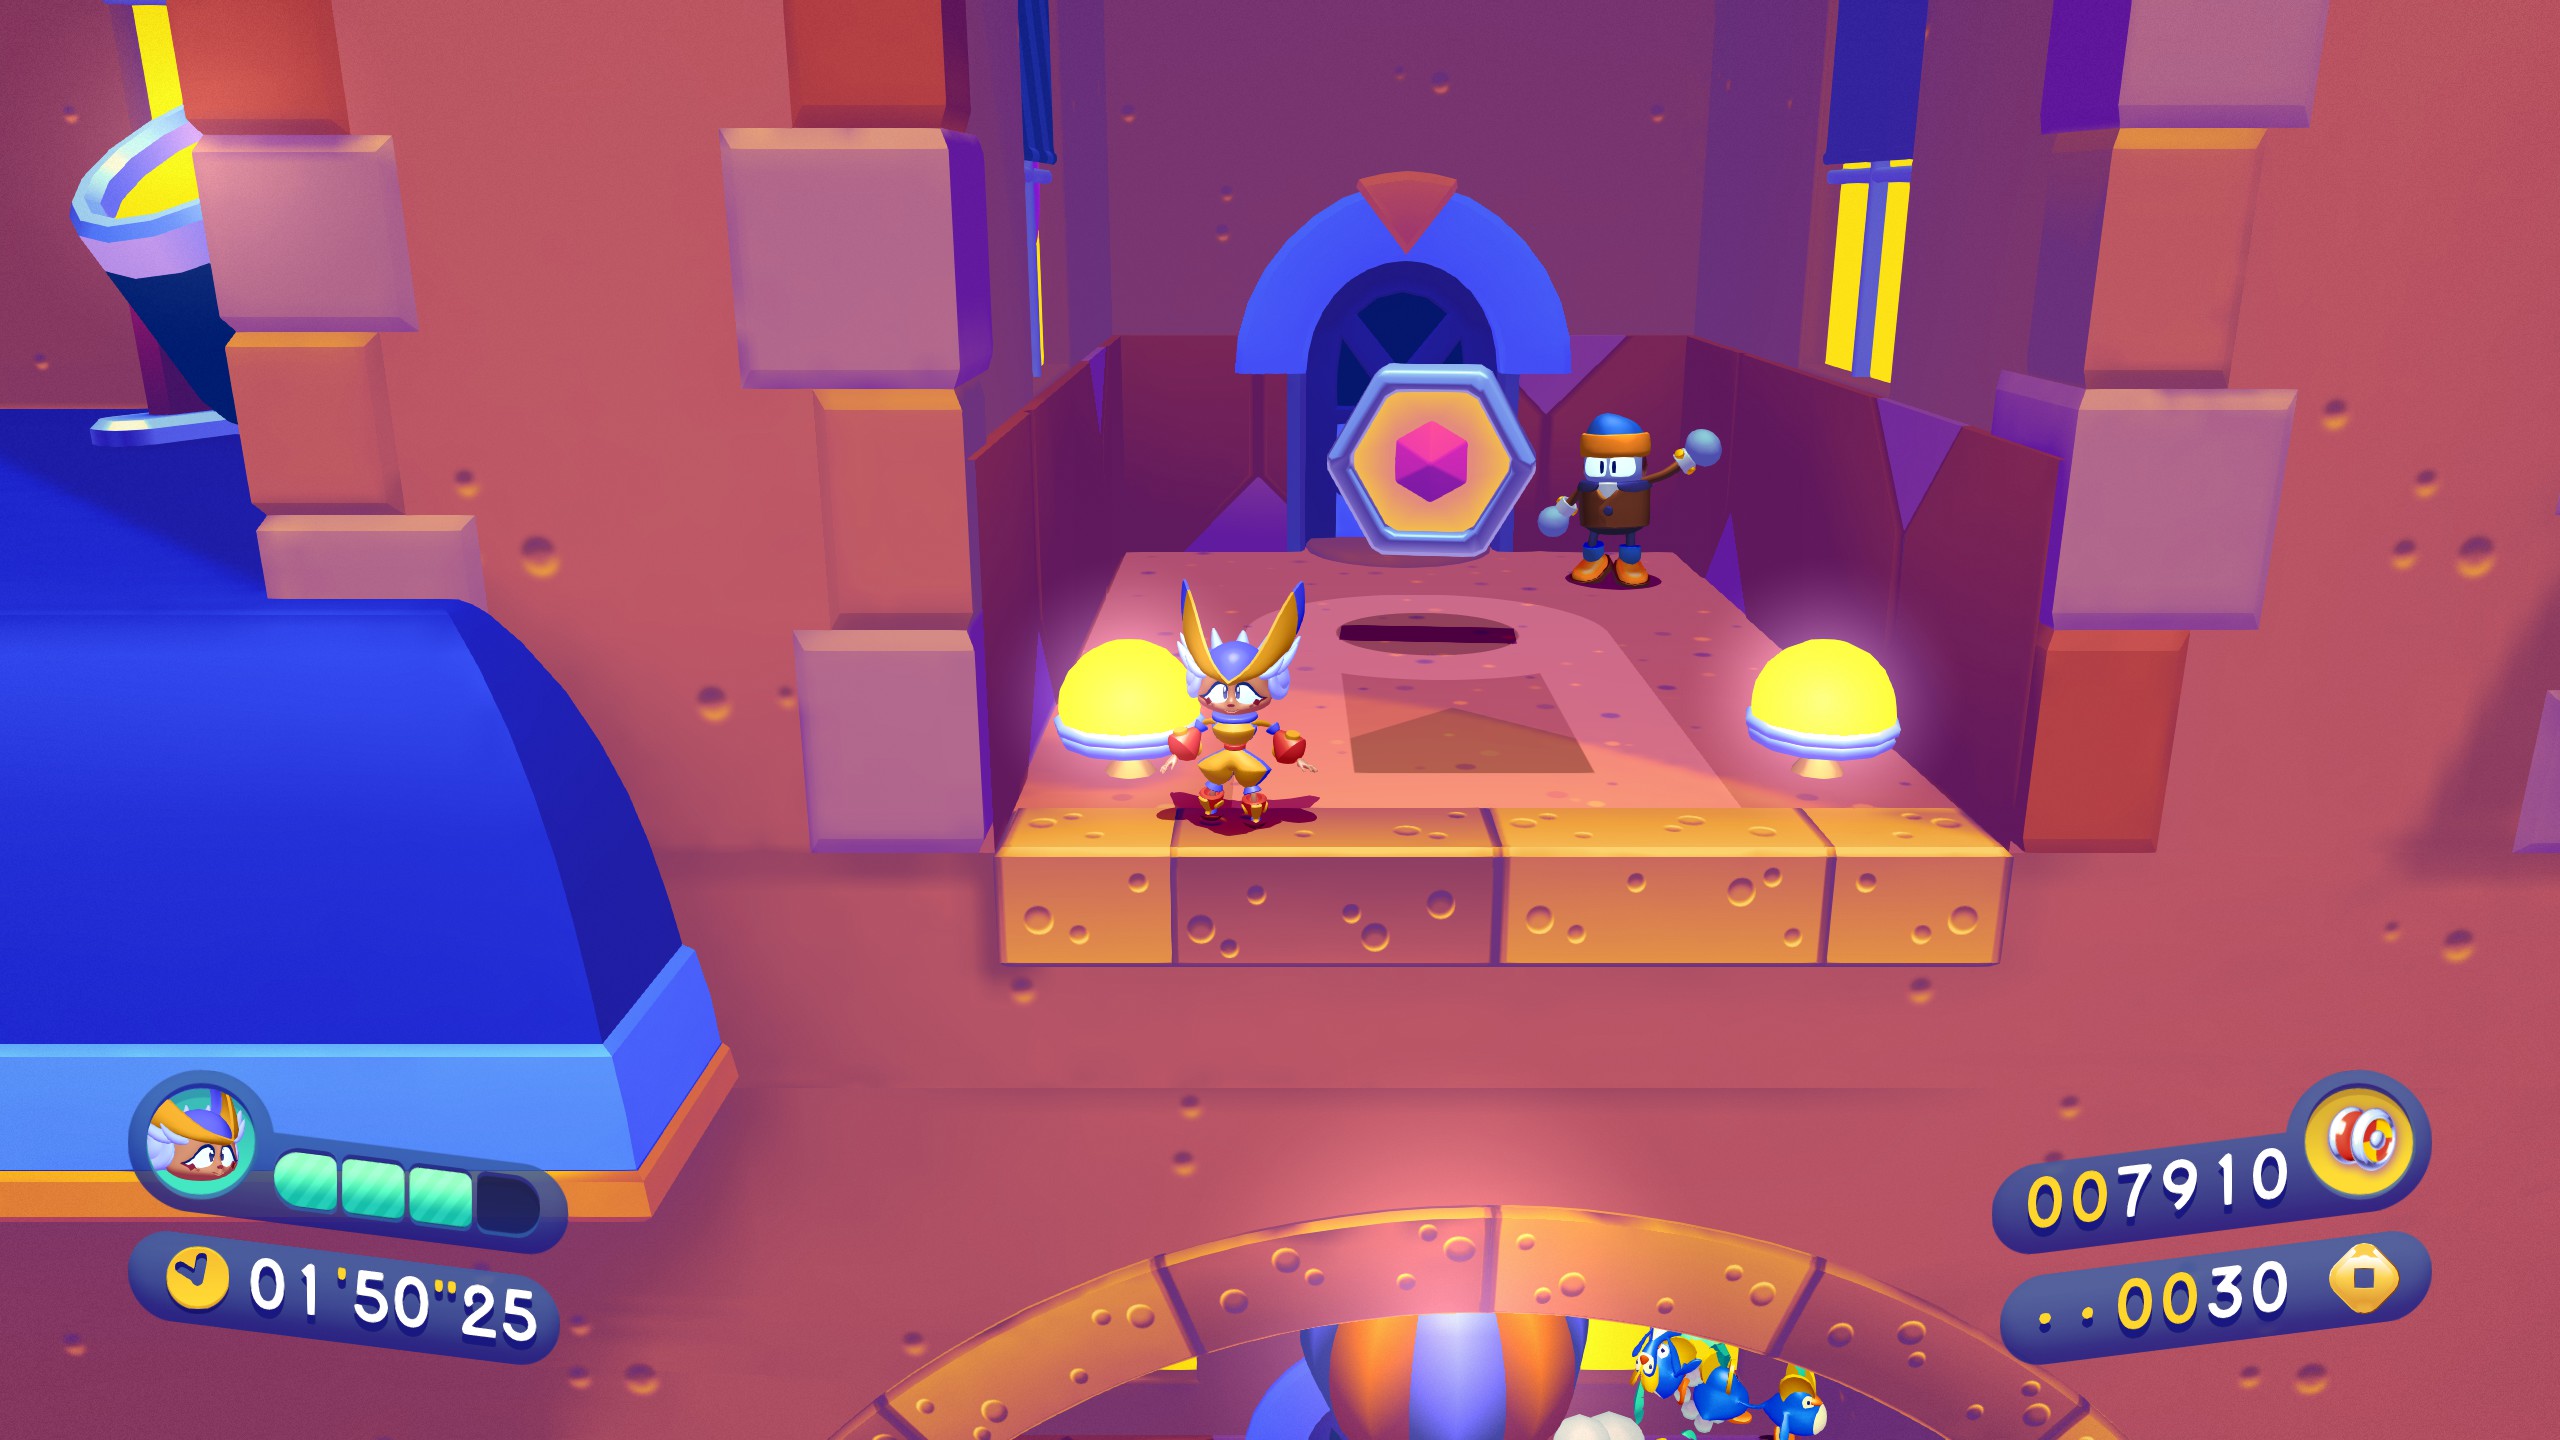
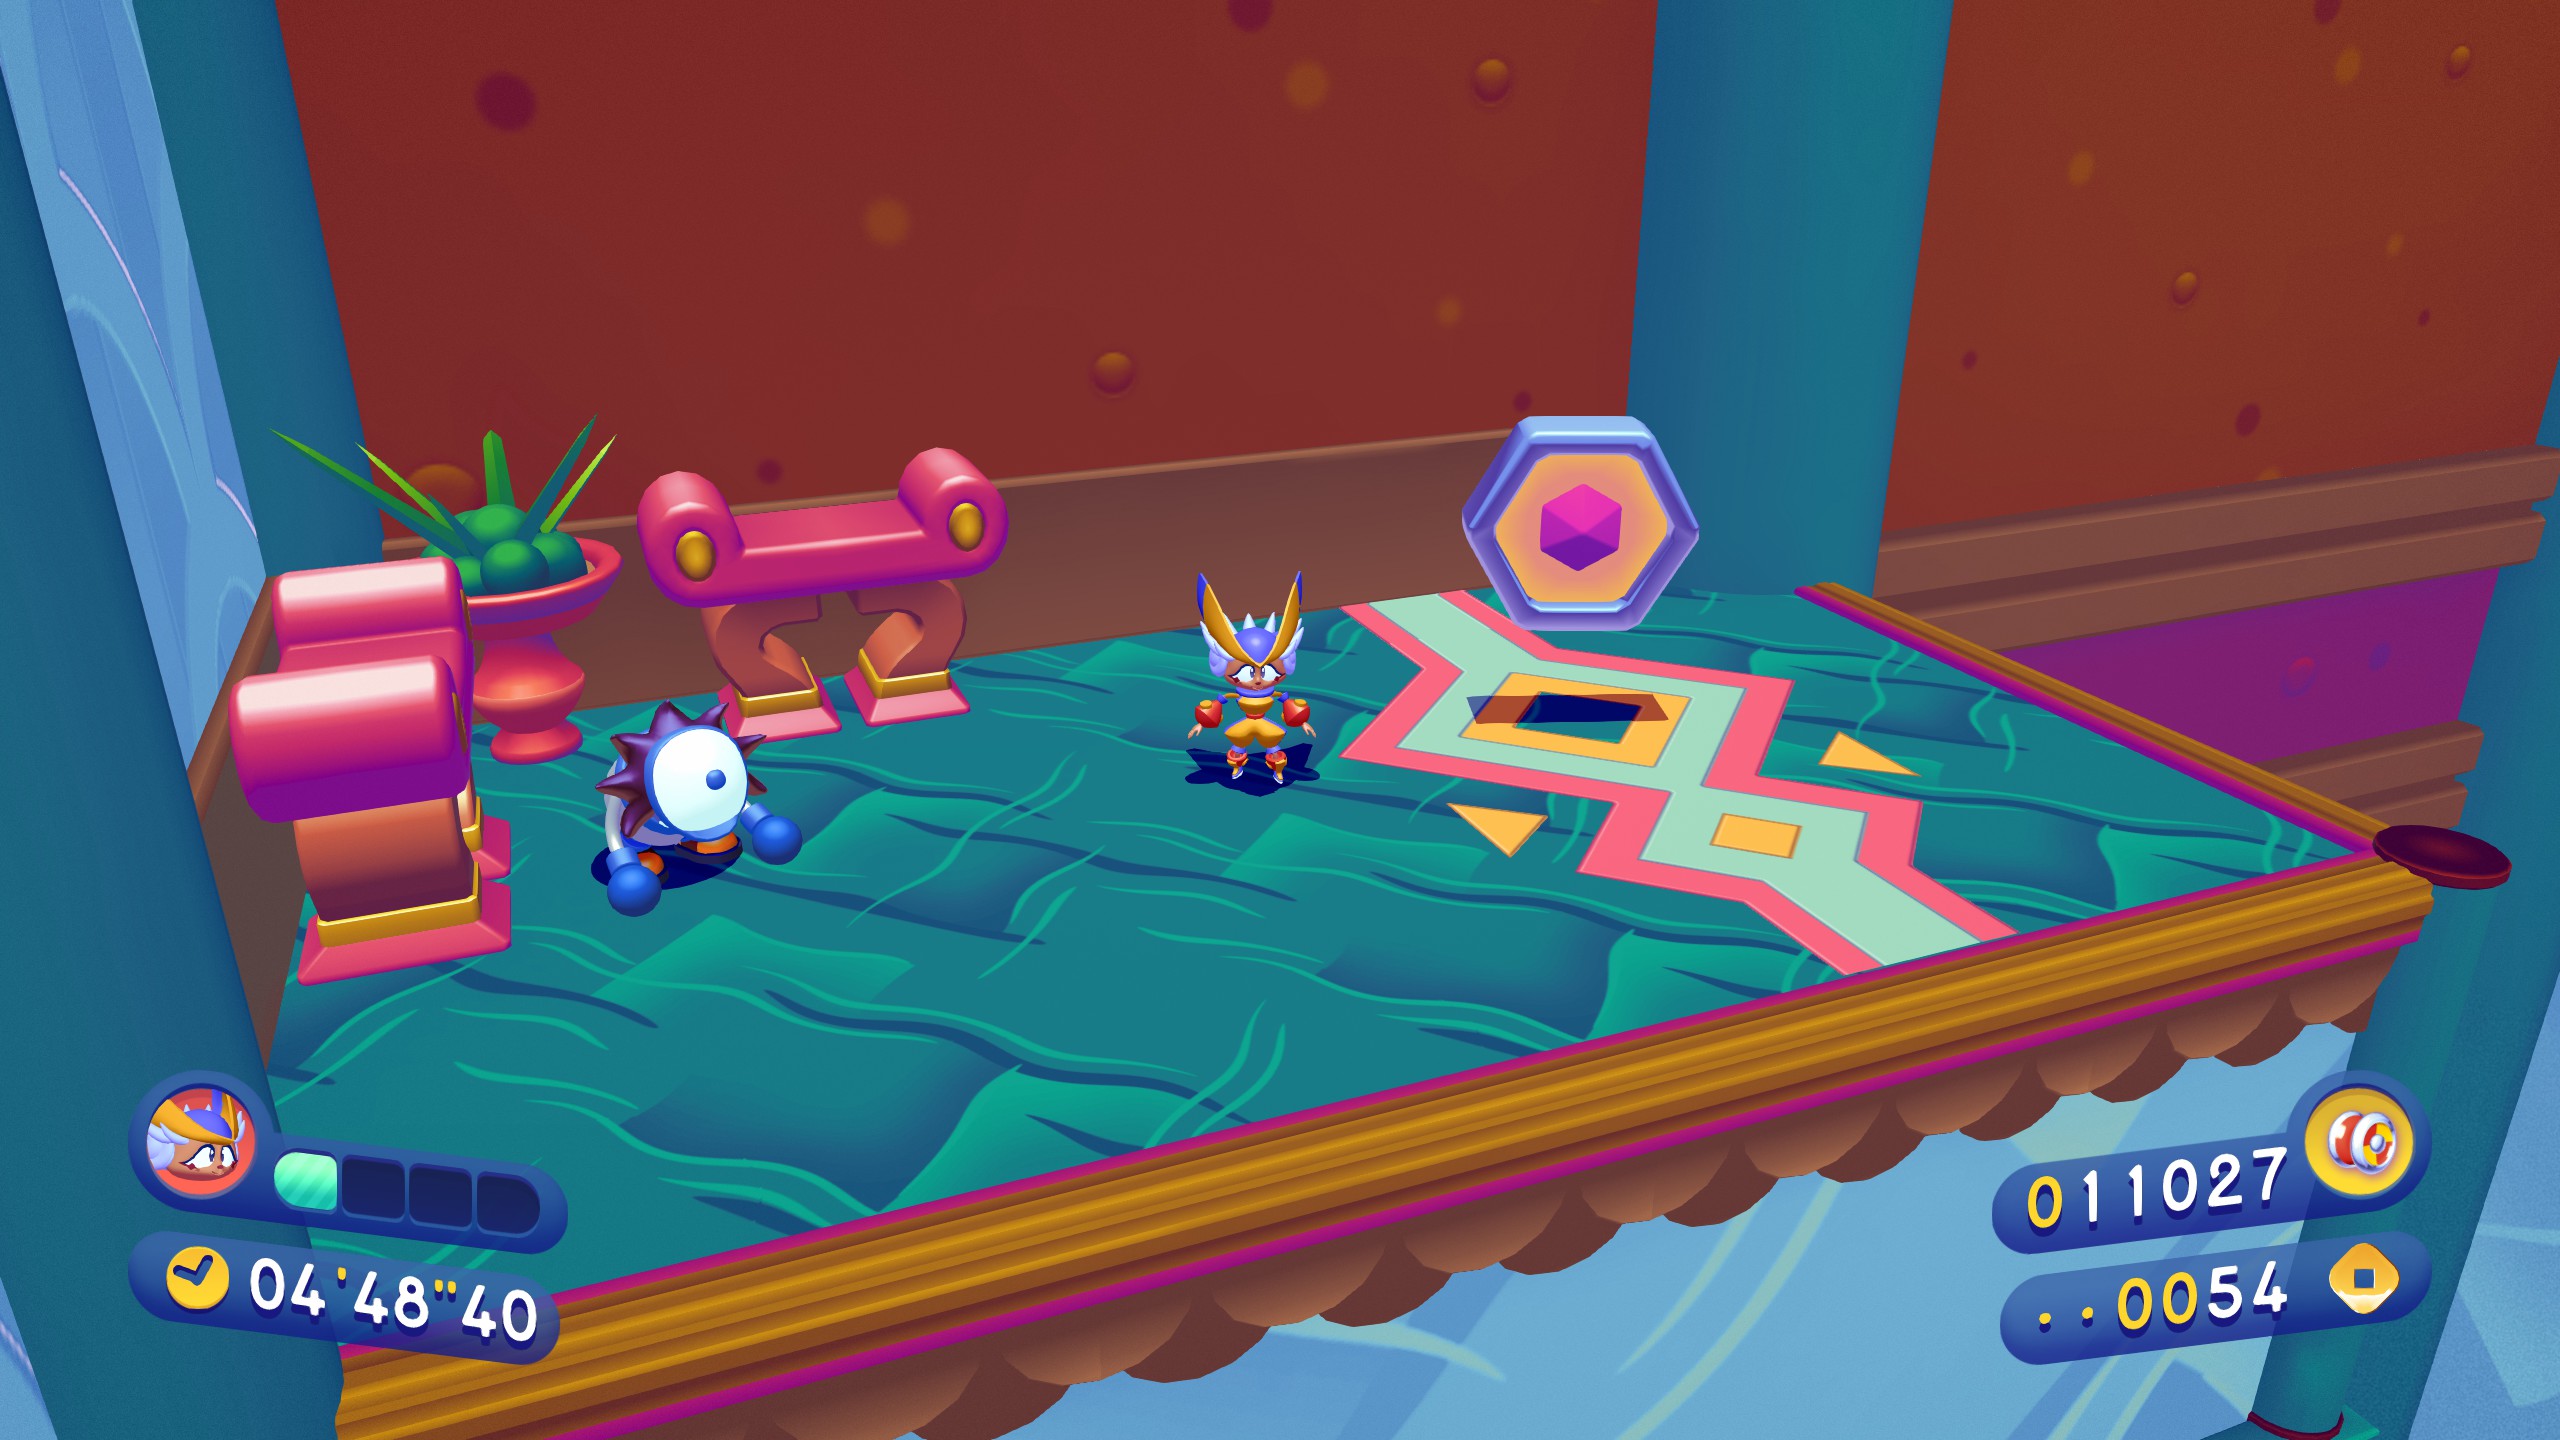
Piece 2 is part of my collection I like to call: Why?
Unlike any other piece up to this point, this one is not visible at first. Take a look at this location.
You’ll notice a distinct lack of a piece. In order for it to appear, you must first go back below, knock the bull into the golf hole, and wait till the pole fully rises. Why is there a piece tied to an interaction that previously hasn’t had any such interaction? Don’t know, but I hate it, moving on.
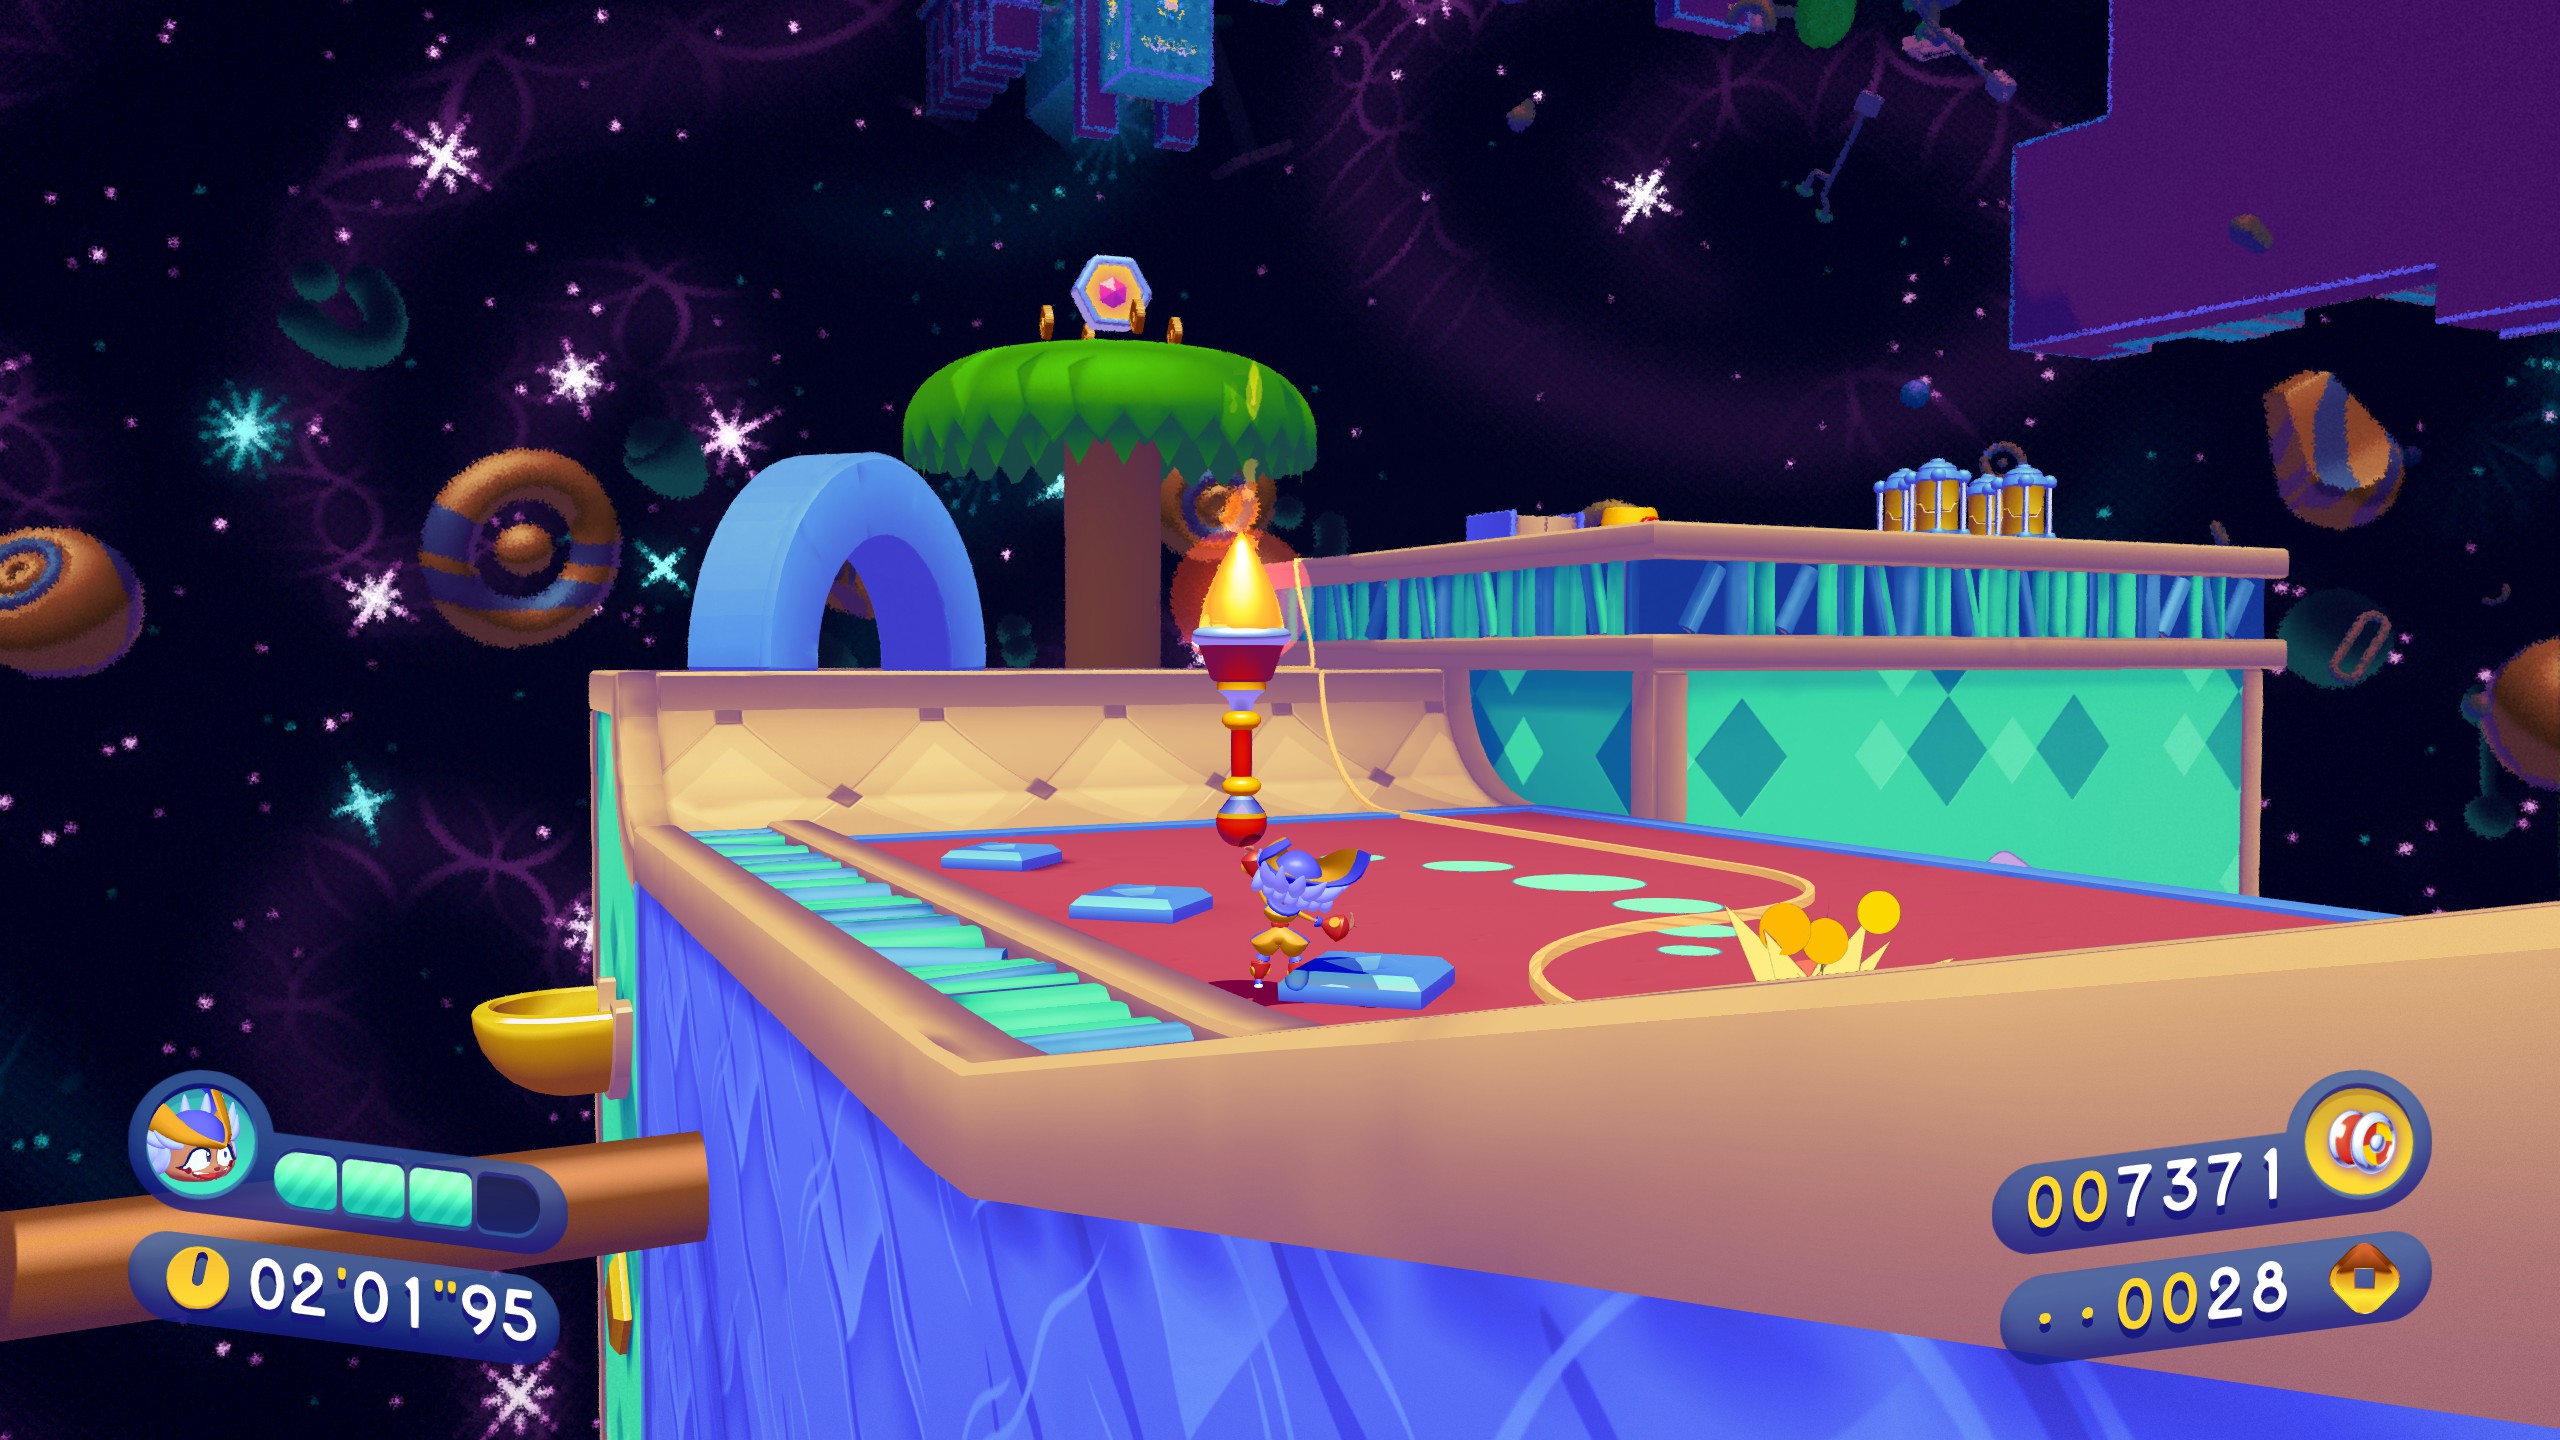
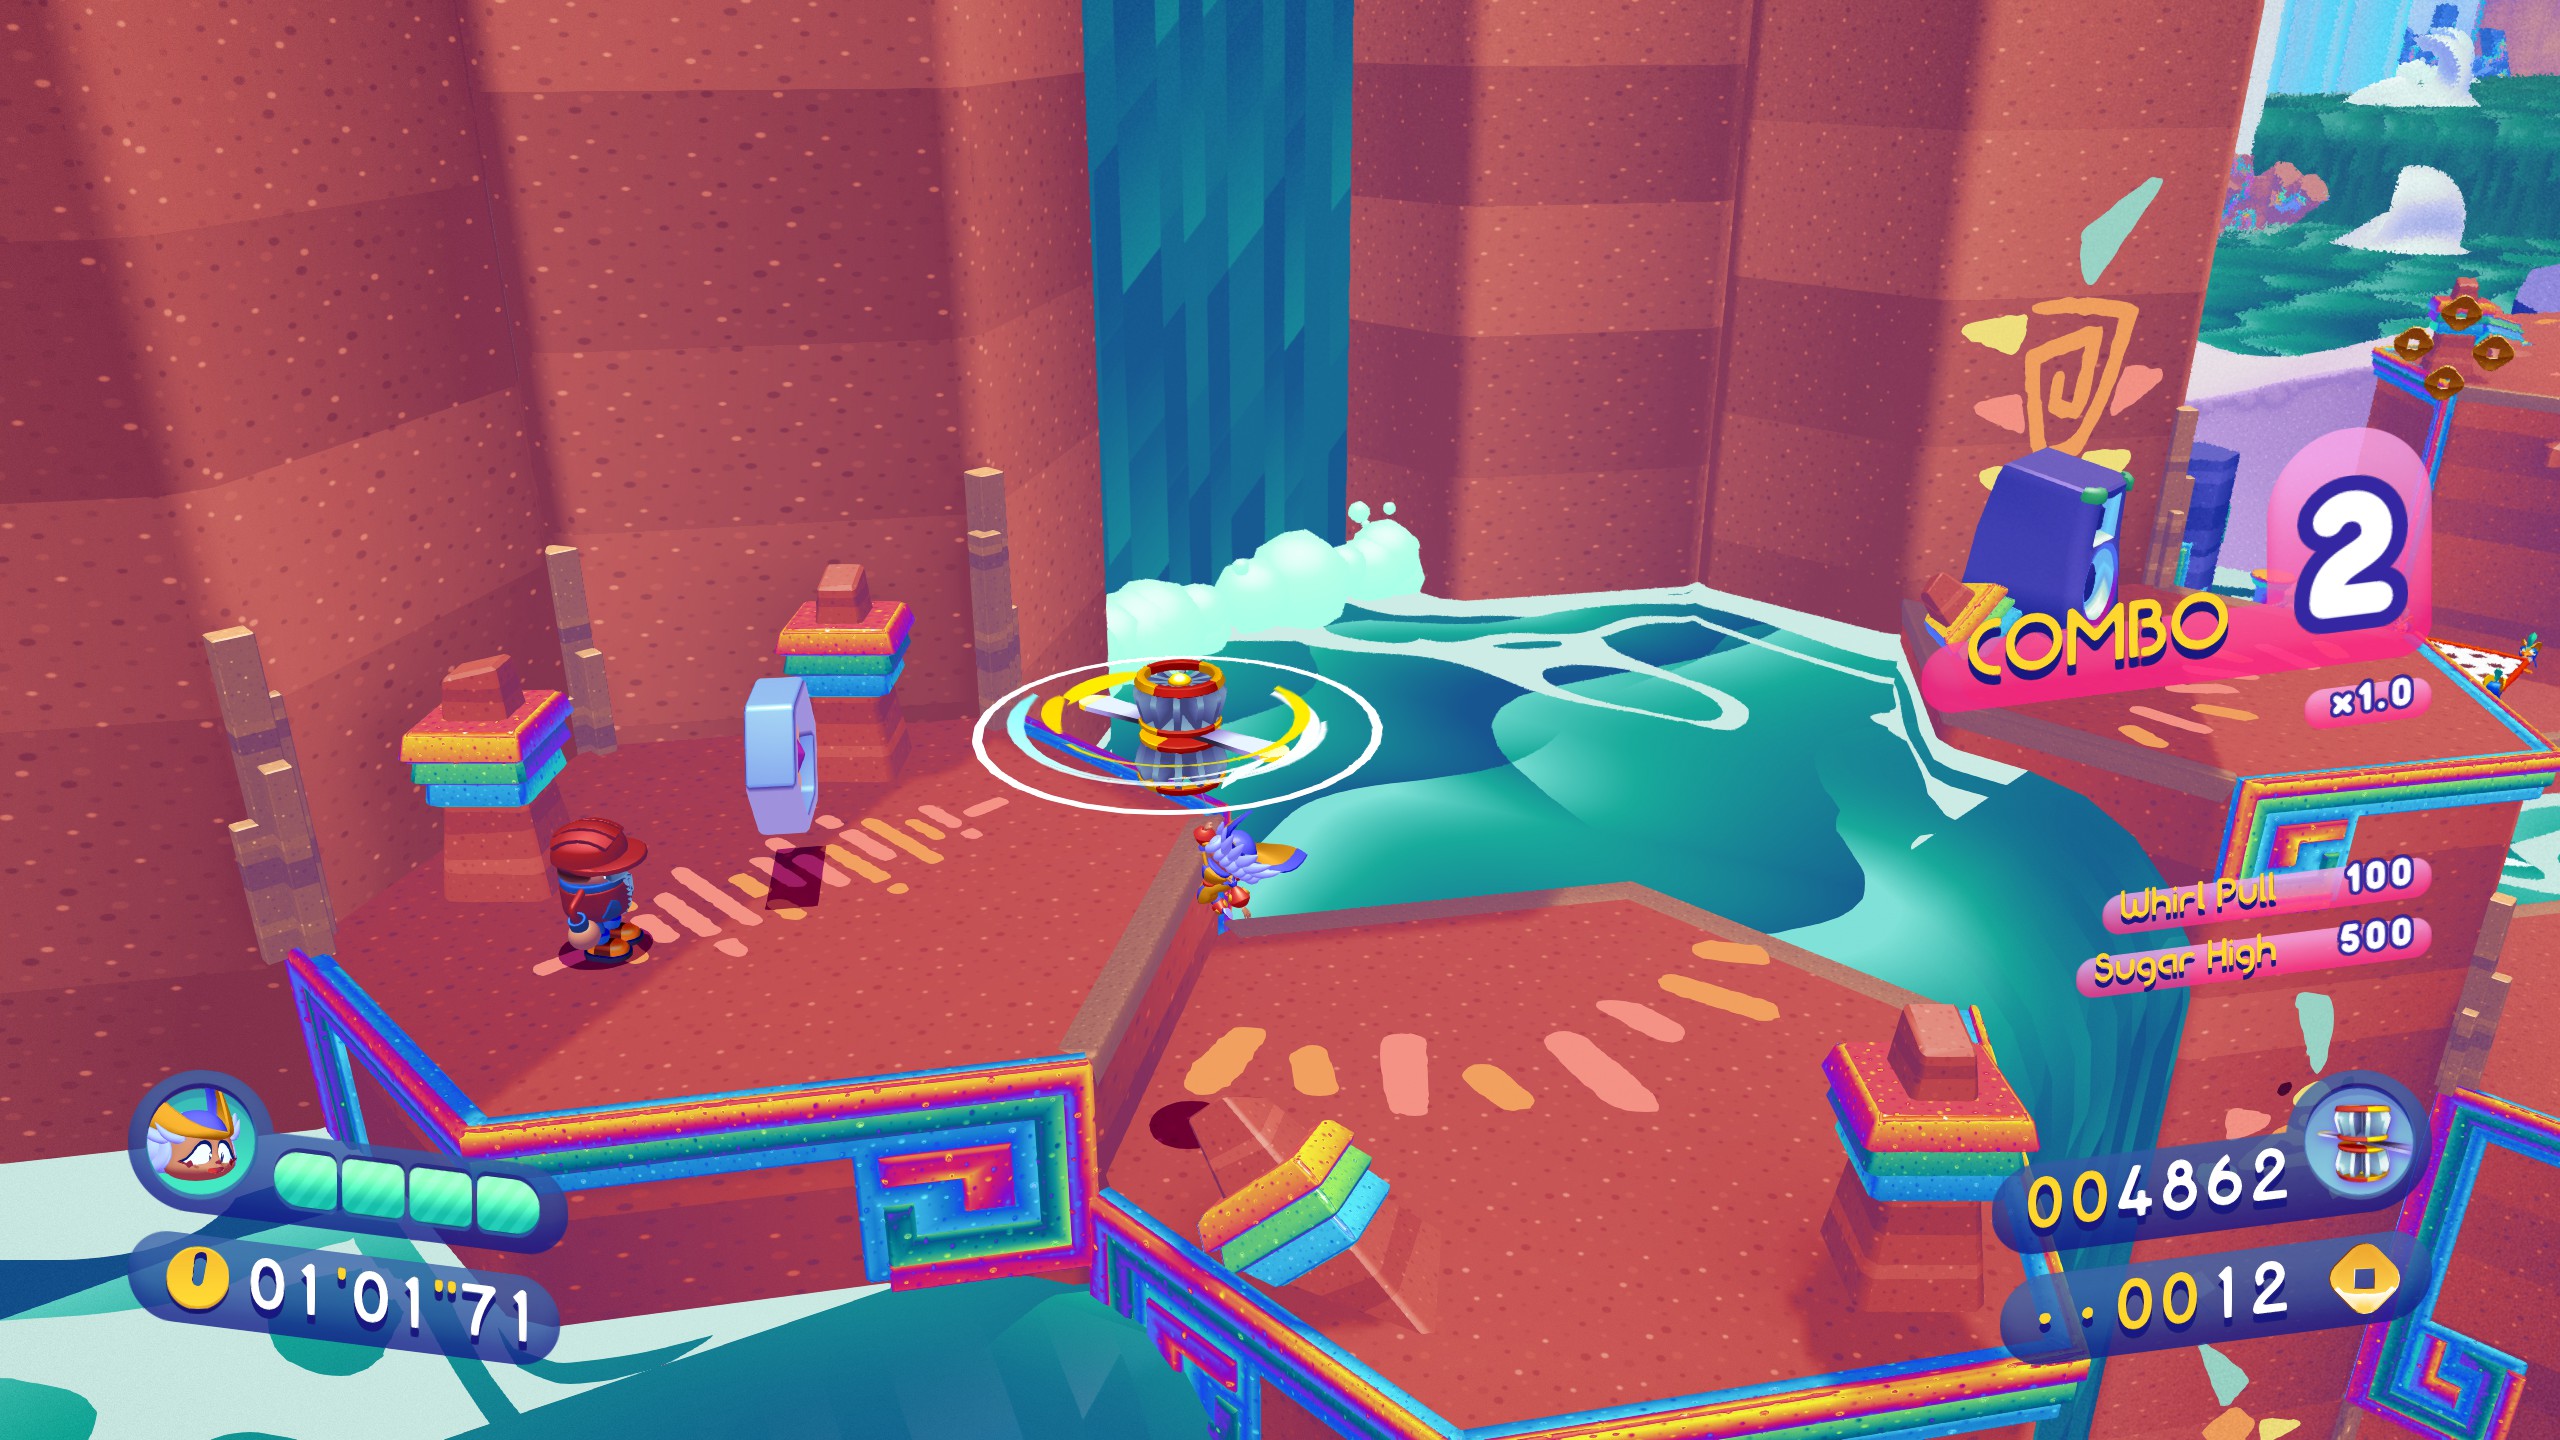
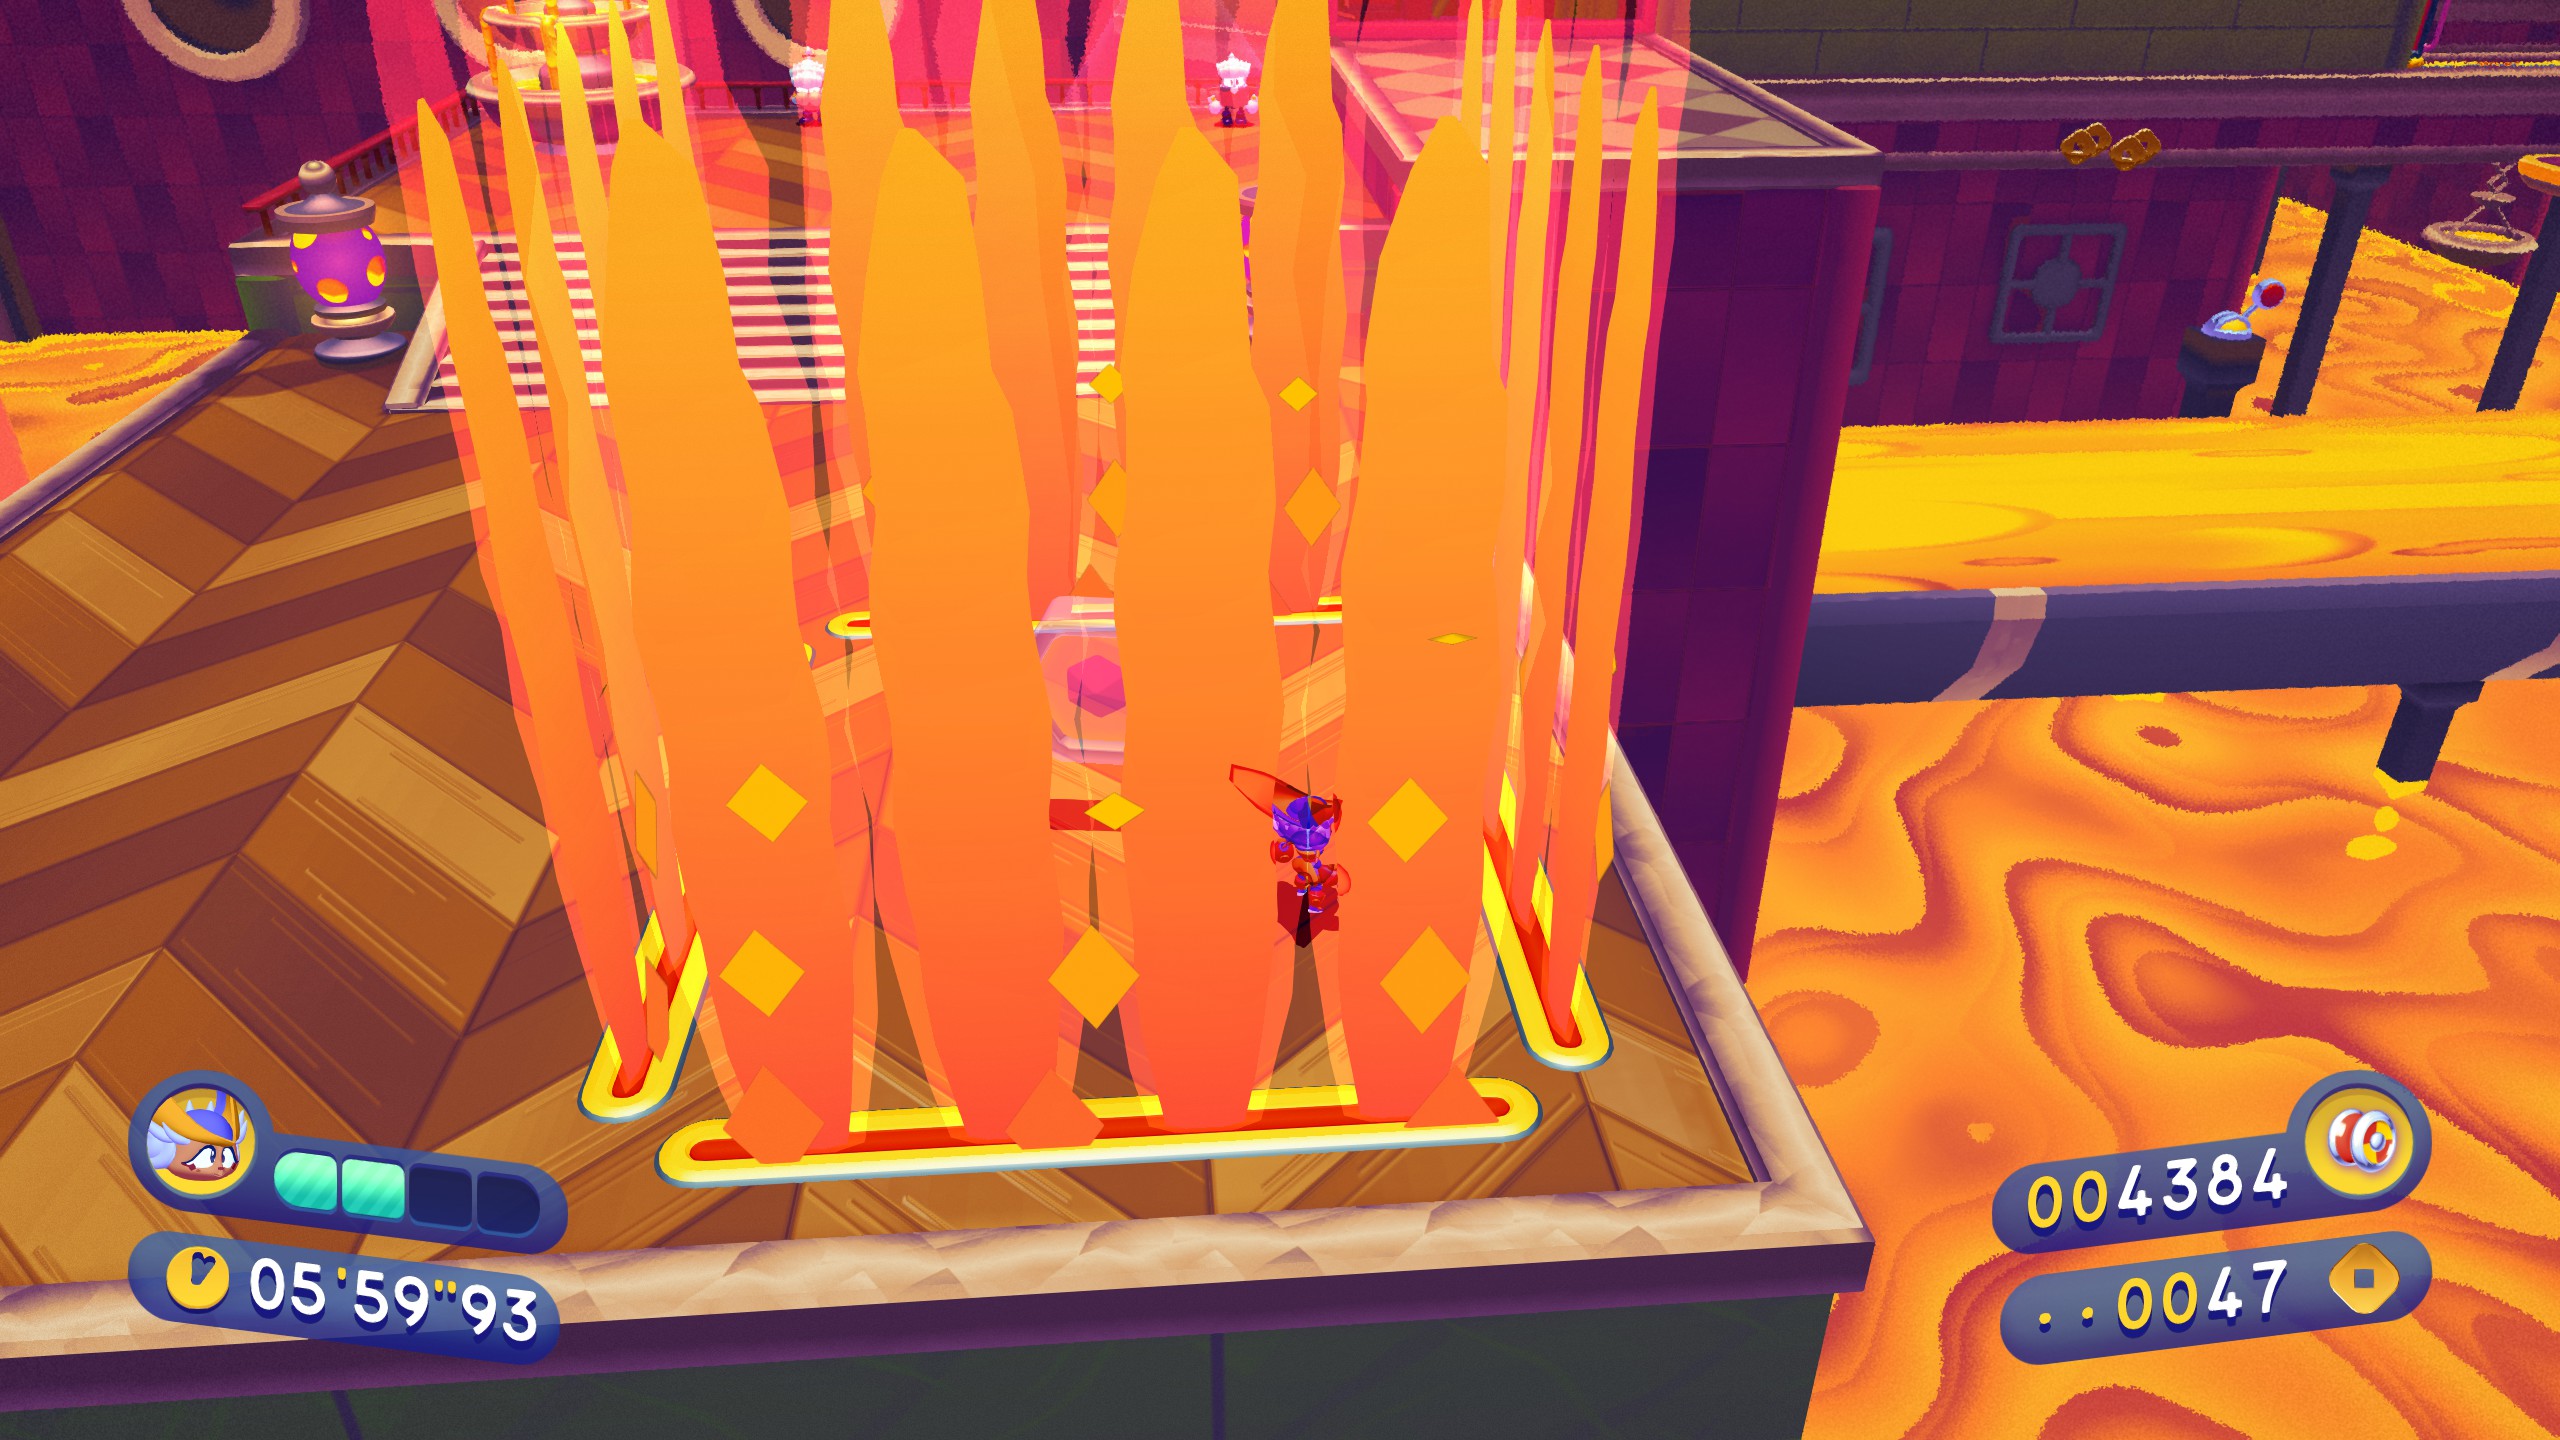
Piece 3 is directly after this checkpoint, up the stairs.
Play jumprope across these platforms and there you have it. If you fall it’s fairly easy to get back up by jumping against the wall, sleeping the yoyo into the wall, wall kicking, then dash to get up, but that’s slightly advance tech so if you do fall and don’t know how to do all that, just reset back to the checkpoint.

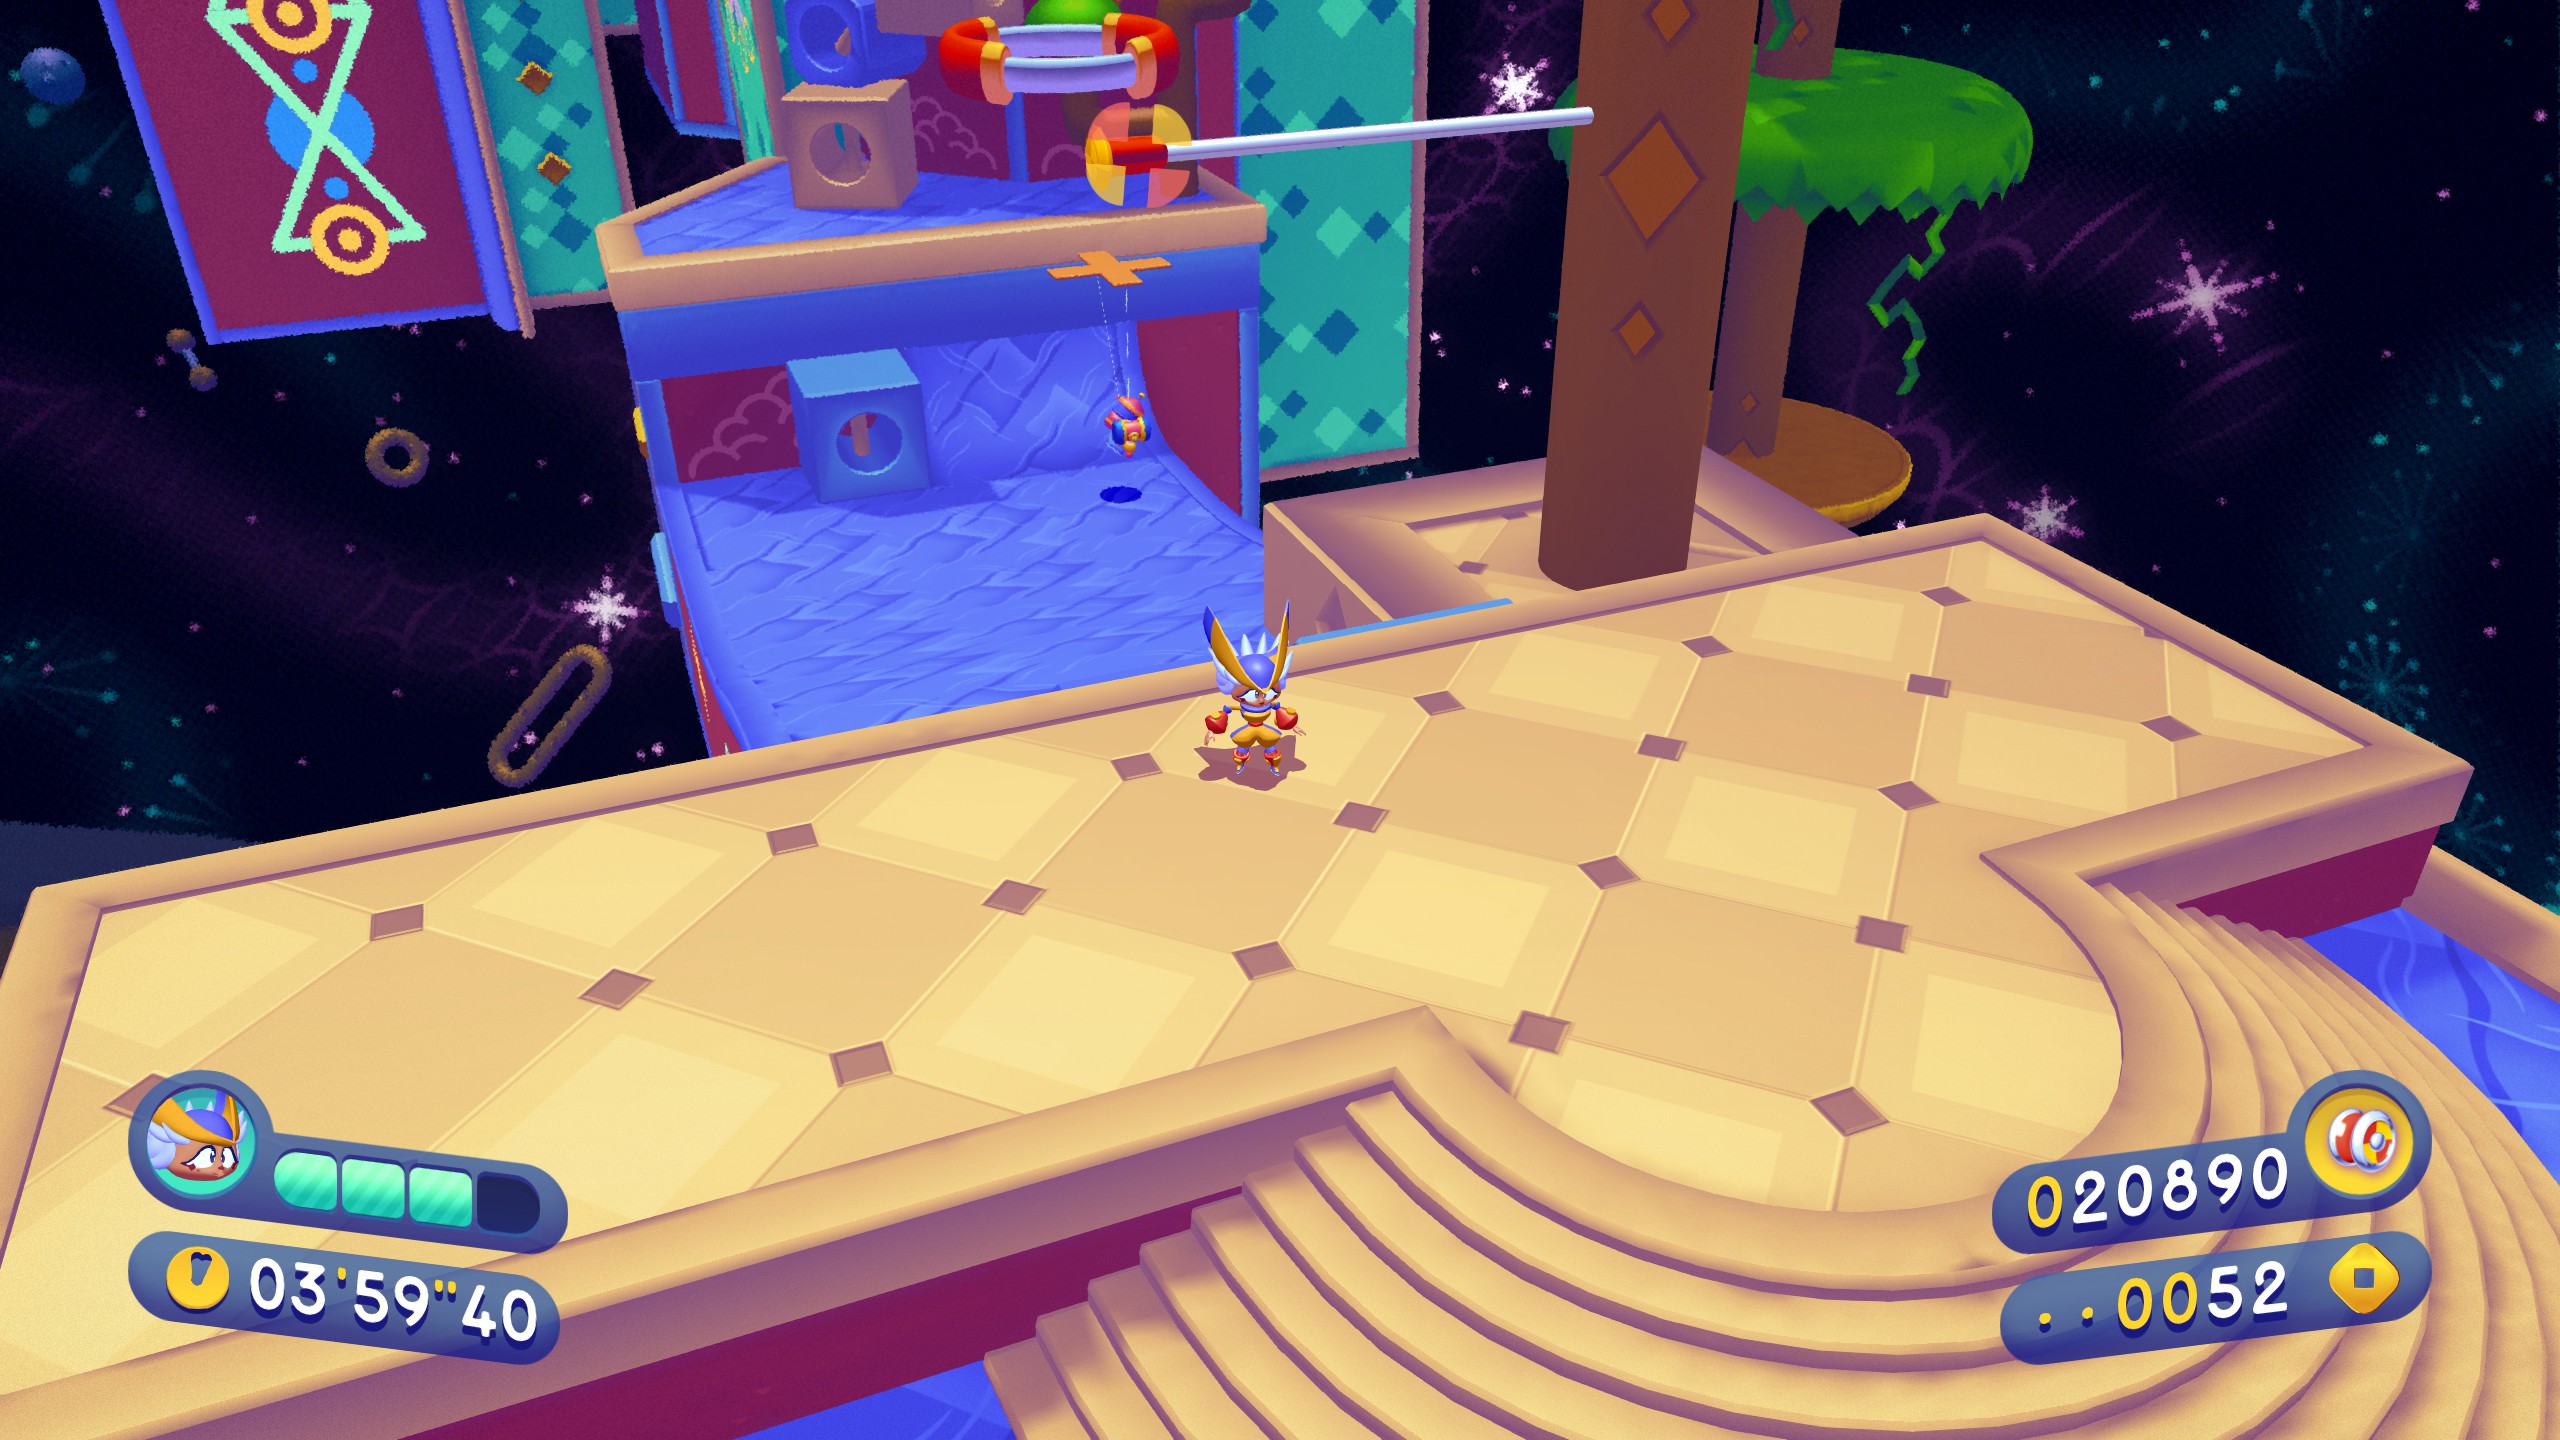
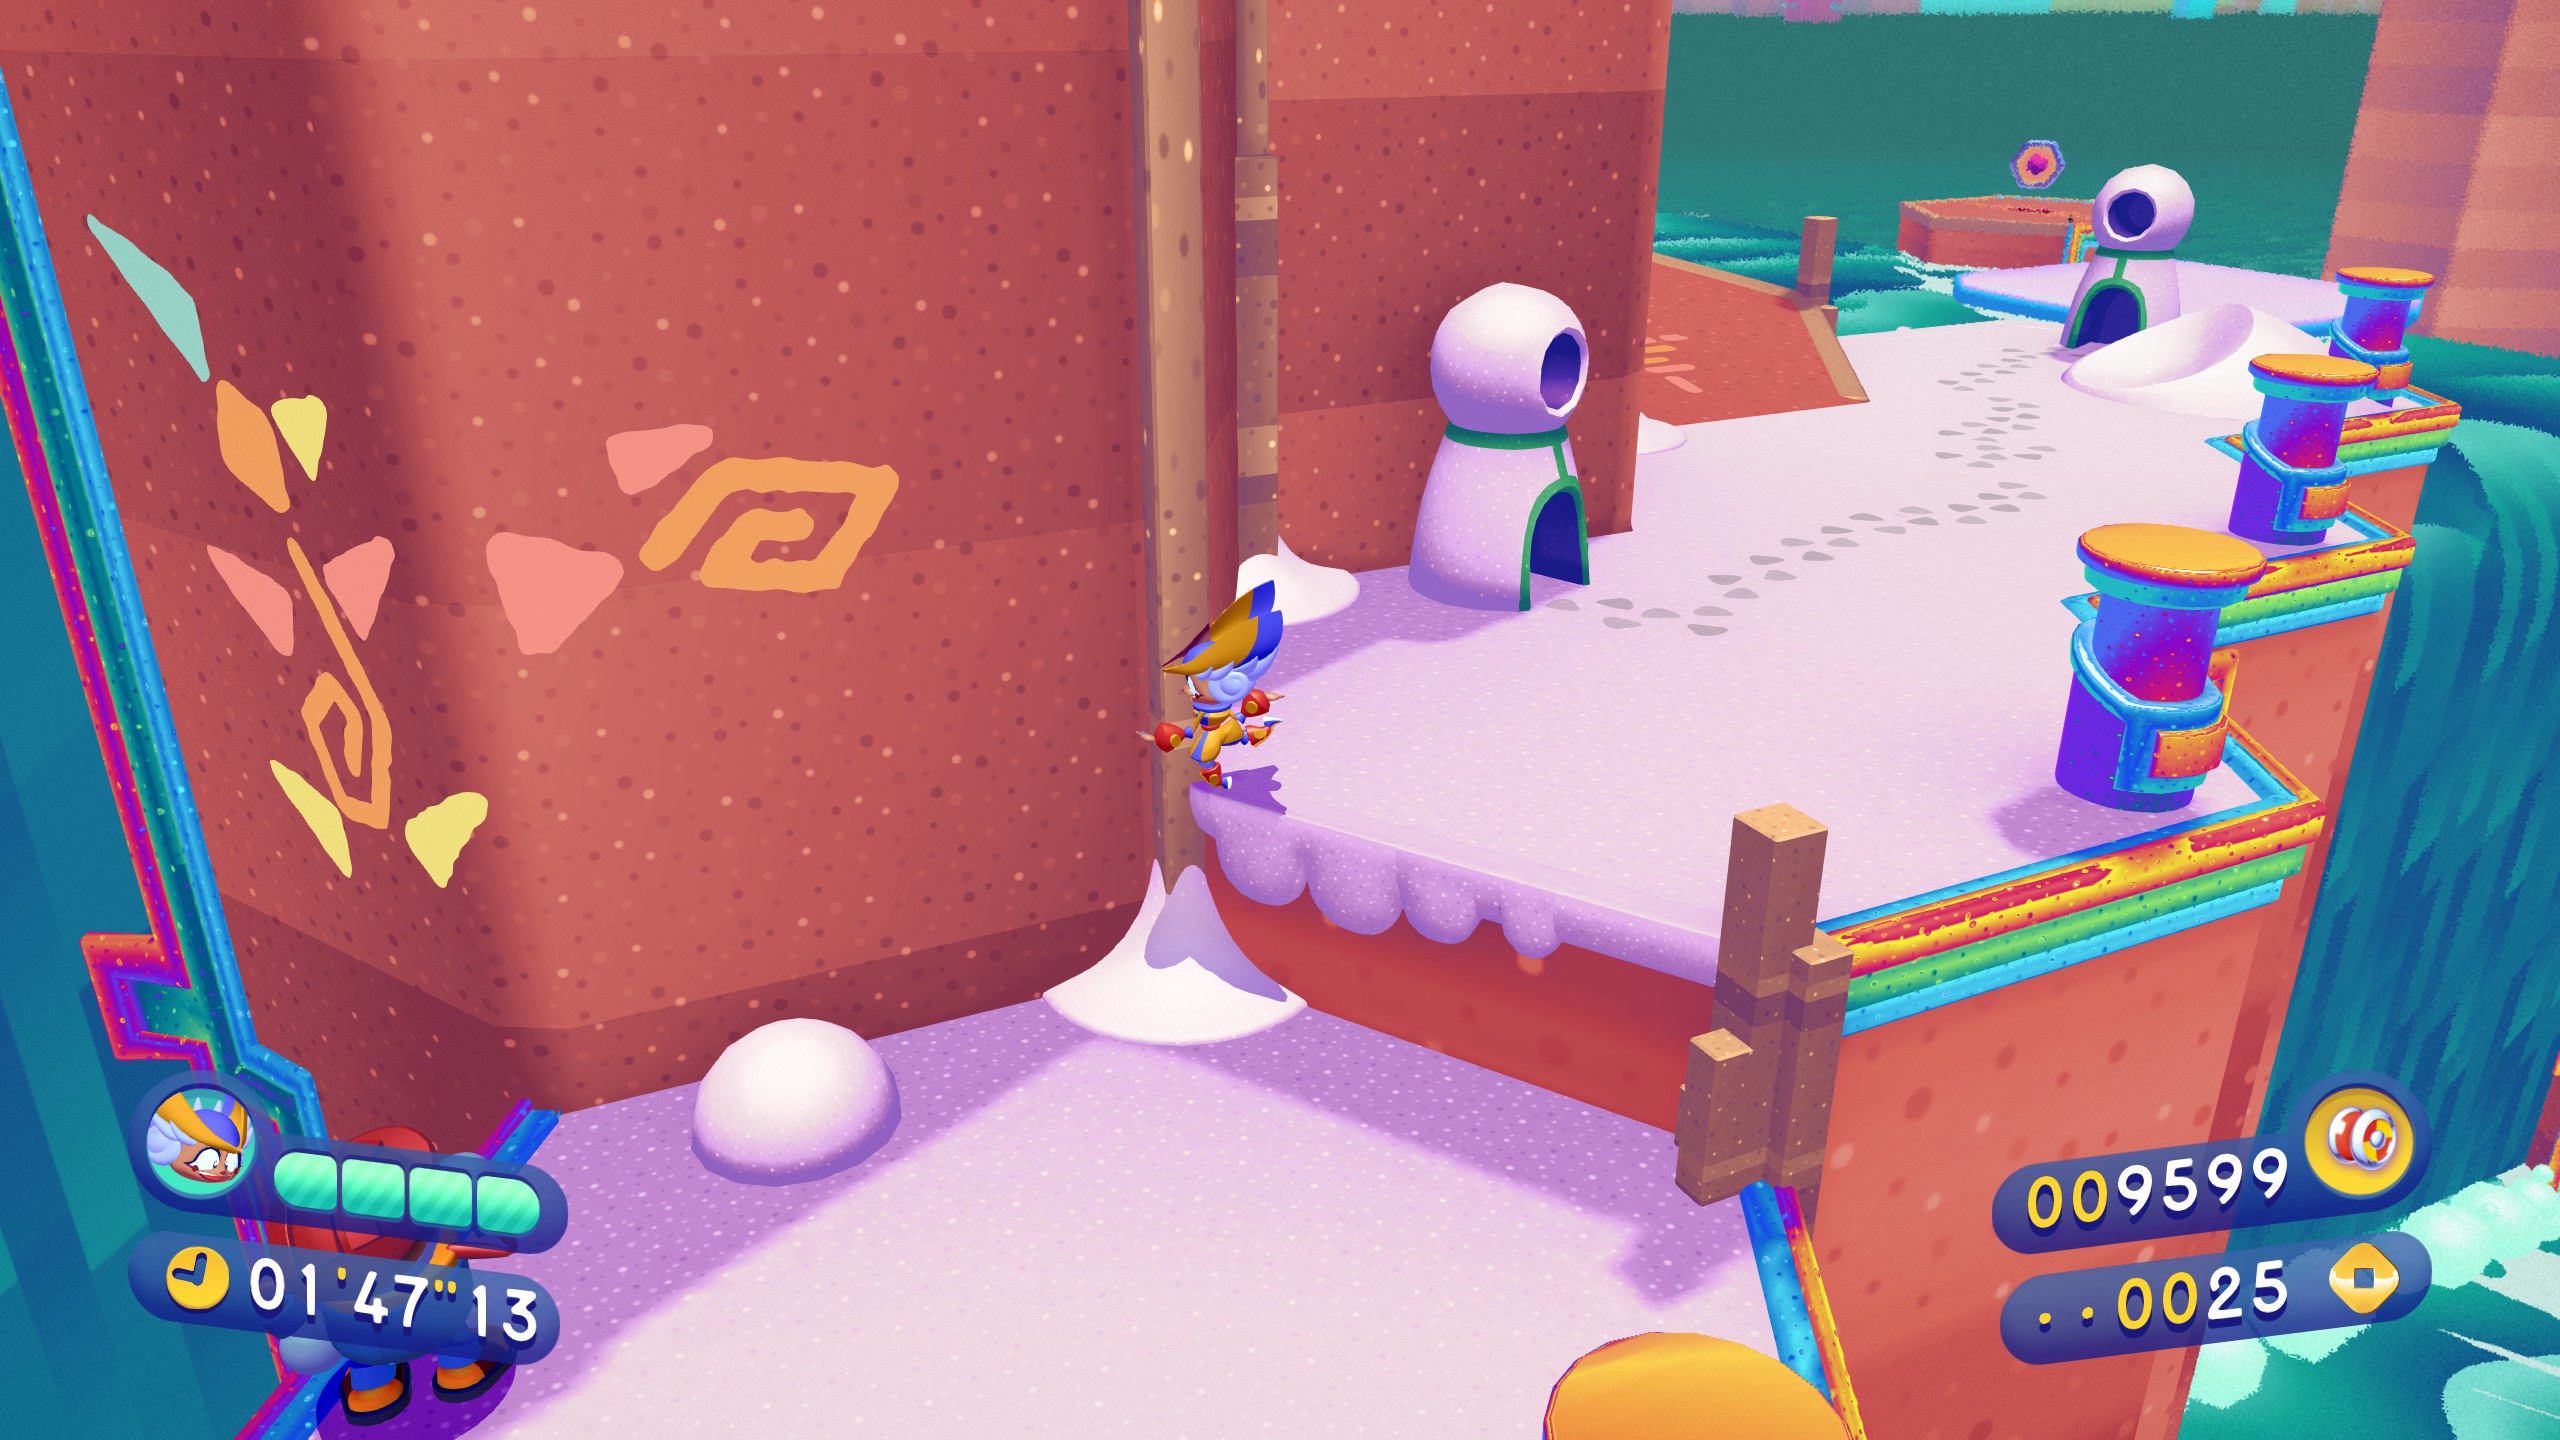
3-2
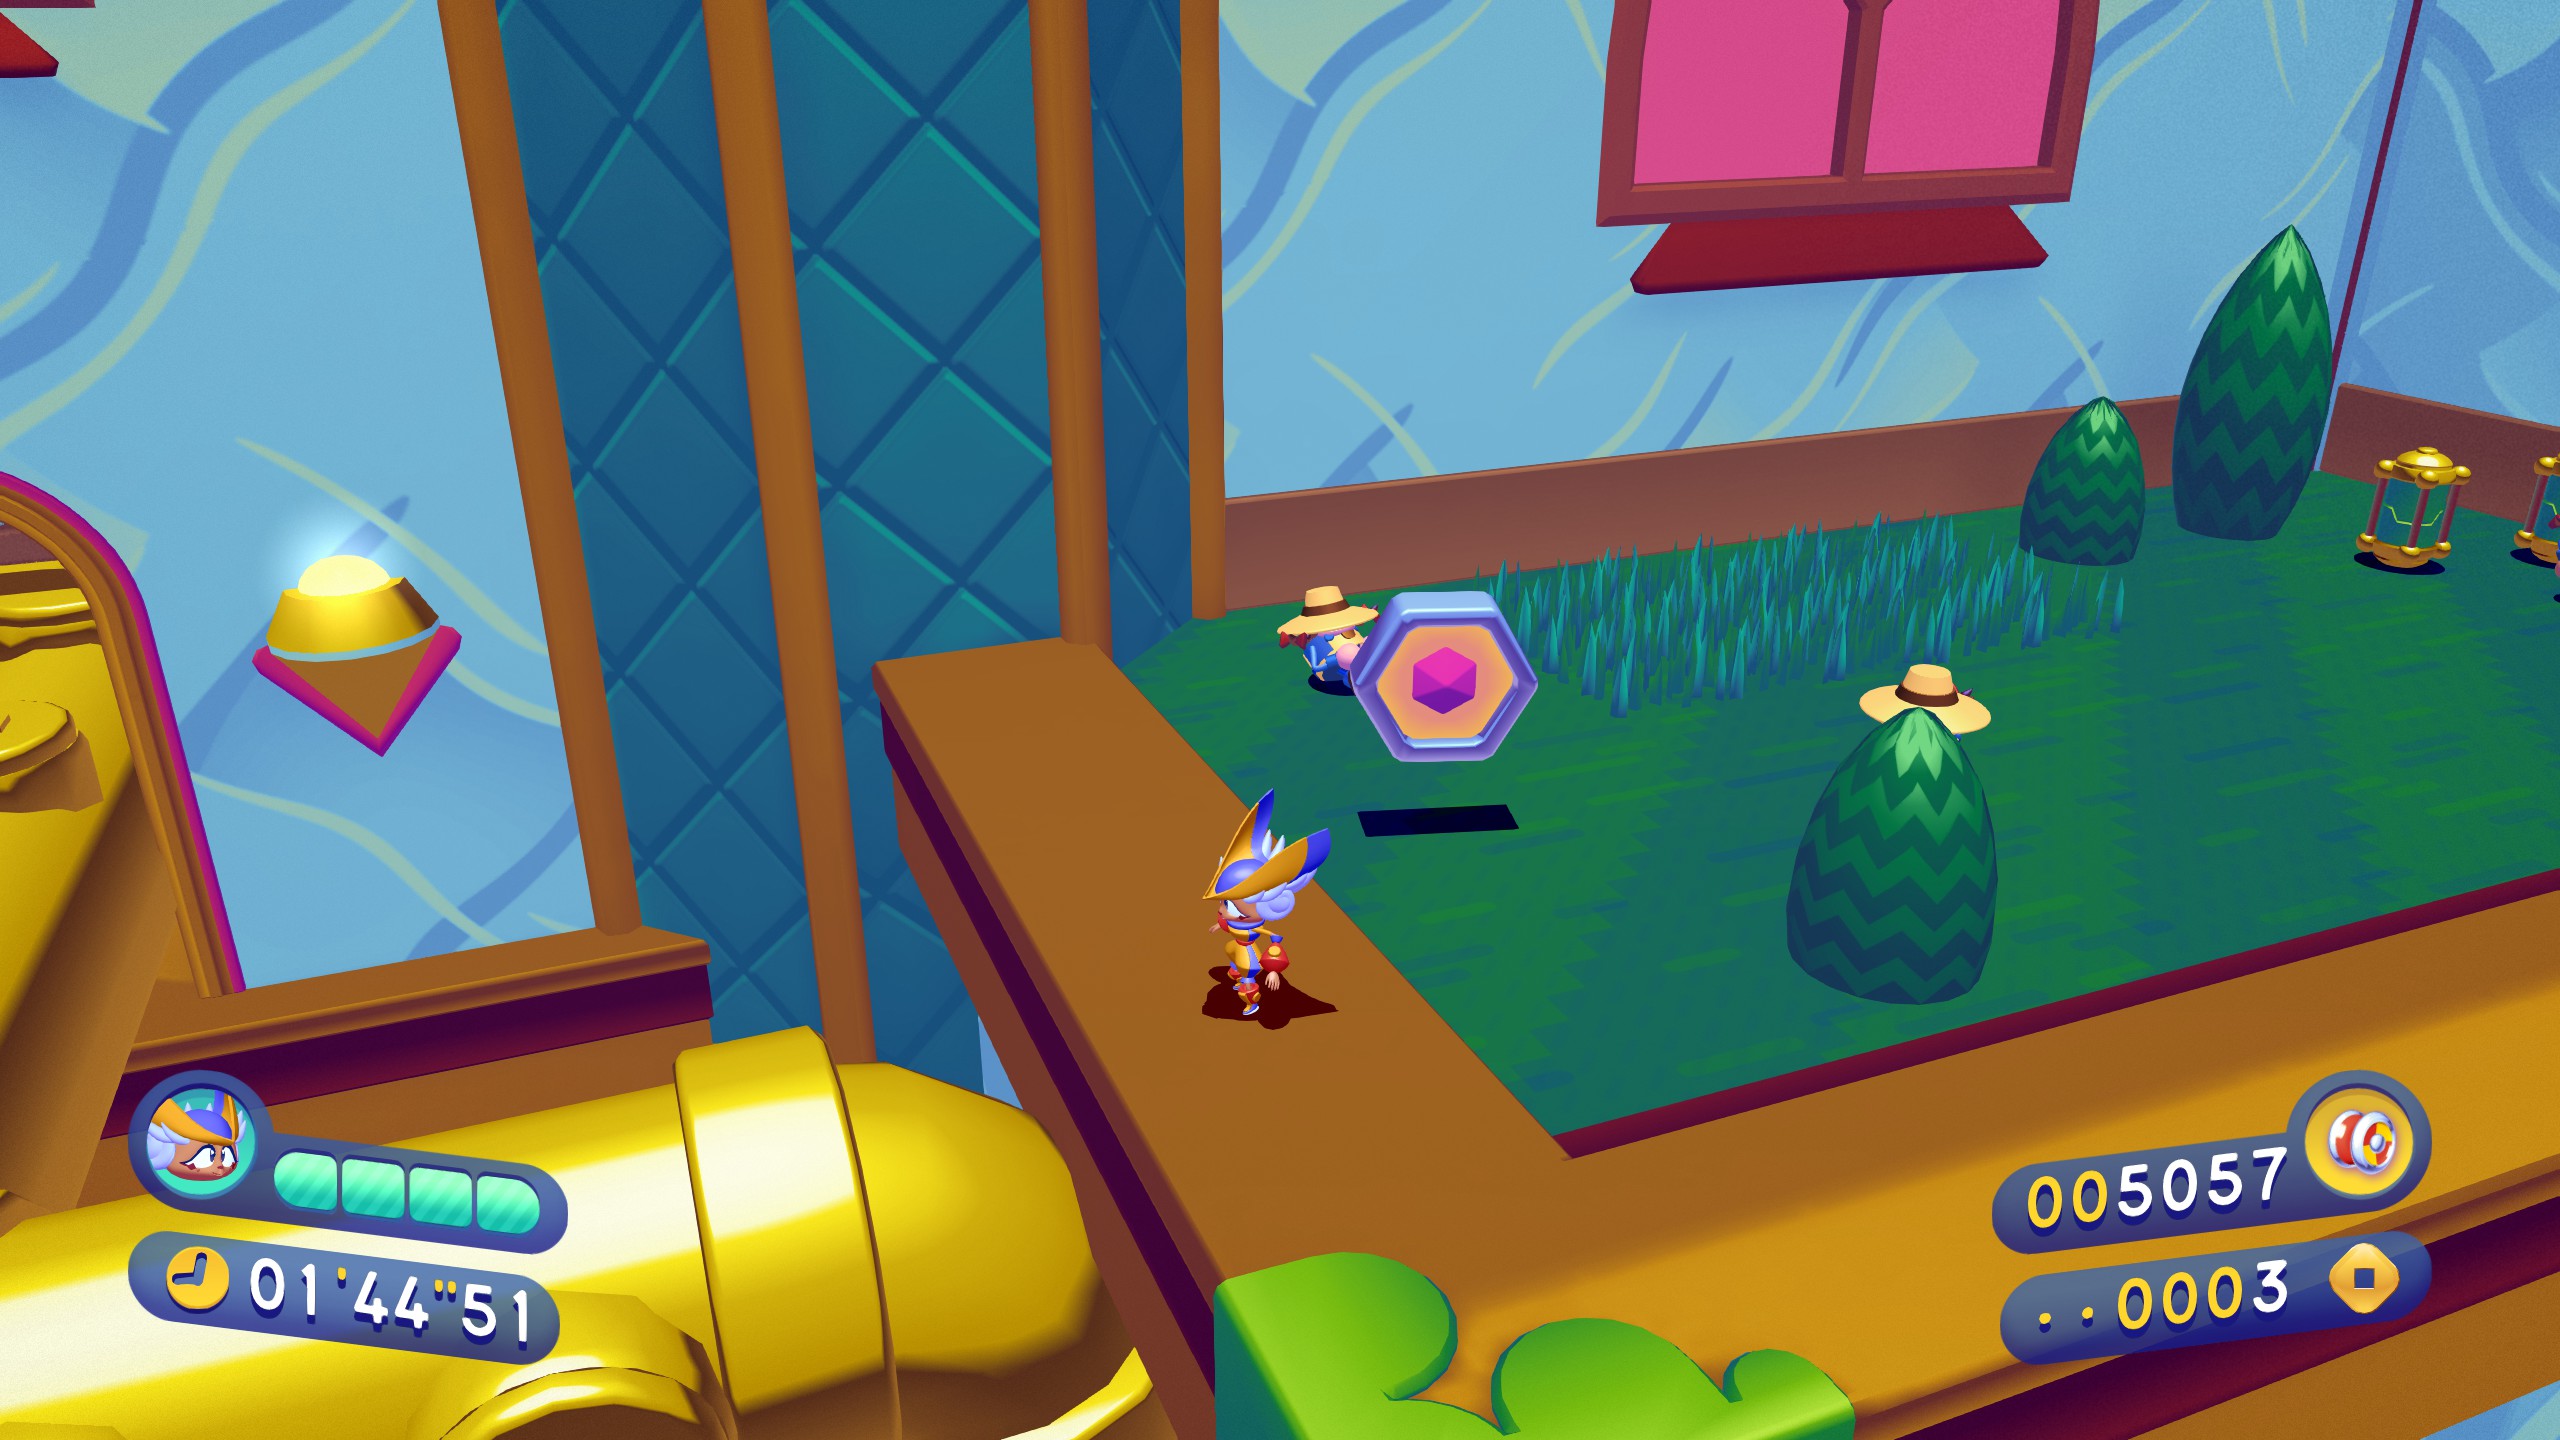
Piece 1 is easy enough. Head forward from the start and you’ll see it on the other side of this fence. Just go to the right where the fence ends, and go around it.
Piece 2 is halfway through the psudo-2D section. Look to the lower foreground for it, placed behind this fence. Just hop in the hole to the lower right.
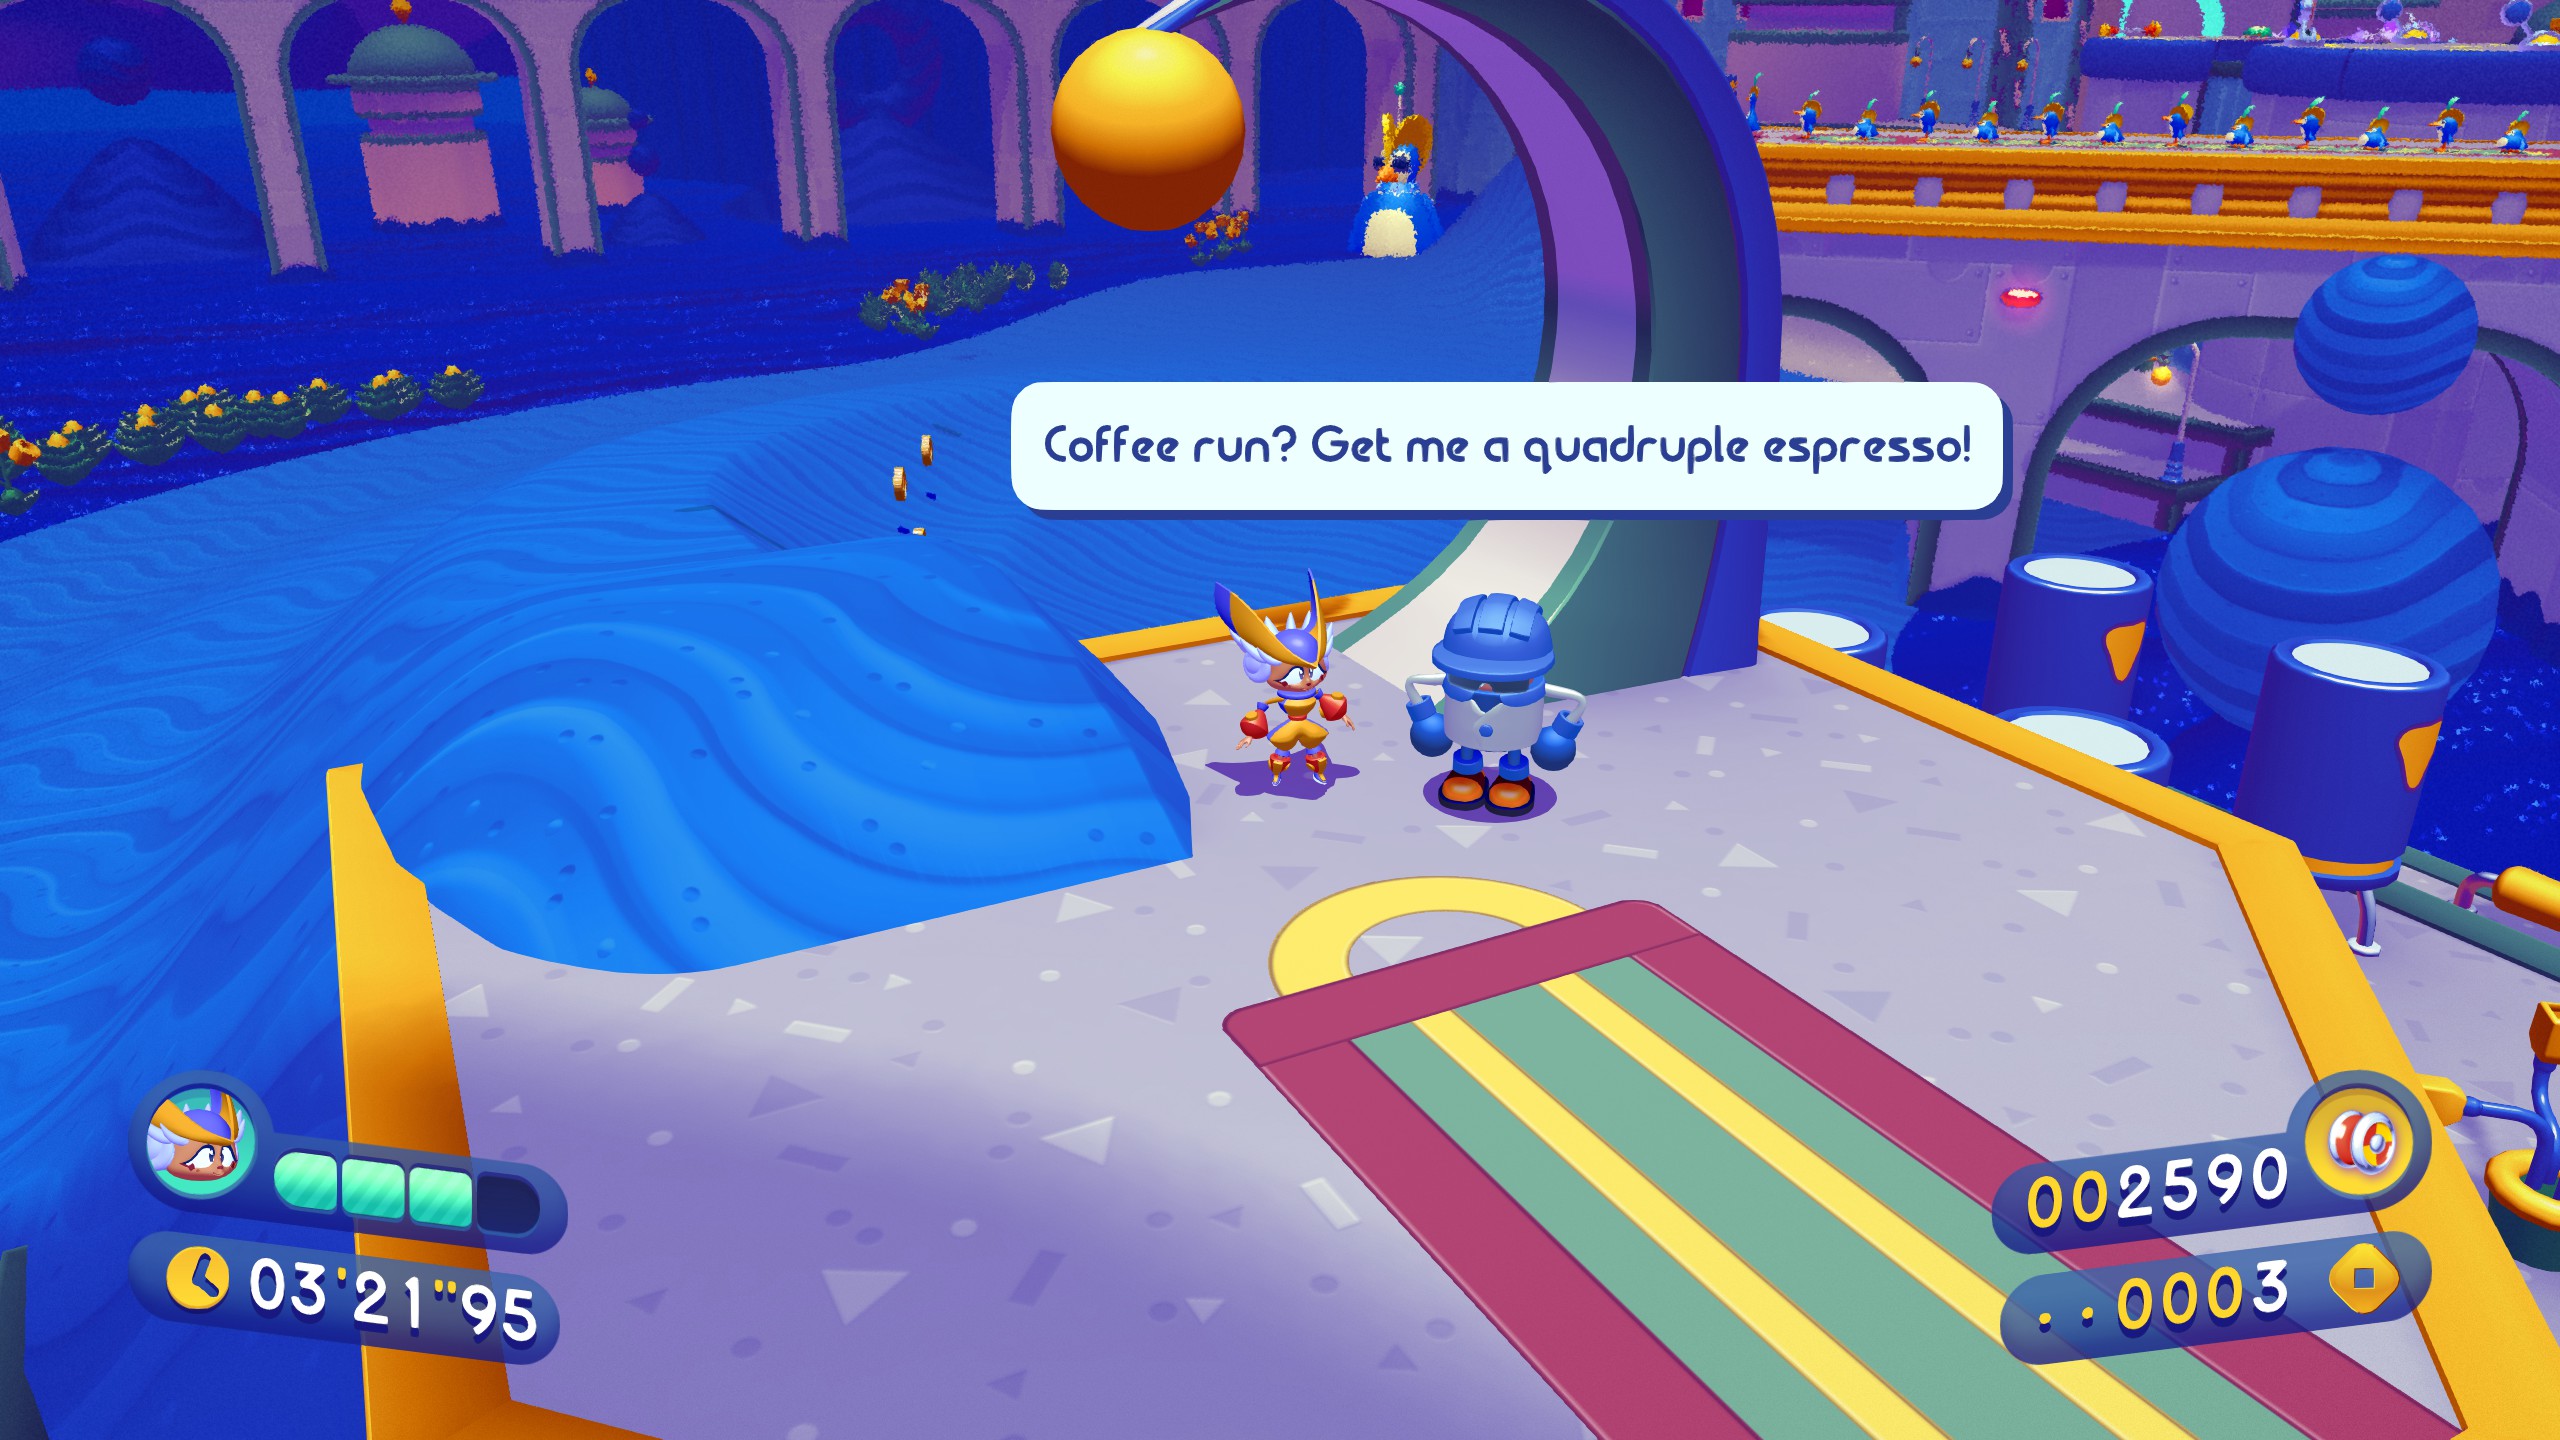
From this guy asking for coffee, ride down the hills and up the ramp at the end for Piece 3. If you find it hard to get enough speed going down the hill to get up top, there’s a swing pole to the right of the piece. Get on it and hold up left, then zip/swing over to the piece. It’s slightly blind but a good backup.
3-3
For piece 1, from the penguin bowling bit here ride downhill to the left.
You’ll notice in the upper left that the dirt curves into the wall, making a ramp! Ride up it. You can do a fully charge spindash (hold the spin button from standstill) to just barely get up if you’re having a hard time of it.
Once up top, go to the right and there’s a small platforming section where you jump over a few electric lines. Your prize is just beyond. Take the zipline to the right of the piece down if you like fun.
Piece 2 is directly up and to the right of this checkpoint. Take the pepper powerup here and ride up the curved wall for a cool bit, and the piece will be right there.
Once you ride up the sand waterfall near the end of the level, you’ll see two pillars you can ride up. Head up the right one for piece 3. If you’re really slick, try to keep the pepper powerup and use it to ride up to the piece.
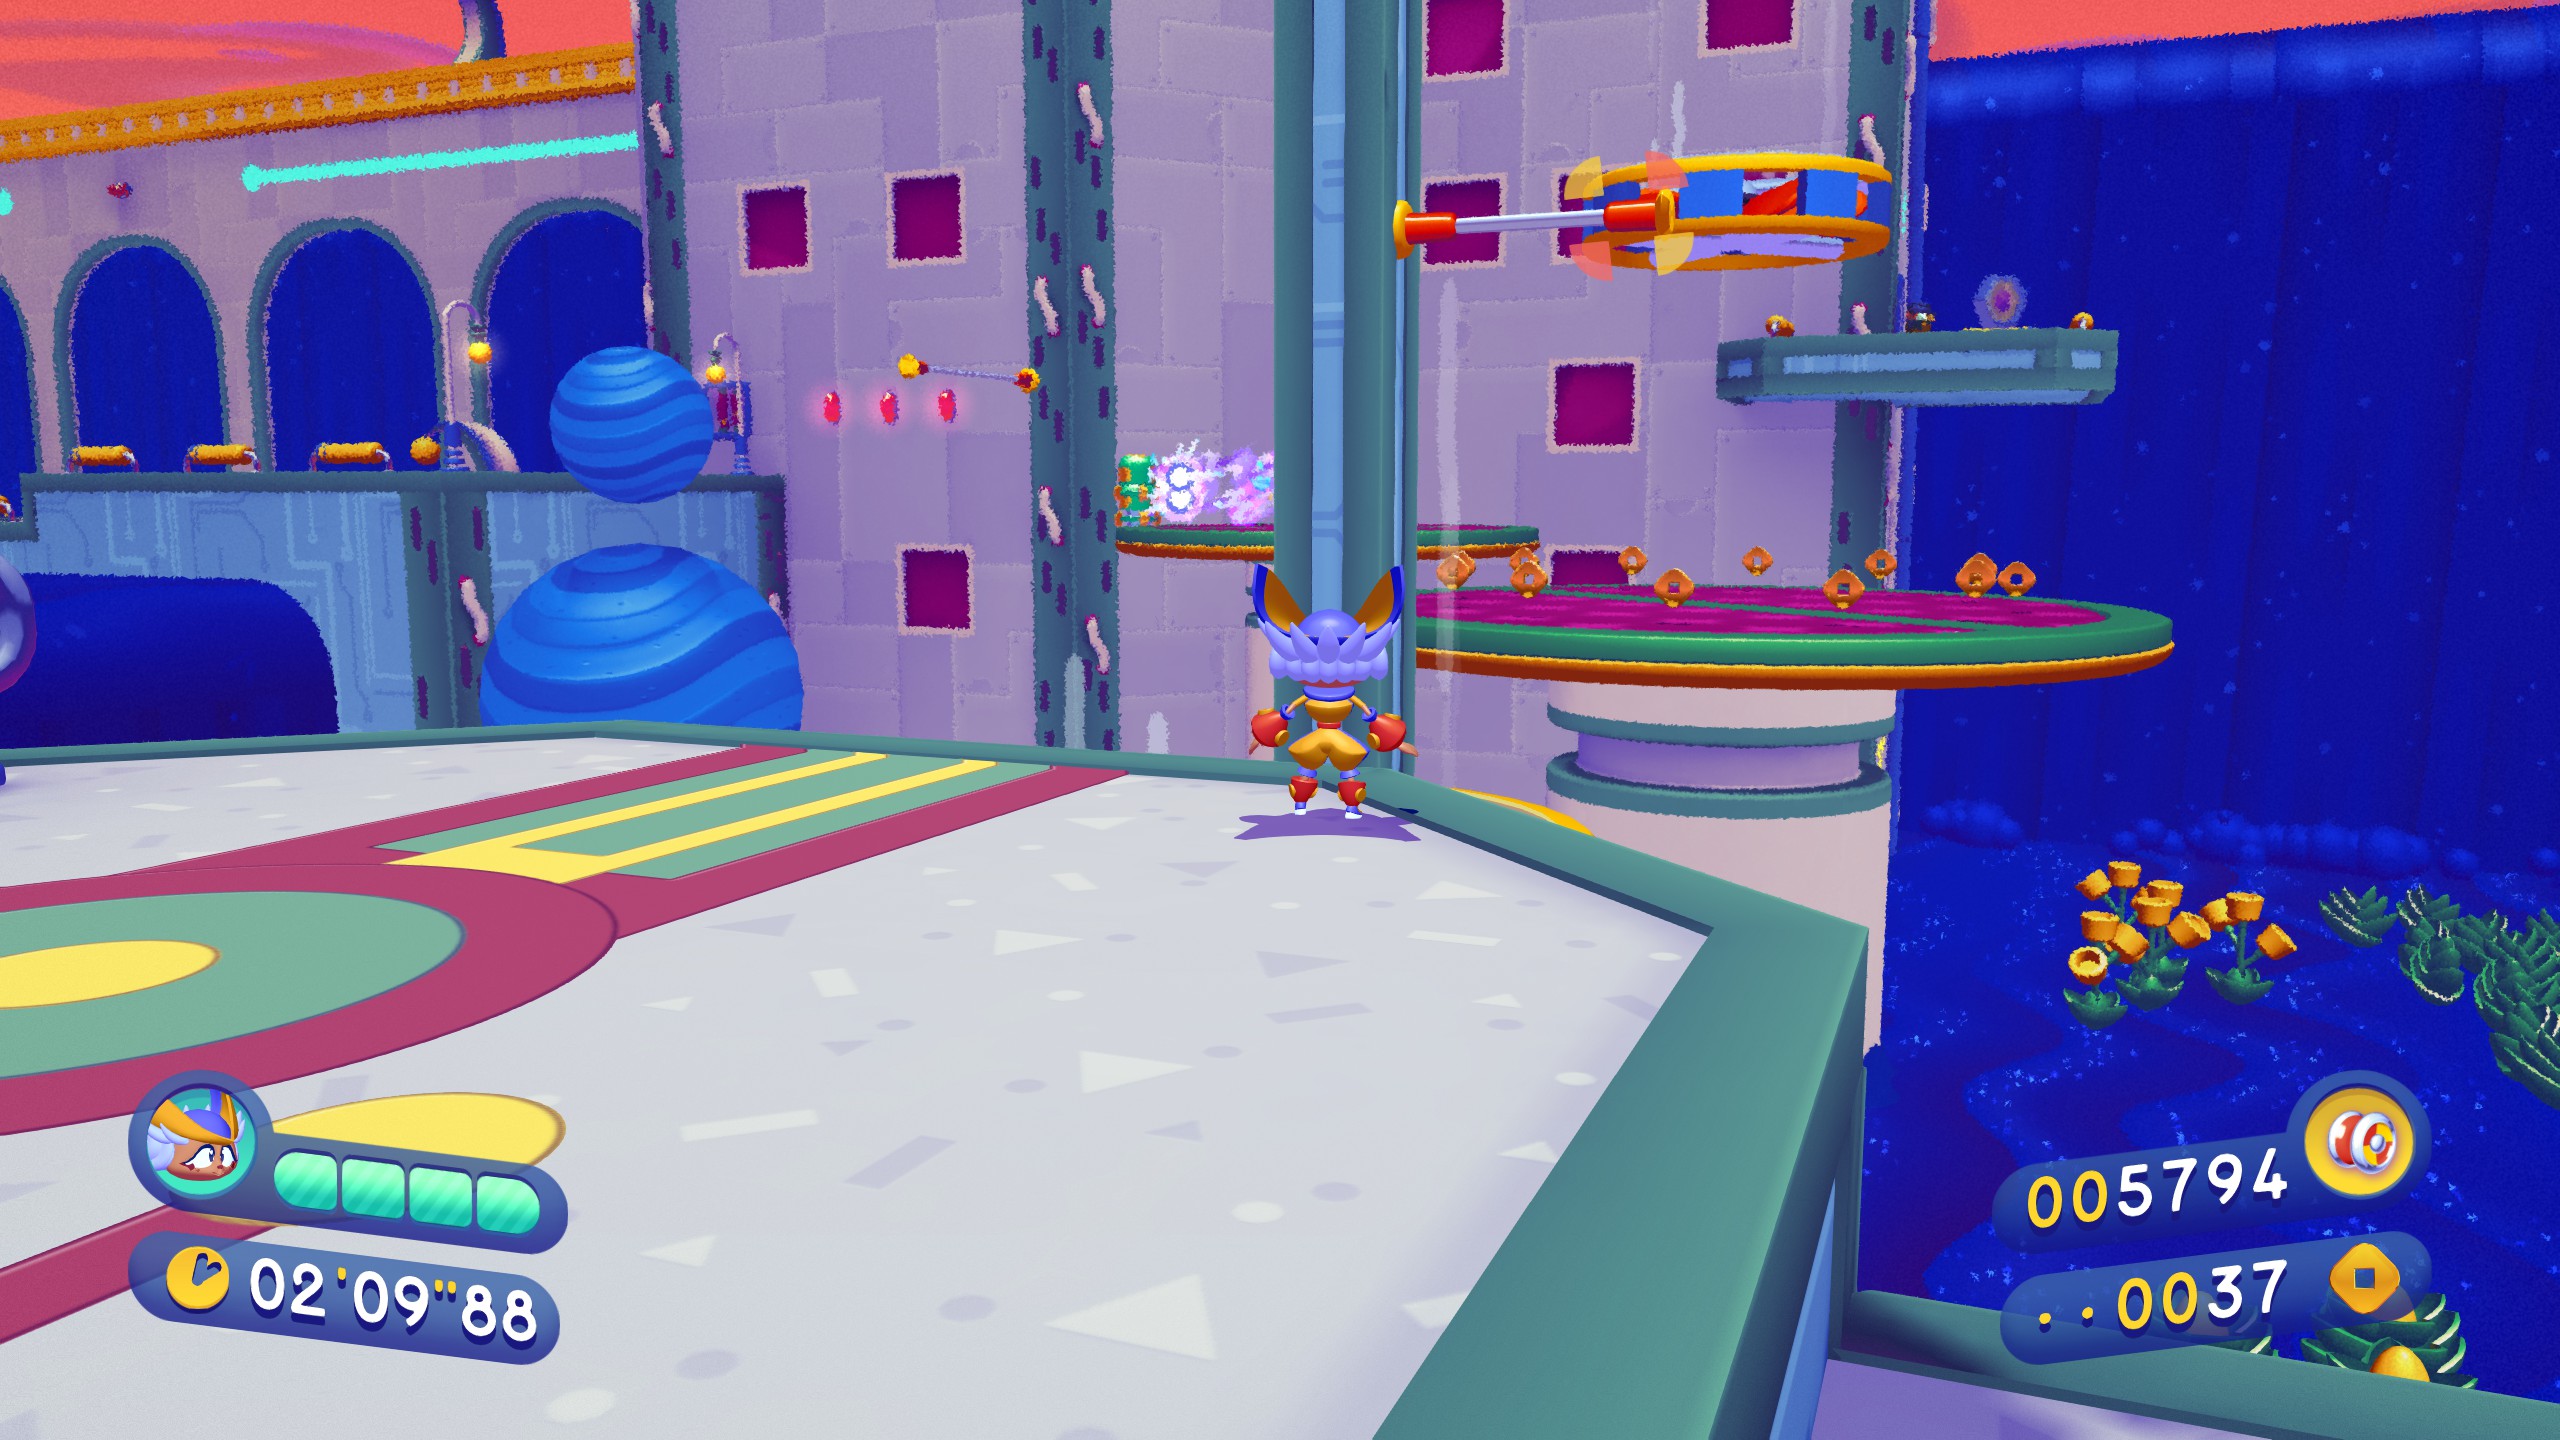
3-4
Piece 1 can be found directly ahead of this checkpoint.
Swing up the swing pole, ride across the air, and zip across to the piece. Easy.
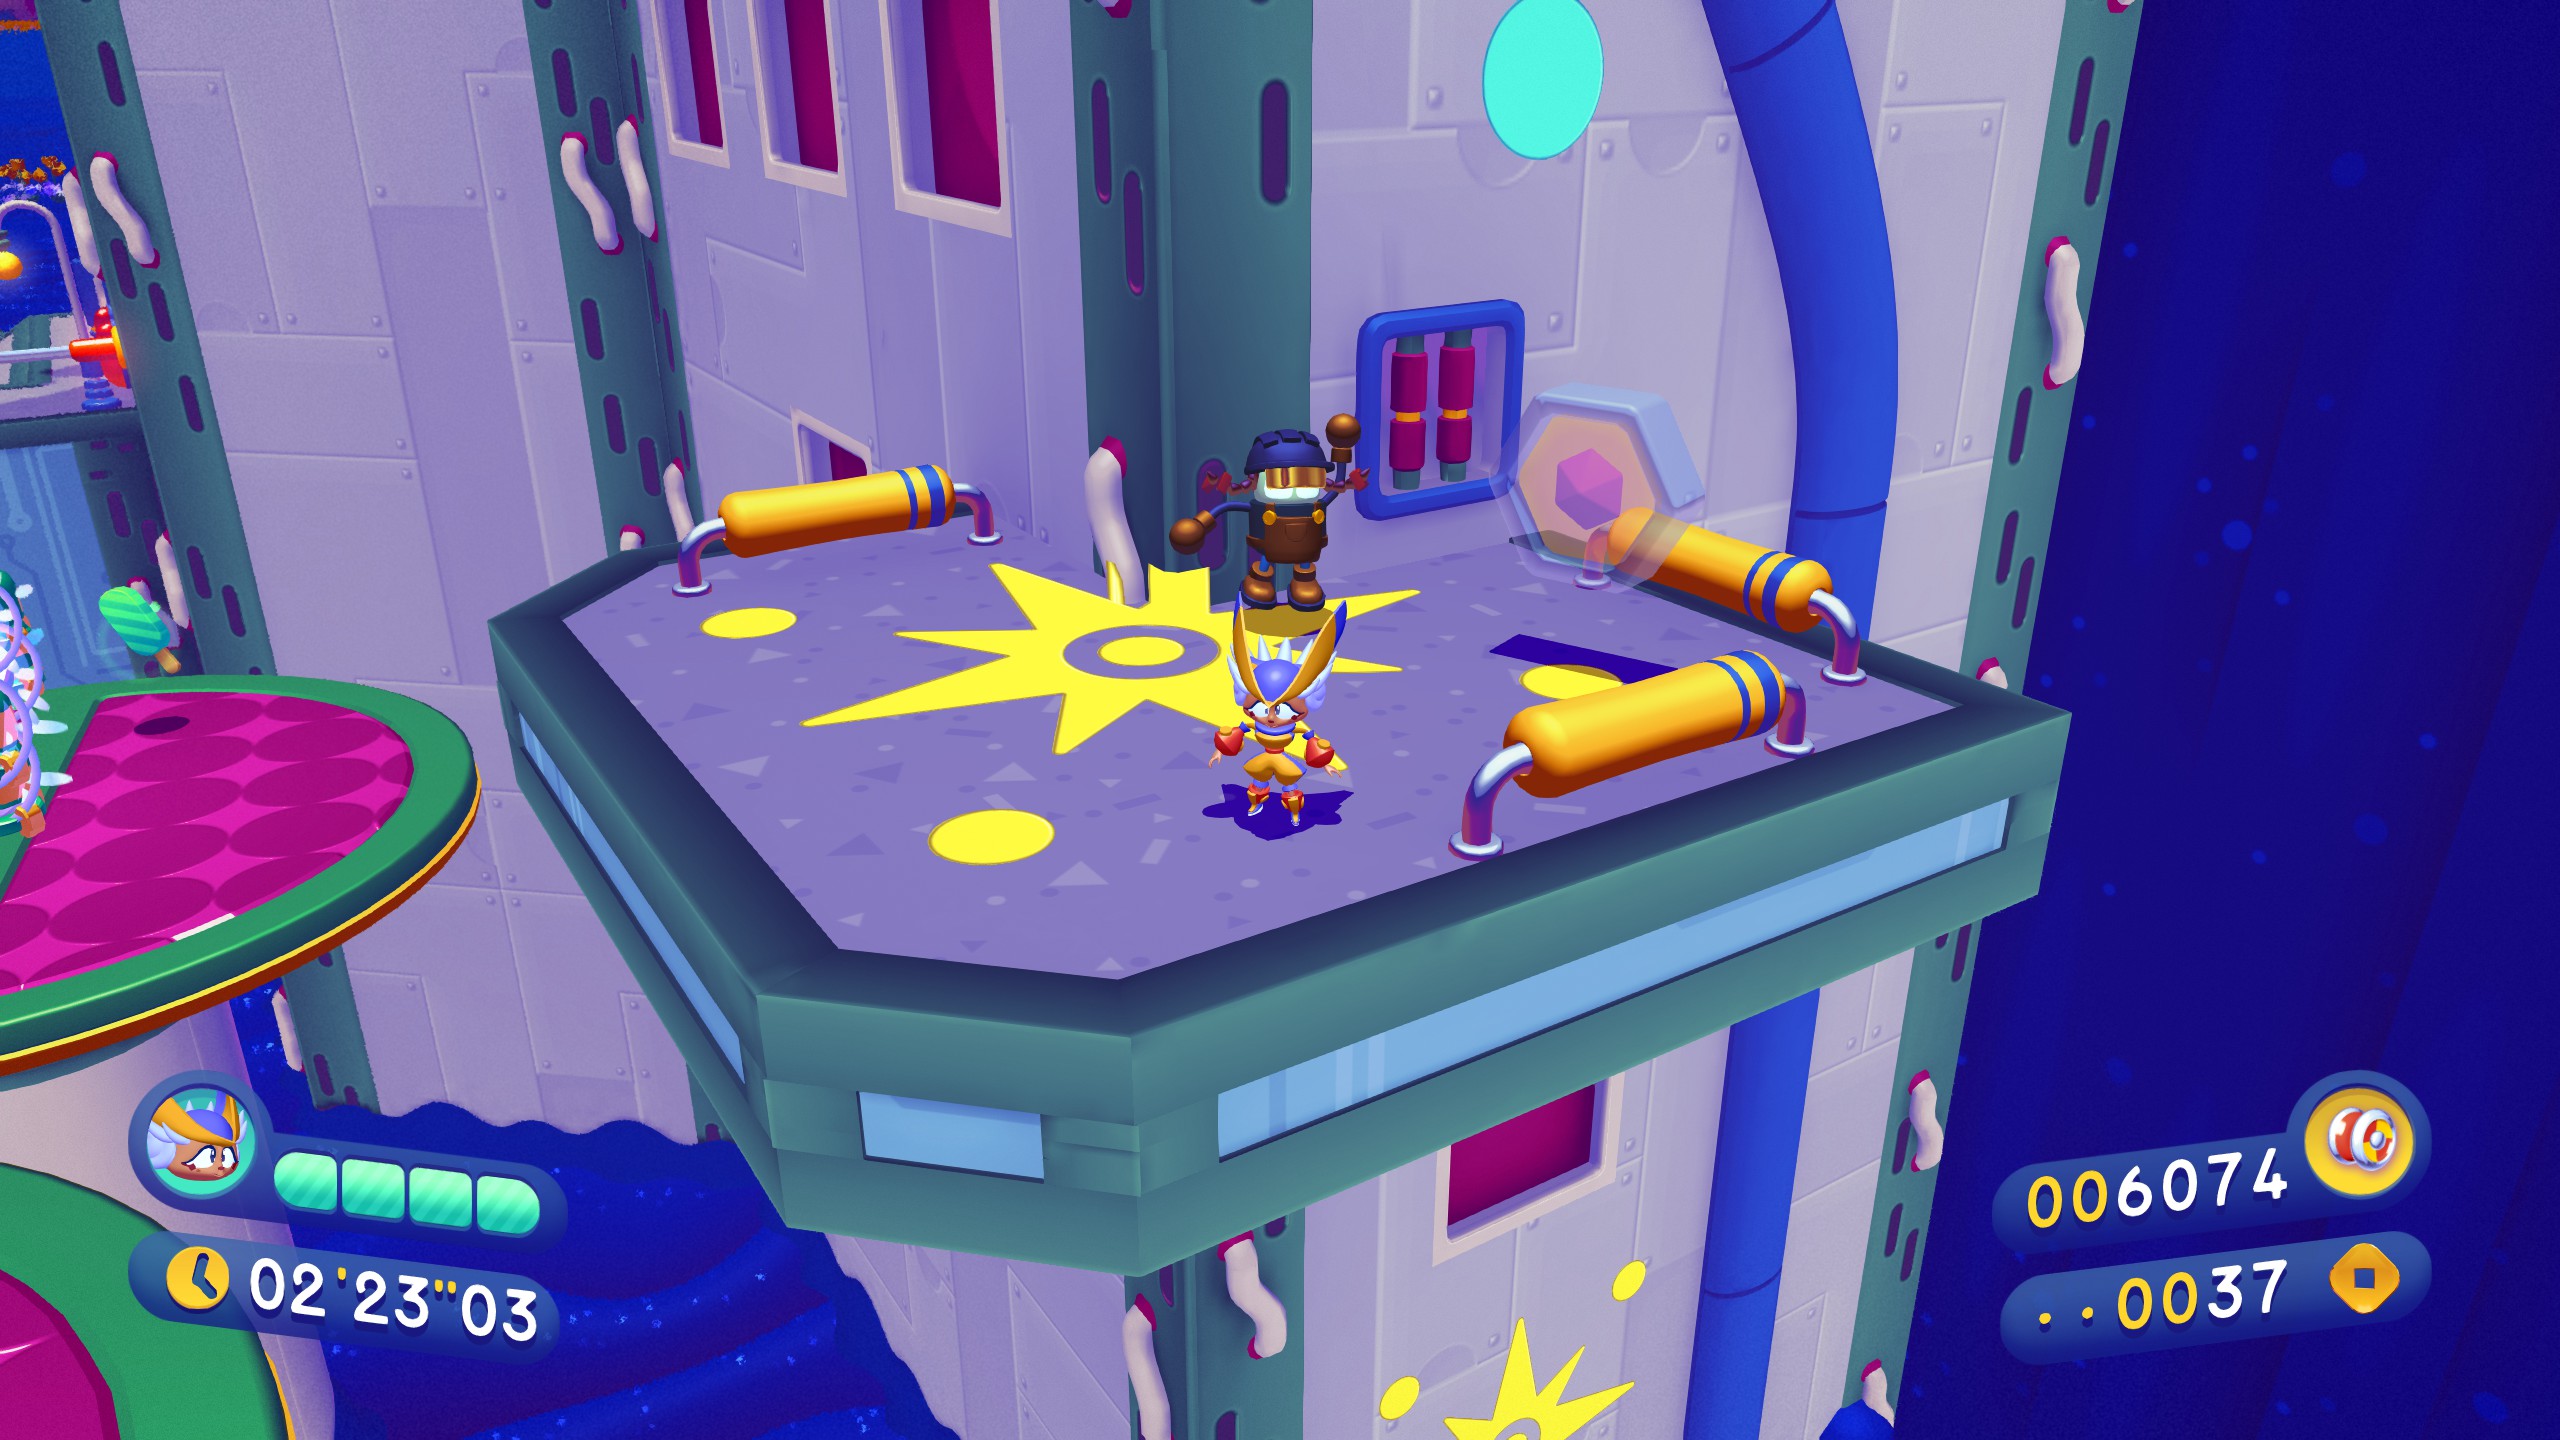
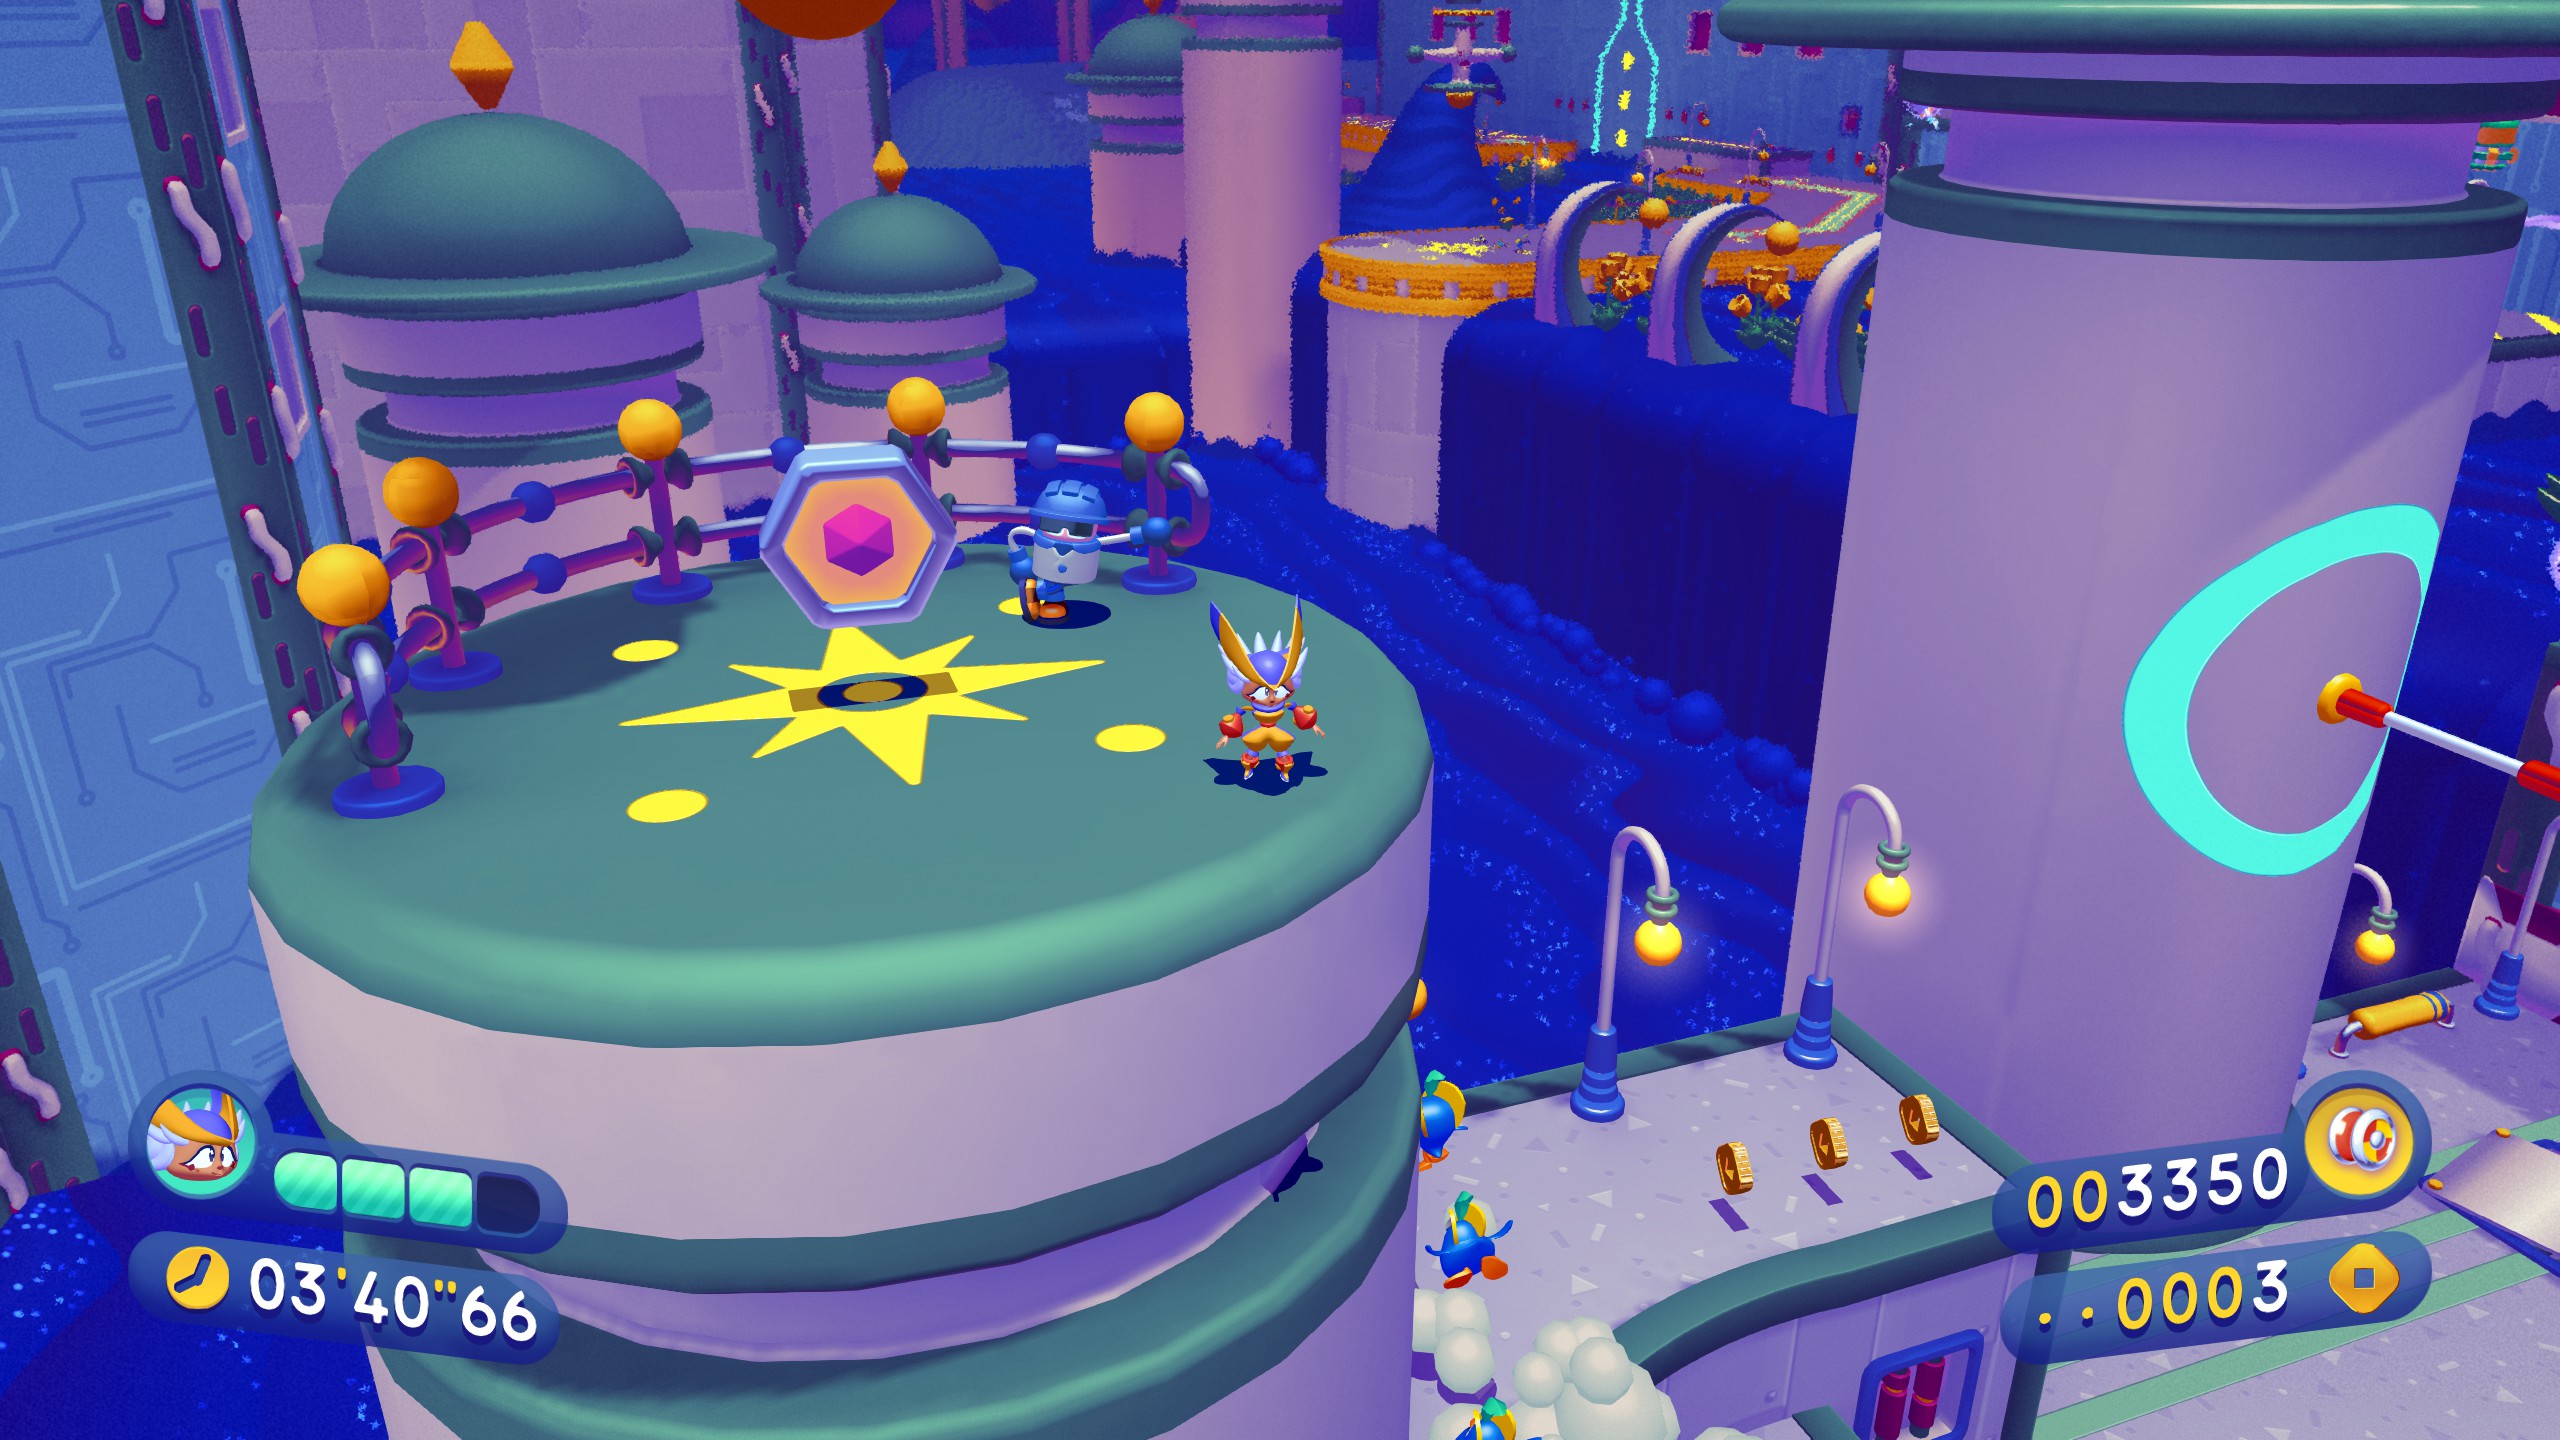
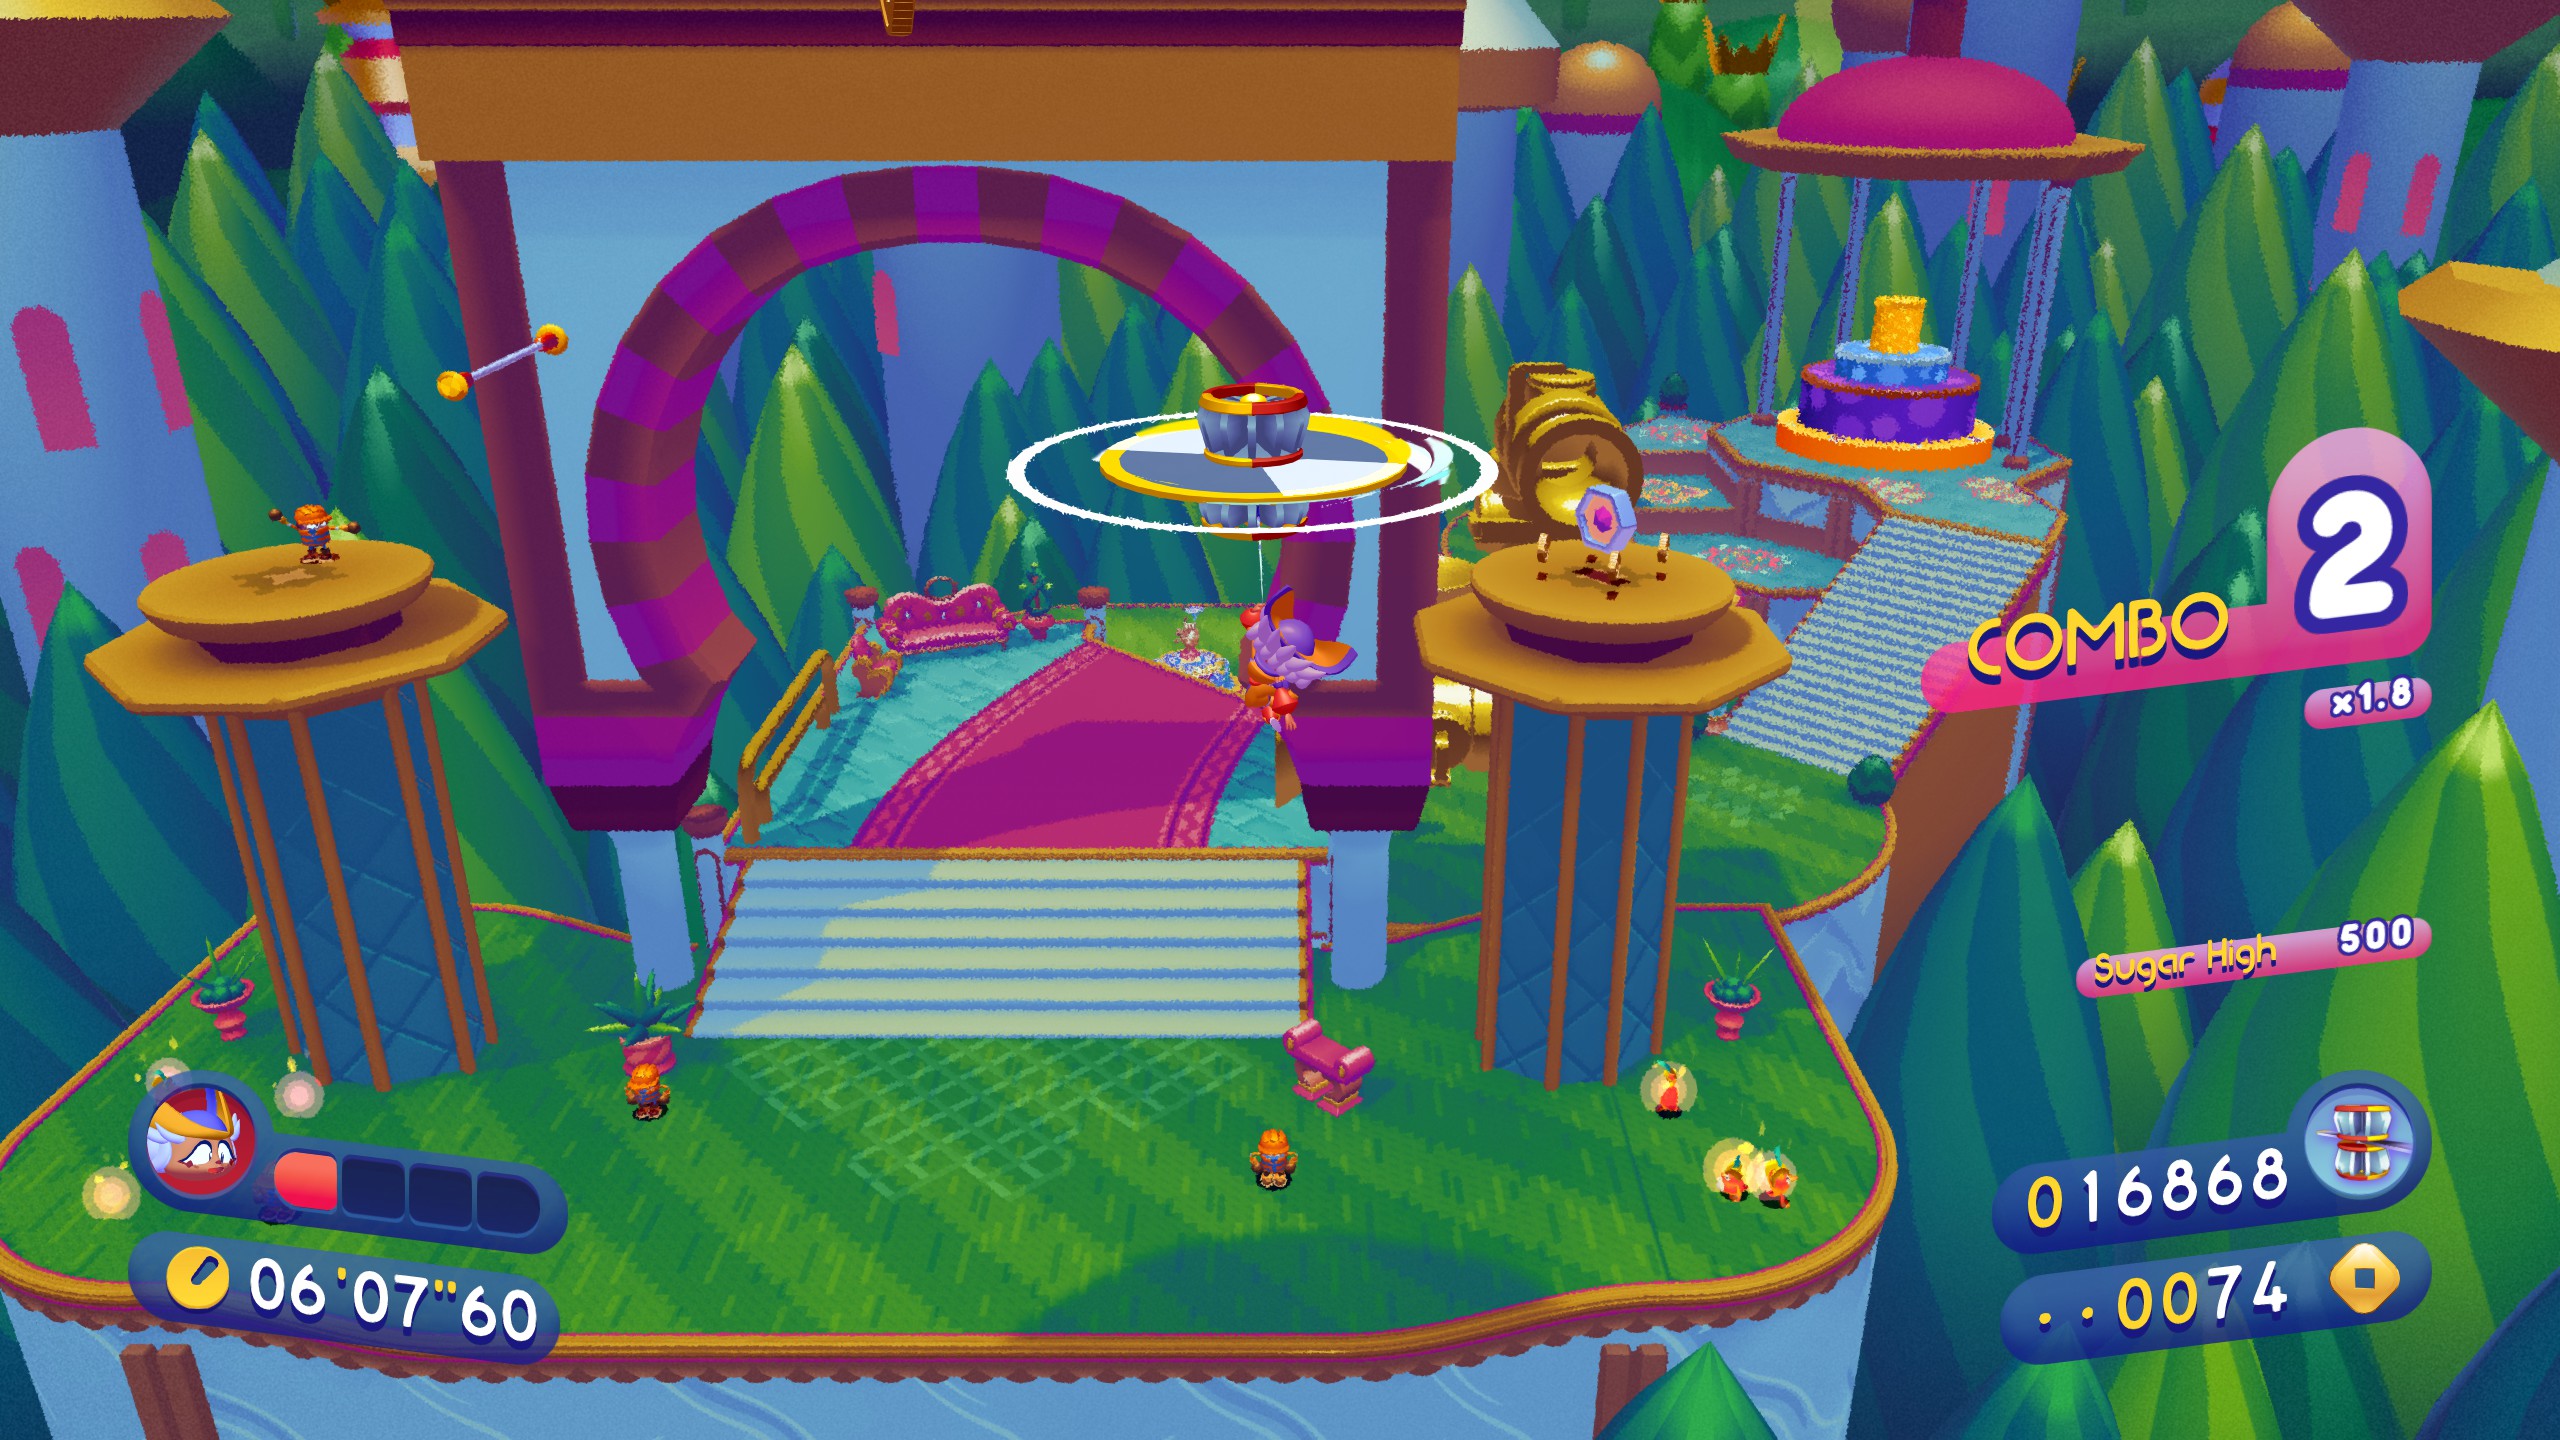
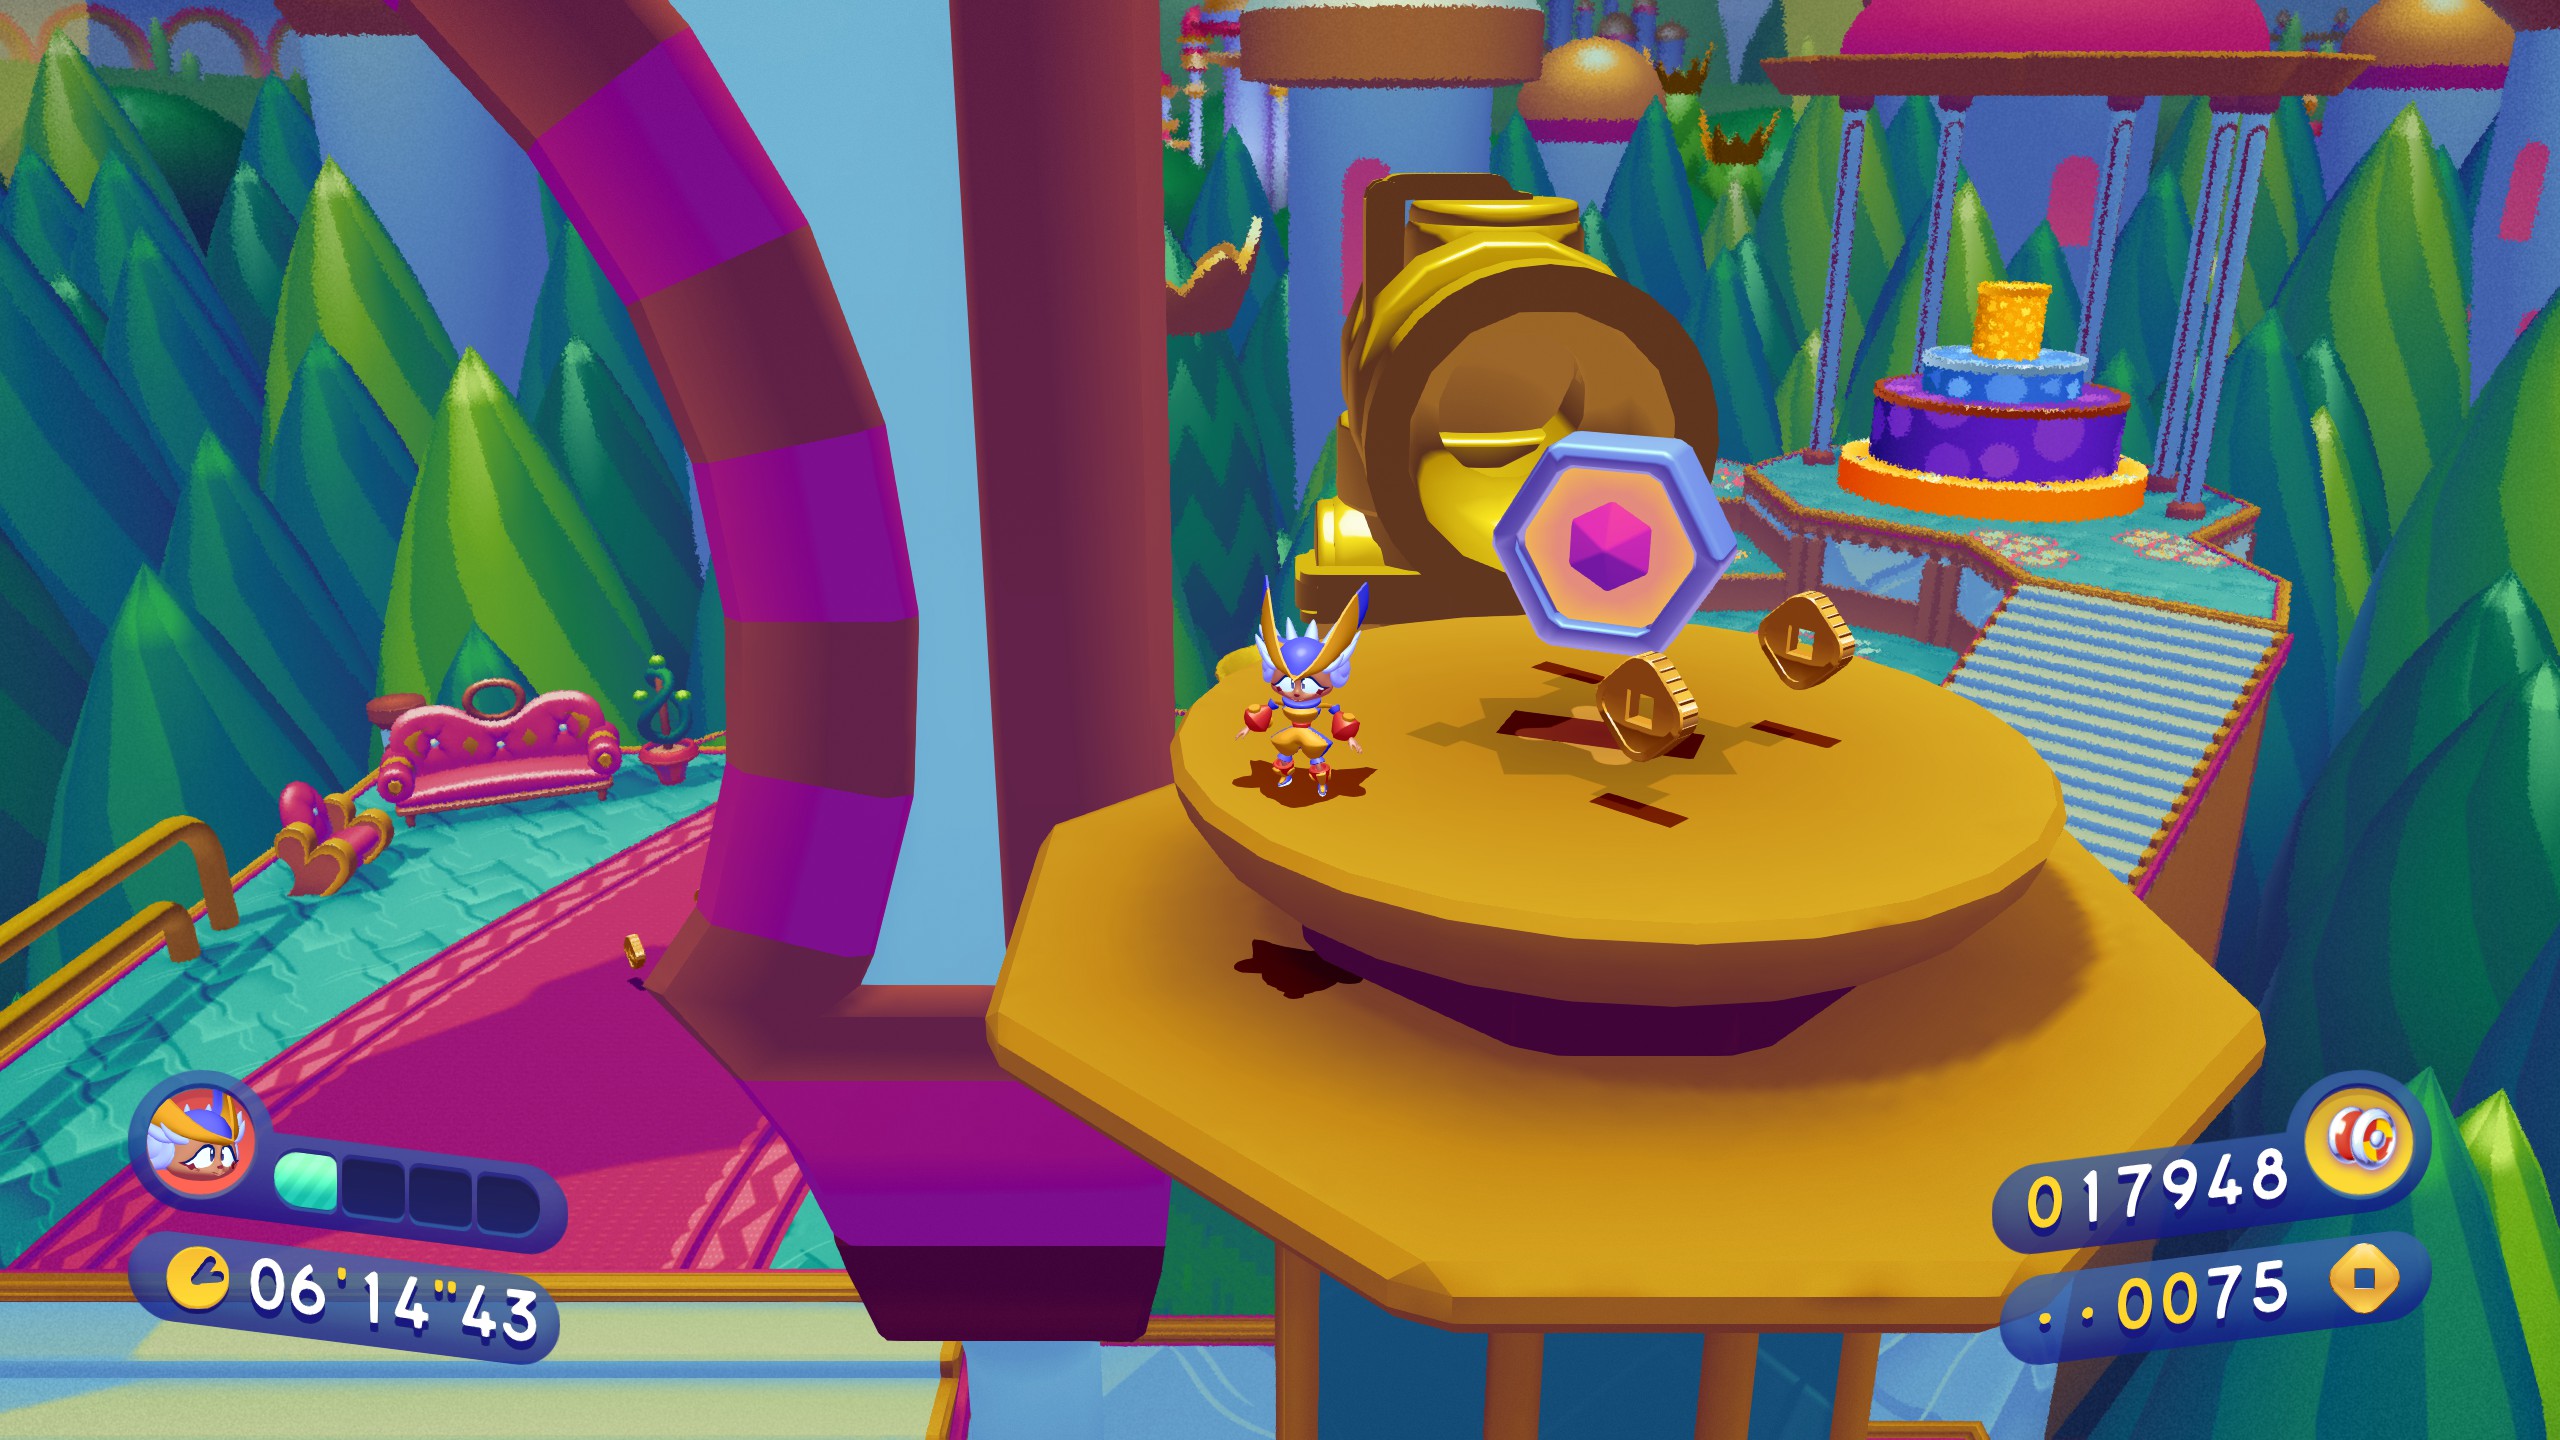
Welcome back to another installment of “Why?” From this checkpoint, we need to raise the flag up ahead for the piece to appear.
Getting the bull across is slightly tricky, but this is a really good time to use the right stick for your yoyo. Get a hole in however many, there’s your coin at the top.
Piece 3 is very close up ahead, just under these stairs. And that’s world 3 done!
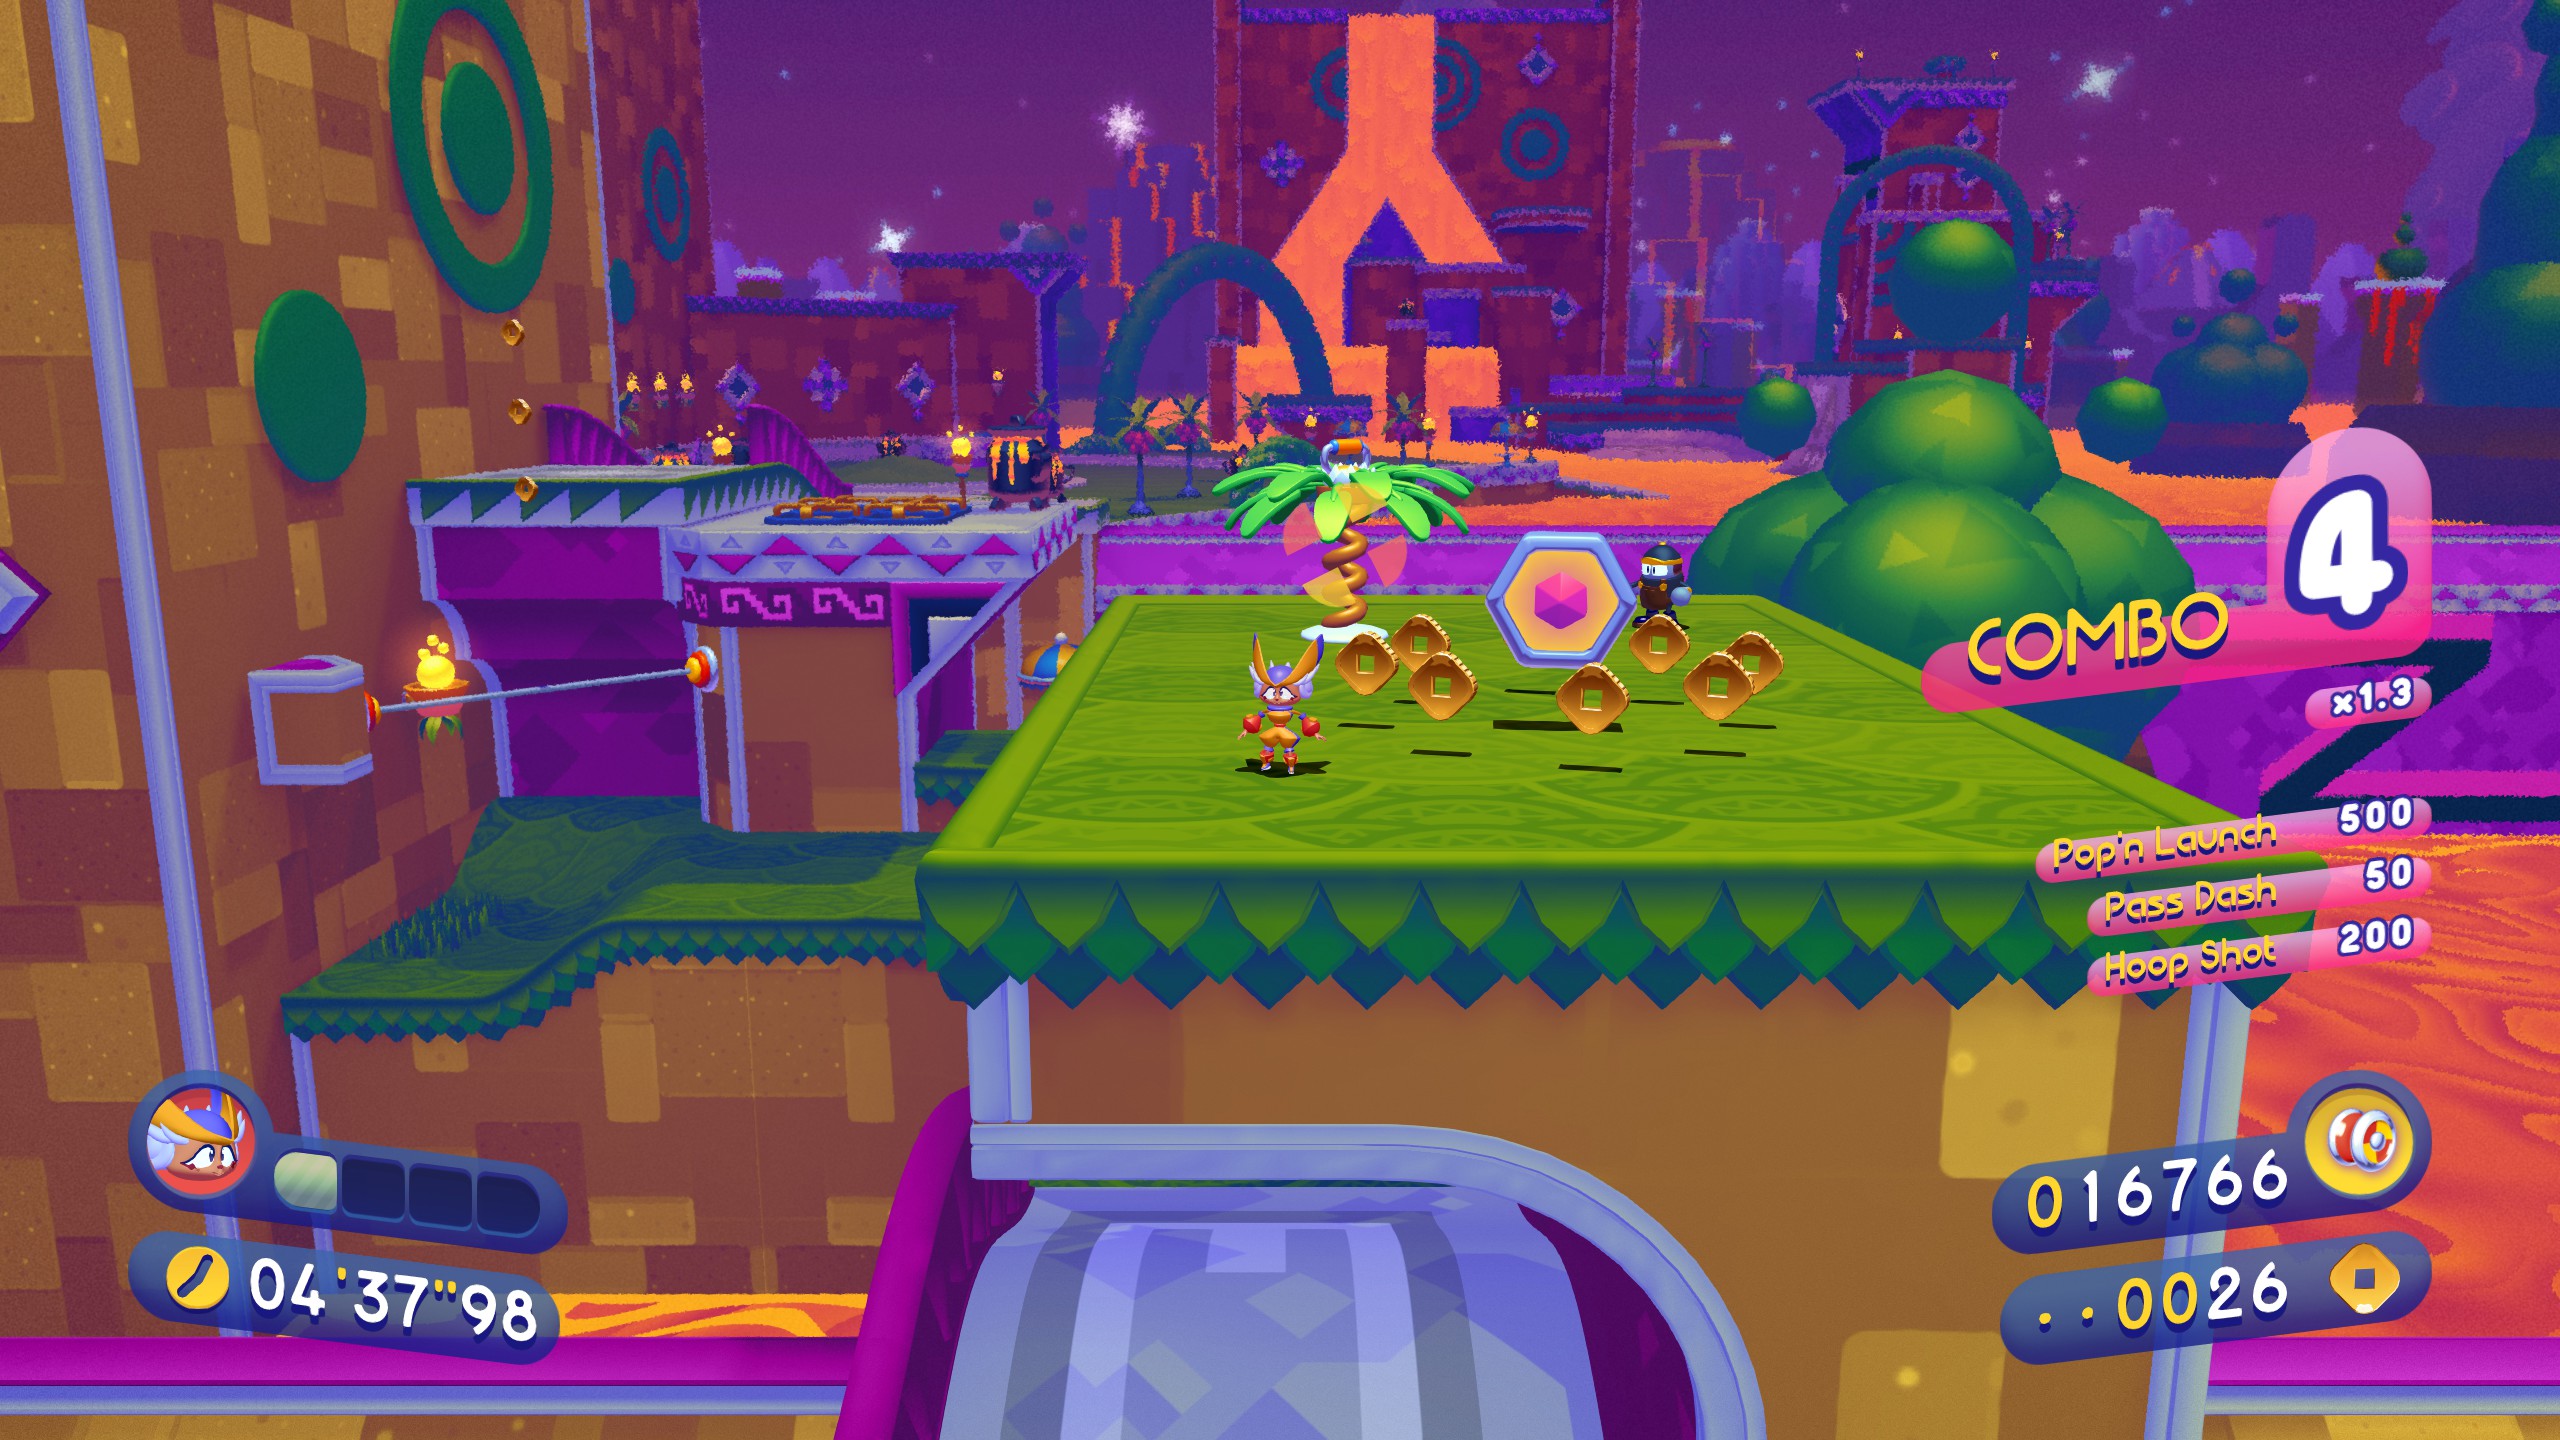
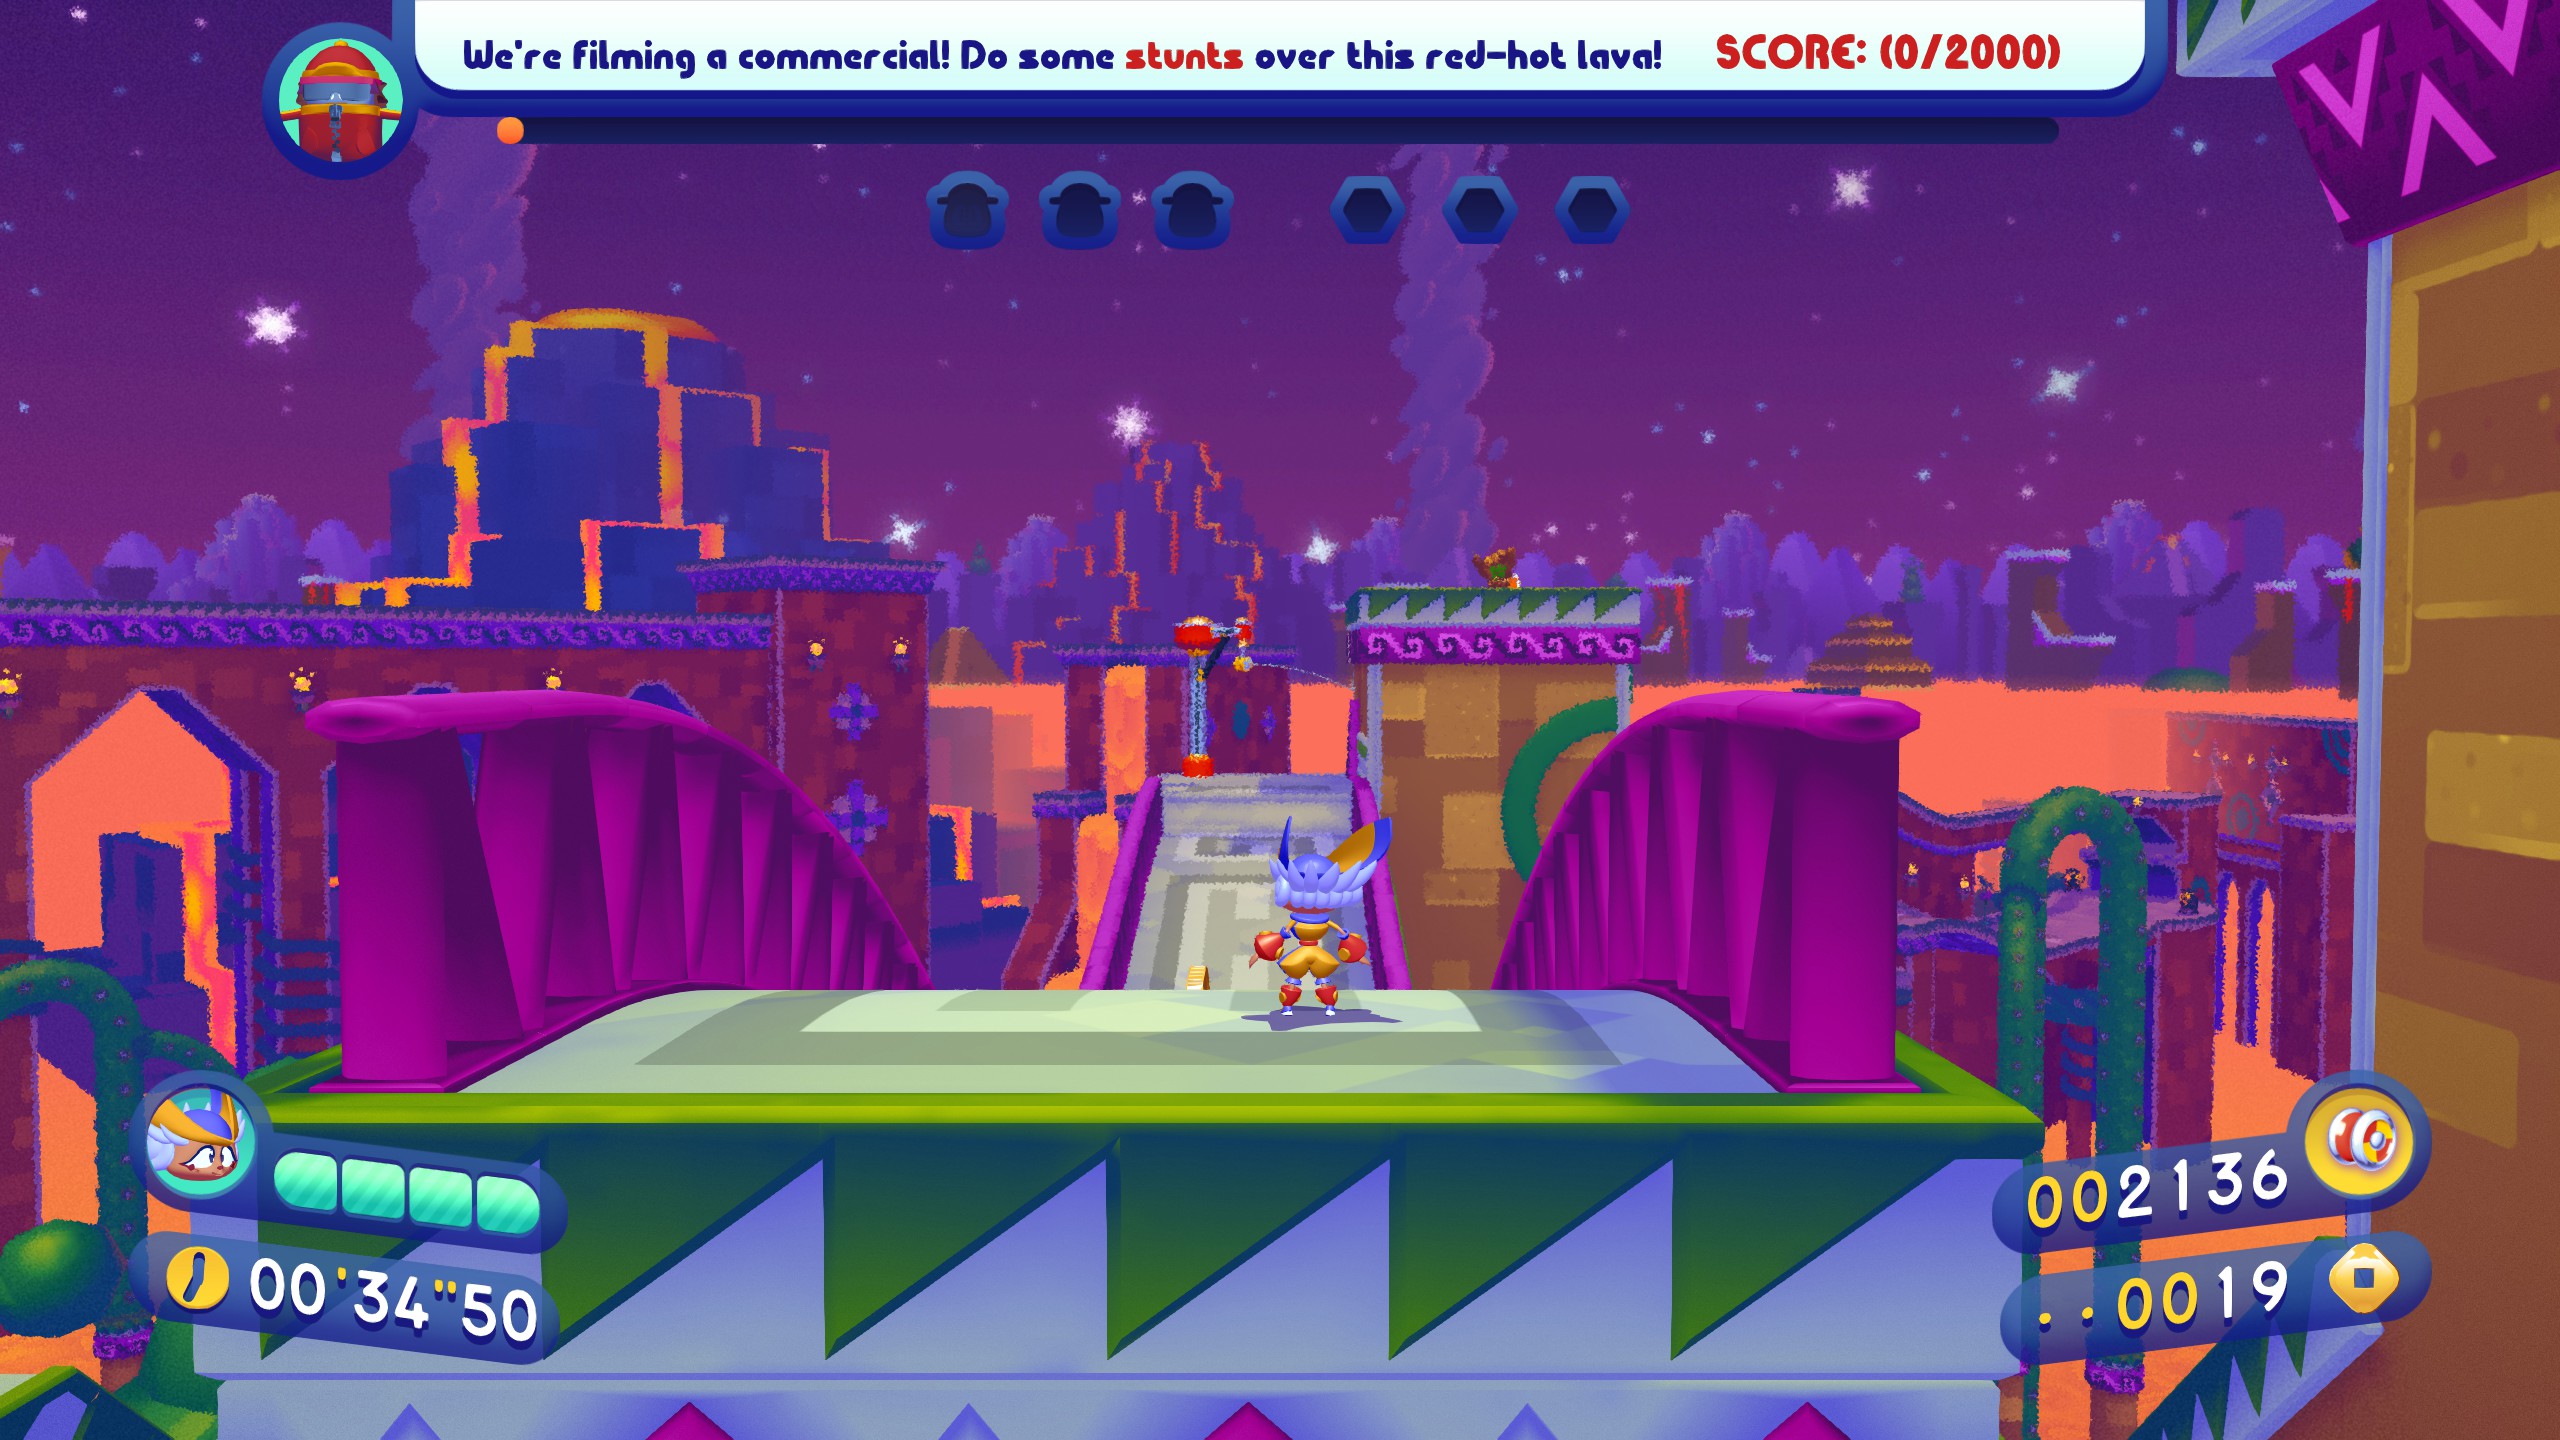
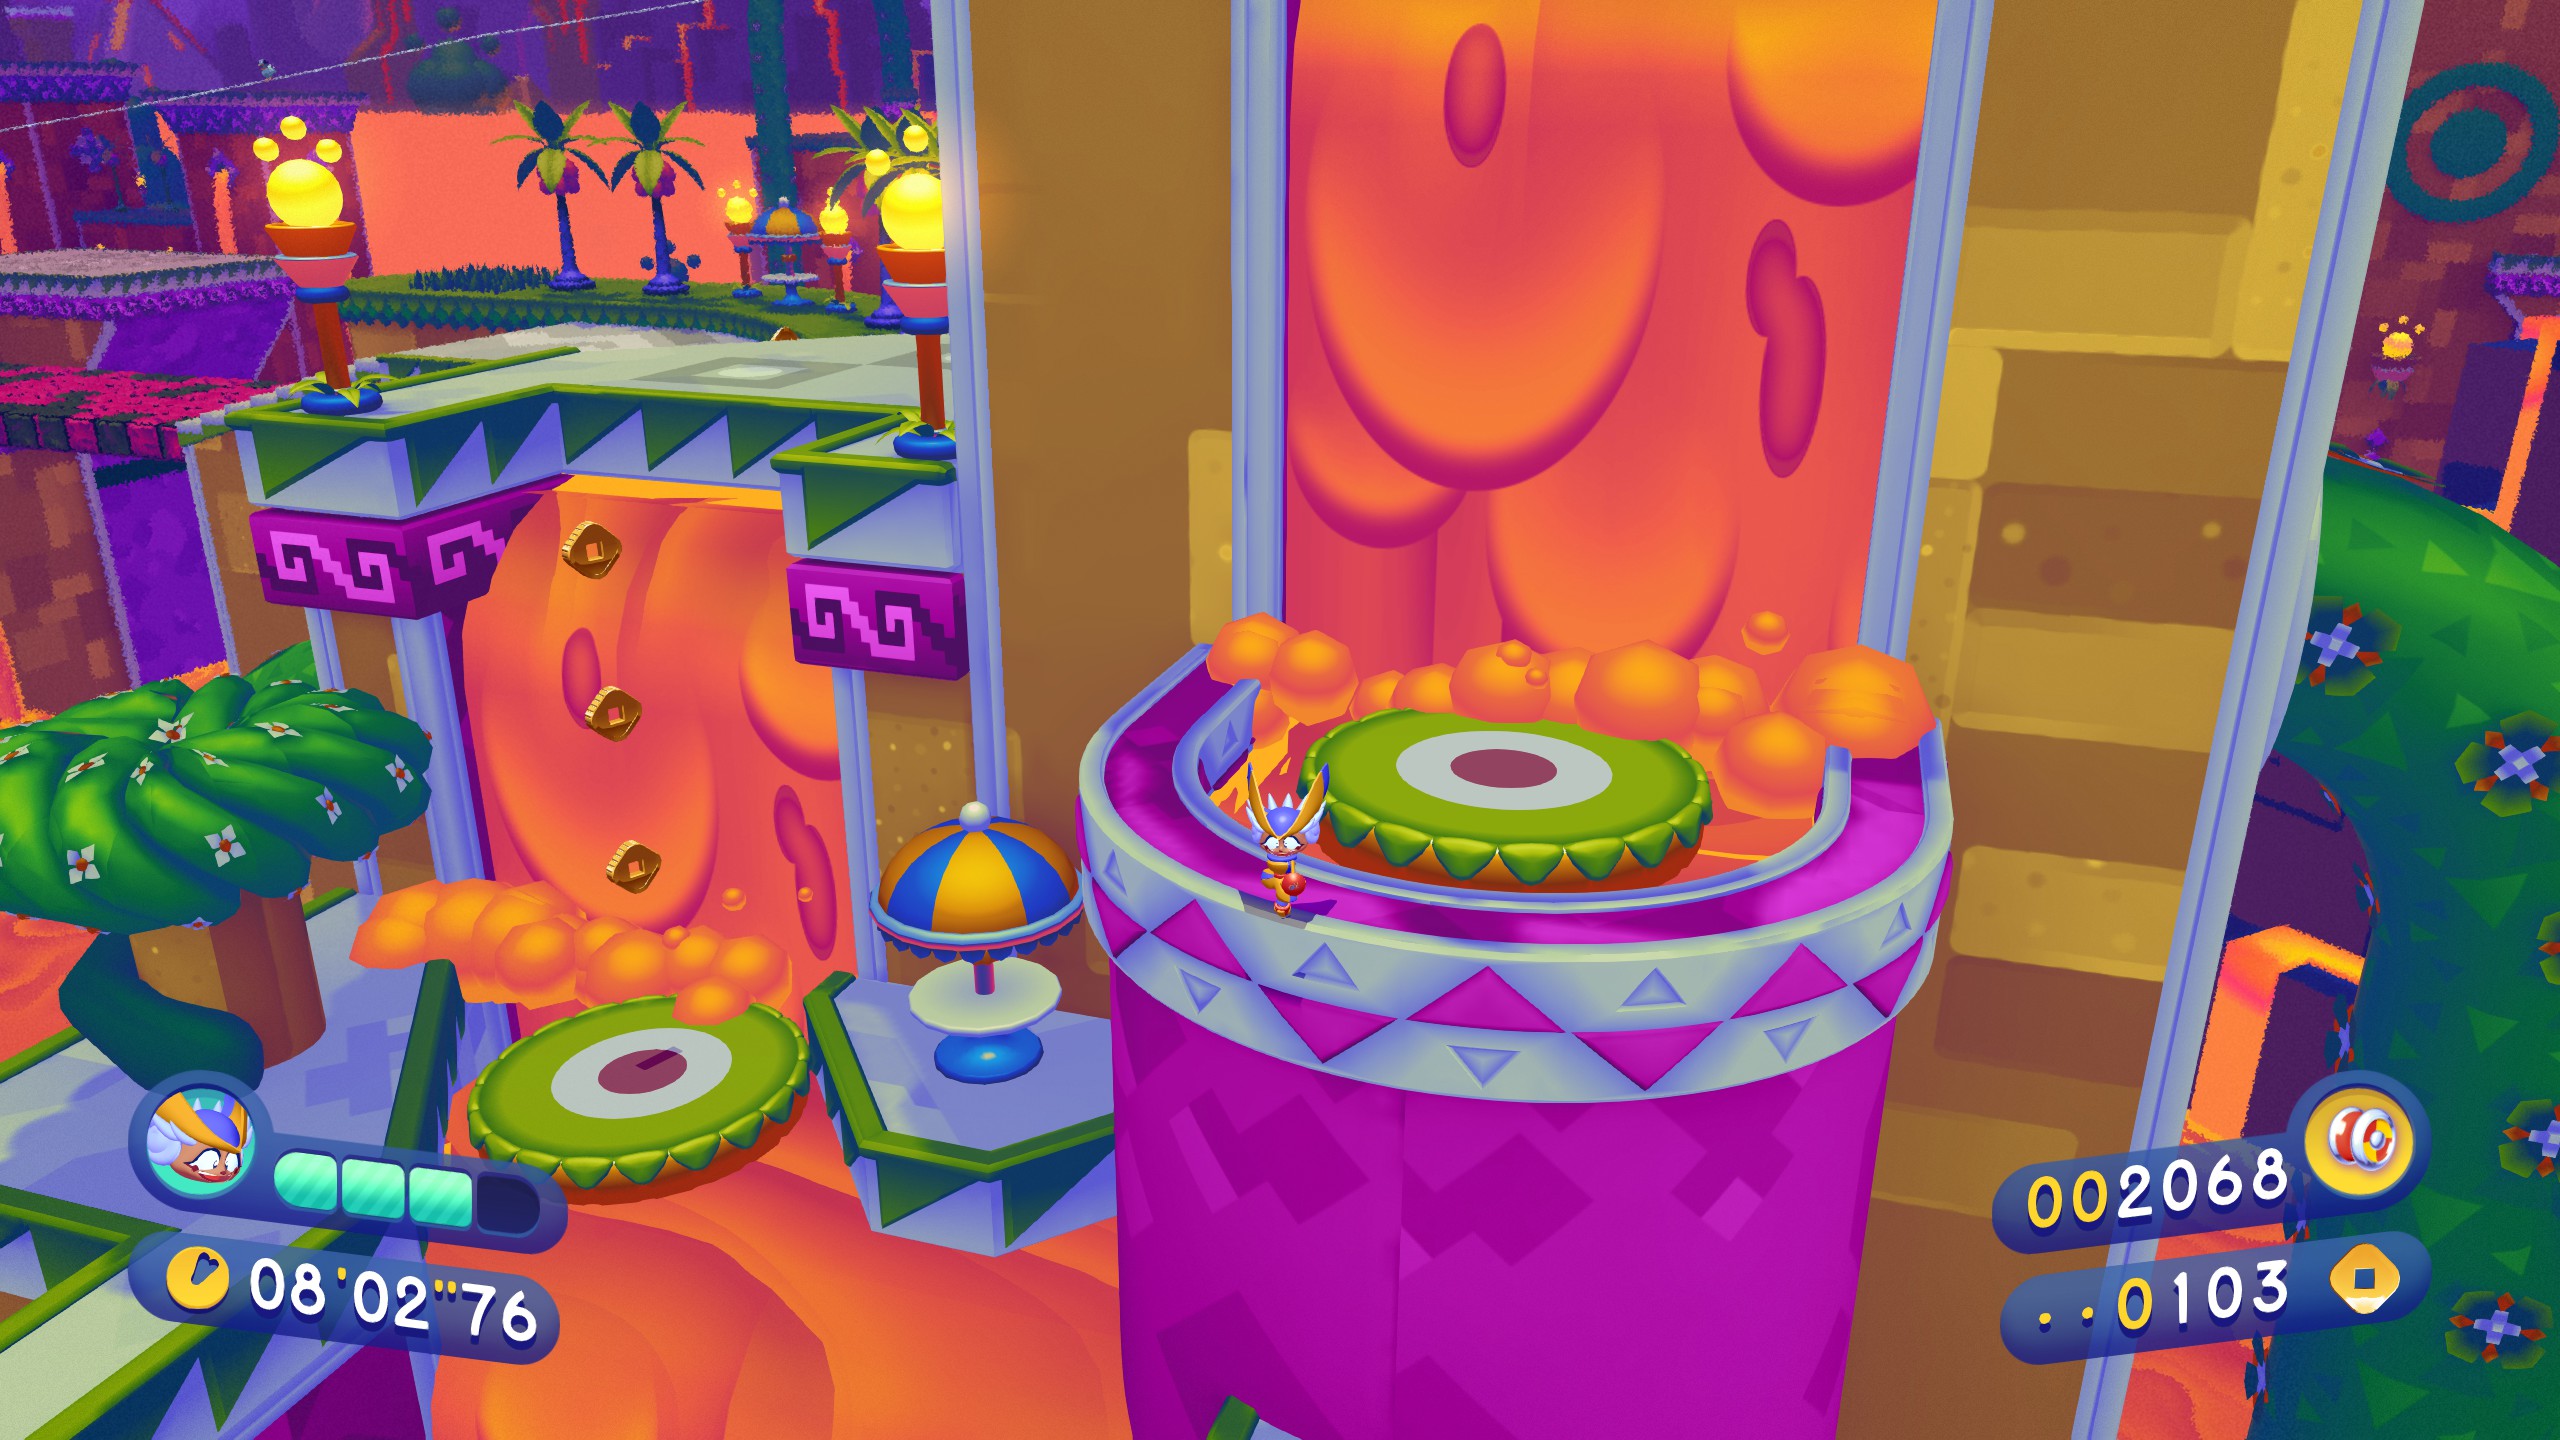
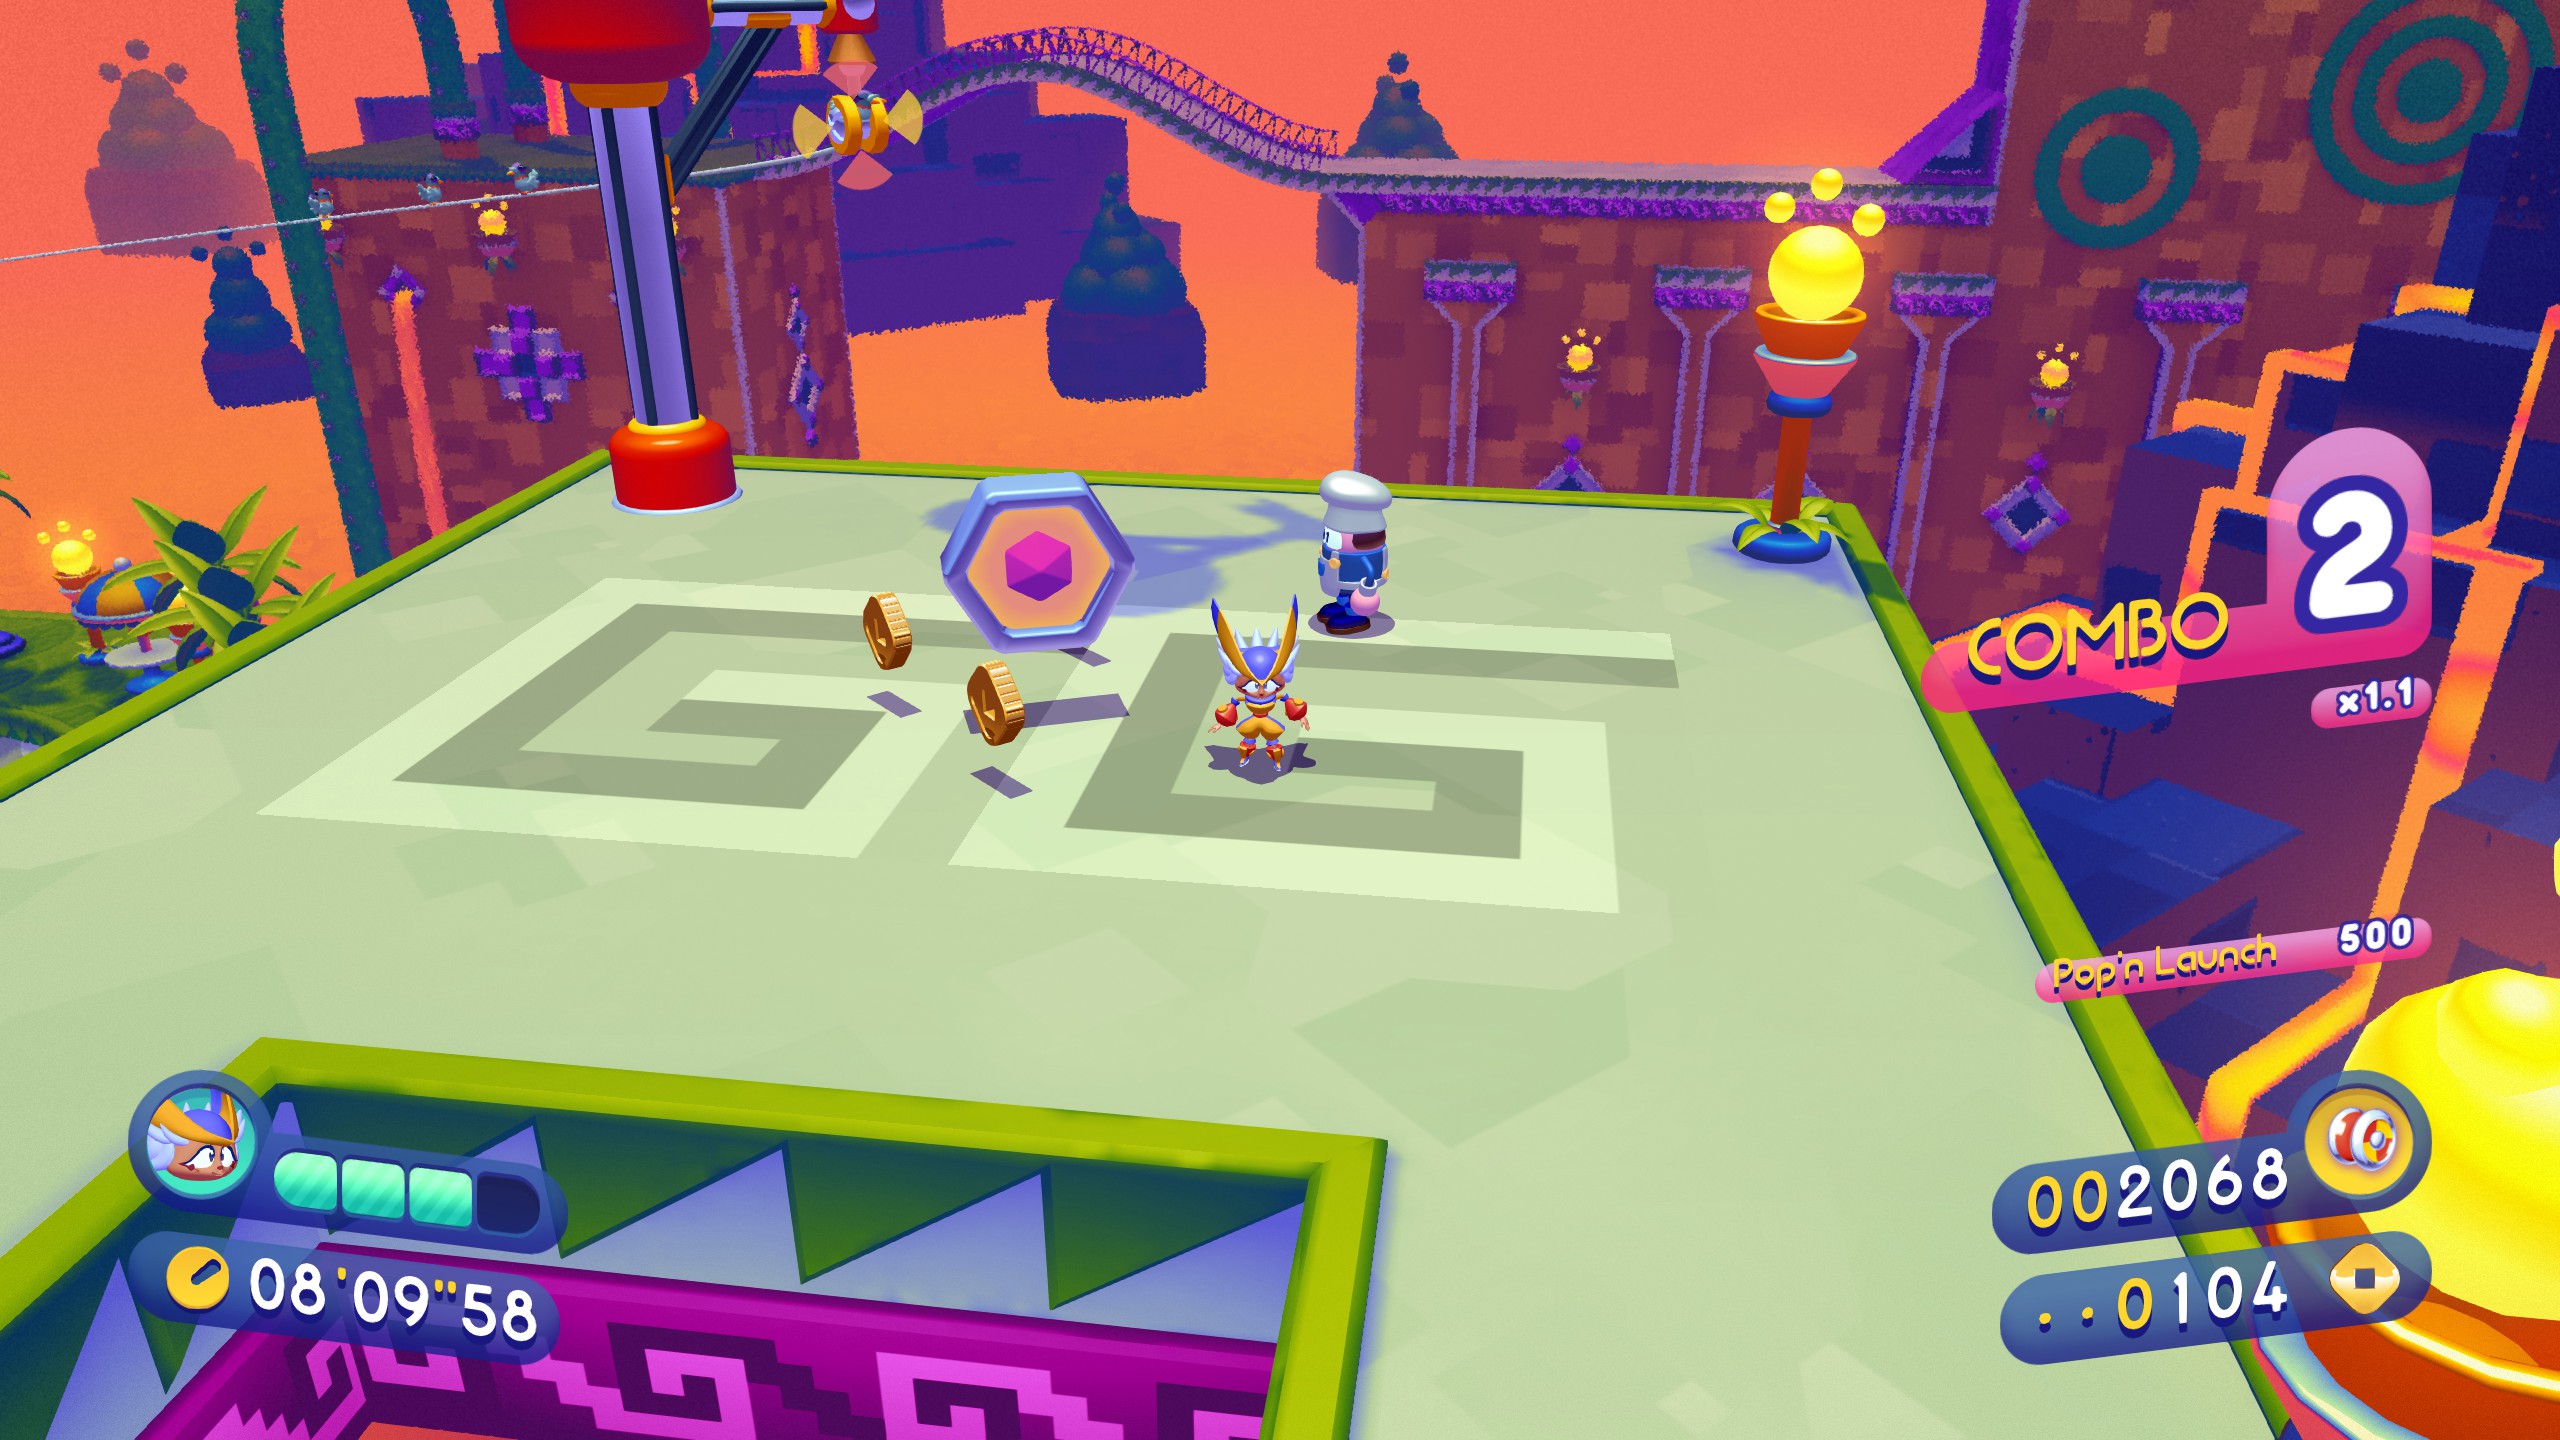
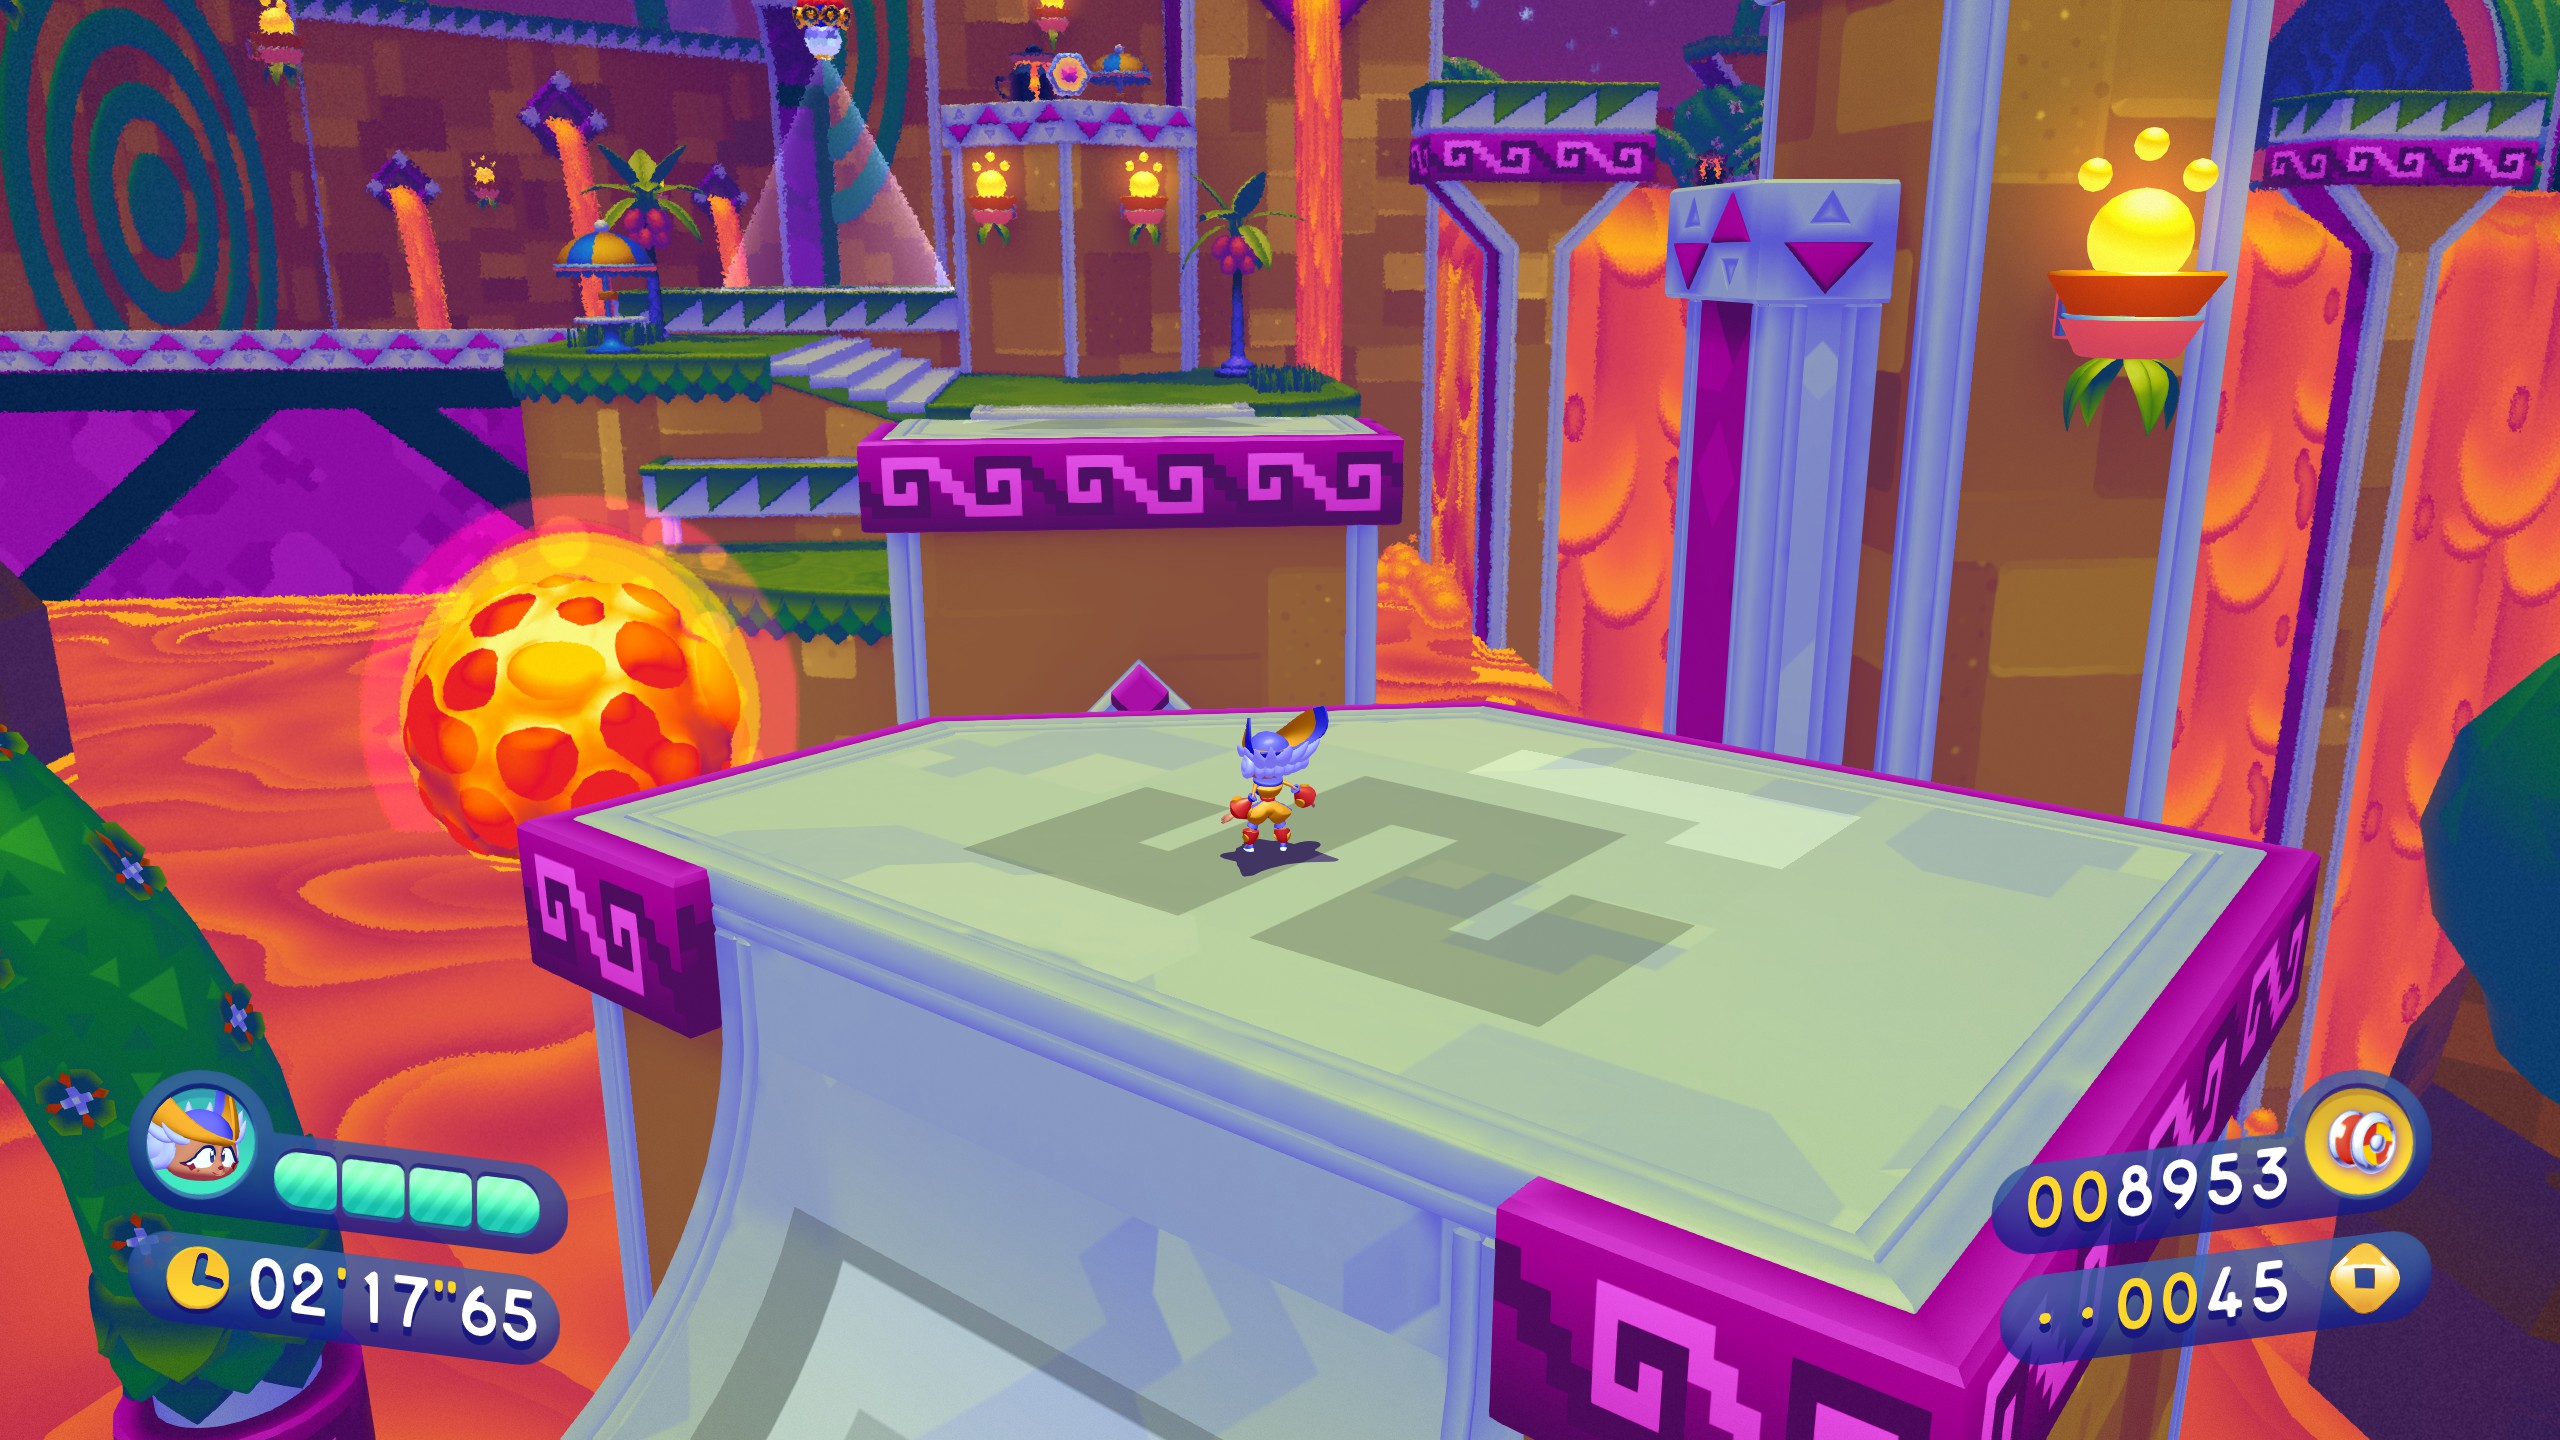
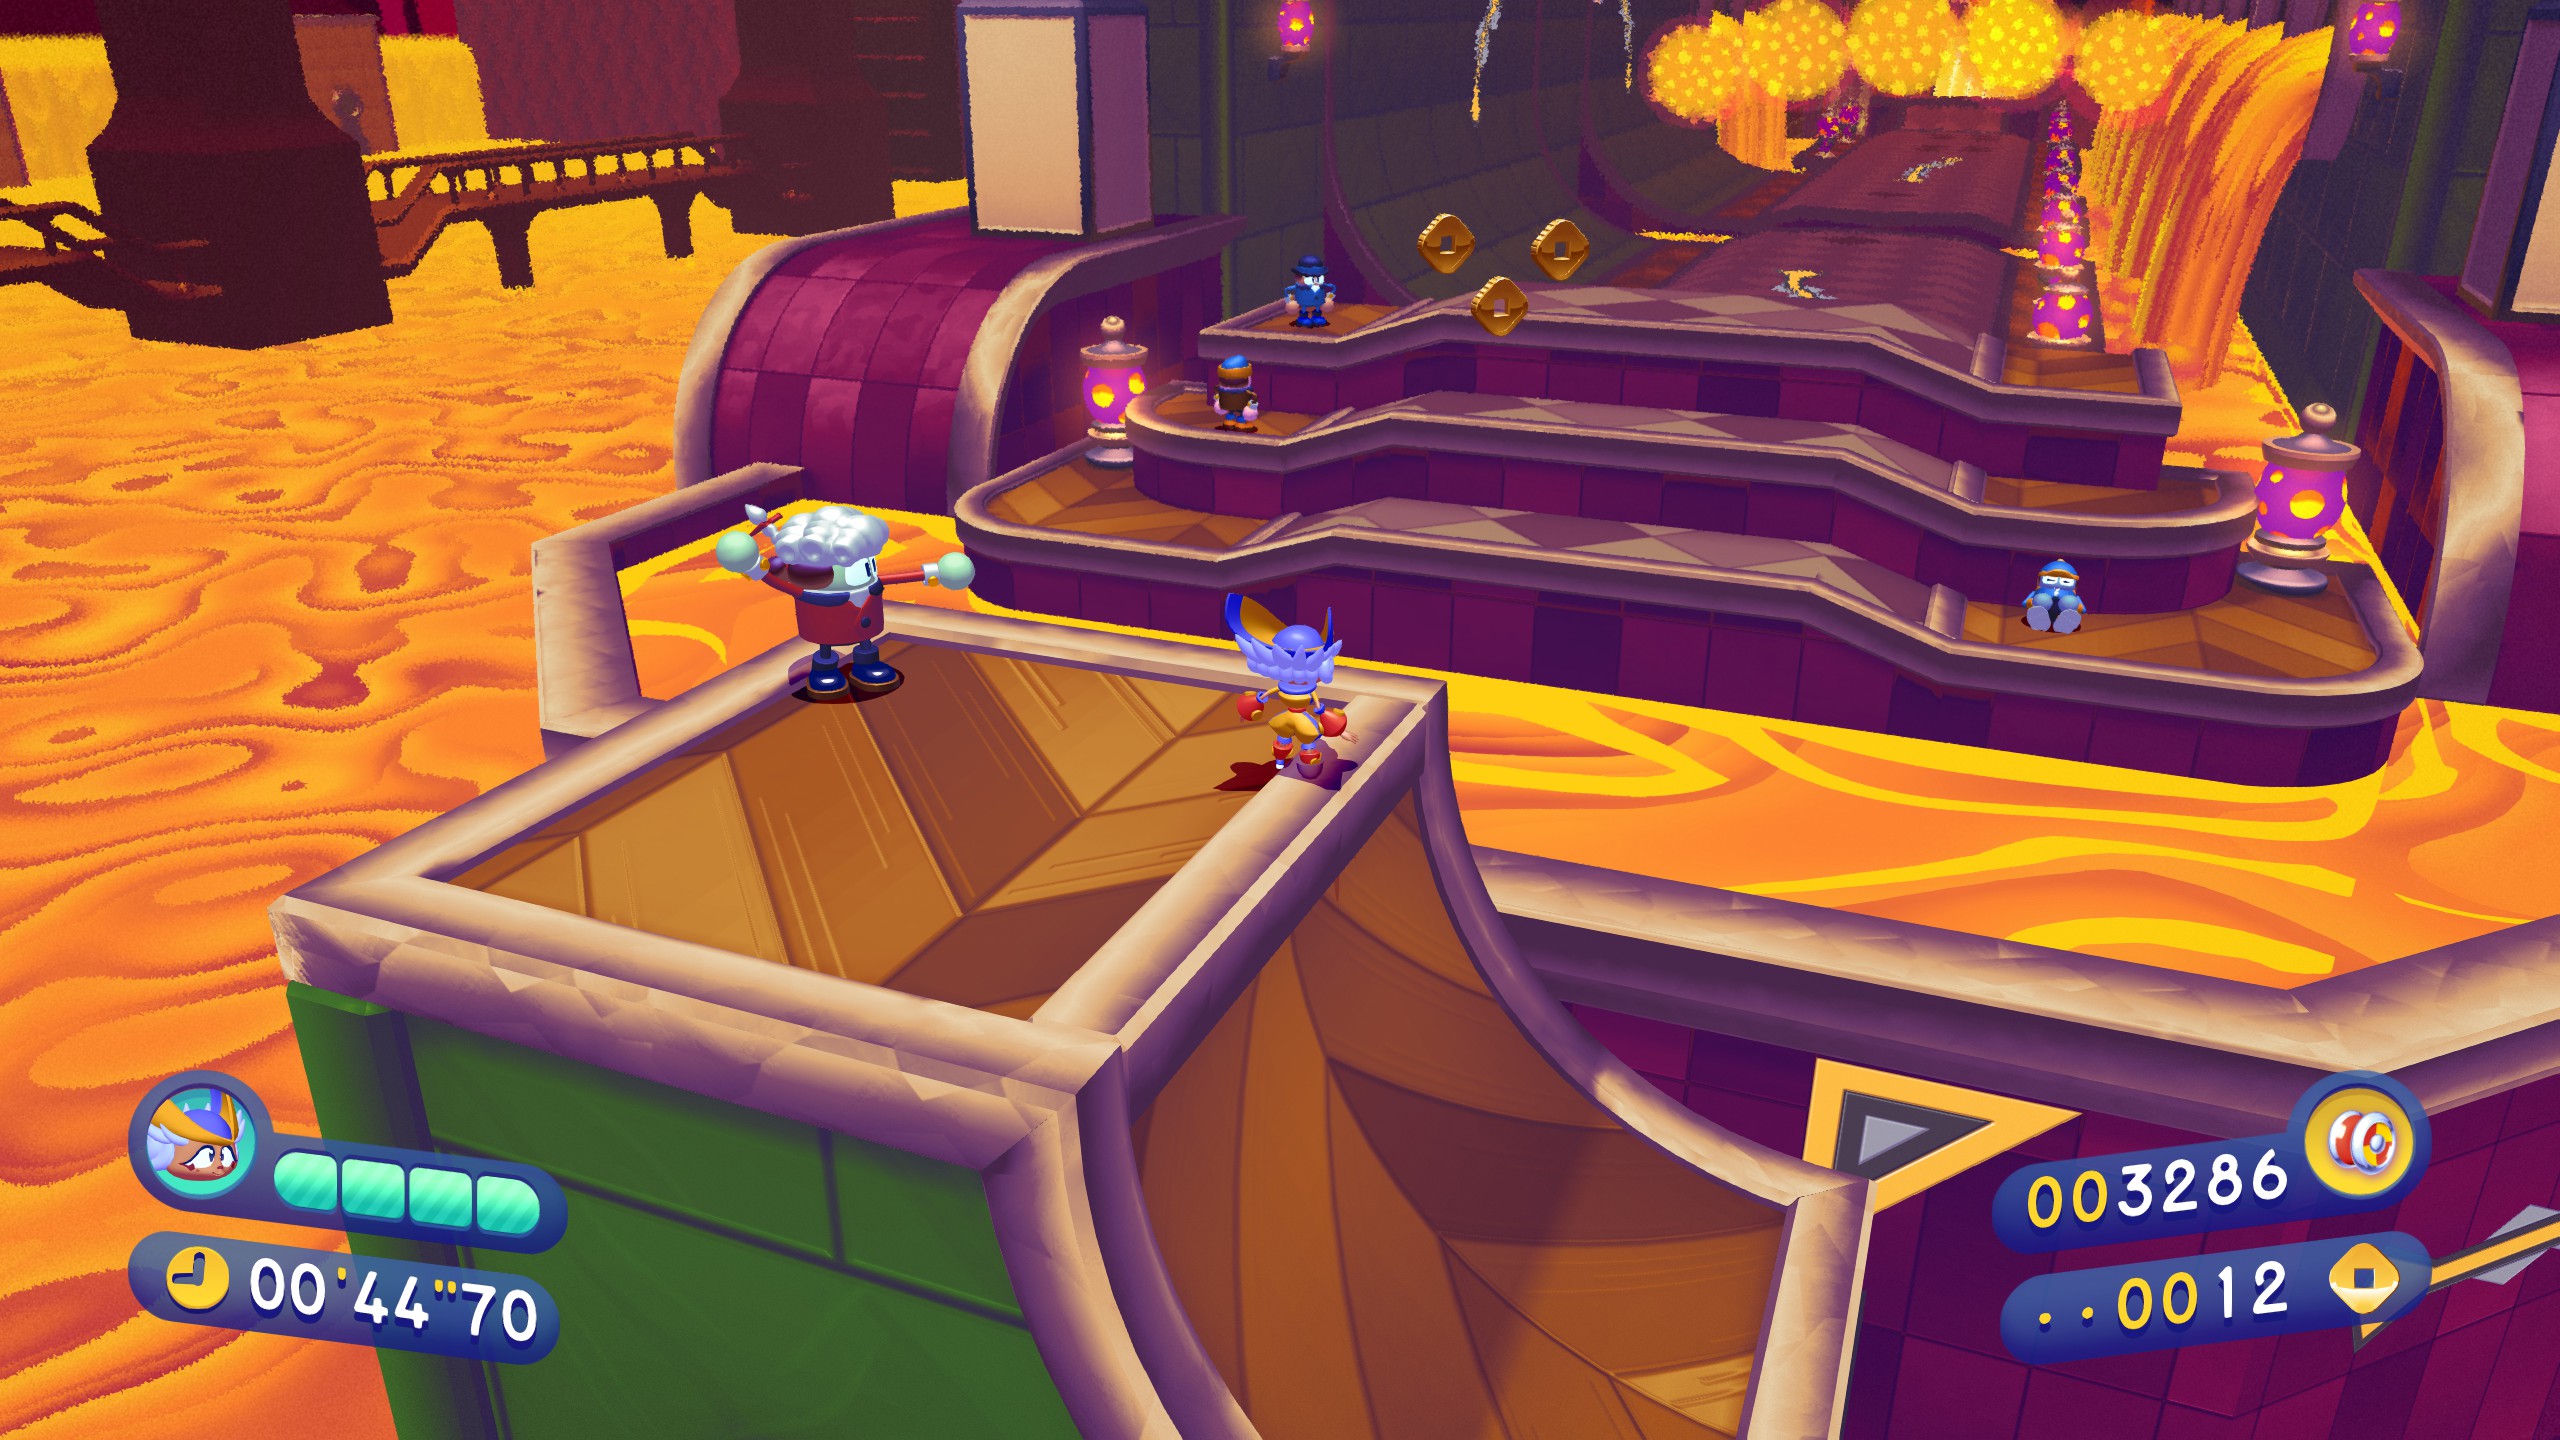
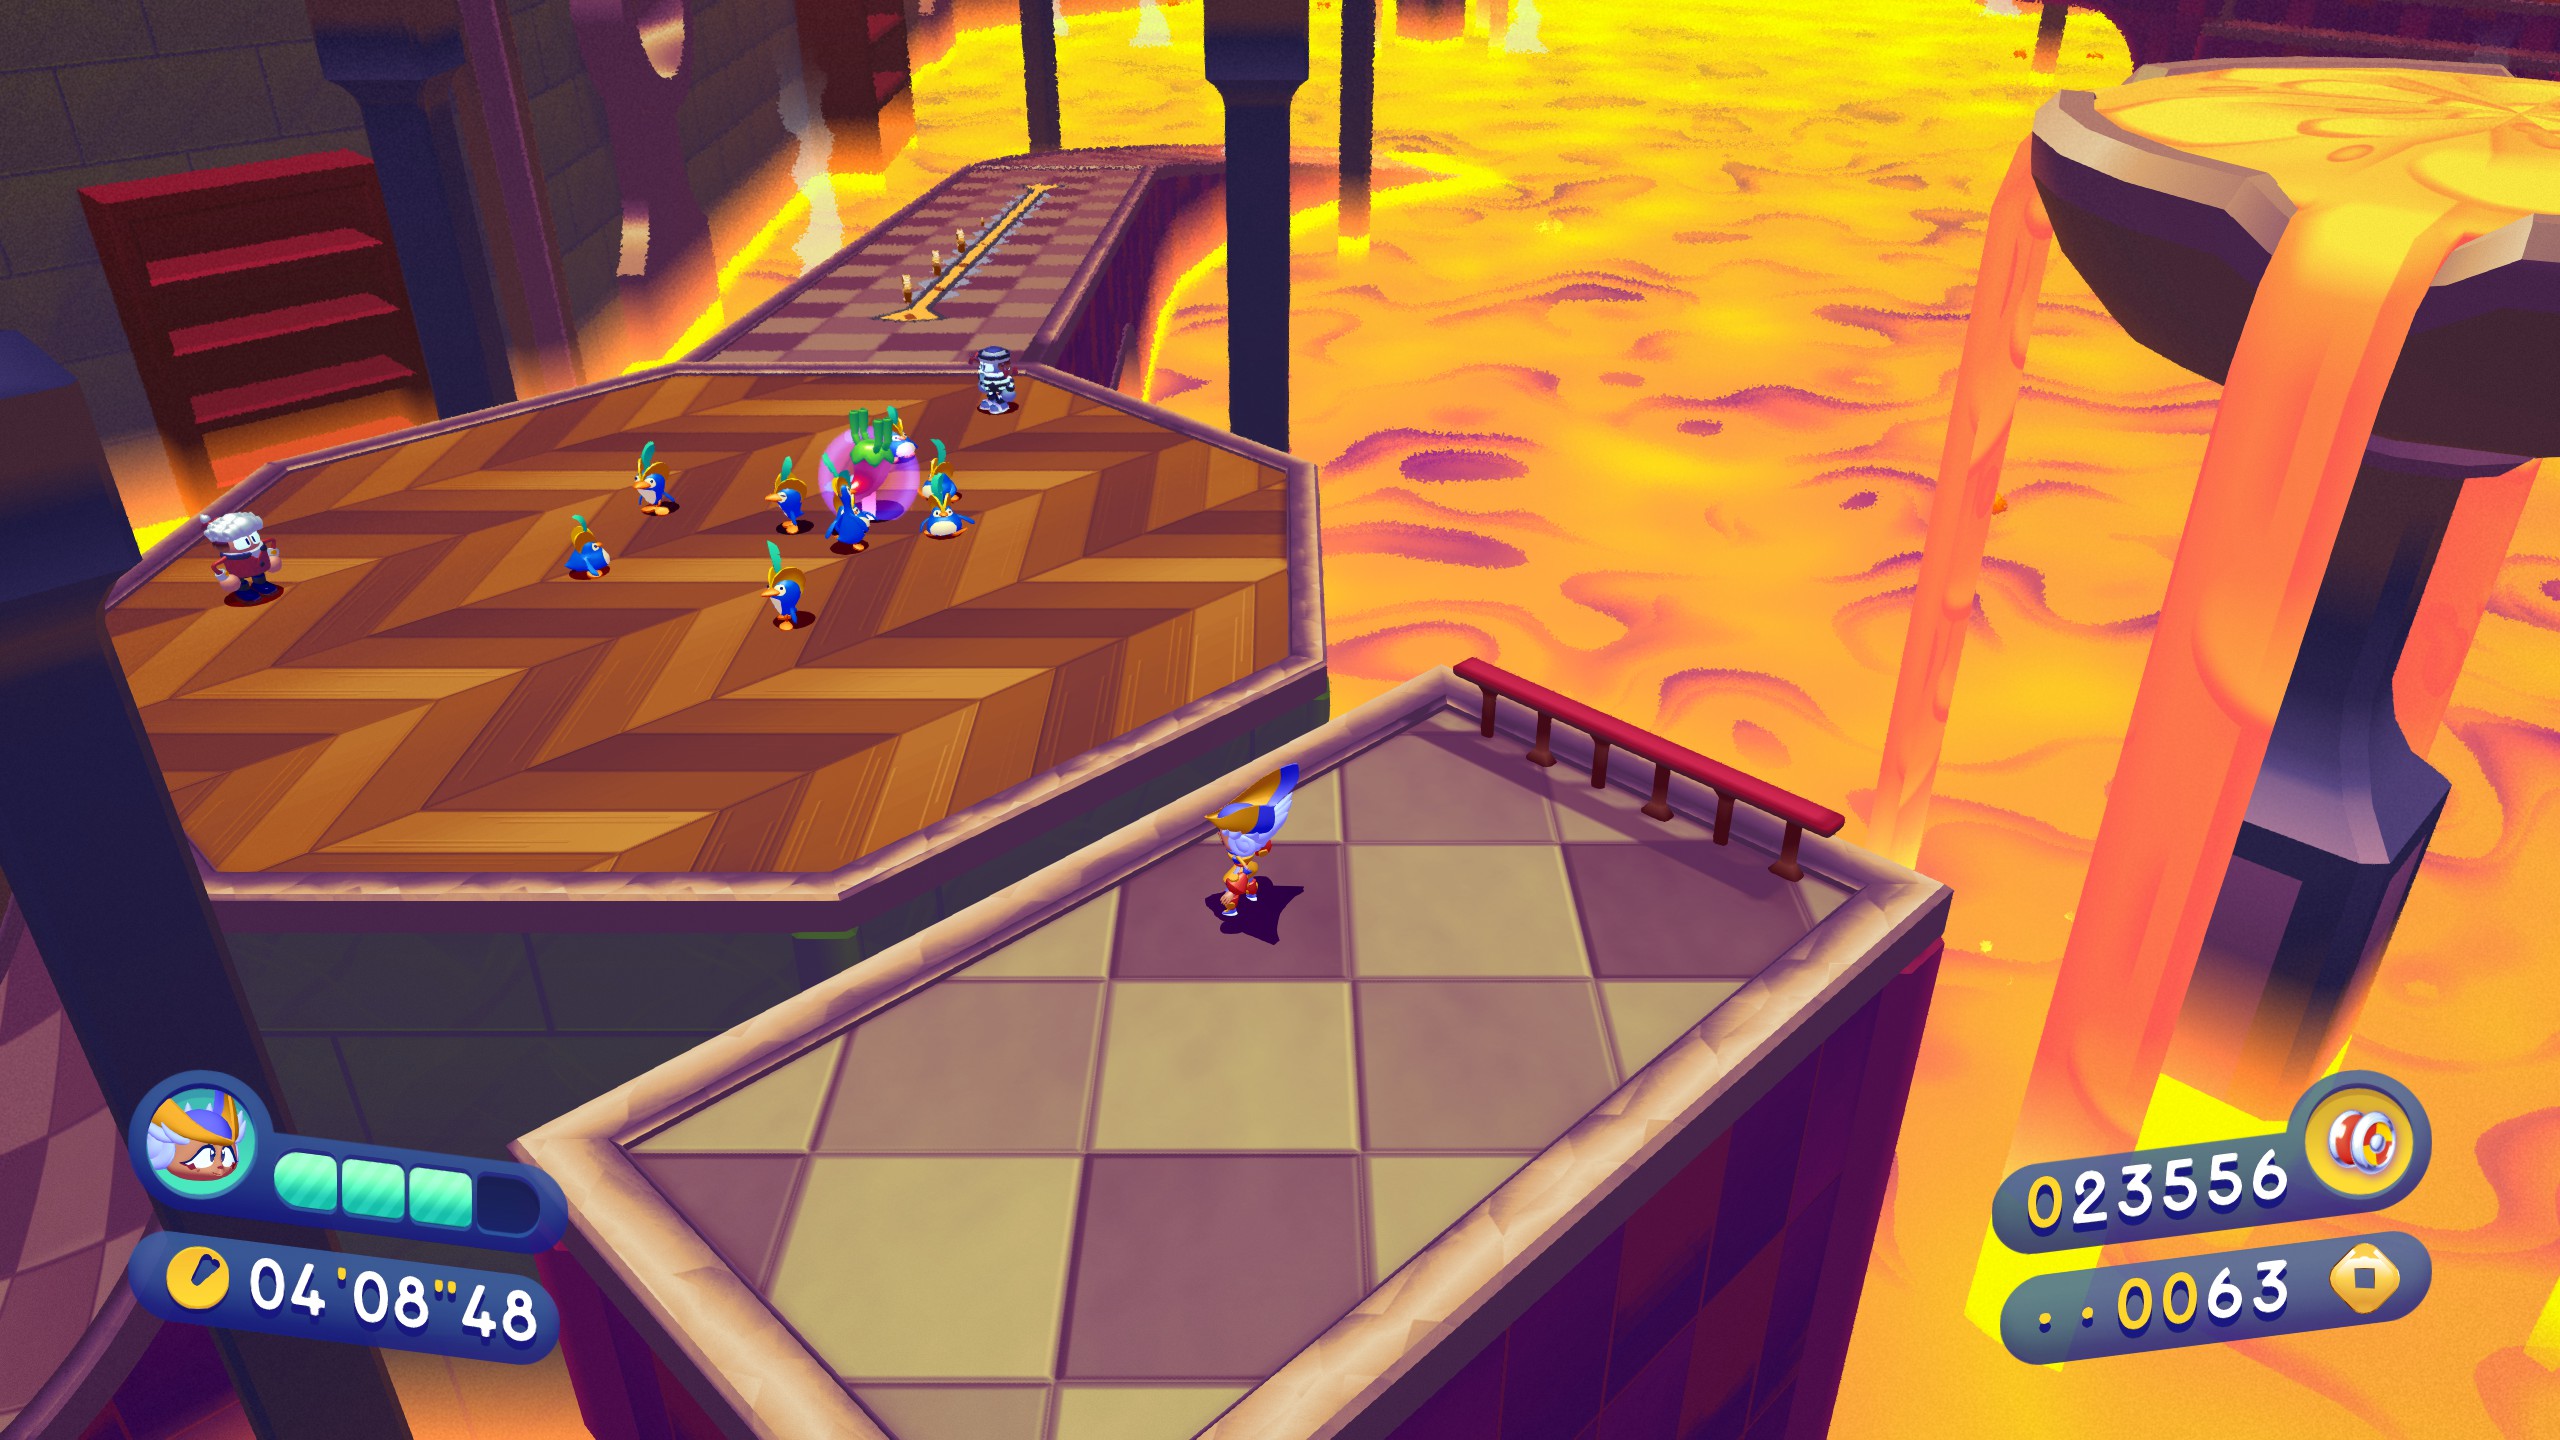
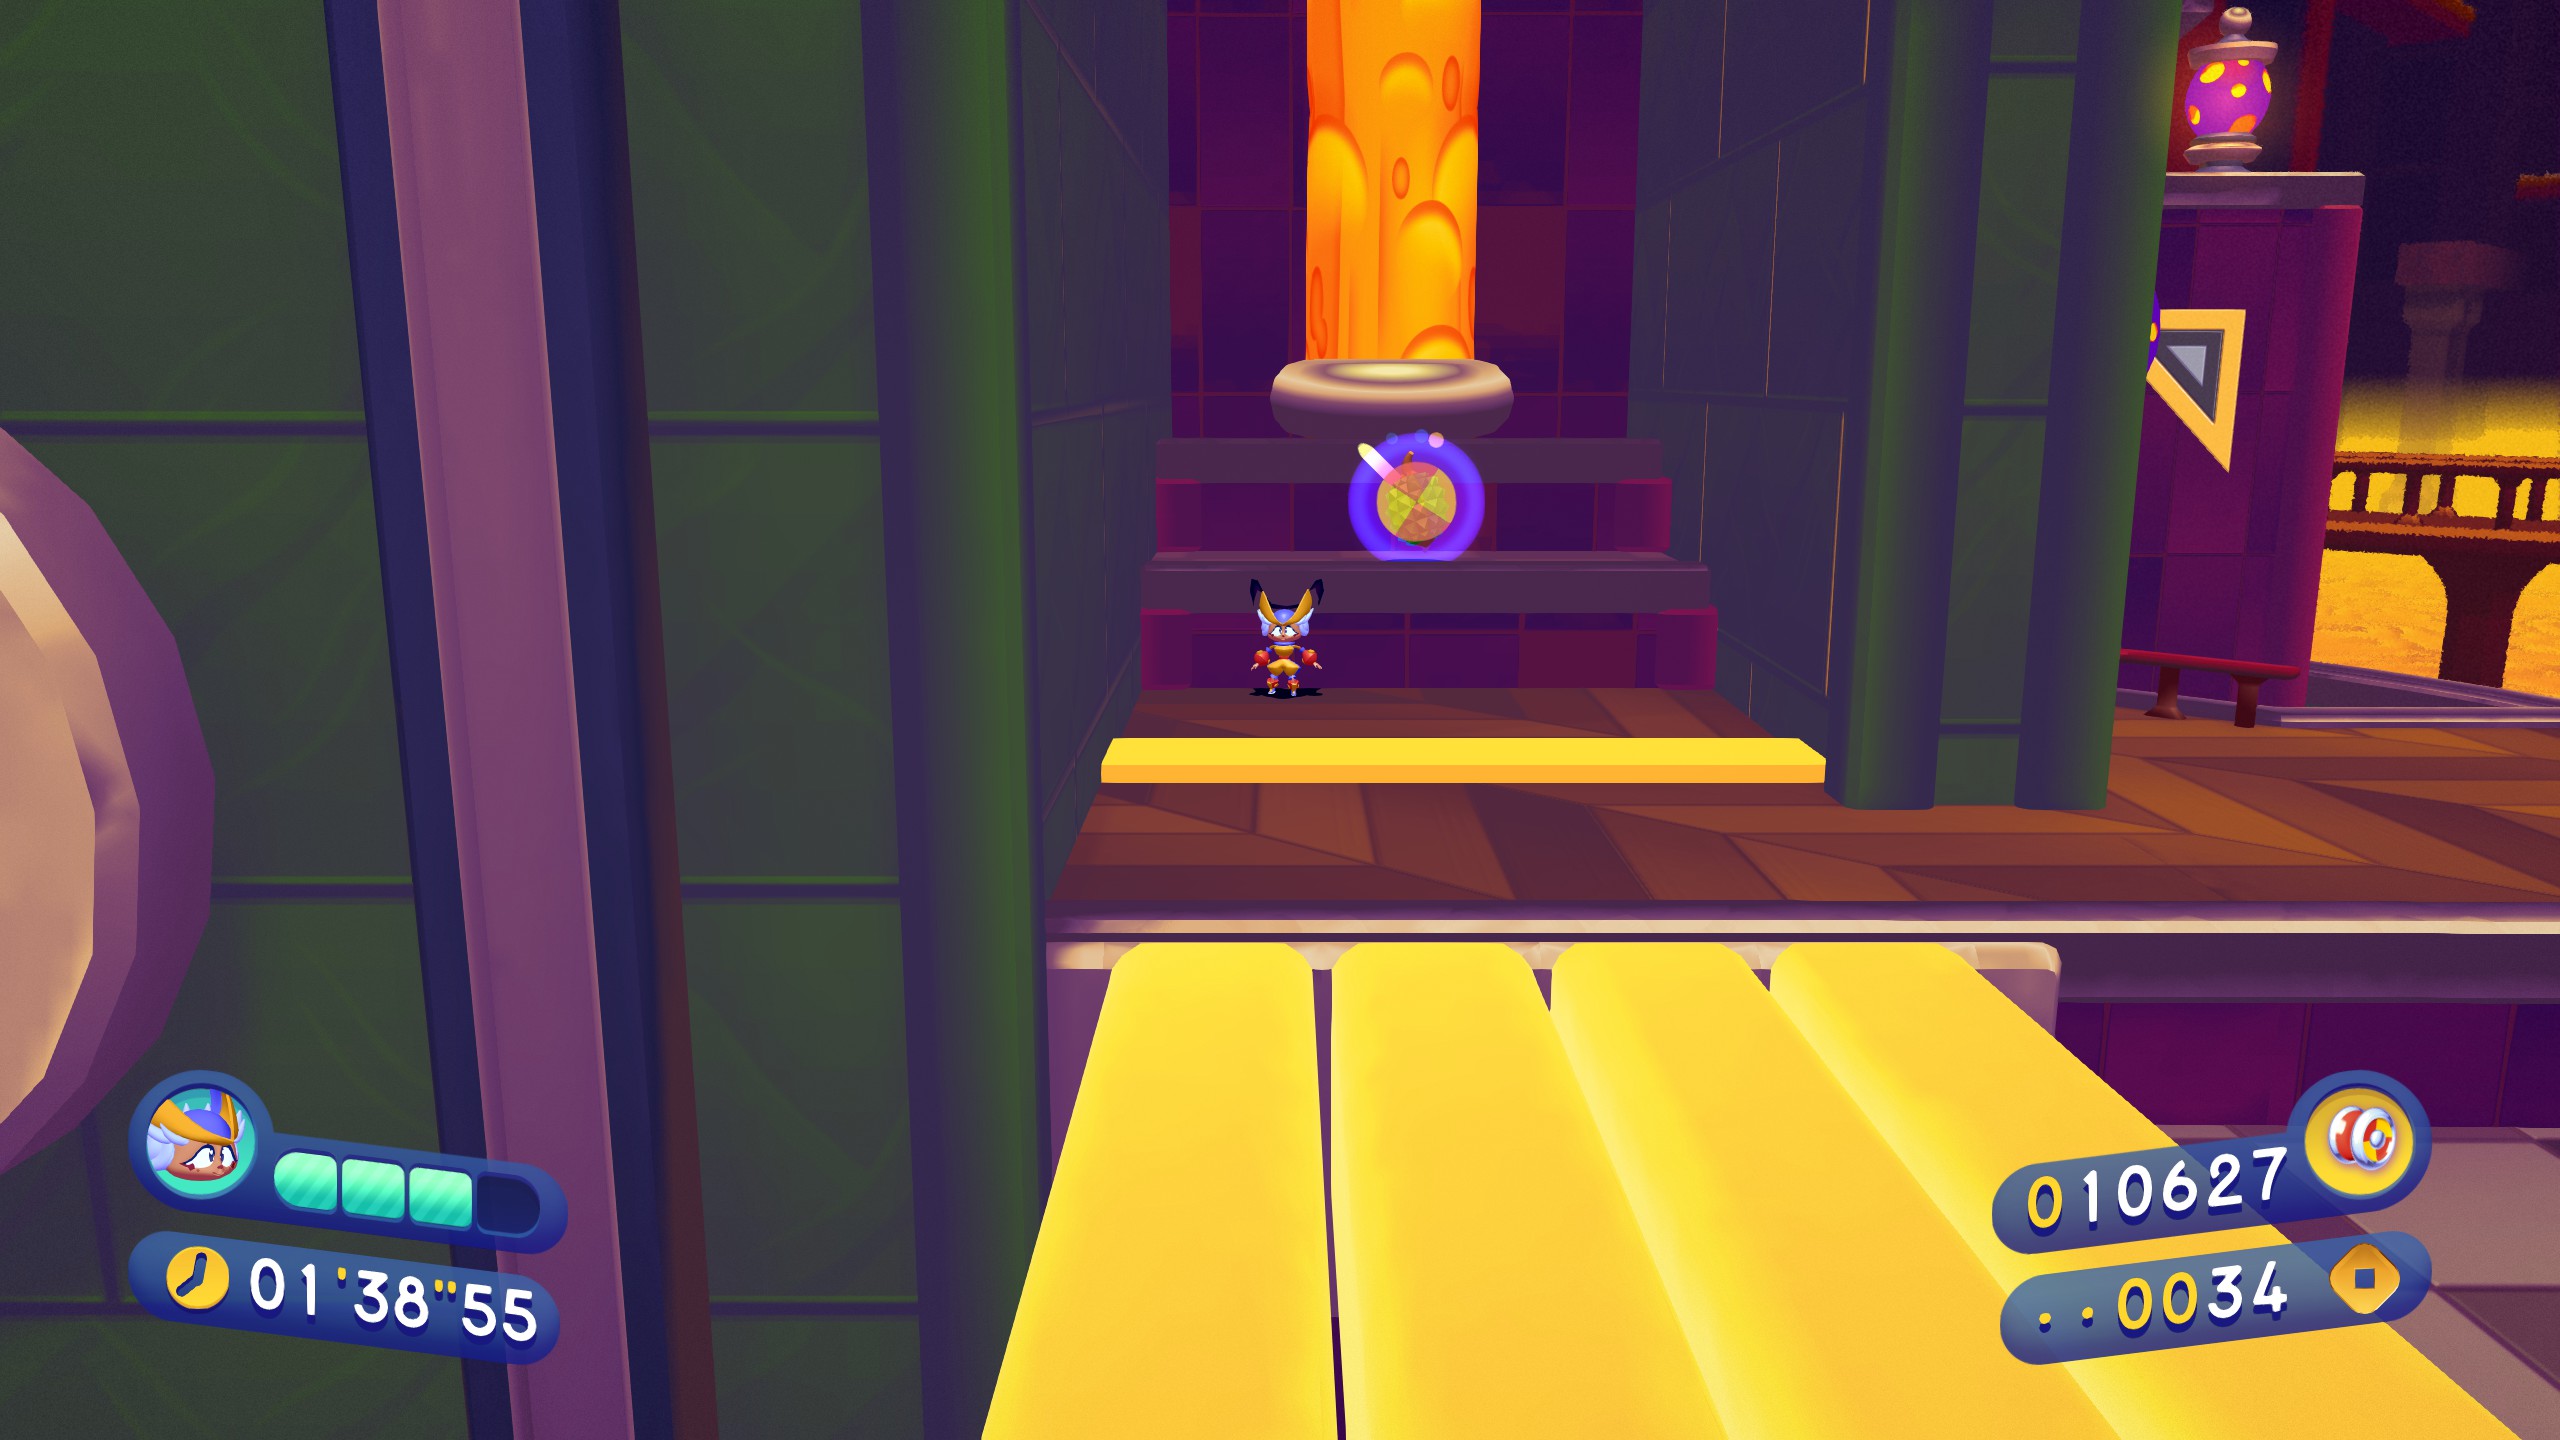
World 4: Moltobene
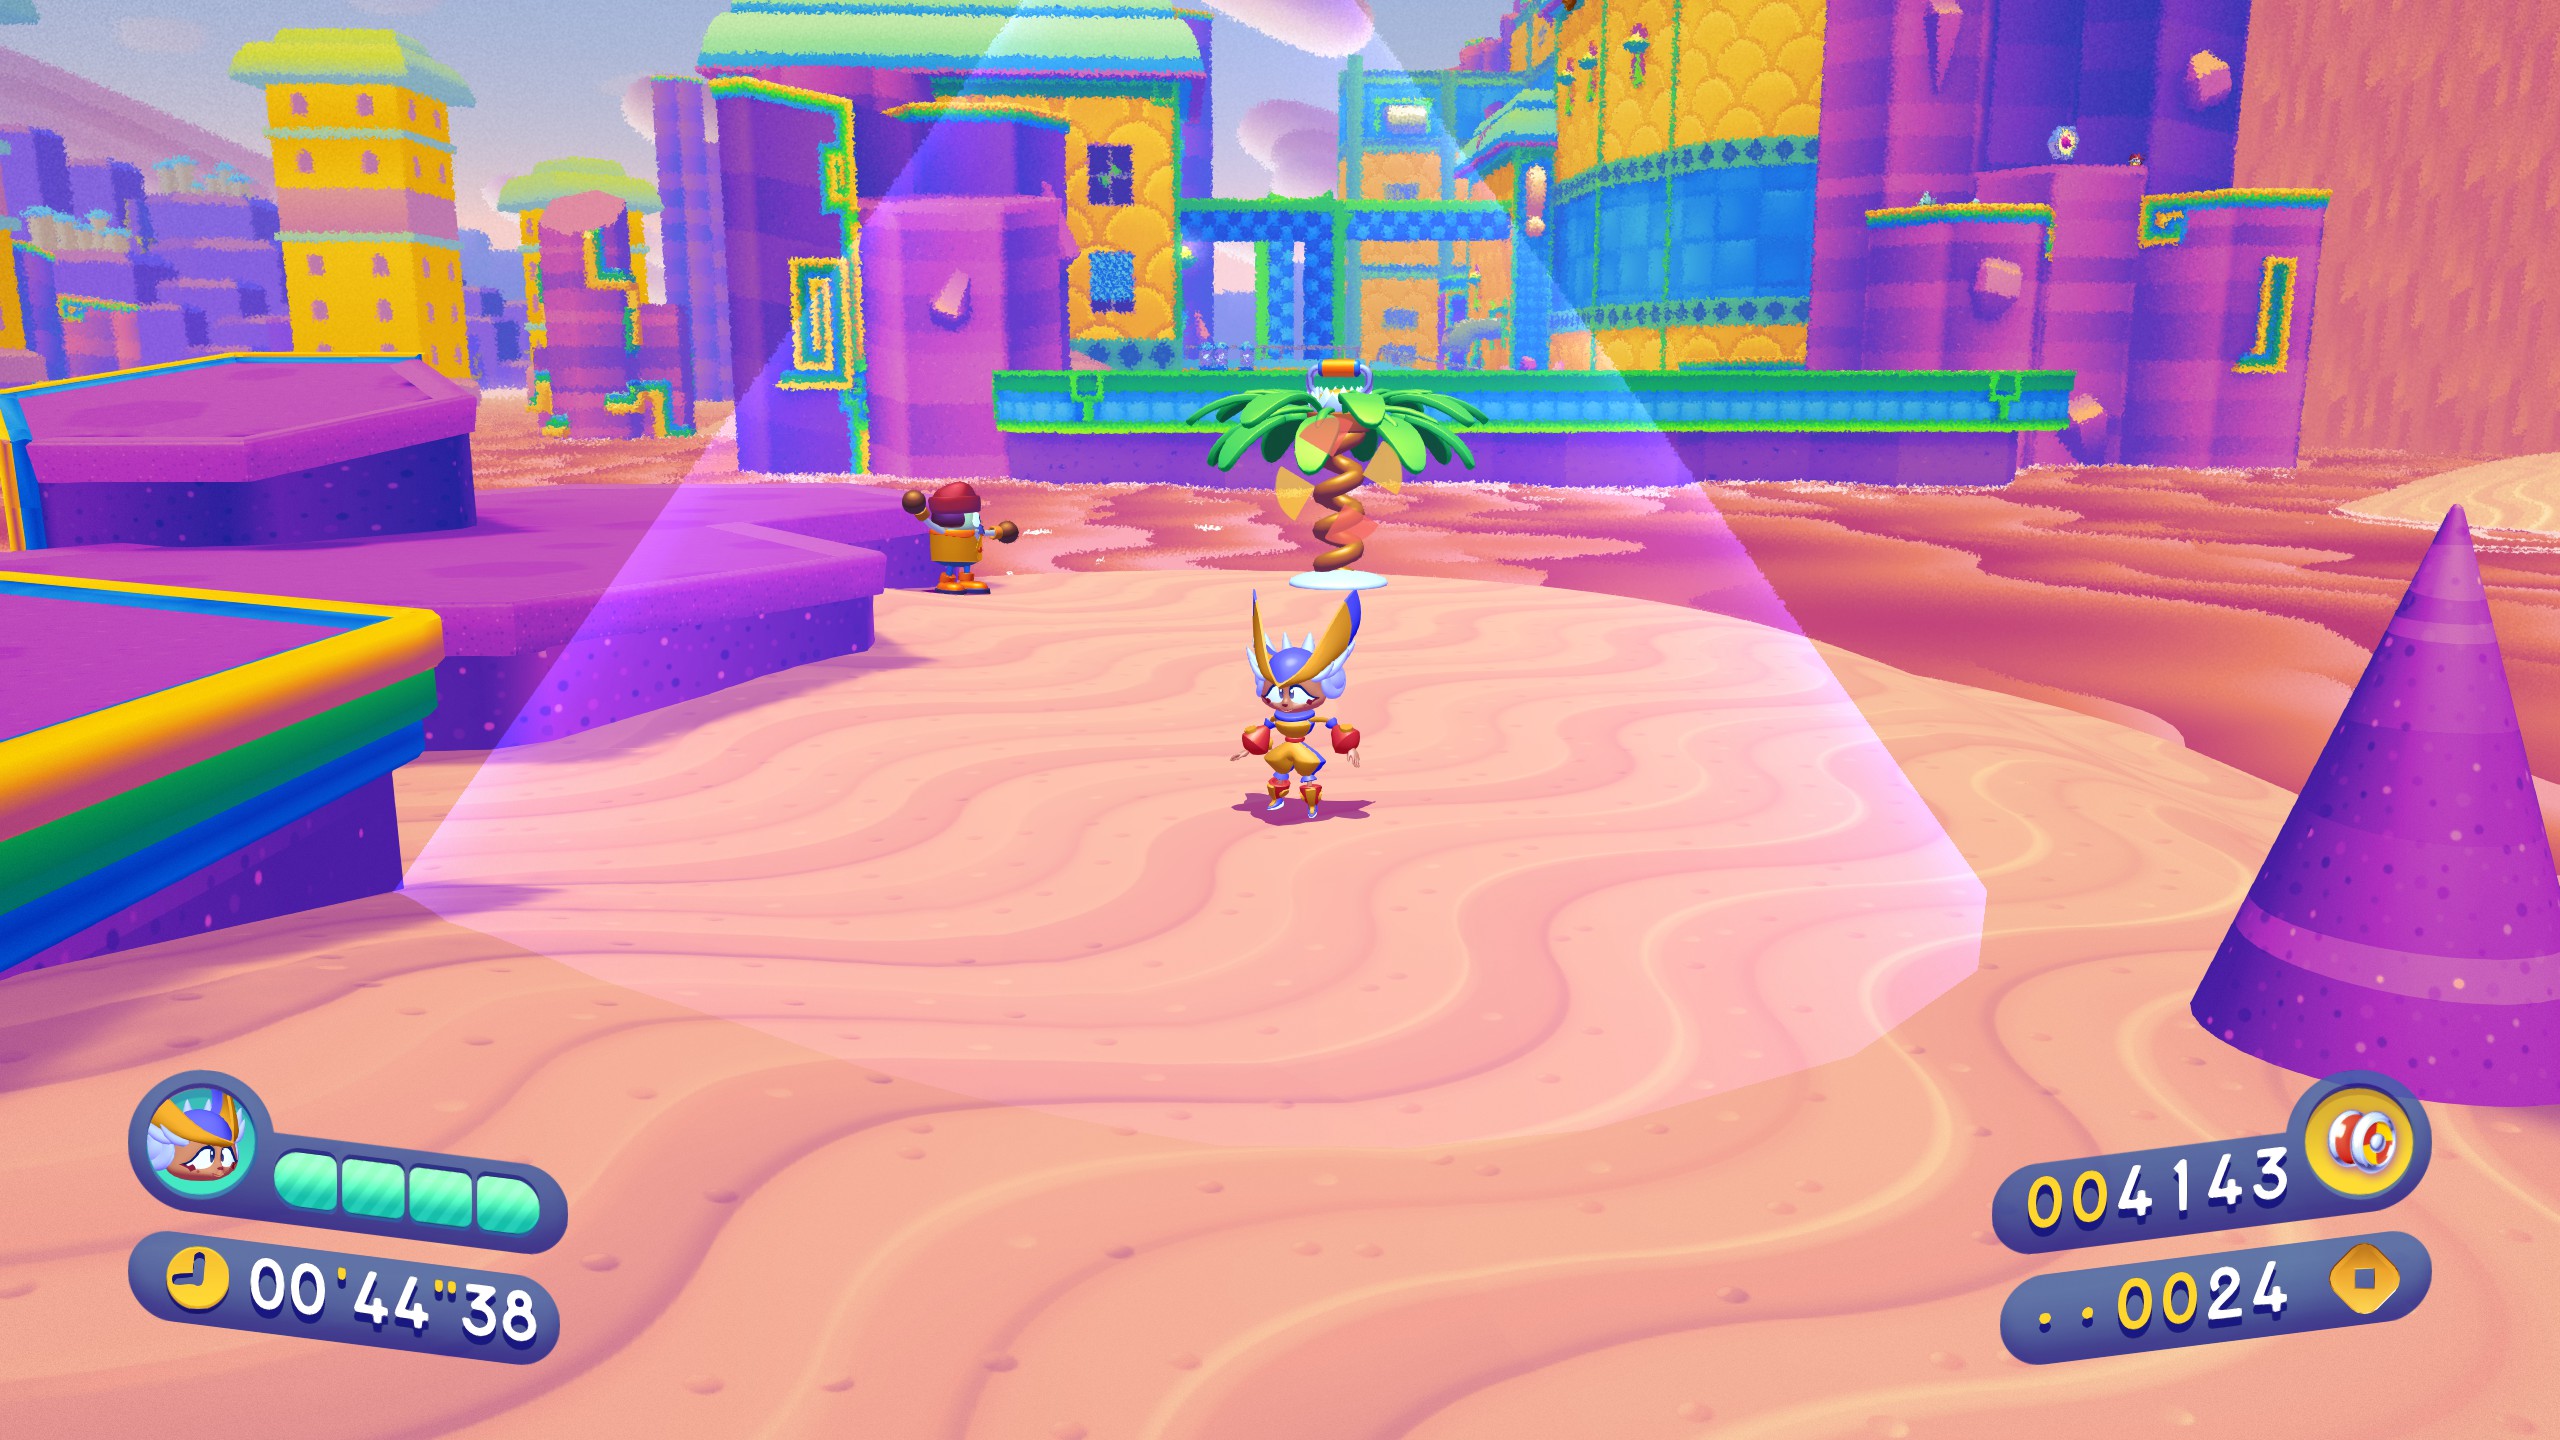
You’ll get to a half-pipe early on, piece 1 is up the right side. I suggest riding up the left, and then turning back down to build up a lot of speed, or at least jumping off the left side and hitting the ride button on the way down
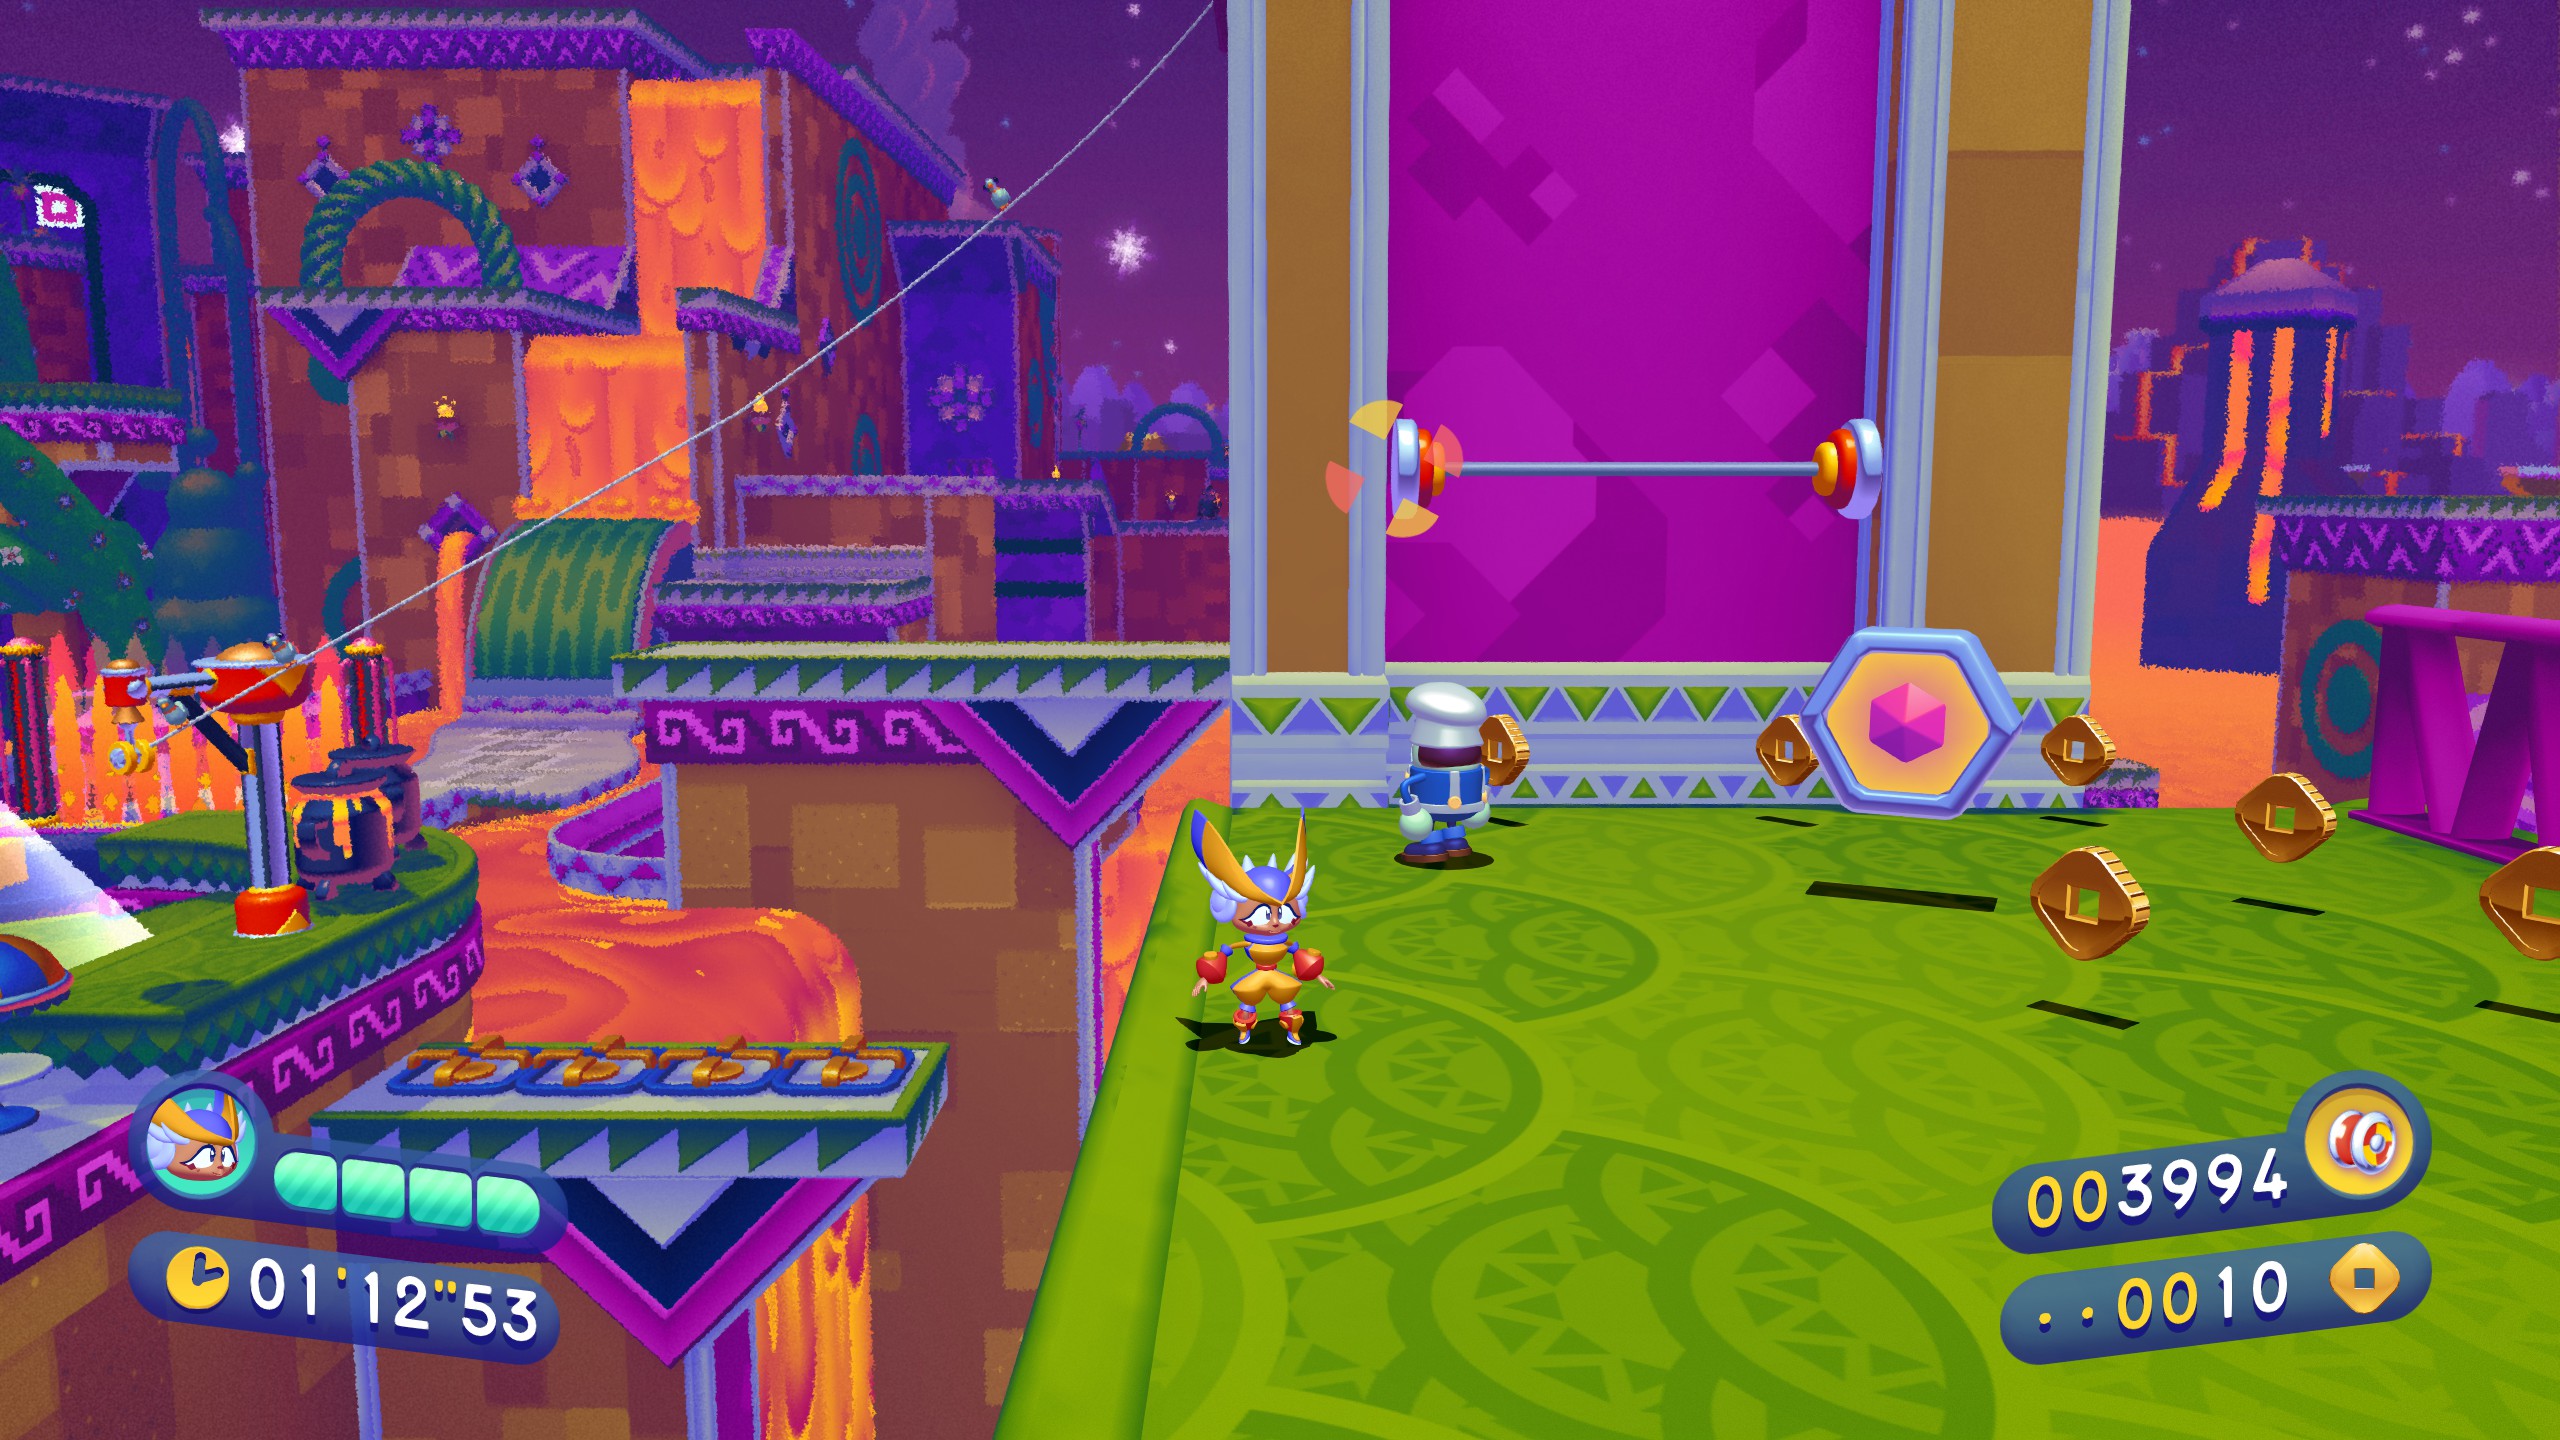
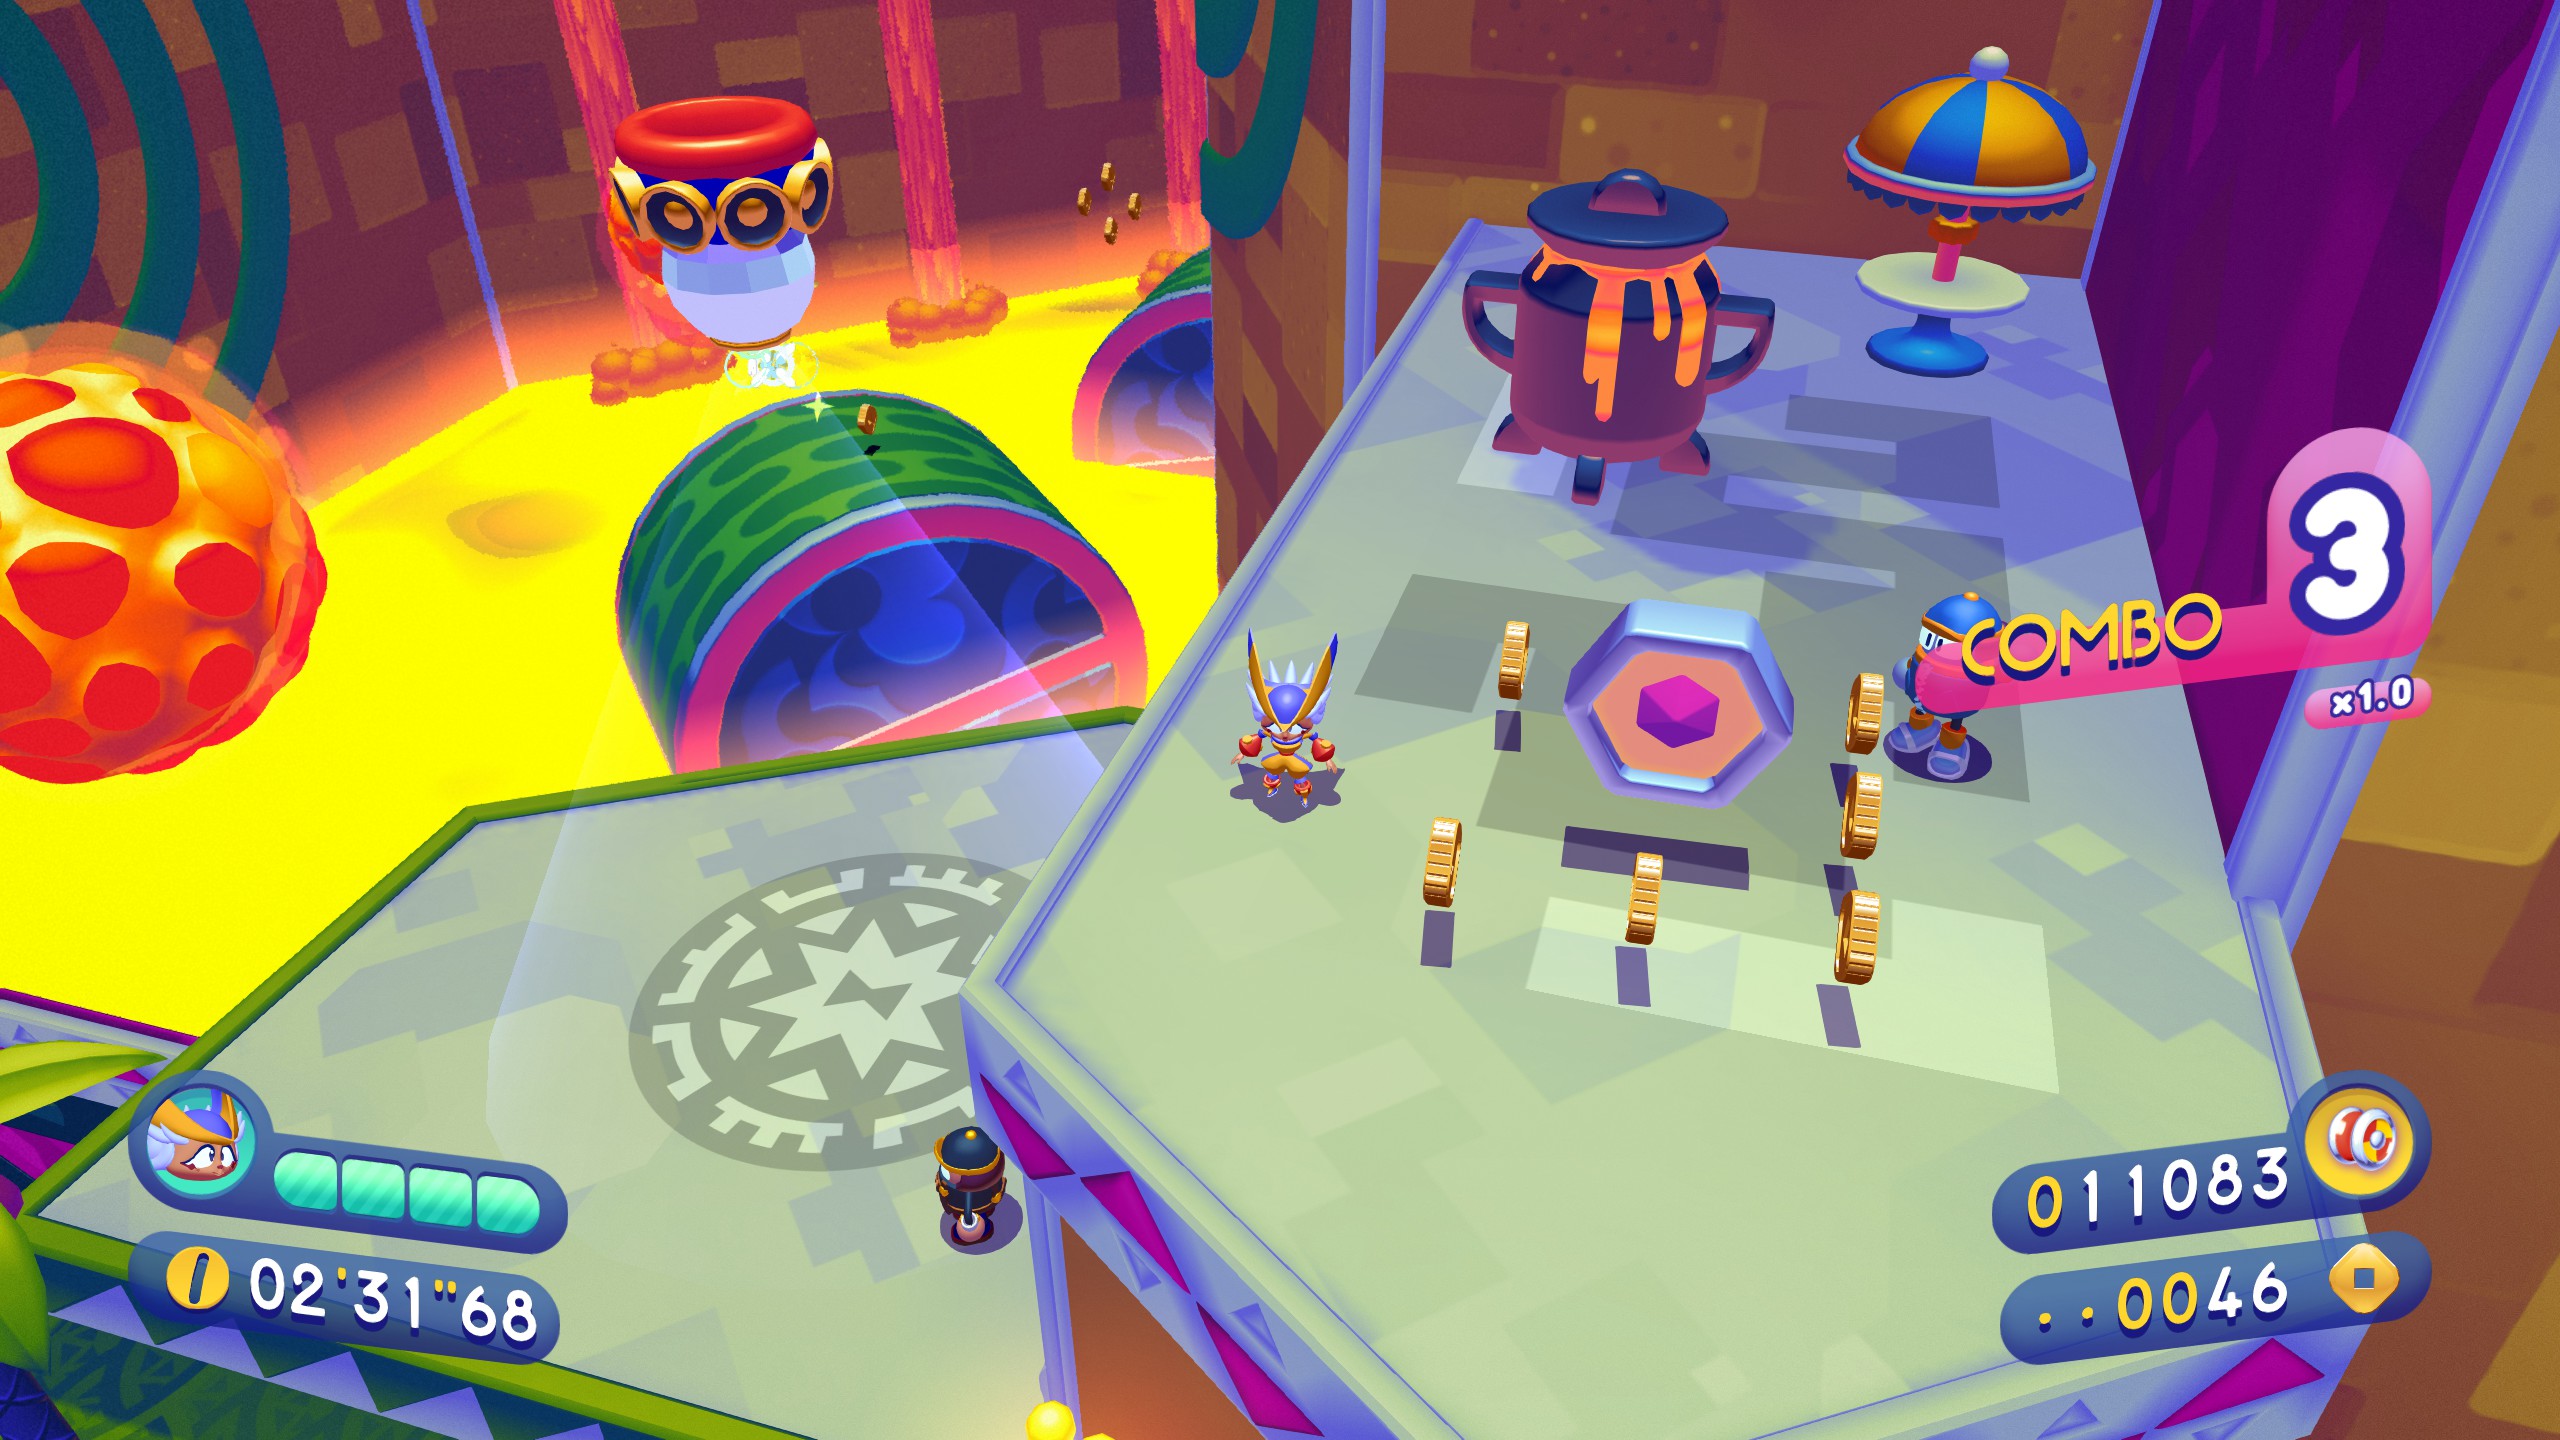
Piece 2 is easily visible as you climb ahead. Ride across the little plaza and launch up top.
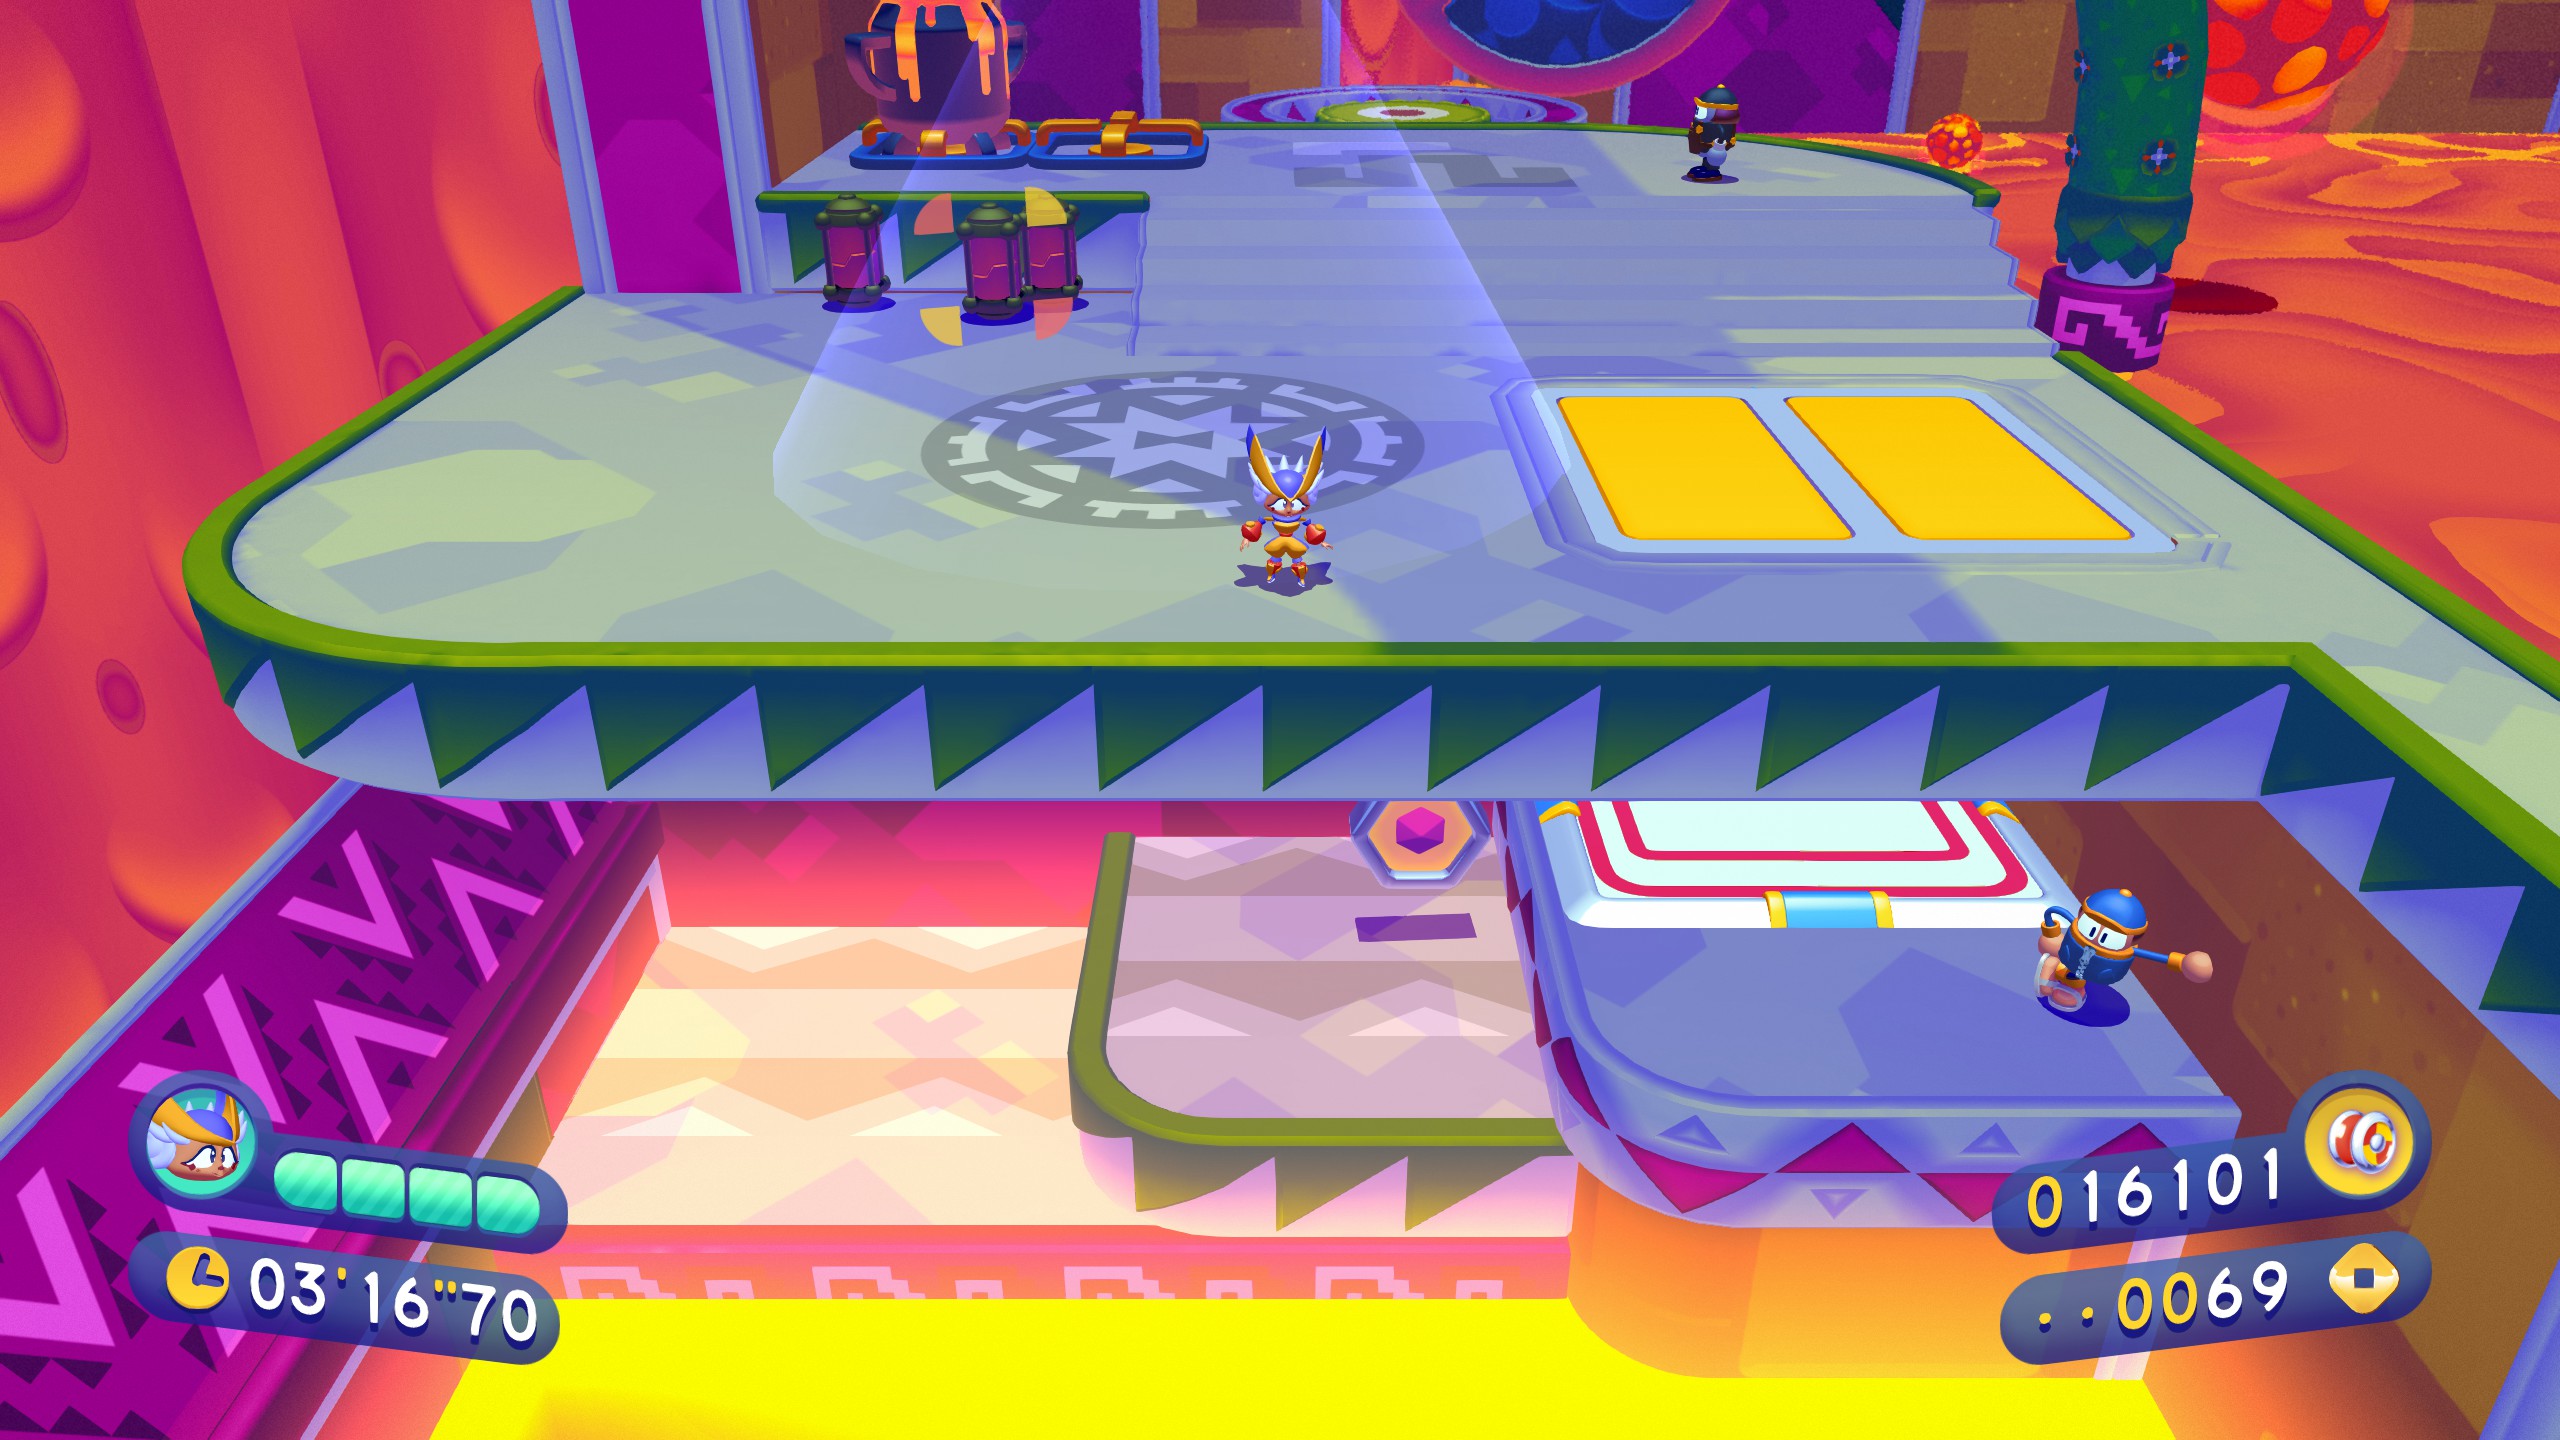
Piece 3 requires you to use the green launch pad up ahead in this photo, then hitting an accel ring to launch directly over to it’s platform

4-2
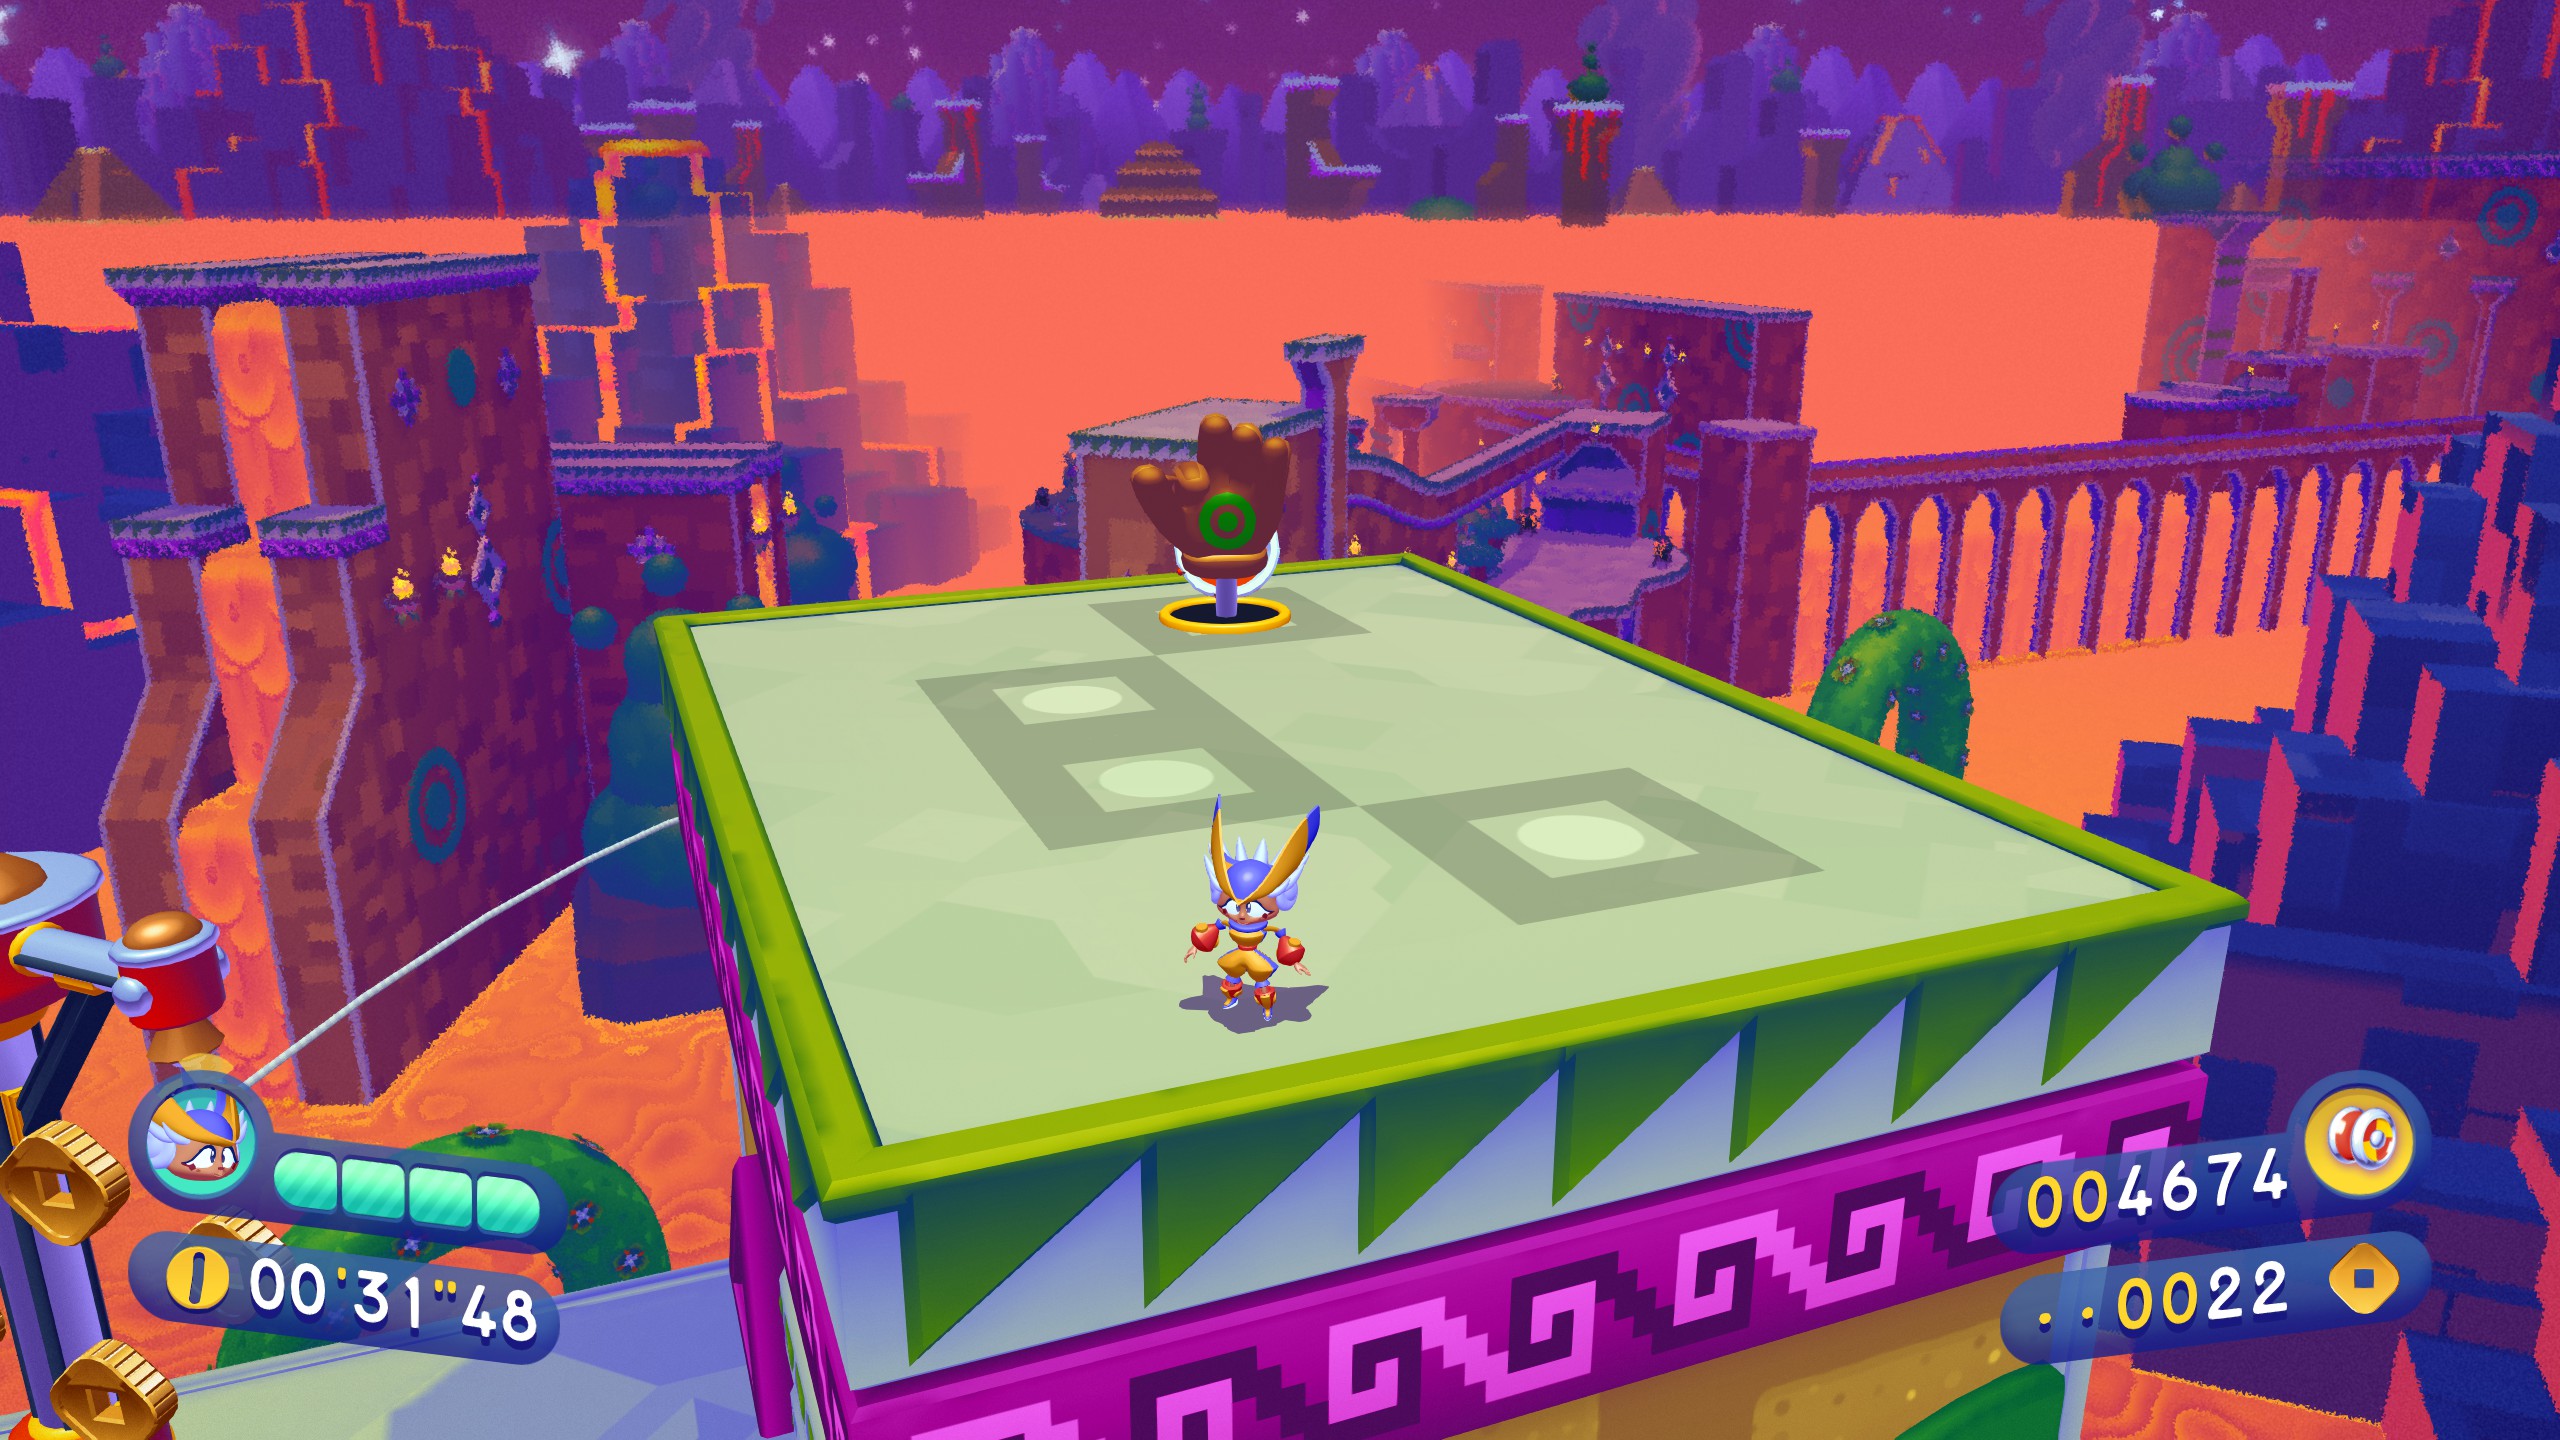
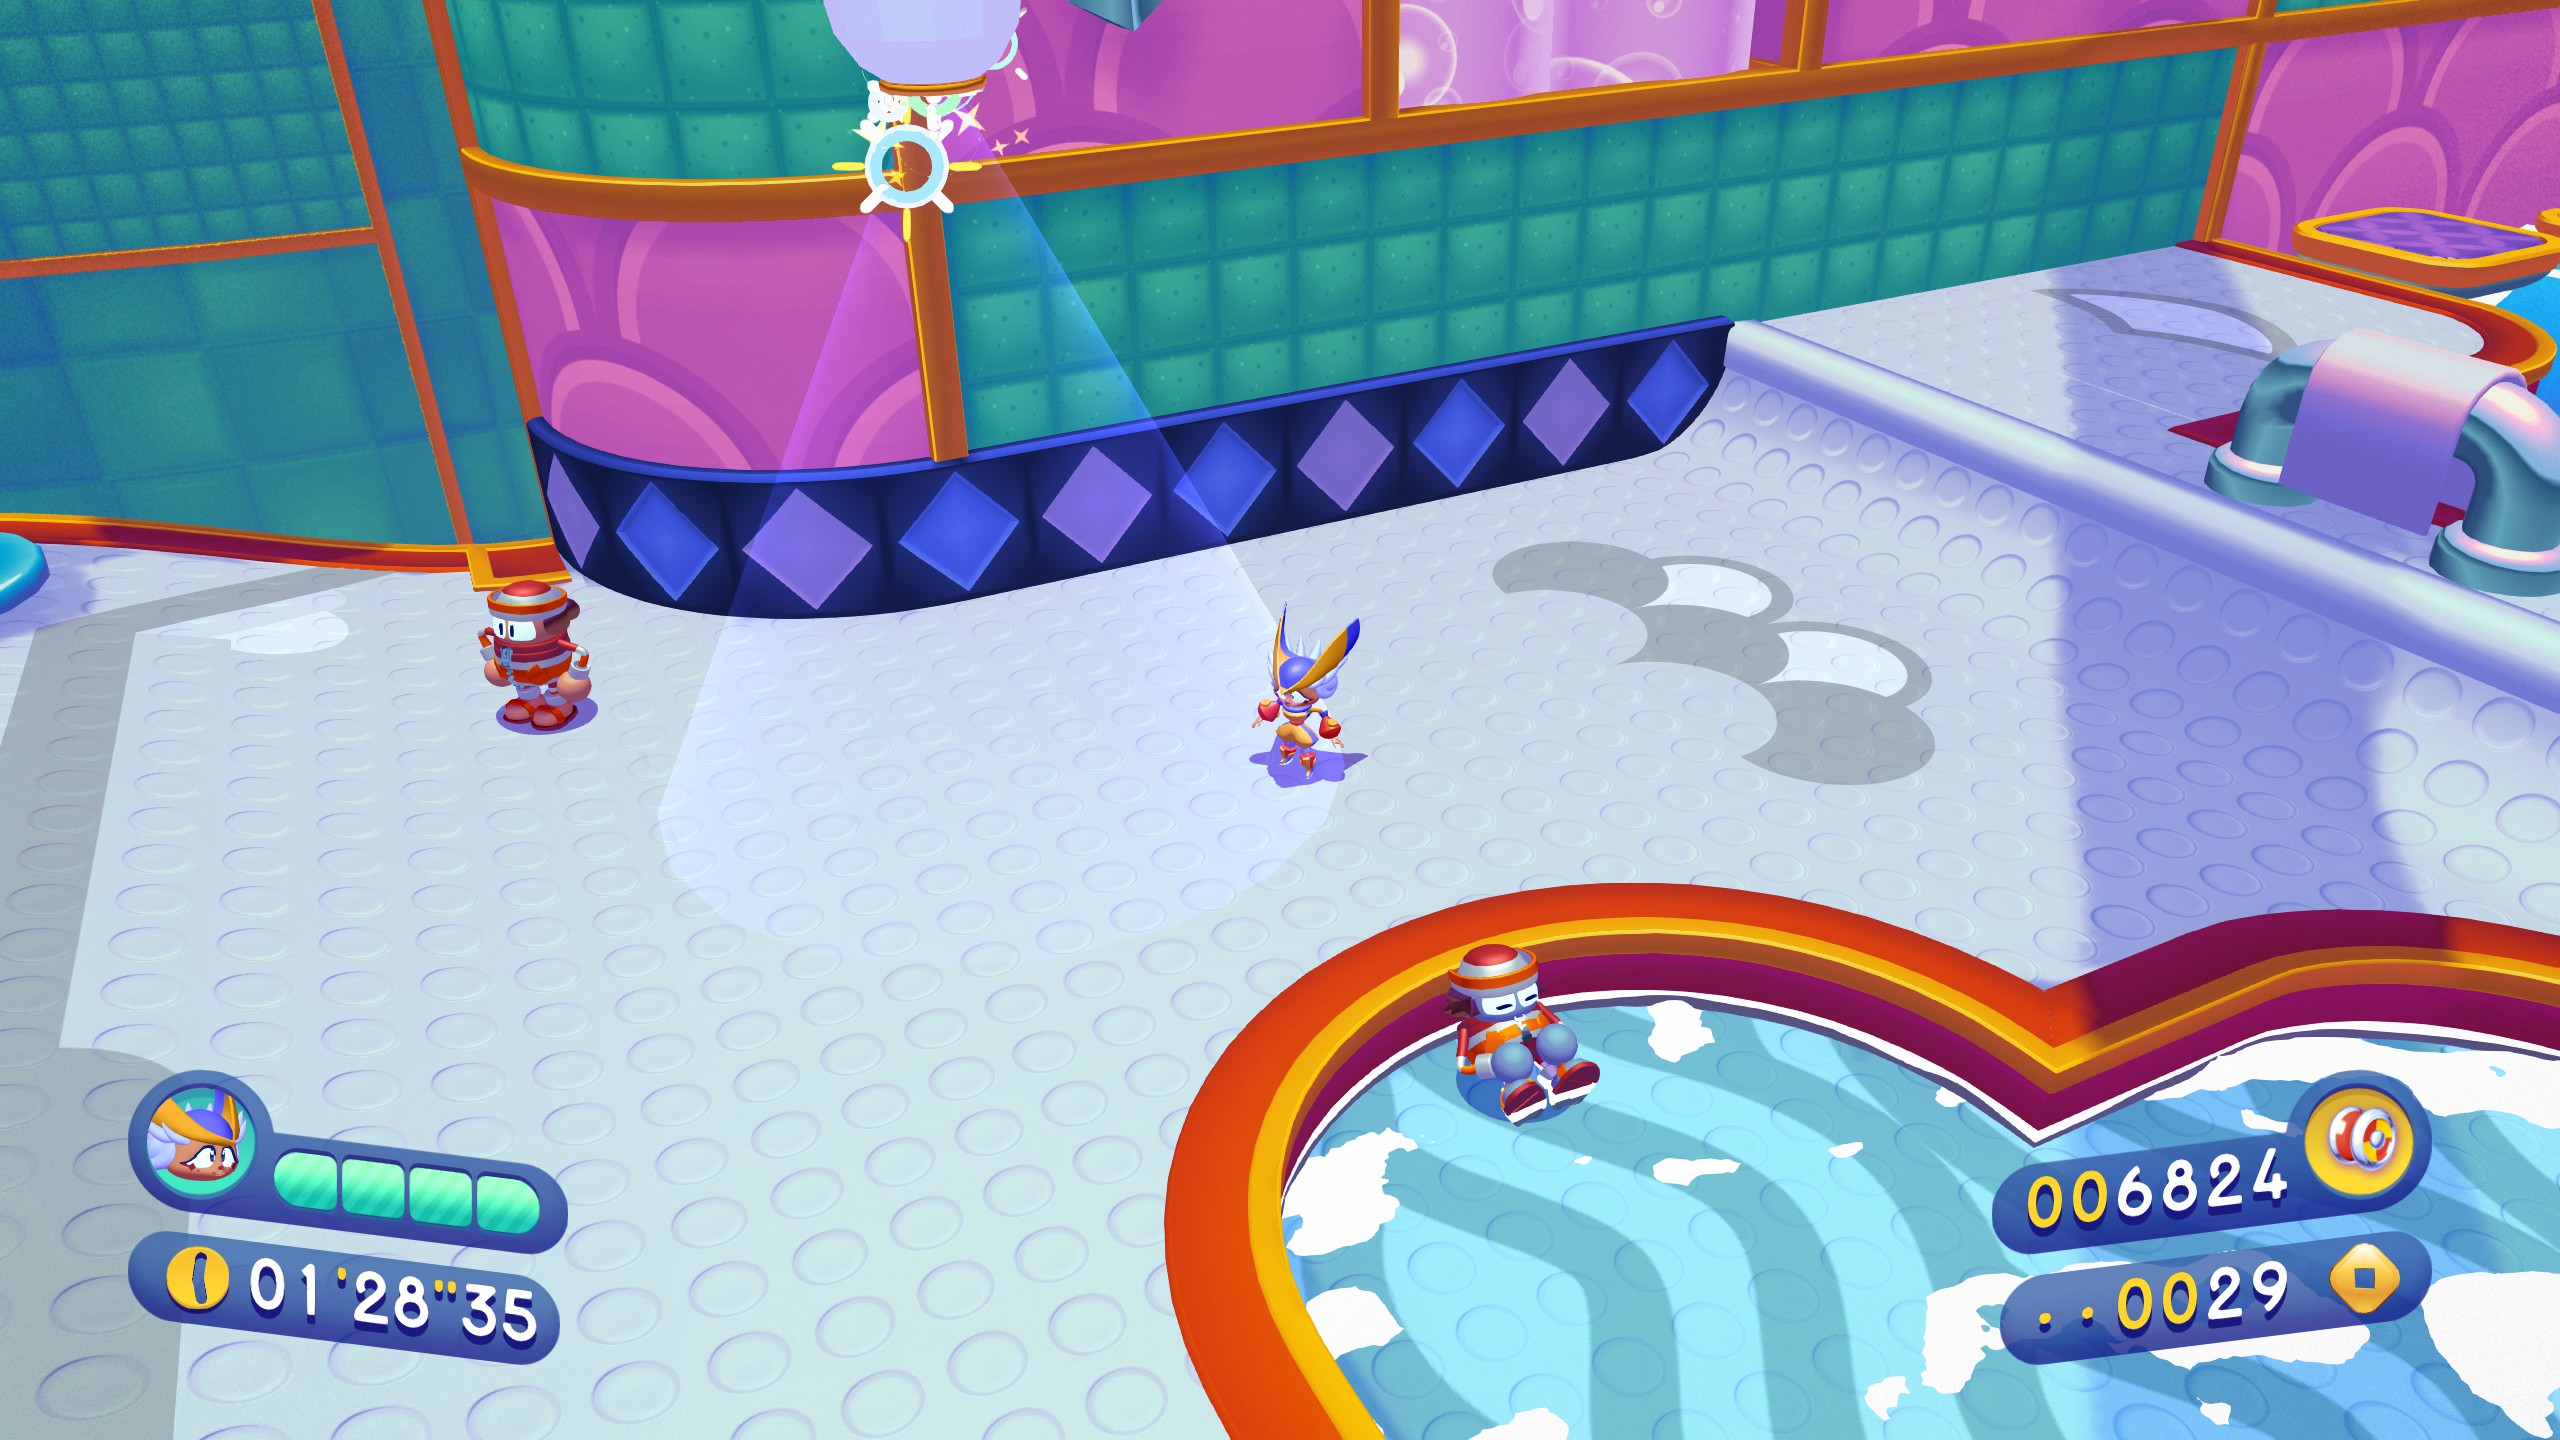
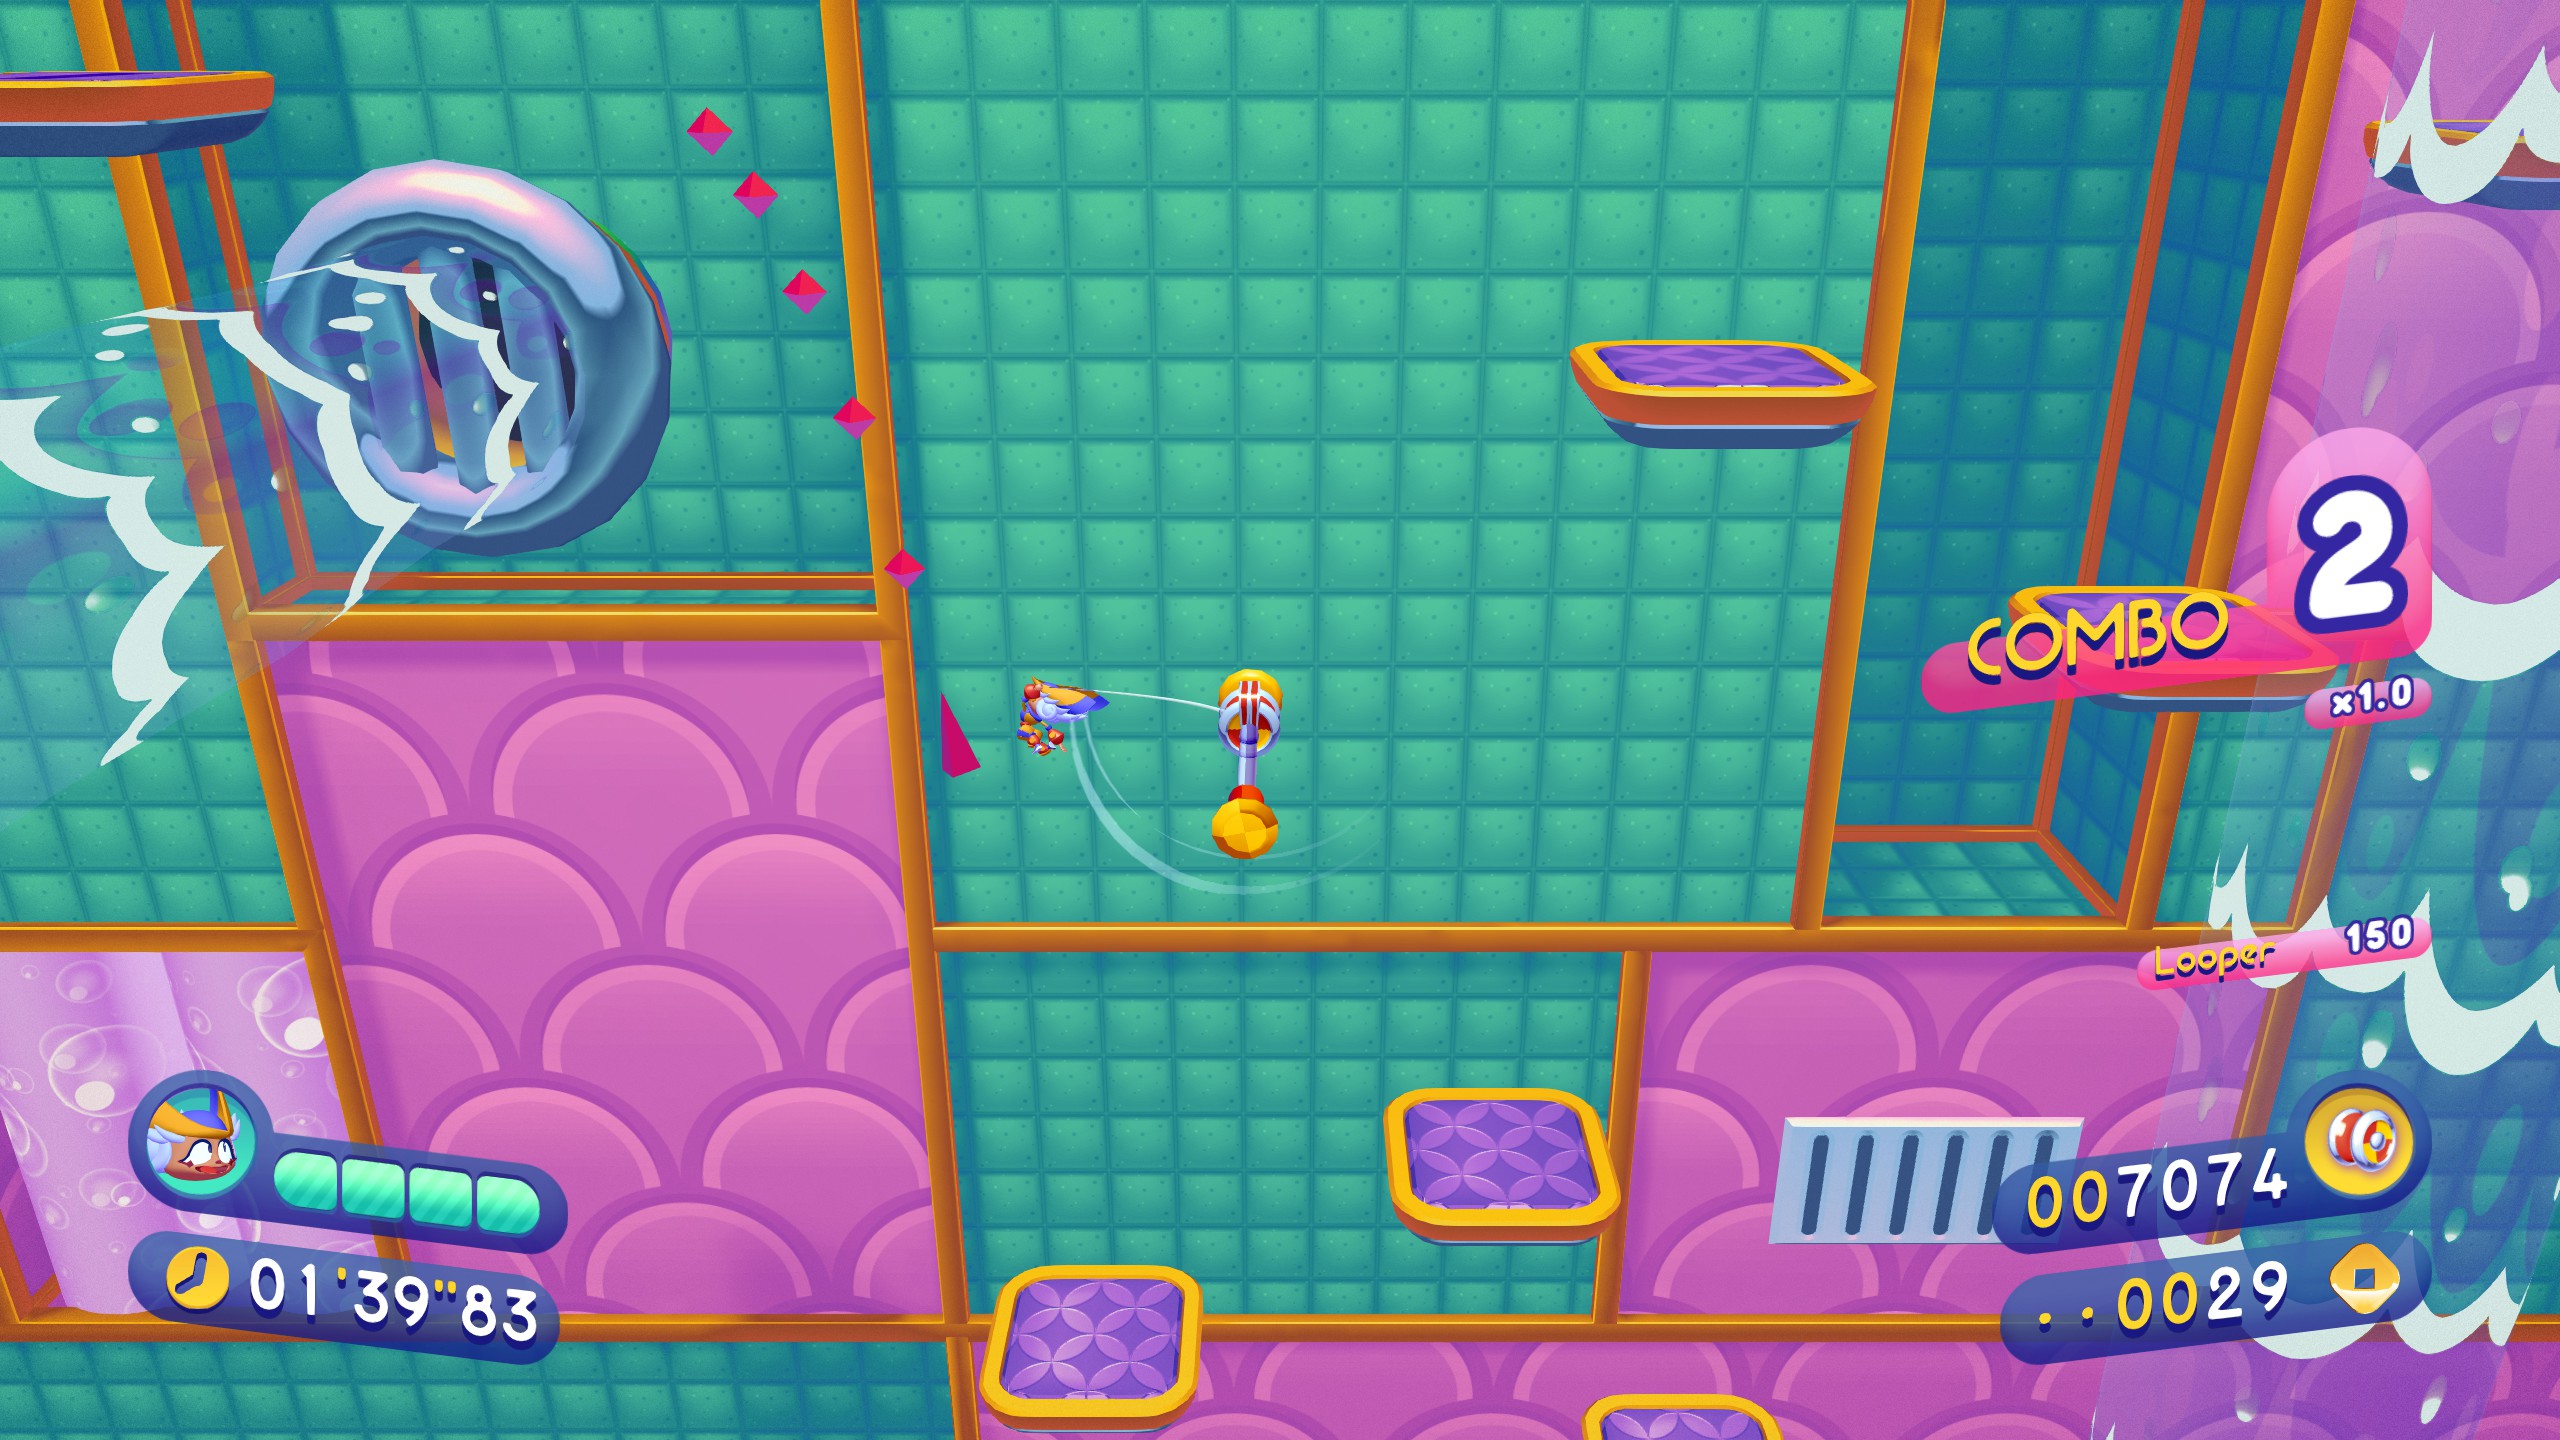
Piece 1 can be found at the end of the score attack dilemma. Ride down this ramp and land on the upper platform. Take the baseball glove to it’s section. Straightforward from there.
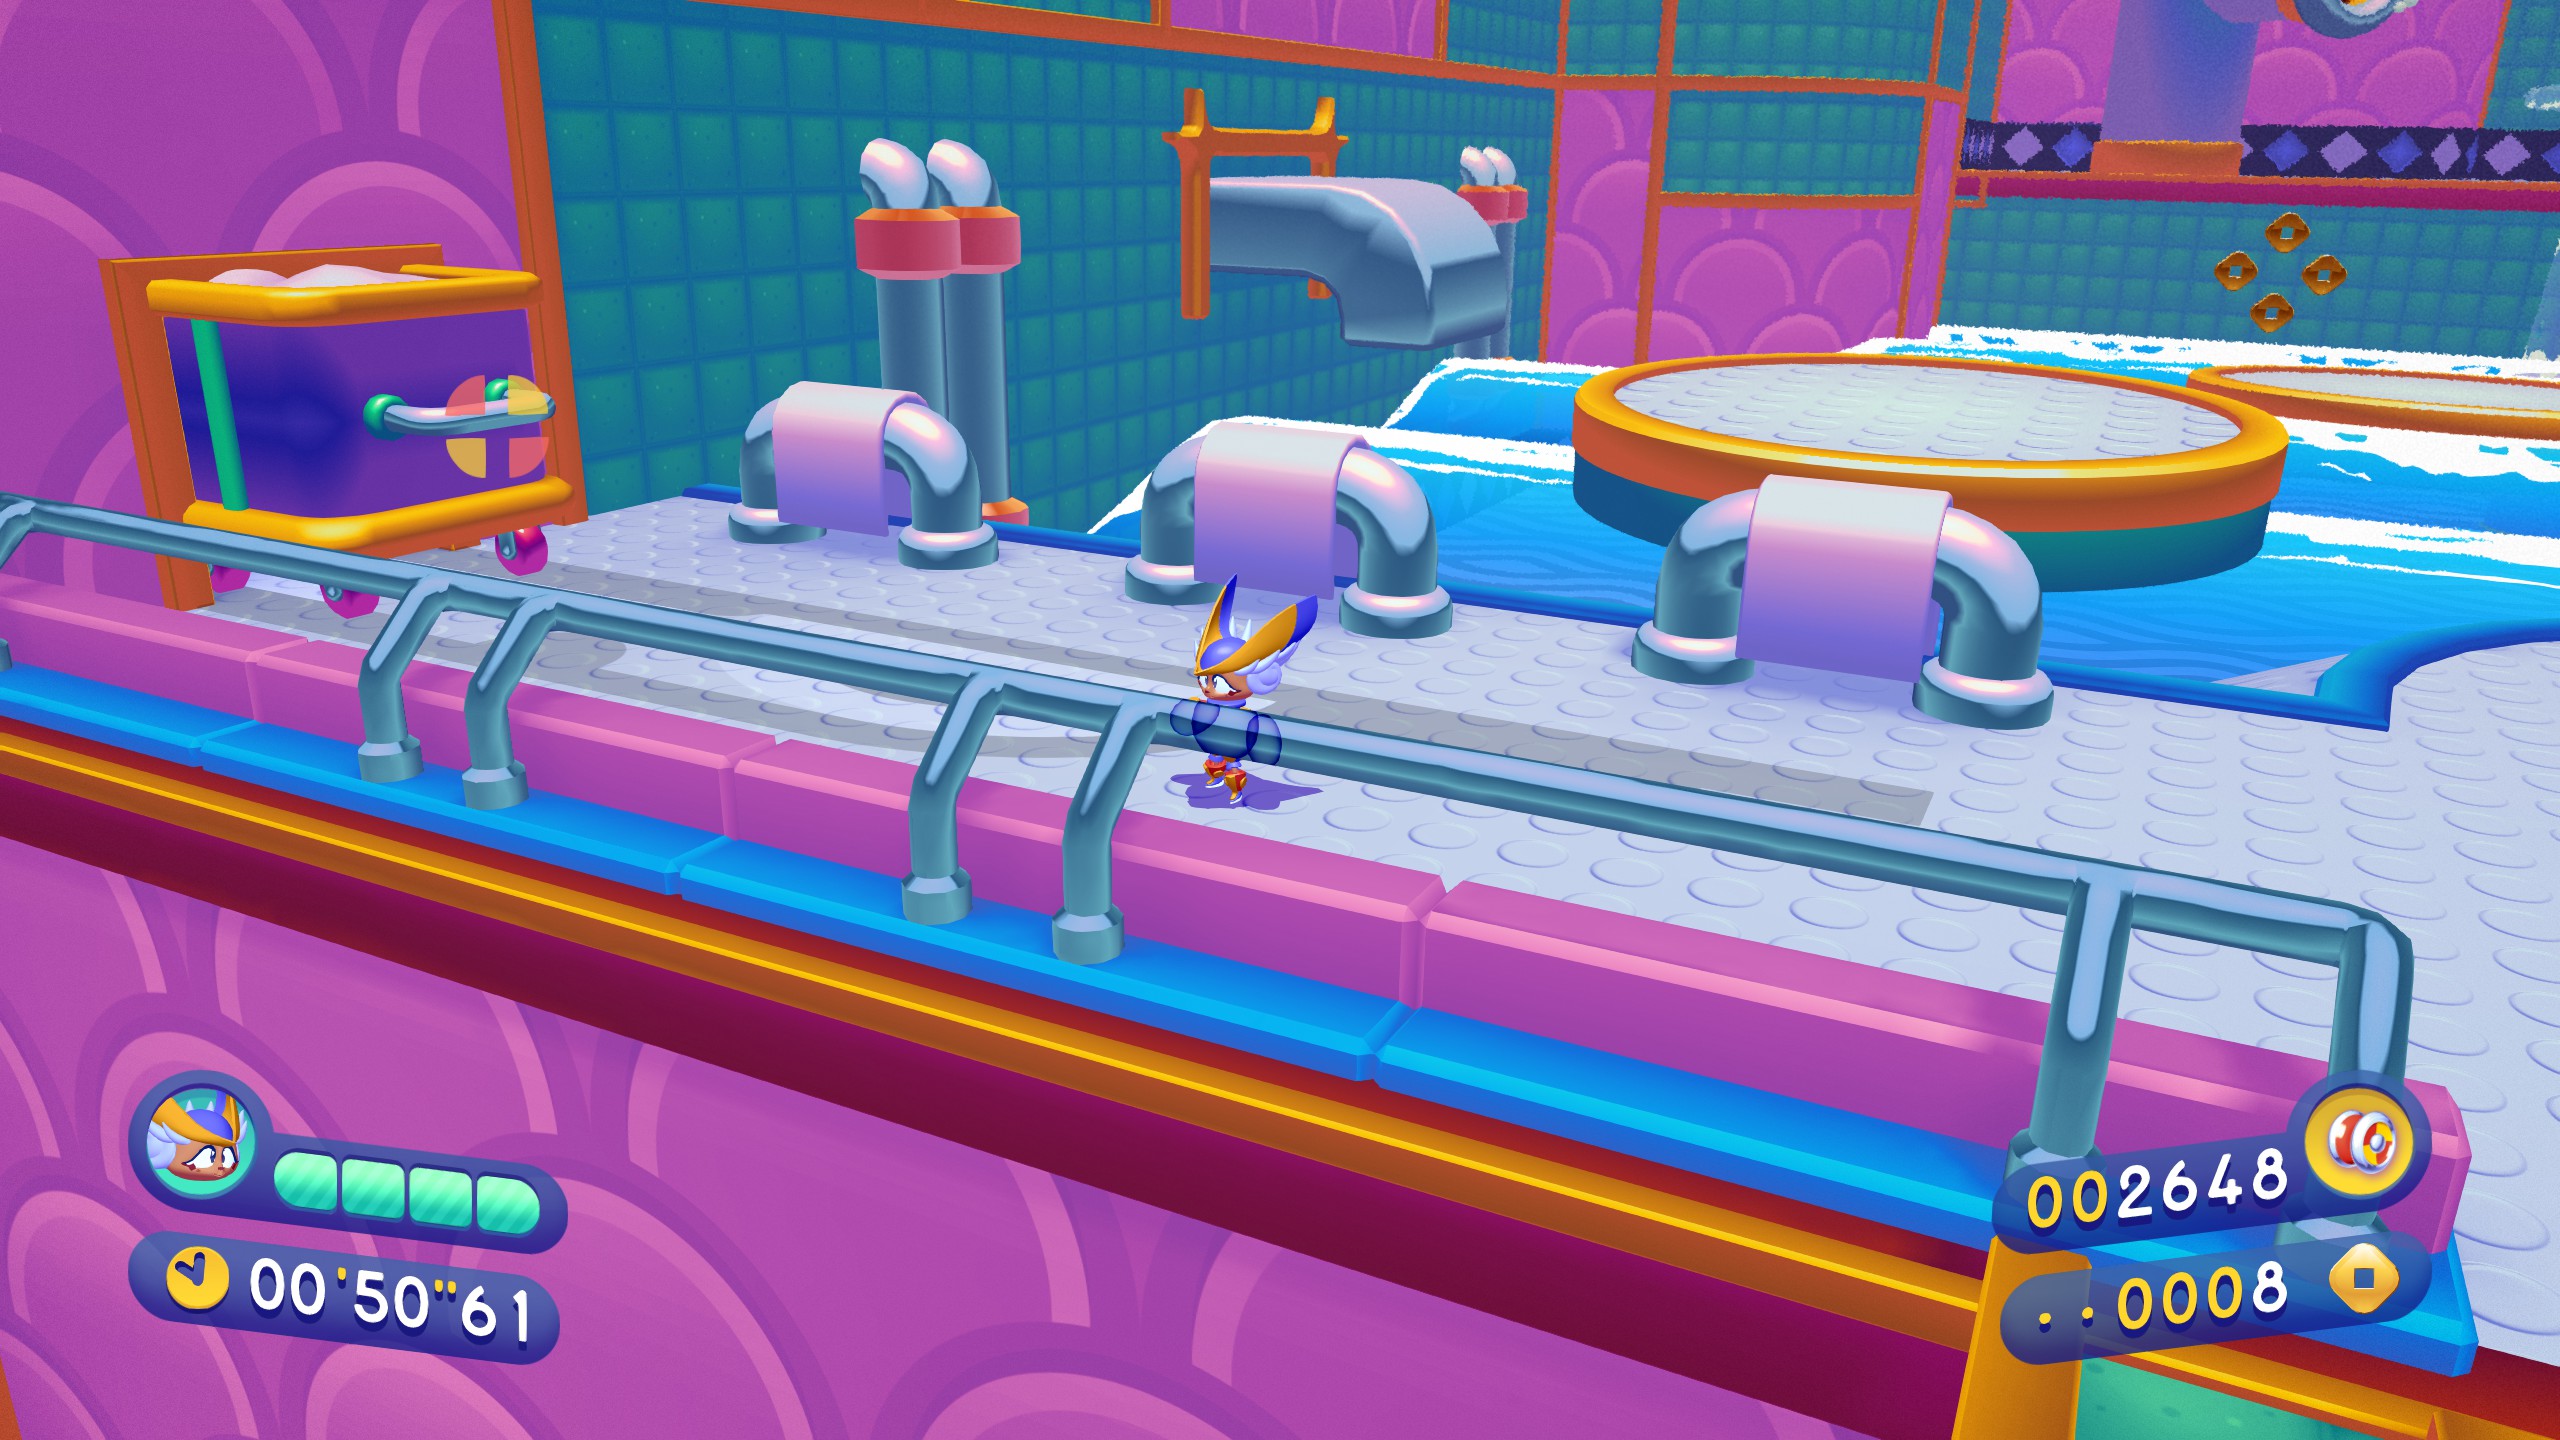
Piece 2 is fairly further ahead of piece 1. It can be found to the upper left behind the flame wall. Turn it off by using the lever adjacent the skillet. (not shown, the flame wall, it’s annoying to turn off and I forgot to take the picture before)
Use the Endurian to ride the lava up, hop across the lava tubes before it runs out, and there’s your piece.
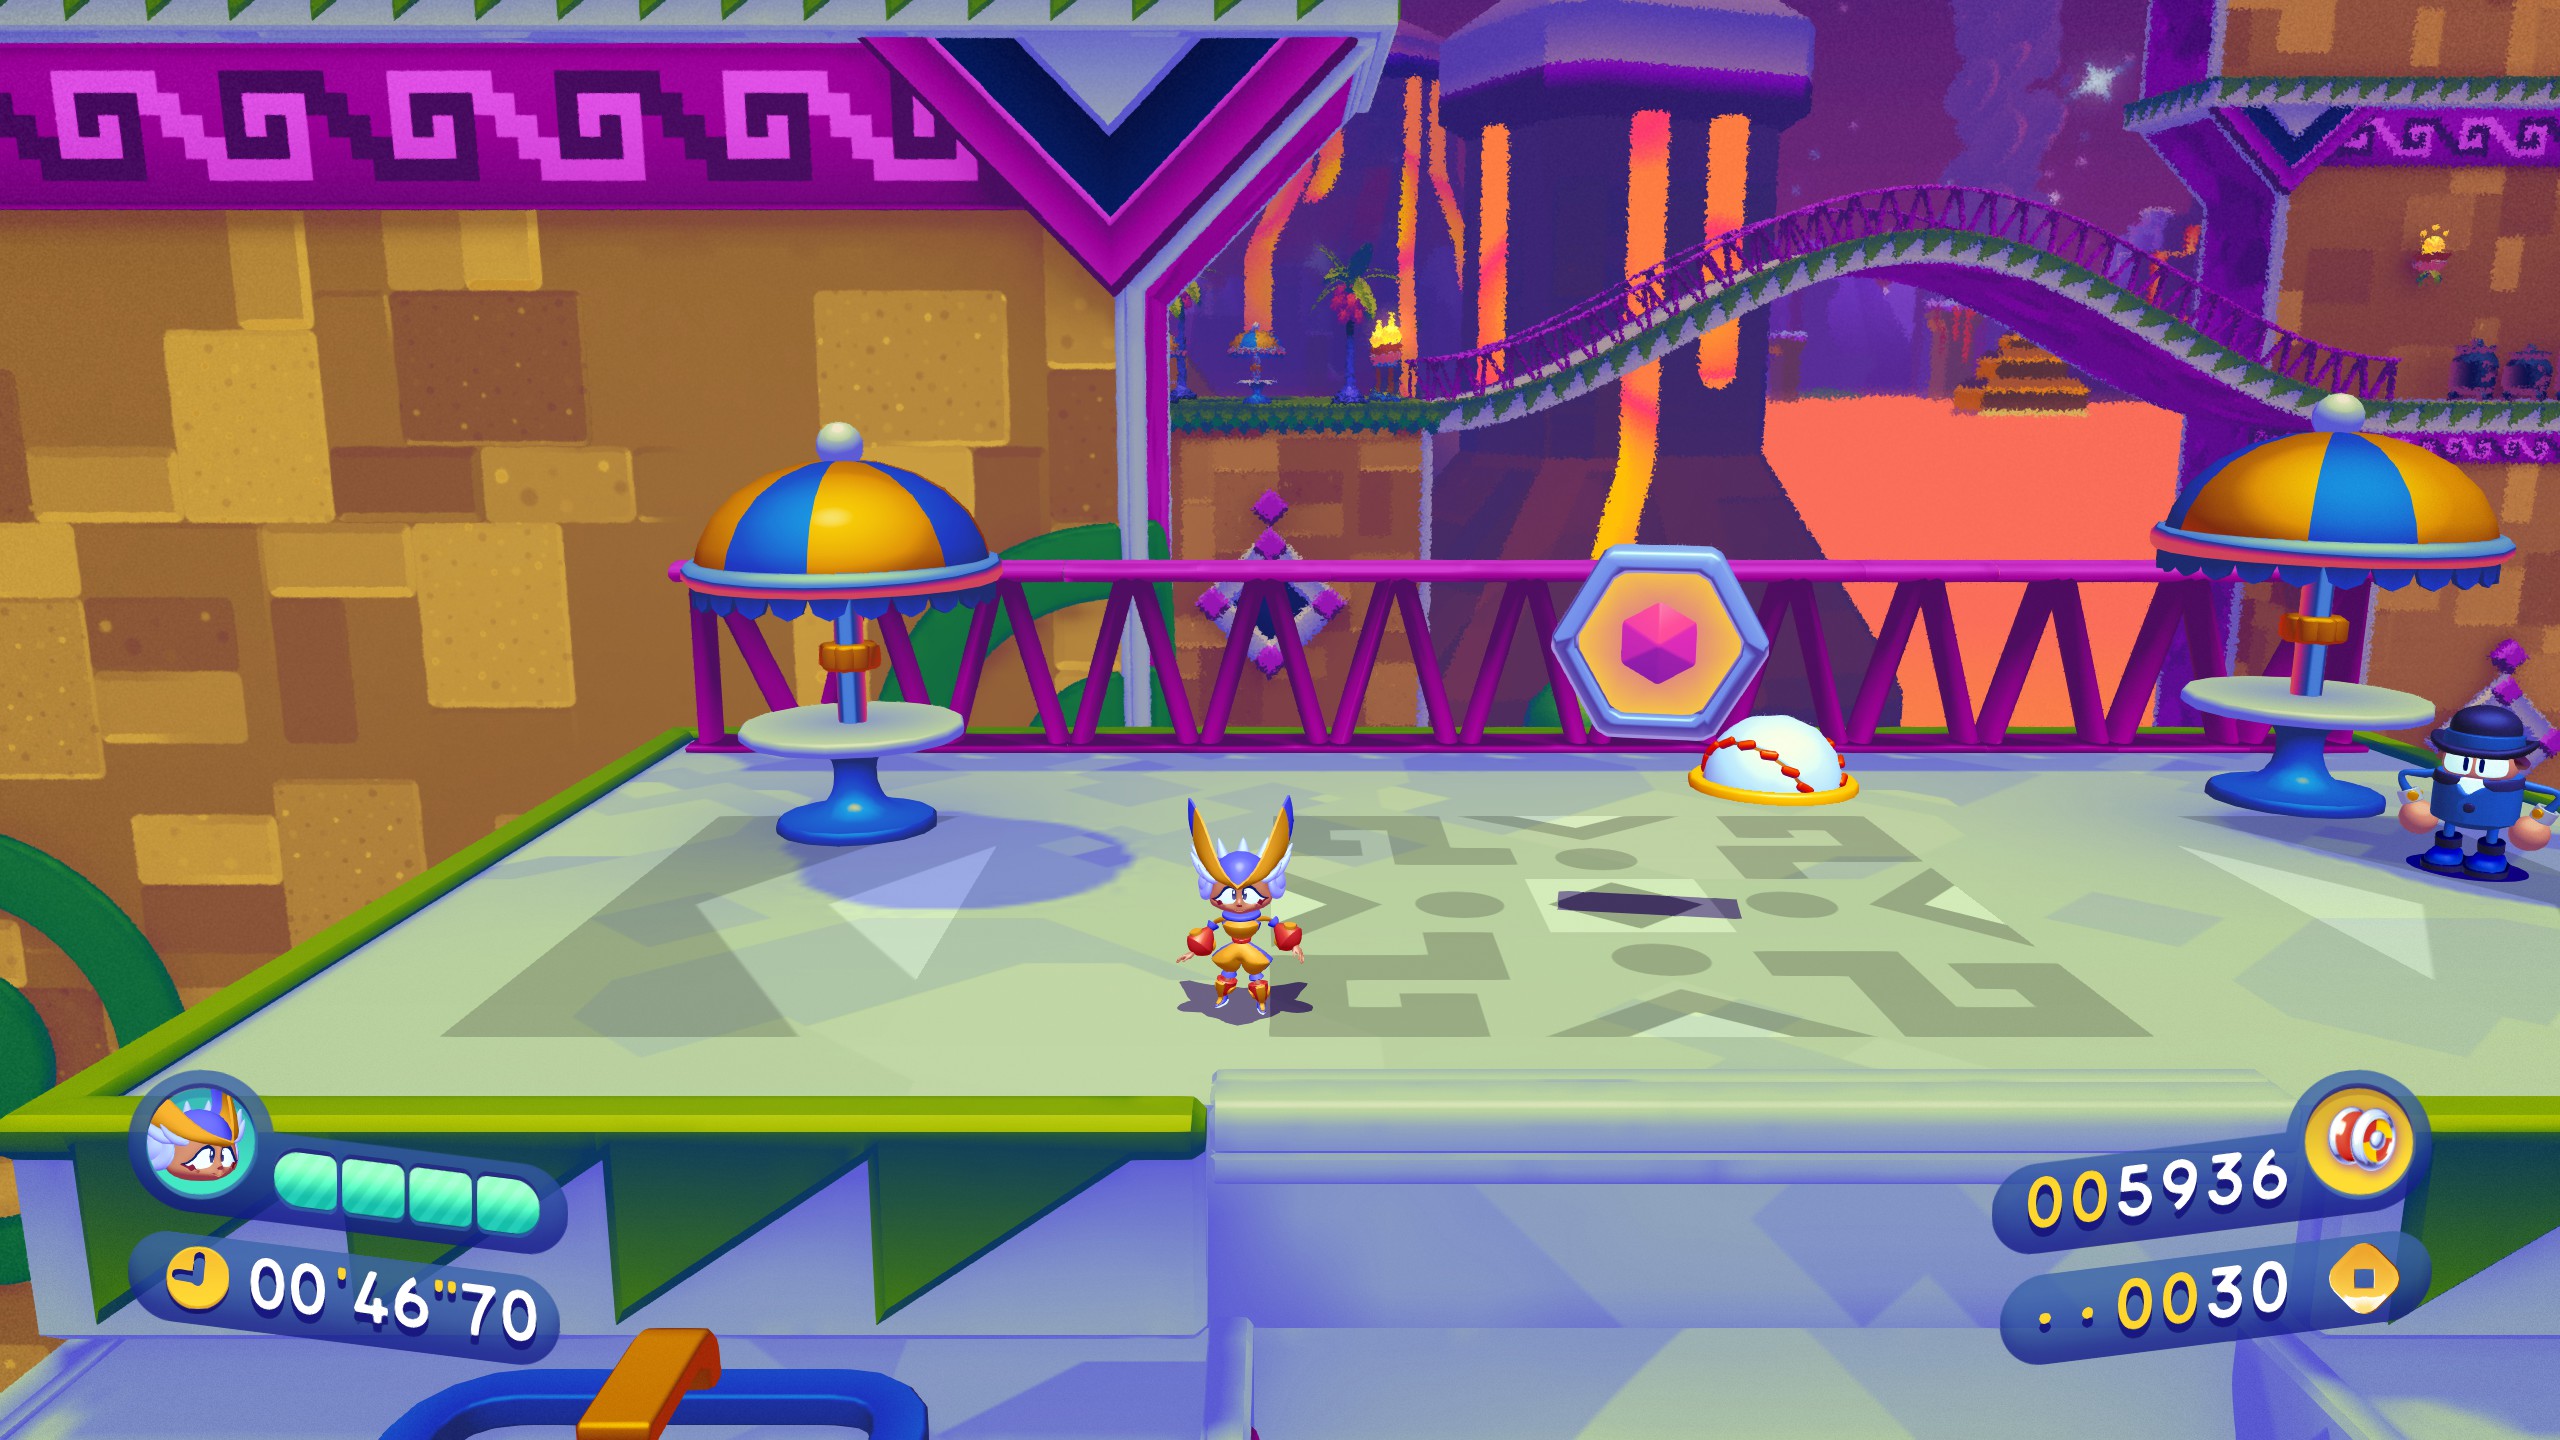
Piece 3 is not far from piece 2 directly up from this skillet.

User this upper launch pad to land directly on it.
4-3
Piece 1 can be launched to from this tree. Time your launch to the upper right, past the flame jets, to land right on it. Alternatively you could probably just land at the checkpoint and zip/swing over to it blindly.
Piece 2 can be found at the end of this path, up and to the right of the checkpoint. Use your ride momentum to land up on top.
Piece 3 is free. You can see it below you as your ride into this section on the paper. Just hop below and zip into it.
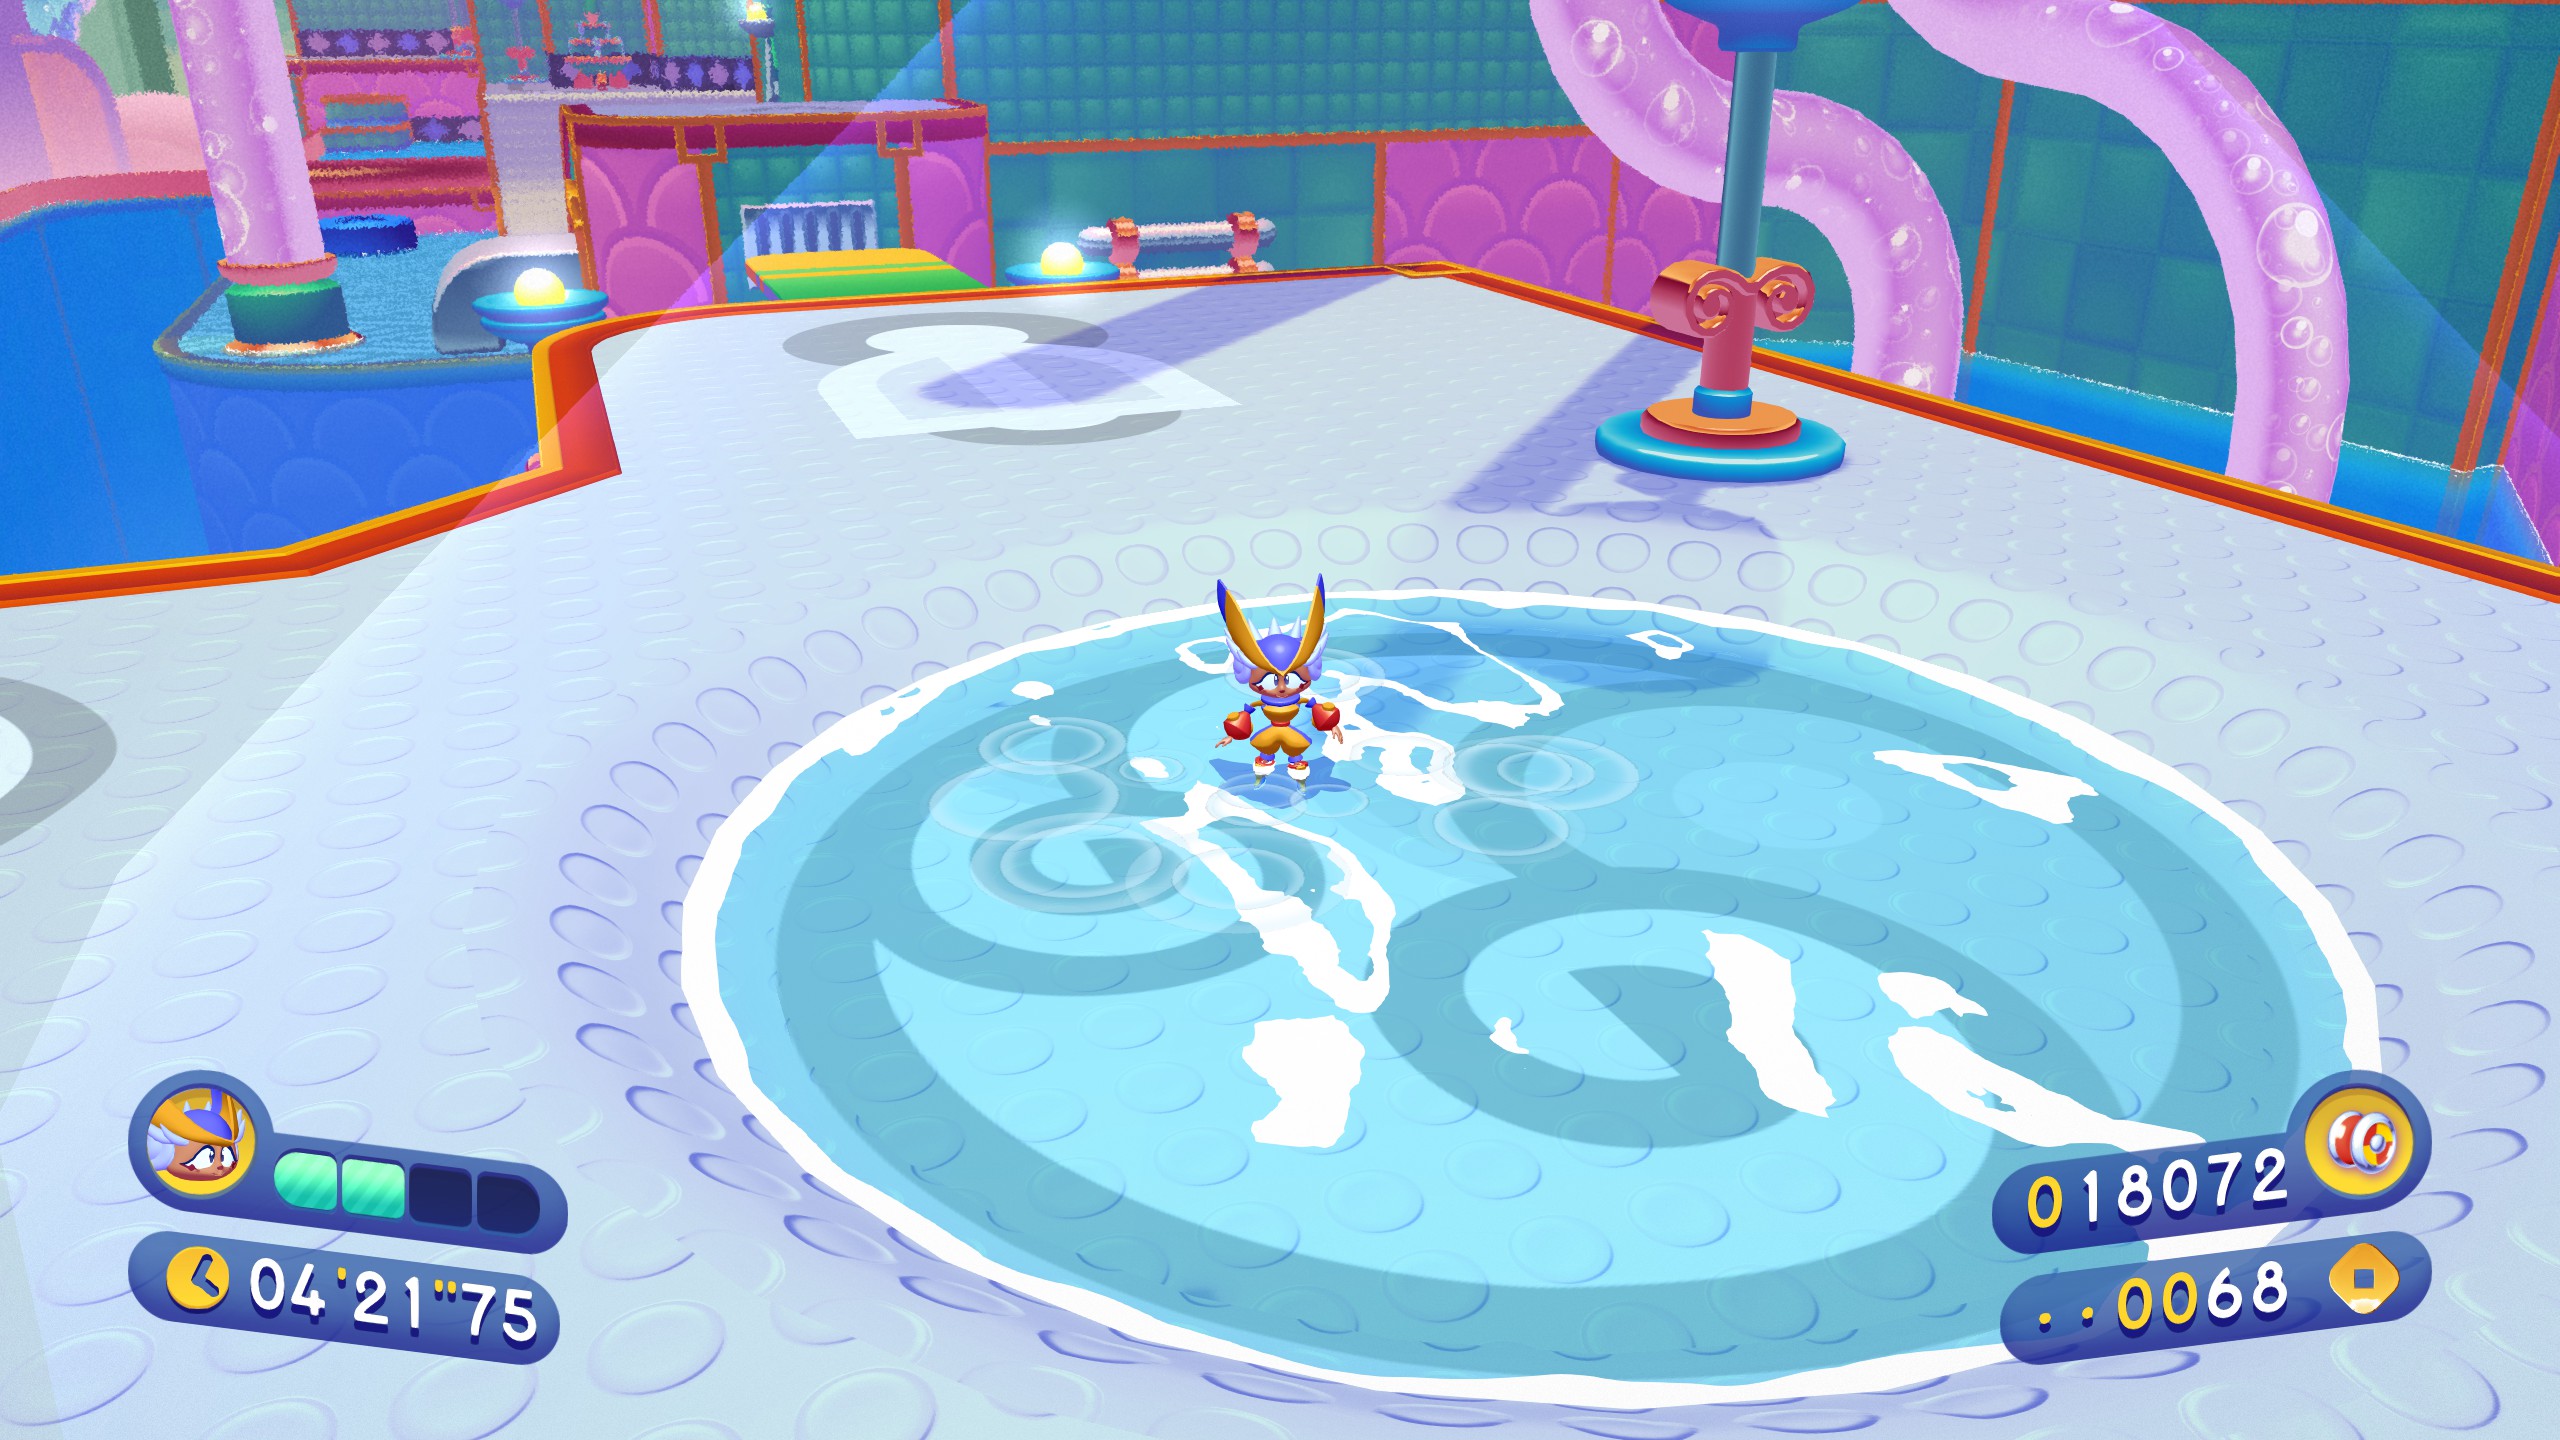
World 5: Bubblin
5-1
Piece 1 is very easy to miss. Start from this big slanted circle you ride across.
Take the diving board and launch rope up to the next diving board.
Use this diving board to go even higher, and up to the right. There’s ANOTHER diving board. That one will take you up to the secret path shown. It’s a tricky section to get across, but it’s otherwise straightforward from there.
Piece 2 is hidden to the back left of this area, across the alternative rotating platforms.
Pull the cart out and it’s right there.
Piece 3 is straight ahead from this checkpoint. Ride along and make sure you hit the ramp ahead.
Land on this diving board and catch the pole above. You’ll have to get past this gushing water by either going over, or around it.
5-2
Piece 1 is near the start, just up from the water spout ahead.

Once up top, go left, and pull out this cart. There’s a baseball glove and a mini section behind it for the piece. Didn’t bother to take a picture of the piece here because it’s done very much in motion.
Piece 2 is almost directly above this checkpoint.
Once you grab the spin pole, head up left instead of up right. The piece is on one of the rotating platforms.
Piece 3 is ahead from this checkpoint, take the water spouts up and land on the platform above.
You’ll notice a diving board to the upper mid of this photo! Take it, and then another, and straight down that path is the piece.
5-3
First piece is in a baseball glove section behind the glass to the upper left. Self explanatory otherwise
Piece 2 is tricky. You have to take this trampoline up, cross the gap with either some really good swinging and zipping, or use the rotating spike platforms. Once you’re across use some ride momentum to get up and nab the piece mid-air. The hard part is, if you fall at any point during this you need to reset, there’s no good way to get back up and try again.
Piece 3 is once again in a baseball glove section behind some glass. Hop up this diving board as high as you can, the section is to your upper left.
Nab it, and we’re done with world 5!
World 6: World’s Edge
6-1
A pretty easy world for showpieces. First one is just up in this tree. Use the moving blocks for extra height when dashing over if you like.
Piece two is up on top of this platform. You might notice the drawer above the puppet.
Land on top of the puppet, pull the drawer, hop on up.
Third piece is once again pretty hard to miss. Just up in these trees. Once again use the moving blocks for extra height.
6-2
First piece is up the trees at the start.
Take the pole to the upper left instead of the right, then a second one towards the piece.

Second piece is hard to miss. Just slightly off the main course to the right here.
Same with the third piece, but it’s the first instance of racing to get a thing while racing against a fuse. In case it isn’t obvious, you don’t have to do everything in one go if that’s too hard for you.
6-3
Piece 1 is in the alcove behind the moving block’s rightmost position.
Hop in, hop up on the one bit you should be able to see. That’s a trampoline that’ll launch you up to the piece and a teleport.
Piece 2 is another one to grab while chasing the fuse. Hard to miss.
Piece 3 is in this bit. Take the pole, launch up and forwards, bounce off the ring, and the piece will be on the tree in front of you.
6-4
For the first piece, light up this fuse and race it up top.
Instead of a cannon that shoots you, this time this cannon will shoot a bomb. Knock it into the stone wall, the piece is right behind.
Piece 2 is a race against being bombed! Get up to this platform and you’ll notice the stone platforms up ahead. Hop across them and the books as fast as you can, before the cannon destroys the ground beneath you. If you fall down, just reset to the checkpoint.
The final piece of World 6 is once again a race against the fuse. It’s barely off path, you could even dash and swing over to it instead of taking the trampoline.
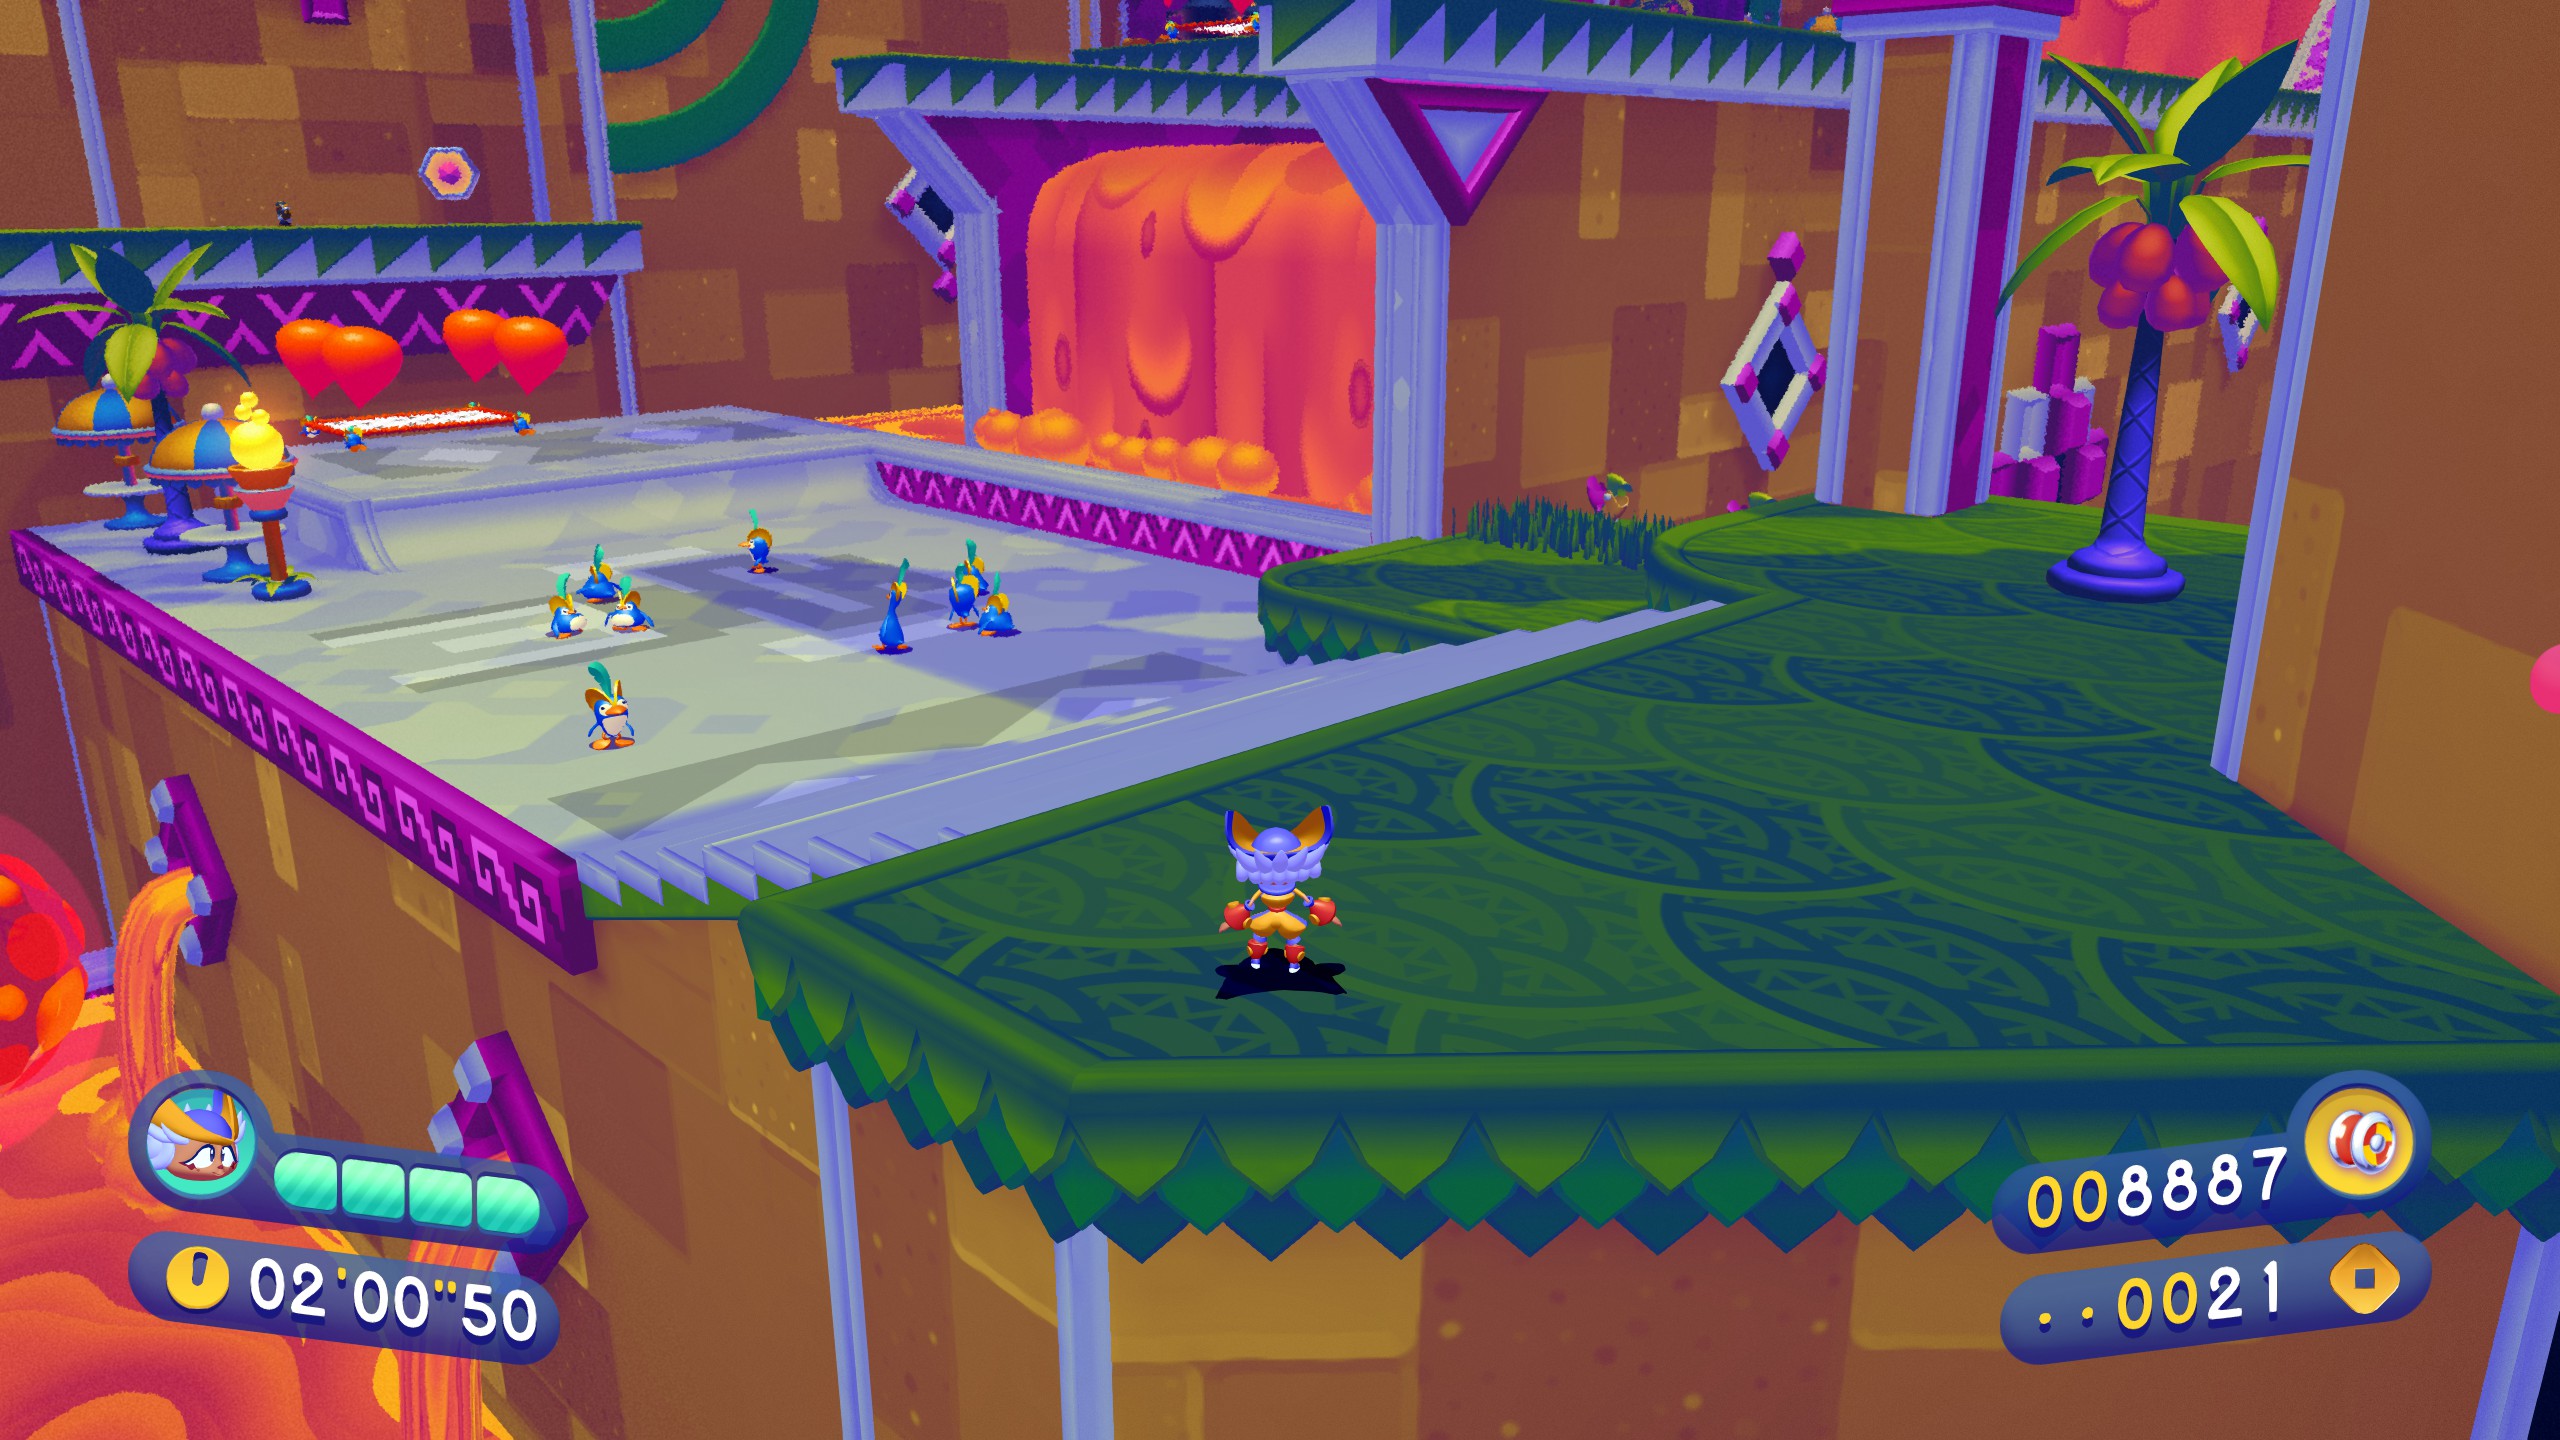
World 7: Pengoville
7-1
Piece 1 is directly in your path, but hard to grab. Need a good swing to get it and keep going, otherwise just suicide dive this one.
Piece two is in the upper left here, back where the penguin wheel spawns and behind some barrels.
Peice 3 is at the end of the break the barrel dilemma. Hop on top of the crushing blocks and it’s in the air between the two sets.
7-2
Take the cake powerup, and once you’re up top, go a bit to the left. Piece 1 is just off the side here.
Piece 2 can be seen in the distance as you approach this area. Just ride the drifting ice off to the back and grab it.
Piece 3 is right above the goal, behind all these penguin balls.
7-3
Piece 1 is up the ramp wall at the end of this penguin chase hellzone.

Piece 2 is in a baseball glove zone, tucked away in this alcove to the back right just after you climb the waterfall with the pepper power up.
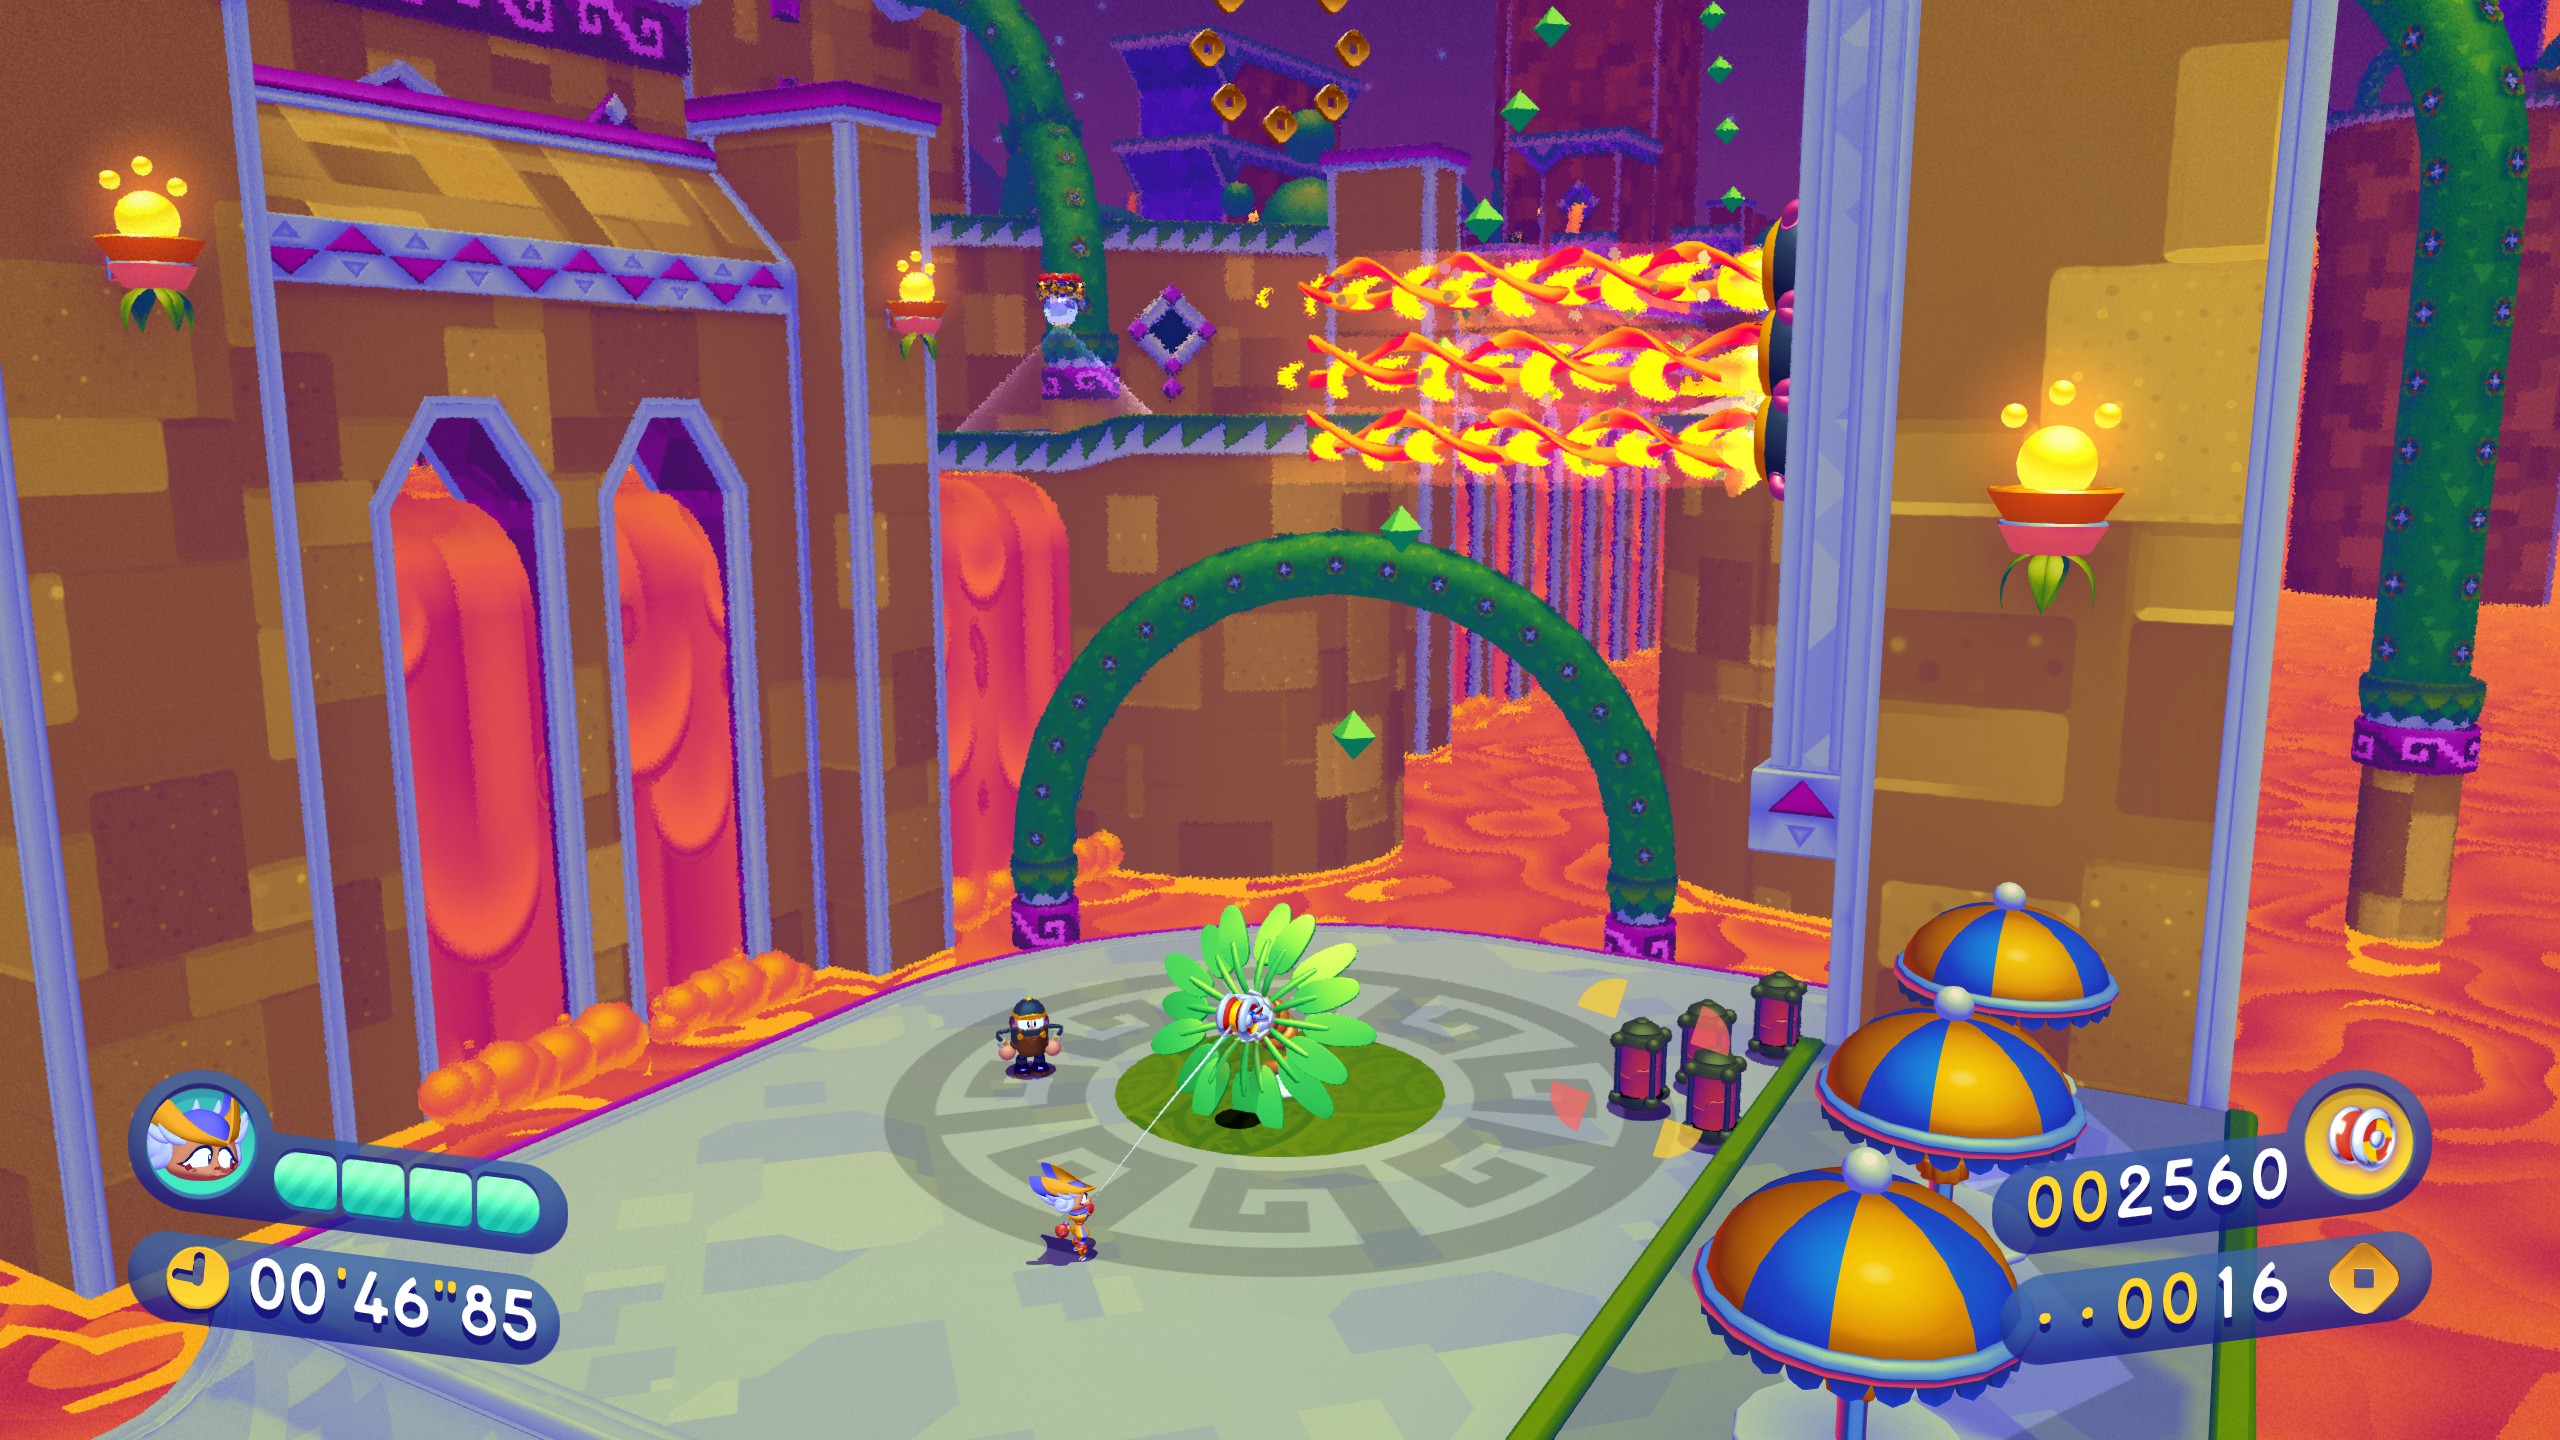
And finally for piece 3, another episode of: Why?
Knock the bull into this flagpole to raise it, and the piece out of the ground.
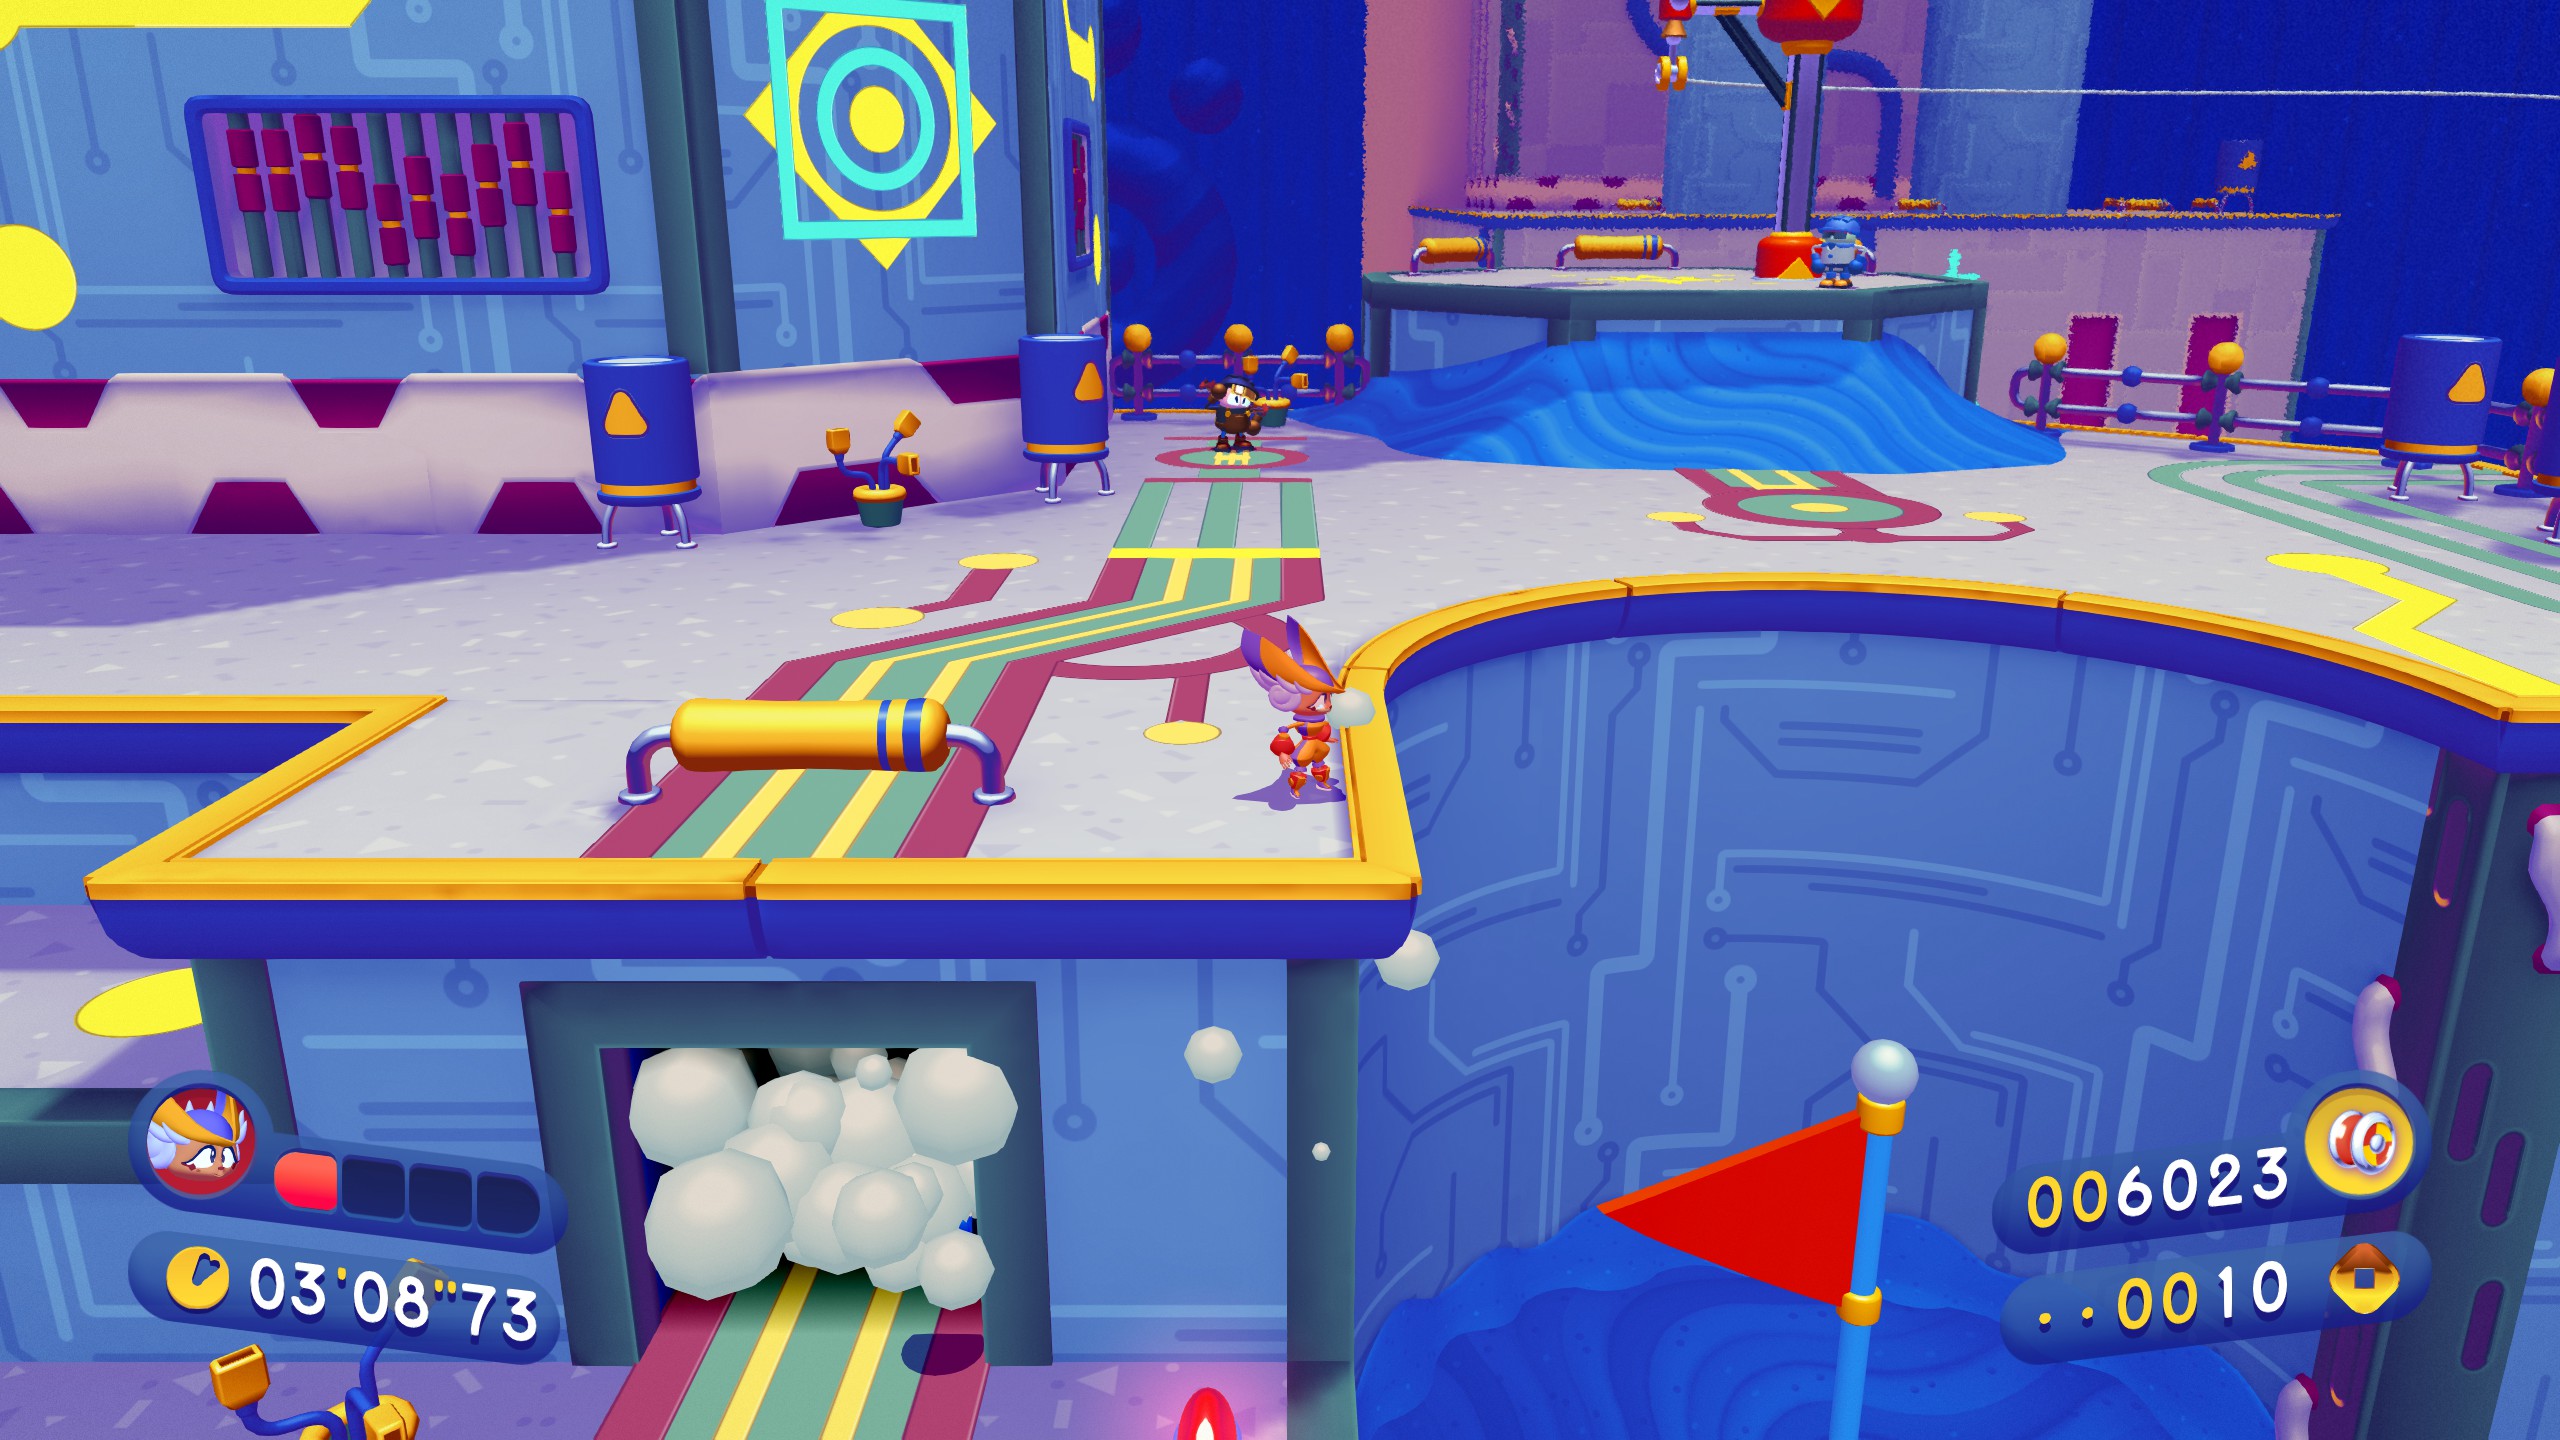
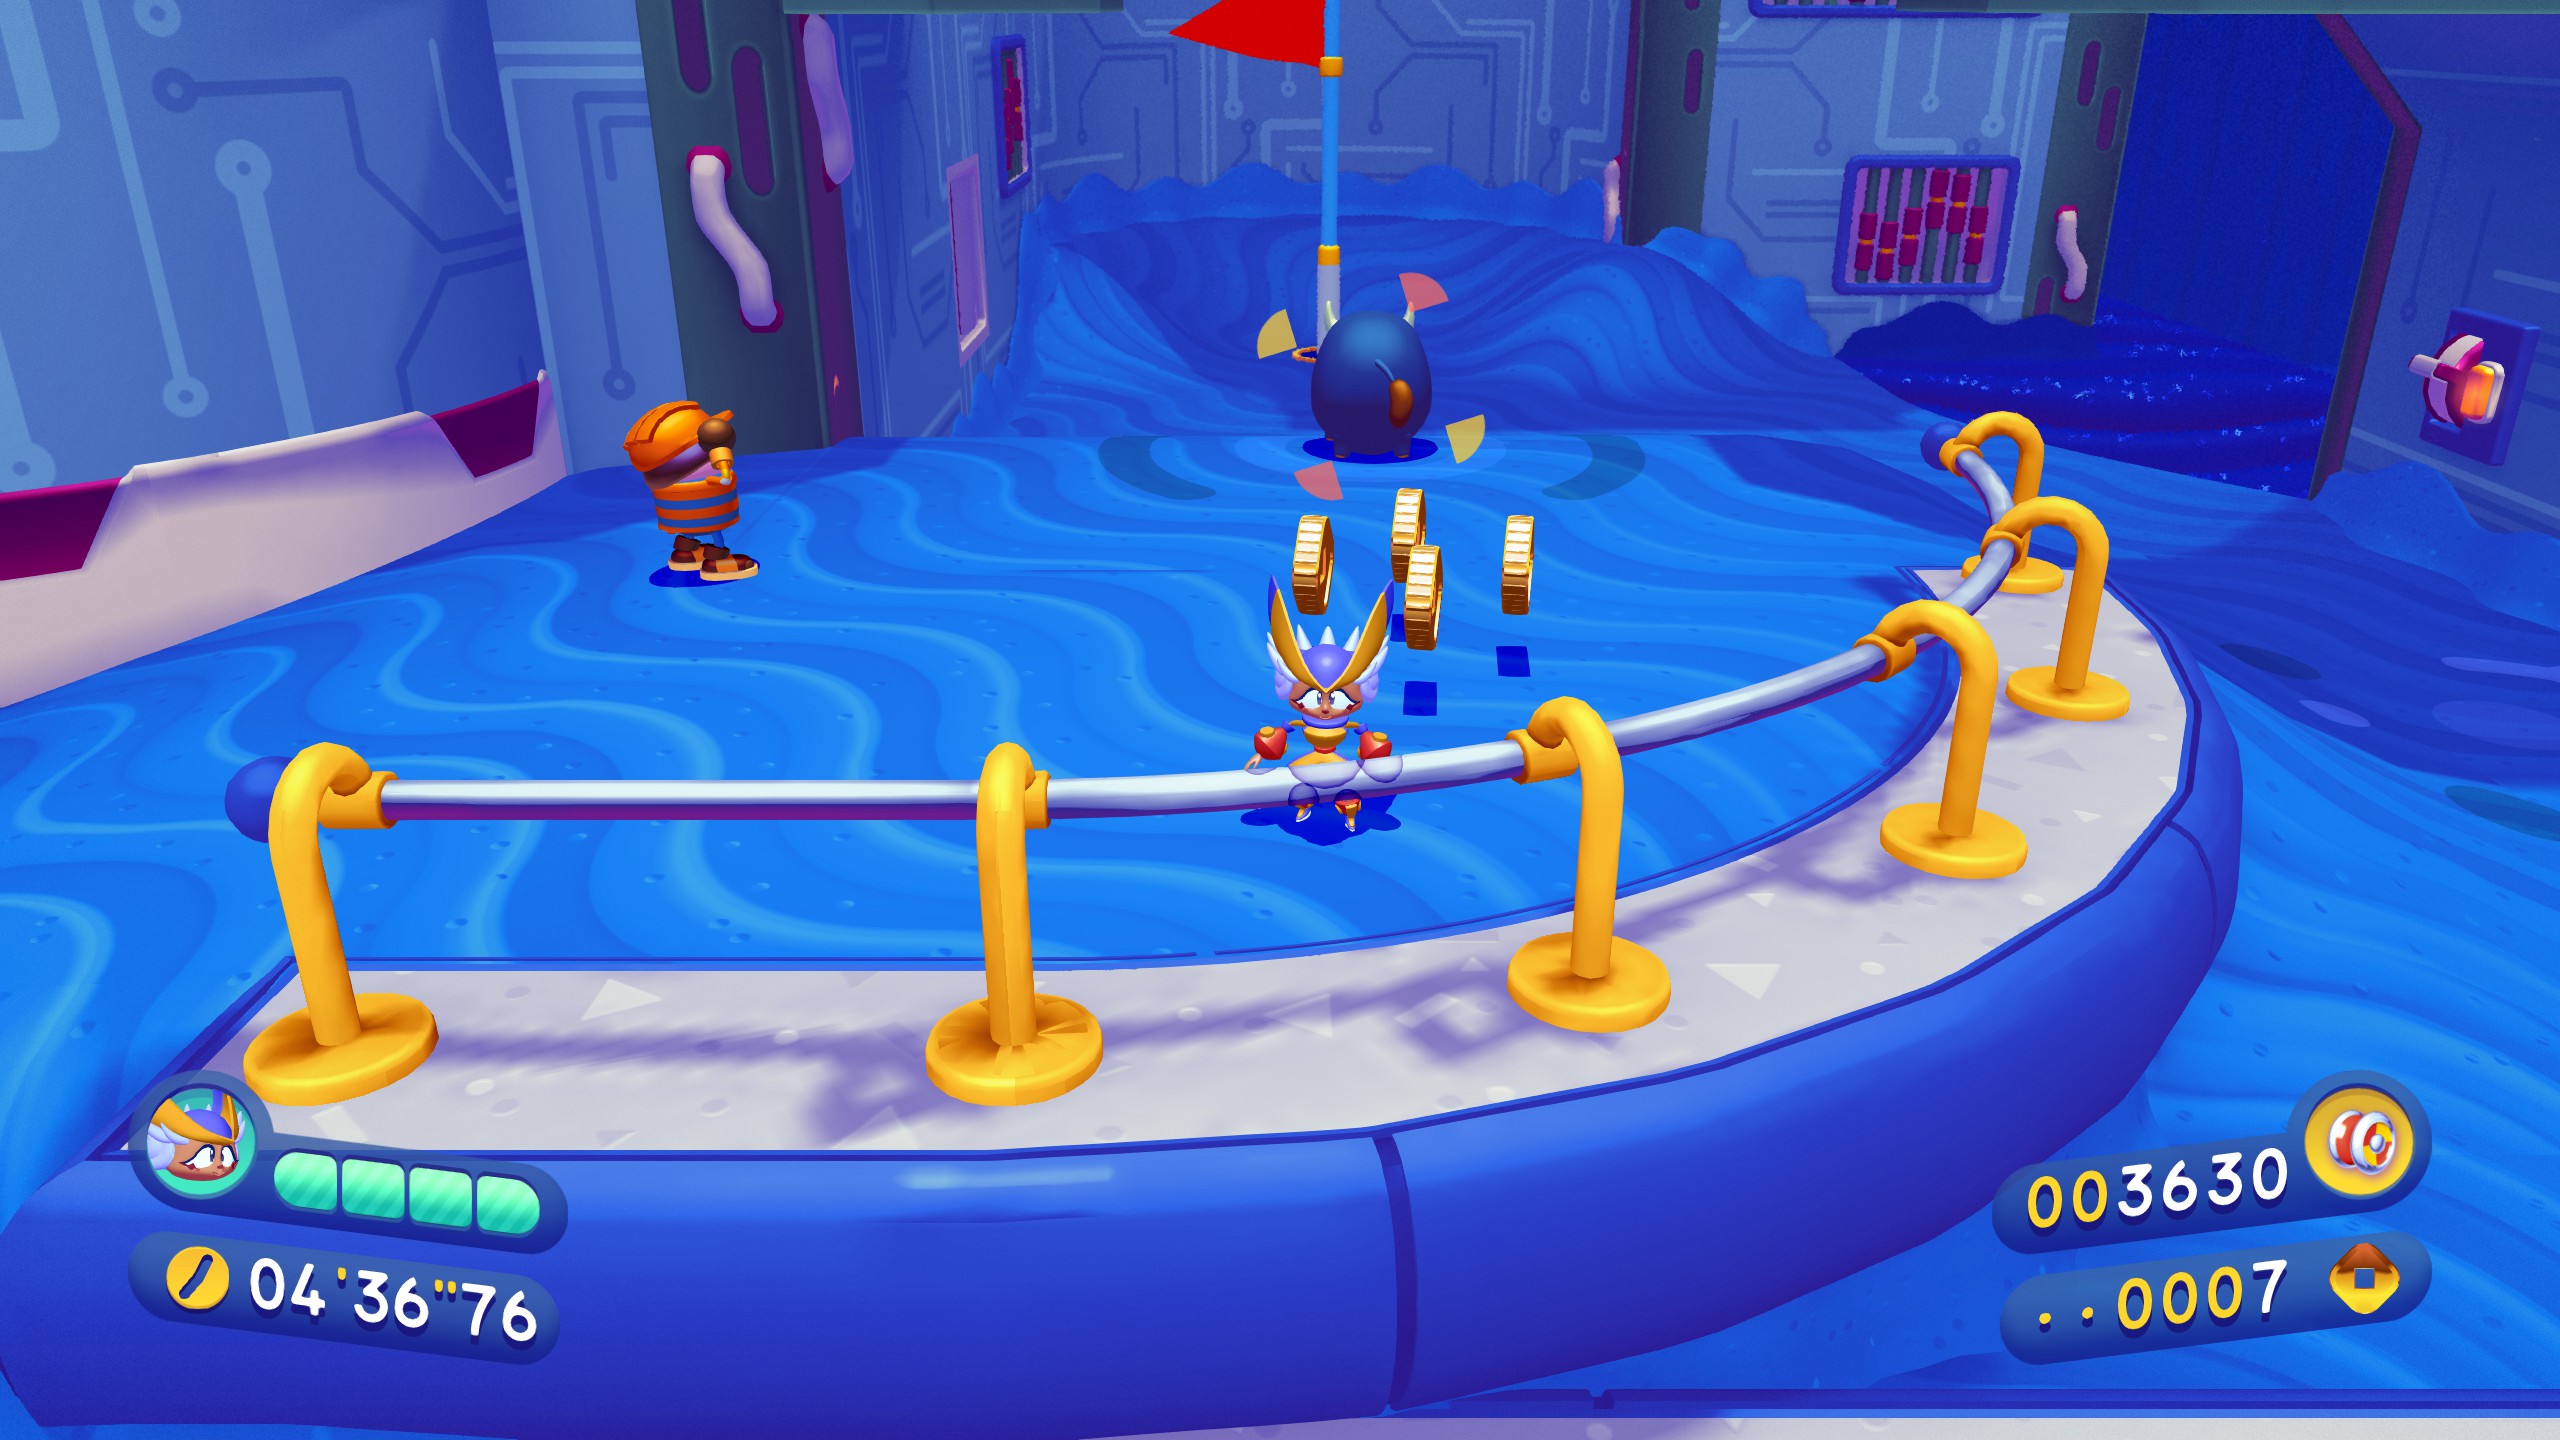
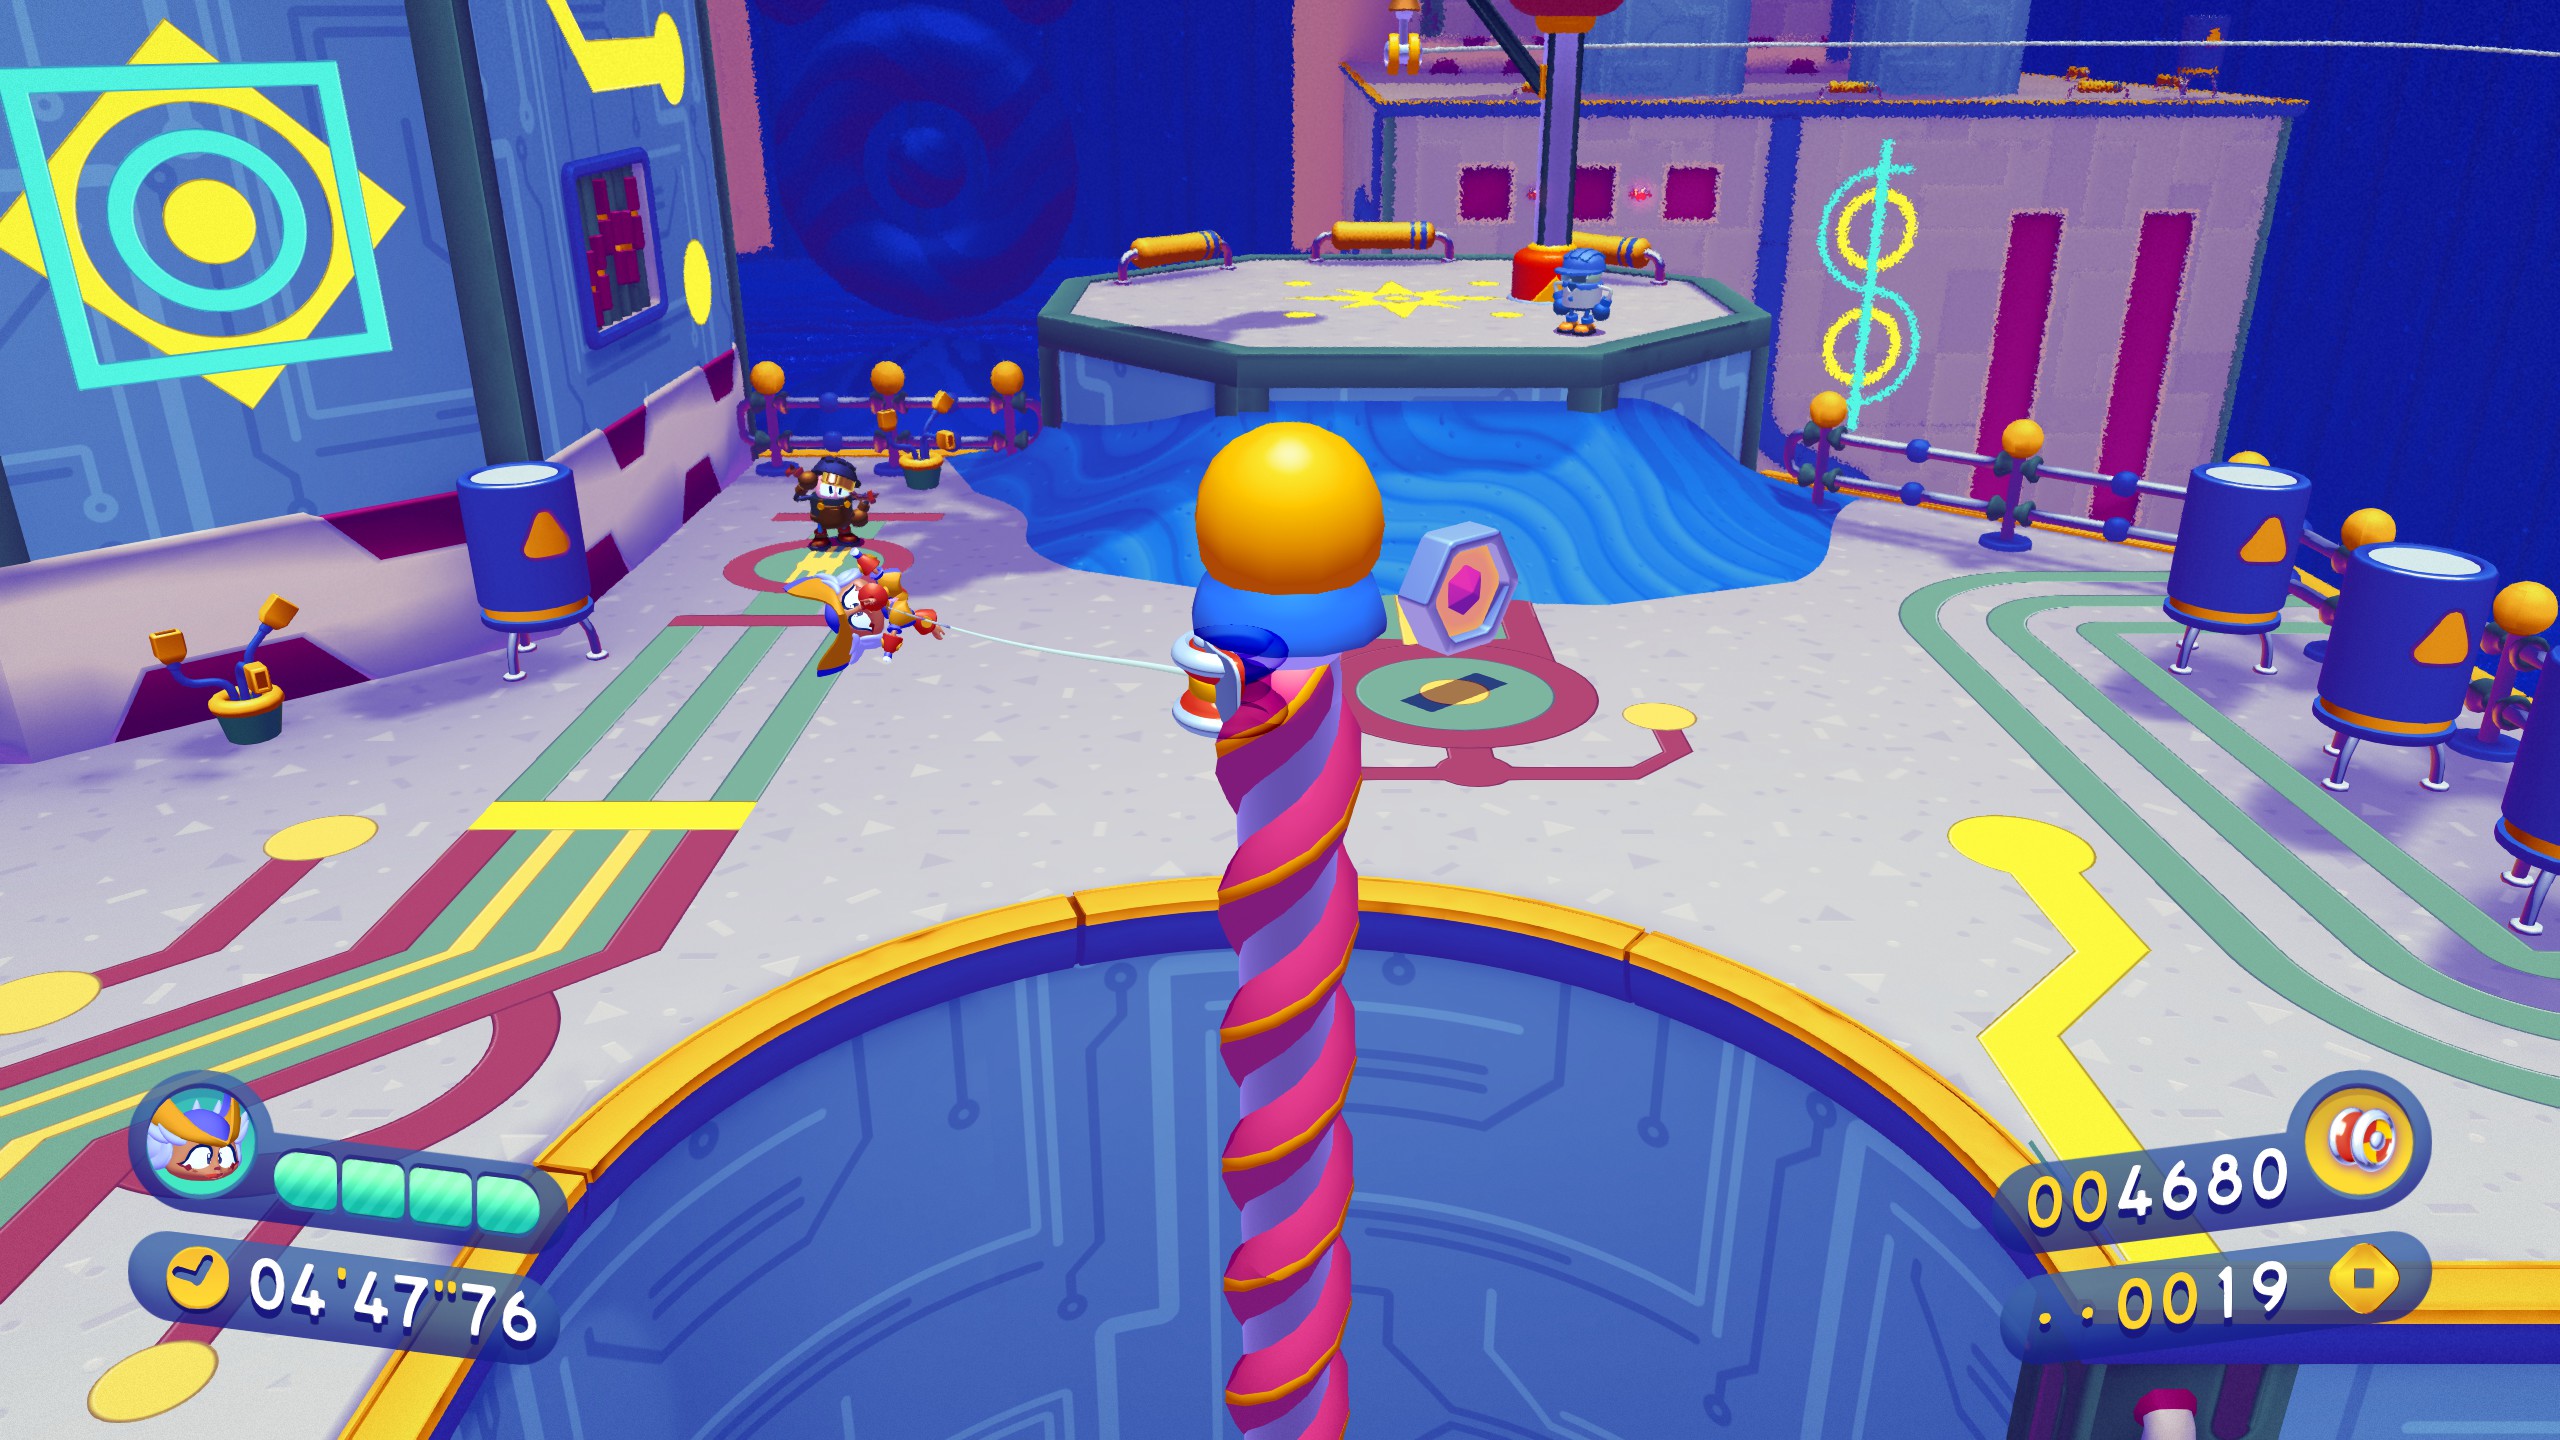
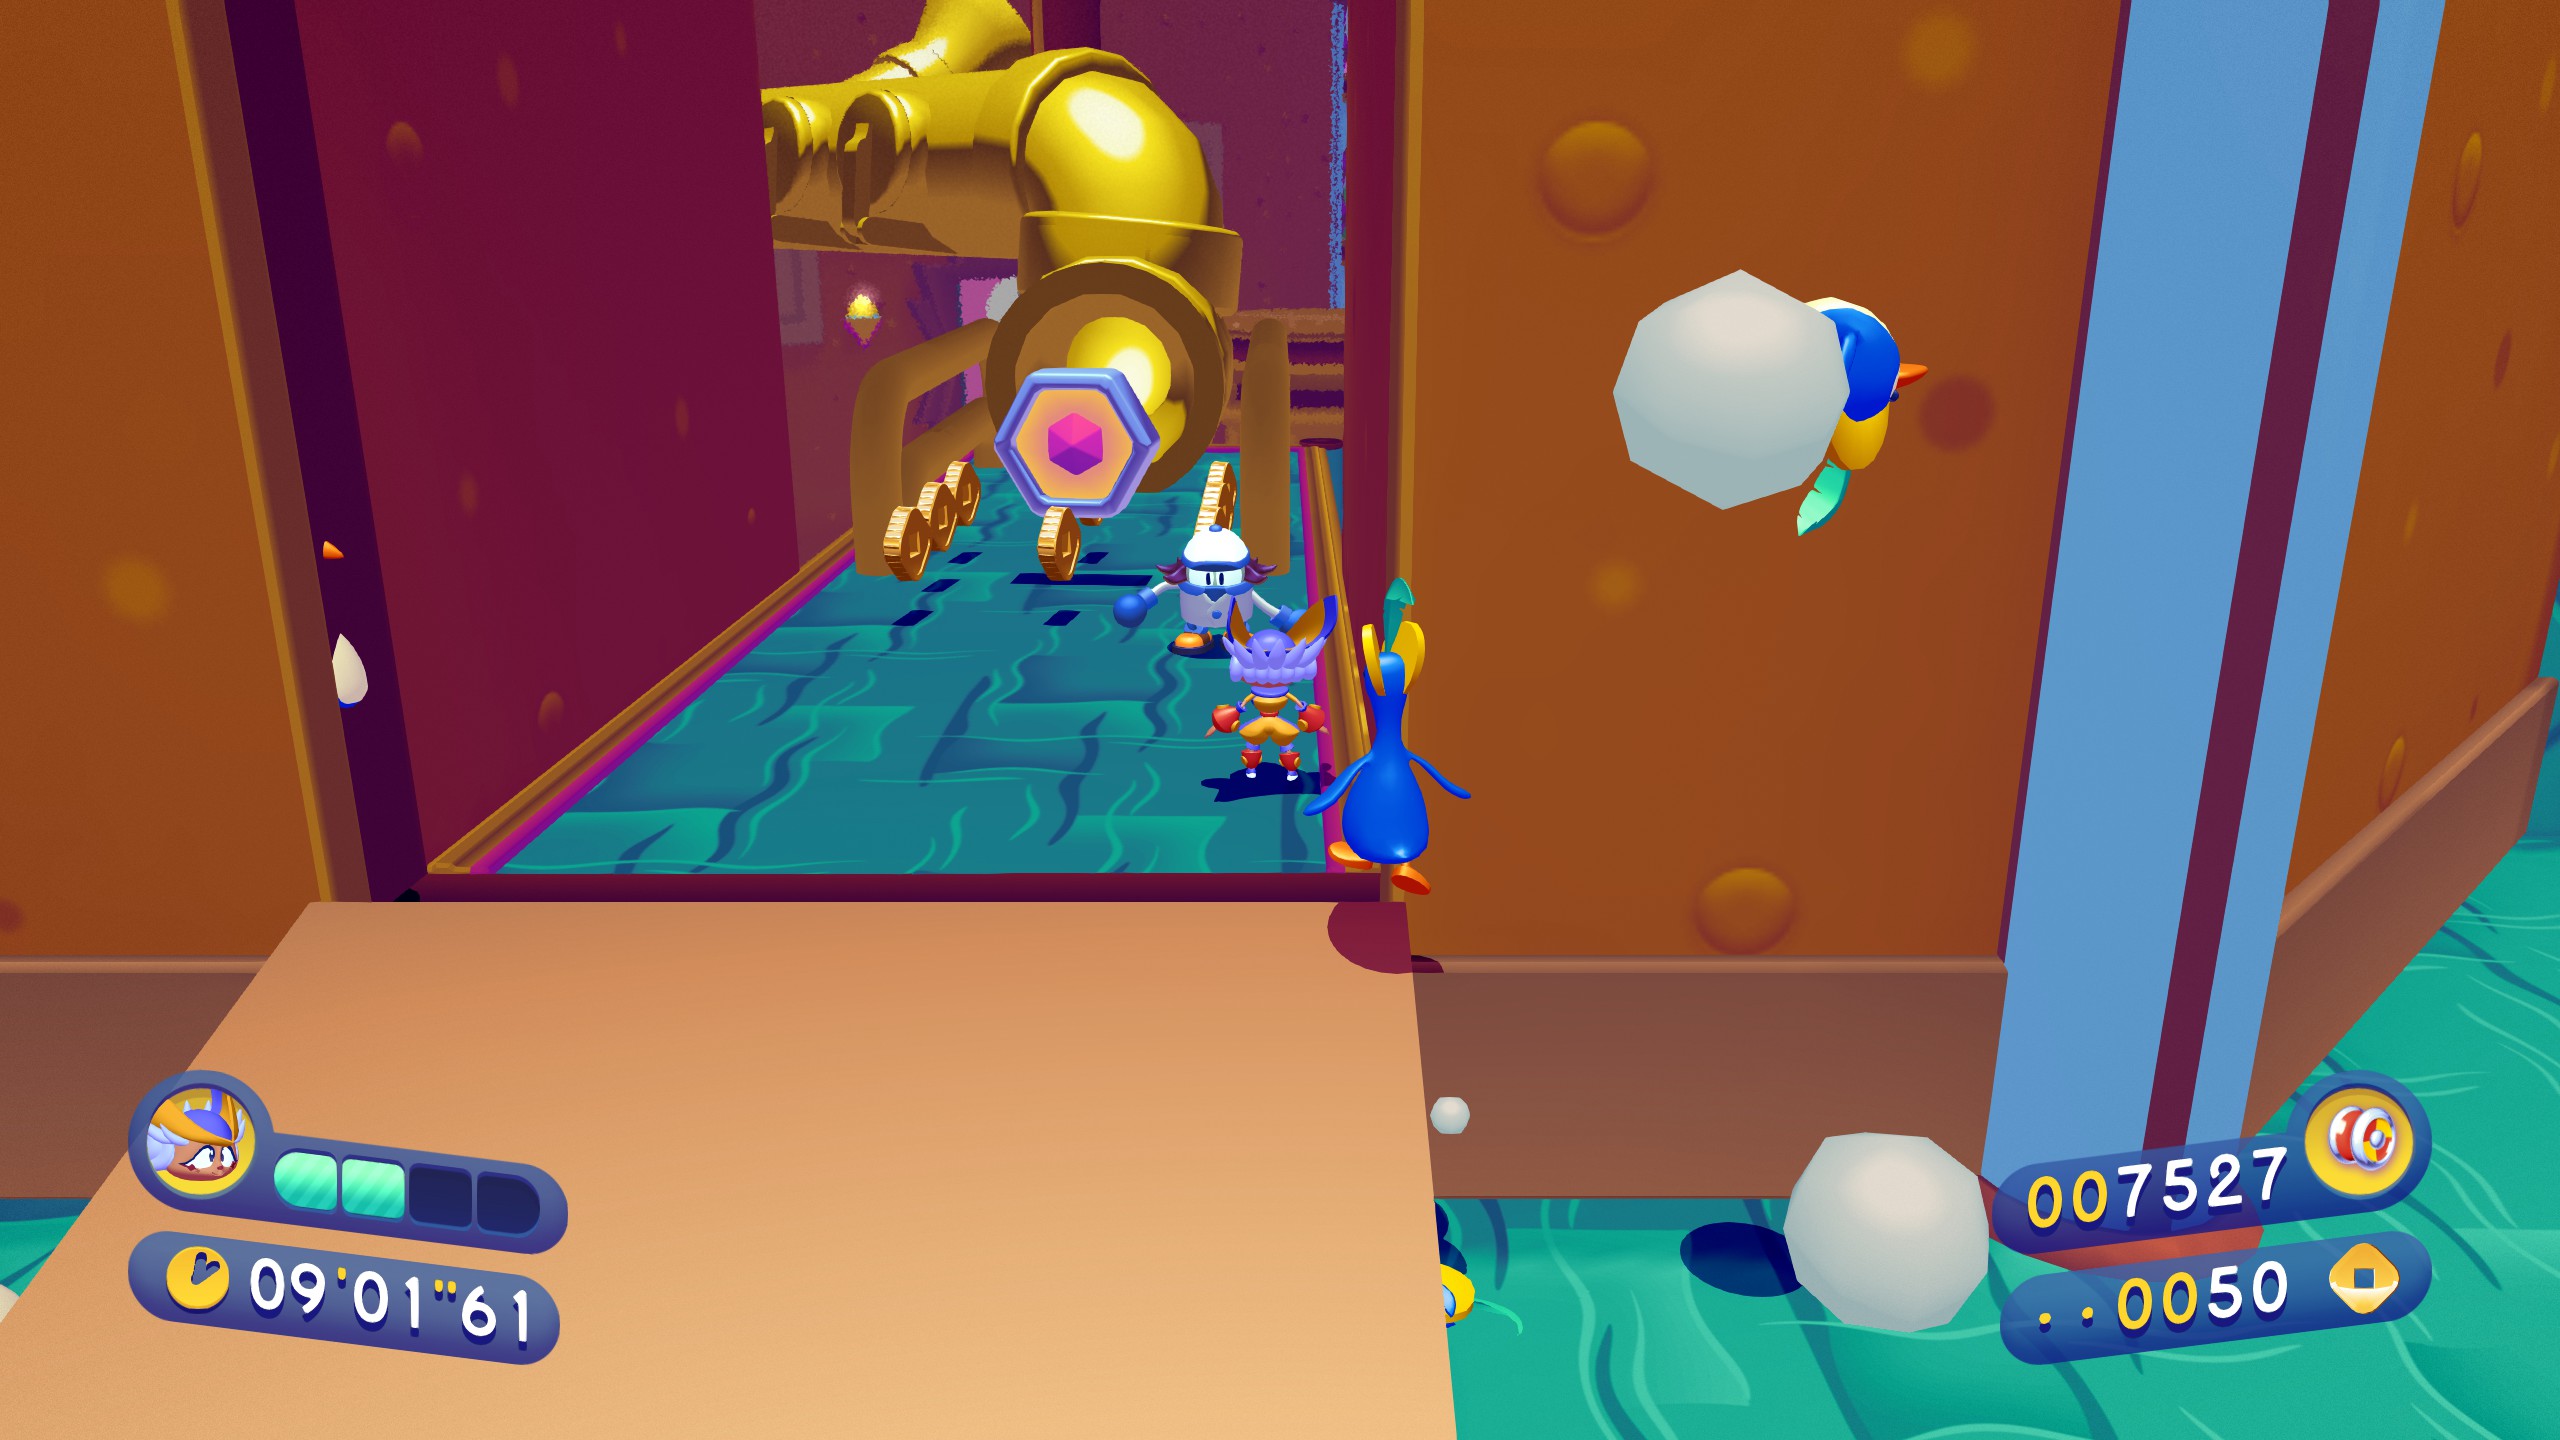
World 8: Industria
8-1
Piece 1 is very near the start. If you walk forward and to the left you should be able to see it. Just run against the treadmill, watch the penguins zip past, there ya go.

The second piece is just past the first instance of breaking a light bulb to stop electricity. Swing on the now safe bar, and then above that is another light bulb. Break it and the gate will open, allowing you to grab the piece underneath the proper path.
Piece 3 is clearly visible at the end of this runway, however the penguin wheel WILL break the rocky flooring, so when you get there be ready to jump and dash across to the piece.
8-2
You can see piece 1 on top of the pillar in the distance at the top of the screen.

Break this light bulb so you can swing on the pole below it and grab.
Piece 2 is up these ever rising platforms, but above the first stop. Ride all the way up just before you hit the electric gate.
The final piece is in the solitary block that isn’t the giant wall just ahead of this checkpoint.
World 9: Lawberry
9-1
Piece 1 can be found up the side of the left wall here. Simply ride on up.
Piece 2 is above this doorway. You can either use ride momentum from the previous area to get up, or a good swing.
Piece 3 requires you ride a screw up to grab a Endurian on top of a pole of fire spitting traps (not pictured, somehow missed it, might add it later, hate Lawberry). Grab it and then run down the path before the Endurian runs out to grab the piece inside of the fire geysers. Alternatively it’s not very difficulty to damage boost your way inside.
9-2
Piece 1 is at the end of this sick slide. Just have the momentum to hop on up. I advise using the side of the ramp, going up and down them, to build speed as needed. If you fail, just restart.
The second piece is just above this rail, easy find, easy grab.
Once you get to this pepper, we’re gonna head to the right instead of the left. In an alcove ahead is the last piece. Watch for the platforms as the lava rises and falls.
9-3
Once you reach this screw, make sure you get down the burning tubes FAST. The door to the Endurian ahead will begin to close and we need it.
With the Endurian, take the lava geyser up and rush down the path ahead and get to this showpiece being blocked by fire geysers.
Piece 2 is just on this spinning wheel next to a checkpoint. Do some circus magic to grab it and continue.
Piece 3 requires you to take this pole, into the accel ring, and you’ll land right up next to it.
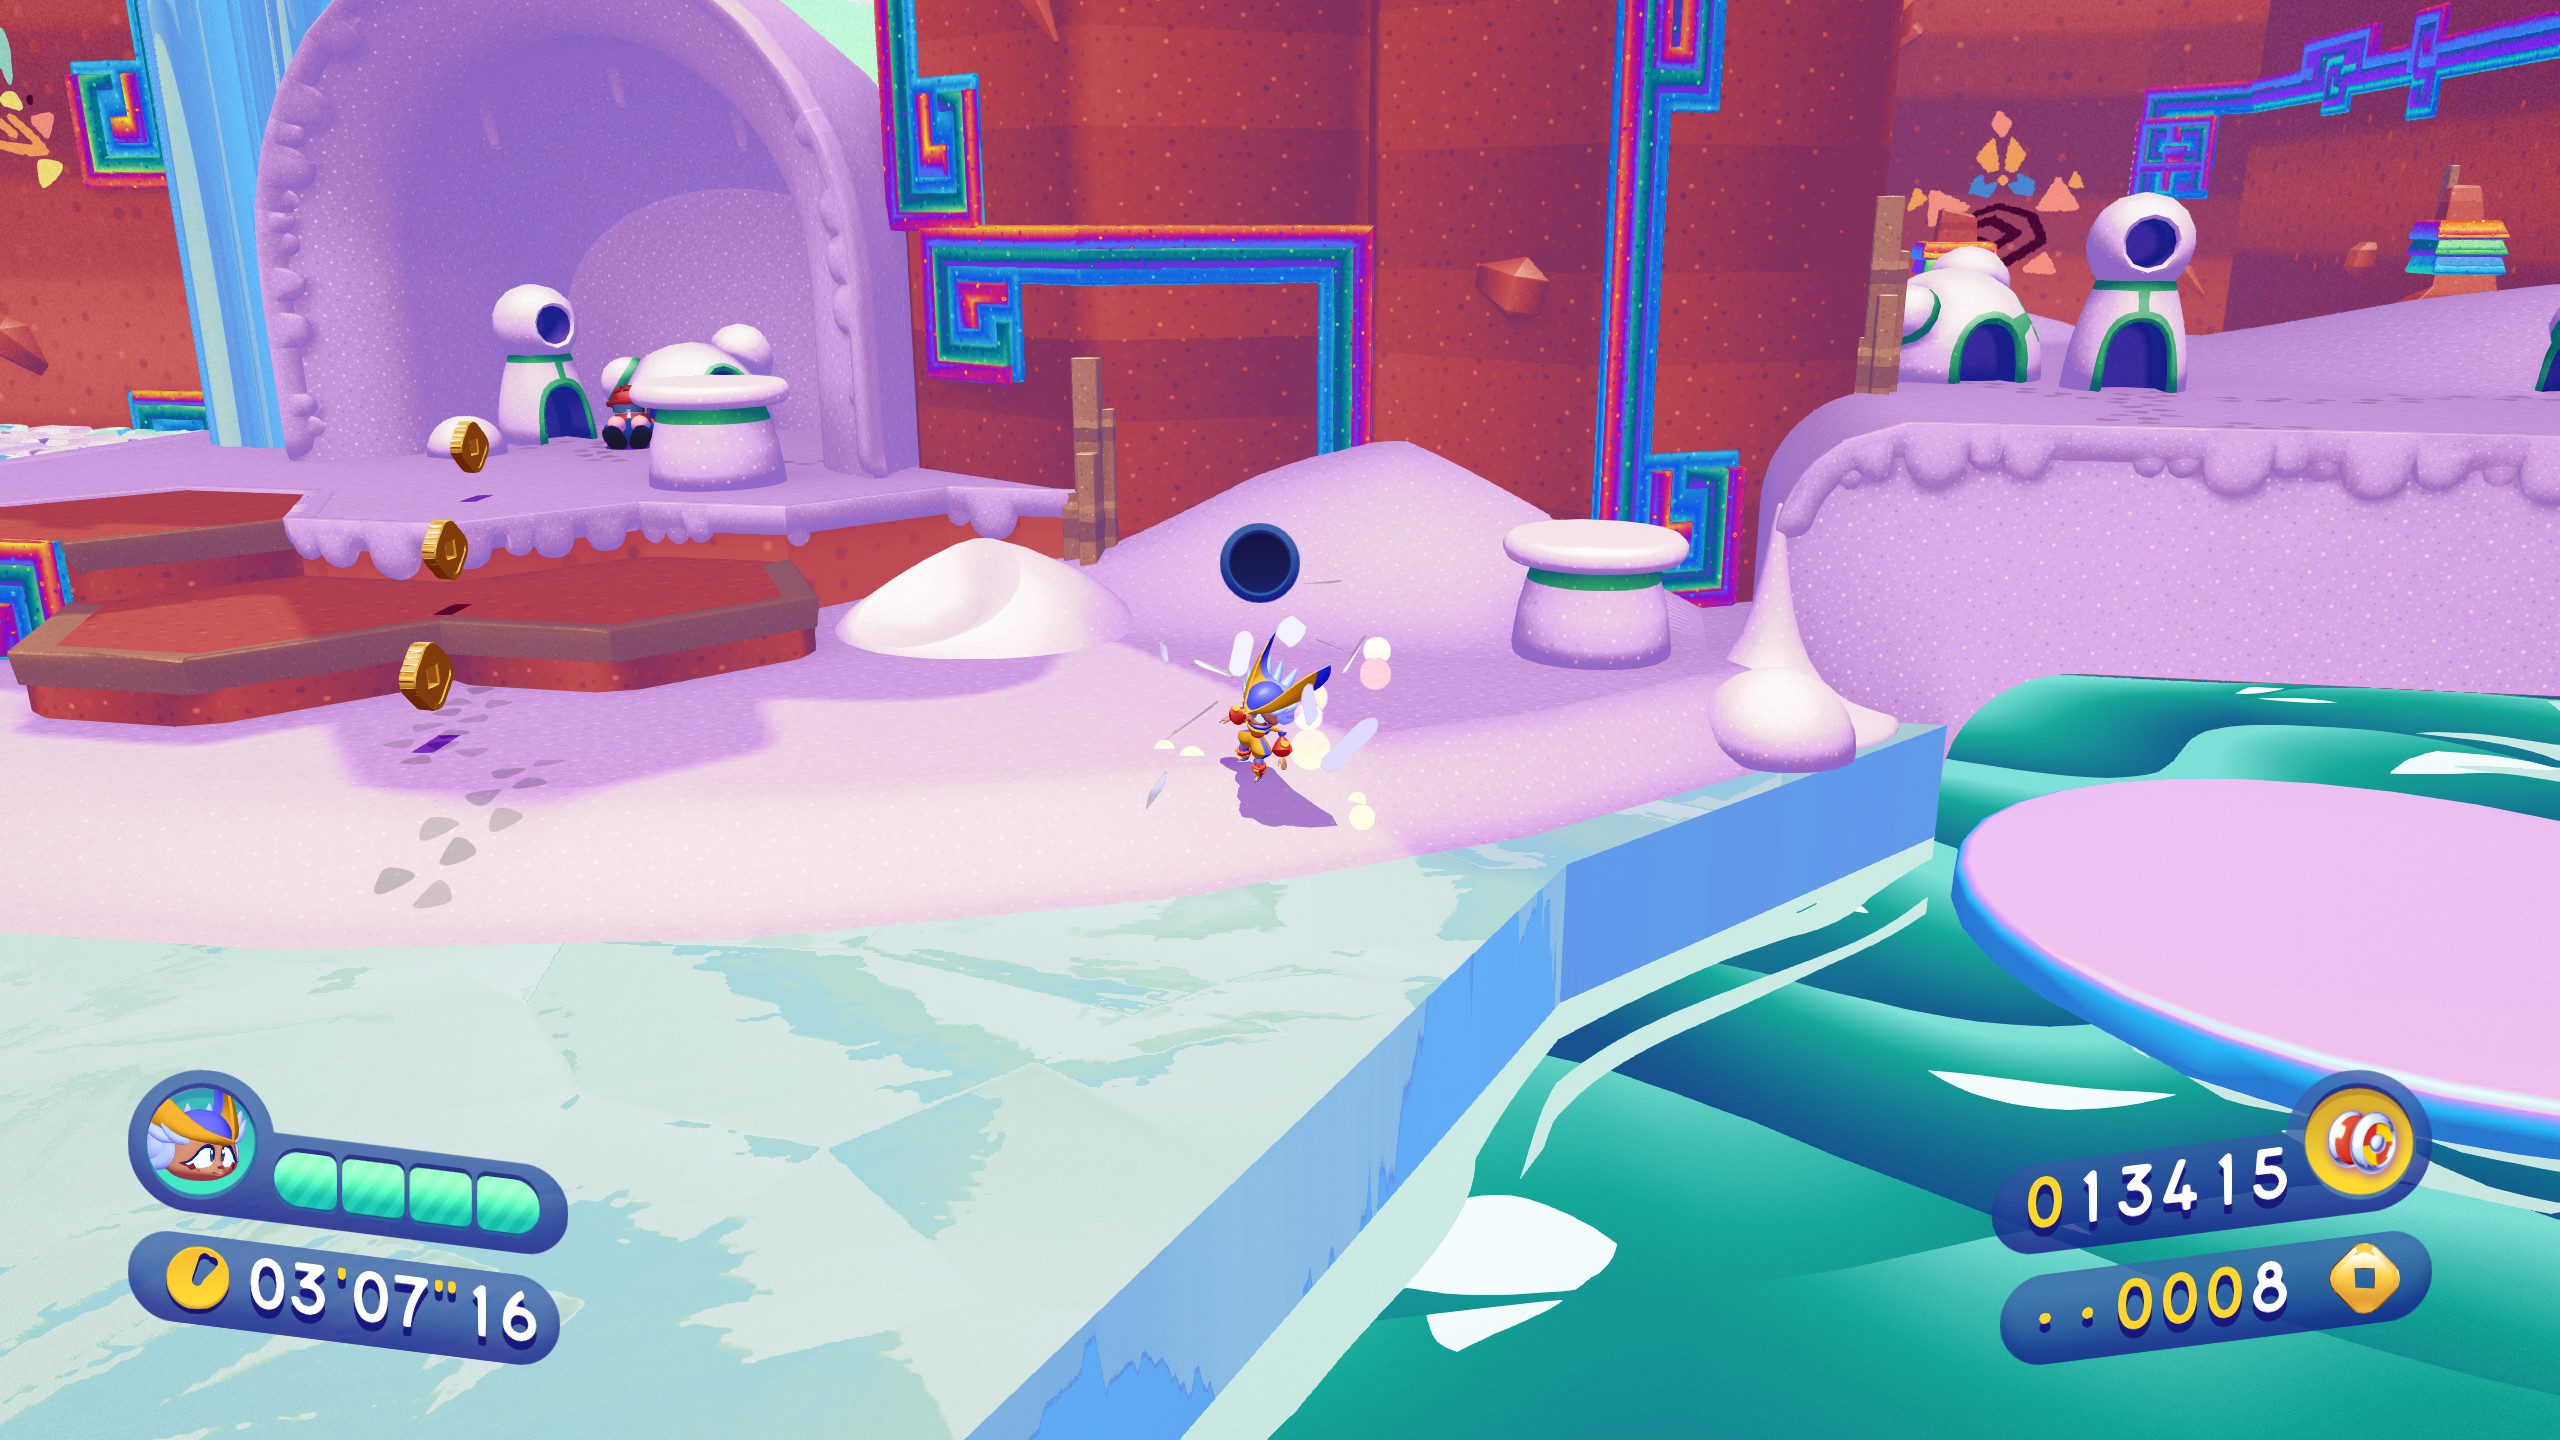
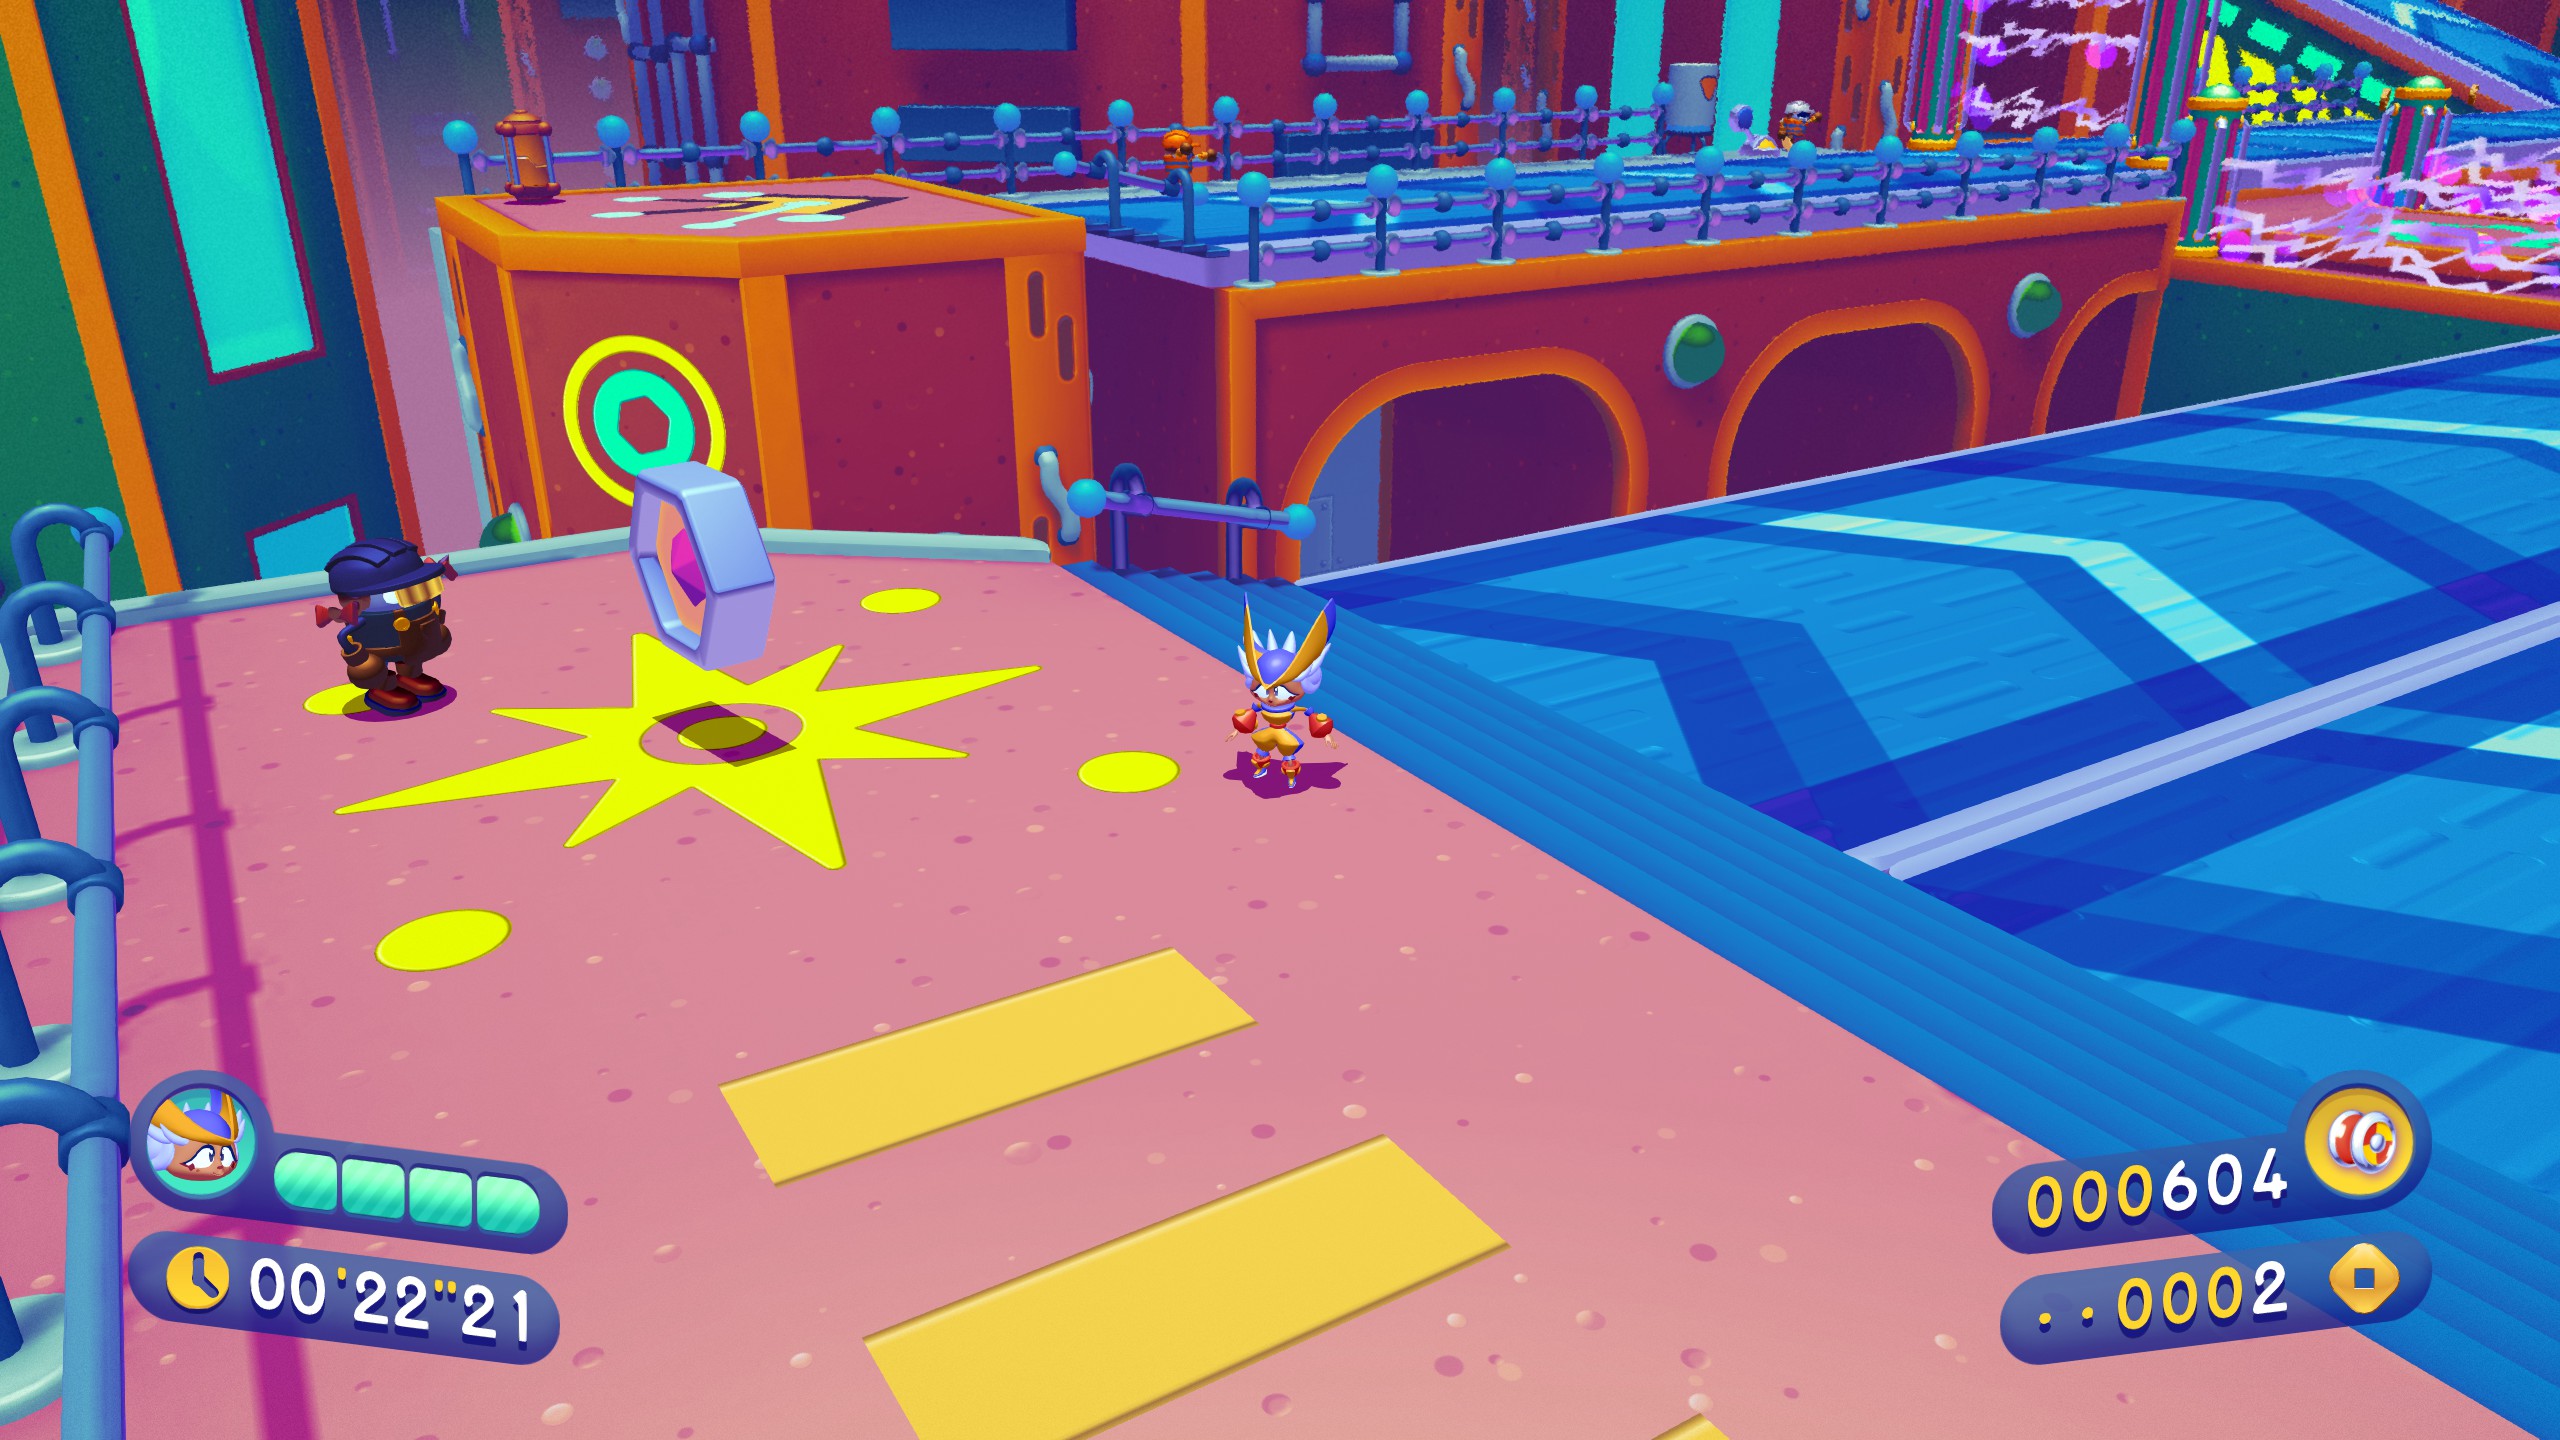
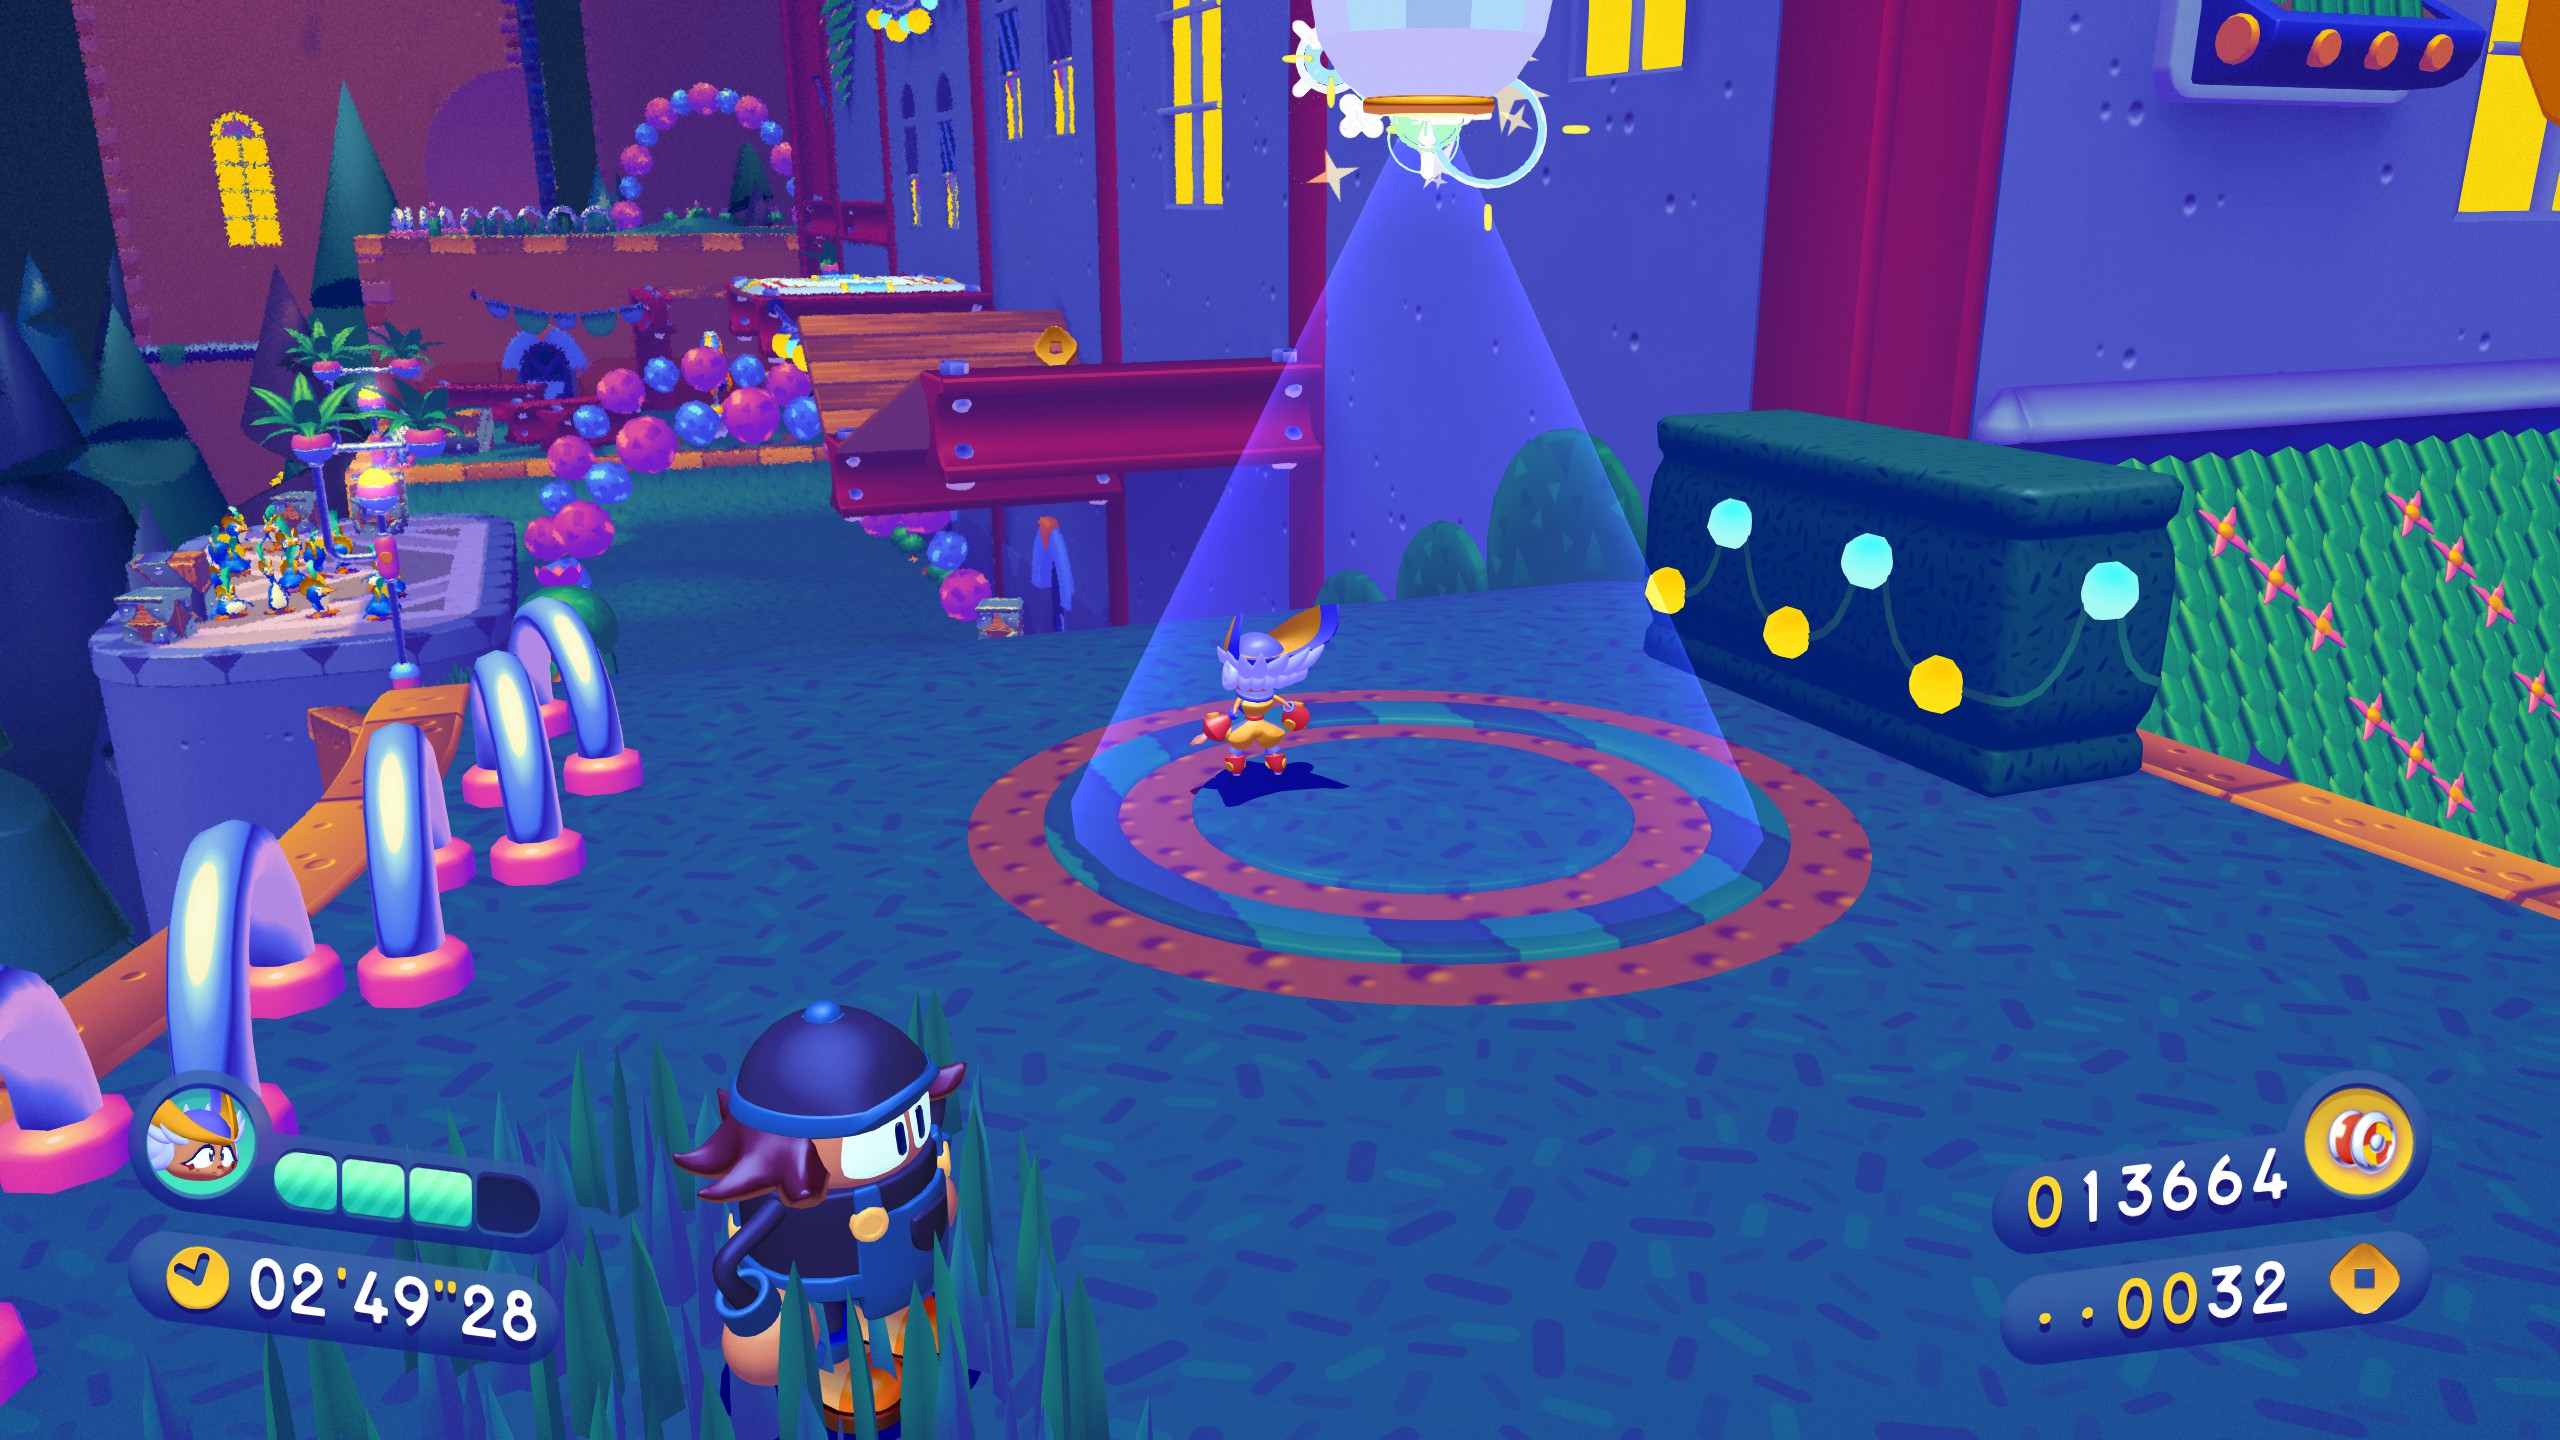
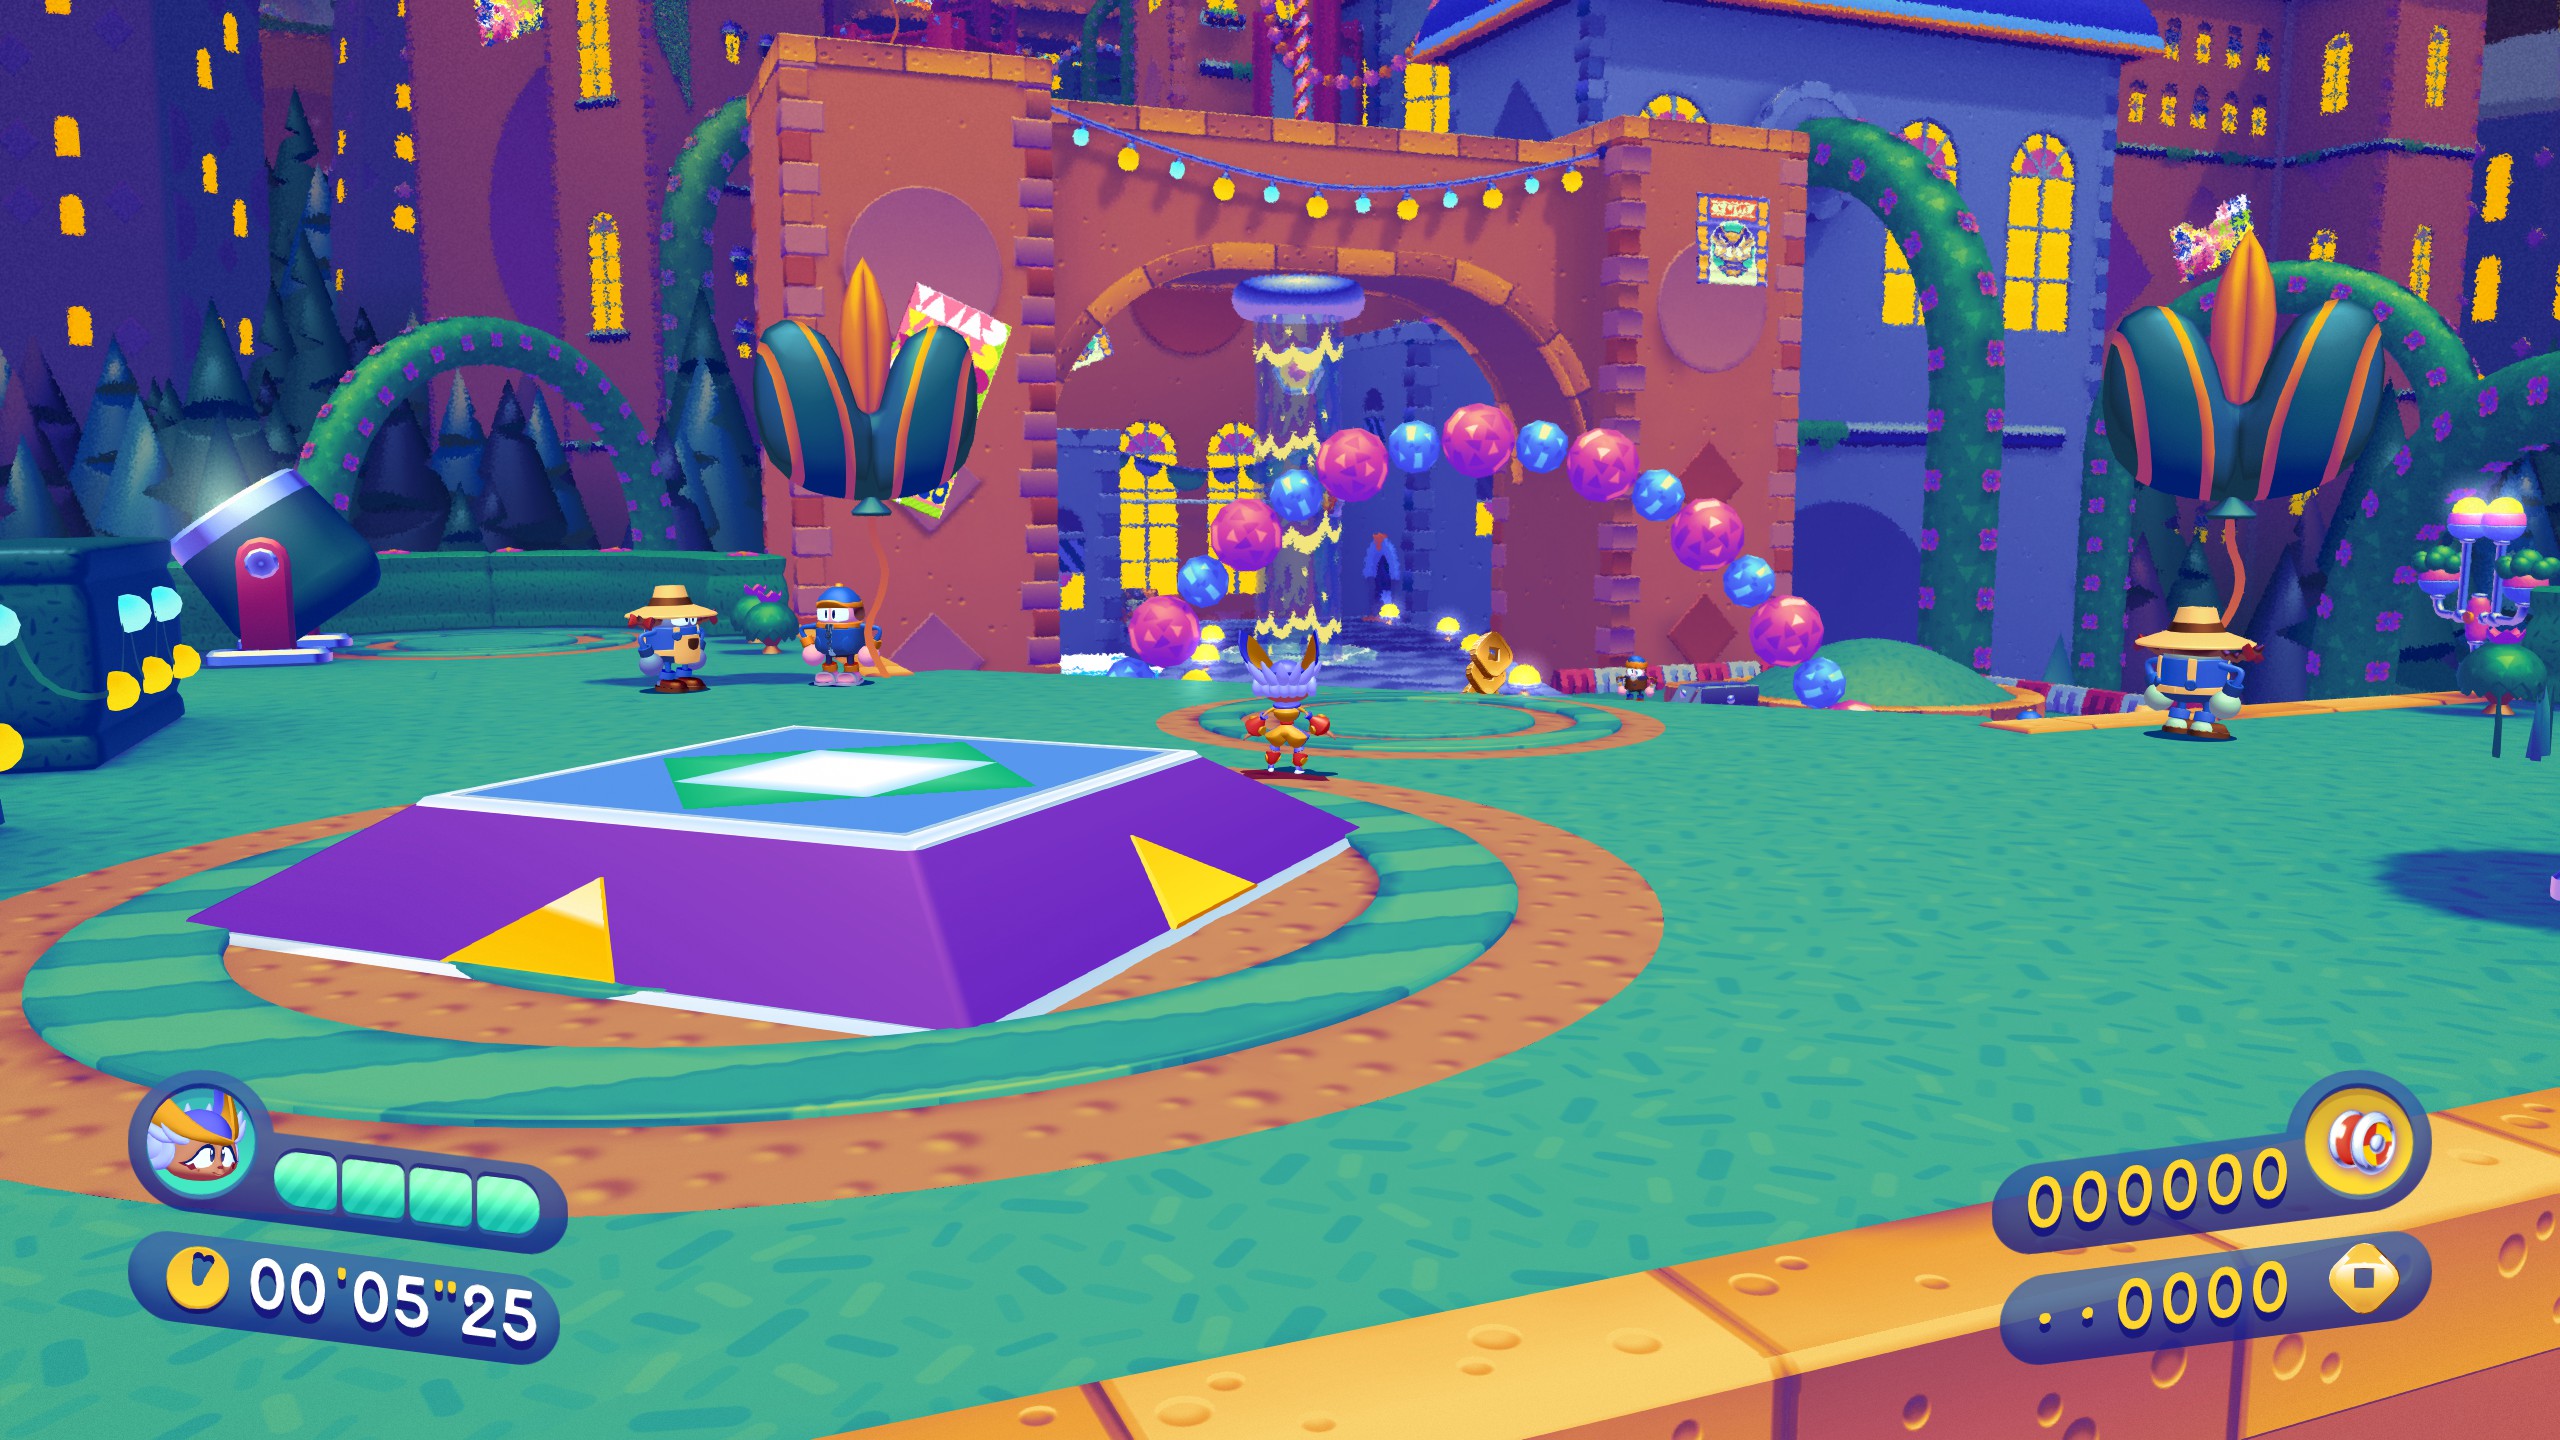
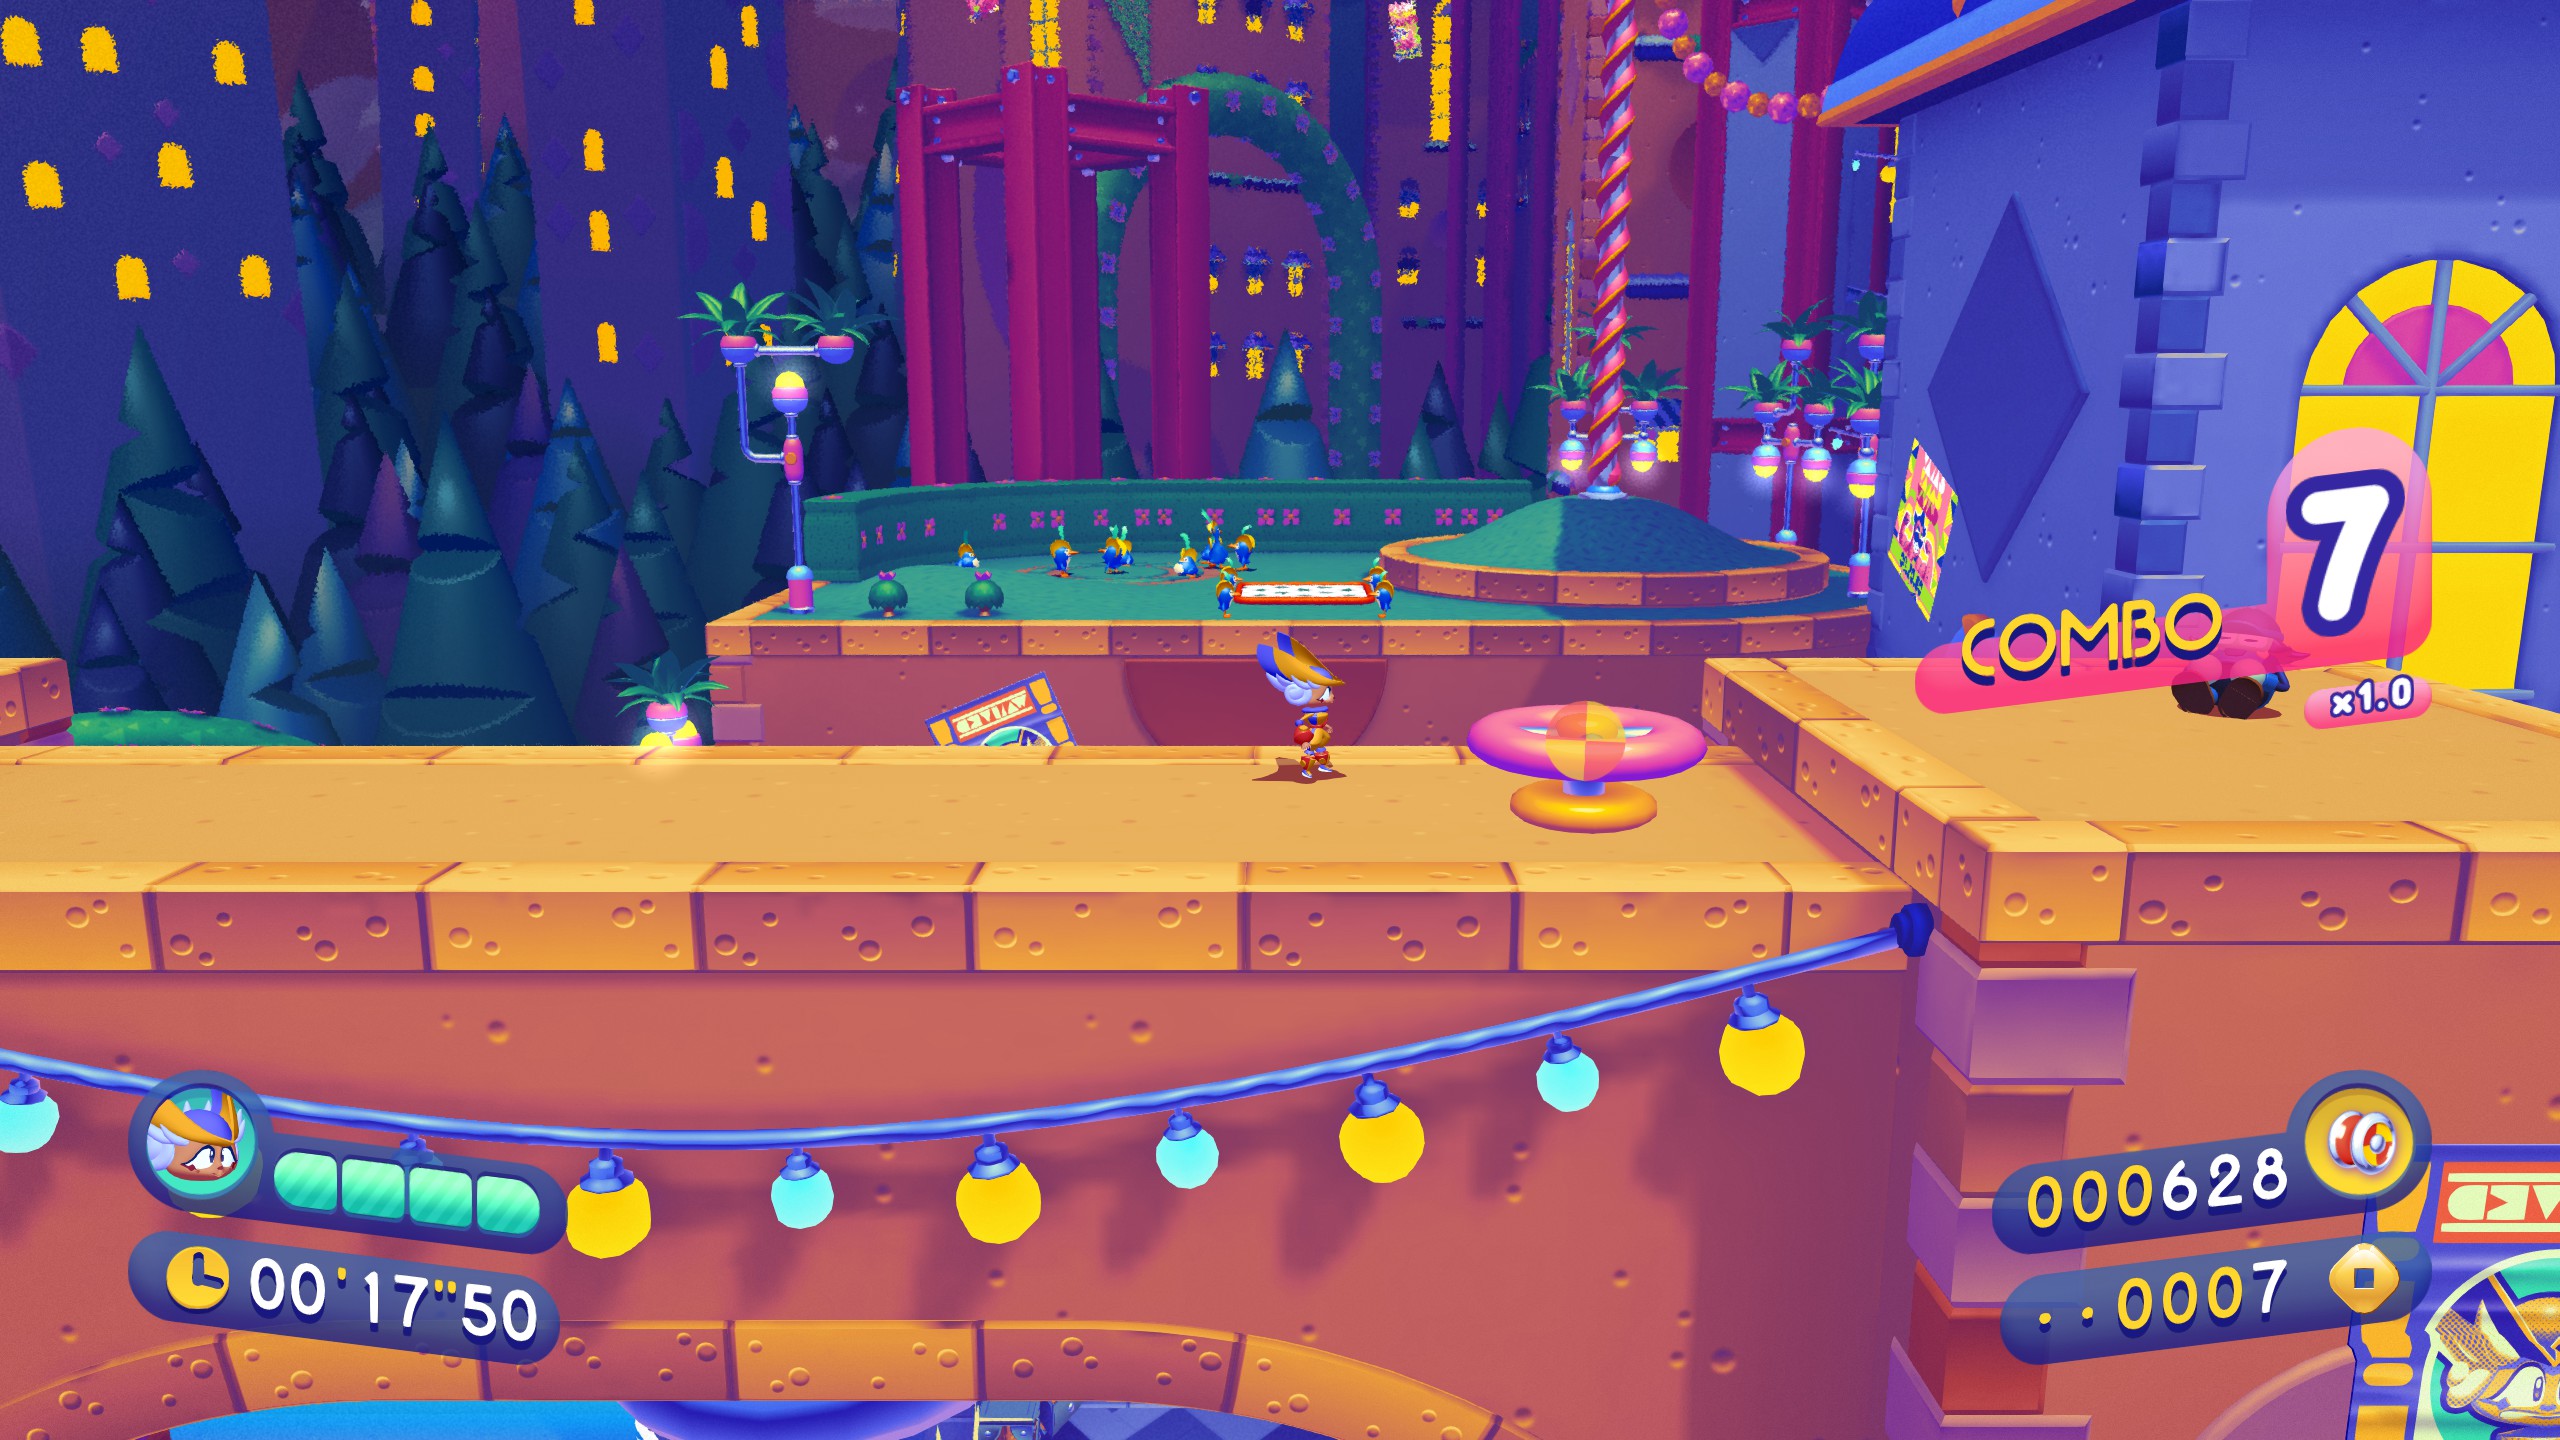
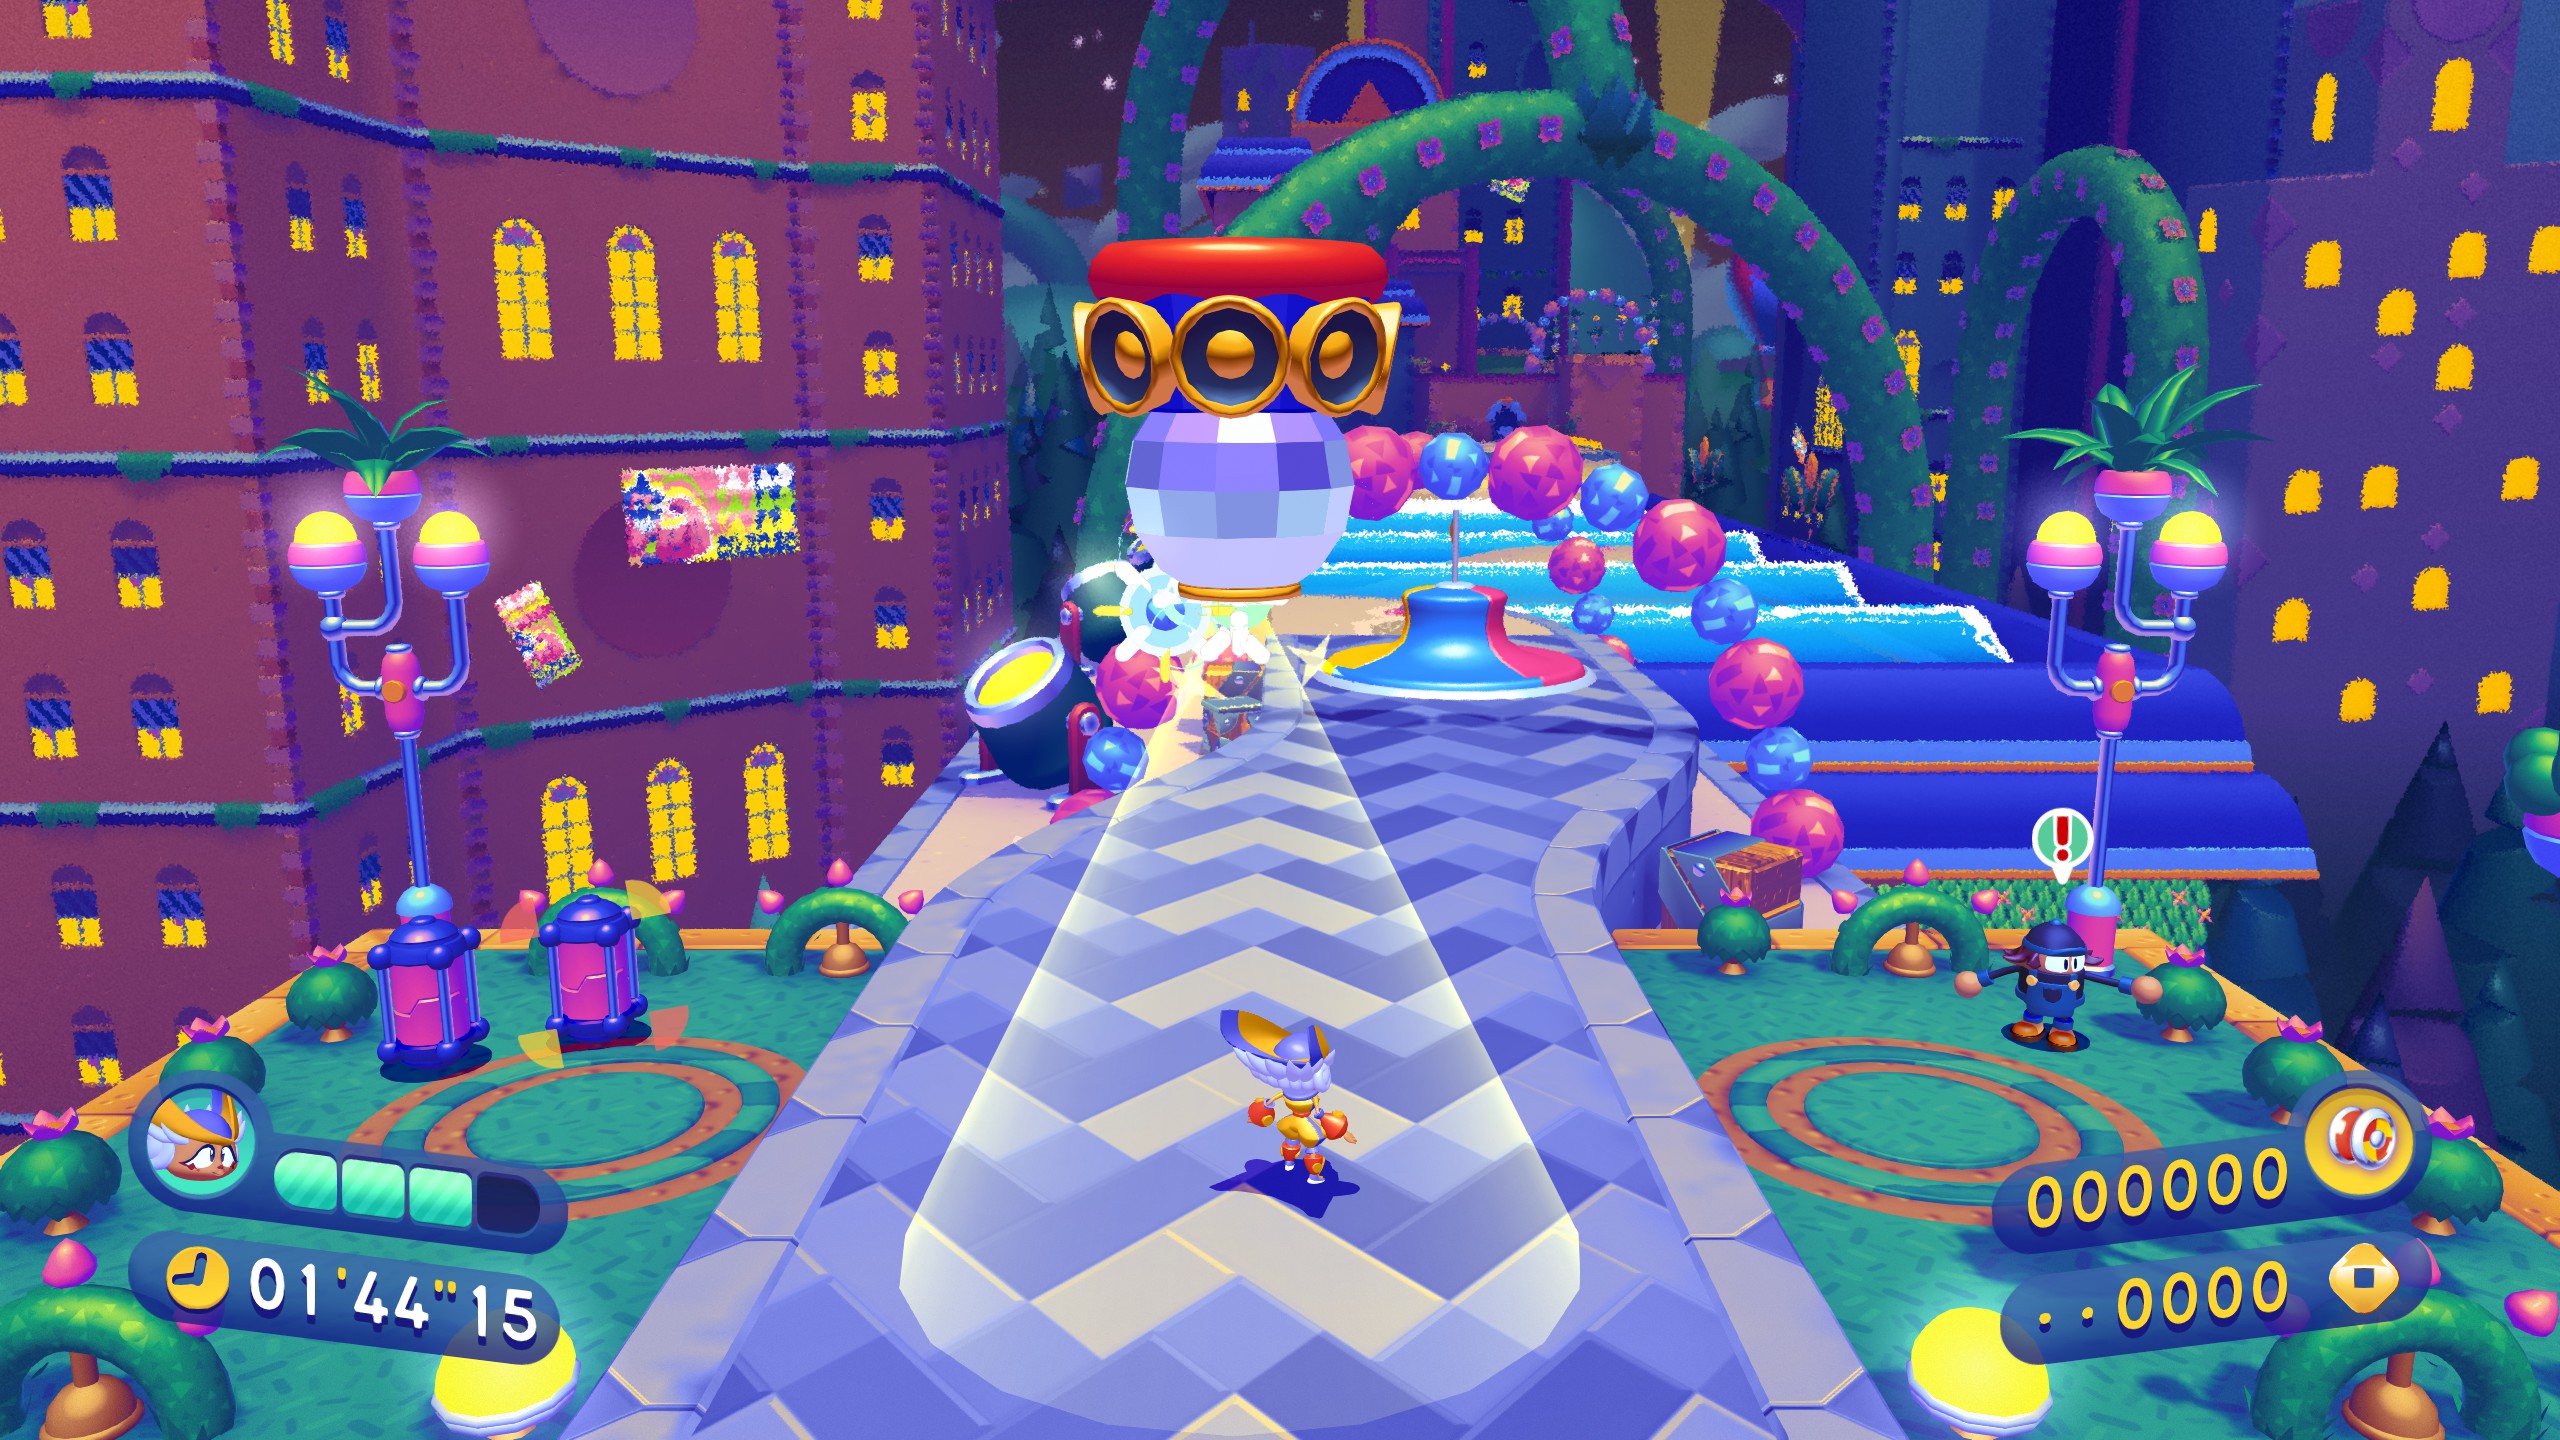
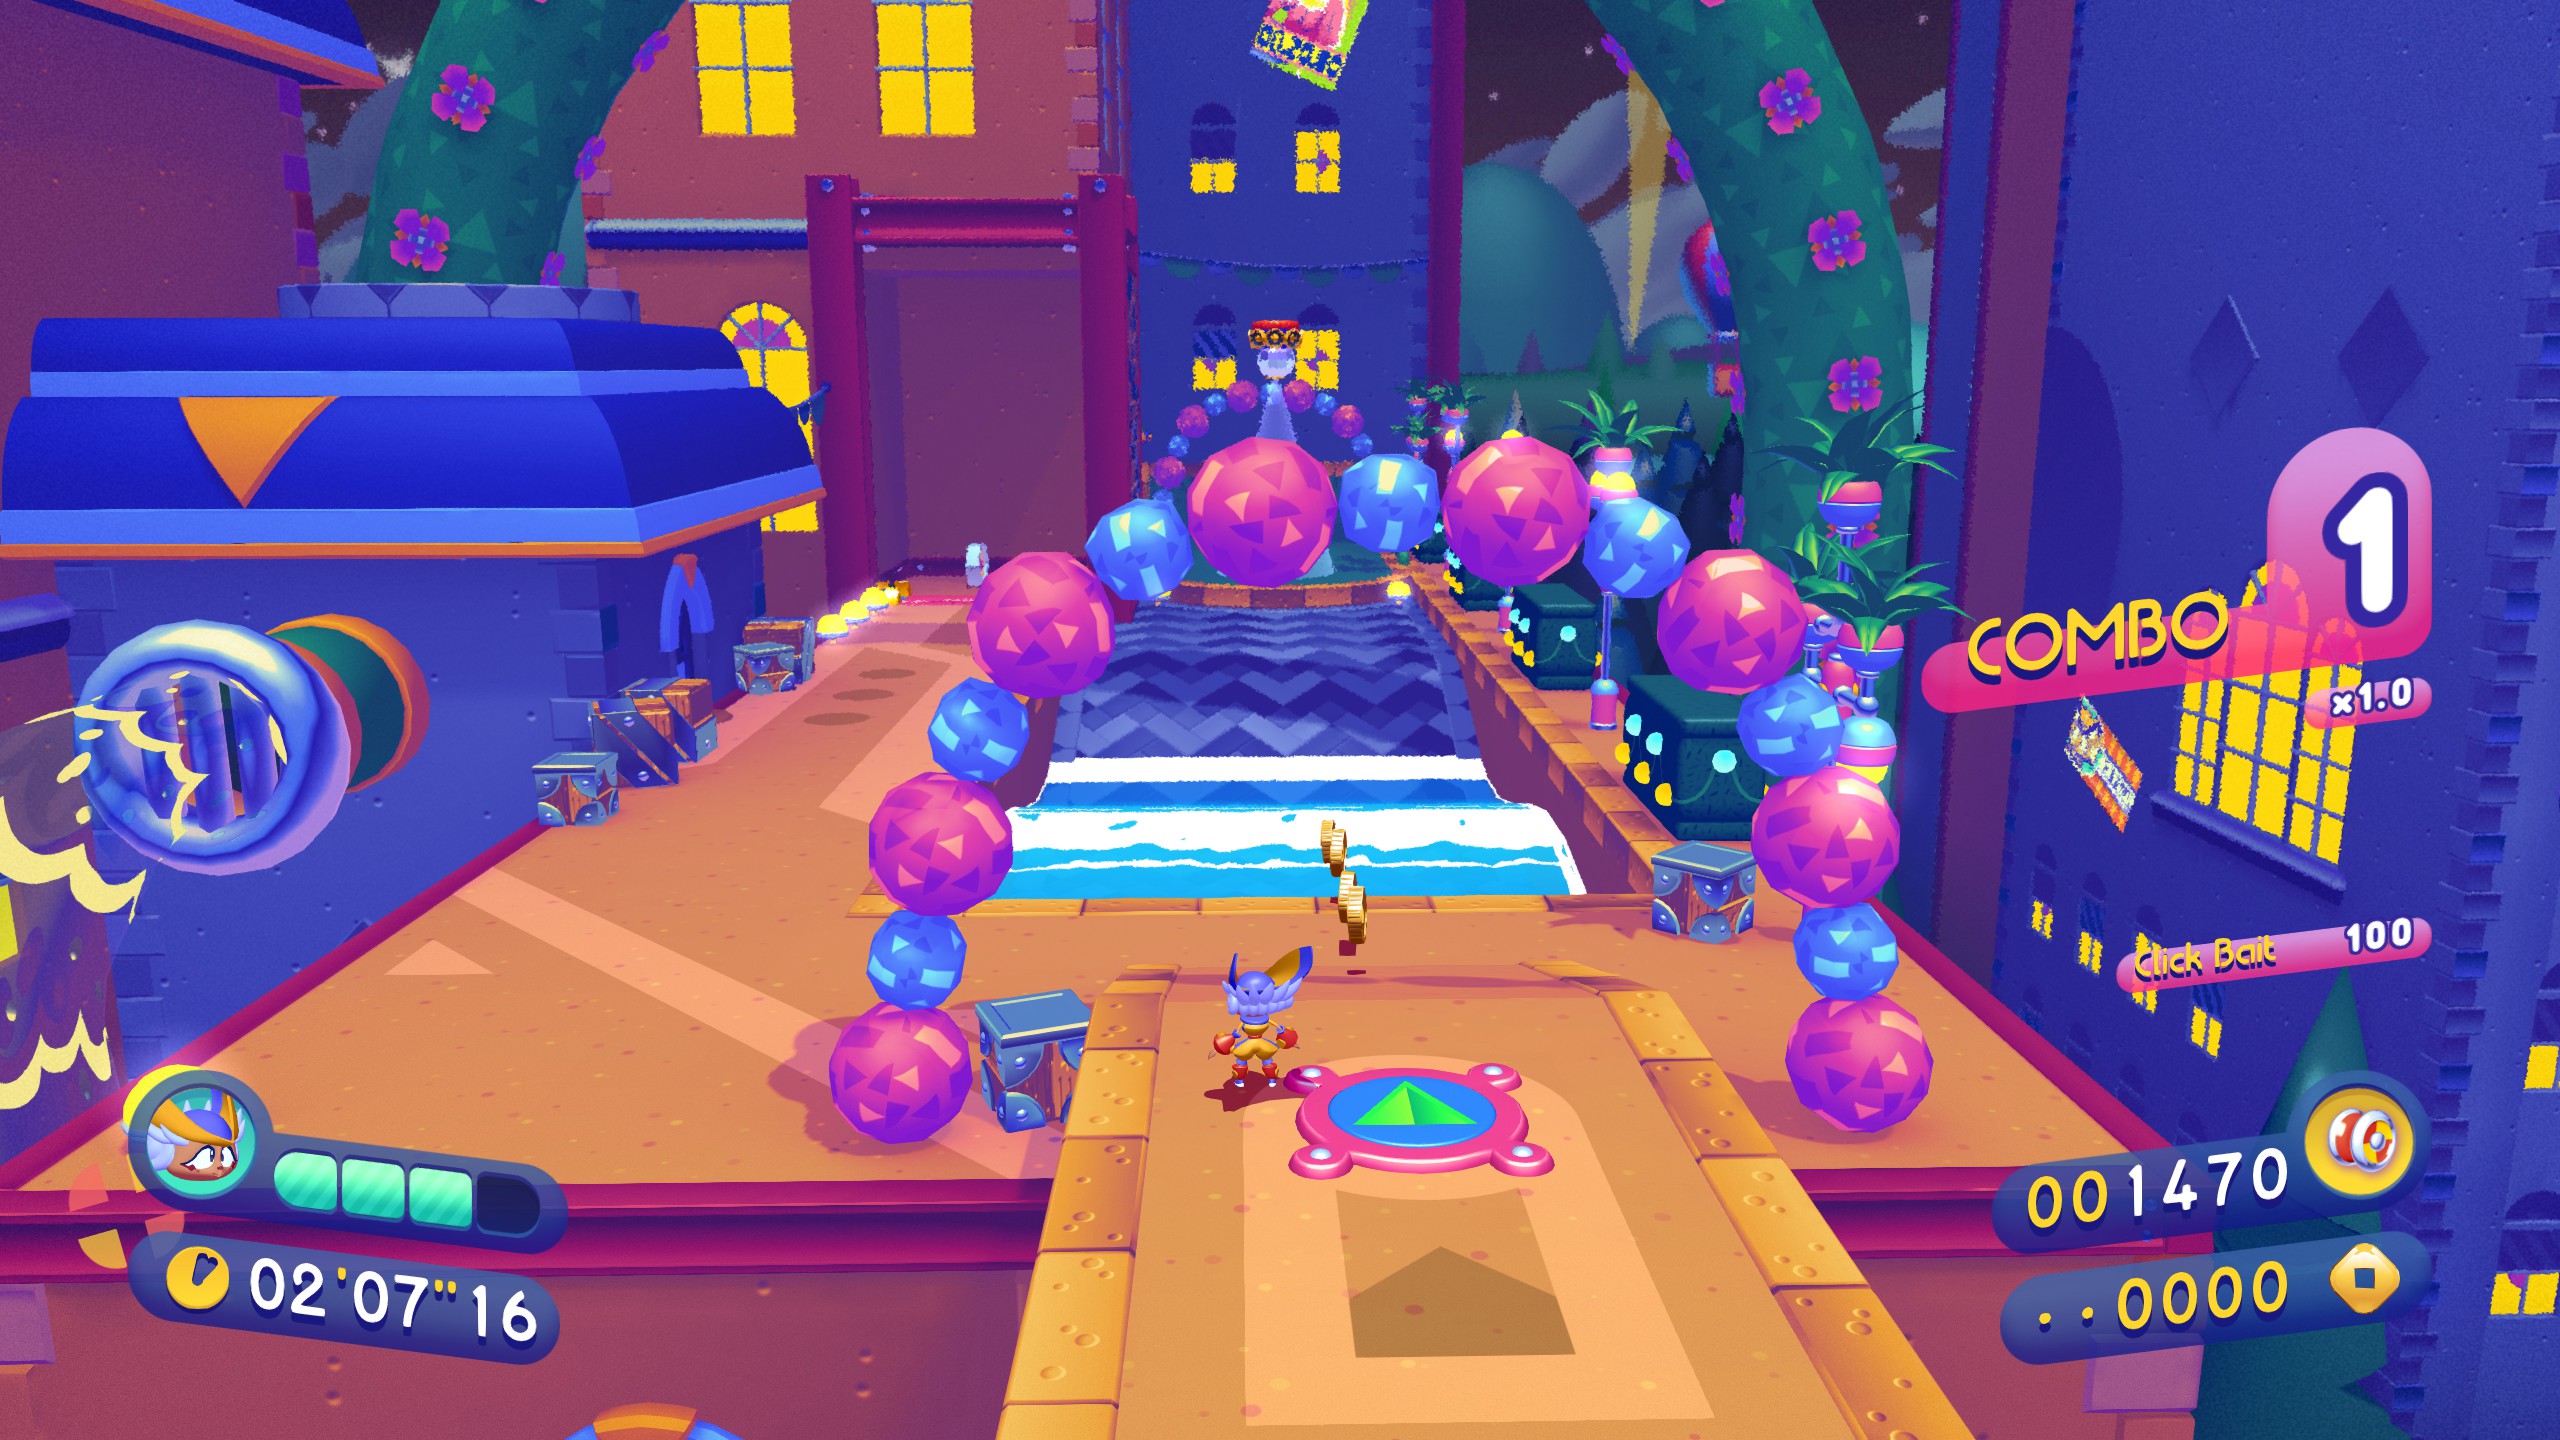
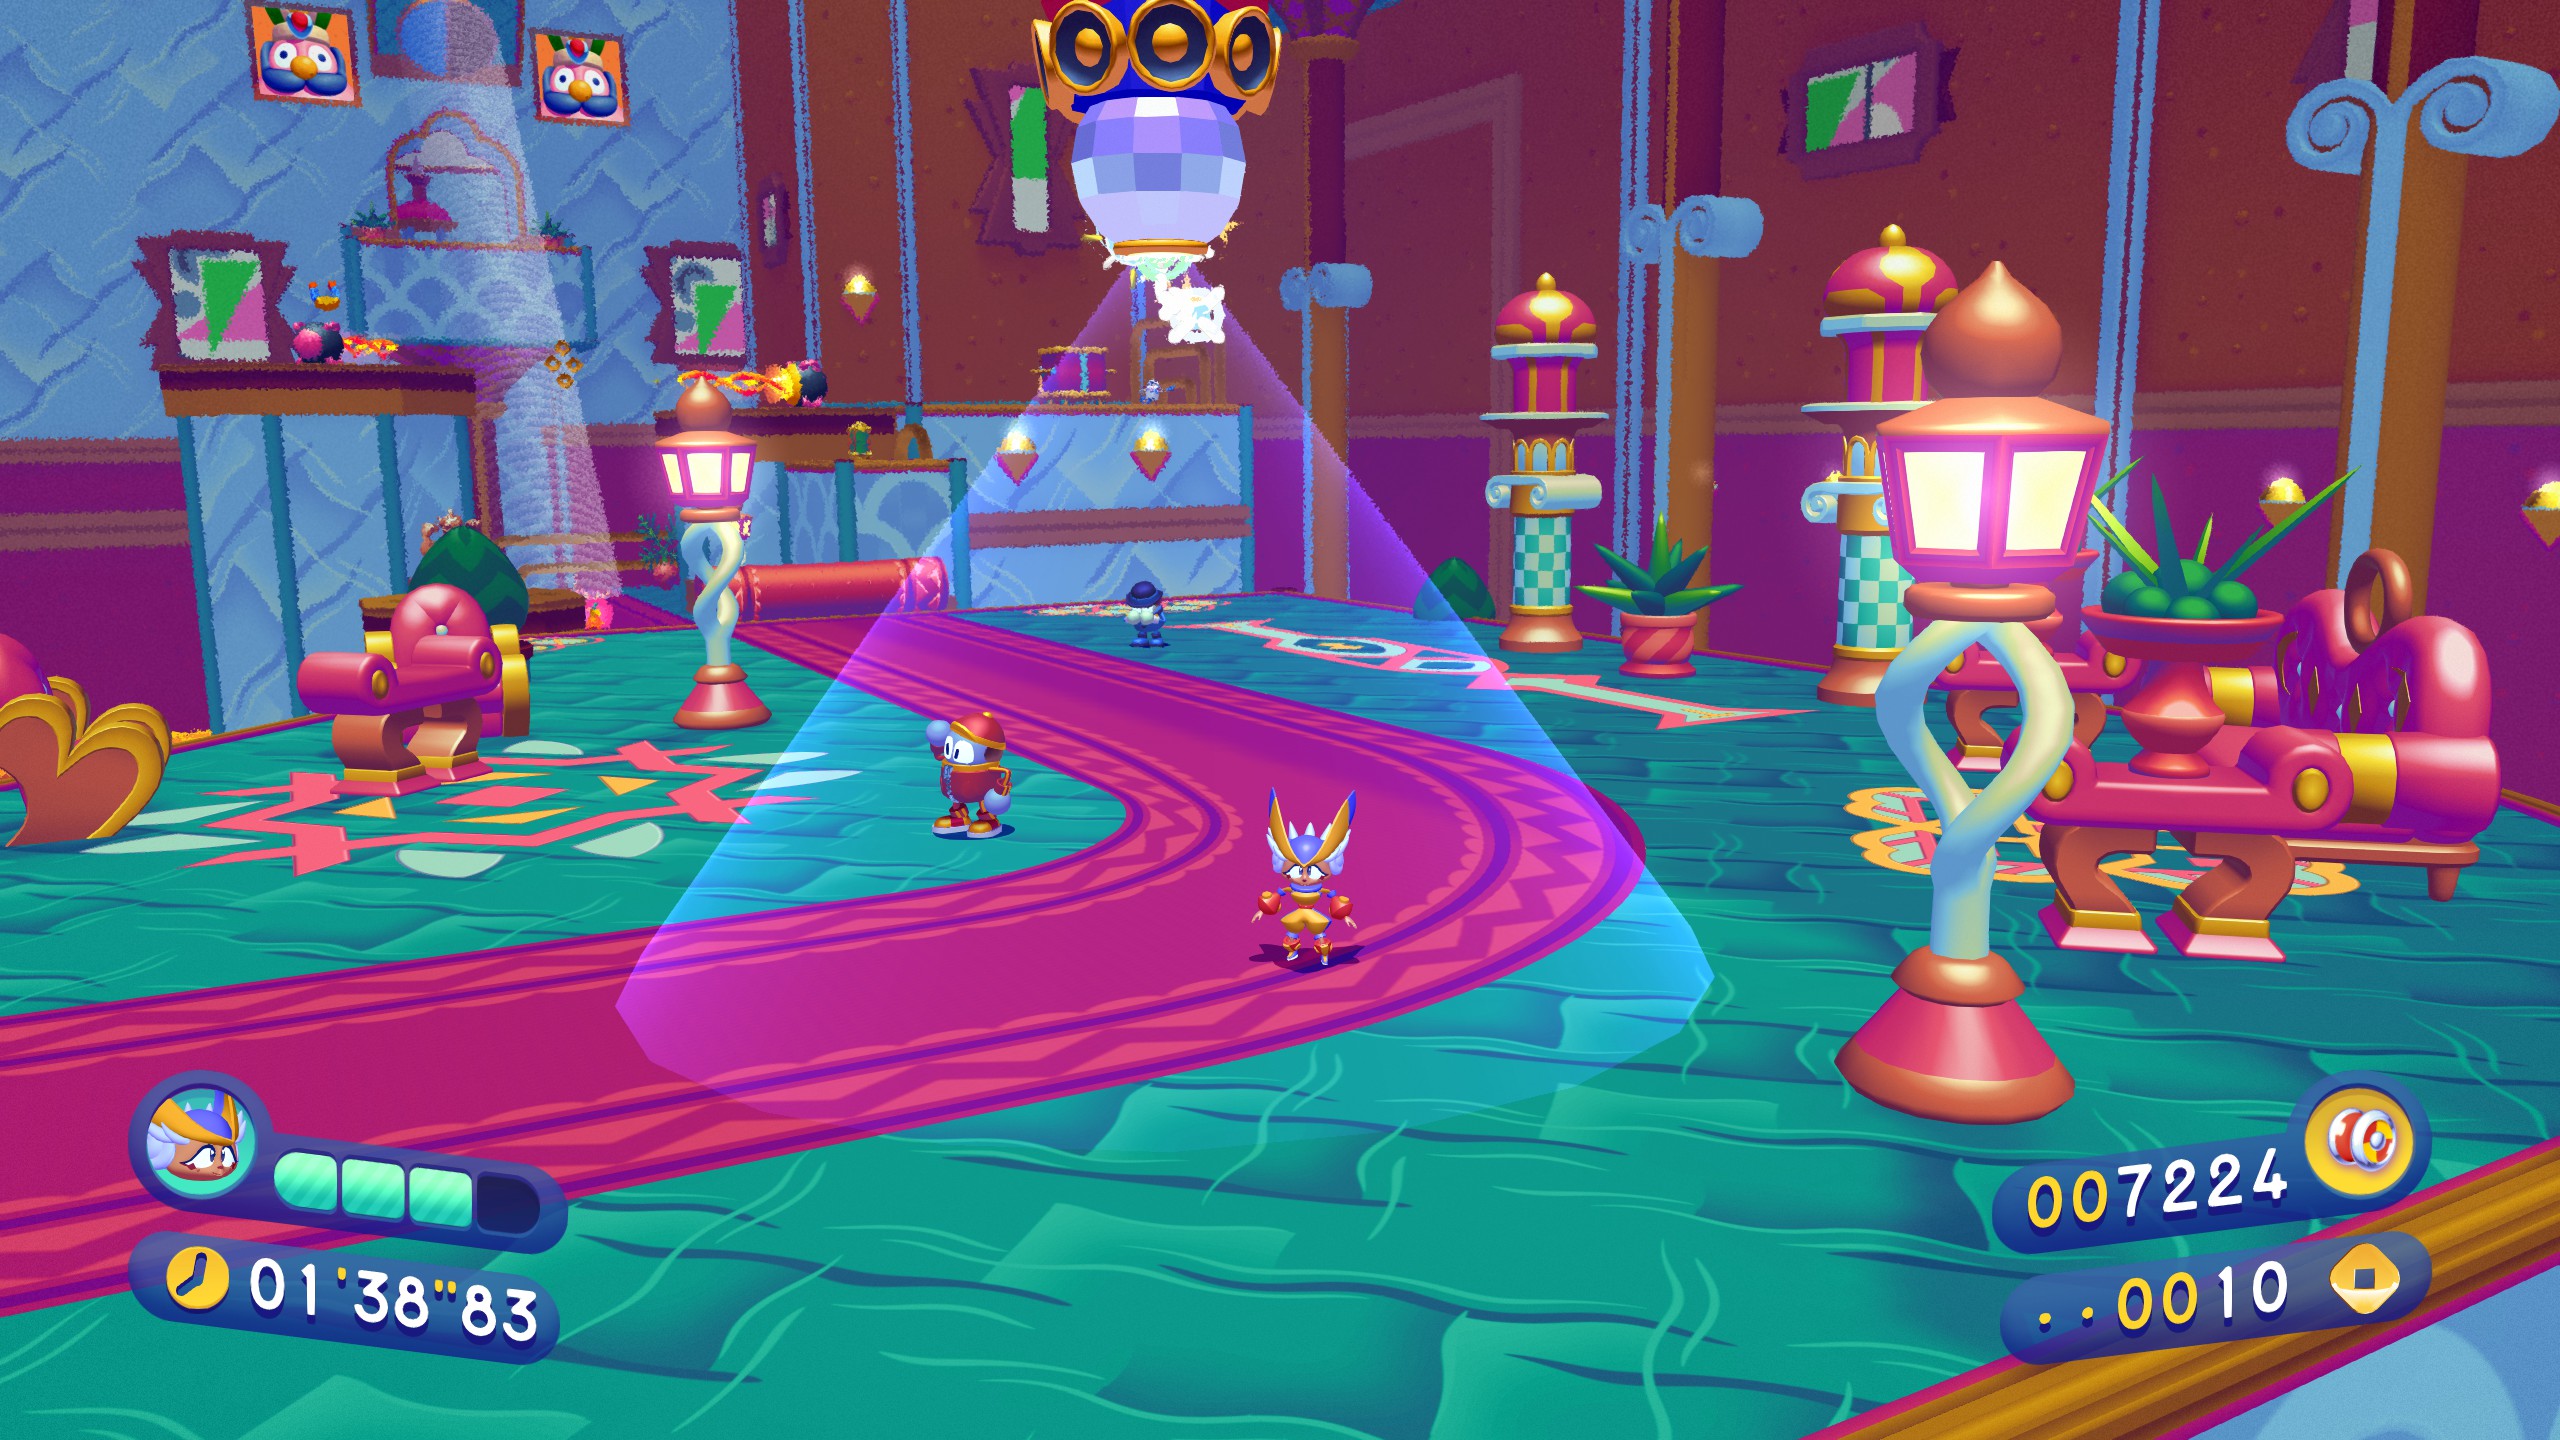
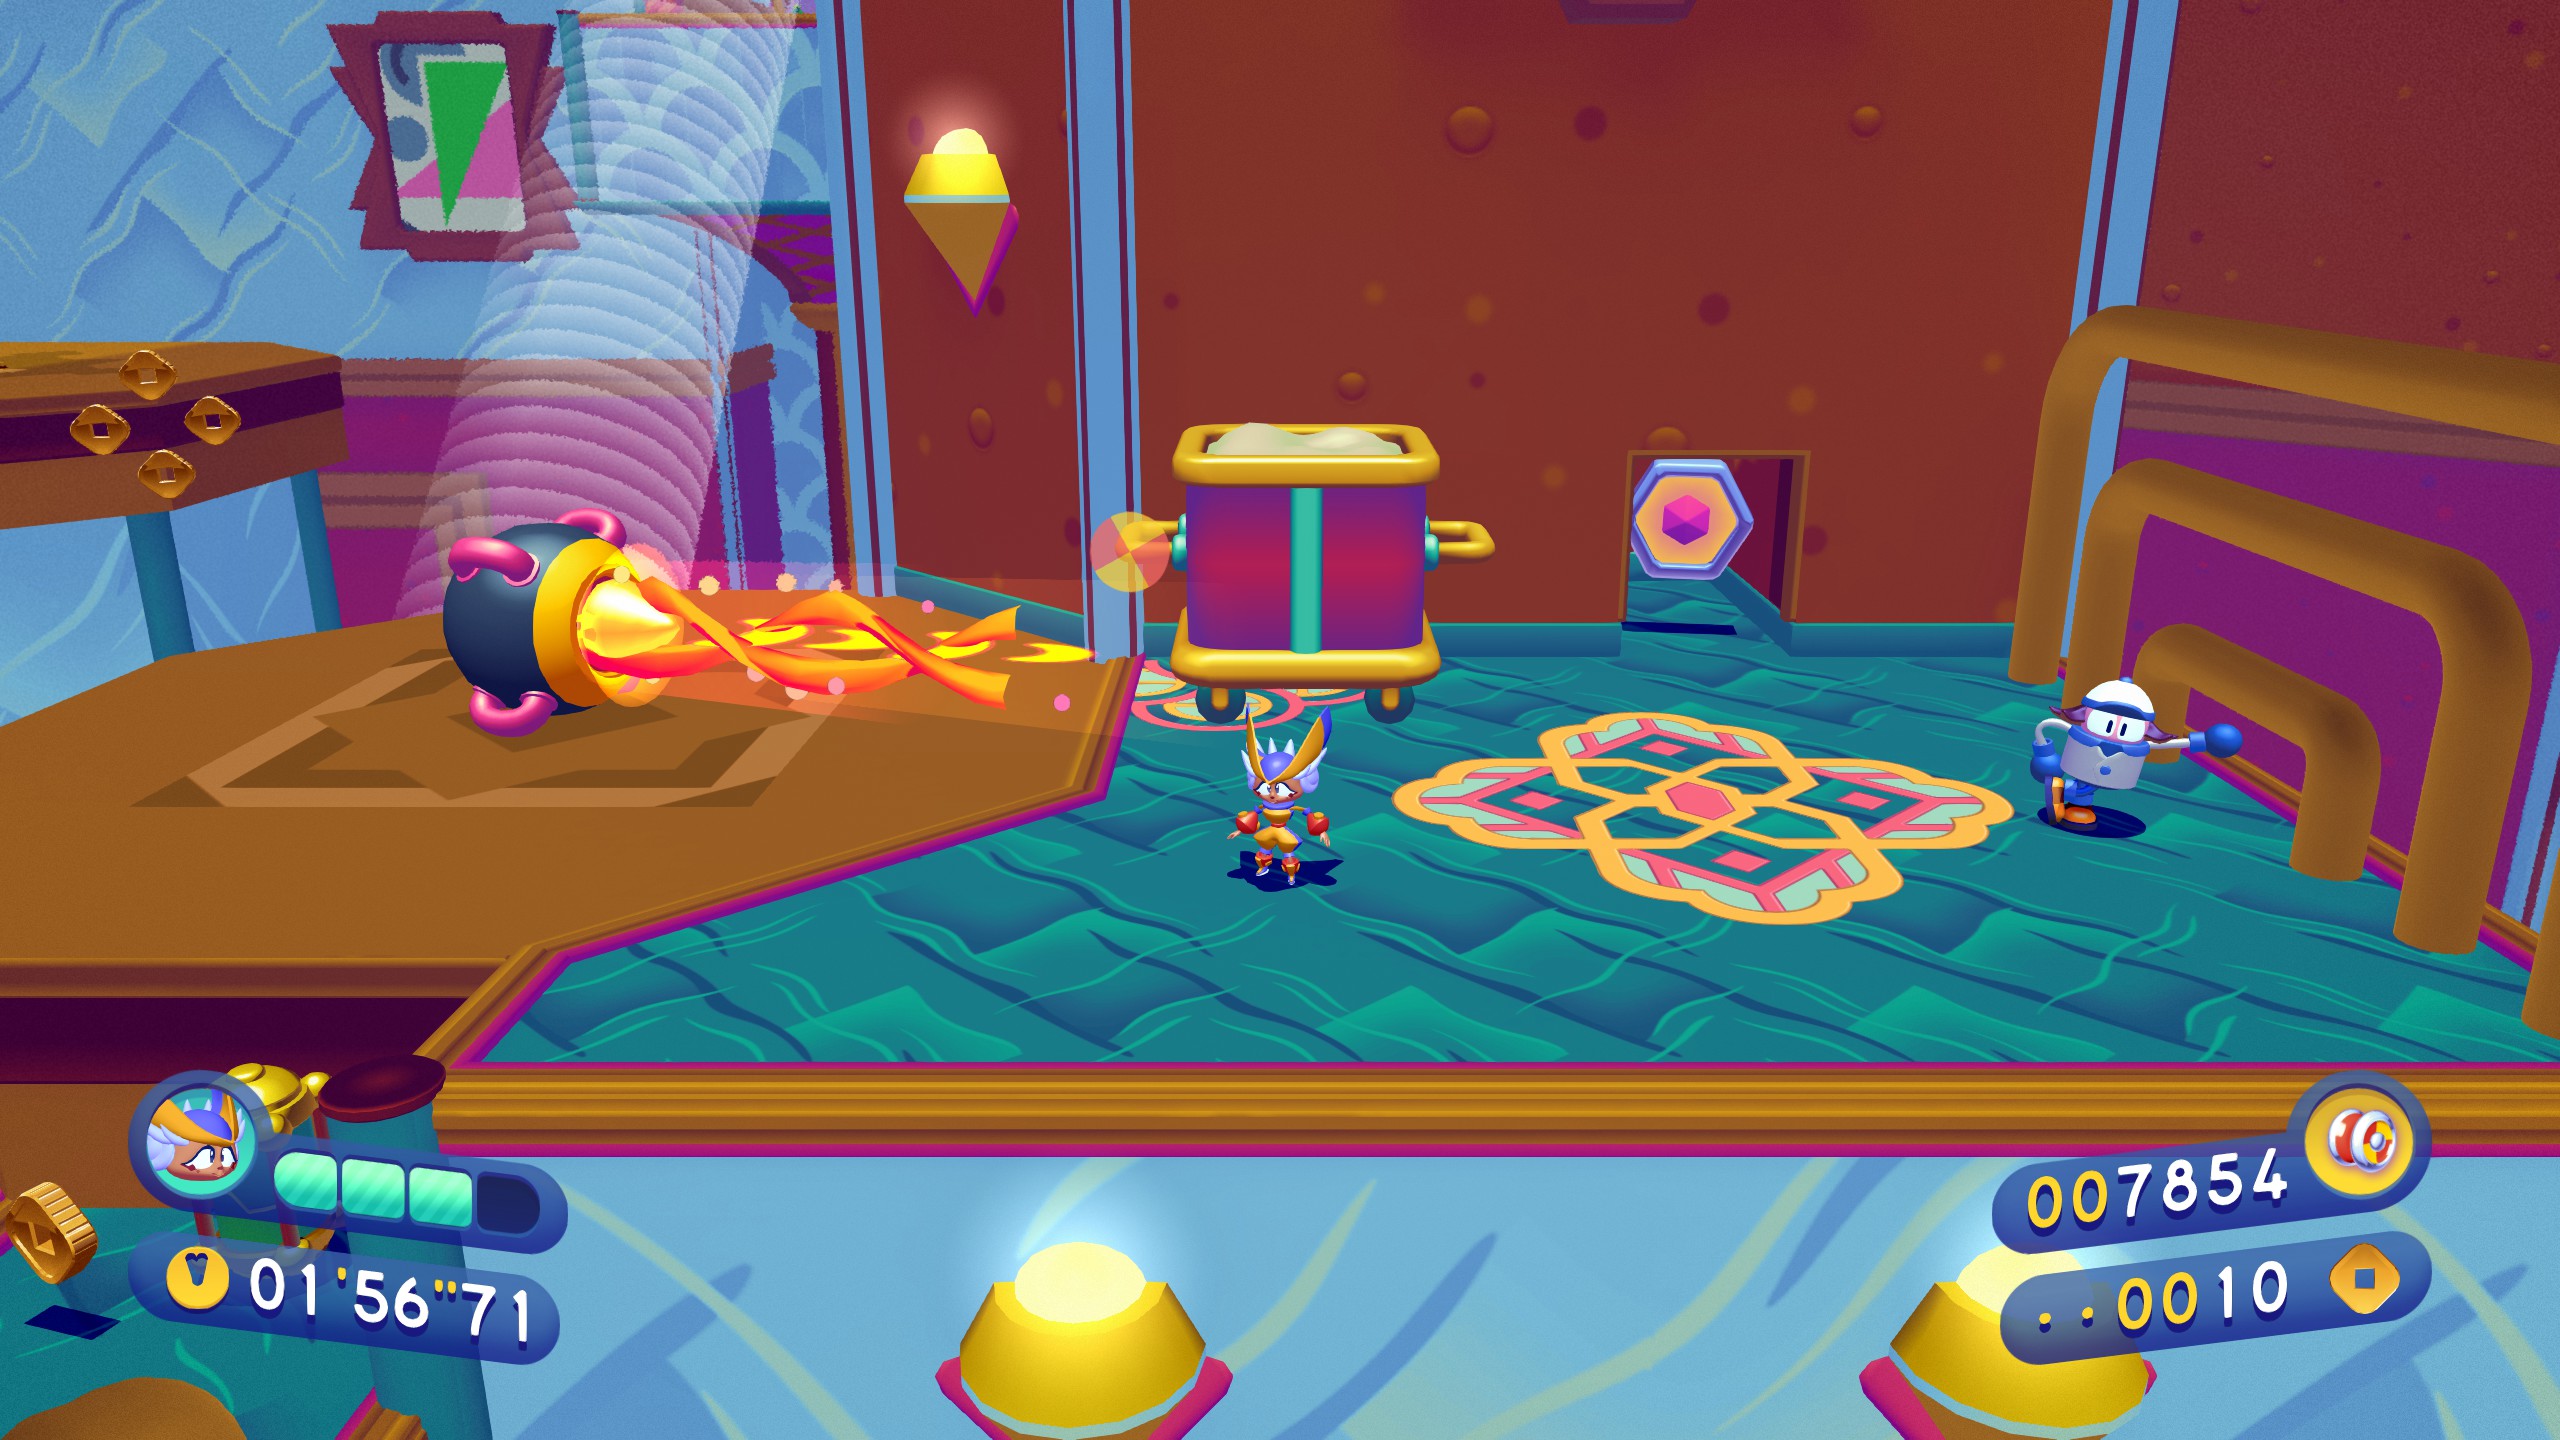
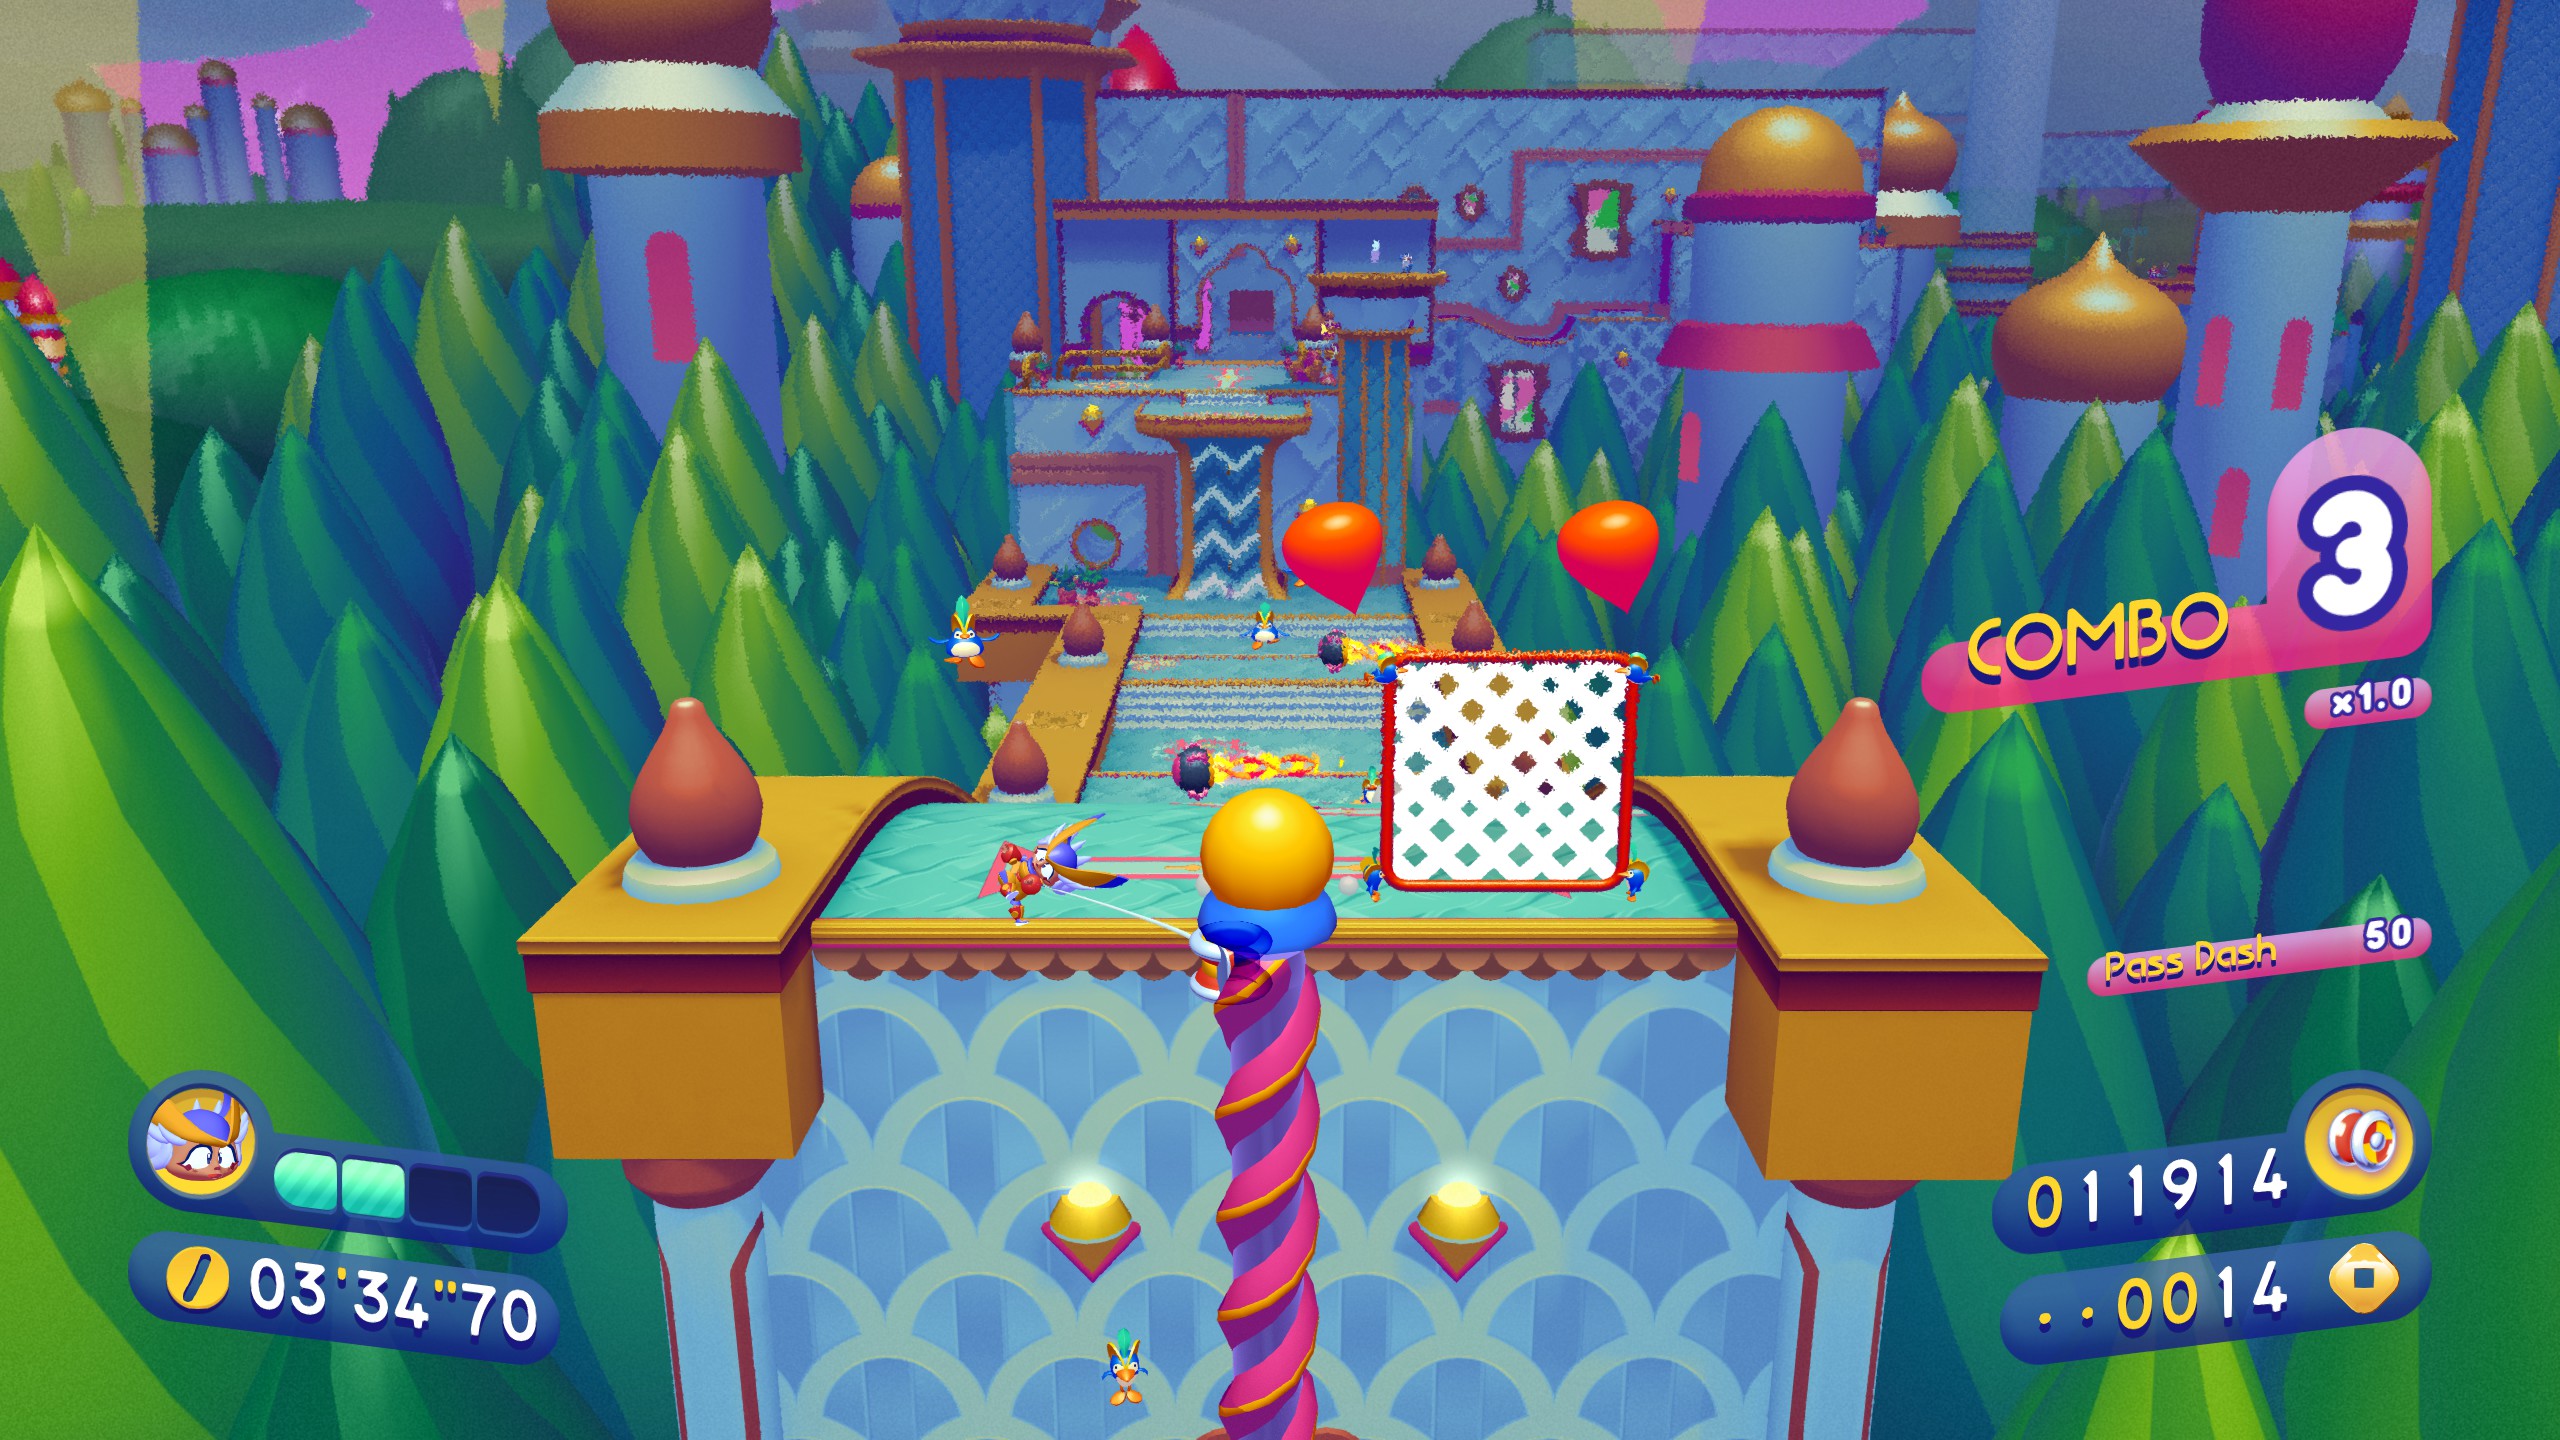
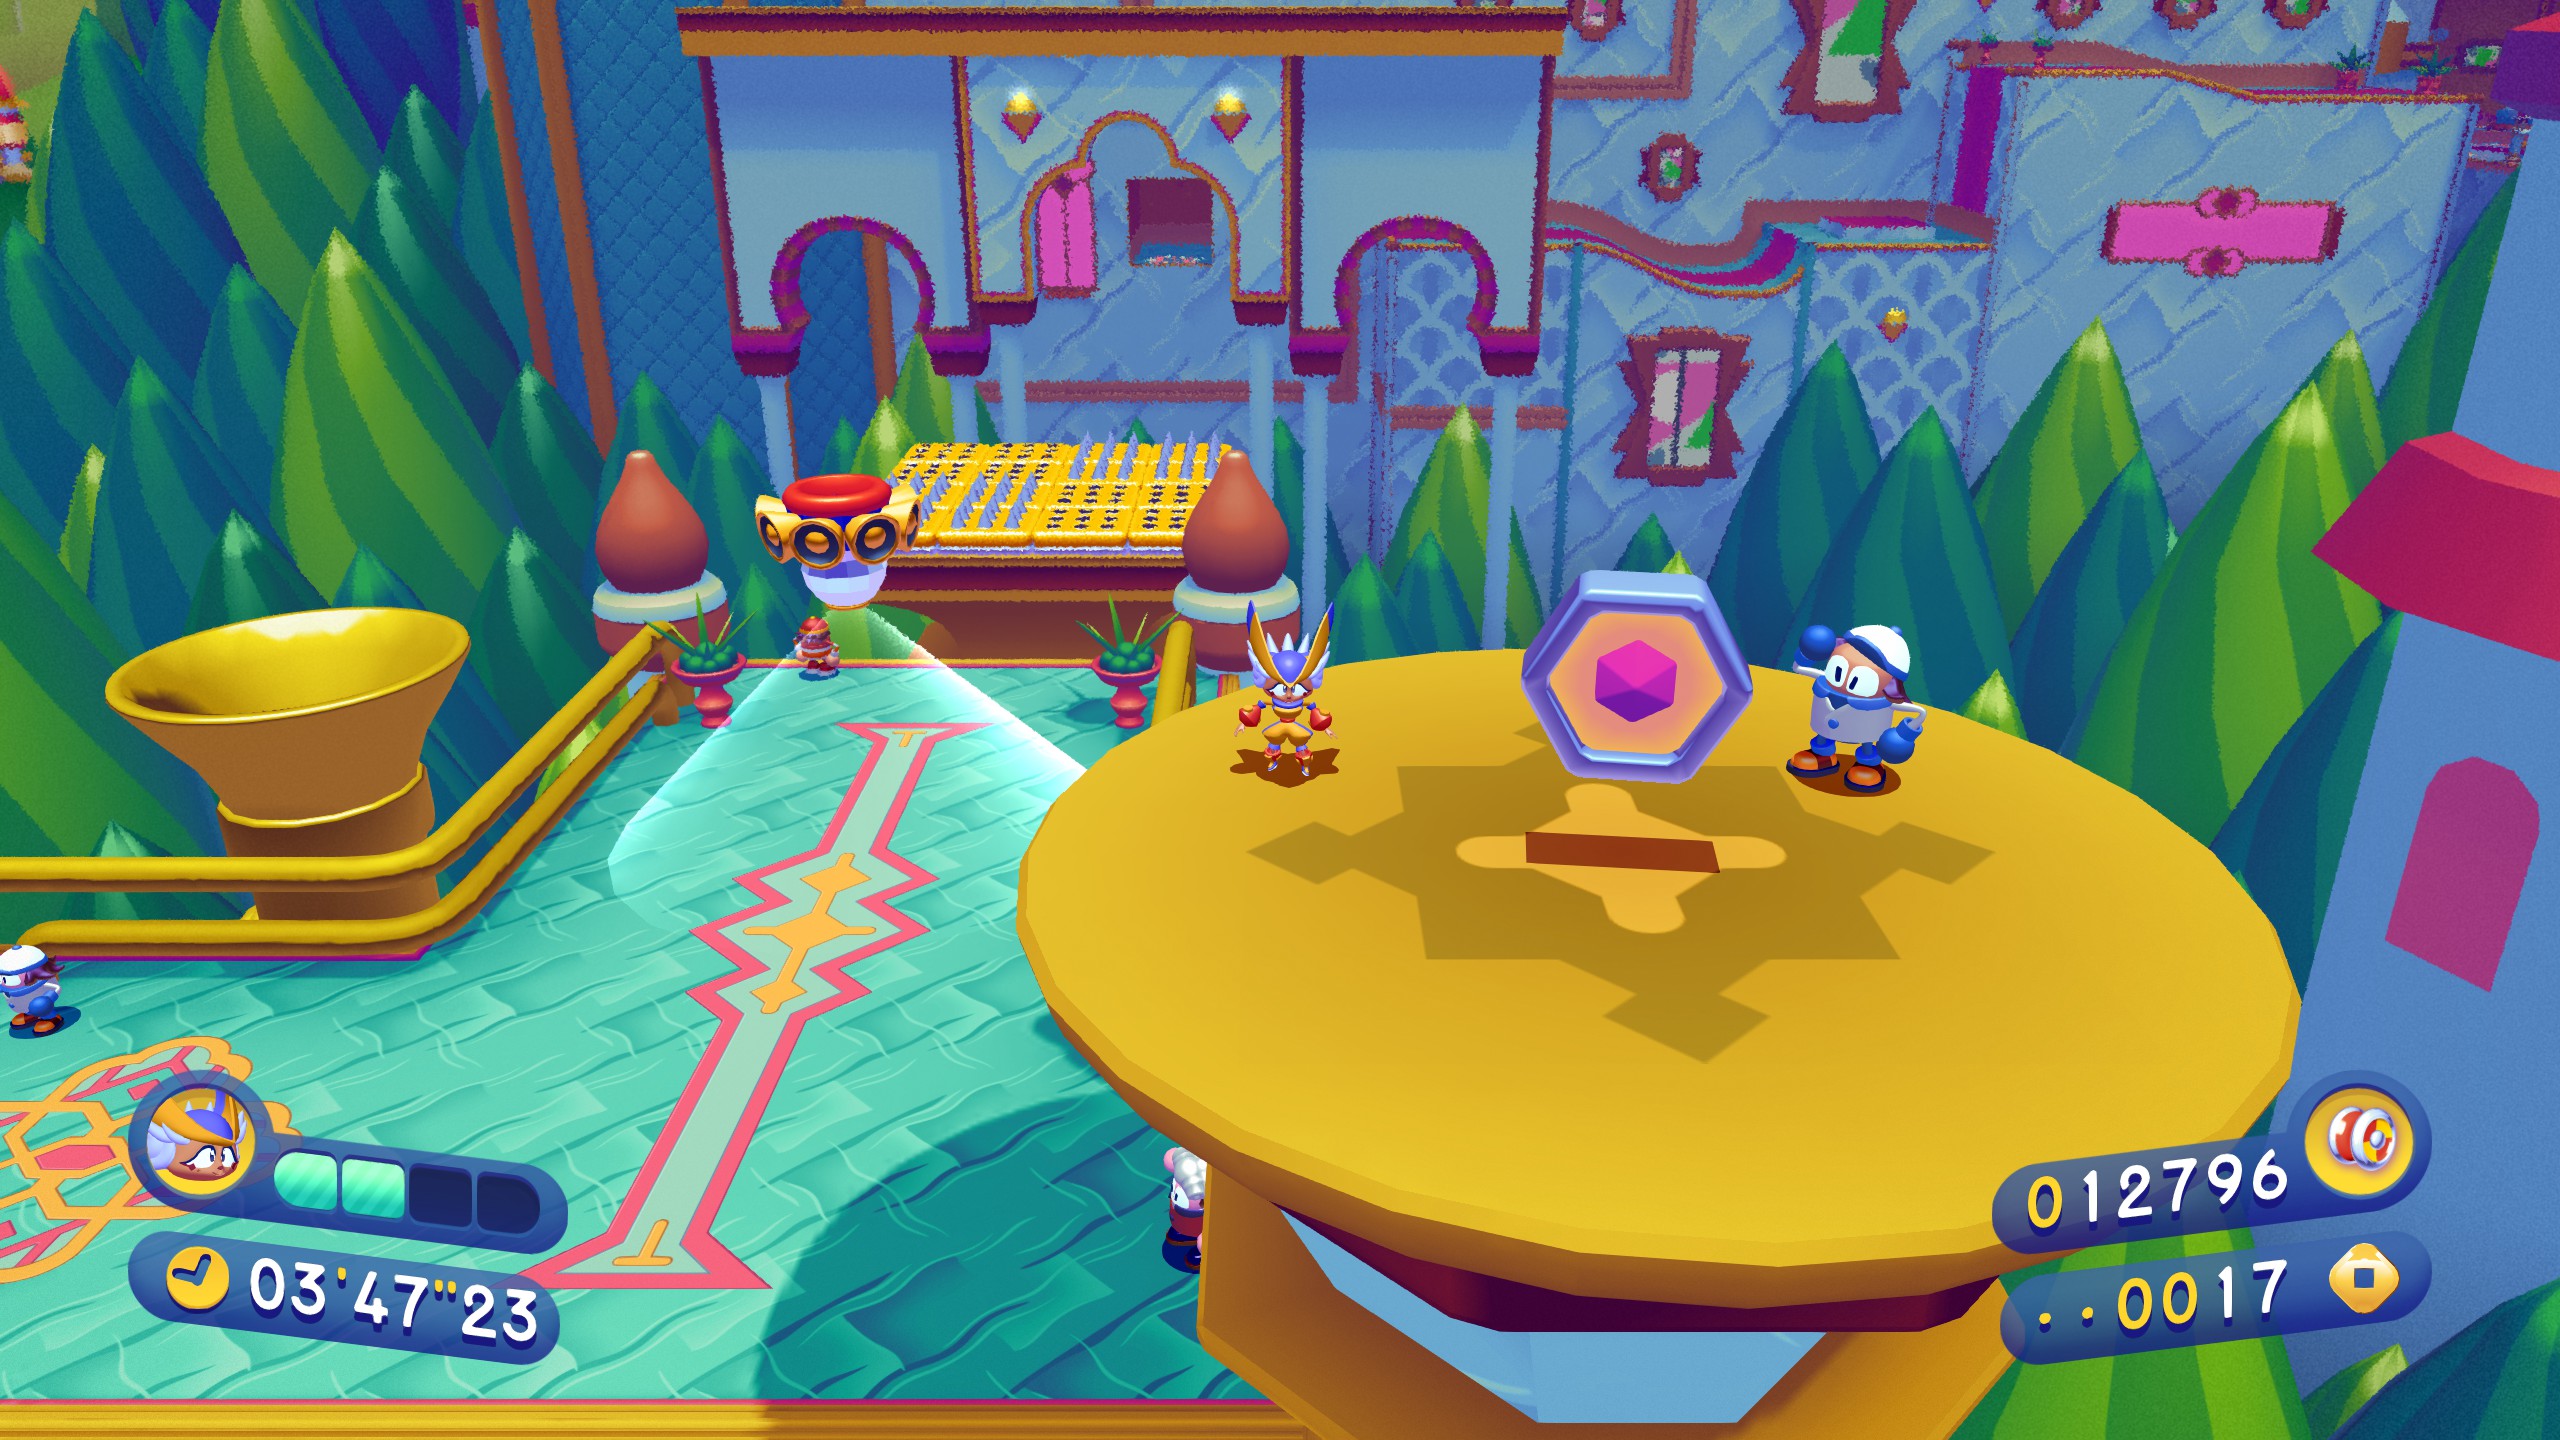
World 10: Gala Night
10-1
The first piece is on top of this crane right near the start. I’m really not sure what the best way to get it is, so I just built up a lot of speed riding down the previous area then used the momentum to carry me up to grab it. You’ll probably fall out trying to grab this.
The second piece is just up this water pressure shooter thing. When you take it up, be ready to dash over to the blue roof.
Up ahead and you’ll see some alcoves in the wall. In the higher of the two is the piece.
The third piece is very similar to a piece in world 1. It’s up the side of this wall. Take the upper path, knock out the lightbulb, and swing up to it.
This first piece eluded me for quite some time, but you can see it from the start, it’s just underneath the pipe gushing water down.
Get on top of the arch here however you see fit, then pull the valve to turn the water off, drop down and swing into the piece to grab it.
The second piece requires you to hit all 3 buttons from this checkpoint forward. The first two are directly in your path as you cross the water.
The third is placed up here. This will open the door to the upper left. Therein is the piece
The final piece is just after. Grab the pepper and ride up, you can’t miss it.
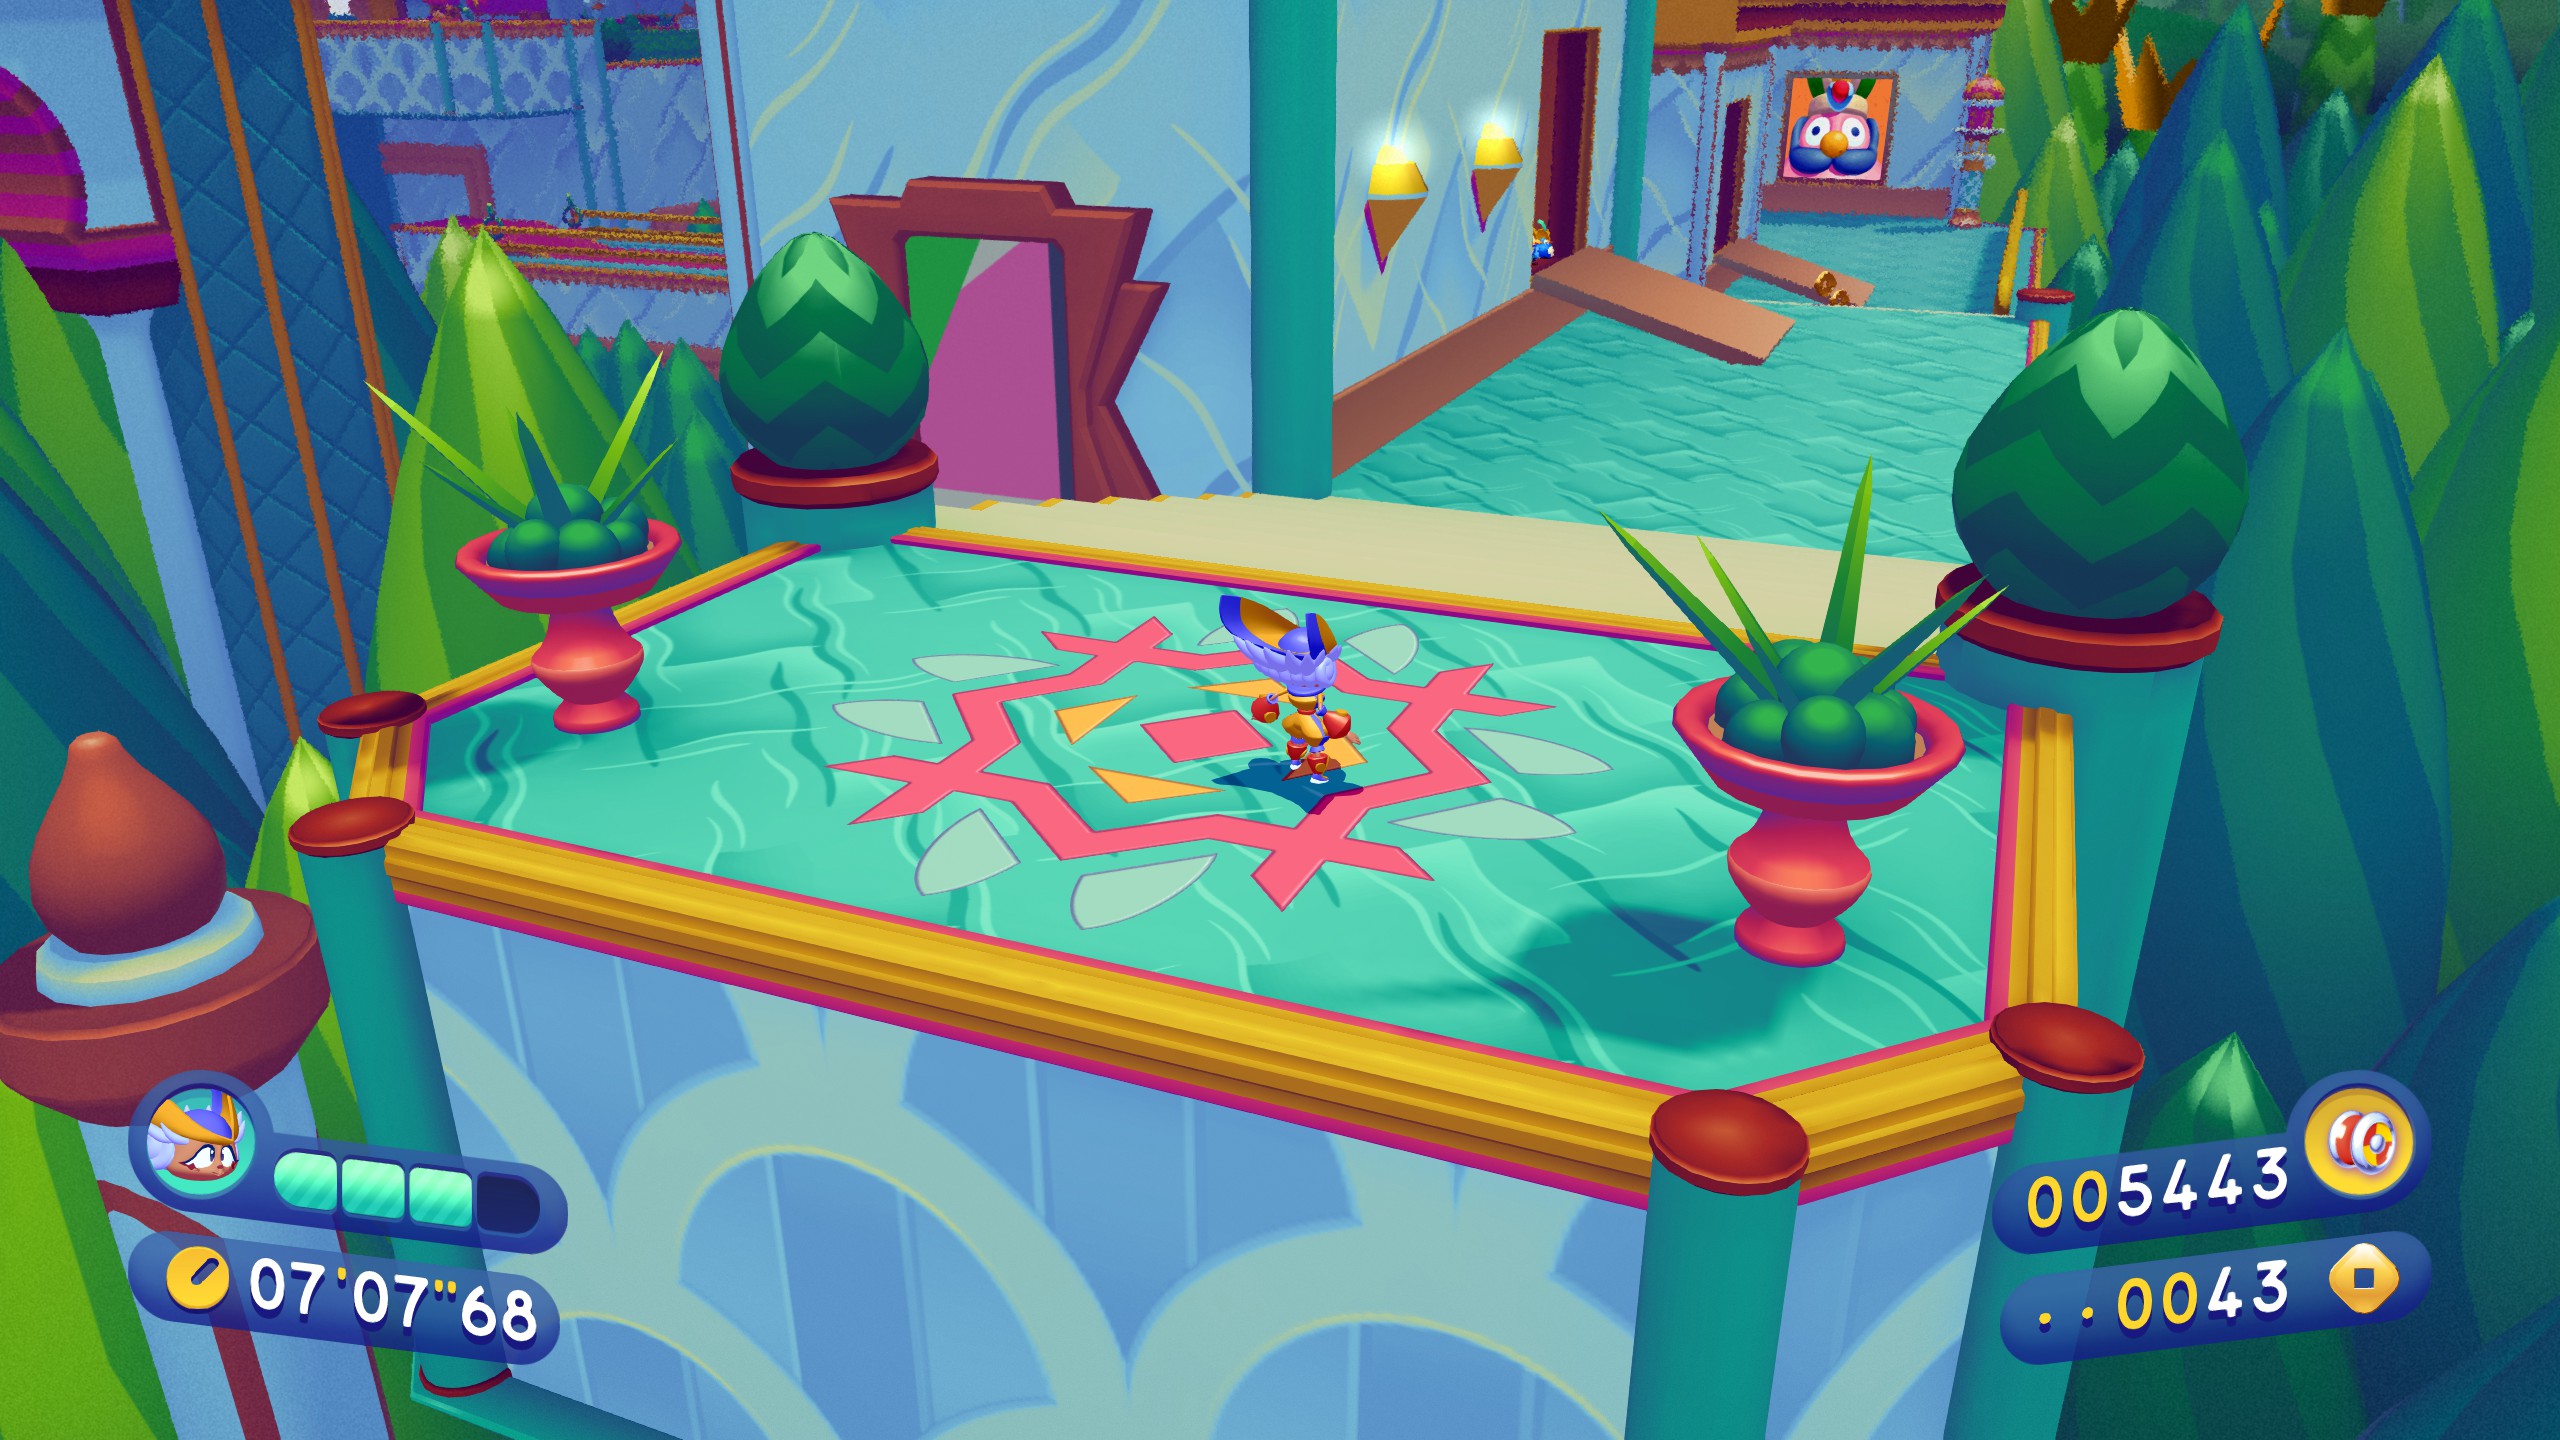
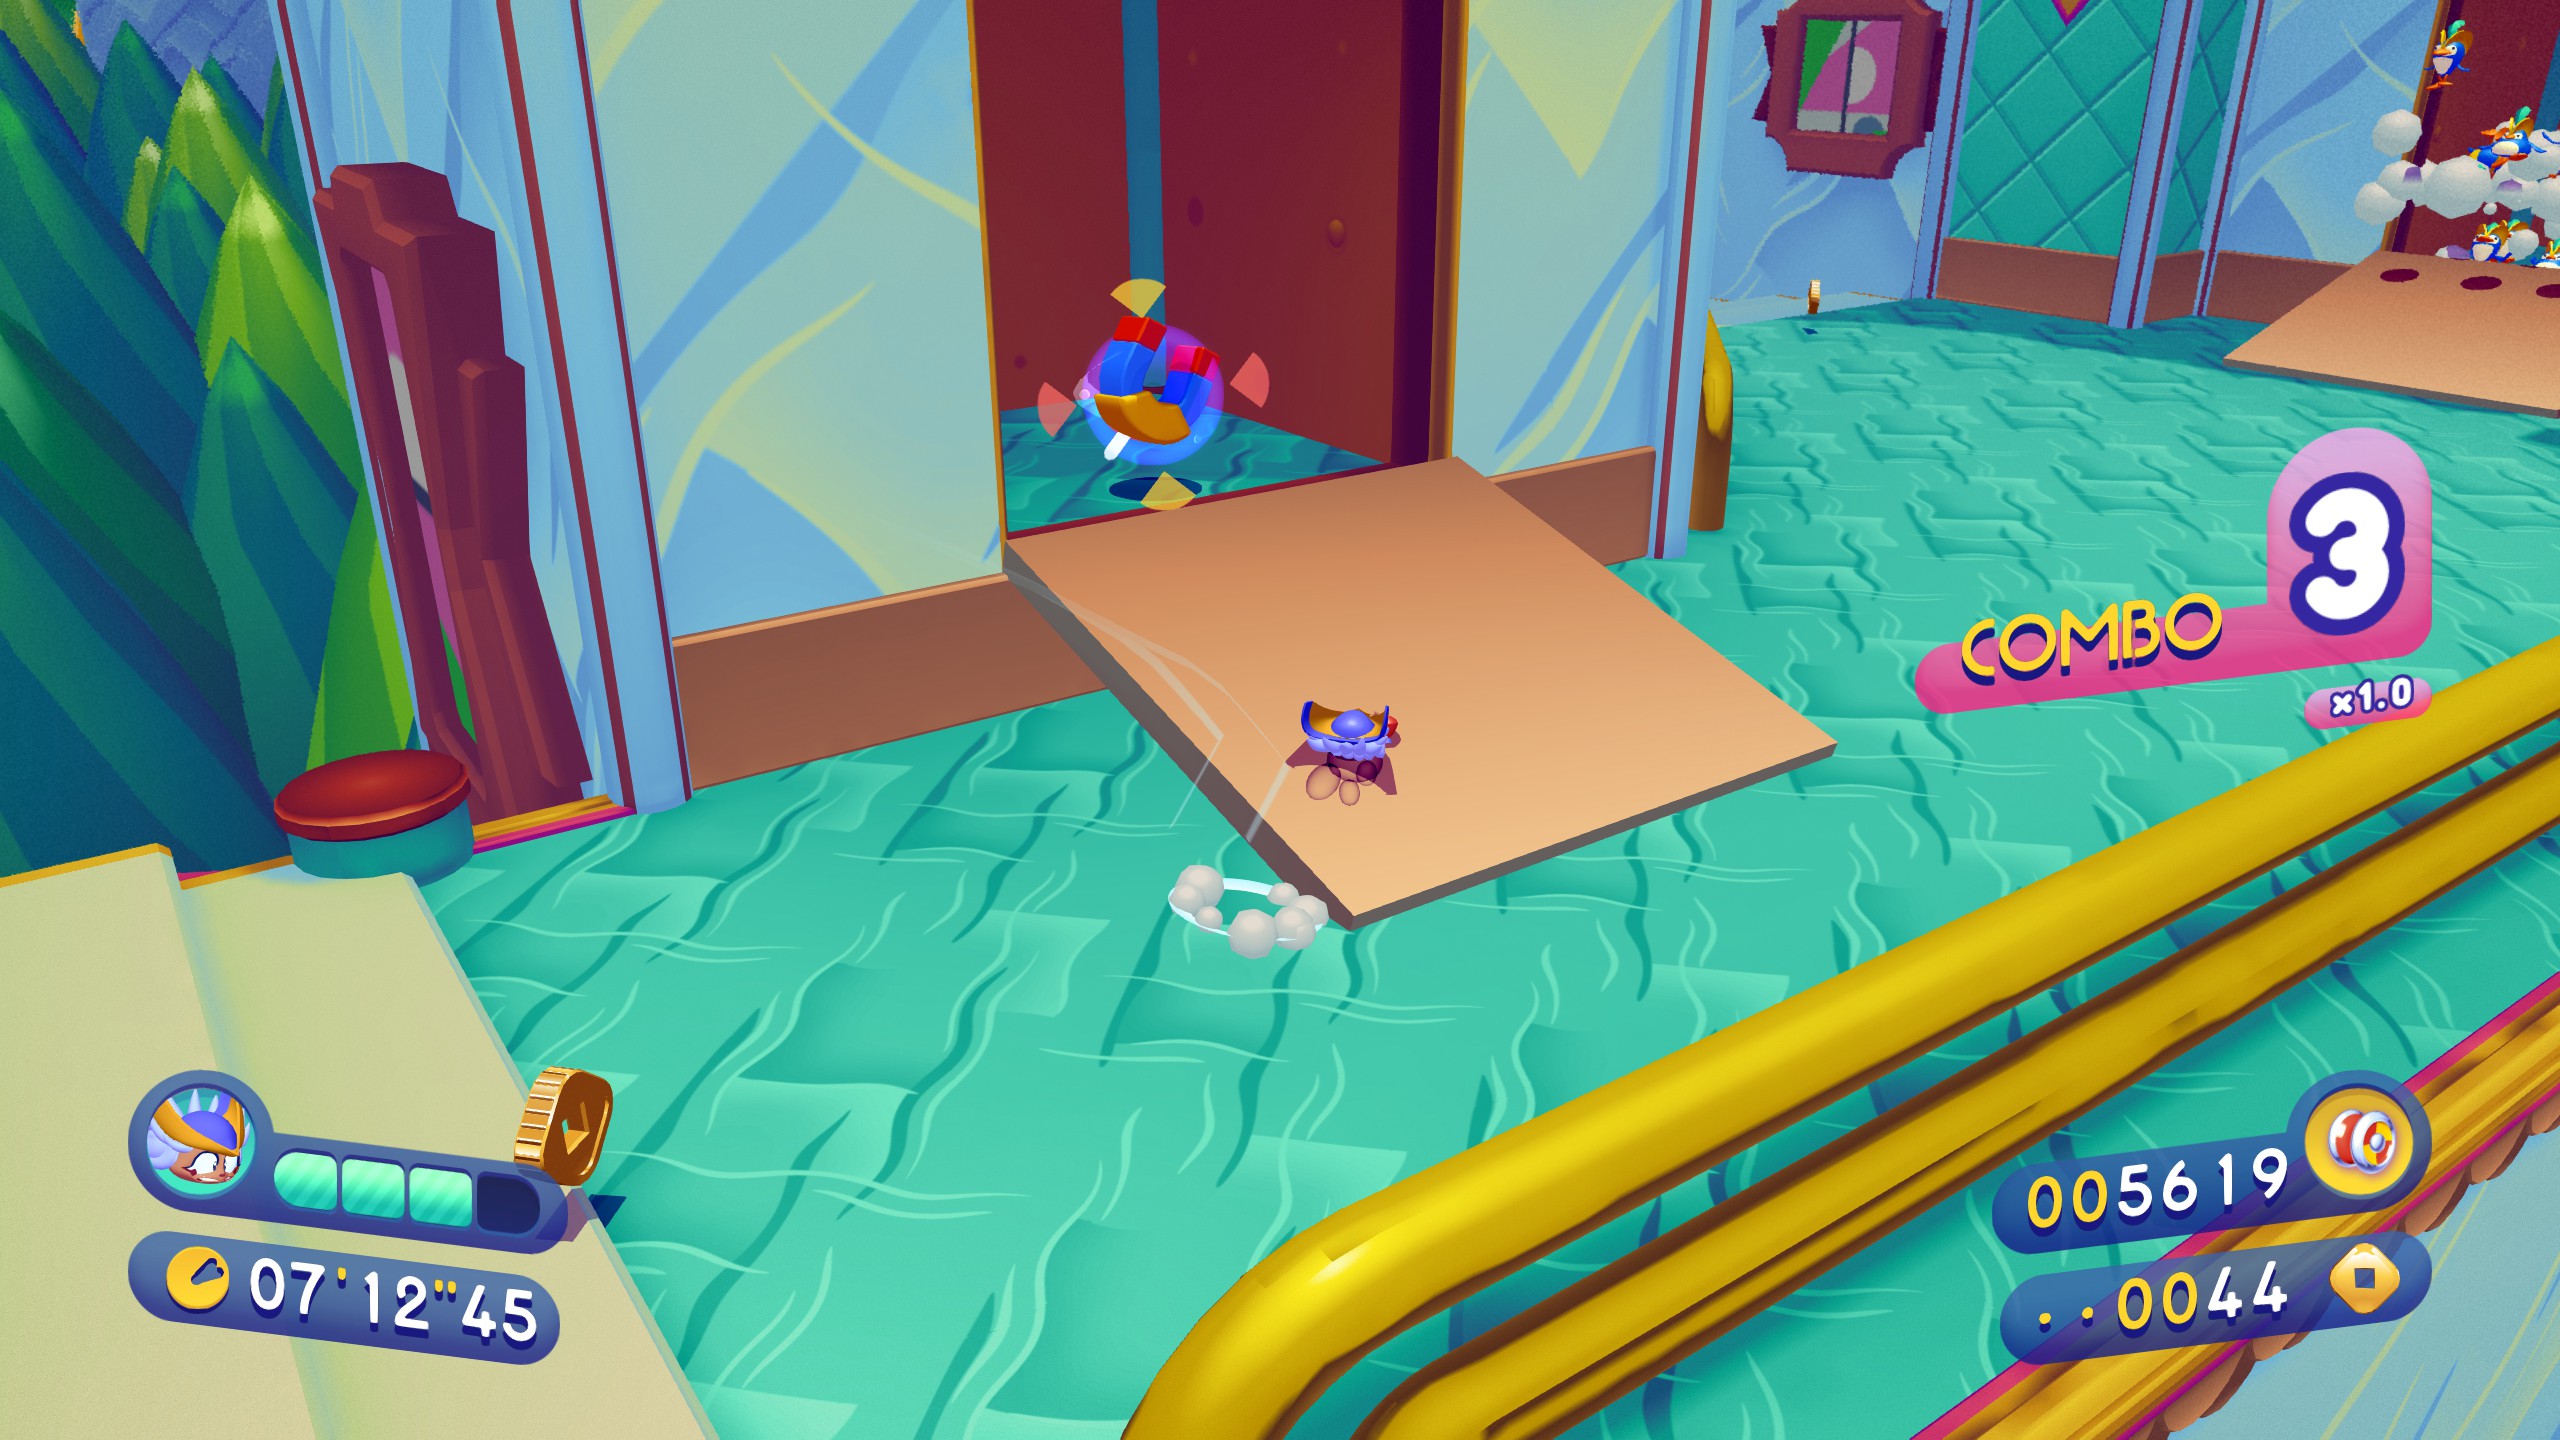
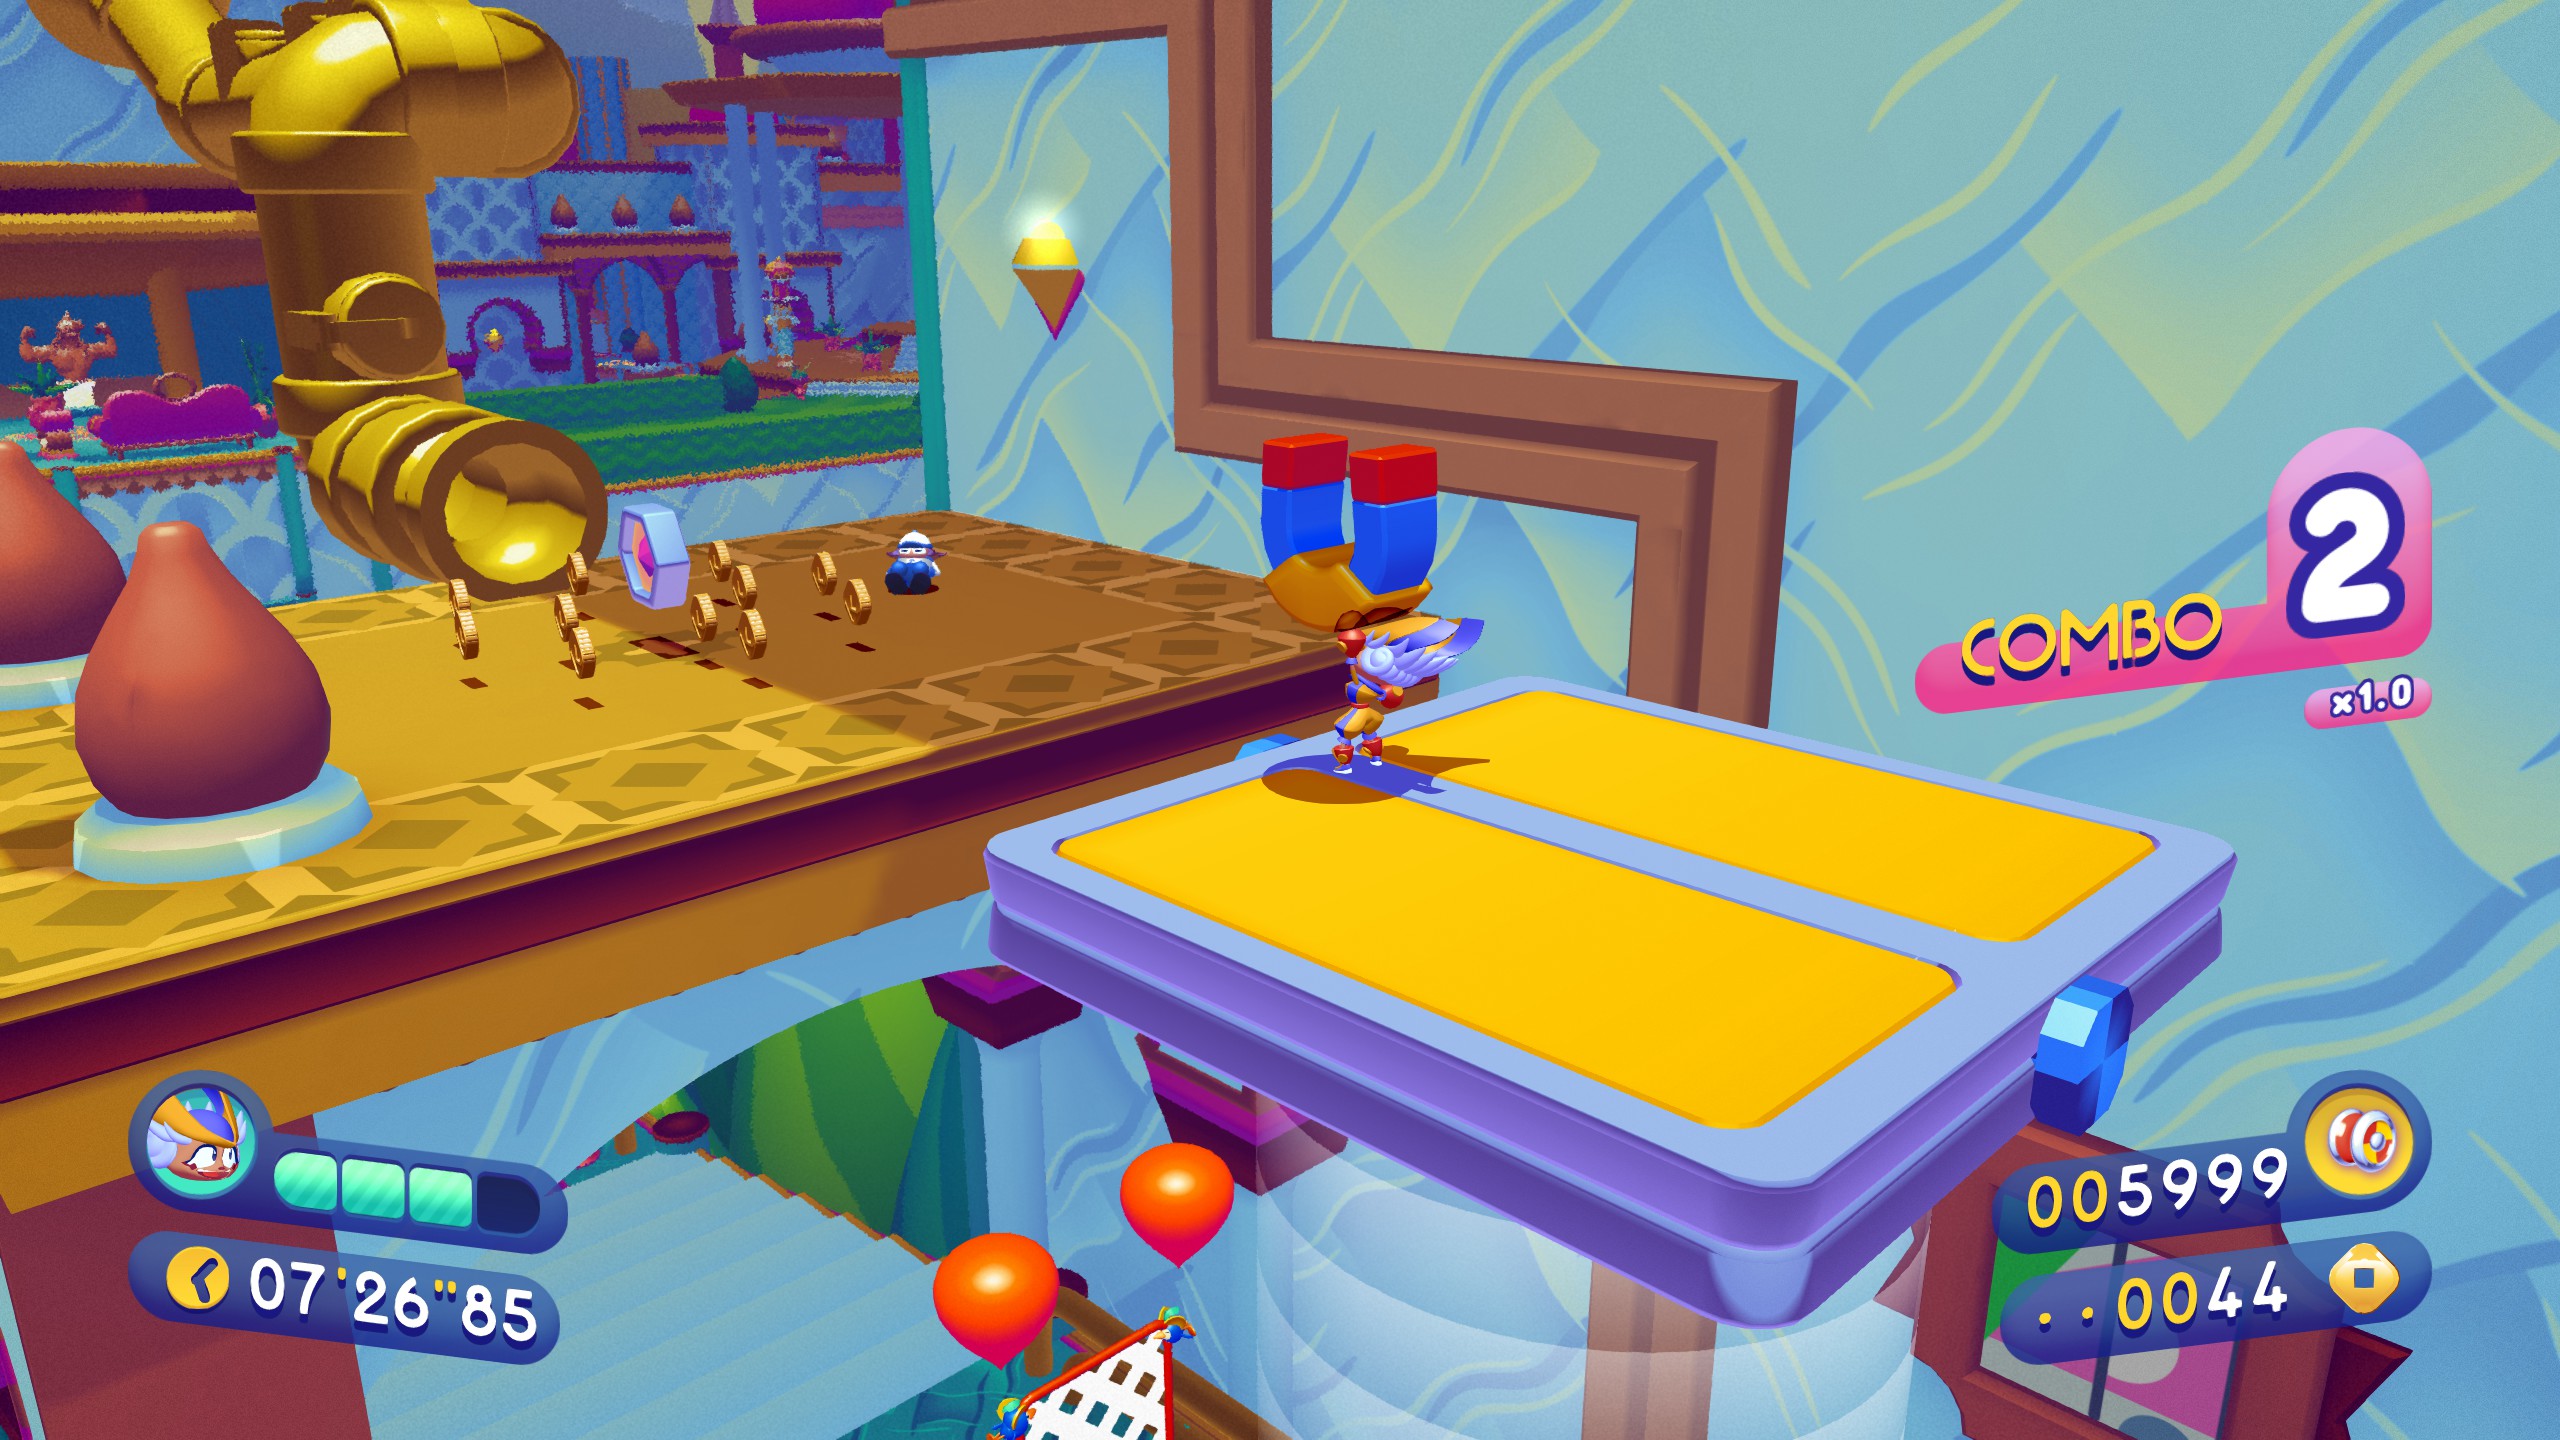
World 11: Edditorium
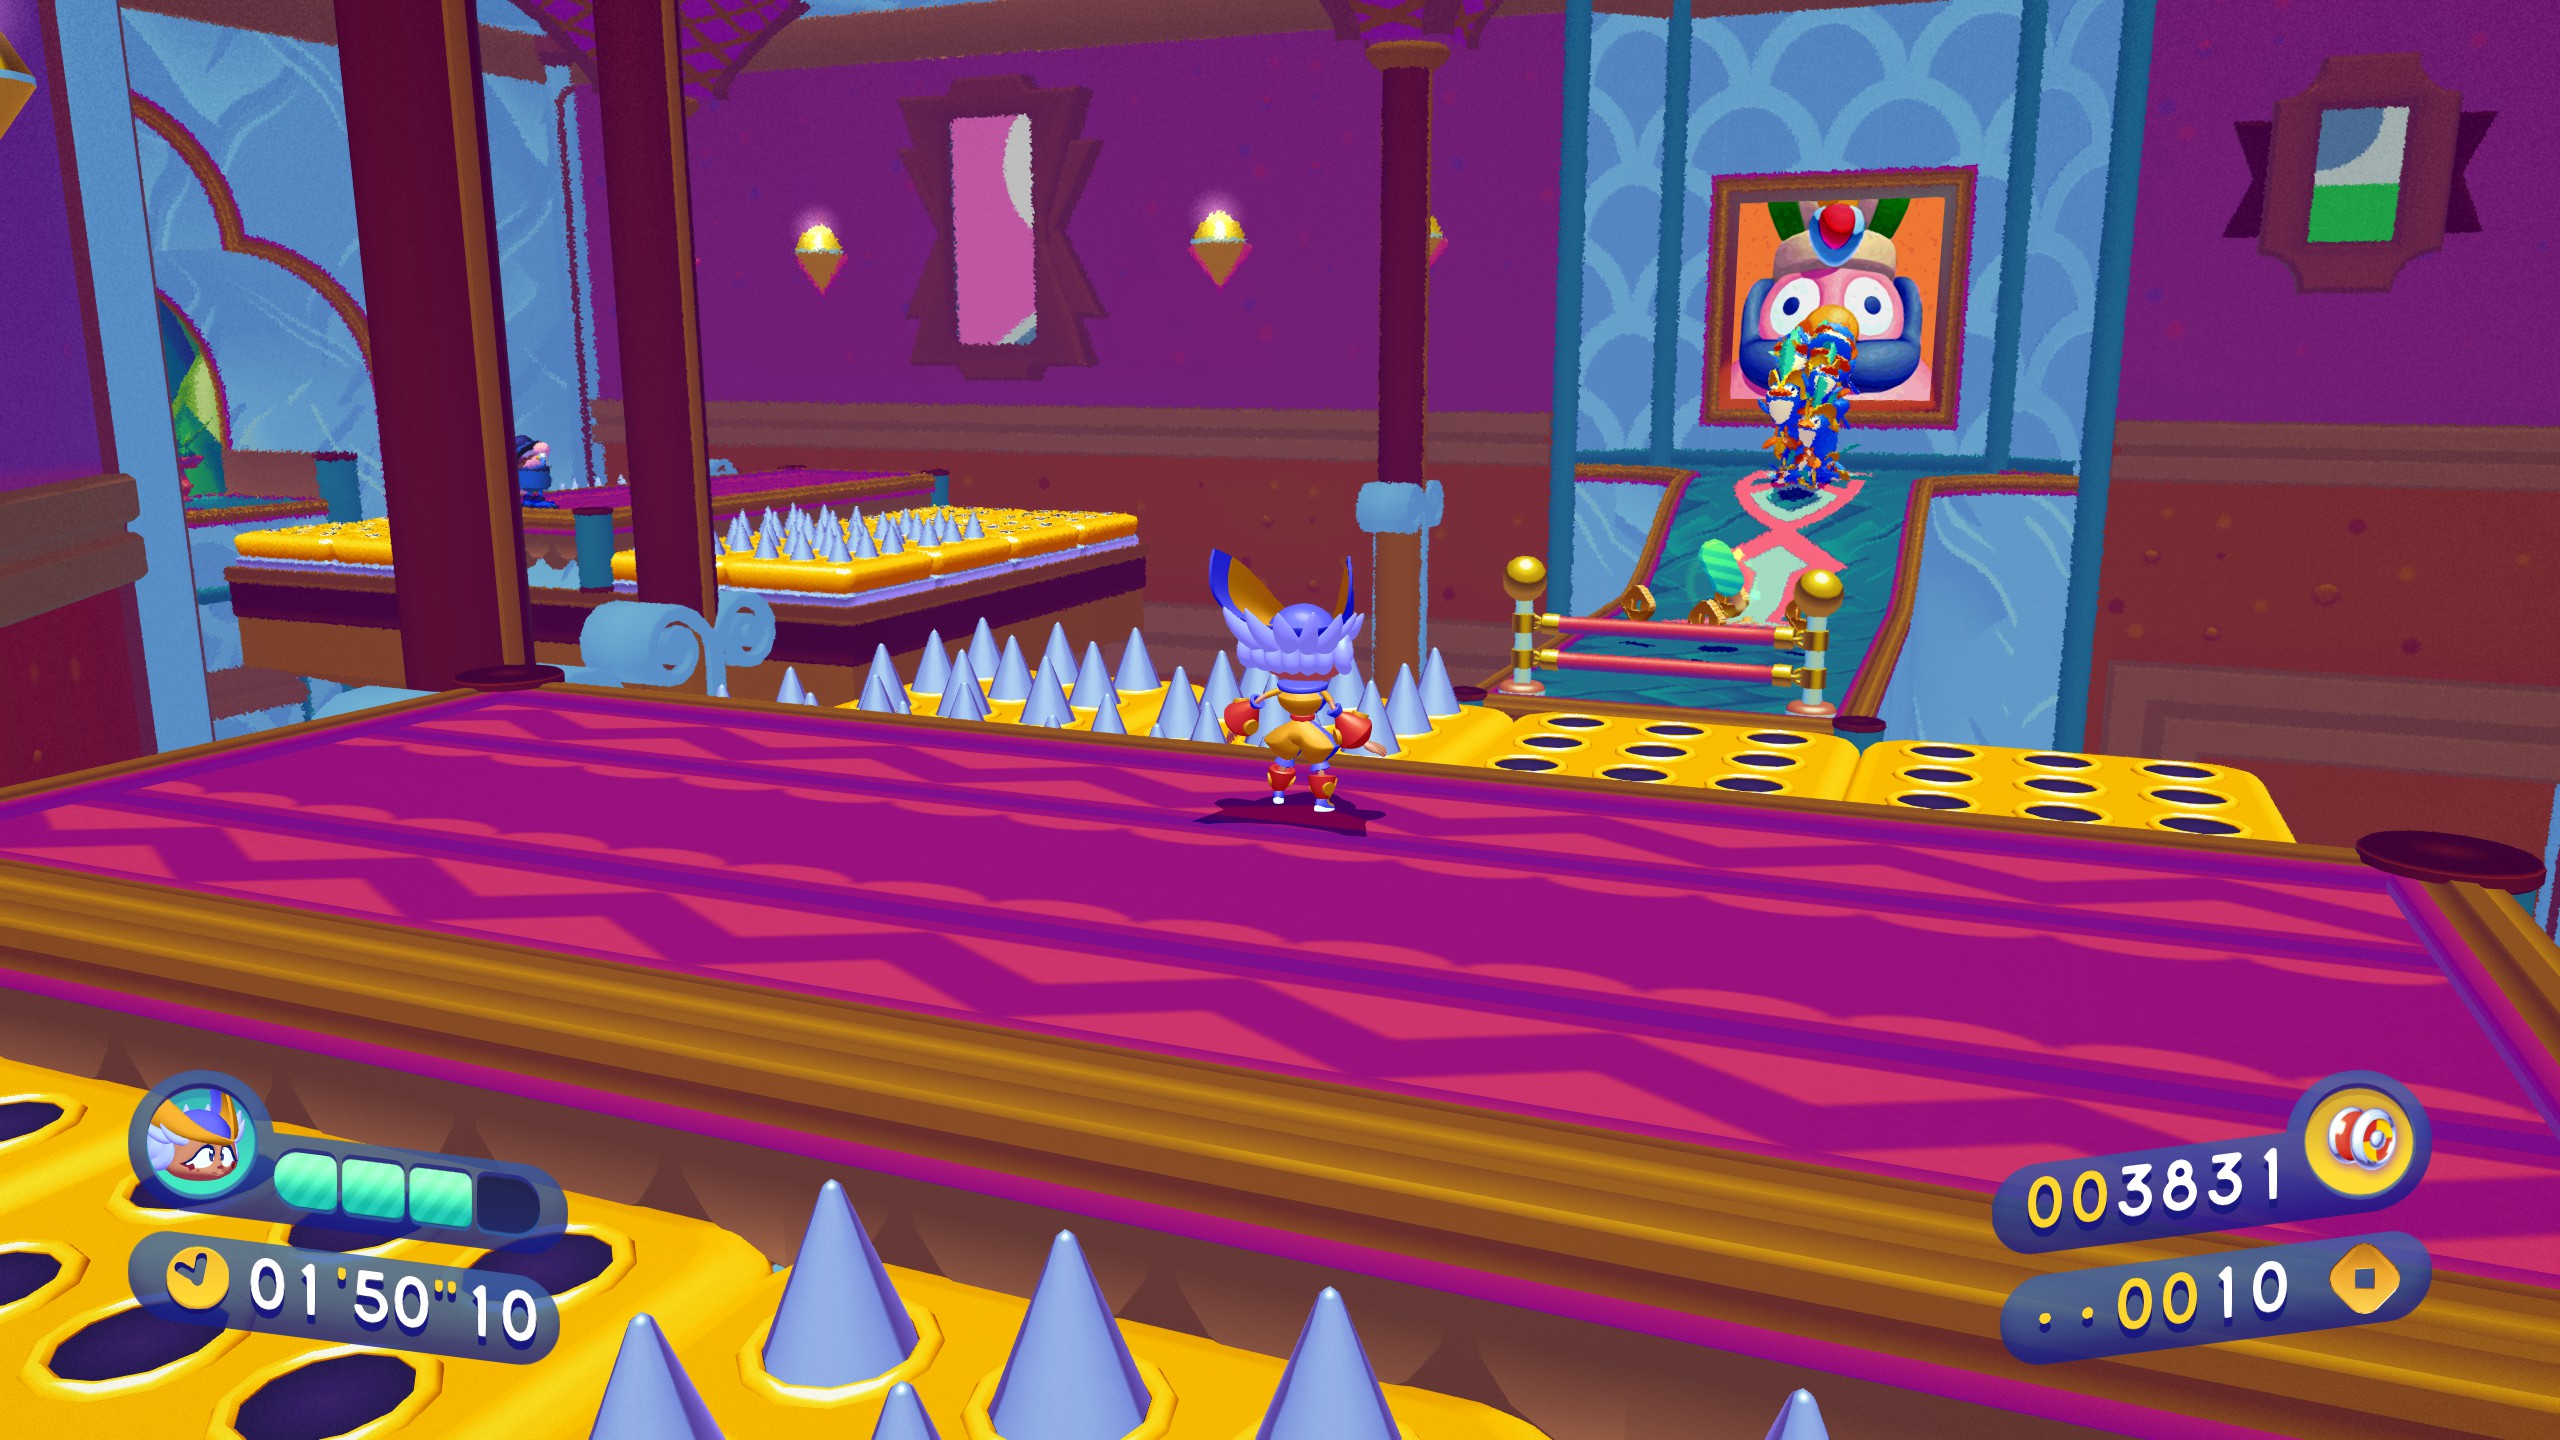
11-1
Piece 1 is up here where there are 3 Eddy pictures side by side. It’s hiding behind the middle one.
Piece 2 is to the upper right here. Take the spin pole and launch up and to the left.

The last piece is at the end of the big helicopter section. Make sure you have enough height to reach this platform on the right.
11-2
Piece 1 is behind the painting ahead, guarded by the penguin wheel

Piece 2 is down this hallway, make sure to grab the magnet from the second painting to the left.
Ride the magnet beam up ahead up, and there it is.
The third piece is both behind this painting, and behind a stone wall. Make sure you bring the burger powerup all the way down here to break it.
11-3
The first piece is just off to the right path here.
The second piece is on the upper right platform, behind a cart. Watch for the flame jets as you pull it out!
The final piece can be seen at the top of this pole. Go riding down the path and up the ramp to get sent high enough to dash over to it.
11-4
The first piece Can be found up and to the right of this platform.
And then once again above and forward from here.
I’m unsure what the intended way to get here is, but I sleep bounce against the wall to climb up. Alternatively you could take the saxophone tube ahead, and then try to climb it backwards. This is hard and requires a bit of blind movement, but if you find climbing the wall hard then it’s an option.
Second piece requires you to get across this entire gap with only the two platforms in one go. Falling here sucks because the last checkpoint is a bit far back, this isn’t easy.
The very last Showpiece of the game can be found directly in your path, floating in the middle of these rotating platforms. At least this one has a checkpoint just before it.
And that’s it! That’s all showpieces. Hopefully the pictures and descriptions I gave are sufficient. I might make a video form of this guide in the future if anyone is interested, but for now here ya go. Have fun with Penny!