A detailed achievement guide and walkthrough to get you your 100% as quickly and effortlessly as possible. Step by step instructions.
Overview
Estimated difficulty: NA. I would personally vote 5/10.
Estimated 100% time: NA.
Offline/online achievements: 12 offline / 0 online.
Number of playthroughs: 2 minimum.
Glitched achievements: 1. The Nightmares Over
Missable Achievements: 1. Lizard Hunter
Story Related

Powering Up
Activate the first of four generators.

Ice Cold Heart Of Fear
Take your first step into the snow blizzard.

Lockdown
Find the keys and activate the generator in the prison.

Rustic Sphinx
Discover the secrets in the barn and activate the generator.

Super Plumber
Solve the valve puzzle and activate the generator in the bunkers.

Power Restored
Activate all the generators and restore the power.

Revenge
Escape into an unforeseen fate…
Misc.

Lizard Hunter
Find a secret lizard.
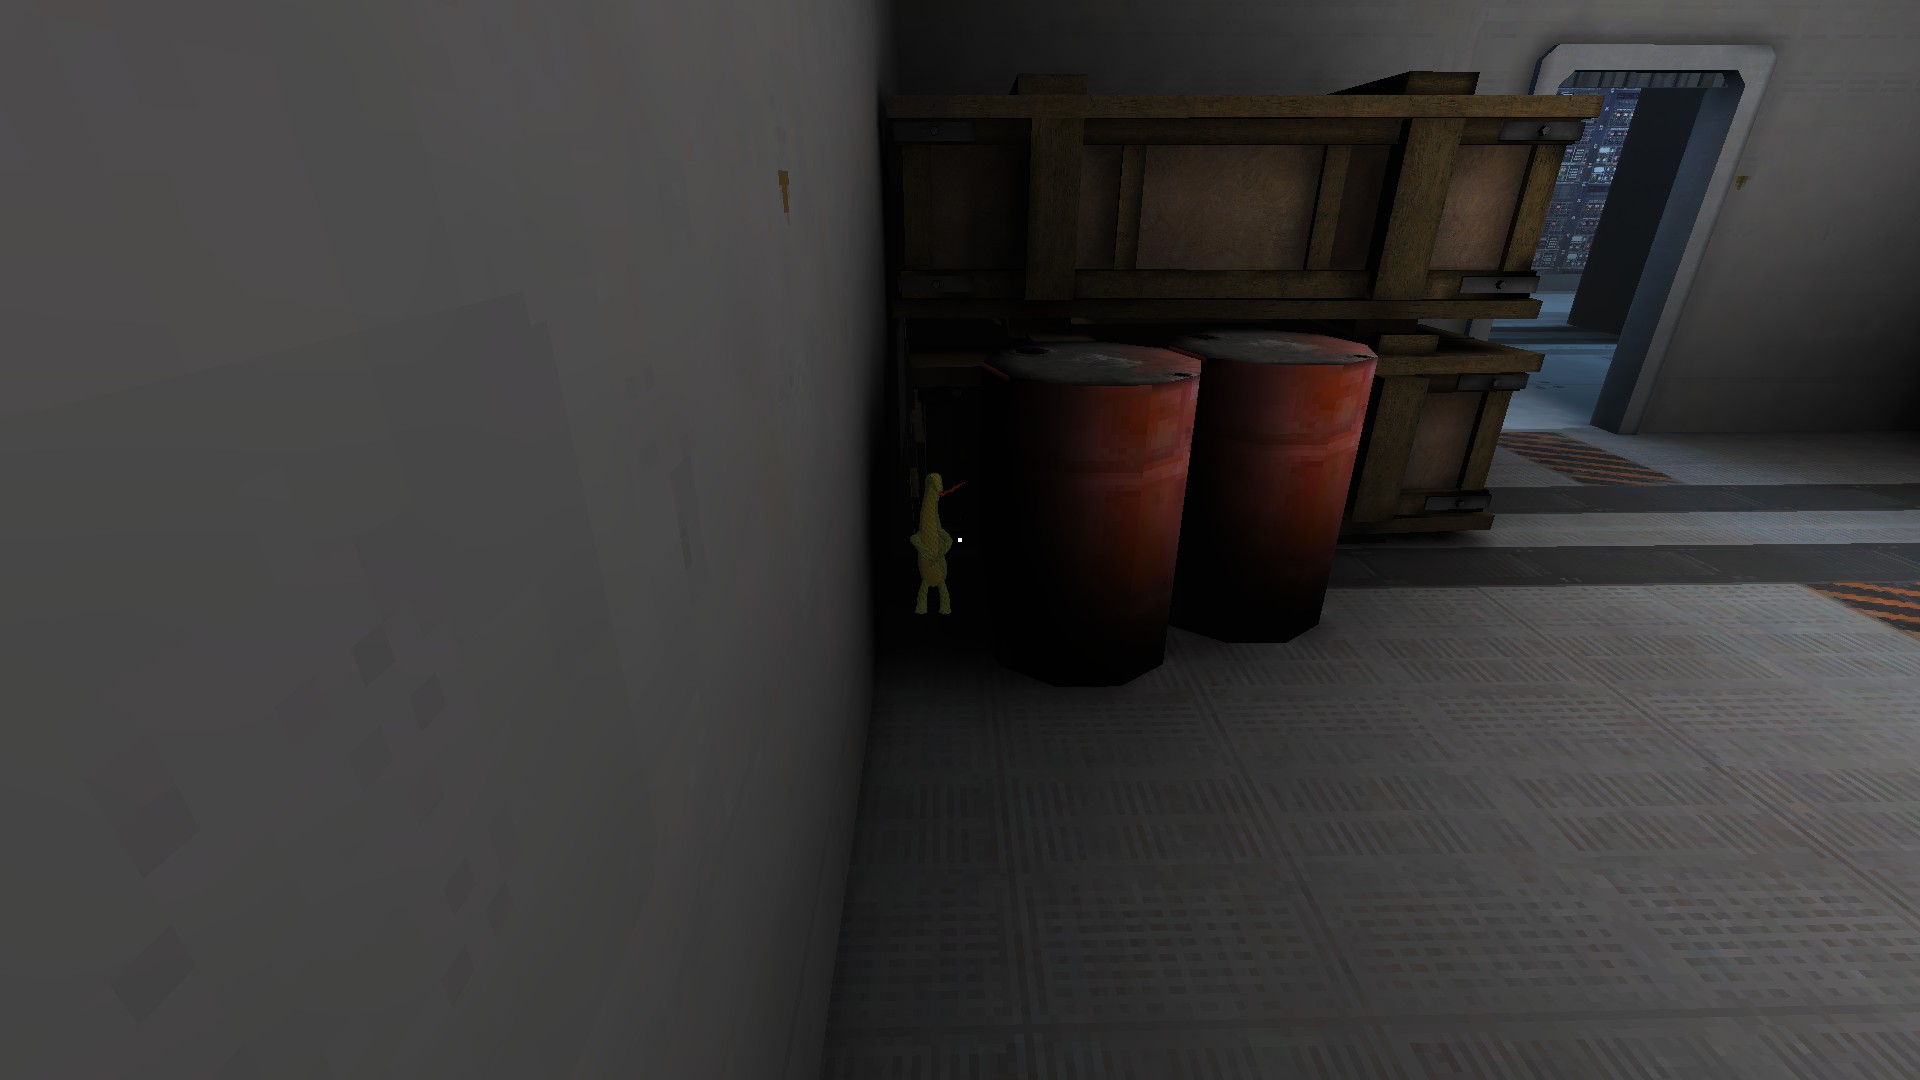
You can find a lizard about 30 seconds into the game. After grabbing the keycard, open the door to the generator, then look behind a set of red barrels in the same room. Interact with it.

Slow As Joe
Obtain an A Rank by finishing the game in under 21 minutes.

Dogs Speed
Obtain an S Rank by finishing the game in under 16 minutes.

As Fast As A Cat
Obtain an S+ Rank by finishing the game in under 11 minutes.
The timing for S+ rank can actually be a bit tight if you get unlucky with Milo’s pathing. One bad area can run you down to just having a few seconds to spare. Obviously only attempt this after you’ve completed the game and know exactly what to do in each area. Don’t waste any time hiding from Milo. Either kite him while completing your objectives, or take an intentional hit to keep going.

The Nightmares Over
Escape the nightmare.
Unfortunately, this achievement is impossible to earn due to a bug in MIlo’s pathing. Essentially what happens is he will get stuck in various areas (I think due to his increased movement speed), and will remain here for the remainder of the run. This is problematic in a few areas.
He is guaranteed to get stuck in A1 by the door to the keycard room. When this happens, the door will remain open until you go near it. Once you do, it will “shut” but since Milo is nearby the door still thinks it’s open. This will lock the door from ever opening again, either locking you in or out of the keycard room, rendering the run impossible to finish.
He can get stuck in 2 areas in the Prison that are directly on top of key spawns. One spot across from the forklift, and another upstairs directly in a cell door. These 2 spots aren’t as problematic, as he rarely gets stuck here, and there’s a good chance your keys are elsewhere.

He can get stuck in 5 different spots in the Barn, with variations to some of them, and he is guaranteed to get stuck. I tried a run where I went here first and he was already stuck. The first one is right at the top of the barn stairs. If he gets stuck here, you can slip past him and continue the run. The second is directly at the bottom of the second staircase. He has 2 variations here, one is facing the stairs, rendering the run impossible as he will see you coming down, one is facing the wall. The third spot is just under the staircase landing. Same as above, in one variation he will see you at the top of the stairs and immediately kill you, in the second he will still be facing the stairs but won’t see you for some reason. The 4th spot is directly in front of the generator gate. If he’s here you can slip by him and do all your objectives here. The final spot is outside leading to the statue. If you hug the crates on the left, you can slip by.

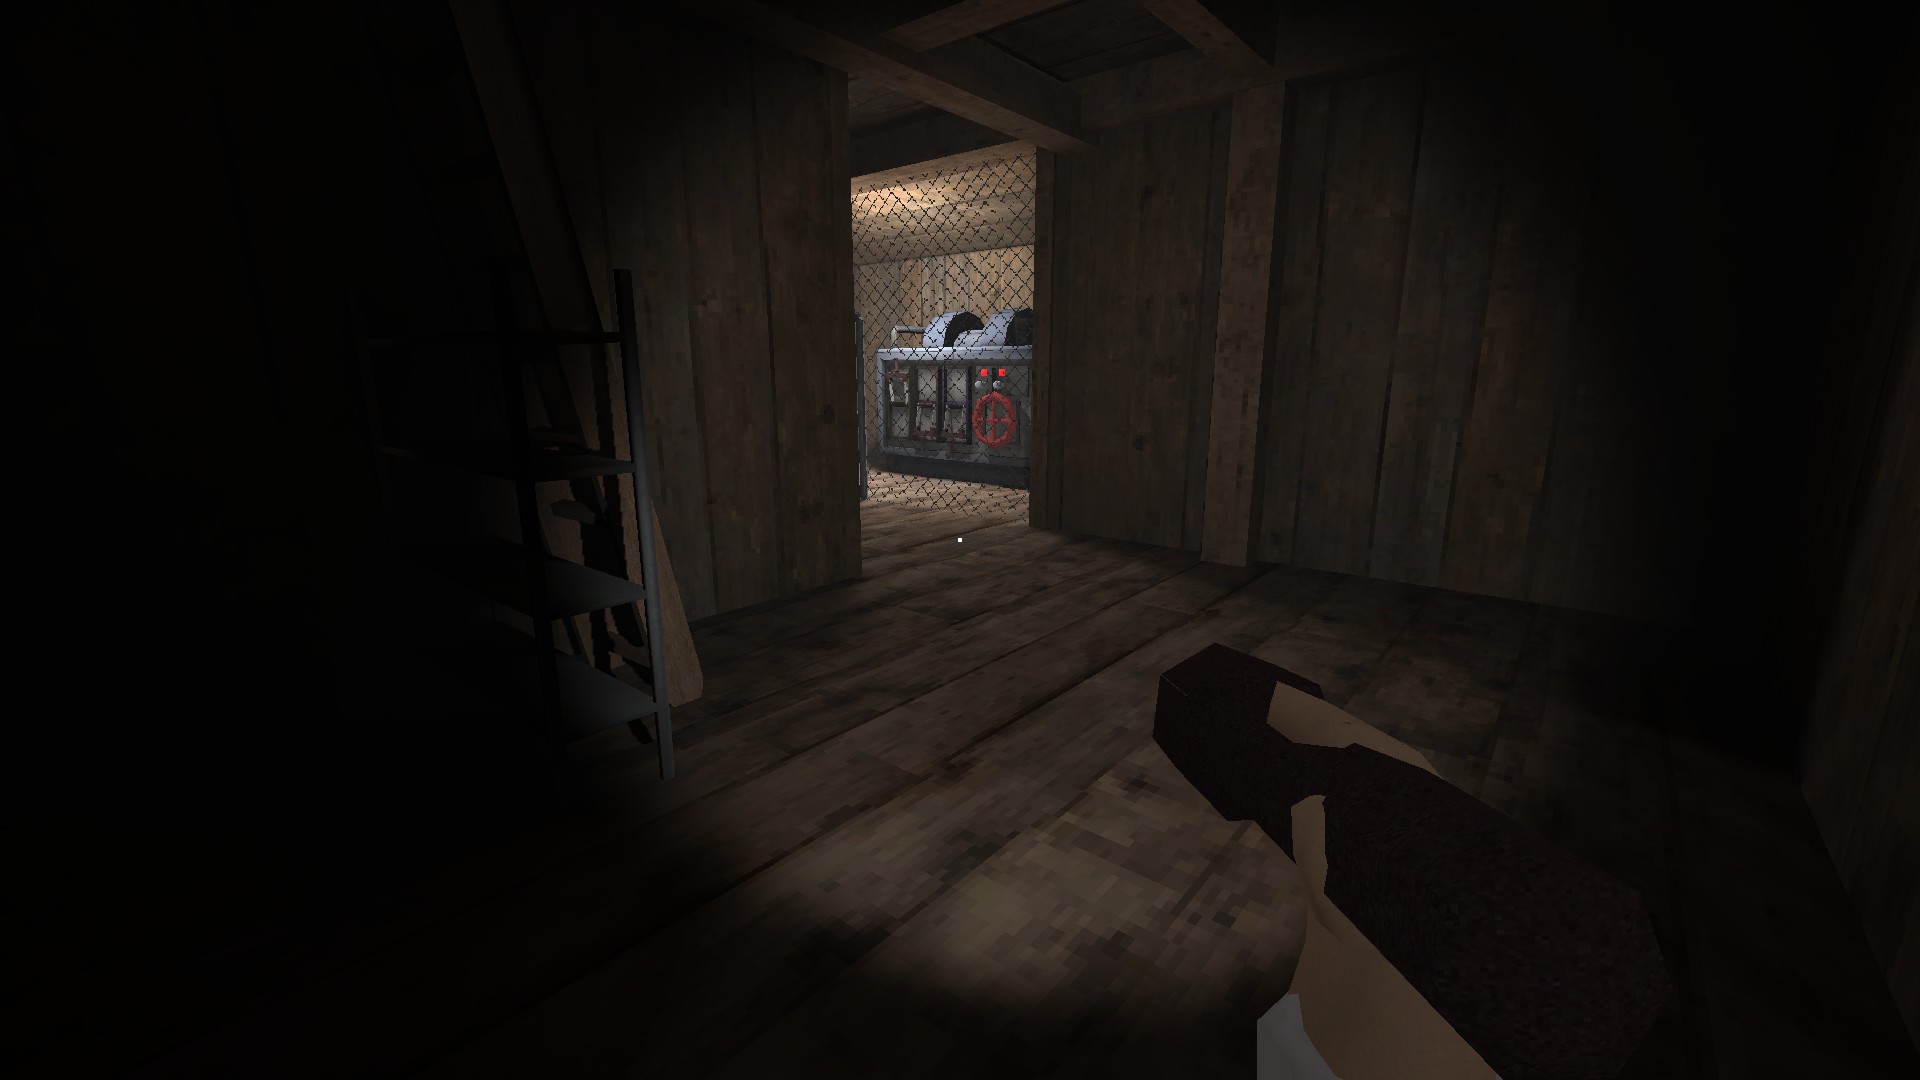
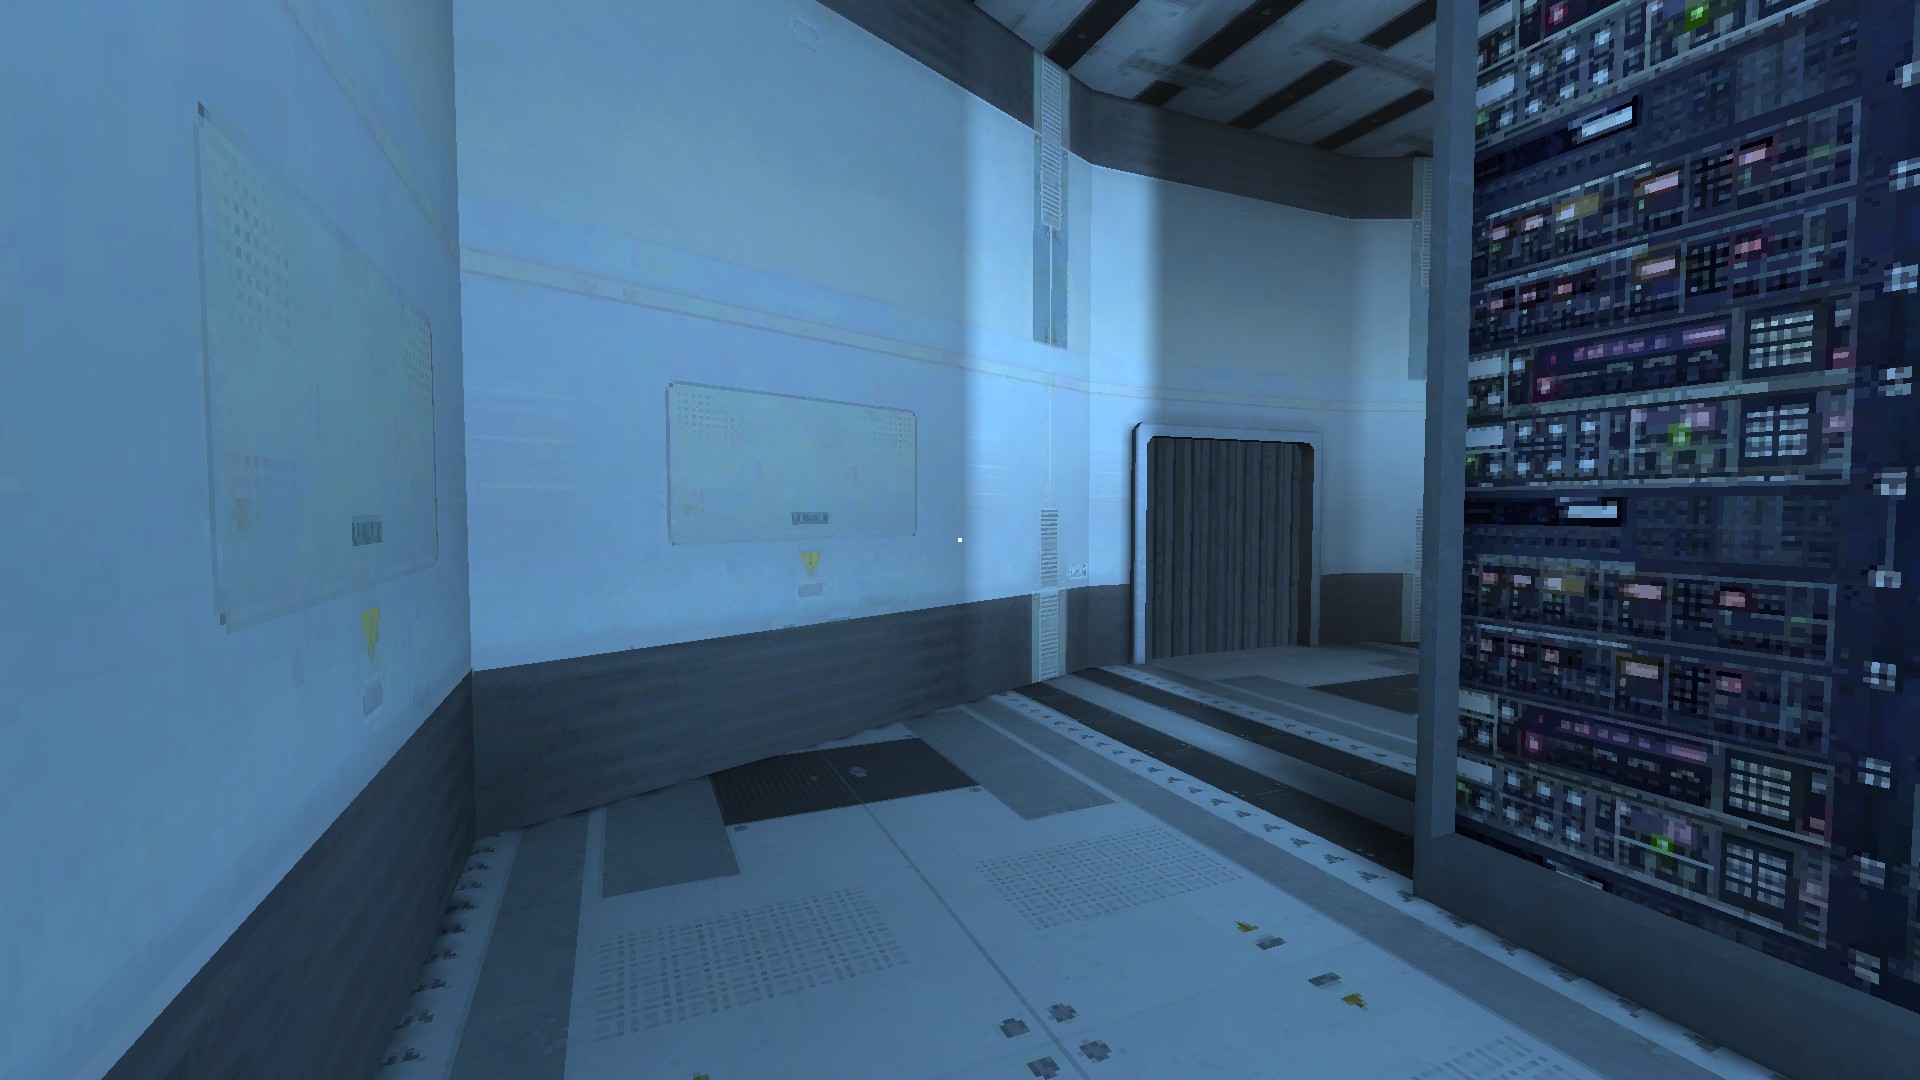
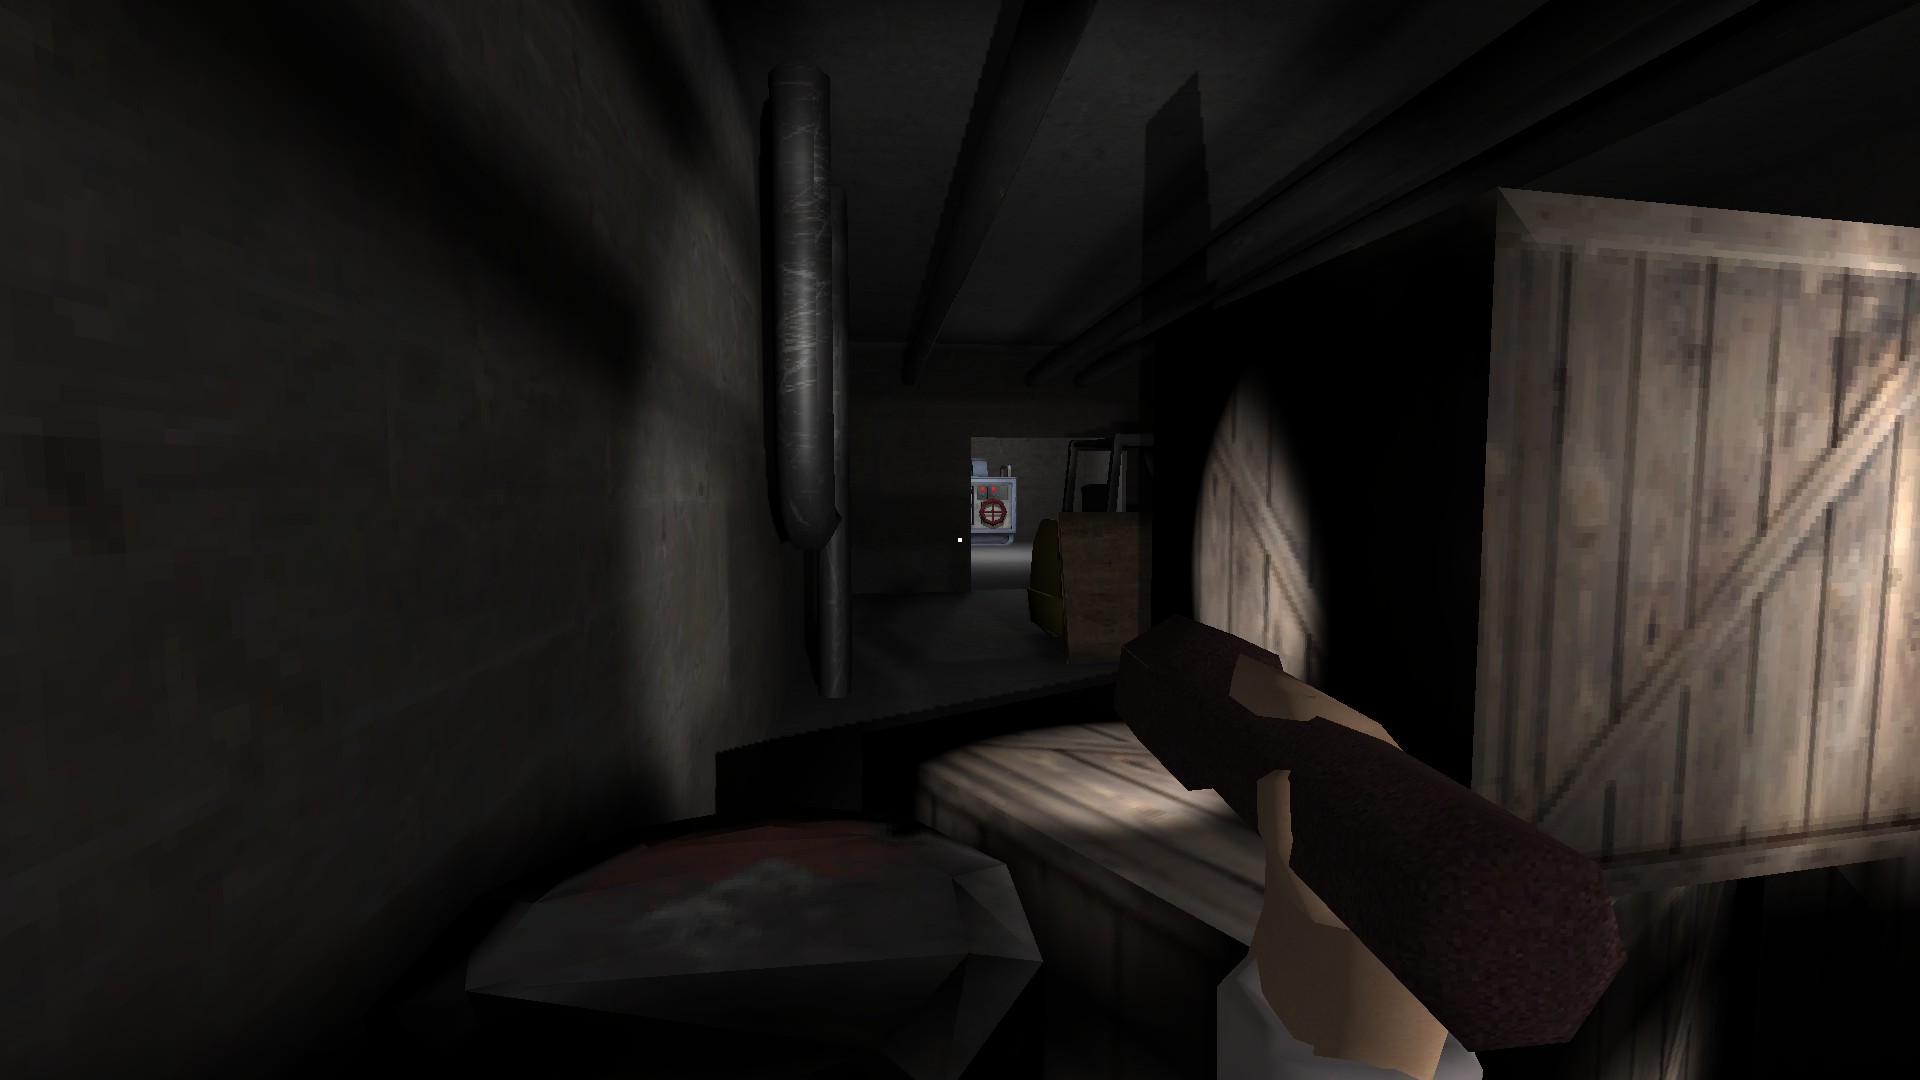
And finally, he can get stuck just outside the generator room in the bunker, right in front of the pipe pictured below. If he gets stuck here before you finish this area, it will be impossible to reach the generator without being killed, and he is guaranteed to get stuck here. Sometimes immediately, sometimes after a few minutes into the run.
Outside of him getting stuck, Nightmare mode really isn’t too bad. Pay attention to his pathing as you can learn his routes and plan around it. Peak around corners to keep track of him and move when you see him coming down your direction. Finally, play with a headset. You can hear him breathing heavily and you can use this to keep track of him, even when you can’t see him.
If they ever (highly unlikely) fix the game, I will record a video on my strategy for this mode.
Walkthrough
- As soon as you have control of the character, immediately 180 and exit through the door behind you. (If you’re playing on Nightmare Mode be careful, Milo will already be active in this area.
- In the large server room go left and through a door to a hallway. At the end is another door leading to a room with a [Keycard] on a a table to the left. Grab it.
- Go back to the server room and go left again. Unlock the door with the keycard.
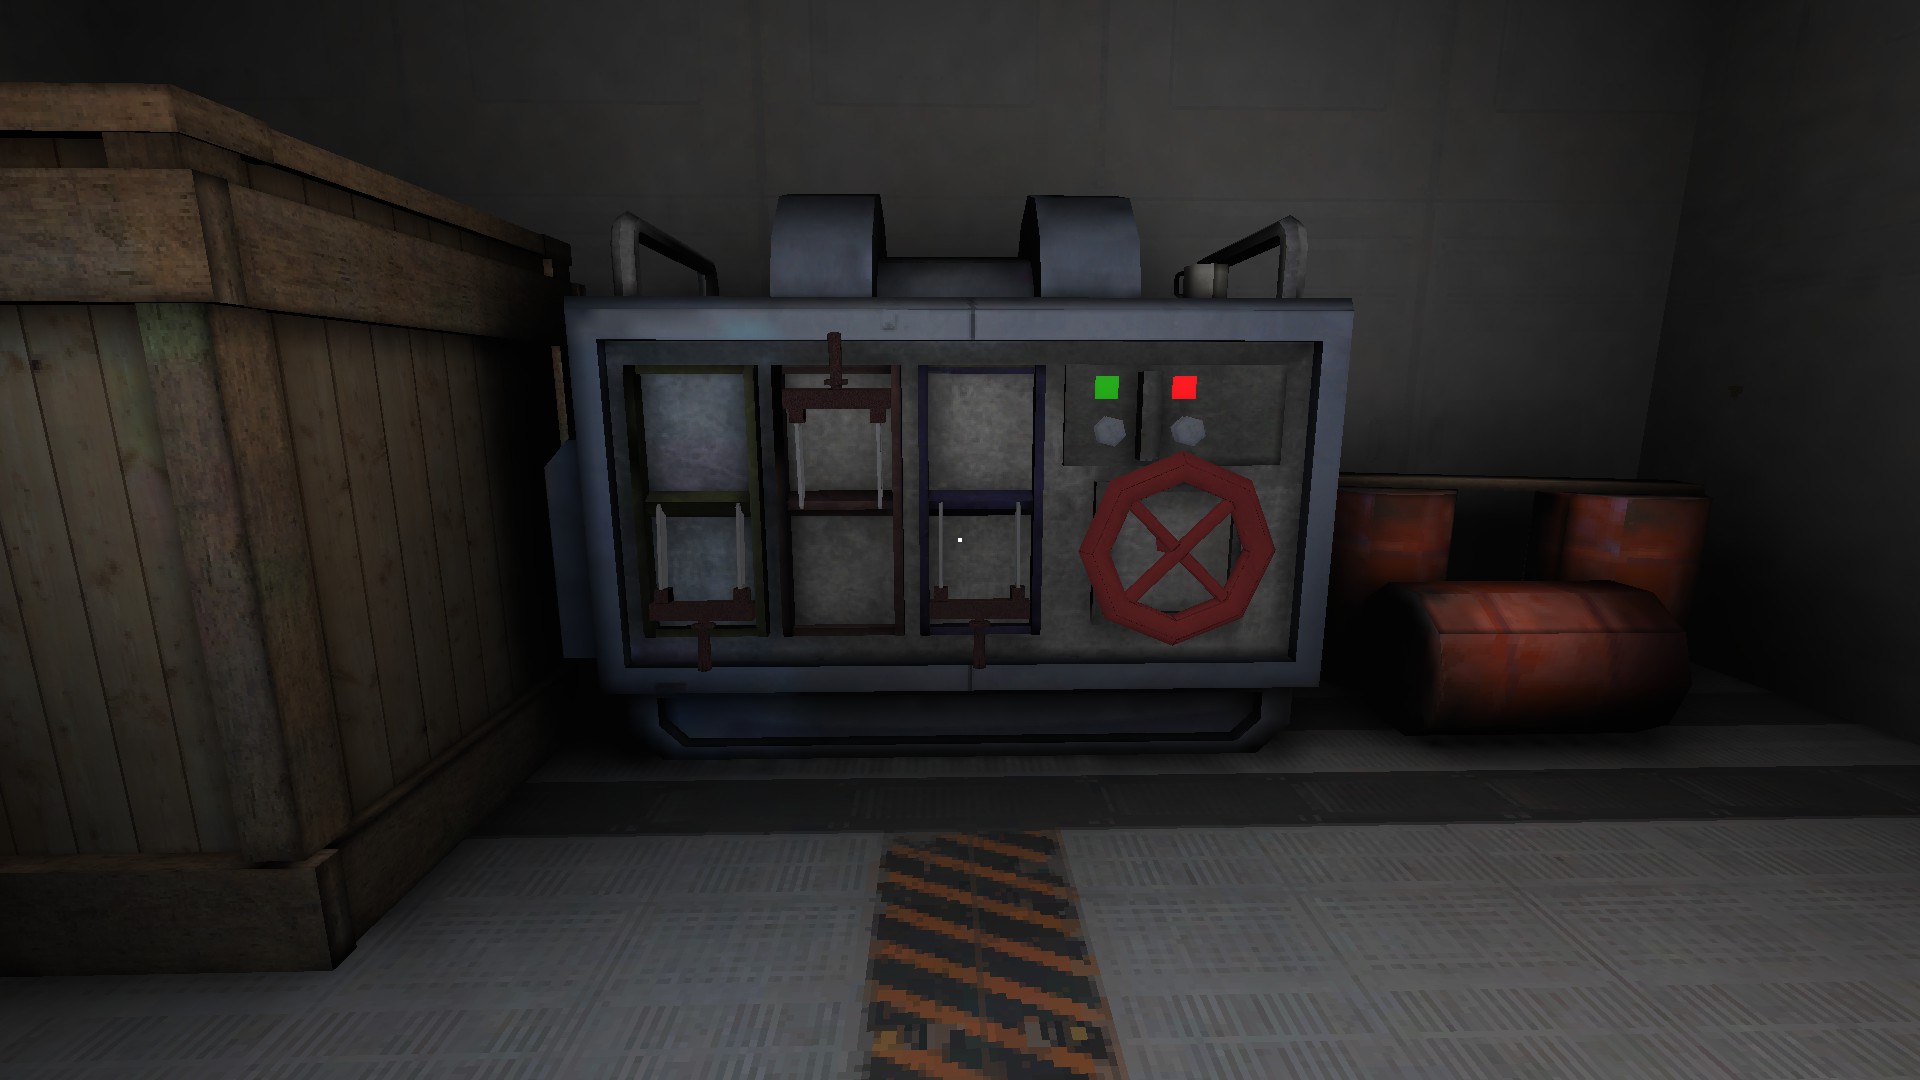
- Inside is a generator. To activate it, flip the yellow and blue levers down, punch the left button to turn it green, then turn the valve.
Powering Up
Activate the first of four generators.
- Don’t leave the generator room just yet! Instead, facing the gen, 180 then look behind the red barrels to your left to find a lizard!
Lizard Hunter
Find a secret lizard.
- With the power back on, head back to the room you spawned in and open the door to the side of your colleague.
- Grab the [Flashlight] on the floor and head outside.
Ice Cold Heart Of Fear
Take your first step into the snow blizzard.
- As soon as you’re outside, you should spot a series of electrical poles going off in different directions. Follow the one going left, again orienting yourself with your back to the door of the building we just left.
- Once you’ve reached the next building, head inside and flip the lever to the left to open the cell area. Go to the back and up the ramp.
- At the top, head across the plank and to the right to spot another lever to flip. Be careful, doing this will spawn Dr. Milo. You’ll need to loop him using the ramp or the bookcase downstairs while you hunt for the keys to the forklift.
Unfortunately, the keys randomly spawn in the upstairs and downstairs cells, so you will need to search for them yourself. - The keys will always spawn in cells on Normal mode. On Nightmare they can also spawn next to the first lever, on either side of the bookcase, and in the little cubby directly across the room from the forklift.
- Once you have both keys, plug them into the forklift and head upstairs to repair the generator. It’s the same set up for the first generator, but the way you get there might be different (yellow/red down, left button green, turn valve).
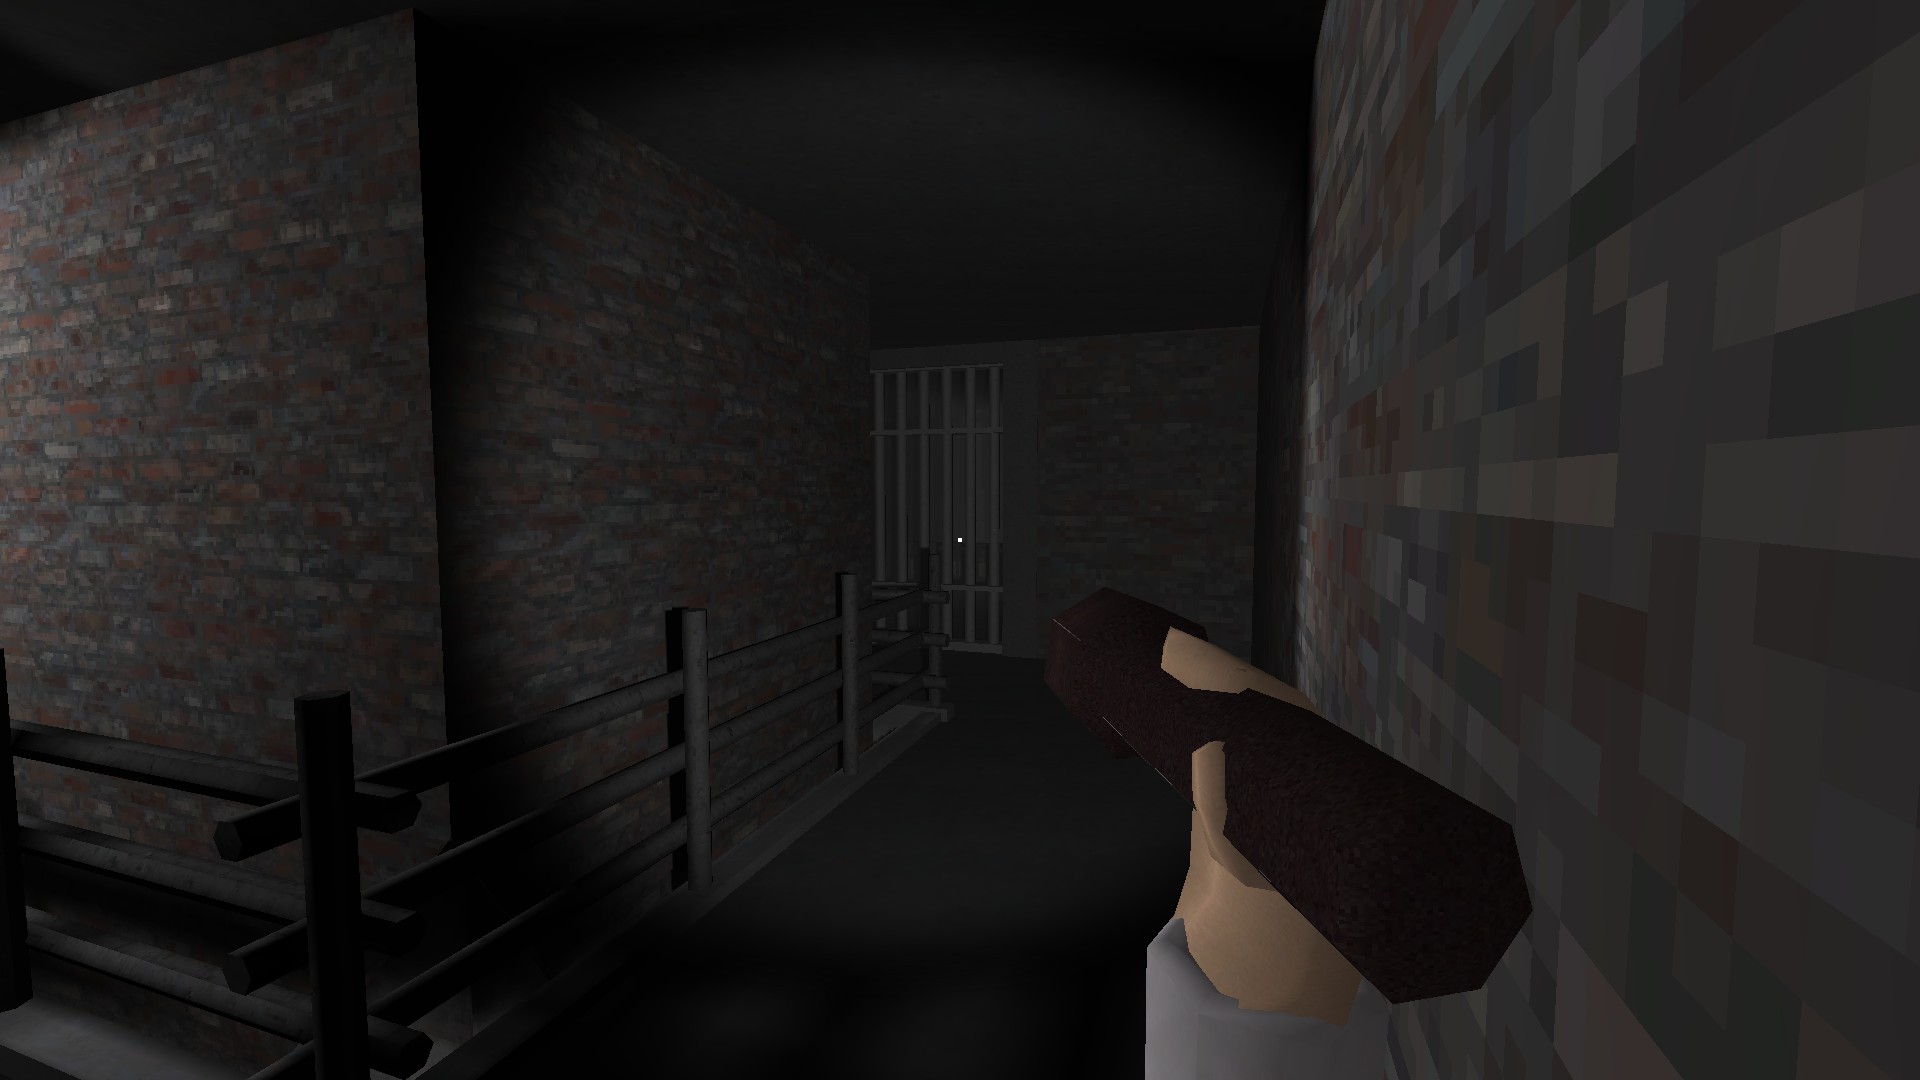
Lockdown
Find the keys and activate the generator in the prison.
- Before going back downstairs, flip the upstairs lever to its original position. Go down to the entryway and flip that lever back as well.
- Now that we can leave the prison, start by following the wires back the way we came. The moment you see wires trailing off to the left, start following those instead to reach the barn.
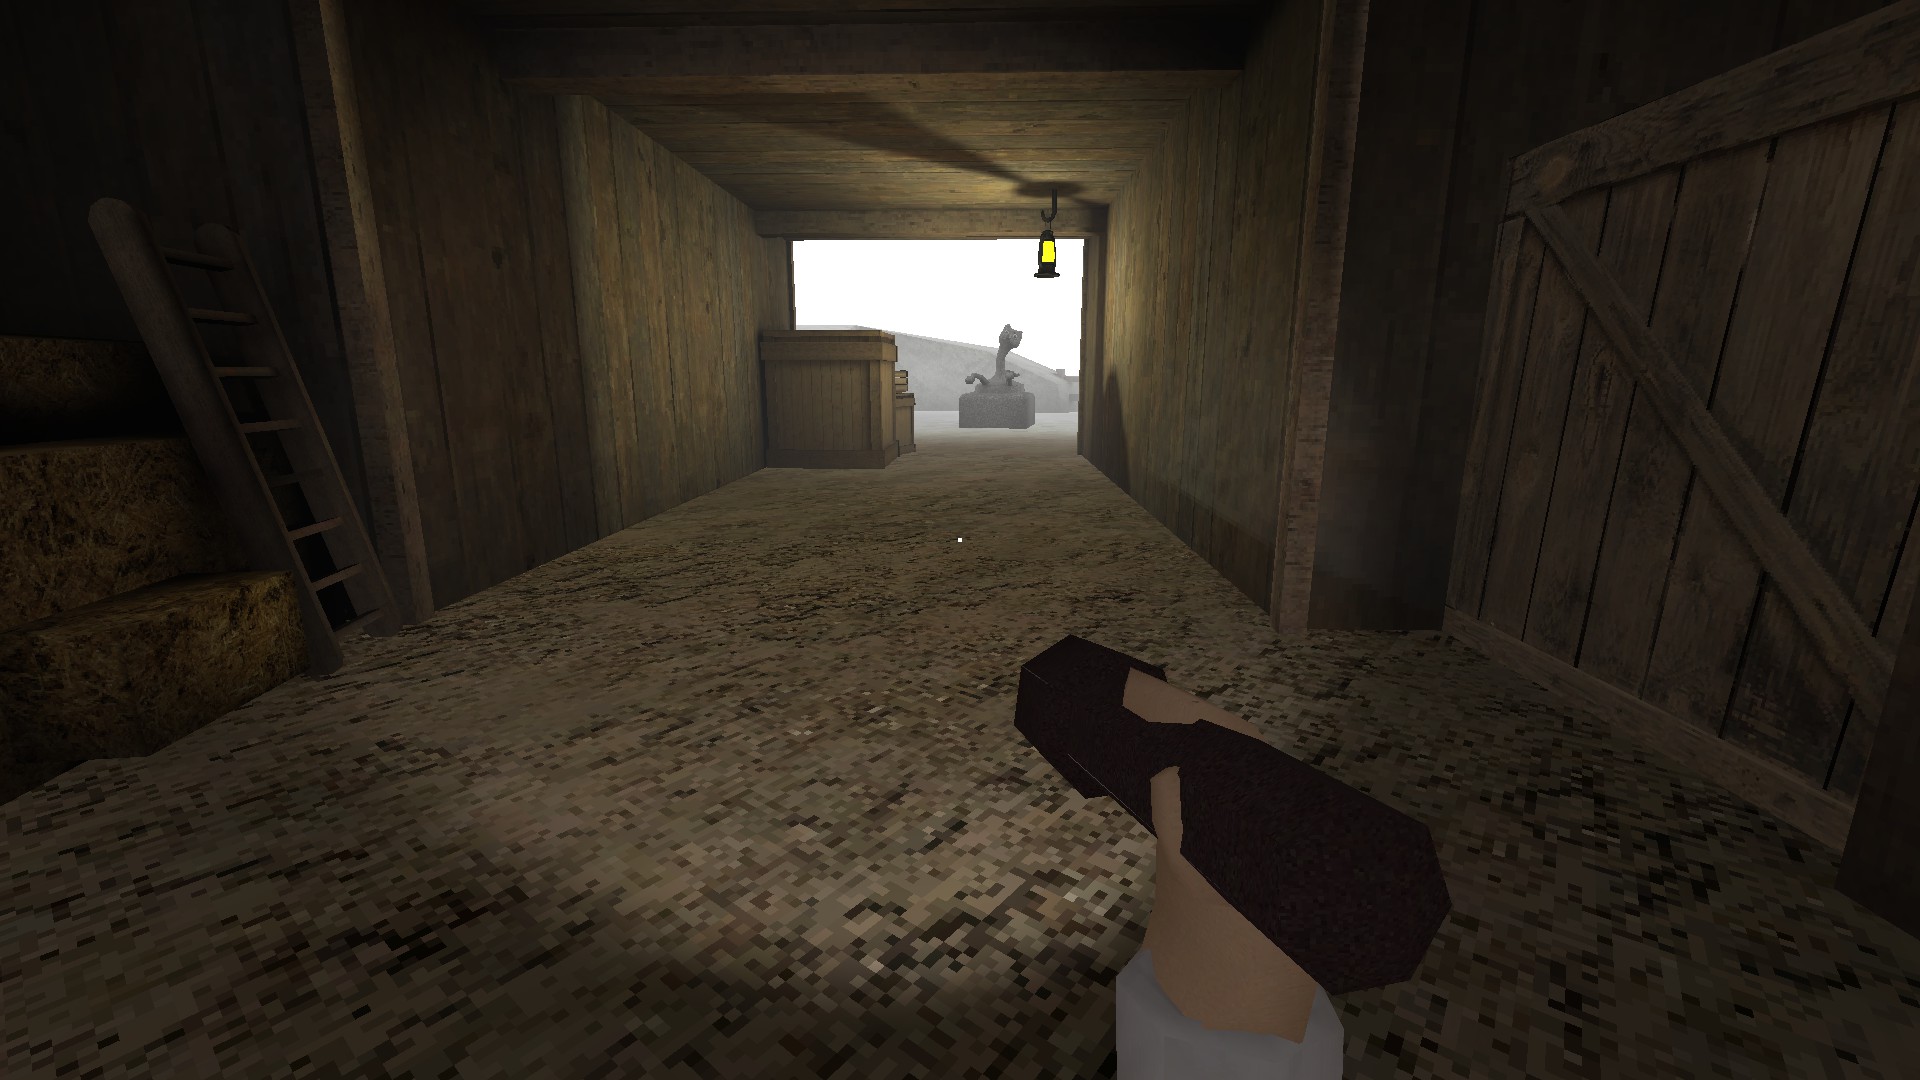
- Start by entering the large double doors and going upstairs. Head to the back and go down. Head out of the side door and loop around to a strange cat statue(?) Pull the tail to reveal a key.
- Go back inside, but be careful, as soon as you enter Milo will begin patrolling.
- Grab the [Shed Key] and go back to the front of the barn.
- As soon as you exit the double door, hook a right and go around the barn to find the shed. Don’t worry if Milo is there, he can’t see you over the fence for some reason.
- Open the barn and grab the [Bolt Cutters], then head back to where we grabbed the key. Pop open the chained door and repair the generator. You should know the drill by now.
- If you’re quick enough, you can do all of this before Milo even begins returning to the barn.
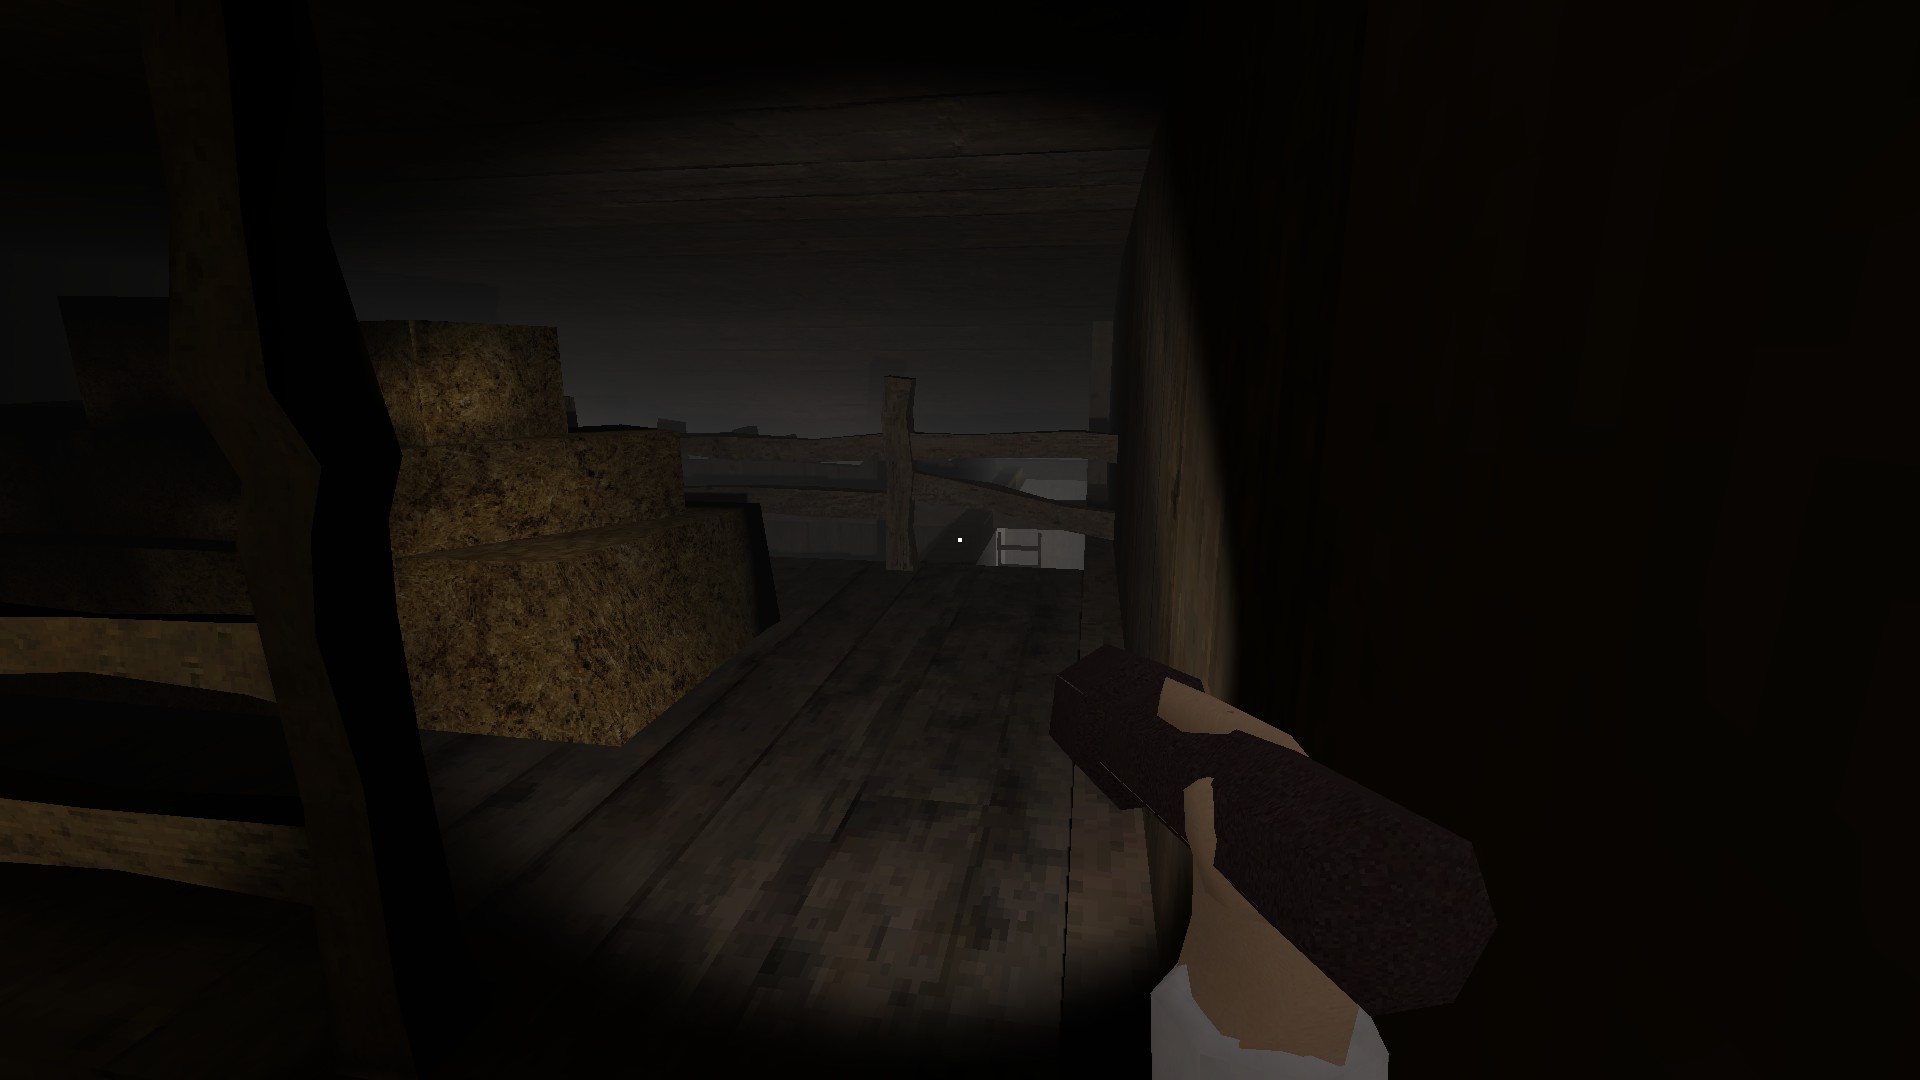
Rustic Sphinx
Discover the secrets in the barn and activate the generator.
- Exit the barn and follow the wires back. As soon as you see a set going off to the left, follow those instead.
- Head into Building A2 for what is probably the hardest area to navigate and explain.
- As soon as you go down the first ramp you should immediately spot a red valve (1). Turn it. We now need to turn a series of valves in a specific order, while Dr. Milo patrols this maze.
- From the first valve, look to your right and you’ll spot two pathways. One straight ahead, and one to your left. Take the one to your left.
- Follow this path and you’ll eventually come to a ramp that leads back outside. Keep this in mind in case you need to escape. For now, keep following this path until you find the generator. You can set up every part of it besides the yellow lever, as it’s missing. Also pull the valve (2) in the same room.
- Exit the generator room and make a left, followed by another left when you see a stack of tires. Turn the valve (3) in this room.
- Now head back to the first valve of the area and head down the opposite path this time. As you do, keep an eye to your left to spot a hall you can go down. We’re not going to yet, but that’s where the generator handle is once we can reach it.
- Keep going straight instead, and turn the valve (4).
- Exit that room, hook a right and then another right. Turn the valve (5).
- Now go back to that room I mentioned with the handle inside. Turn the valve (6) on the wall to your right as you enter and the bridge will raise.
- Grab the lever, then head back to the gen and fully repair it.
- On Nightmare Mode the valve order is different. Hit them as follows: 6, 2, 5, 1, 4, 3.
Super Plumber
Solve the valve puzzle and activate the generator in the bunkers.
Power Restored
Activate all the generators and restore the power.
- Finally, head back to Building A1 (where we started the game) to find things a little different.
- Head back to the room where we grabbed the keycard from, but be prepared for Dr. Milo! He’s very fast here and losing him in the server room can be a pain.
- Once you’re safe, interact with the radio to call for help. I chose “I need a pick up”, but I’m not sure if choice matters.
- Once you’ve done so, exit the building and head back to the bunker (follow the wires to the right).
- Remember that door that lead out to the backside of the bunker on your way to the gen? Head there and once you’re outside, keep walking straight to spot a helipad.
- Walk up and interact with the helicopter.
- Once on board, look toward the pilot seat for one of the endings of all time.
Revenge
Escape into an unforeseen fate…